|
Re: Stewart
|
||||
|---|---|---|---|---|
|
Home away from home
|
Sorry about all the question guys. I am all over the board on this car.
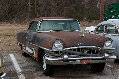
The holes in the top of the taillight area, seen below, look like I cage nut belongs there. I do not see any cage nuts in the parts list for that location. Also, the parts bag that I have for the taillights contains 4 chrome plated screws for that location. A cage nut would use bolts wouldn't it? What goes in those square holes? Attach file:  20230608_100637_resized.jpg (91.78 KB) 20230608_100637_resized.jpg (91.78 KB)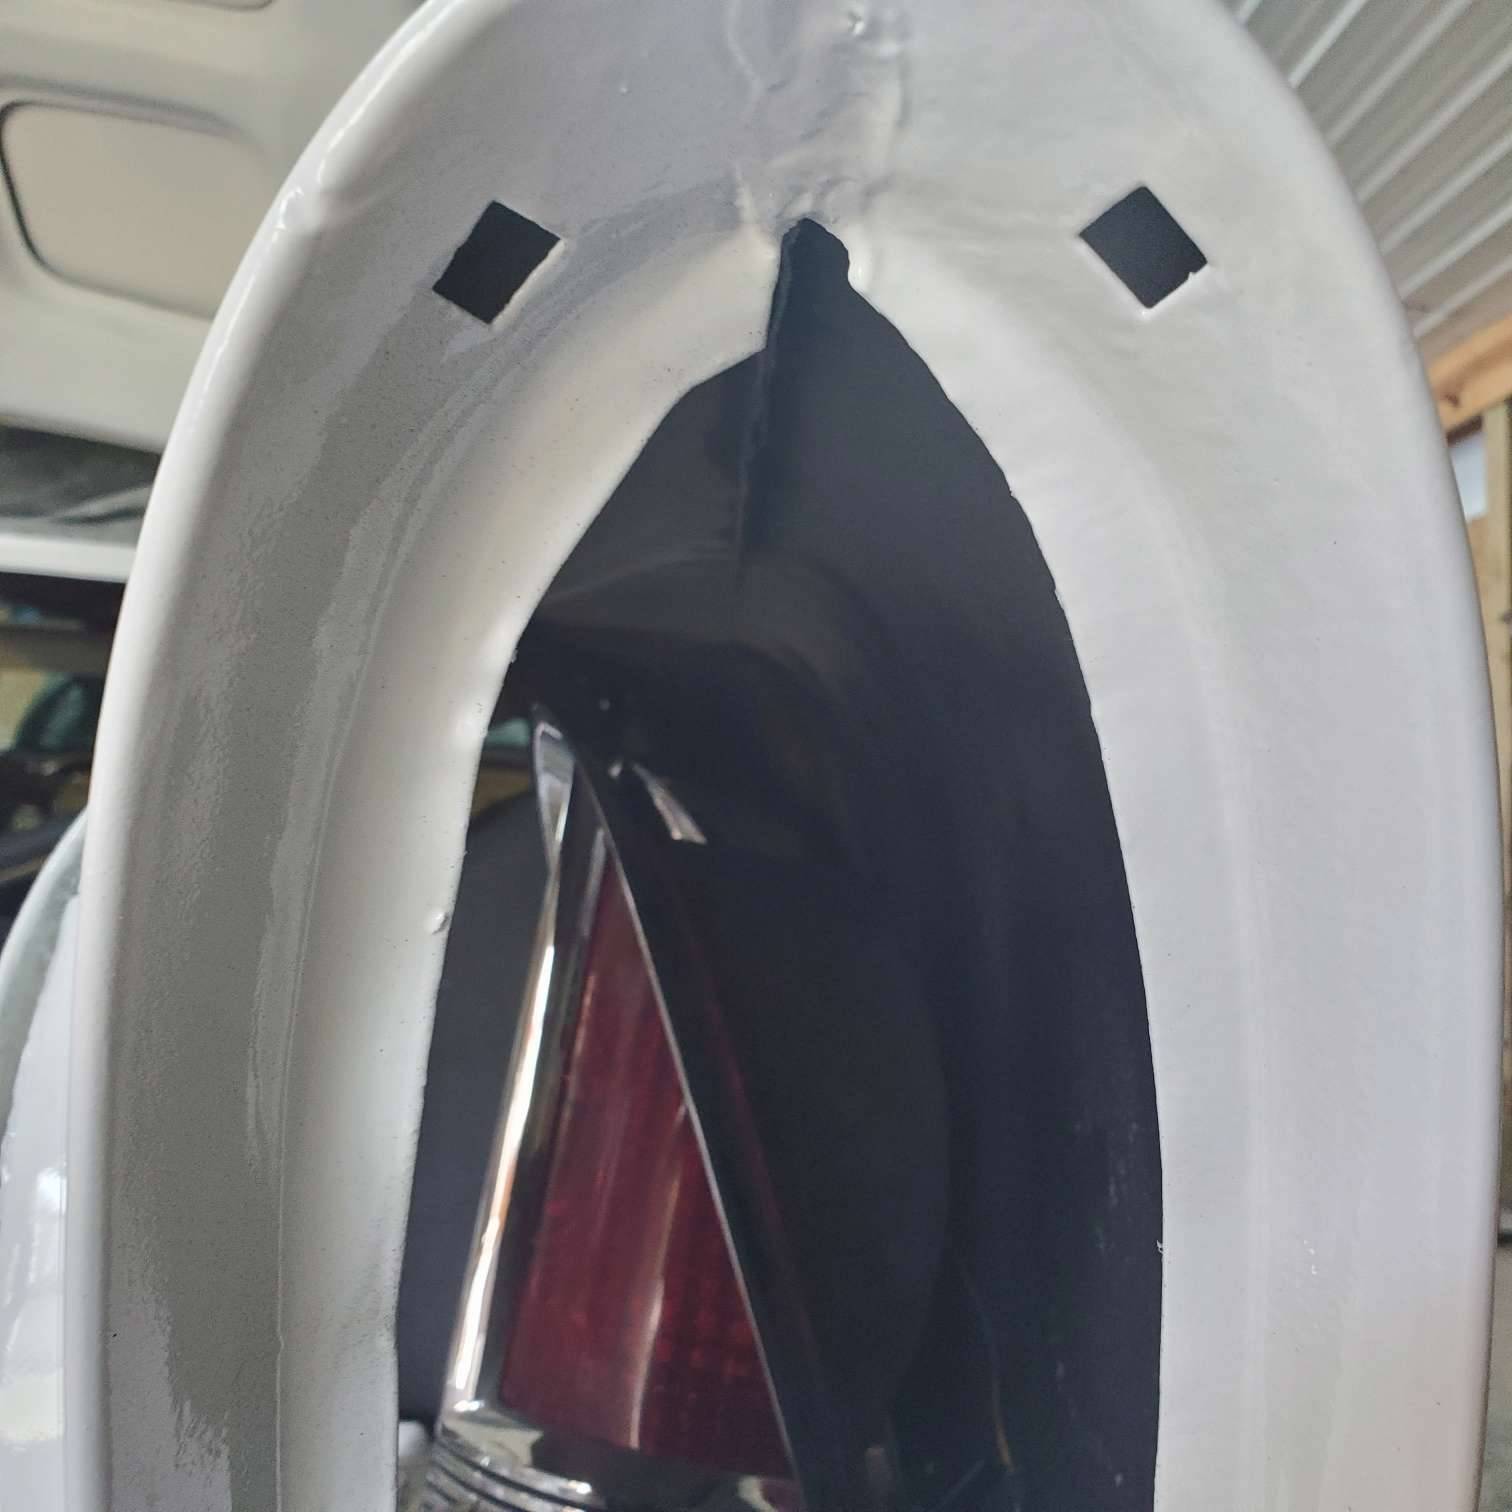
Posted on: 2023/6/9 7:19
|
|||
|
Stewart Ballard
|
||||
|
||||
|
Re: Stewart
|
||||
|---|---|---|---|---|
|
Webmaster

|
Could be a push in style speed clip.
Posted on: 2023/6/9 7:29
|
|||
|
-BigKev
1954 Packard Clipper Deluxe Touring Sedan -> Registry | Project Blog 1937 Packard 115-C Convertible Coupe -> Registry | Project Blog |
||||
|
||||
|
Re: Stewart's 1955 Packard 400
|
||||
|---|---|---|---|---|
|
Home away from home

|
The push in nuts are probably the same as used for license plates. A good auto supply store should have them in stock. Look at were the license plate hardware is displayed.
Posted on: 2023/6/9 12:10
|
|||
|
We move toward
And make happen What occupies our mind... (W. Scherer) |
||||
|
||||
|
Re: Stewart
|
||||
|---|---|---|---|---|
|
Home away from home
|
The nylon license plate nuts are a good idea. I'll pick some up this week.
The universal light switch that I installed when mine fell apart in my hands has gone belly up. I decided to go with Howard's suggestions on the GM headlight switch. The decision was more a cost issue than anything else. Since I am using the painless wire harness it will not be a huge leap. I inserted the shaft into the switch but it is way too long for my needs. It is in as far as I can get it. All the way back (off position) and then 2 clicks forward (parking lights and then headlights). You can see in the picture below the difference between the original shaft and the GM shaft. Attach file: 20230612_113410_resized.jpg (256.02 KB)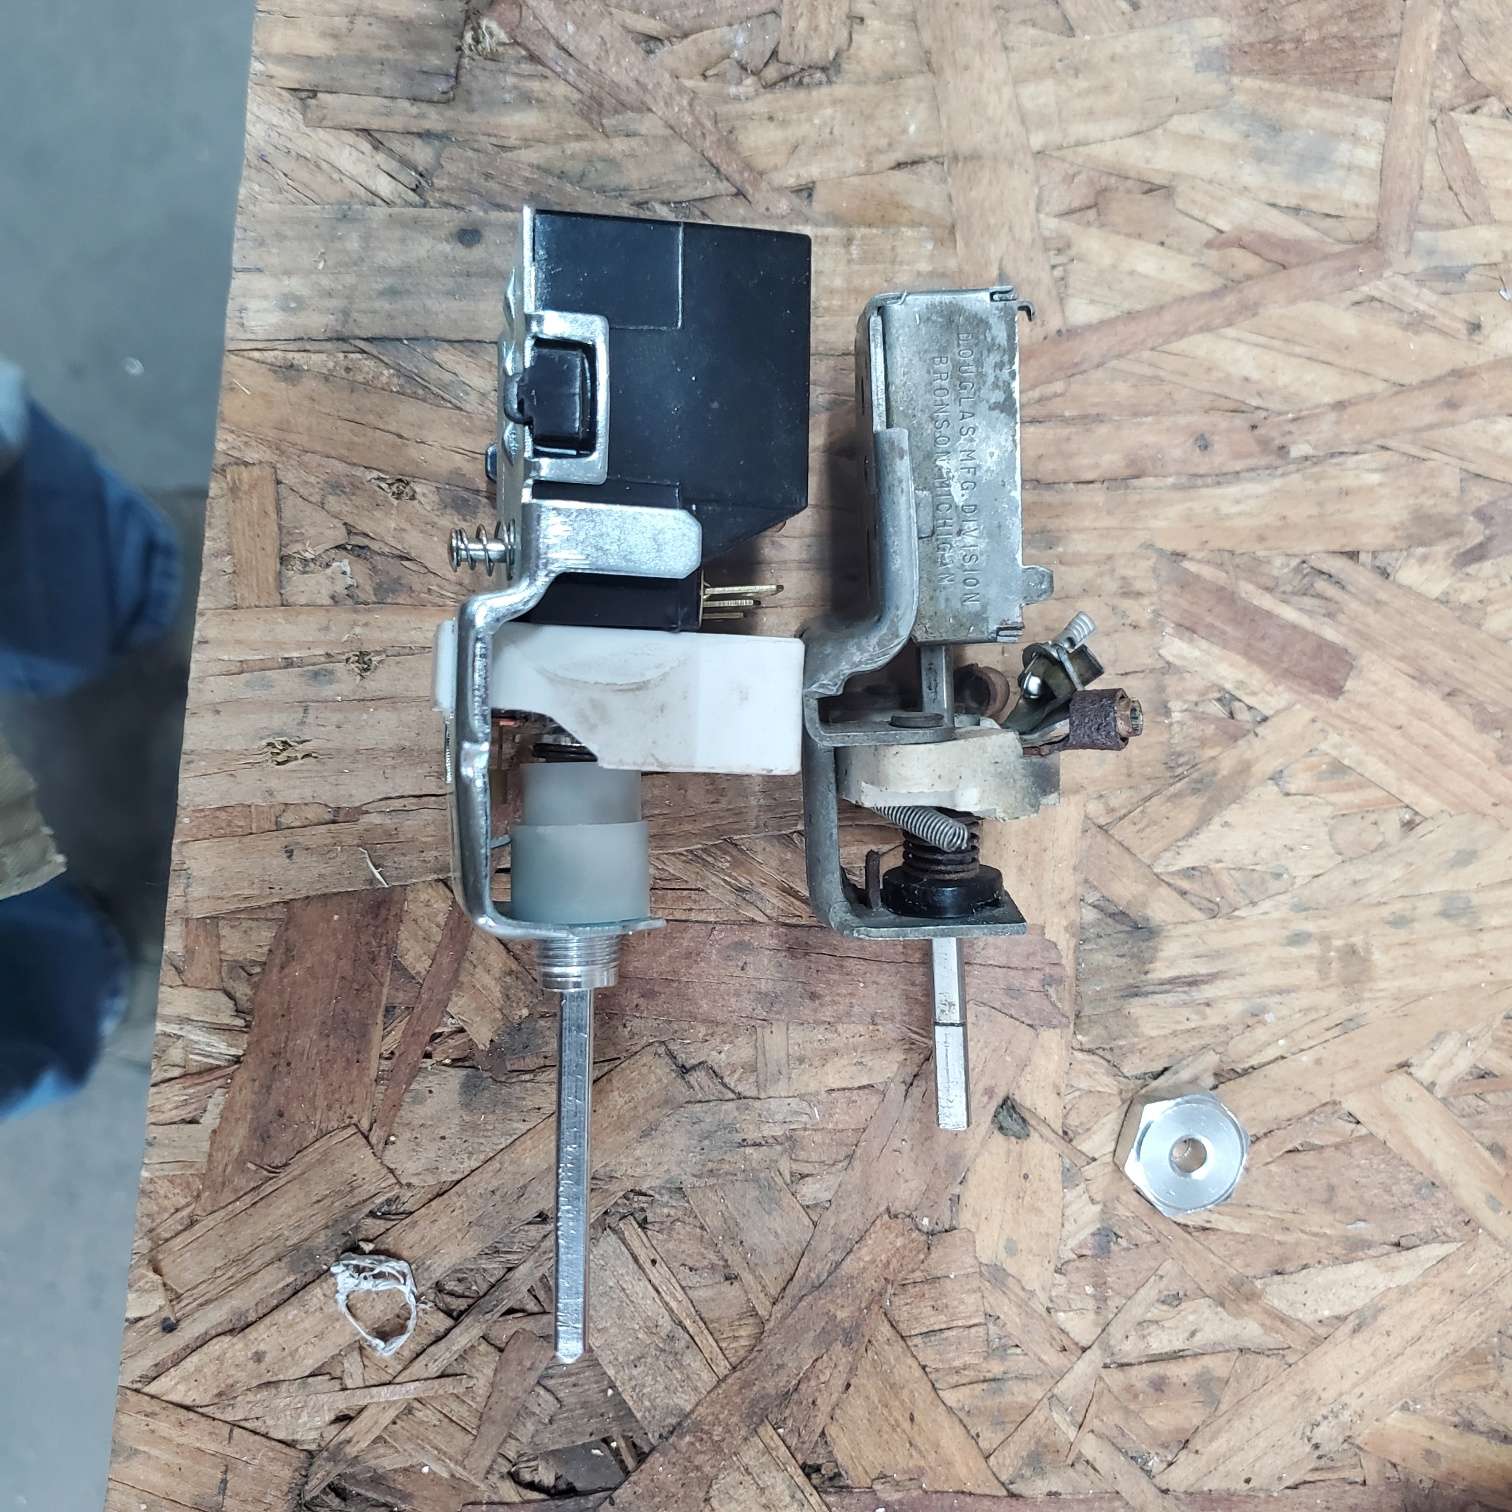
Posted on: 2023/6/12 18:07
|
|||
|
Stewart Ballard
|
||||
|
||||
|
Re: Stewart
|
||||
|---|---|---|---|---|
|
Forum Ambassador

|
I believe there is a photo of the two switches side by side in that procedure I posted. What I did to measure for length was assemble everything including the modified nut just like it would be in the car and lay them in position as if they were mounted then cut the GM shaft to match and also marked where the notch or slot for the retaining clip would need to be cut.
Because the knob is heavy, on the triangular GM shaft I had to use a spacer to fill the excess hole space in the knob so it would not wobble. If you wanted to solder or maybe use JB Weld to make a more permanent fix that might work better than the loose shim stock I used.
Posted on: 2023/6/12 18:50
|
|||
|
Howard
|
||||
|
||||
|
Re: Stewart
|
||||
|---|---|---|---|---|
|
Home away from home
|
I got the GM headlight switch wired and installed today. It was wired differently from Howard's instructions. He had a Packard harness and I am using a Painless harness.
The hardest part was that stupid threaded piece that fits over the shaft and screws to the bezel. I missed that little detail in Howard's instructions with the thread size for that part, 7/16-28 (extra fine). If you mess up those threads you will NOT find a bolt to make a replacement for it. The good news is that it works. I got the dash lights on again, even the clock. The universal switch that I had was not going to manage the dome lights but this gm switch will. Attach file: 20230614_134441.jpg (191.46 KB)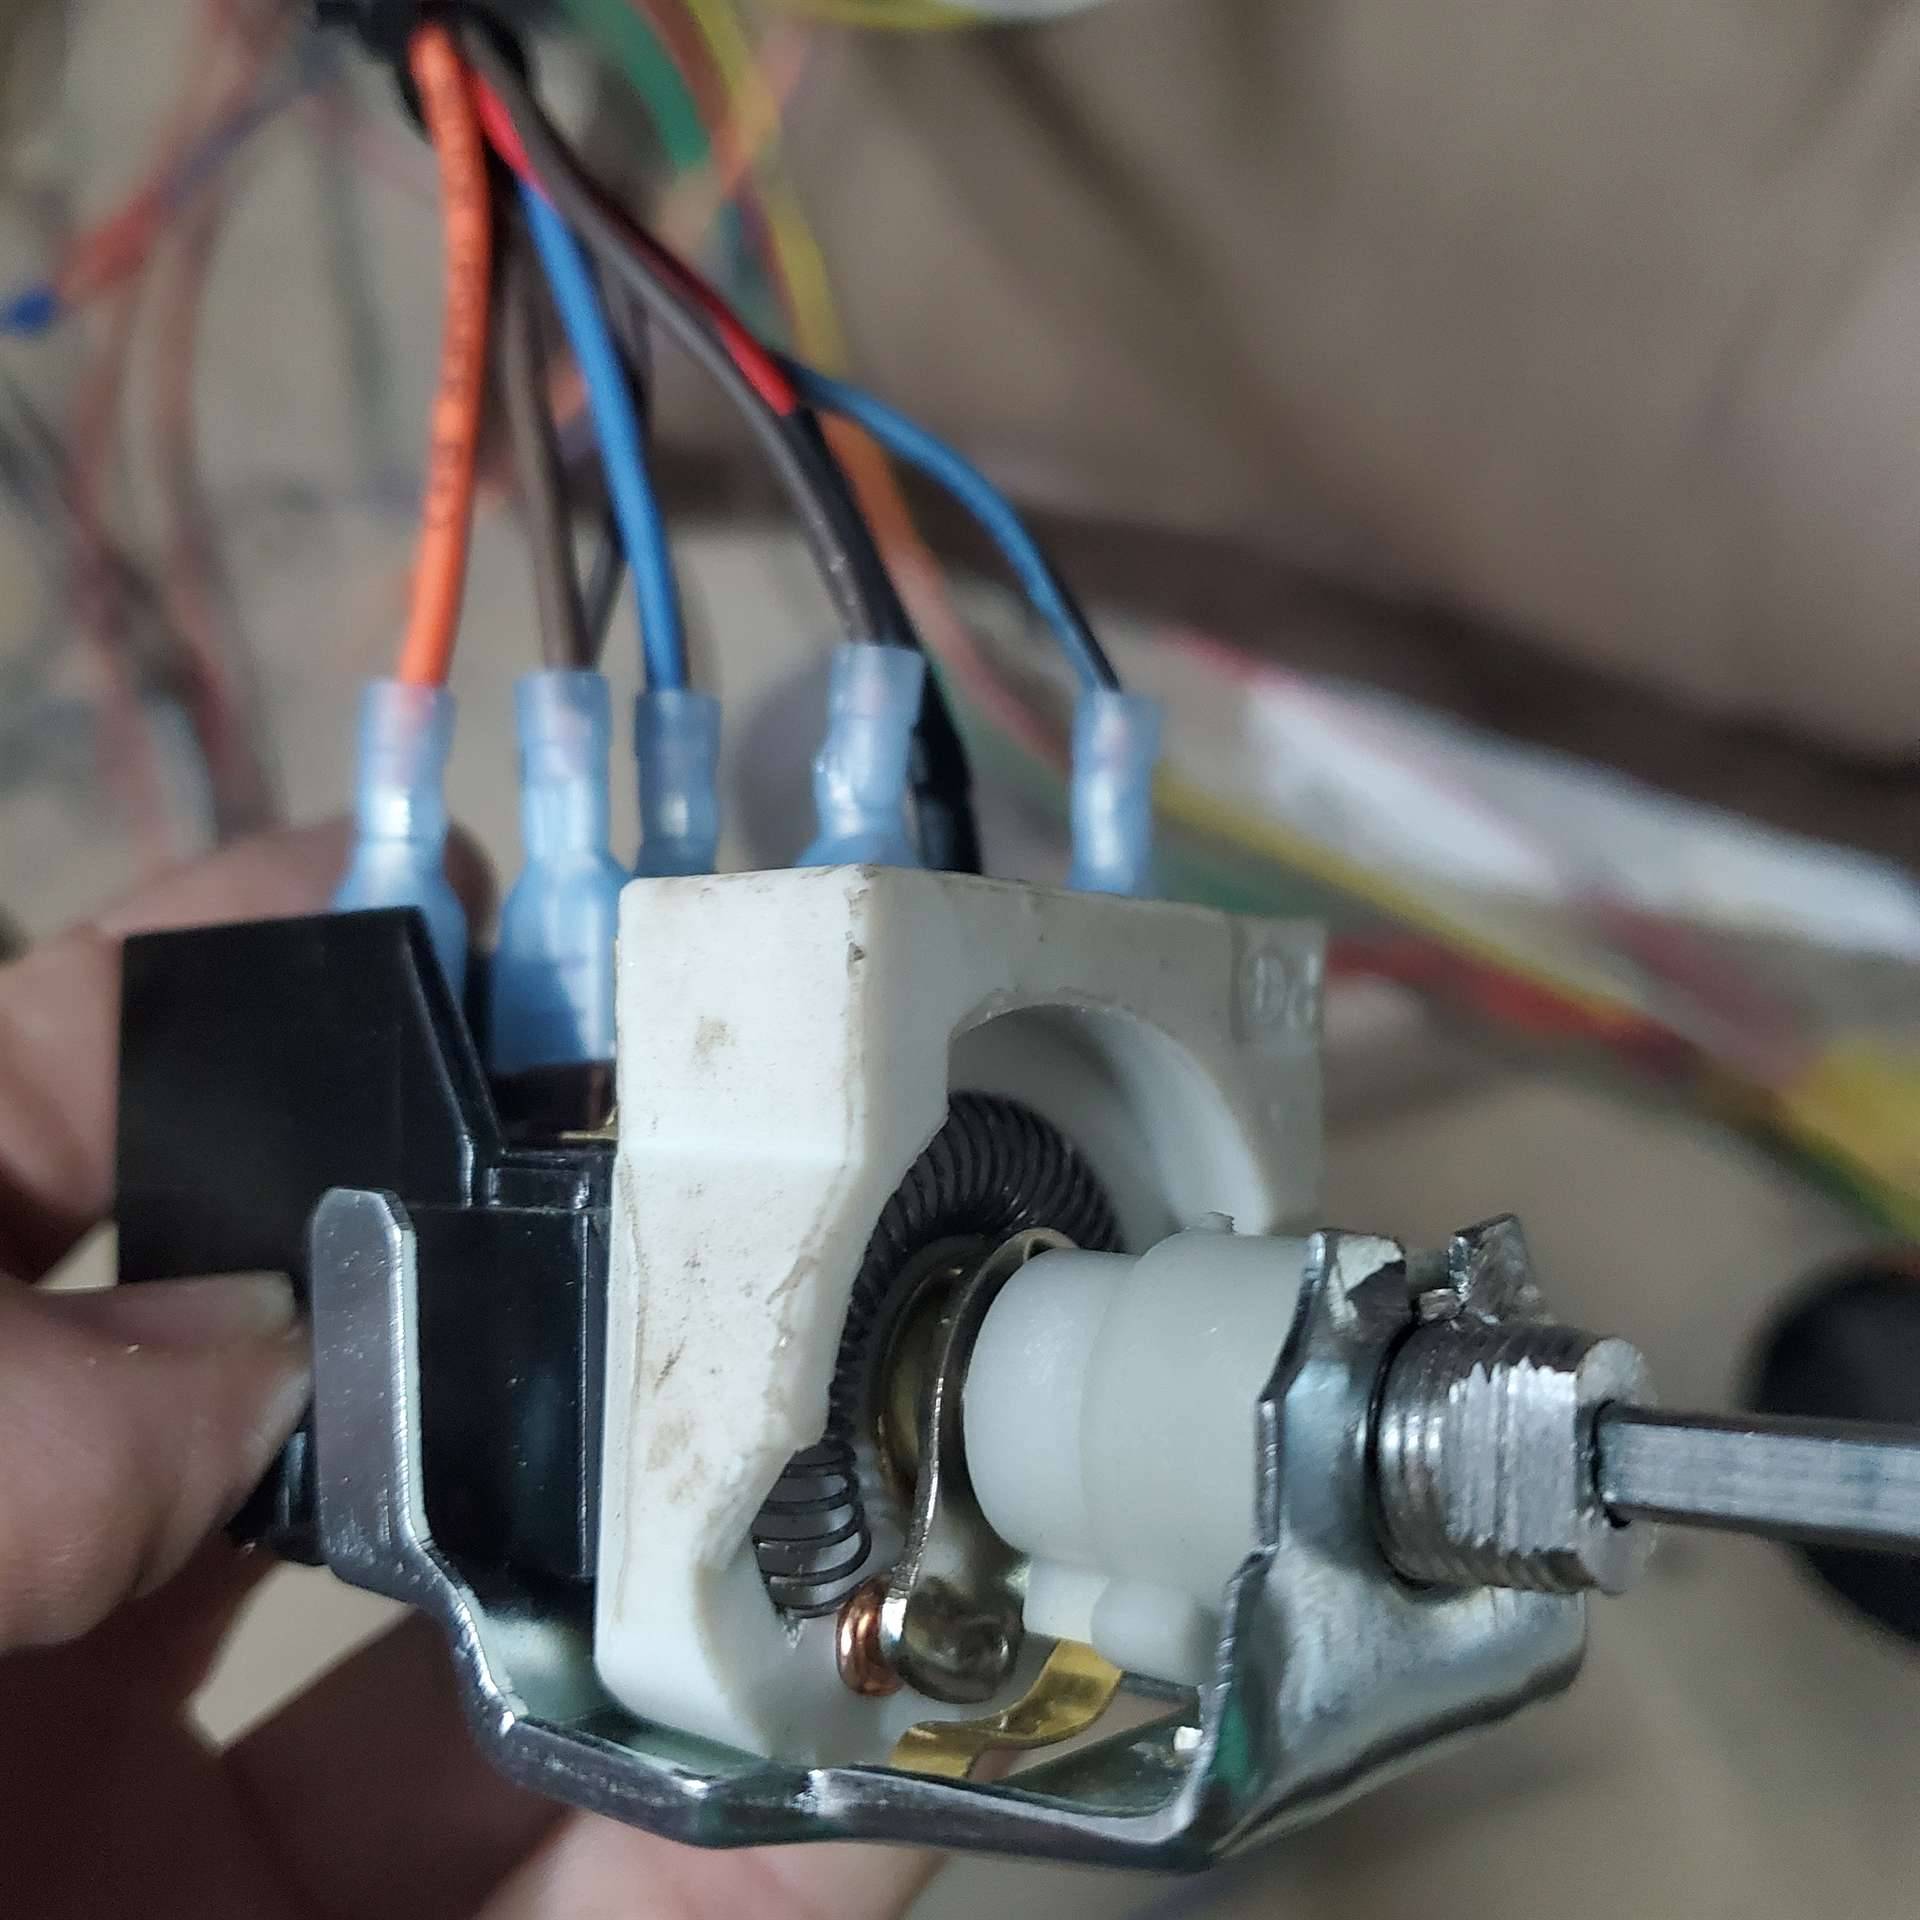 20230614_134417.jpg (150.62 KB) 20230614_134417.jpg (150.62 KB)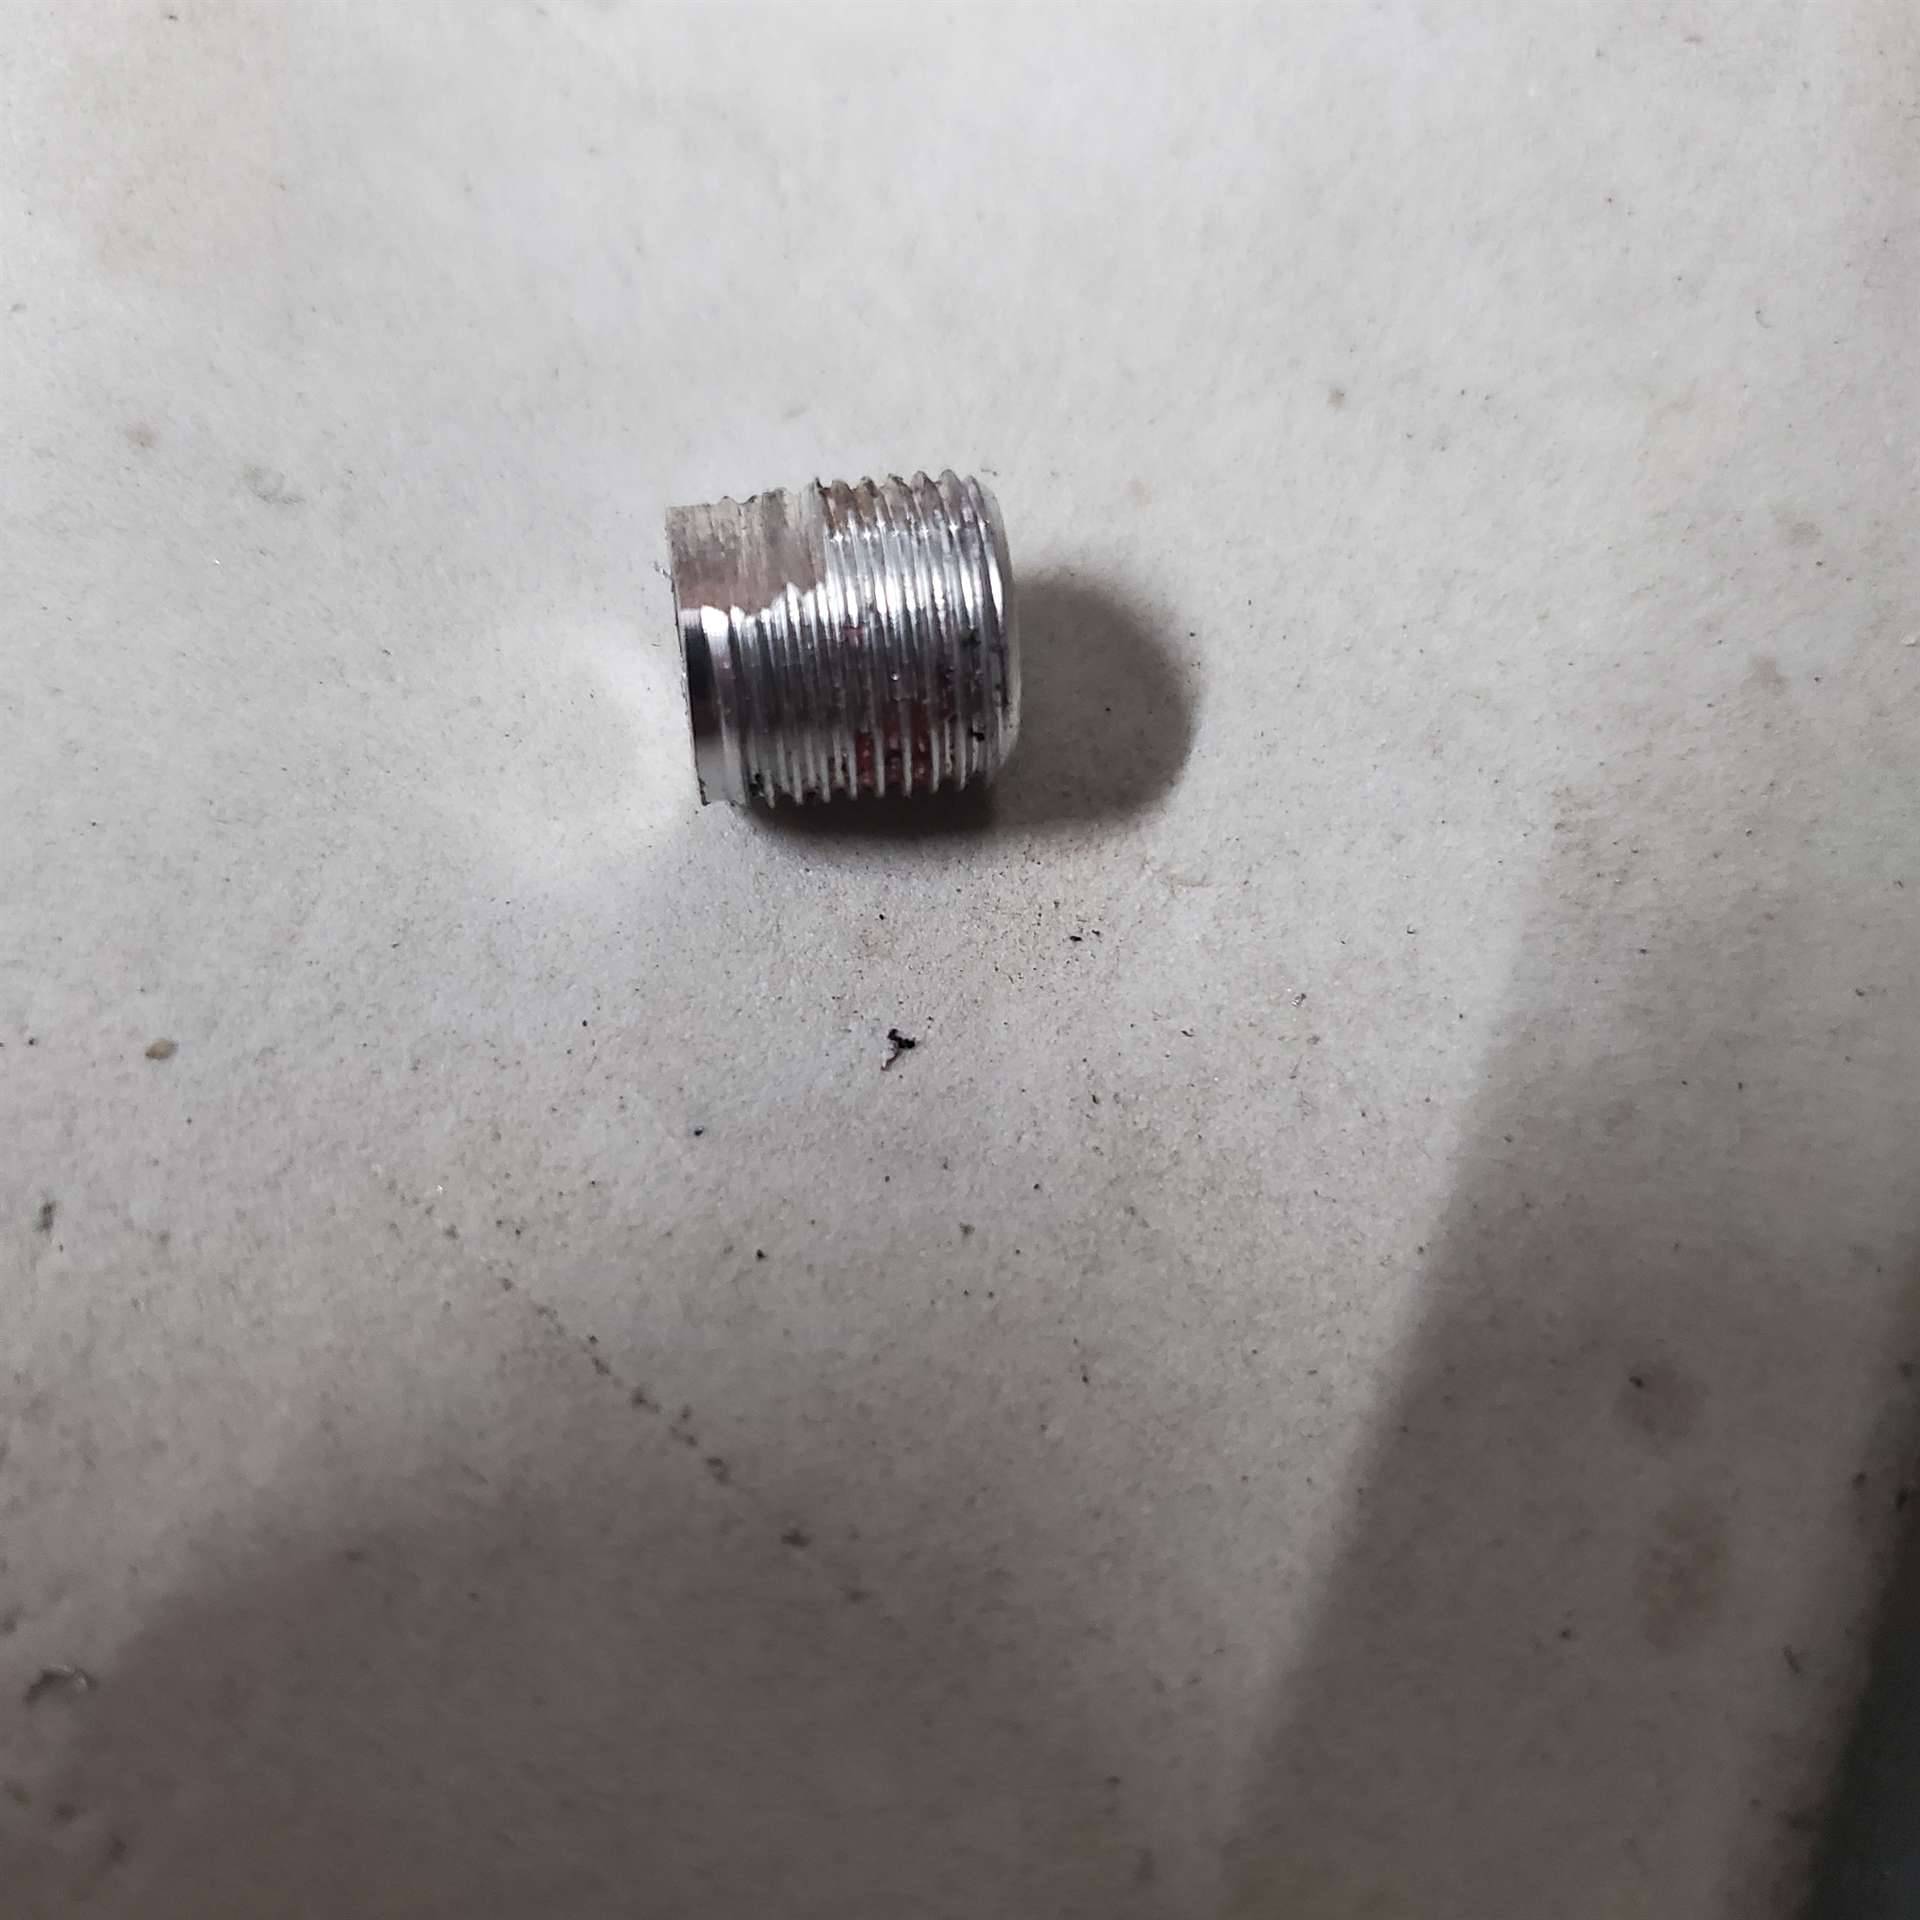 20230614_140659.jpg (369.47 KB) 20230614_140659.jpg (369.47 KB)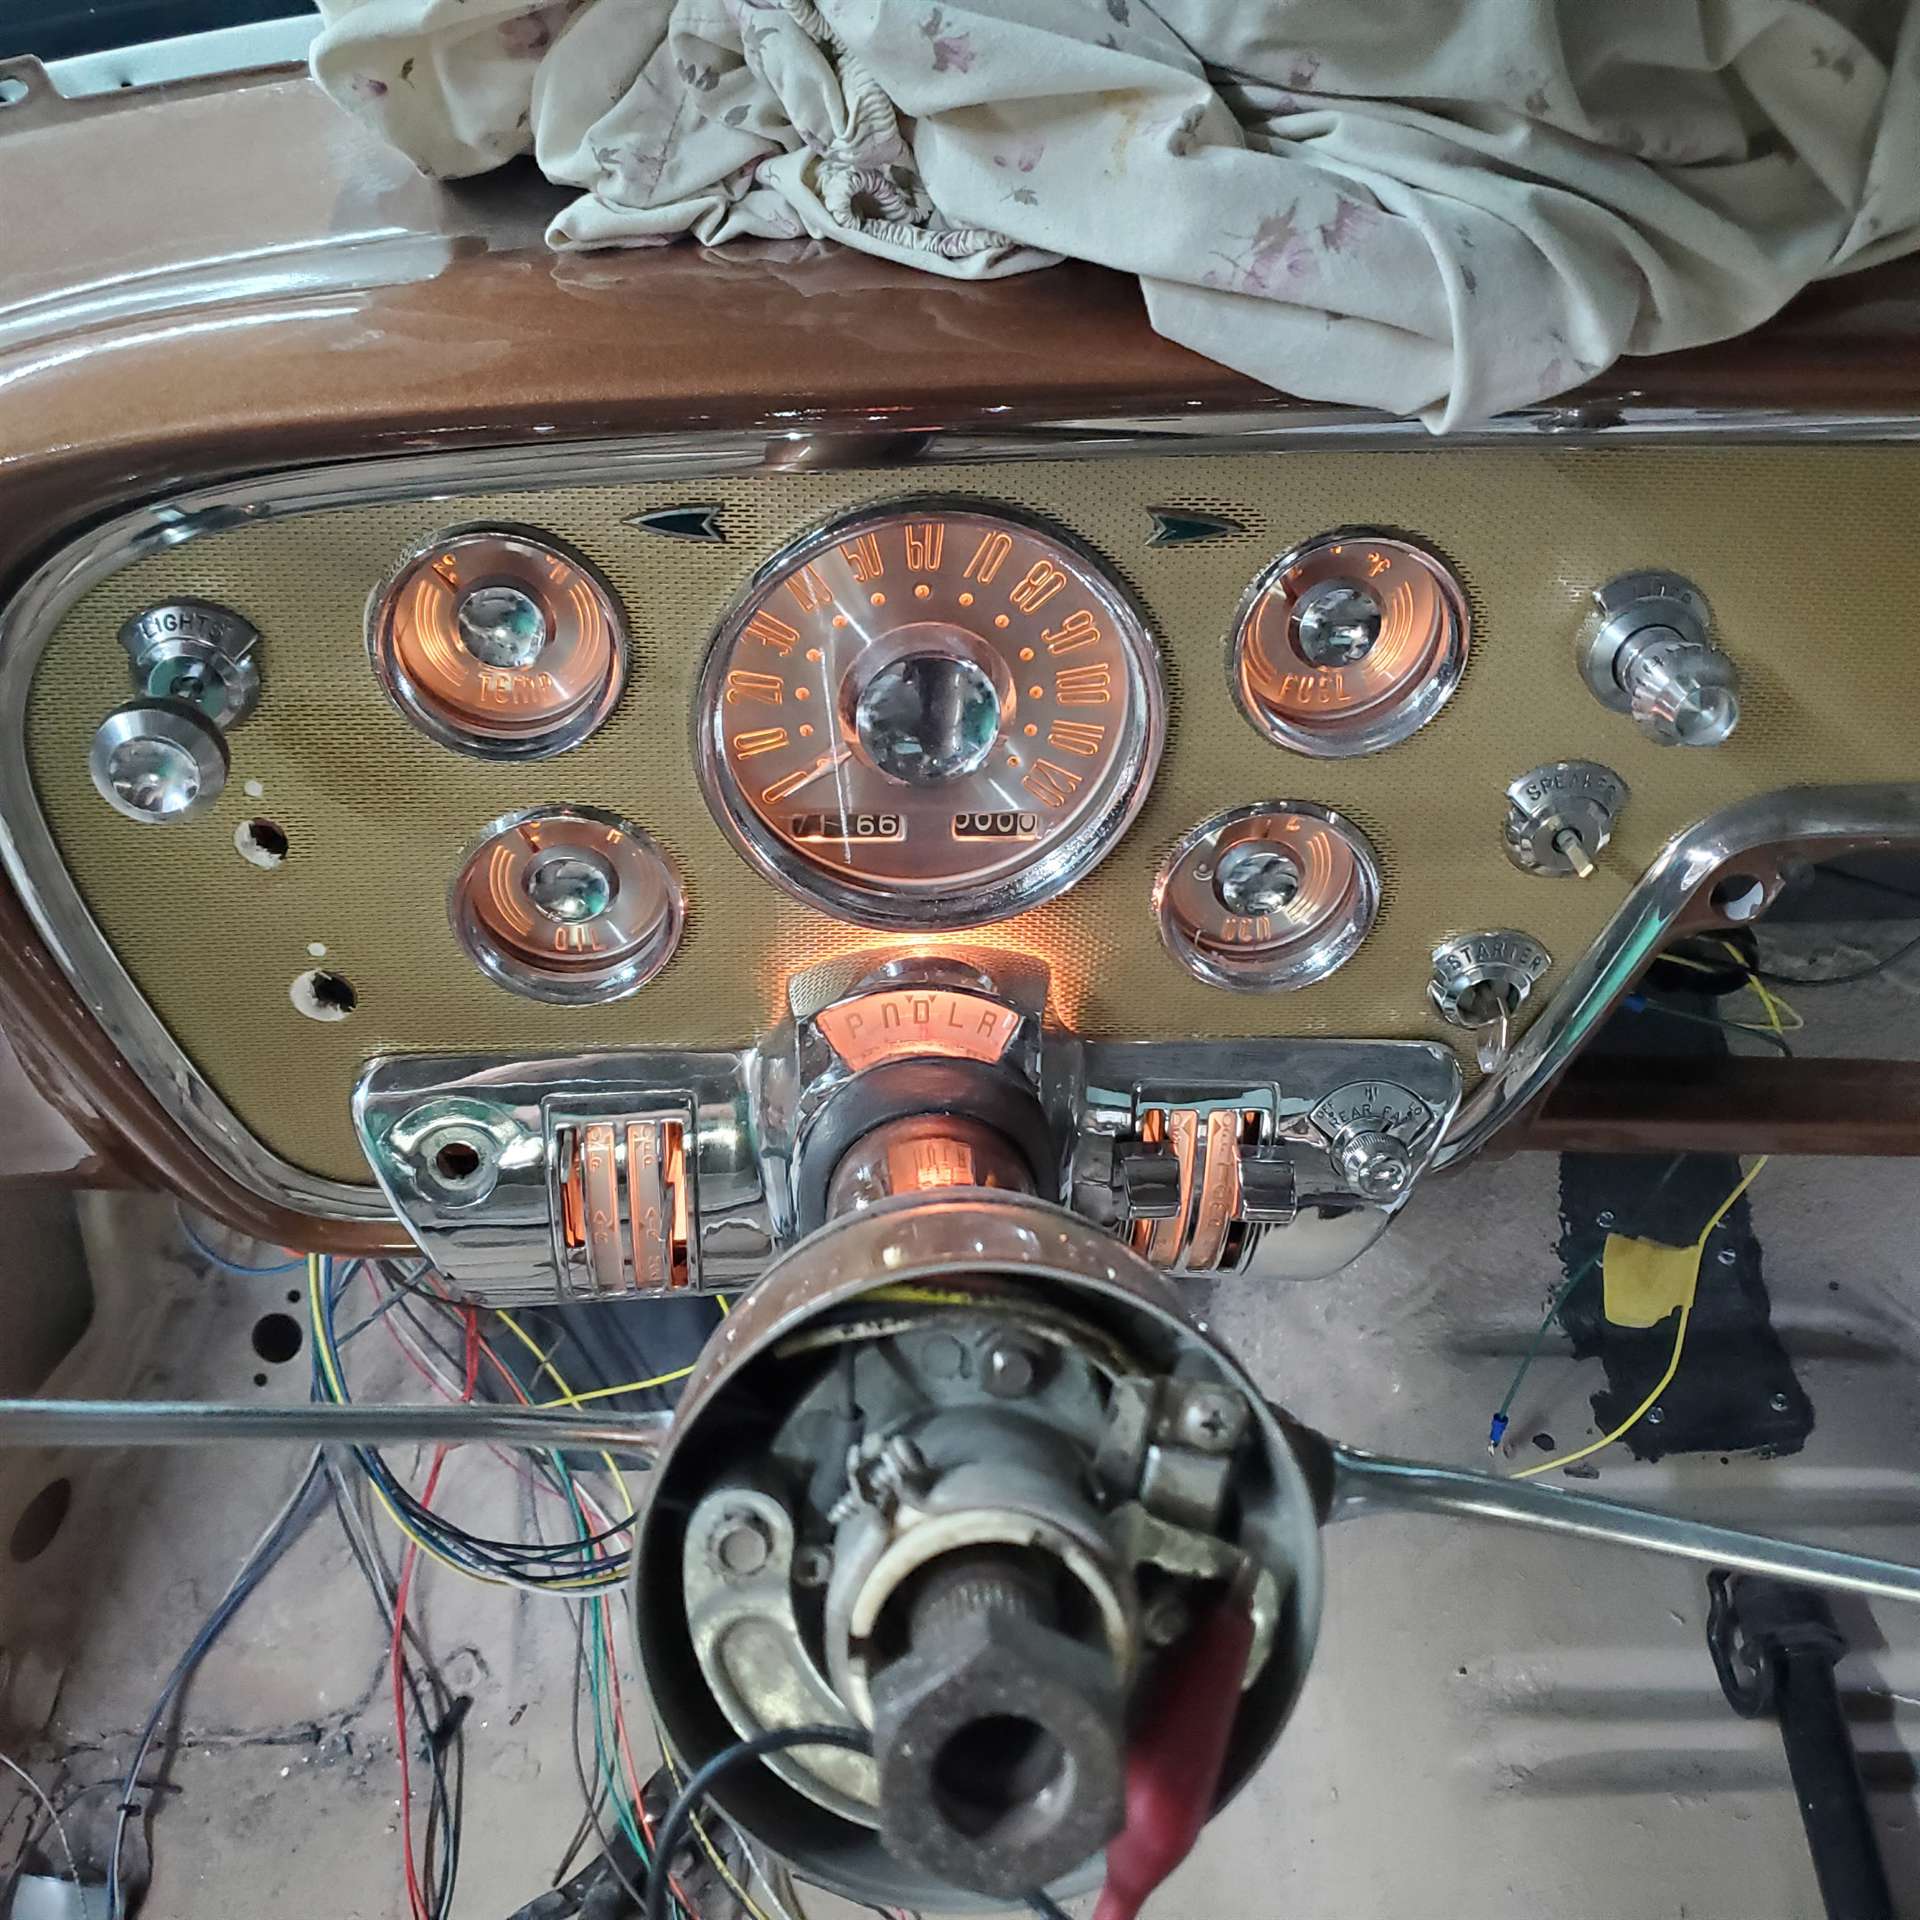
Posted on: 2023/6/14 18:30
|
|||
|
Stewart Ballard
|
||||
|
||||
|
Re: Stewart's 1955 Packard 400
|
||||
|---|---|---|---|---|
|
Home away from home

|
On the taillights... I know the screws for that are oval head sheet metal screws. I'm sure speed clips would go there as others suggested.
Posted on: 2023/6/14 18:44
|
|||
|
'55 400. Needs aesthetic parts put back on, and electrical system sorted.
'55 Clipper Deluxe. Engine is stuck-ish. |
||||
|
||||
|
Re: Stewart's 1955 Packard 400
|
||||
|---|---|---|---|---|
|
Home away from home
|
I need a couple of photos of the original Packard transmission/shift linkage. This is the connection from the steering column to the trans.
Not so interested in the trans itself. I am most interested in the column to the pivot that is between the steering column and the trans. I am not sure how that pivot is mounted. Trying to work out the connections to the 700R4 and need to know what I have to work with. Thanks
Posted on: 2023/6/21 15:12
|
|||
|
Stewart Ballard
|
||||
|
||||
|
Re: Stewart
|
||||
|---|---|---|---|---|
|
Forum Ambassador
|
Bendtsen apparently made their own linkage on the prototype so until someone can supply the stock bellcrank photo here is a photo of their custom setup if you don't already have one.
The silver colored rod is from the arm on the steering column and looks as if it is coming almost straight down to meet with a welded up assy bolted to or at least near the original spot on the frame. To me it appears the length of the arm needed to match the operator lever range and indicator positions would be the most critical adjustment. Other thing to wonder about would be the torque rotation. I cannot tell exactly how that is handled with theirs -- or if it is even enough to worry about. Looks like they added an extra hole or two to fine tune the length on theirs but for that adjustment it might be less trial and error to make a lever with a fixed part and another that can slide or telescope on the fixed piece and move it in or out until length is just right. Once length is found drill thru and bolt to fasten both pieces together. Another possibility might be to make a lever at the trans end to match the range or swing of the steering column lever and fabricate a couple of brackets to hold a shift cable setup. If there is not a ready made transmission shift cable that would work McMaster has several push-pull cables to choose from and sells assorted clevis or rod ends to attach to them. Attach file: Packard V8 pics 008s.jpg (128.22 KB)
Posted on: 2023/6/21 16:00
|
|||
|
Howard
|
||||
|
||||


.jpg")


