|
Re: Ken's 1937 120 Touring Sedan
|
||||
|---|---|---|---|---|
|
Home away from home
|
Thanks for the tips! Based on my success with Daytona, I asked them, and they recommended Chris's Carburetor Shop in Dayton OH based on an assessment of quality. I will give them a try and report back. Welcome to any feedback, positive or negative, naturally.
Posted on: 2016/1/26 20:59
|
|||
|
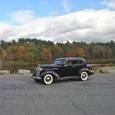
1937 120 1092 - Original survivor for driving and continued preservation.
https://packardinfo.com/xoops/html/modules/newbb/viewtopic.php?topic_id=16514&forum=10 1937 115 1082 - Total basket case, partial restoration, sold Hershey 2015 https://packardinfo.com/xoops/html/modules/newbb/viewtopic.php?start=0&topic_id=6550&order=ASC&status=&mode=0 |
||||
|
||||
|
Re: Ken's 1937 120 Touring Sedan
|
||||
|---|---|---|---|---|
|
Home away from home
|
Received my exhaust manifold back from Jet Hot. Very pleased with the speed, and the coating looks great. There is quite a bit of pitting in the manifold, but that was pre-existing. Eventually I may look for a manifold with less pitting, but I bought the car to drive. Jet Hot also offers a lifetime warranty on the coating, although the fine print states they will only re-coat it once.
One minor concern - I had asked them to mask off the well for the thermostatic choke, but they didn't. Other than maybe needing to adjust the choke, is there any reason to worry about this? Is that obtainable for replacement if I do need to replace it? Also, when I pulled the manifold off, the washers and nuts were steel. Doing some research, it sounds like the factory composition was steel thick flat washers, steel lock washers, and brass nuts. I had previously thought it was thick brass washers and brass nuts. Any ideas which way is right? Thanks! Attach file:  (55.01 KB) (55.01 KB)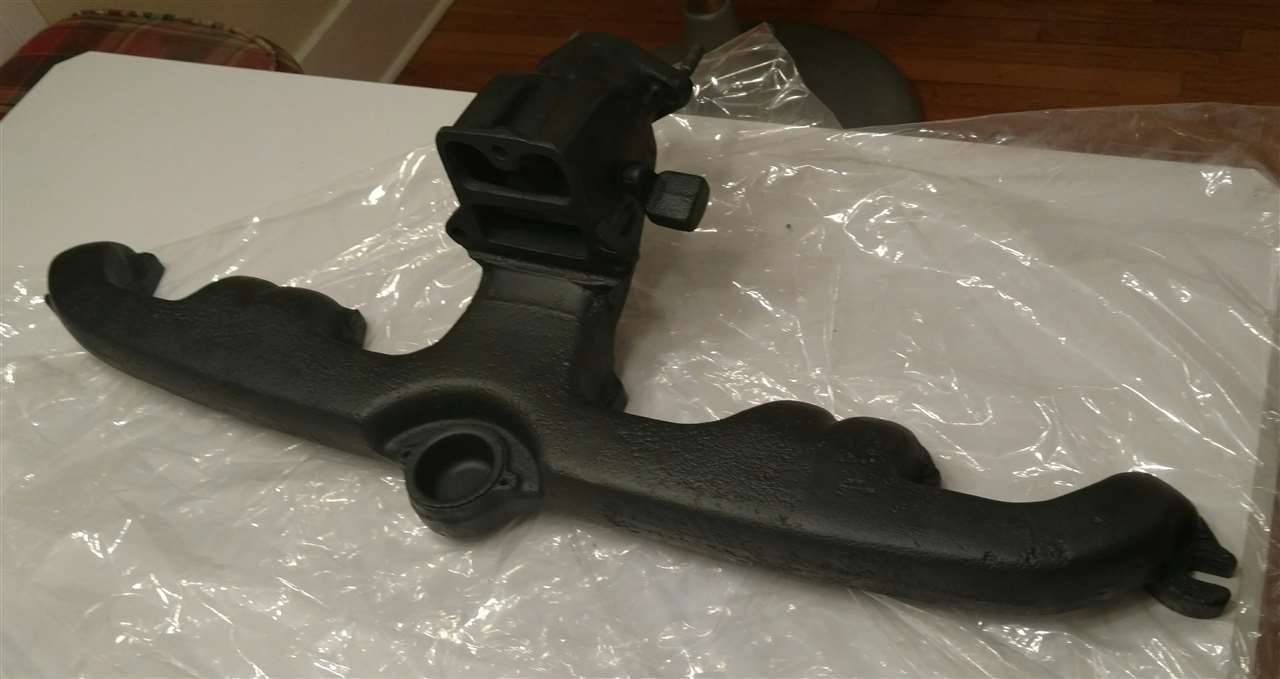 (72.00 KB) (72.00 KB)
Posted on: 2016/2/9 22:16
|
|||
|
1937 120 1092 - Original survivor for driving and continued preservation.
https://packardinfo.com/xoops/html/modules/newbb/viewtopic.php?topic_id=16514&forum=10 1937 115 1082 - Total basket case, partial restoration, sold Hershey 2015 https://packardinfo.com/xoops/html/modules/newbb/viewtopic.php?start=0&topic_id=6550&order=ASC&status=&mode=0 |
||||
|
||||
|
Re: Ken's 1937 120 Touring Sedan
|
||||
|---|---|---|---|---|
|
Home away from home
|
Dave, thanks. Your suggestion to go JetHot vs. porcelain for a touring car weighed heavily in my decision, and I am glad I did!
I was going to do some work on the car this weekend, but they are forecasting -14F on Saturday, so I doubt that I will!
Posted on: 2016/2/11 15:39
|
|||
|
1937 120 1092 - Original survivor for driving and continued preservation.
https://packardinfo.com/xoops/html/modules/newbb/viewtopic.php?topic_id=16514&forum=10 1937 115 1082 - Total basket case, partial restoration, sold Hershey 2015 https://packardinfo.com/xoops/html/modules/newbb/viewtopic.php?start=0&topic_id=6550&order=ASC&status=&mode=0 |
||||
|
||||
|
Re: Ken's 1937 120 Touring Sedan
|
||||
|---|---|---|---|---|
|
Home away from home
|
Well, it has been a long time since I've posted anything, but that doesn't mean I haven't been doing anything. I haven't been doing a lot (busy with work, grad school and family) but some parts have been ordered and arrived. I'm done with my classes for a while, so I have a few weeks to devote more time to the Packard.
Some of the minor stuff: drained the coolant, renewing heater hoses and installing a heater shutoff valve. New exhaust showed up from Waldrons. It is beautiful! I did have to get creative and fab up an exhaust hanger. The one pictured goes just aft of the muffler, in front of the resonator. It hangs in the stock location. I have a generic rubber type on the rear of the car, at least for now. Stock hanger on the clutch cover, now with a fresh coat of black hi-temp paint. I also rebuilt the exhaust manifold heat riser. Details are here:https://packardinfo.com/xoops/html/modules/newbb/viewtopic.php?topic_id=17526&viewmode=flat&order=ASC&type=&mode=0&start=0 The carb was rebuilt by Chris's Carb Shop in Dayton, OH. It took a while - shipped in late Jan and got back this week - but it looks great and he was very fair on the price! He also parkerized the cover for the automatic choke. I installed a new fuel filter, and I will change the oil and filter, full chassis lube, adjust points and check timing before I start her up again. I need to adjust the clutch. I don't think the pedal has enough free play, and 2nd gear grinds. If the pedal adjustment and a fluid change don't fix it, I will rebuild the transmission next winter. I did inspect the clutch, and it is nearly new. And finally - I am in the midst of renewing the steering center link bearings. Here are the steps in case anyone is trying to do it themselves. 1. Jack up car. Put drivers side jack stand under frame aft of radius arm. 2. Remove drag link from center link by pulling the pin and backing out the retainer with a spanner wrench. 3. Remove the inner tie rod ends and the outer tie rod end on the driver's side. 4. Undo the four bolts that hold the suspension center links to the frame. 11/16 socket and wrench. Undo the center steering link nut (1" socket). 5. Put a jack under the drivers side radius arm. Remove the drivers front wheel if not already done. Raise the jack until the spring starts to compress. 6. Remove the bolt that holds the upper portion of the steering knuckle to the shock. Mine was serviced relatively recently, so it slid right out. These can be a bear if the bushings are rusted tight. 7. Lower the jack until the spring is free, and remove it by hand. Use some mechanics wire to attach the steering knuckle to shock. It needs to drop enough that the spring can come out, but you don't want to let it drop so much that brake line is pulled taut. The Packard manual states to remove the brake hose as well, but I found I didn't need to. I didn't want to deal with bleeding a brake. 8. Wiggle the mount for the center steering link until you can pull it out of the drivers side. It comes forward and to the left. I did jack up the passenger center link to give myself room to finagle the mount out. You can see from the pictures that the job was due! New bearings are from Napa and are pictured. Everything is apart right now, so if anyone needs a better picture, let me know. Re-assembly should be reverse of the installation. Right now I have paint drying, so it will wait until some night this week. Oh yeah, I bought a trailer too! That's the last picture. 24 feet is certainly long enough! I'll be able to put a lot of tools, etc. up front. Attach file: (117.50 KB)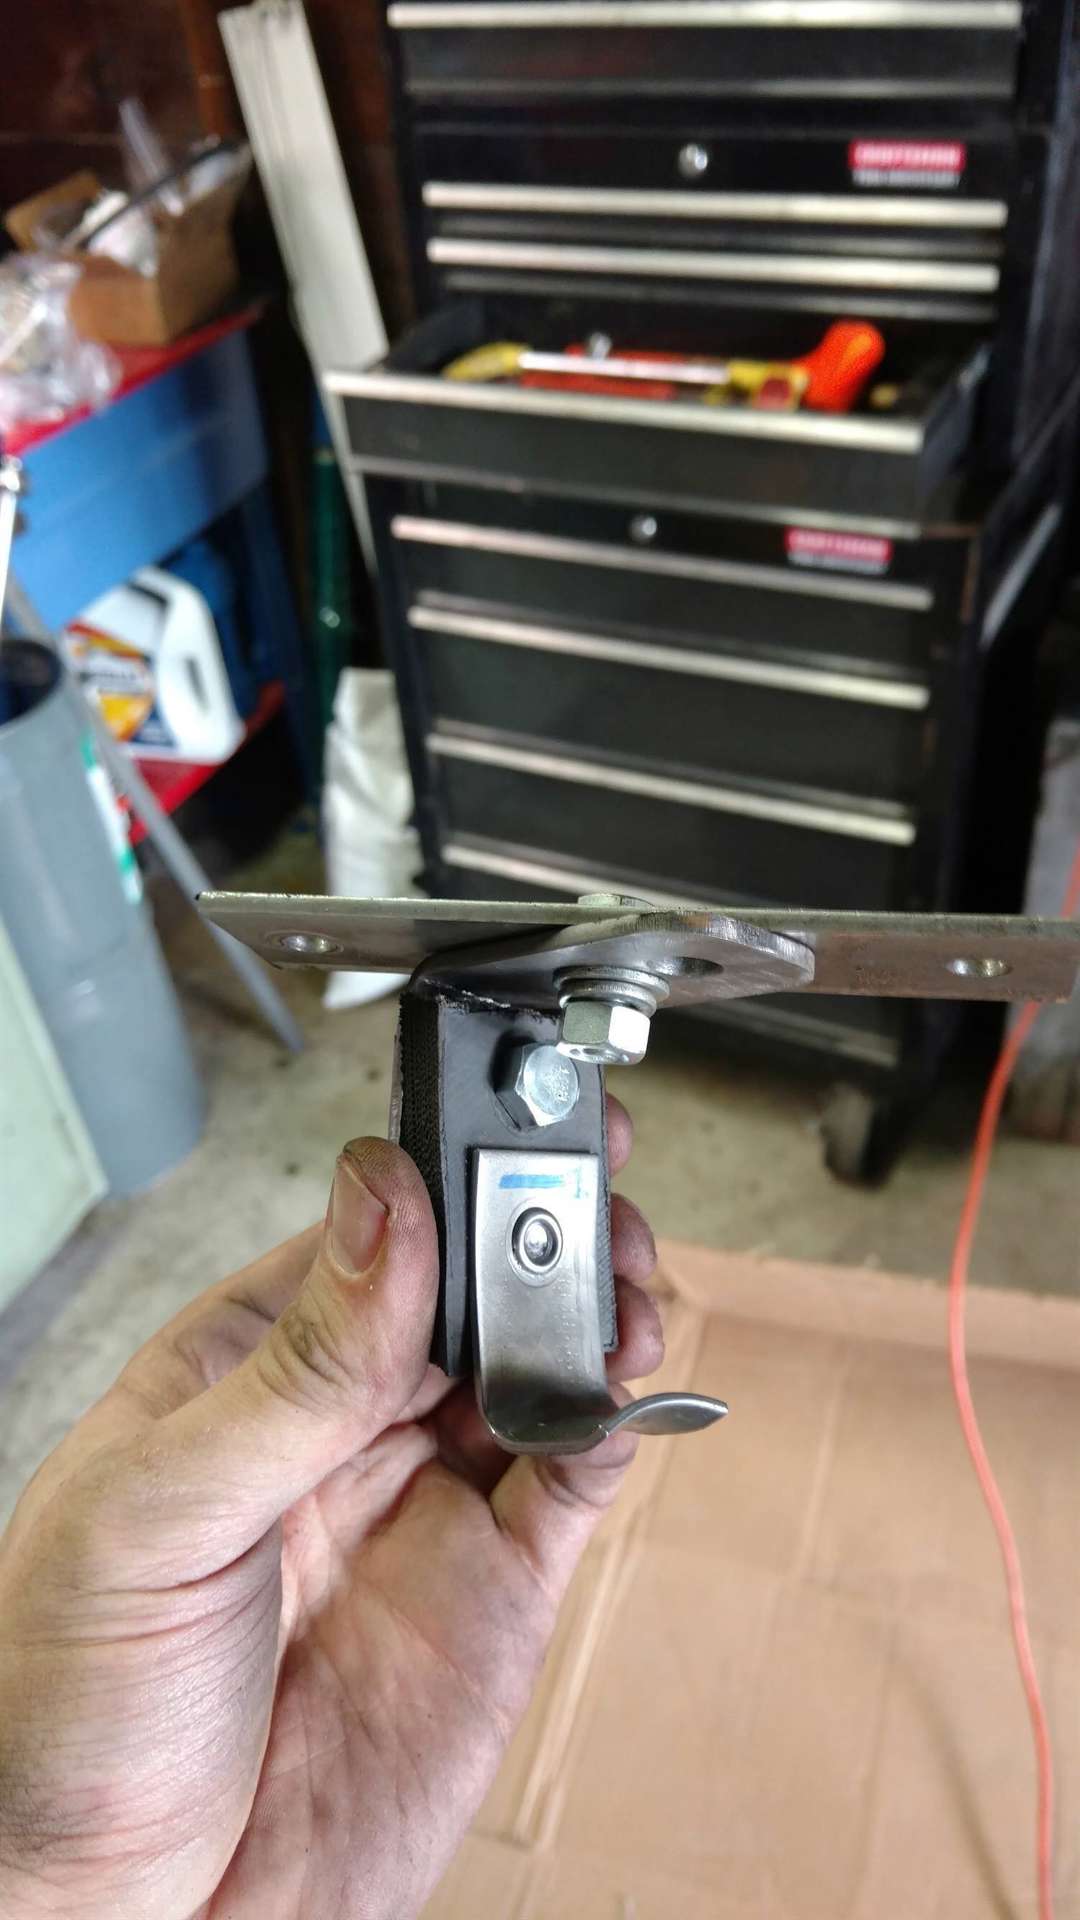 (201.67 KB) (201.67 KB) (148.86 KB) (148.86 KB)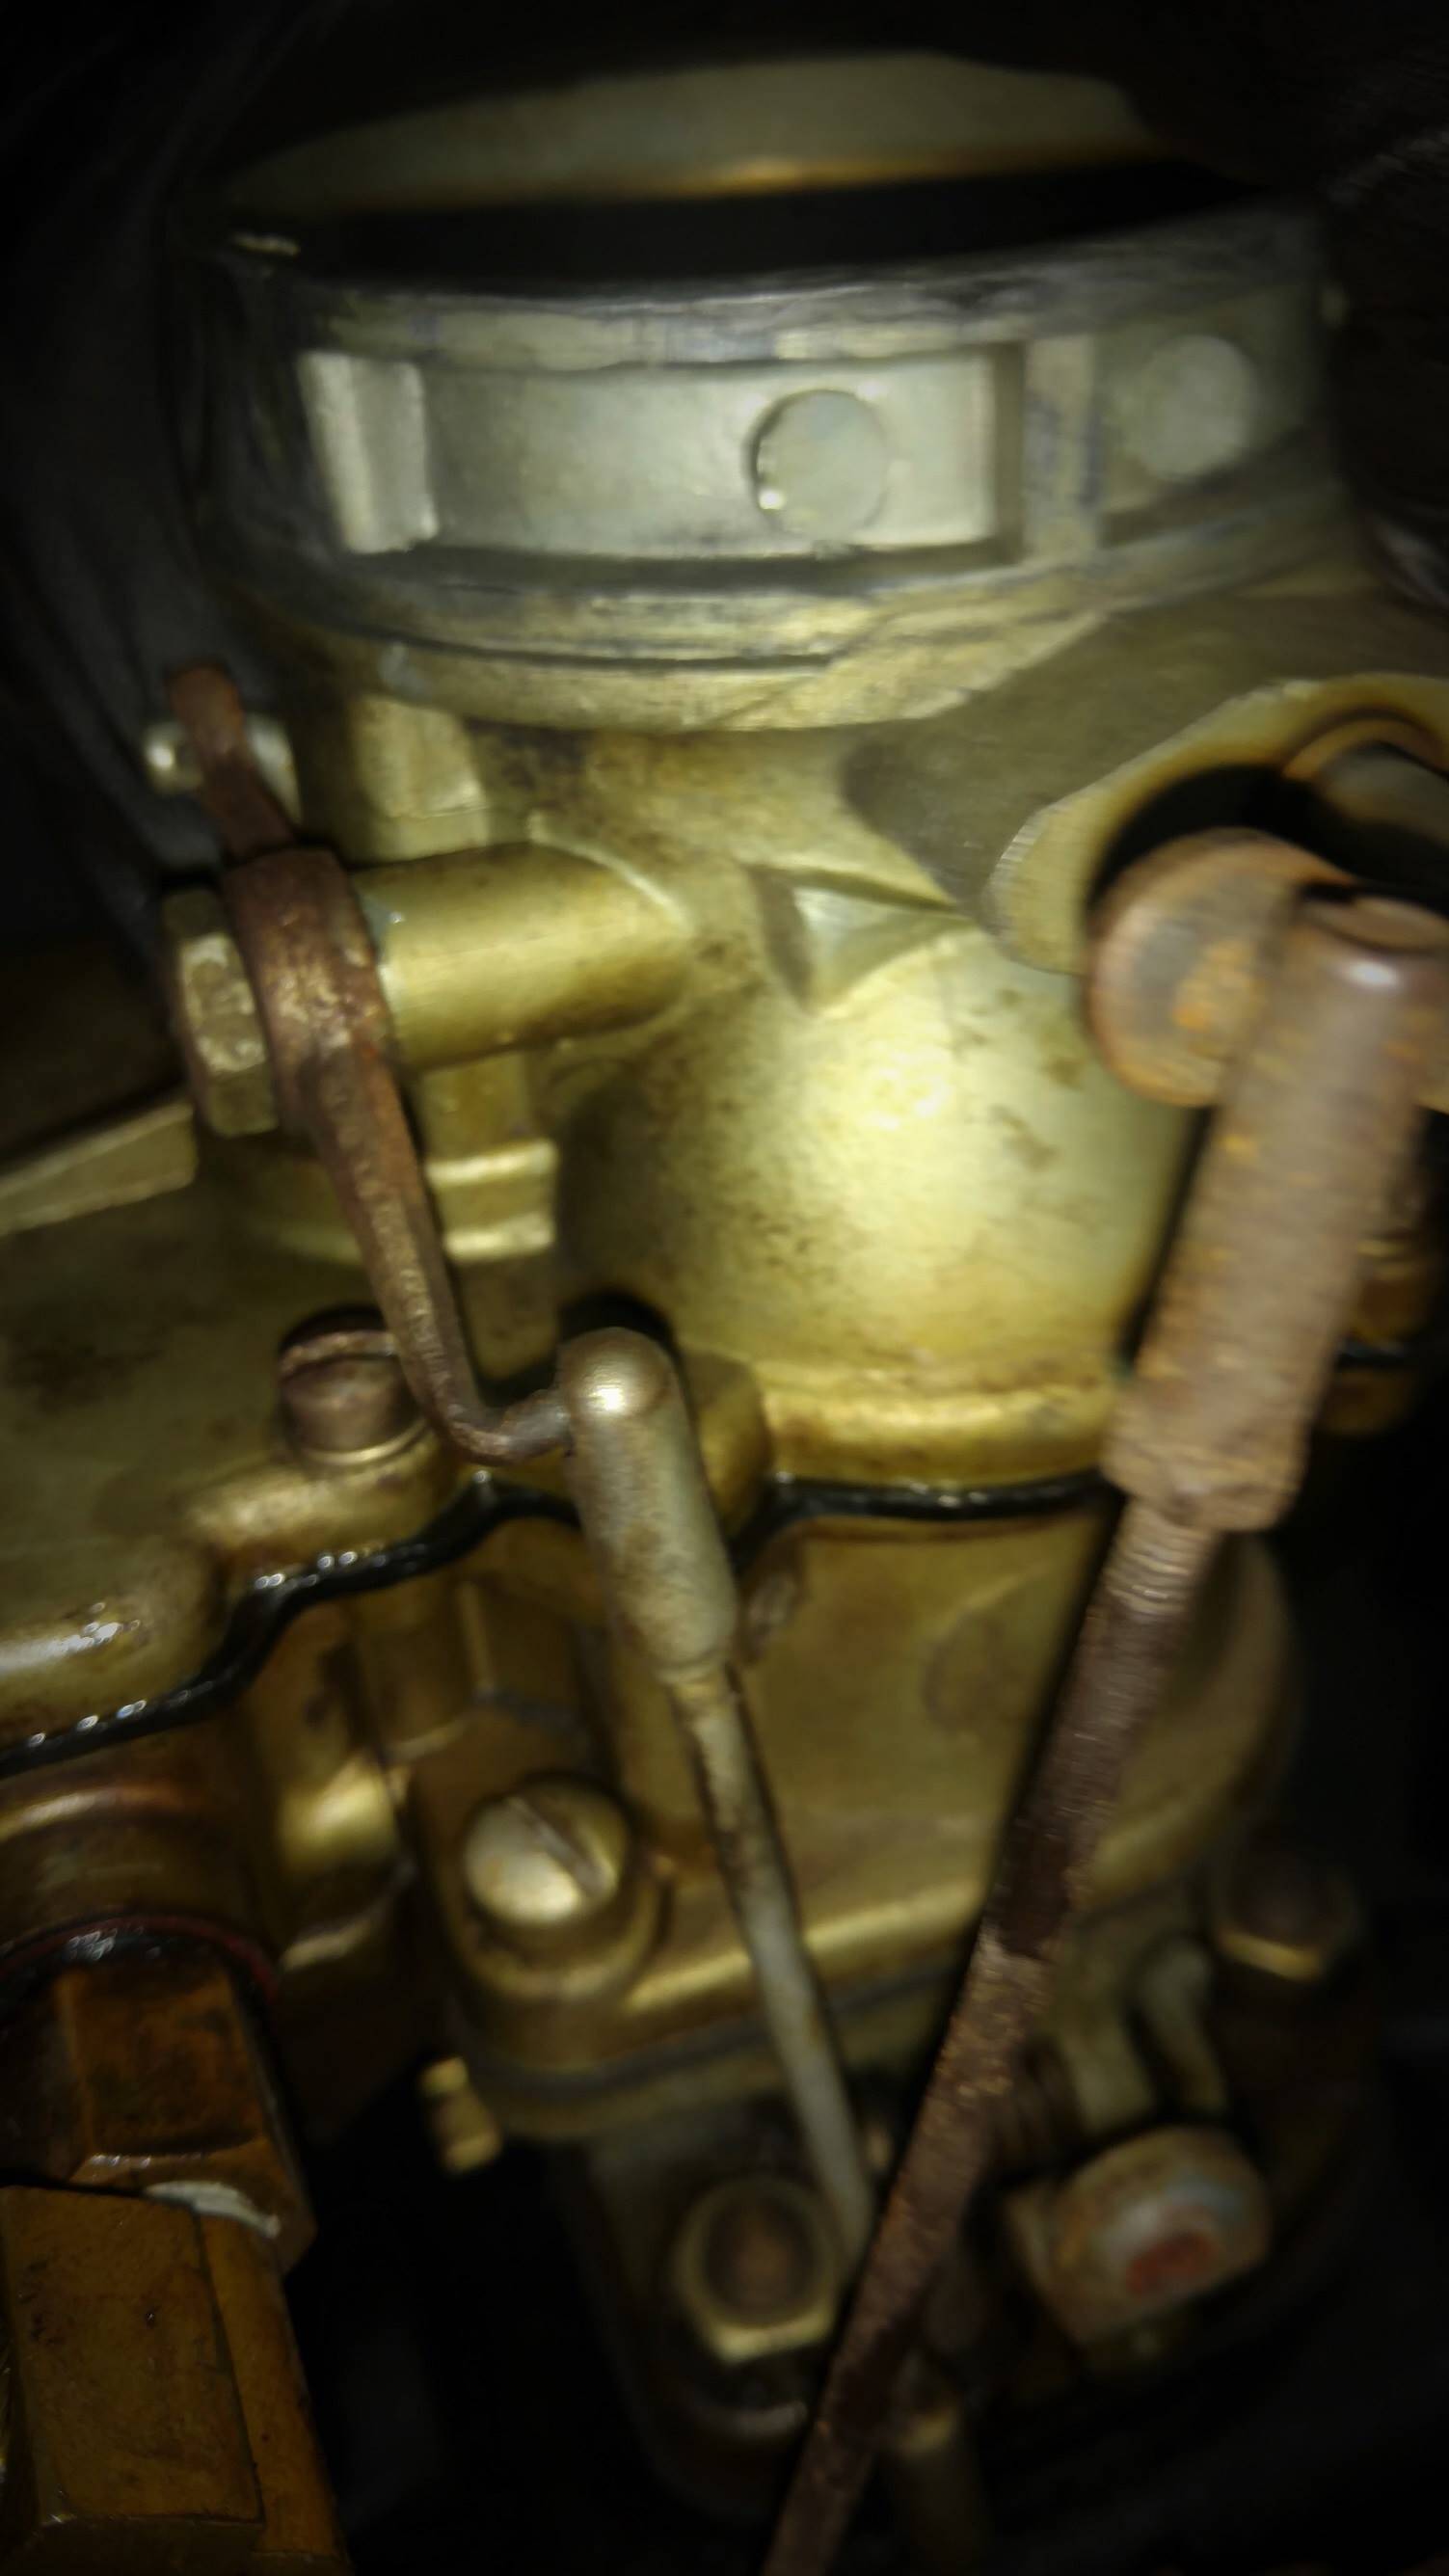 (220.51 KB) (220.51 KB) (151.91 KB) (151.91 KB) (126.50 KB) (126.50 KB)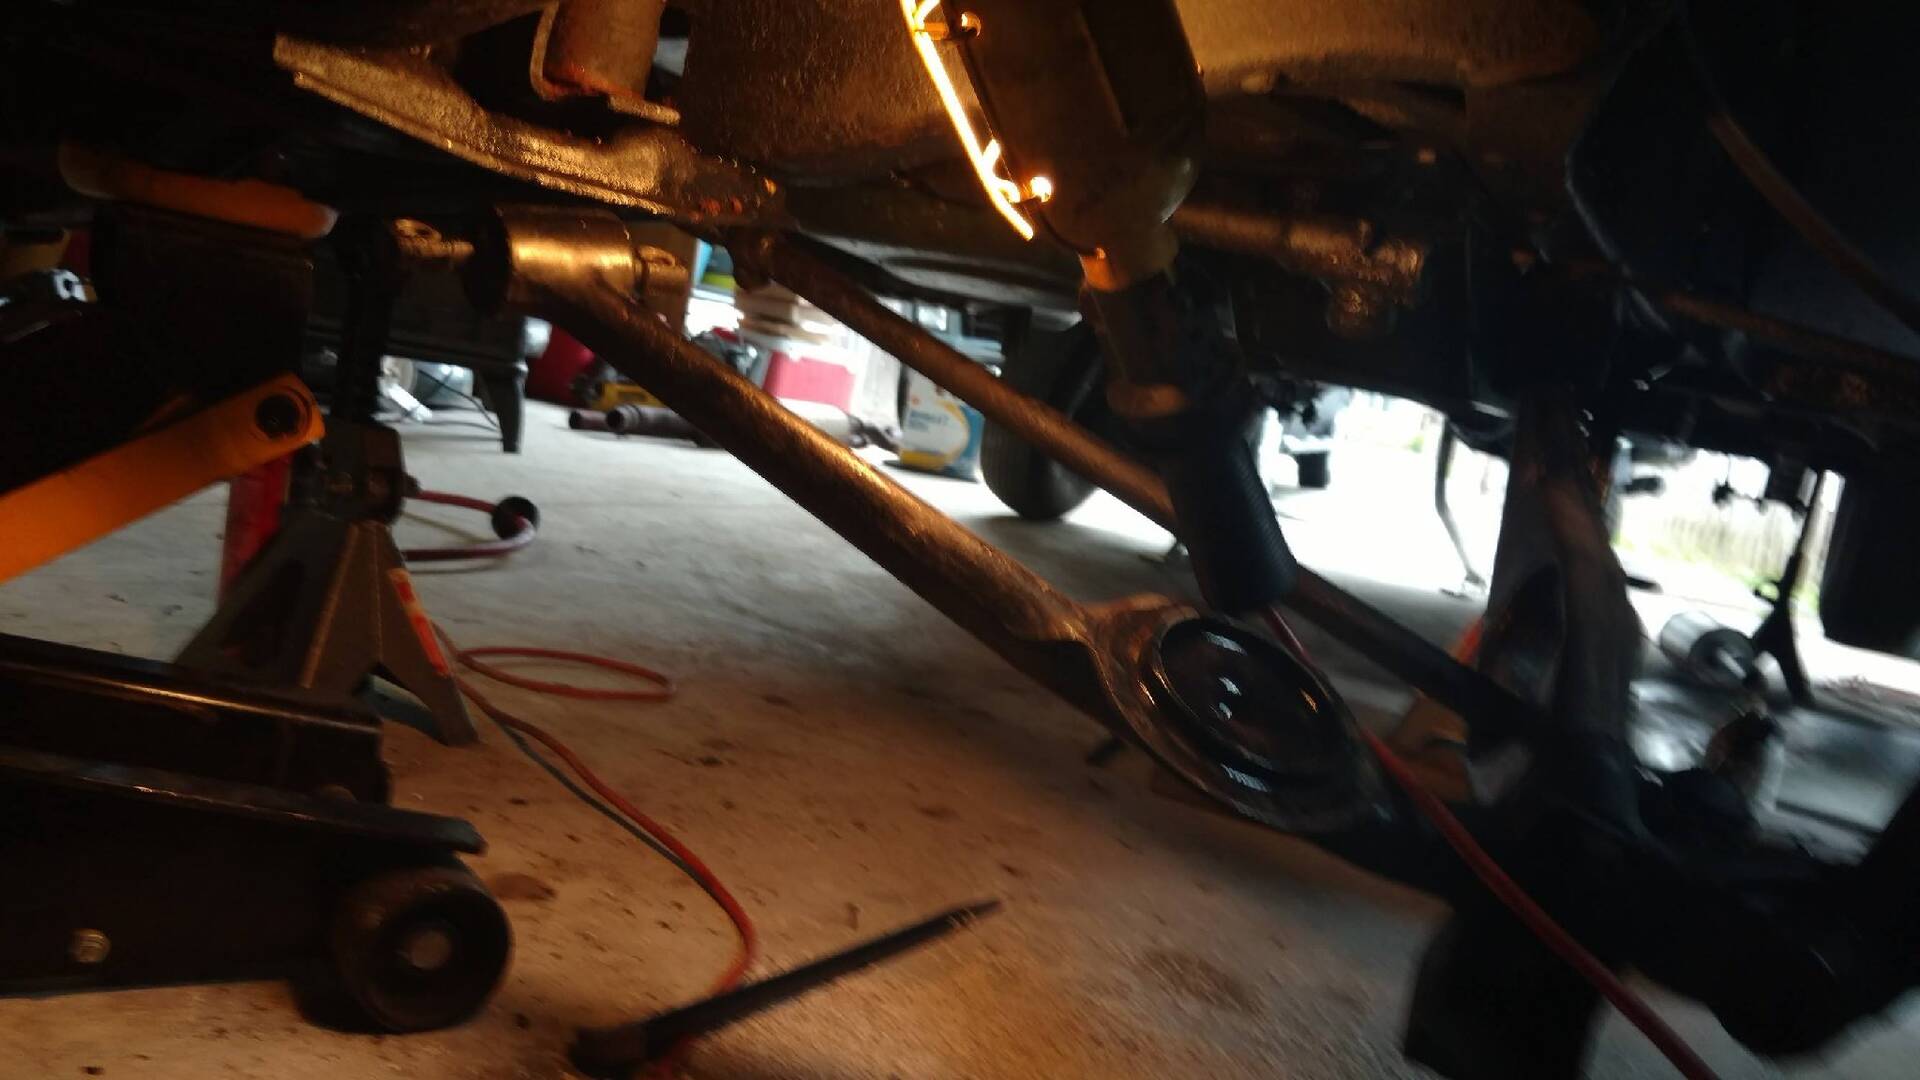 (210.58 KB) (210.58 KB)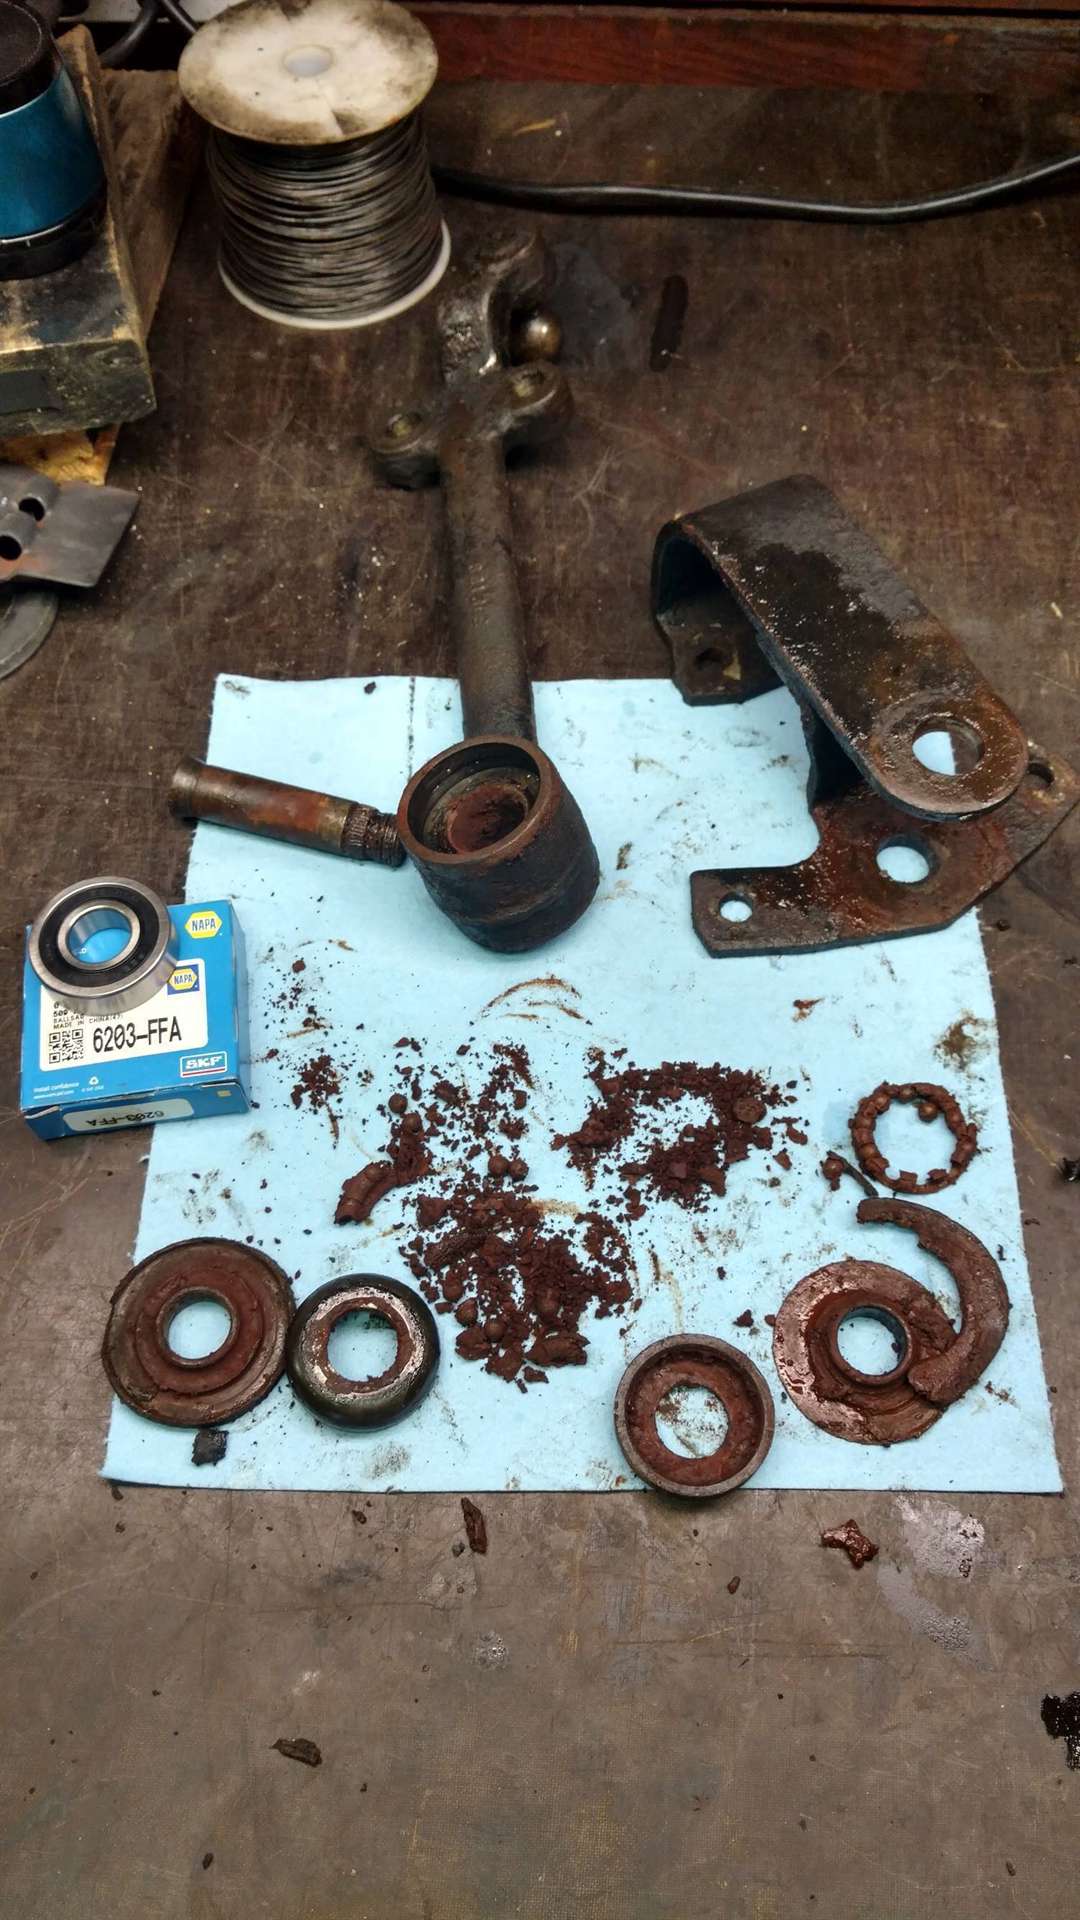 (201.16 KB) (201.16 KB)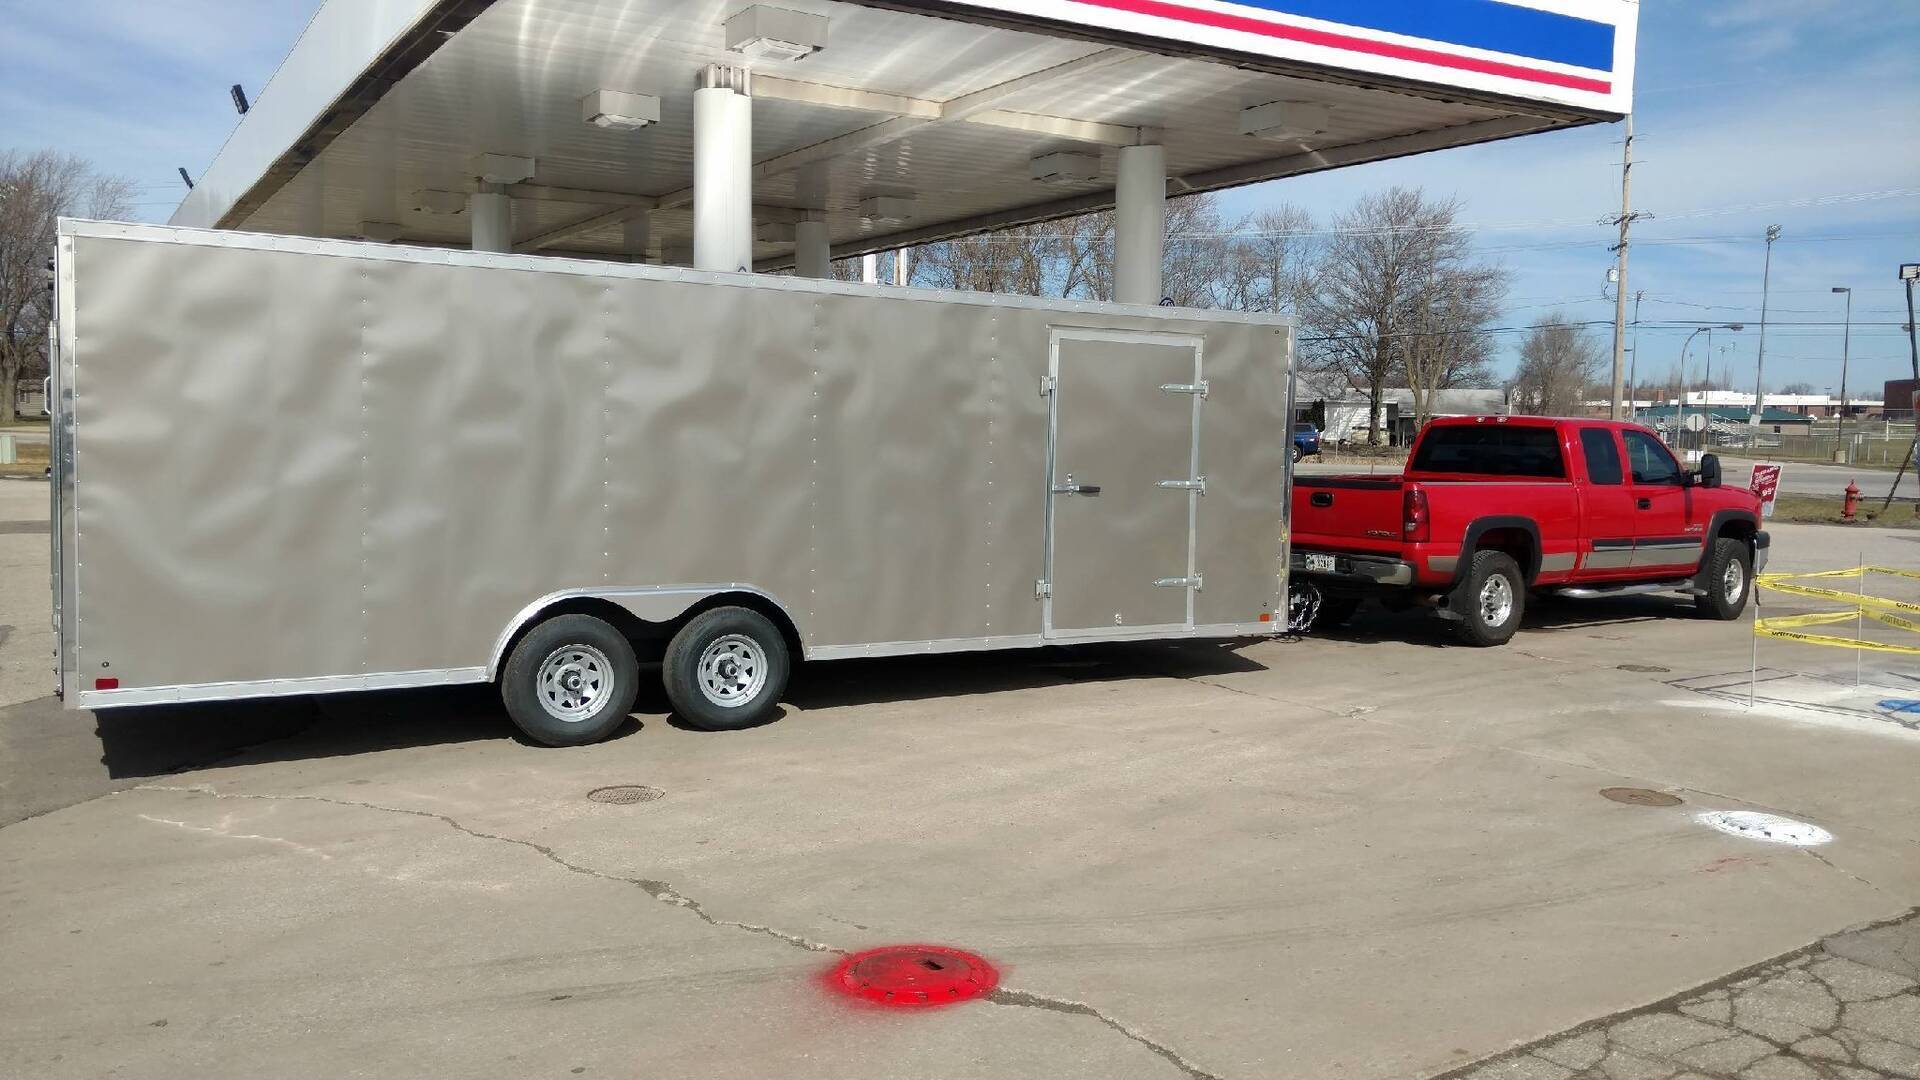
Posted on: 2016/5/1 18:08
|
|||
|
1937 120 1092 - Original survivor for driving and continued preservation.
https://packardinfo.com/xoops/html/modules/newbb/viewtopic.php?topic_id=16514&forum=10 1937 115 1082 - Total basket case, partial restoration, sold Hershey 2015 https://packardinfo.com/xoops/html/modules/newbb/viewtopic.php?start=0&topic_id=6550&order=ASC&status=&mode=0 |
||||
|
||||
|
Re: Ken's 1937 120 Touring Sedan
|
||||
|---|---|---|---|---|
|
Home away from home
|
A little bit more success tonight. I have the center steering link all painted, but I didn't measure bearings before I started. I have about 0.200 clearance between the link and the housing. I will source some thick washers tomorrow to take up the gap. I could probably just pull the bearings out a little bit since there is no axial load on the pin, but I would rather have everything seated and snug. If I had a lathe, I would make a bushing to go over the pin in between the two bearings, but I don't, so I won't!
I also got the exhaust mocked up; just waiting final install of the exhaust manifold to tighten everything down. Not sure whether it is experience or parts, but the the fit of the Waldrons kit on this car is greatly superior to the Kepich kit I put on my 115. Not much clearance though! There is about 3/4" between the muffler and the forward and latter X on the frame. Surprised the stock sized muffler is so long, but I guess that is how you make them quiet. Tomorrow after all of the paint dries should see manifold reassembly.
Posted on: 2016/5/3 23:00
|
|||
|
1937 120 1092 - Original survivor for driving and continued preservation.
https://packardinfo.com/xoops/html/modules/newbb/viewtopic.php?topic_id=16514&forum=10 1937 115 1082 - Total basket case, partial restoration, sold Hershey 2015 https://packardinfo.com/xoops/html/modules/newbb/viewtopic.php?start=0&topic_id=6550&order=ASC&status=&mode=0 |
||||
|
||||
|
Re: Ken's 1937 120 Touring Sedan
|
||||
|---|---|---|---|---|
|
Home away from home
|
It has been a while since my last update, but I've gotten a lot done. I found that installing one washer underneath the lower bearing on the center steering link was sufficient to preclude any vertical motion. I re-installed the center steering link and suspension this weekend. I'm sure those with more experience than me know how to do this already, but it took me a while and a few curse words to figure it out, so I'm posting in case any one else needs the help!
1. Re-install your freshly rebuilt center steering link assembly. This mostly involves holding your mouth right and finagling it through. 2. Install the bolts for the inboard side of the passenger lower control arm. I got them snug but not tight at this point. I also had a jack under the passenger radius arm to unload the spring pressure while I installed the center steering link. 3. Ensure your steering knuckle is attached to the shock or the frame such that it will allow maximum droop without pulling on the brake hose. Again, the manual says to remove the brake hose or backing plate, but I found that wasn't required, and I didn't stretch the brake hose at any point. I just used mechanic's wire to attach the knuckle to the shock with a lot of slack. 4. Ensure the frame is high enough that you can get maximum droop of the drivers side suspension linkage. Install the coil spring. I found that I had to install the upper end of the spring, and then work the lower end from outboard to inboard. 5. [This is the step that caused me some head scratching until I figured it out] It seemed intuitive to me that next step after installing the spring would be to get the lower control arm positioned near where it goes. This is NOT correct, and is impossible to do with the spring installed. With the inboard end of the lower control arm below the frame crossmember that it bolts above, place a jack under the pad where the radius arm meets the control arm. Raise the jack, compressing the spring, until you can re-install the bolt holding the upper end of the steering knuckle to the shock. 6. Continue raising the jack until the lower control arm is, or nearly is, touching the bottom of the frame at the inboard end. Now, and I was skeptical here, take a pry bar and pry the inboard end of the lower control arm out, moving the kingpin out laterally, until the control arm slides up and into position above the frame cross member. This was not intuitive to me, and I have a healthy respect for coil springs, so it was a little uncomfortable to me, but the very deep upper coil bucket holds everything safely in place. 7. Install all the bolts, and break out a cold one! Again I'm sure that is intuitive to those with more Packard experience. That was this weekend; over the last few evenings I installed the manifolds, carb, and tightened the exhaust. I did rebuild the heat riser. Pictured is the old (curved) and NOS (flat) manifold heat riser plate. Interesting how much the old one bent over time. The car used to start pretty hard cold. Tonight I primed the fuel by cranking for about 5 seconds twice with the key off, and then turned the key on and pushed the starter button - it caught IMMEDIATELY! Best the car has ever started. Bear in mind it has been off since January. I do have a full tank of ethanol free fuel, so the gas is fine. Amazing how much better it works with a fresh carb and the choke working. There isn't coolant in the car right now, so I only let it run for a few seconds, but it was long enough the see the choke start to open. Tomorrow and Friday will see side trim going on, finishing up a few loose ends, and detailing, since I am showing it locally on Saturday. Planning on seeing a few Packard friends at the show as well. Attach file: (148.51 KB)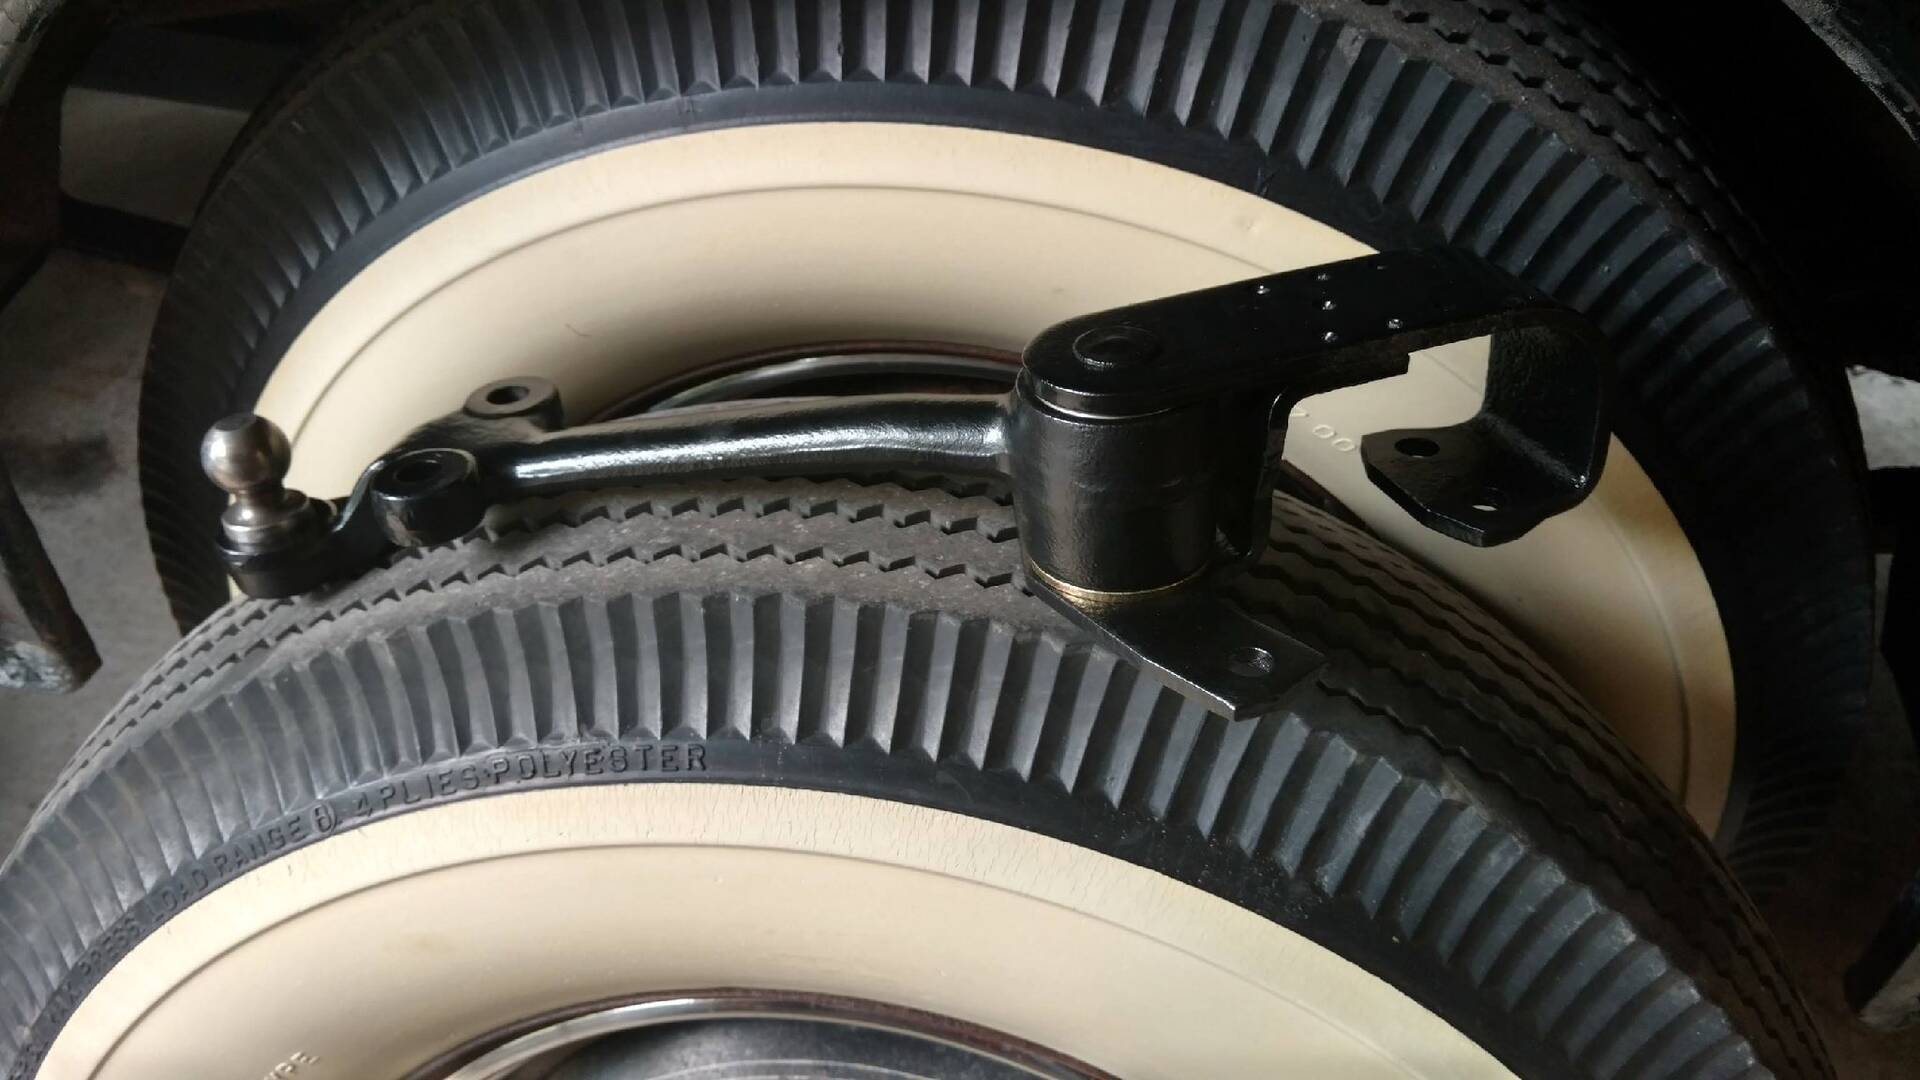 (158.48 KB) (158.48 KB)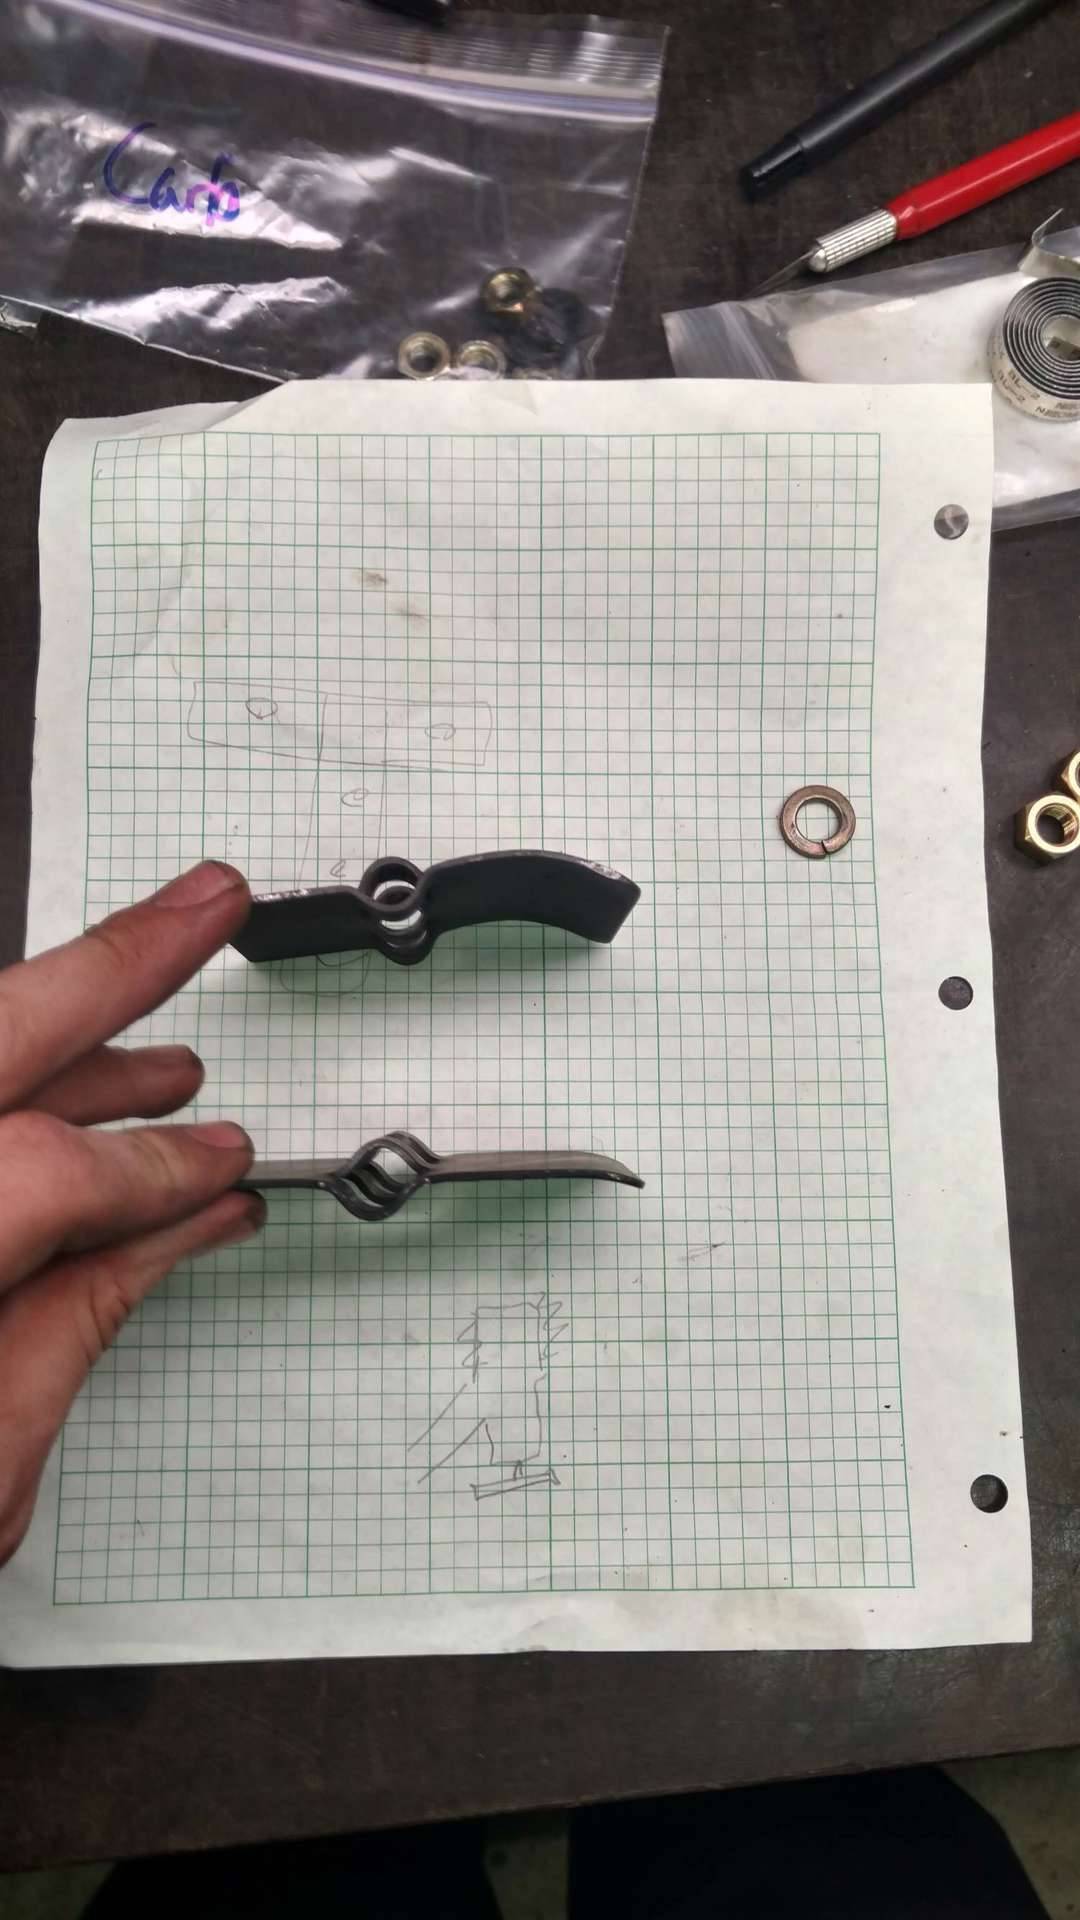 (259.92 KB) (259.92 KB) (204.41 KB) (204.41 KB)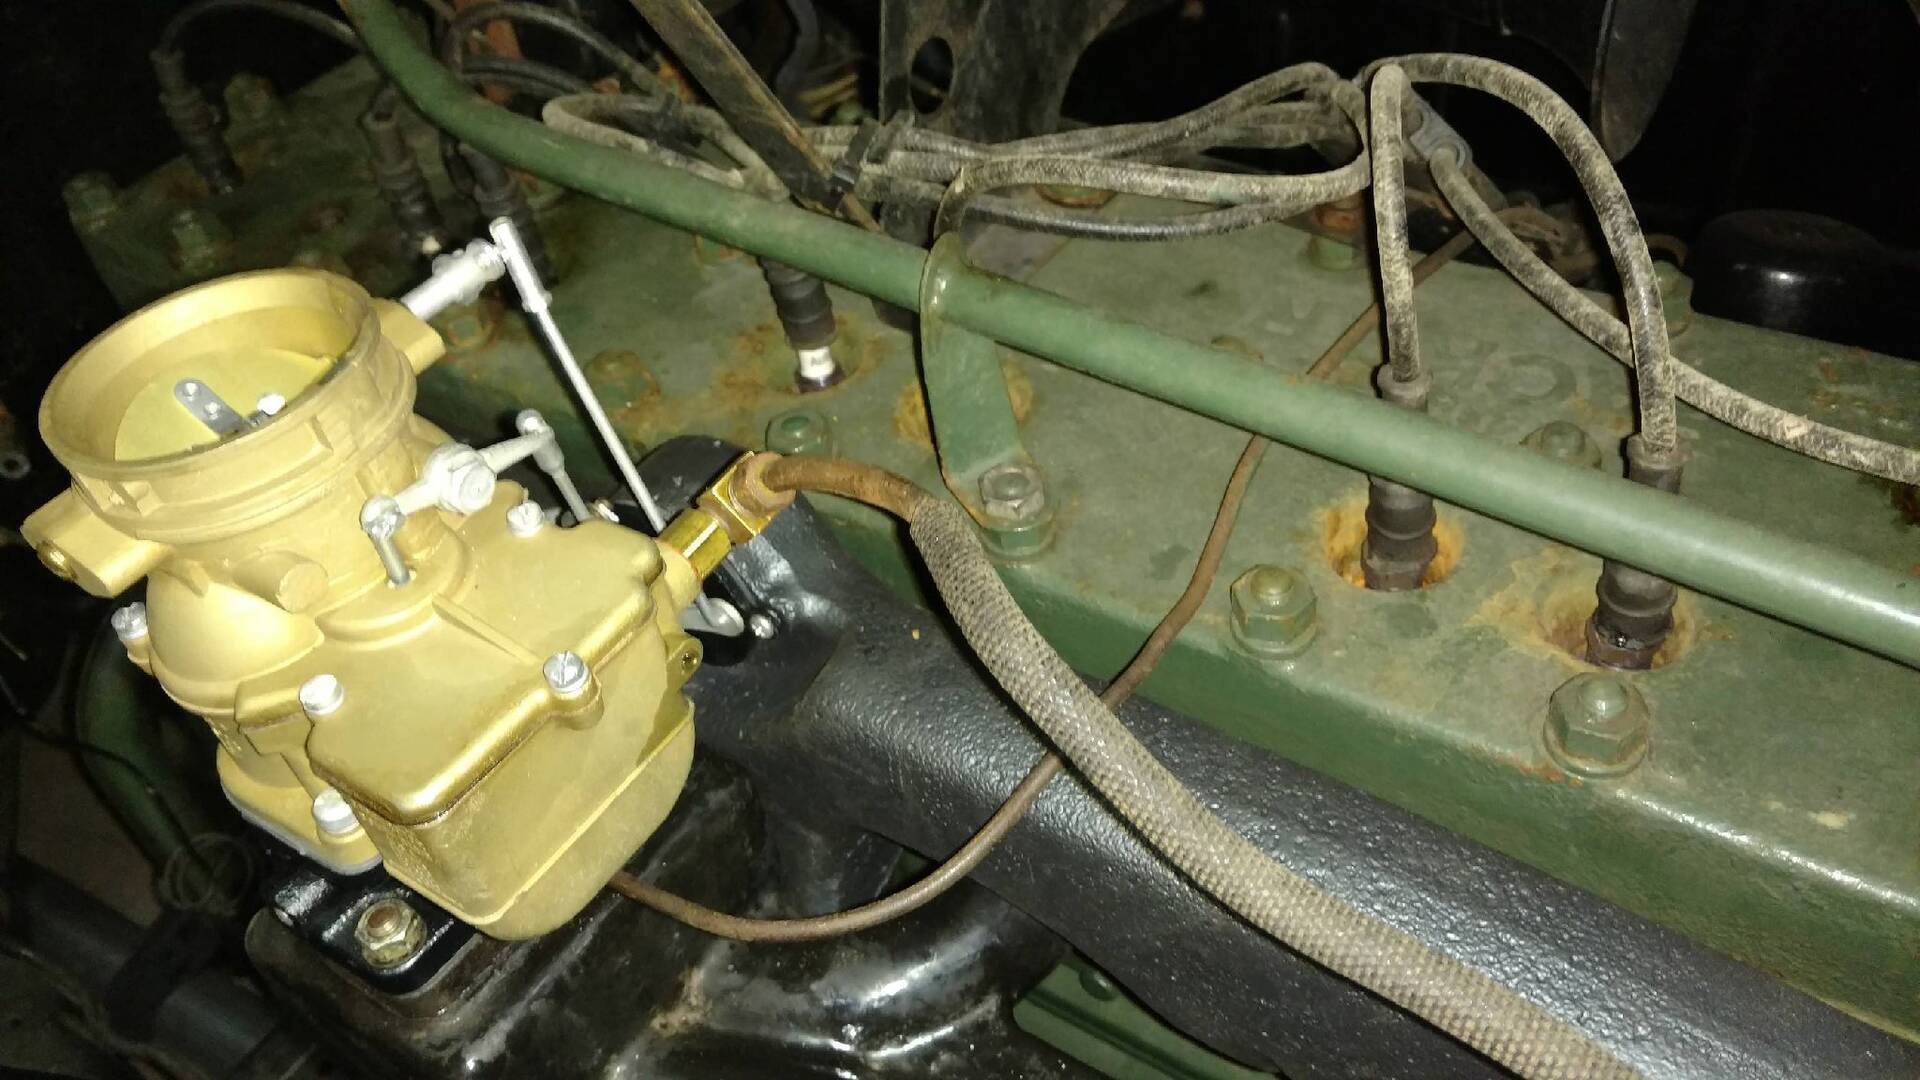
Posted on: 2016/5/11 23:04
|
|||
|
1937 120 1092 - Original survivor for driving and continued preservation.
https://packardinfo.com/xoops/html/modules/newbb/viewtopic.php?topic_id=16514&forum=10 1937 115 1082 - Total basket case, partial restoration, sold Hershey 2015 https://packardinfo.com/xoops/html/modules/newbb/viewtopic.php?start=0&topic_id=6550&order=ASC&status=&mode=0 |
||||
|
||||
|
Re: Ken's 1937 120 Touring Sedan
|
||||
|---|---|---|---|---|
|
Home away from home
|
Well, it was a lot of late evenings, but I made it to the car show. It was a lot of fun, but not too much pre-war stuff. I did talk to a nice guy with a 1936 Pierce-Arrow convertible sedan with a divider window - beautiful, massive car. There was also a Lincoln Zephyr with a V12 parked next to me. The owner also has an all original 1941 Packard 120 that I saw last fall. Nice guy. I forgot to take any pictures, so none to post.
The car drove well, but it needs to be tuned up; that will be my next project. I do have a few questions about tuning the carb. The idle speed is too fast, and I adjusted the screw all the way down. I haven't done any other tuning - is it possible that the mixture is too rich? How do I set the mixture screws? Is it similar to other carbs where you turn them in until the engine stumbles, and then back out a 1/4 turn? I will also re-verify no vacuum leaks and ensure the choke is opening fully. Plan is to do the tune up and an oil change this week or weekend so that we can take a few drives before I have to pack it up for the summer. We're getting ready to move again, and I am actually going to be away from home for a few months, so the old girl won't get too much attention.
Posted on: 2016/5/15 12:02
|
|||
|
1937 120 1092 - Original survivor for driving and continued preservation.
https://packardinfo.com/xoops/html/modules/newbb/viewtopic.php?topic_id=16514&forum=10 1937 115 1082 - Total basket case, partial restoration, sold Hershey 2015 https://packardinfo.com/xoops/html/modules/newbb/viewtopic.php?start=0&topic_id=6550&order=ASC&status=&mode=0 |
||||
|
||||
|
Re: Ken's 1937 120 Touring Sedan
|
||||
|---|---|---|---|---|
|
Home away from home

|
Ken, idle adjustment pretty much as you describe. Two things to coordinate: the idle speed and the idle mixture. After engine is warmed up and choke is fully released, get idle speed down to spec or as close as you can get (probably 450-500 rpm). Then adjust mixture turning in one of the jets until engine slows or starts to stumble then turn out 1/2 turn. Repeat on the other mixture jet. Adjust idle speed if necessary. Go back and forth between two idle mixture jets until best idle is achieved. Using a vacuum gauge is the best way to assure you have the best idle speed and mixture. Reading should be between 18 and 20 and steady. All of this with correct distributor points and ignition timing adjustments. Idle adjustment is the final step in a tune-up. These engines when running right are very smooth and quiet, so much that a coin can be balanced on the cylinder head. Hope this helps.
(o{}o)
Posted on: 2016/5/15 15:34
|
|||
|
We move toward
And make happen What occupies our mind... (W. Scherer) |
||||
|
||||
|
Re: Ken's 1937 120 Touring Sedan
|
||||
|---|---|---|---|---|
|
Forum Ambassador

|
Ken, if at all possible set your idle mixture with the aid of a vacuum gauge reading intake manifold vacuum. You don't simply want the highest vacuum, you want the highest vacuum consistent with the leanest mixture. In practice this means running the idle screw in (leaning the mixture) until those cylinders begin to stumble and then richening it while watching the gauge. As soon as the vacuum ceases to rise, you at the optimum. Then of course do the other venturi, and back to the first for a final check. Avoid the human nature tendency after you've achieved max vacuum to "give it a little extra".
And just as JW says, do this after you've set the idle speed to a comfortable idle. And you may well end up readjusting the idle speed after you've adjusted the idle mixture.
Posted on: 2016/5/15 16:00
|
|||
|
||||


.jpg")


