|
Re: 55 400 lower windshield trim
|
||||
|---|---|---|---|---|
|
Home away from home

|
Been dealing with a similar issue with the top outside trim on the back window on my '55. The windshields on these cars all just seem needlessly finicky and difficult. For my back top outside trim, the service manual recommends putting it on before the window goes in. But then you can't really get the window in... at least using the original stiffer rubber.
Are you using original/NOS rubber or new rubber?
Posted on: 2022/1/15 16:52
|
|||
|
'55 400. Needs aesthetic parts put back on, and electrical system sorted.
'55 Clipper Deluxe. Engine is stuck-ish. |
||||
|
||||
|
Re: 55 400 lower windshield trim
|
||||
|---|---|---|---|---|
|
Forum Ambassador

|
If you are using new Steele weatherstrip that may be part of the issue because IMO, it is a softer rubber than the original and does not hold the moulding very well.
If an early car you might also check that the bulletin having the dealership add some lower retainers was done and that the retainers are in position and tight to prevent the glass from sagging and rolling the weatherstrip outward.https://packardinfo.com/xoops/html/downloads/STB/55T-10.pdf Note that in this first bulletin they suggested 5 locations but a subsequent bulletin said they changed weatherstrip to a harder rubber and only used two.https://packardinfo.com/xoops/html/downloads/STB/55T-34.pdf If you only have 2 I would go ahead and install the others.
Posted on: 2022/1/15 17:32
|
|||
|
Howard
|
||||
|
||||
|
Re: 55 400 lower windshield trim
|
||||
|---|---|---|---|---|
|
Home away from home

|
Using Steele rubber. also had fits with installation of rear window trim, especially where the side trim mates with the lower section
Happy
Posted on: 2022/1/16 12:08
|
|||
|
||||
|
Re: 55 400 lower windshield trim
|
||||
|---|---|---|---|---|
|
Home away from home
|
Car has two cut down clips in addition to the center clip. The ones shown at the 10-inch location appear to be similar to the ones used for the rear window. I will see about putting these one sometime next week. Will post results.
Happy
Posted on: 2022/1/16 12:18
|
|||
|
||||
|
Re: 55 400 lower windshield trim
|
||||
|---|---|---|---|---|
|
Quite a regular

|
Also having a difficulty with Steele rubber weather strip on the front windshield on my '56. Have a bulge on the lower driver's side curve that does not seat. Have picture.
Attach file:  Packard weather strip bulge.jpg (99.80 KB) Packard weather strip bulge.jpg (99.80 KB)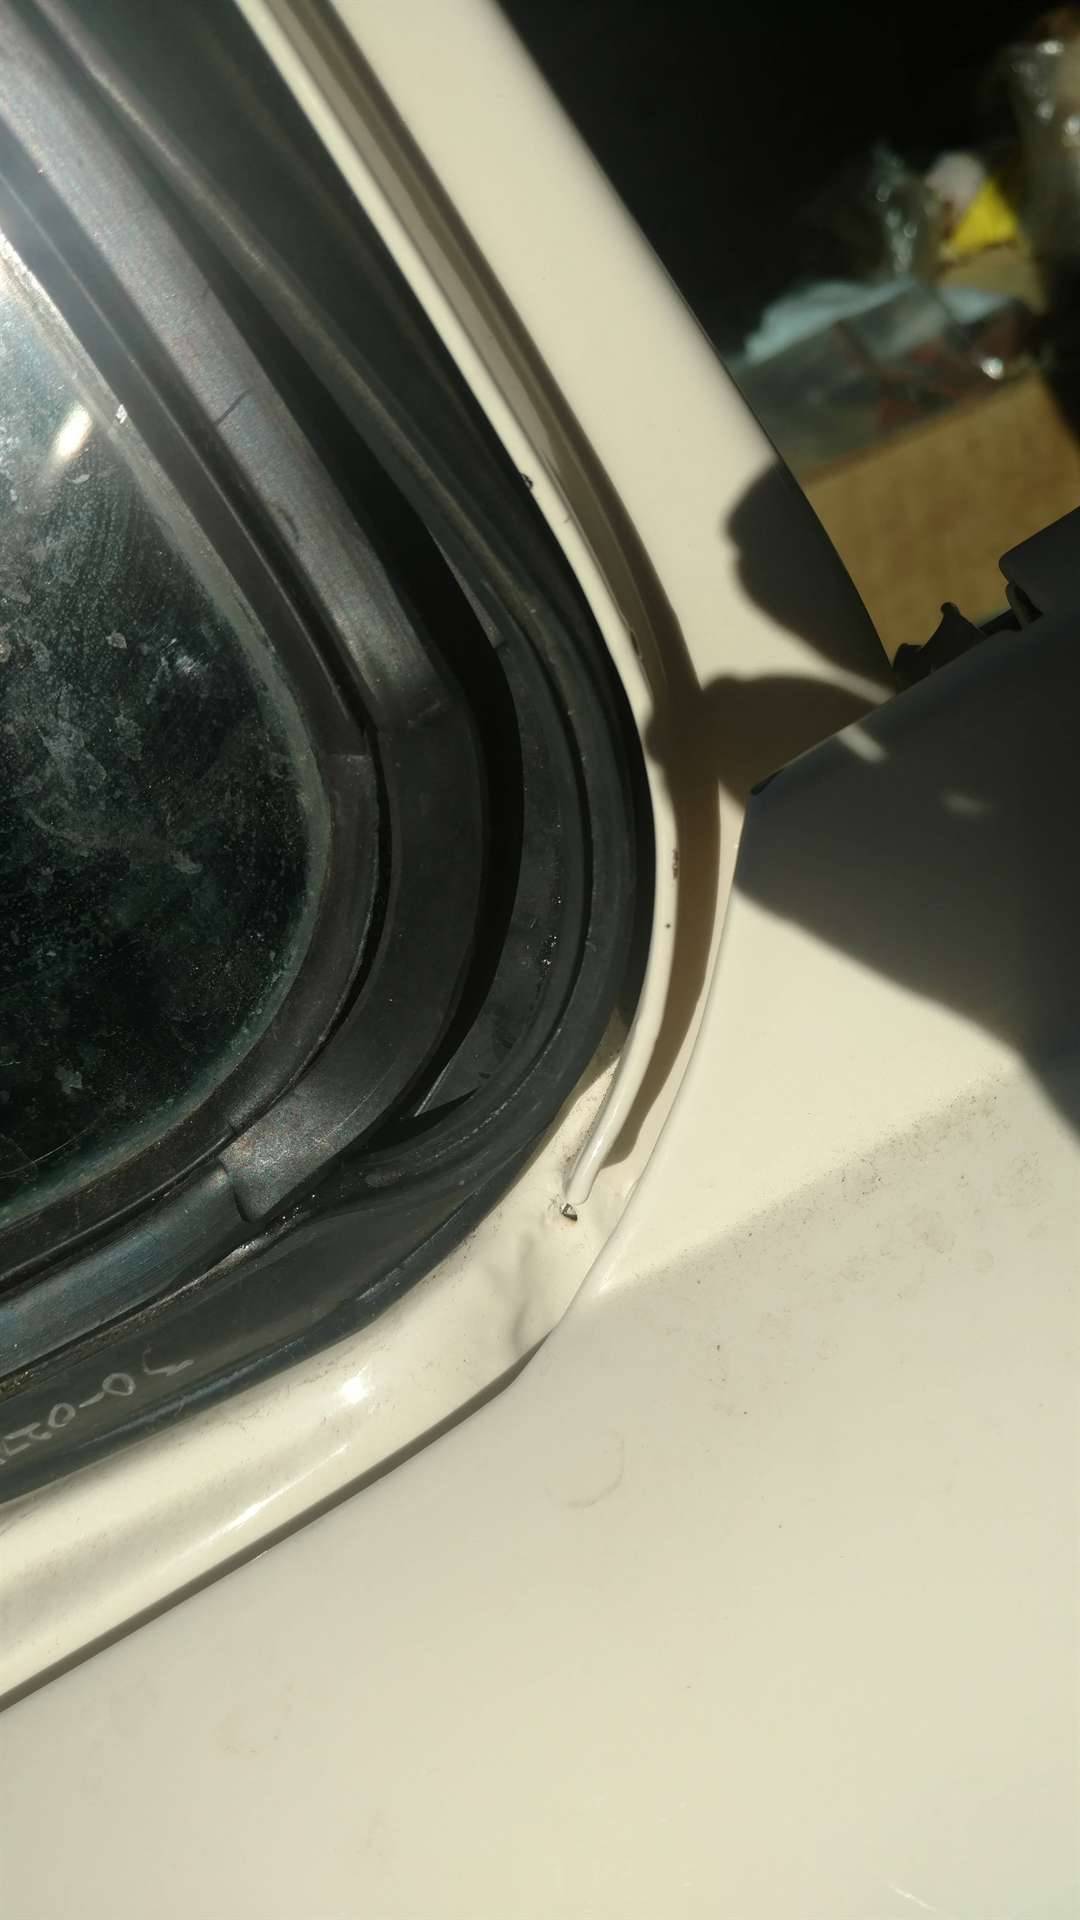 Packard weather strip bulge.jpg (99.80 KB) Packard weather strip bulge.jpg (99.80 KB)
Posted on: 2022/1/25 20:51
|
|||
|
||||
|
Re: 55 400 lower windshield trim
|
||||
|---|---|---|---|---|
|
Home away from home
|
Hi as was suggested i did fabricate two more clips and did install them It did help to close up the slot but did little to hold the trim in place. It seems that the bottom trim will not conform to the shape of the windshield and tends to spring away.The original factory rubber seal was strong enough so it was not a problem but that's not all. While working on installing the drivers side trim i looked over at my 56 factory installed windshield rubber seal and saw a major difference. The factory seal measures nearly one half inch, while the Steele is about one quarter of in inch, providing a tighter radius for the curved portion.
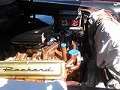
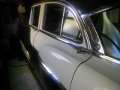
I seem to recall a previous post where a similar problem where gasket sealer was used to hold the trim in place That's what I did. If I am able to load the as a reply there should be three attachment. Attach file: P1010028_1.jpg (60.63 KB)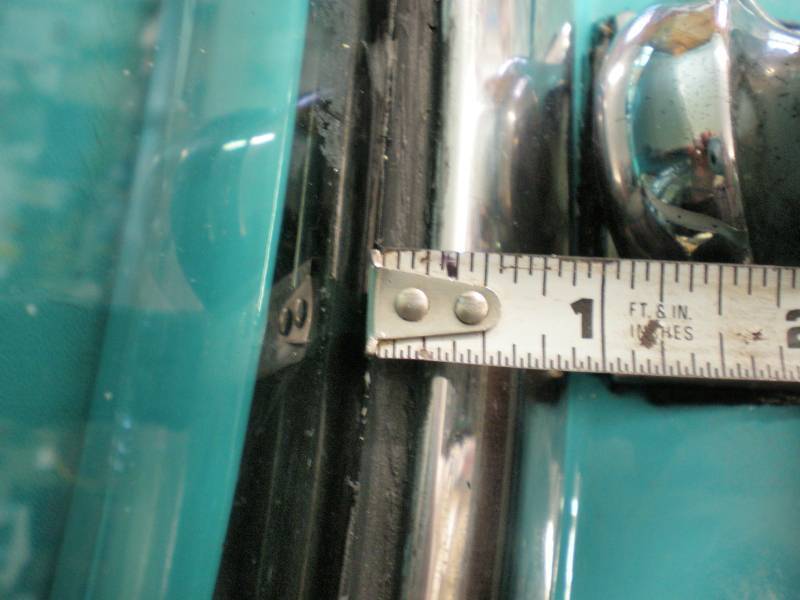 P1010026_1.jpg (73.79 KB) P1010026_1.jpg (73.79 KB)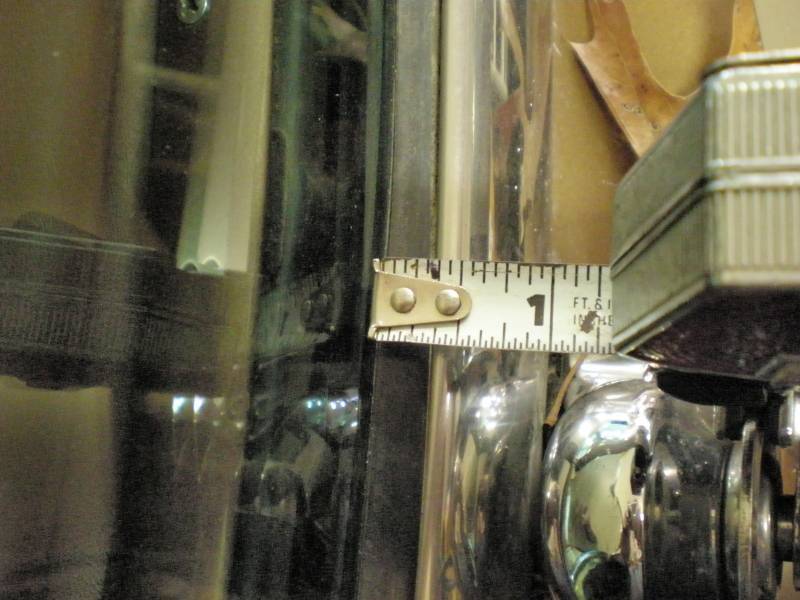 P1010025_2.jpg (73.27 KB) P1010025_2.jpg (73.27 KB)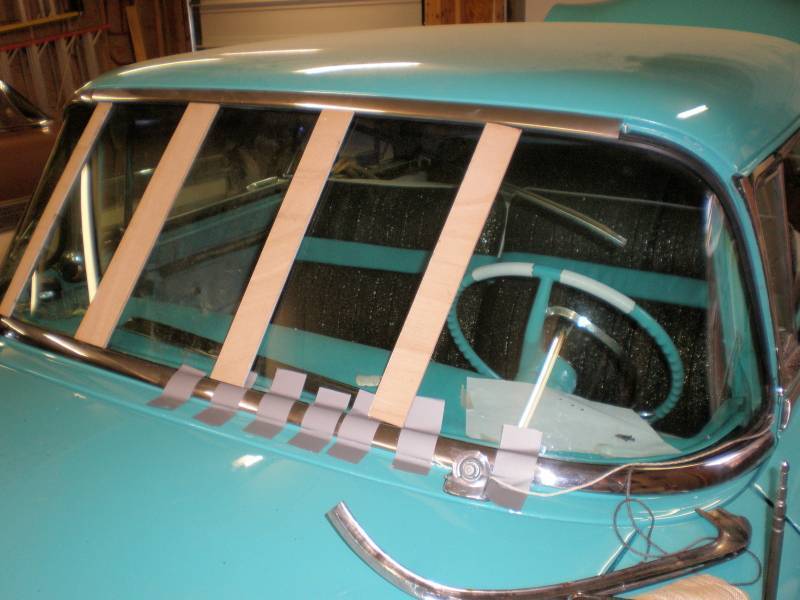
Posted on: 2022/1/27 22:30
|
|||
|
||||
|
Re: 55 400 lower windshield trim
|
||||
|---|---|---|---|---|
|
Home away from home
|
Yeah.
Pete has that problem with his 56 Caribbean. We haven't tackled it yet. Can you post pictures where the Bolts go. Top and bottom. Thanks...
Posted on: 2022/1/28 1:35
|
|||
|
Riki
|
||||
|
||||
|
Re: 55 400 lower windshield trim
|
||||
|---|---|---|---|---|
|
Home away from home
|
This seems to be a recurring topic. I will post what worked for us again as it has seen years since last time. Our windshield though installed with new gasket with the trim in the trunk and was sagging and was way low in the opening. I realize the clips in the bulletin attempt to pull the lower portion of the glass in but this was not all that was needed. Rubber “blocks” were cut as spacers to rest in the weather strip channel from 1/4 inch thick rubber sheet so they were 1/4x1/4x an inch and a half and were used to raise the glass in the opening. All this was done with the glass installed! With suction cups and hand pressure slowly easing the glass up until a spacer could be inserted here and there in several places along the bottom edge. This then made the whole glass fit the opening better and it seemed to sit rearward more on the bottom edge. Then viola- the curves and contours of the mouldings esp in the lower corners fit better and were able to be inserted in the rubber slot in the weatherstrip. If you have a gap between the stainless trim and the roof this would indicate that the glass is very low and your last pic would seem to show yours is by the amount of pinchweld visible above the weatherstrip rubber along the roof line. The trim was “roped in” with fine gauge electric insulated wire and was still a bear but was doable. The process took WEEKS to accomplish. I hope your adhesive does not create a mess in the summer sun. This is just what worked here. May not be everyone’s problem. Good luck.
Posted on: 2022/1/28 14:44
|
|||
|
||||


.jpg")


