|
Re: 51Packard's....51 Packard
|
||||
|---|---|---|---|---|
|
Forum Ambassador

|
You mentioned hearing something drop when you removed the body so it is possible you have the original style bands with the struts as a separate loose piece rather than the later version where they are pinned on & can't fall. The use of the strut holding tool PU-308 when replacing the valve body as mentioned in the manual is very advantageous.
If the trans is out you can work carefully with things upside down without them but if trans still in car, you can make a serviceable substitute by getting pieces of flat stiff steel or aluminum about 1/16 thick, an inch or so wide and 6" or so long -- enough to reach the levers & struts from the side of the case. They are simply a couple of pieces of flat metal with a hole in one end which uses a bolt threaded into one of the oil pan holes to keep levers and struts in place until the valve body is positioned and can hold them properly. After that is positioned and screws started, the tools are then unscrewed and slid out and body tightened.
Posted on: 2010/8/18 22:09
|
|||
|
||||
|
Re: 51Packard's....51 Packard
|
||||
|---|---|---|---|---|
|
Forum Ambassador
|
There is a jamb nut only Packard calls it a locking nut. Here is the procedure from 55 manual. Identical to earlier years--just a better copy to read.
Attach file:  (8.30 KB) (8.30 KB)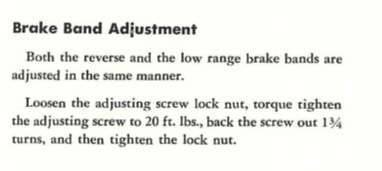
Posted on: 2010/8/18 22:33
|
|||
|
||||
|
Re: 51Packard's....51 Packard
|
||||
|---|---|---|---|---|
|
Home away from home

|
Thanks! I'm hoping to get some time to clean the valve body today. Maybe this weekend I can get it reinstalled and try doing some adjustments before firing it up.
Posted on: 2010/8/19 7:39
|
|||
|
[url=h
|
||||
|
||||
|
Re: 51Packard's....51 Packard
|
||||
|---|---|---|---|---|
|
Forum Ambassador

|
51packard -
You wrote: Quote: I was thinking the two round parts at the top were pumps because of the slotted looking fitting in them, but now I realize that they are not. You say there are no pistons in the valve body, but aren't those round things pistons? That is what the parts book called them and I assume they push the levers to lock the bands? Am I wrong? No, you are right that there are two pistons in the valve body of your transmission and that they are used to apply the low and reverse bands. Might be I was confused on this because my hands-on experience with Packard's automatic transmission has been limited to the Twin Ultramatic, and most of that with in-car service. Beginning with the Gear Start edition, in late 1954, those pistons were part of brake assemblies that were separate from the valve body castings. Looks like we both learned something, but my real point was emphasis on care and handling of the spool valves. Meanwhile, it sounds like you have been doing the required reading with the right material. Once you've become familiar with it all, go back and re-read the sections that apply specifically to service and overhaul of the trans in your 1951 (24th Series) car. Don't expect to retain it all, but don't be surprised, either, that all that reading helps you ask better-informed questions. That said, I can't say what might be the problem with your transmission. Others - like HH56 and, especially, Ross - have far more knowledge than I. Clearly, you're not in a position to do pressure tests in this case, but beyond checking adjustments, sometimes it takes disassembly (like an autopsy) to find what's wrong. As you disassemble the valve body, lay the parts out in order. Just be sure you do that work in a clean area and have a couple of towels laid out for the disassembly - one for dirty parts, the other for cleaned ones. As for solvents, commercial shops may have fancy cleaning equipment with dedicated solvents, but it really isn't necessary. In fact, the best rebuilder of late-model automatics that I know of gives everything a final rinse with his favorite brand of aerosol brake cleaner. You can also clean out the hydraulic passage with a Q-tip or pipe cleaner. At this point I don't think any luck is needed - just careful inspection and analysis. The real luck was not burning up anything trying to move the car, but the Ultramatic is better than what some people would have us believe. Keep posting your findings as you progress with your work, and someone here will likely be able your questions, in due time.
Posted on: 2010/8/19 9:36
|
|||
|
||||
|
Re: 51Packard's....51 Packard
|
||||
|---|---|---|---|---|
|
Home away from home
|
8-19-10
Today I disassembled and cleaned the valve body. Things went pretty smoothly. Some valves were hard to get out. According to the manual, the valves should slide out by their own weight. Some would not do this. I had to smack the valve body with my hand to get them out or gently nudge them with a small screwdriver. The body wasn't too dirty. There was definitely a coating of graphite like powder on most things. I also found two bolts that were not tight. That certainly would not help my situation. I did not see any damage to the parts, except both pistons show score lines (pic below). I do not know if this is a problem or not. The seals were pliable and actually looked great. The pistons were hard to pull out of the bores. Also, the low range piston with the fast acting piston sticking out was very difficult to get to move back in. I actually had to turn it over and put body weight on it to get it to move. After cleaning, I lubed it up with trans fluid and it moved more freely. As I assembled all of the pieces, I lubed them with trans fluid. Everything went in smoothly with no binding. One valve threw me for a loop because there was an end that came off and a small valve was inside. This shot out when I was cleaning it and I didn't know how it went back together. Took the same valve out of my spare valve body and, of course, it slipped out before I had a chance to examine it's placement! Thank God for the parts list! Took a peek in the trans pan and I did see 3-4 small pieces in there. Very tiny and only a couple. I know that more pieces didn't leave the pan when I drained it because the fluid all left through the cooler line! Hopefully that is a good sign that there is not internal damage. Lost light so I had to stop for the night. Still need to reassemble the upper and lower bodies onto each other. I hope this makes a difference in my transmission's performance! Below are some pics of the disassembly. I didn't have enough light to take pics of the parts cleaned. Attach file: (141.28 KB)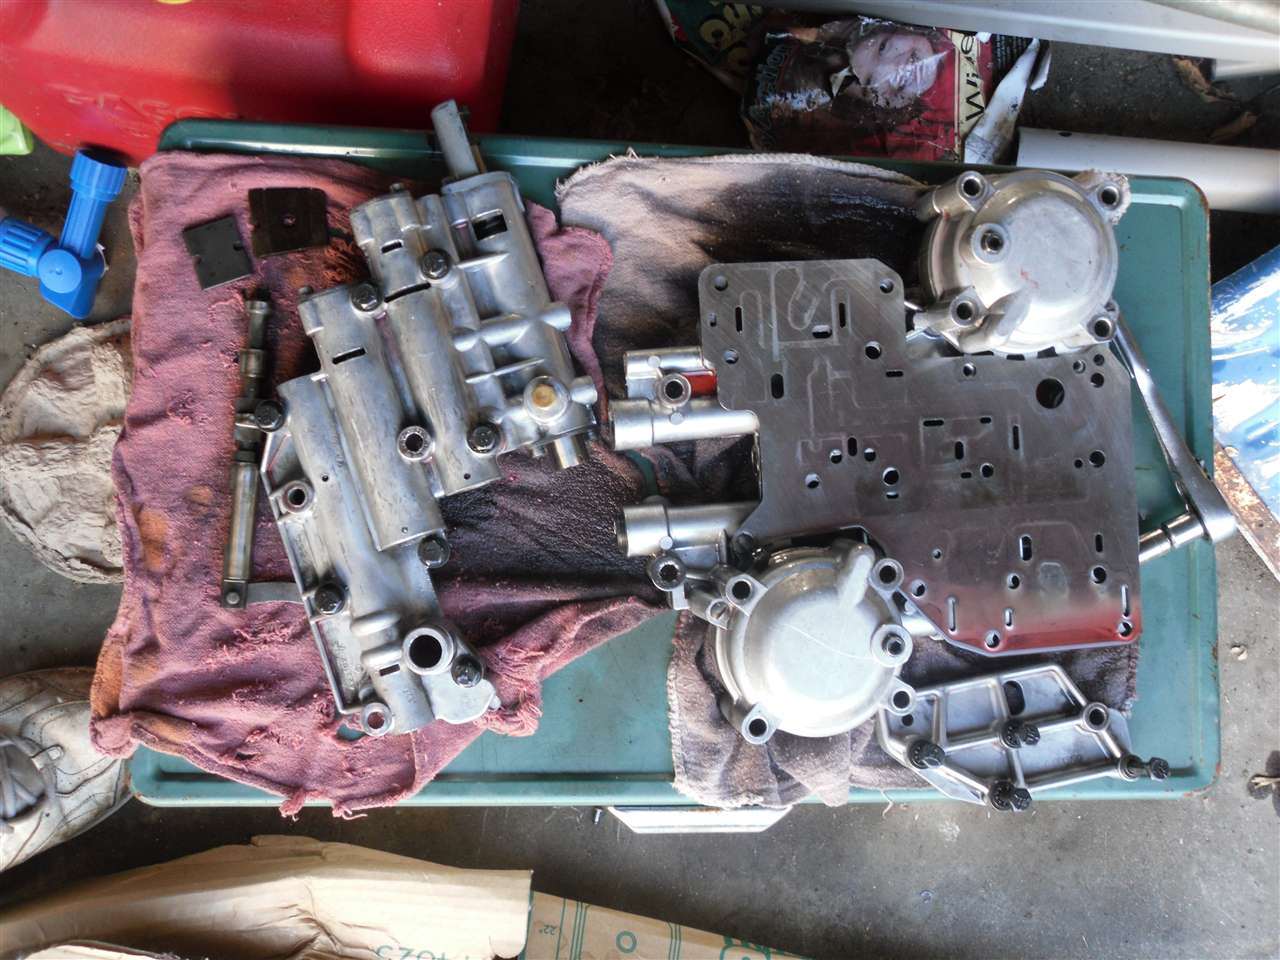 (137.74 KB) (137.74 KB)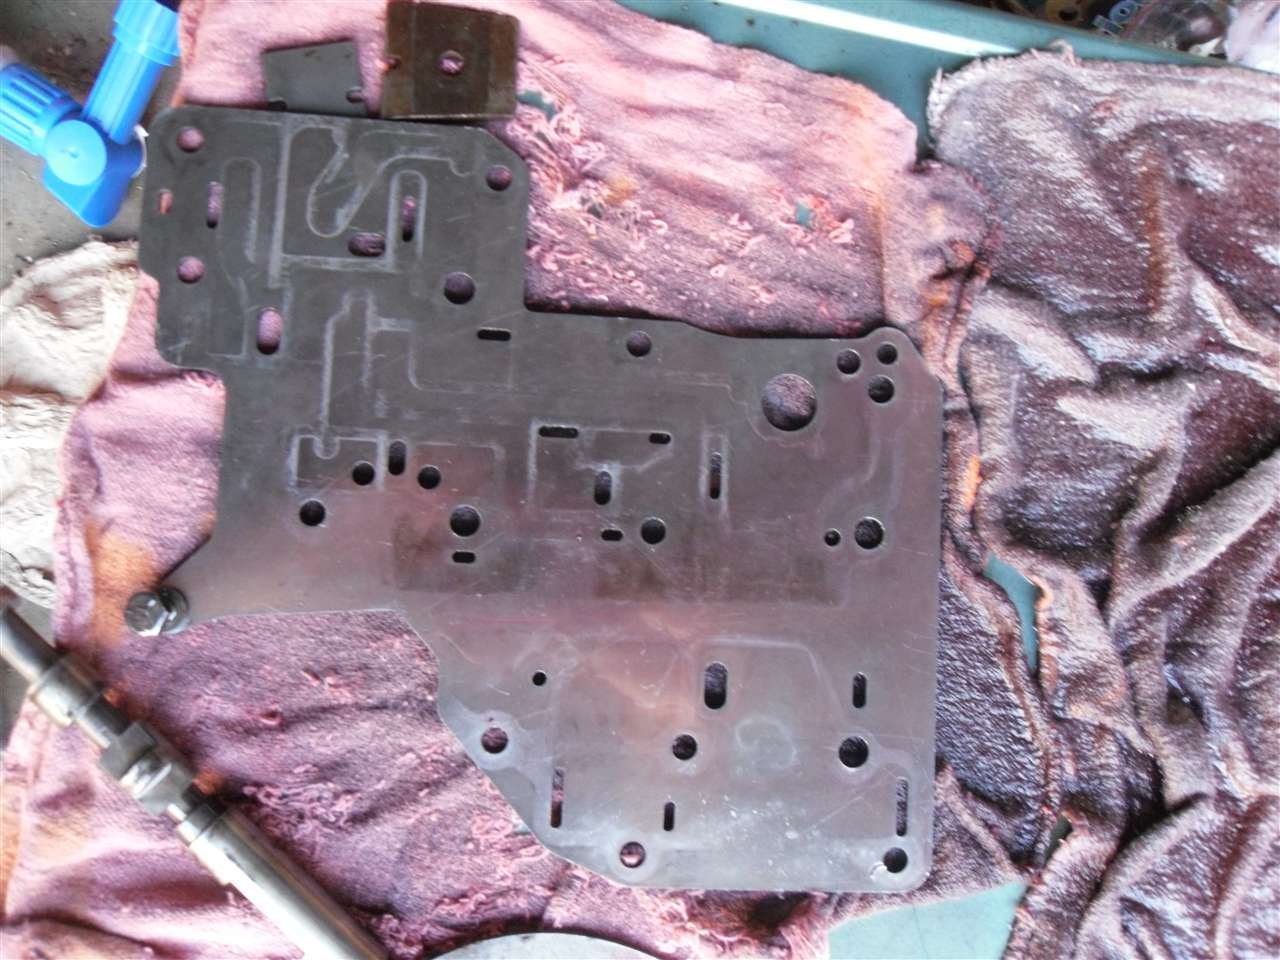 (140.05 KB) (140.05 KB) (162.50 KB) (162.50 KB)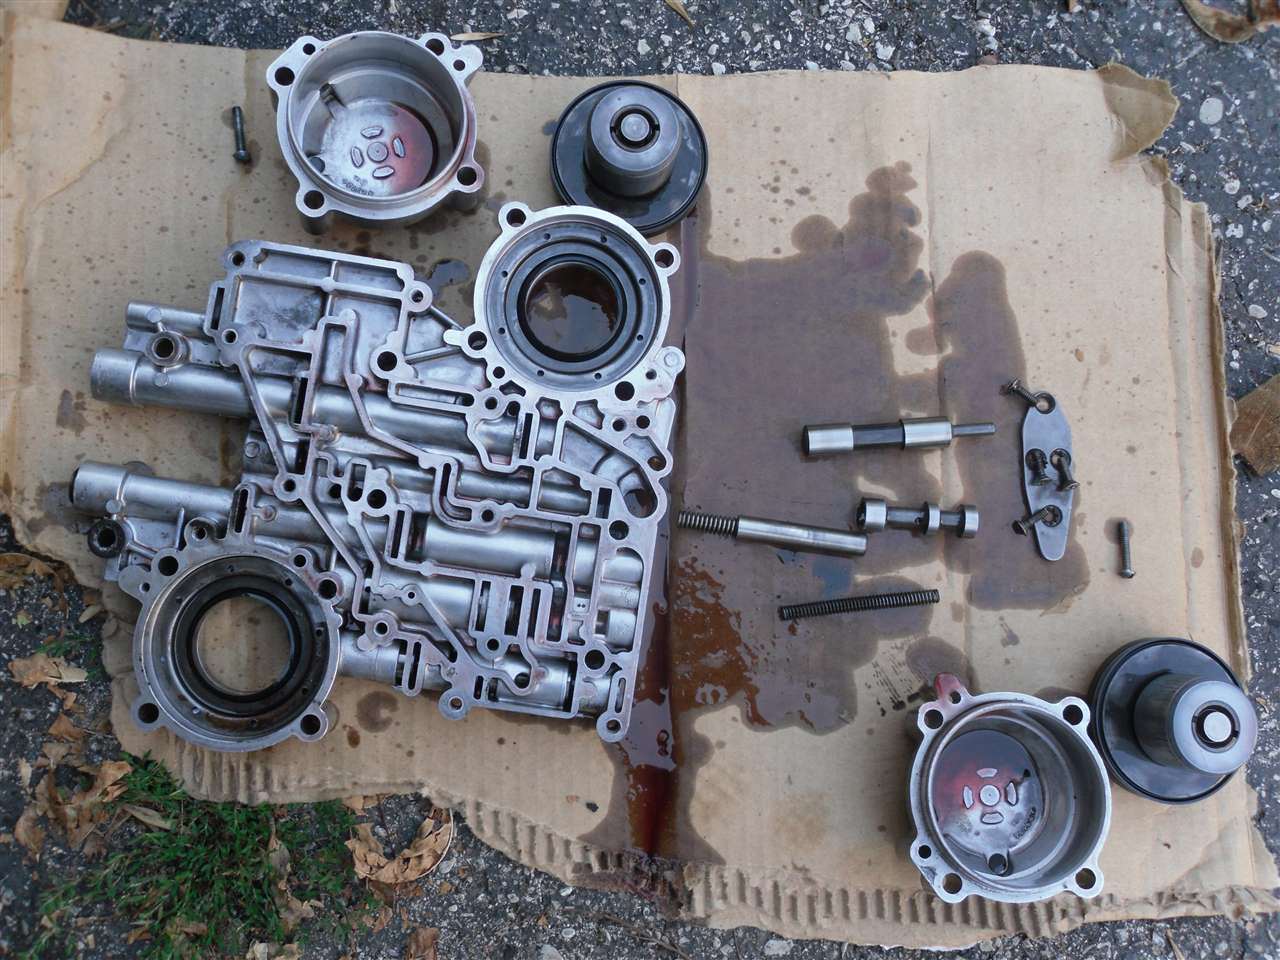 (57.46 KB) (57.46 KB)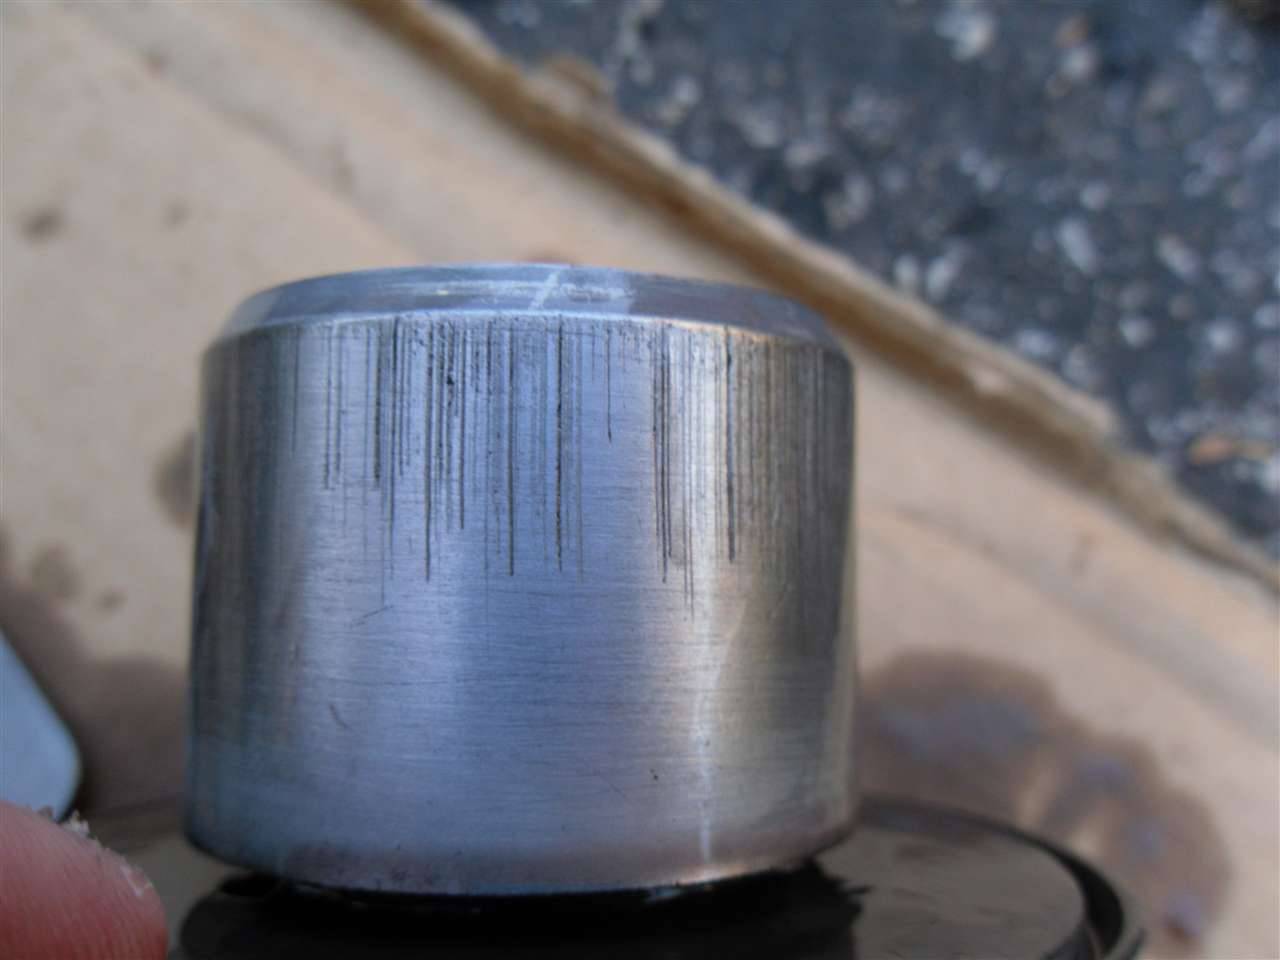
Posted on: 2010/8/19 21:31
|
|||
|
[url=h
|
||||
|
||||
|
Re: 51Packard's....51 Packard
|
||||
|---|---|---|---|---|
|
Home away from home
|
8-29-10
It's upper 80's and high humidity here today so work on the car was cut short. Morning was occupied with my '97 Honda Civic replacing the O2 sensor. After that, I came in to cool off and then started on the Packard. I got the rest of the valve body reassembled. I had a bolt that was too long for the hole I had it going in so I questioned all of the bolts. I used my spare and took each bolt out of the spare and the original one and compared sizes. The spare had some bolts that were different lengths than the ones I had. Interesting. I used bolts from the spare where I thought they might be needed. Probably won't make a difference. I'm guessing that the rebuilder used whatever bolts they had that were close since there were different logo's on the bolts of both valve bodies. Some had a U some had TU some had a V. I didn't have a torque wench that would go down to 5-10 ft lbs so I tightened the bolts by grasping the top of the ratchet head and turning until it felt tight enough, but not too tight. When I put the manual gear selector valve in, it was really hard to get in there. At first I thought I tightened the bolts too much, but after turning it a couple of times the trans fluid I put on it started to work and it moved freely again. After that, I made the PU-308 hold down tools using the scrap metal I got from my work. Used my cut off wheel to make two strips 1" wide and 6" long. Drilled a hole at the end big enough for an oil pan bolt to go through. The reverse band went together easily. The low band was really loose. It kept "walking" down the drum and I would have to push it up to get the band plates on. The hold down tool seems to be working. Once that was done, I cleaned up the trans oil pan. It was a little rusty and didn't have any paint on it that I could tell so I freshened it up with some Rustoleum rust converter. Set it aside to dry. I was going to reinstall the valve body, but the heat was getting to me so I called it a day. I also realized that I forgot to buy a new trans oil pan gasket! Do you guys usually buy them from the regular vendors or do you make your own? I have never made a gasket before, but these don't seem too bad. I don't know how much gasket material costs though. Attach file: (156.79 KB) (110.38 KB) (110.38 KB)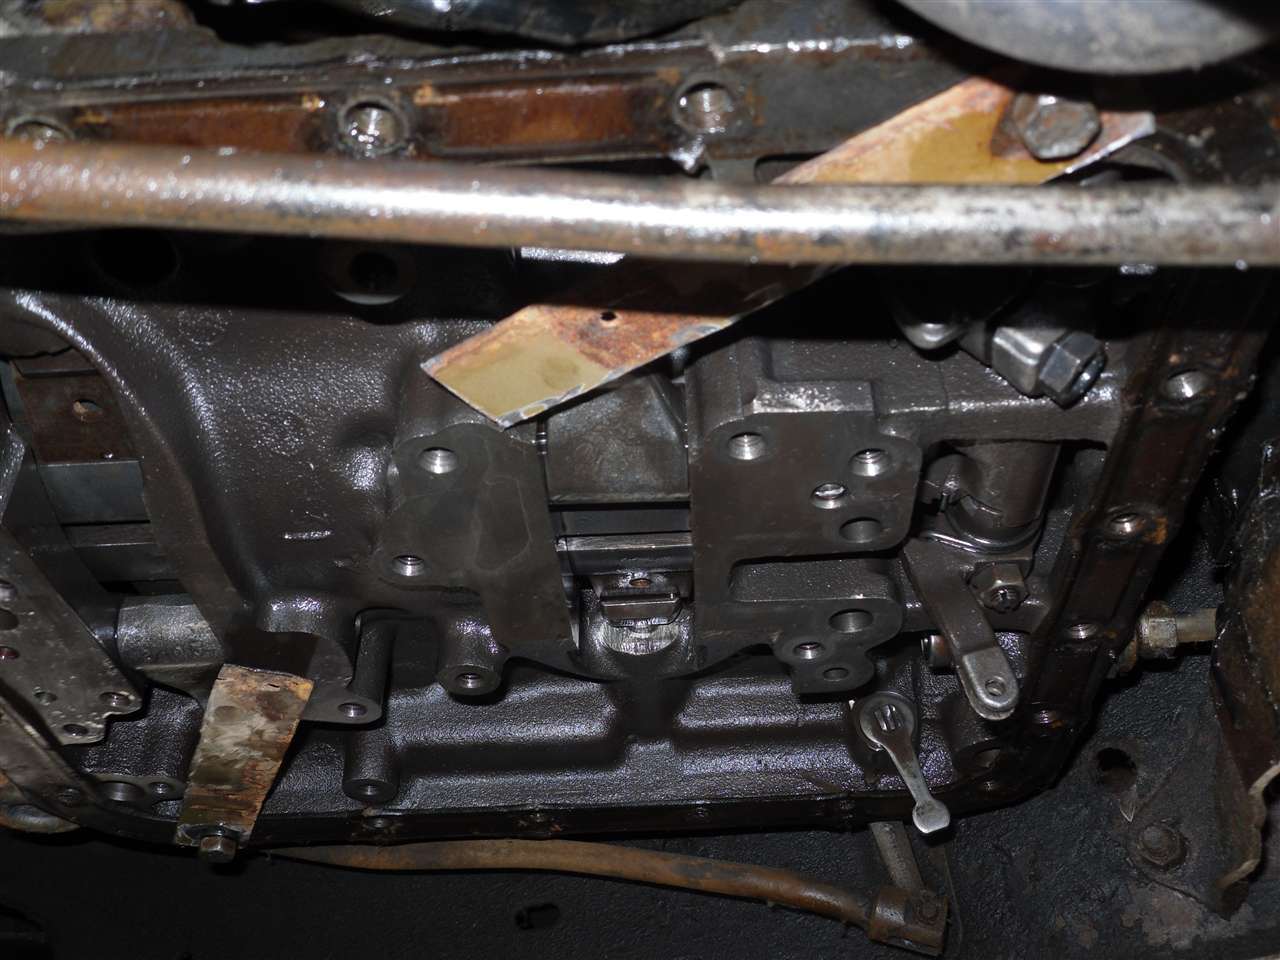 (139.47 KB) (139.47 KB)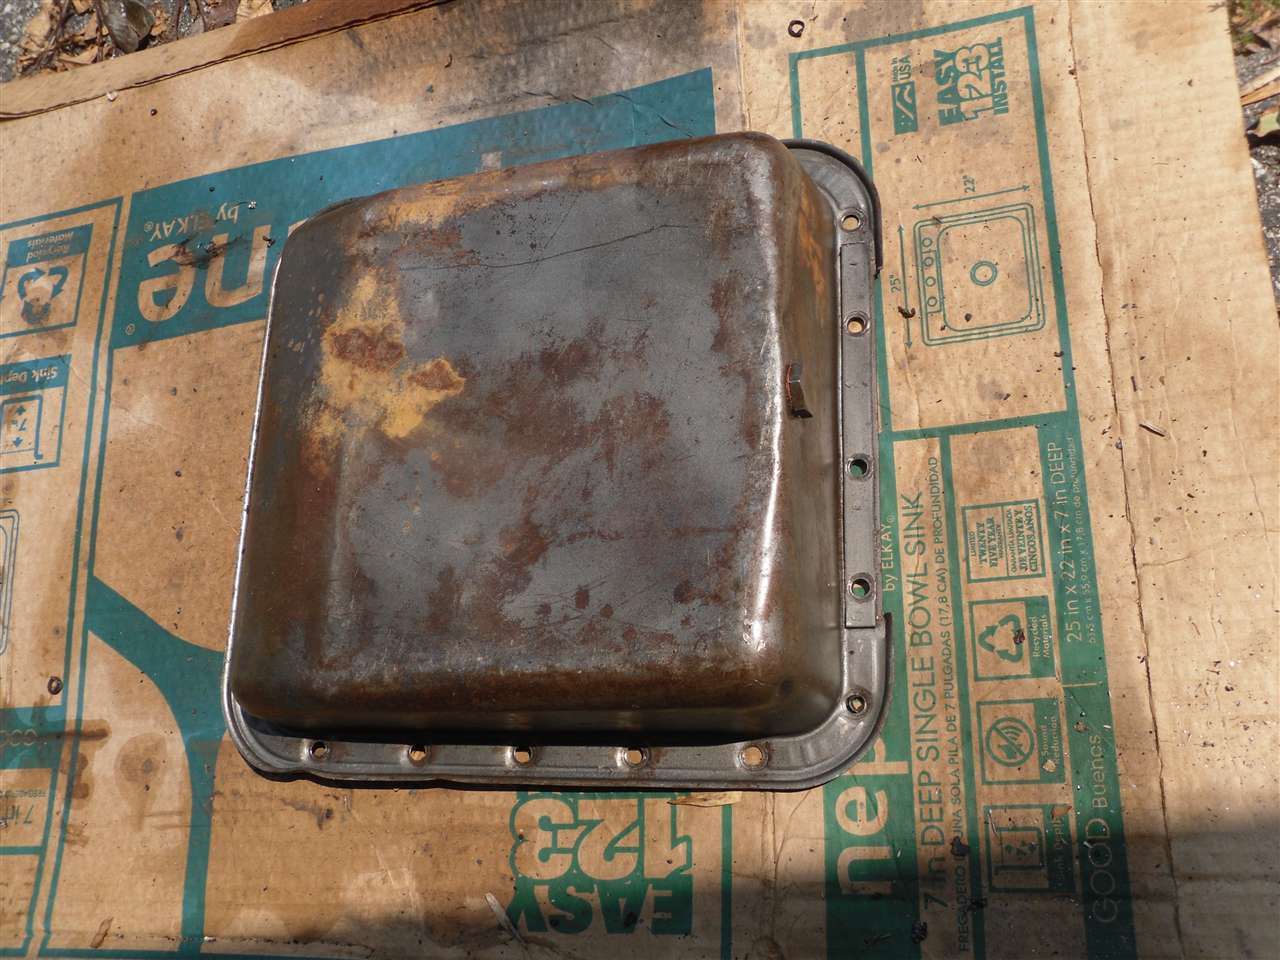 (111.50 KB) (111.50 KB)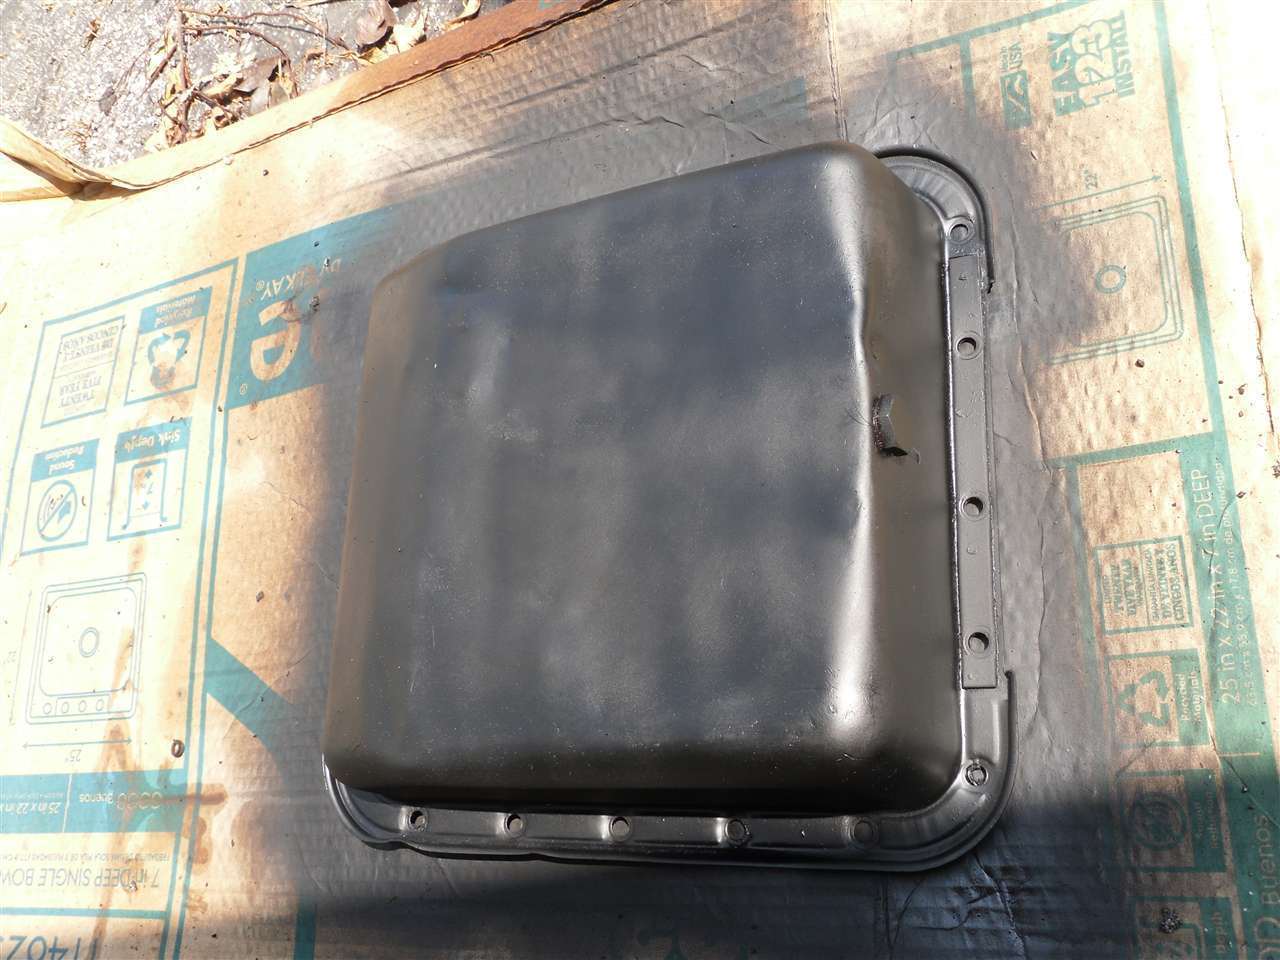
Posted on: 2010/8/29 13:37
|
|||
|
[url=h
|
||||
|
||||
|
Re: 51Packard's....51 Packard
|
||||
|---|---|---|---|---|
|
Forum Ambassador
|
It is not terribly complicated but by the time you buy the material and spend time making it, the $10 plus shipping from Ultramatic Dynamicshttp://www.ultramaticdynamics.com/ or maybe a bit more from other vendors is going to even out, maybe then some, and it will be professional quality to boot. Unless you're talented with patience for details with time to spare, I would spend the money if it were mine to do.
One thing to check before installing a new gasket though is the flatness of the pan flange. Those pans seem to have a tendency to stretch where the bolts are resulting in a high area which makes contact and leaving gaps or low areas in the space between and potential leaks.
Posted on: 2010/8/29 13:51
|
|||
|
||||
|
Re: 51Packard's....51 Packard
|
||||
|---|---|---|---|---|
|
Home away from home
|
Thanks HH56...I forgot about that vendor. I think you are right that my money is better spent on a professional one. I'll get the gasket from him.
I will make sure the pan flange is flat. The metal does seem thin on these pans. Just taping around the rim is all that is required or is there a special technique?
Posted on: 2010/8/29 14:22
|
|||
|
[url=h
|
||||
|
||||
|
Re: 51Packard's....51 Packard
|
||||
|---|---|---|---|---|
|
Forum Ambassador
|
I think any method you prefer will do as long as there is a good flat contact the entire length.
Not sure if it can be called a special technique but some have mentioned using the rounded end of a ball peen hammer in the holes and striking that hammer with another to actually depress the area a bit. When screws tighten the flat space areas will contact first and then the depression will be flattened out.
Posted on: 2010/8/29 14:38
|
|||
|
||||


.jpg")


