|
Re: Kevin AZ's - 1955 Packard Senior Steering Wheel Restoration
|
||||
|---|---|---|---|---|
|
Home away from home

|
Here is the replacement wheel. Purchased from ebay, it had the usual cracks in the usual places. PB blaster was used because the underside metal pieces were rusty. Despite the cracks the metal rings that separate the colored portions of the wheel were in place and tight.
Attach file:  (146.19 KB) (146.19 KB)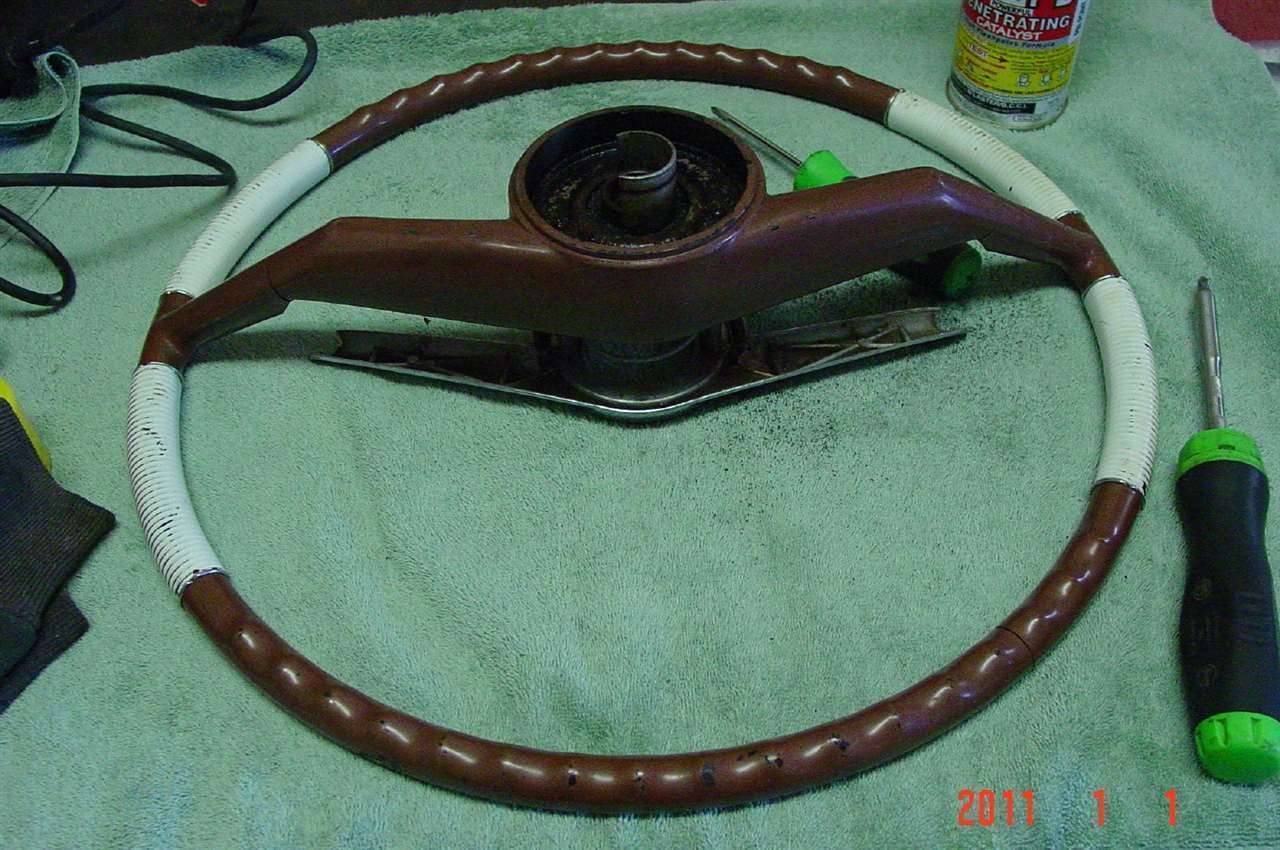 (140.14 KB) (140.14 KB)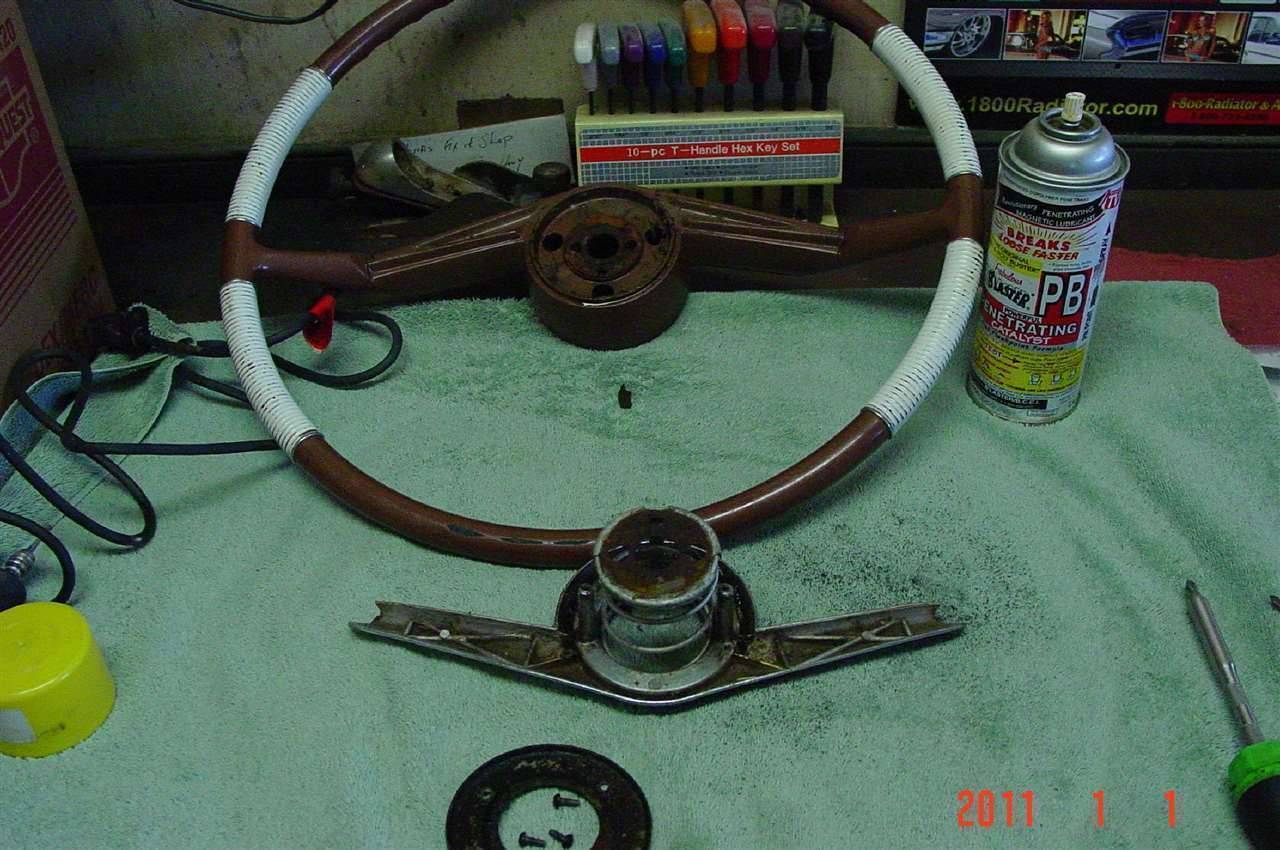 (40.37 KB) (40.37 KB)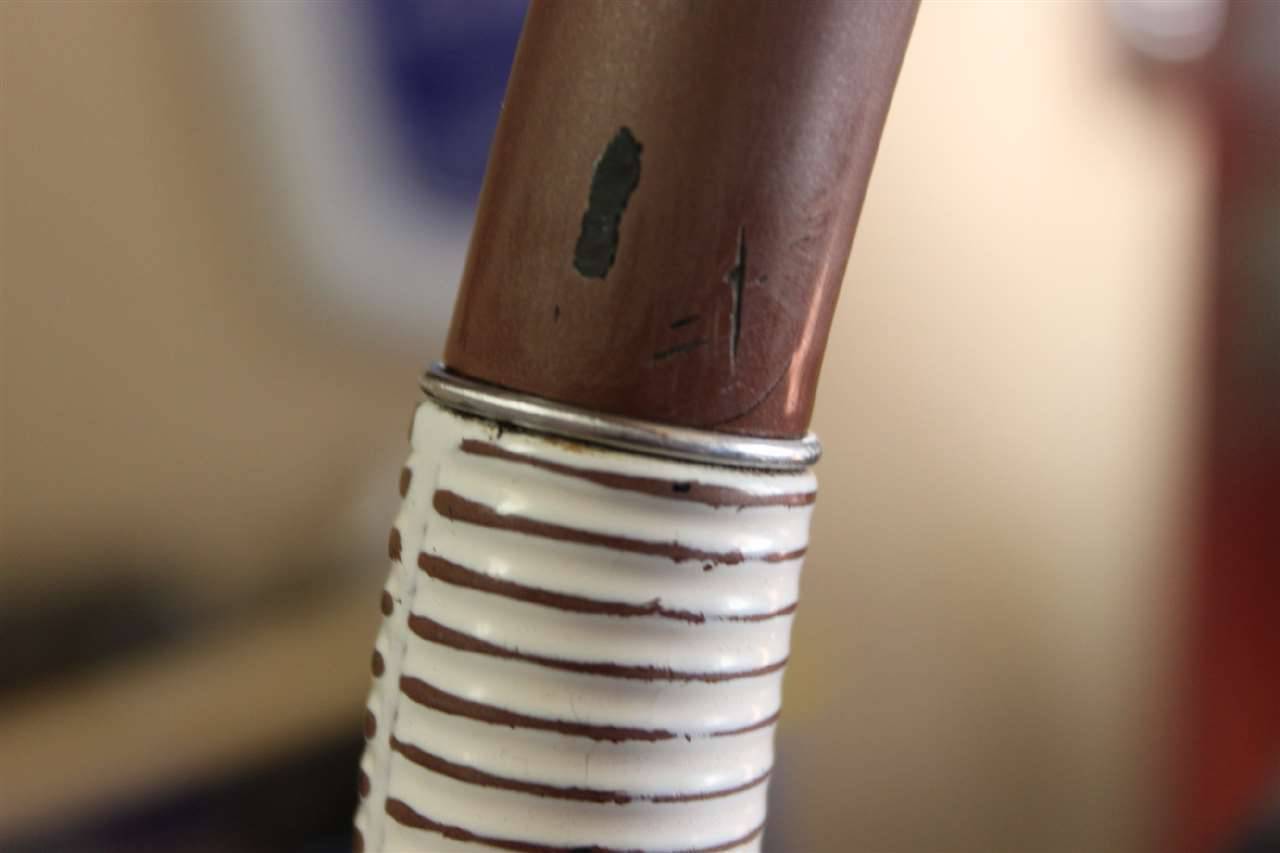
Posted on: 2012/6/3 15:11
|
|||
|
||||
|
Re: Kevin AZ's - 1955 Packard Senior Steering Wheel Restoration
|
||||
|---|---|---|---|---|
|
Home away from home
|
Here are some of the necessary items I needed to get things rolling in the right direction. I used PC 7 as the filling agent for the wheel itself. PC 7 is easy to apply and easy to sand once dry.
I found it a major PITA to work on the wheel initially because of its shape. To hold it still in a vise without damaging it (or dropping it), I came up with the idea as seen. A 'clam-shell' of sorts I suppose. I selected a cedar (soft wood) and drew the outside of the wheel radius. With a router, the wood was channeled so that wheel could be held securely at my workbench in a vise. Given the size of the cracks it never required using more that a small amount of each for each application. Attach file: (92.11 KB)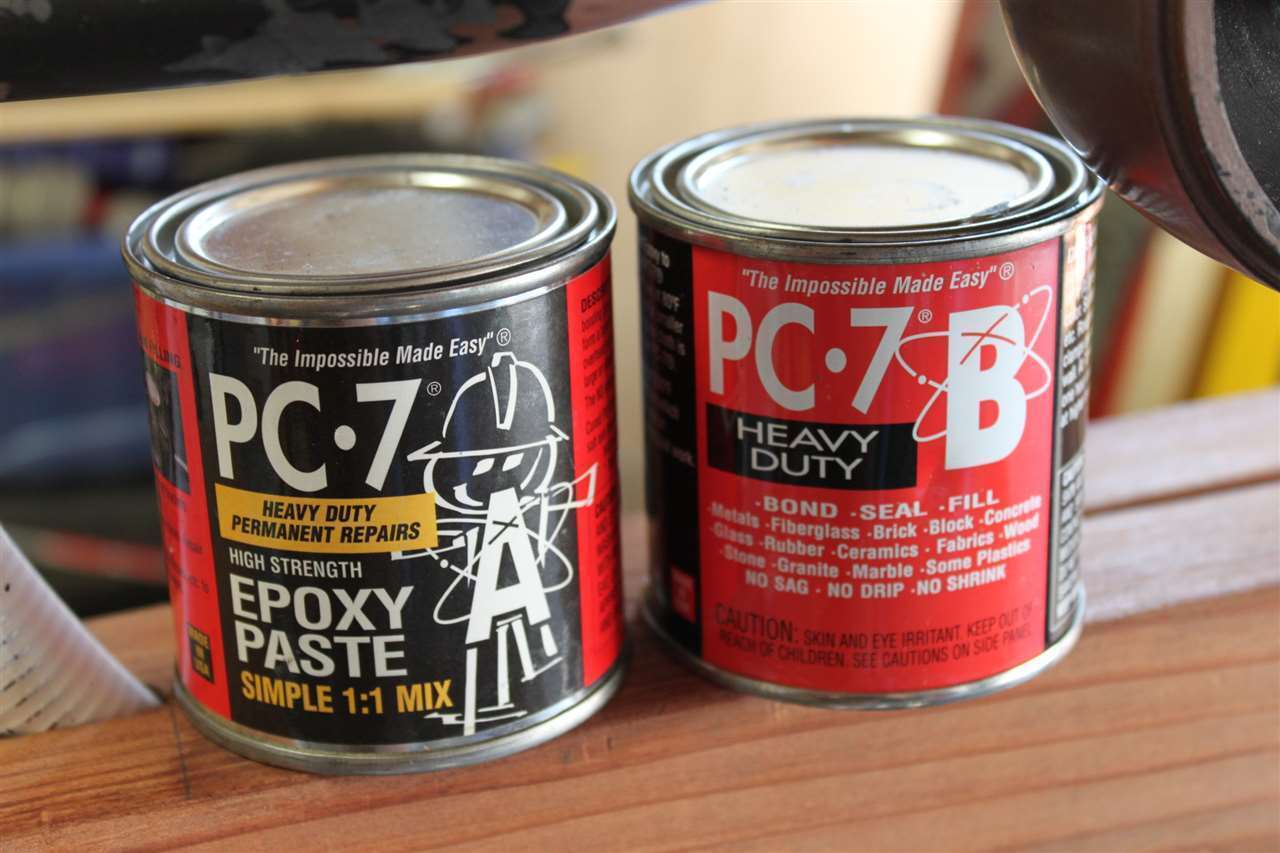 (81.54 KB) (81.54 KB)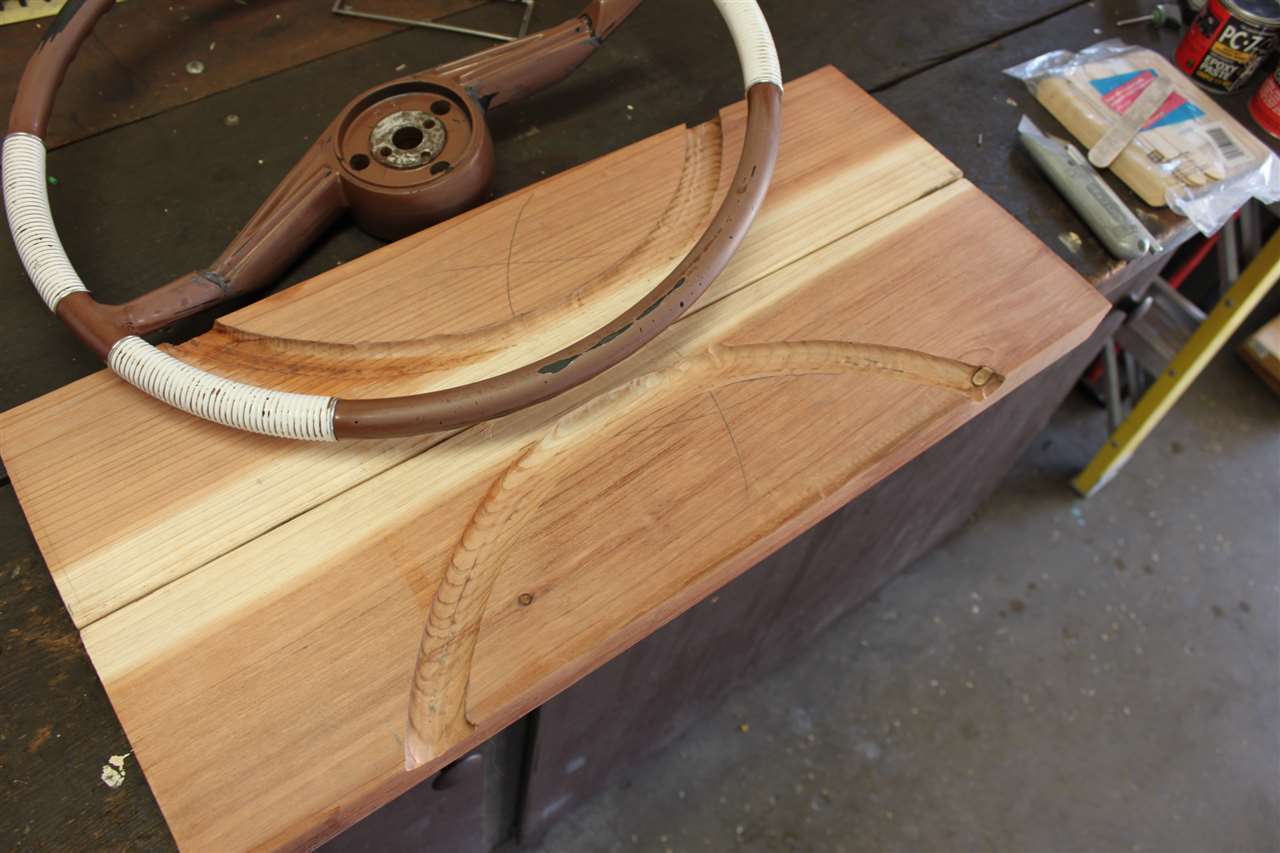 (77.68 KB) (77.68 KB)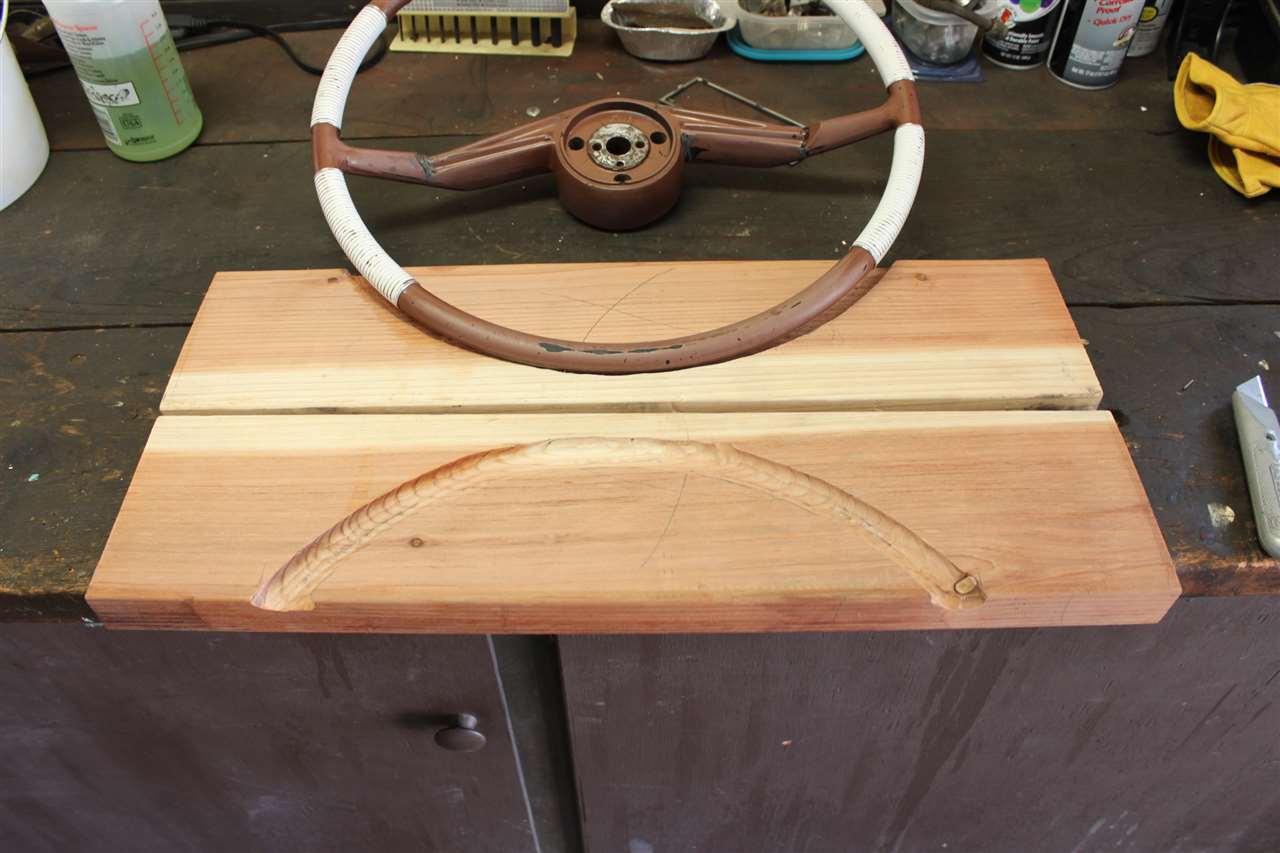 (110.36 KB) (110.36 KB)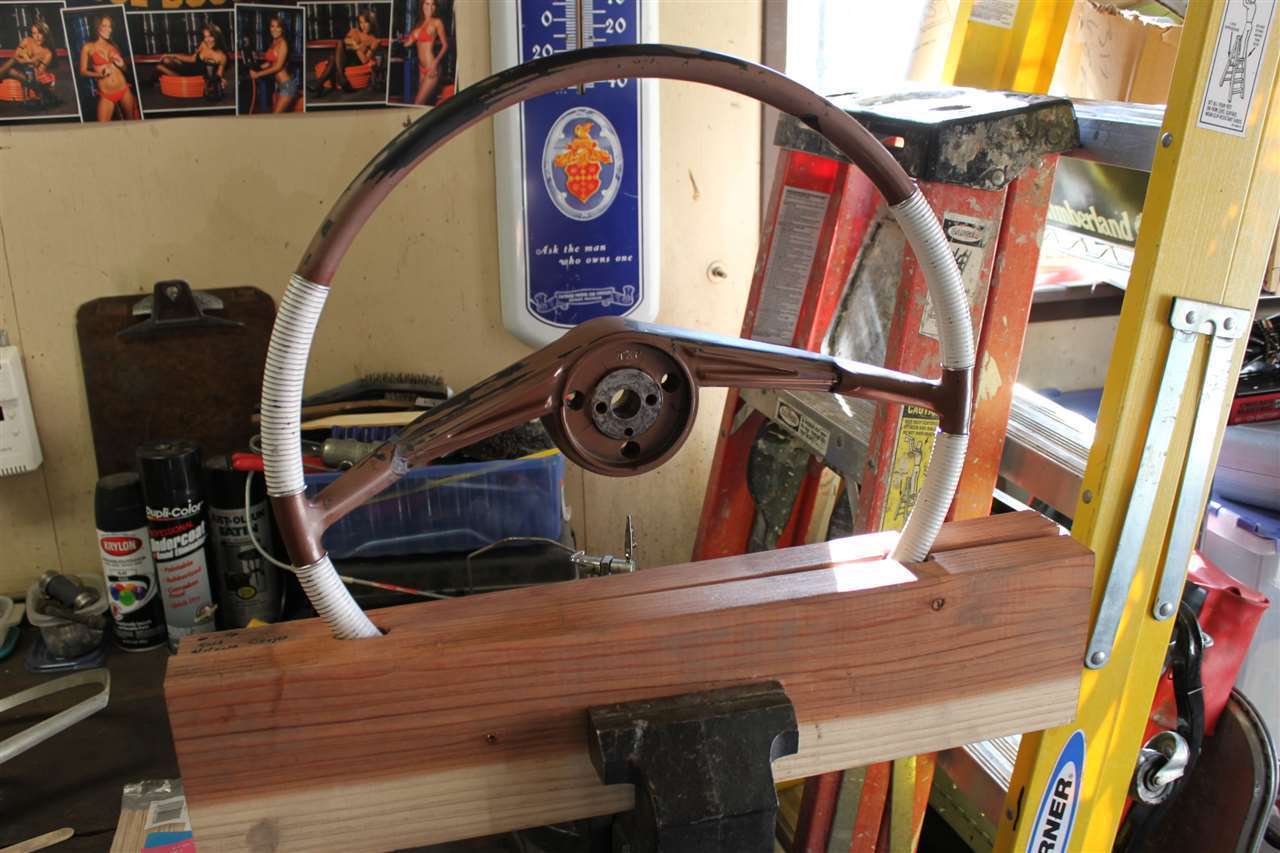 (57.67 KB) (57.67 KB)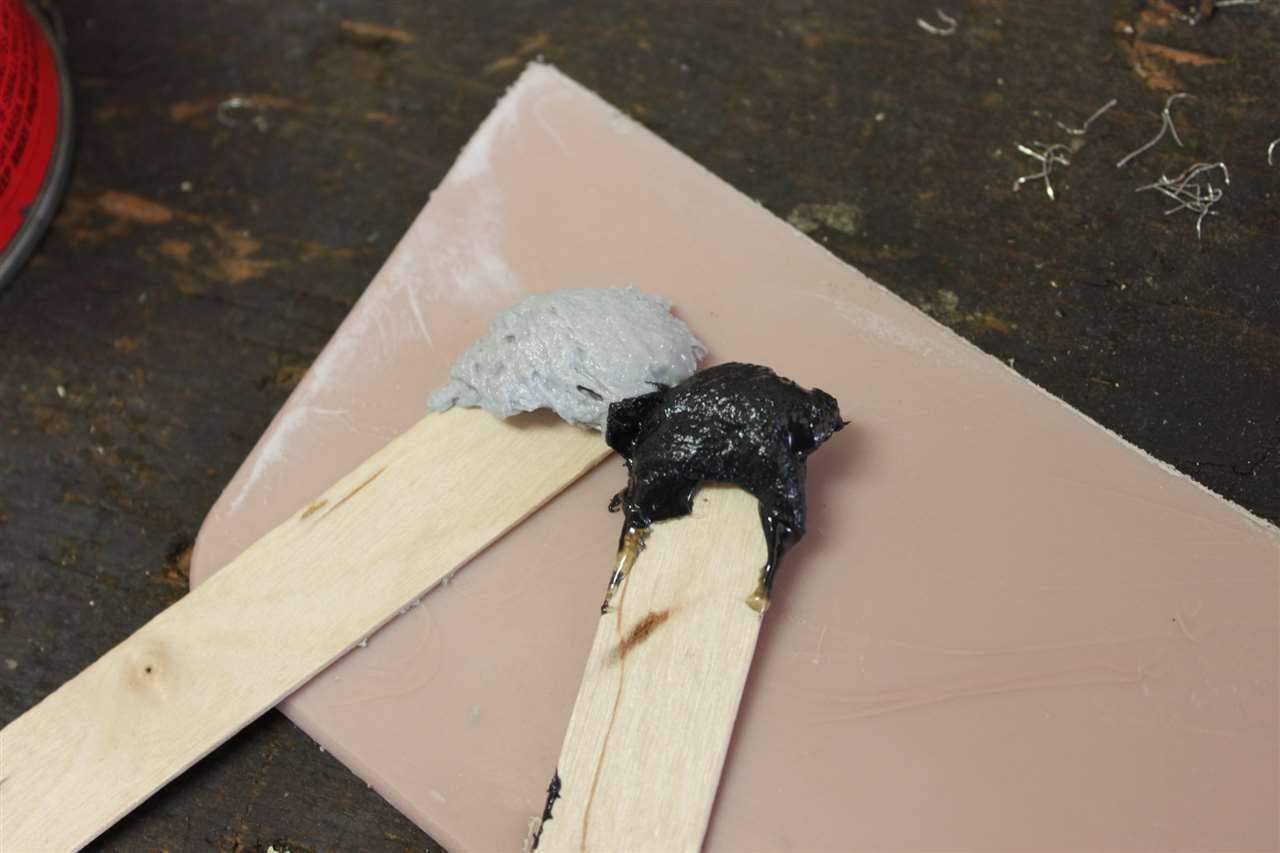 (52.21 KB) (52.21 KB)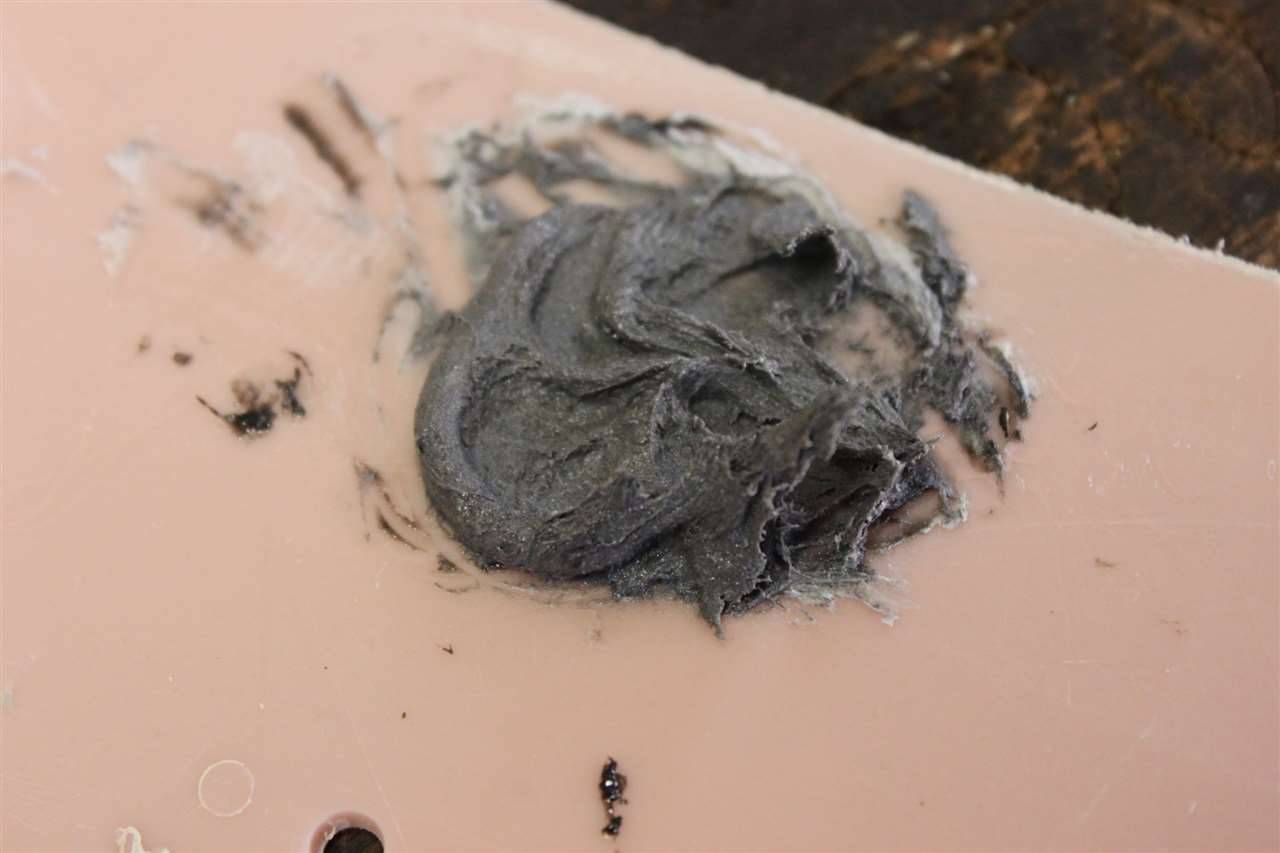
Posted on: 2012/6/3 15:36
|
|||
|
||||
|
Re: Kevin AZ's - 1955 Packard Senior Steering Wheel Restoration
|
||||
|---|---|---|---|---|
|
Home away from home
|
These are pictures of the filling process. What is unseen is that I used a dremel to clean-out or channel through areas to ensure that the epoxy went into the holes easily. I then used a fine sand paper each time to smooth and then add more epoxy as necessary. The sanding and application of the epoxy tended to be a 'dirty' job.
Attach file: (35.56 KB) (46.72 KB) (46.72 KB)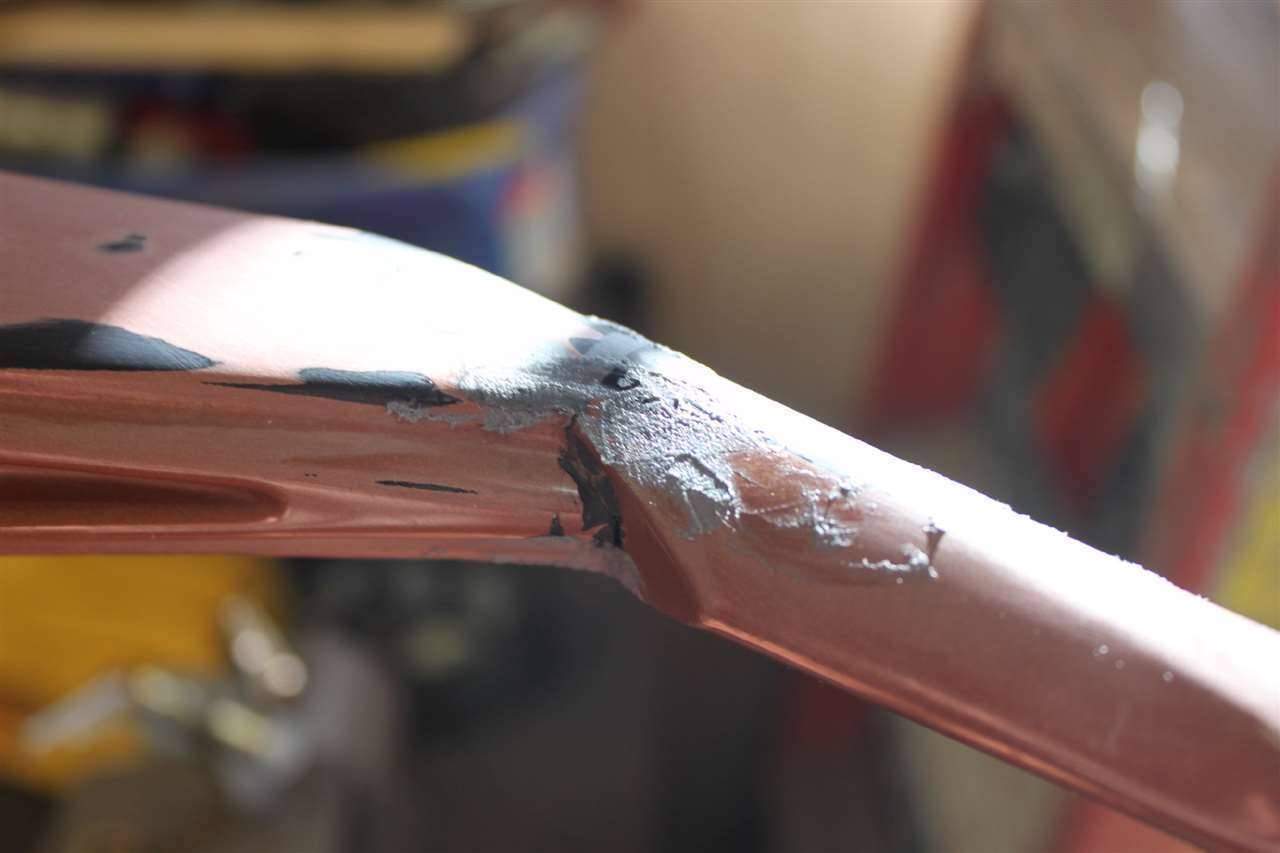 (38.14 KB) (38.14 KB)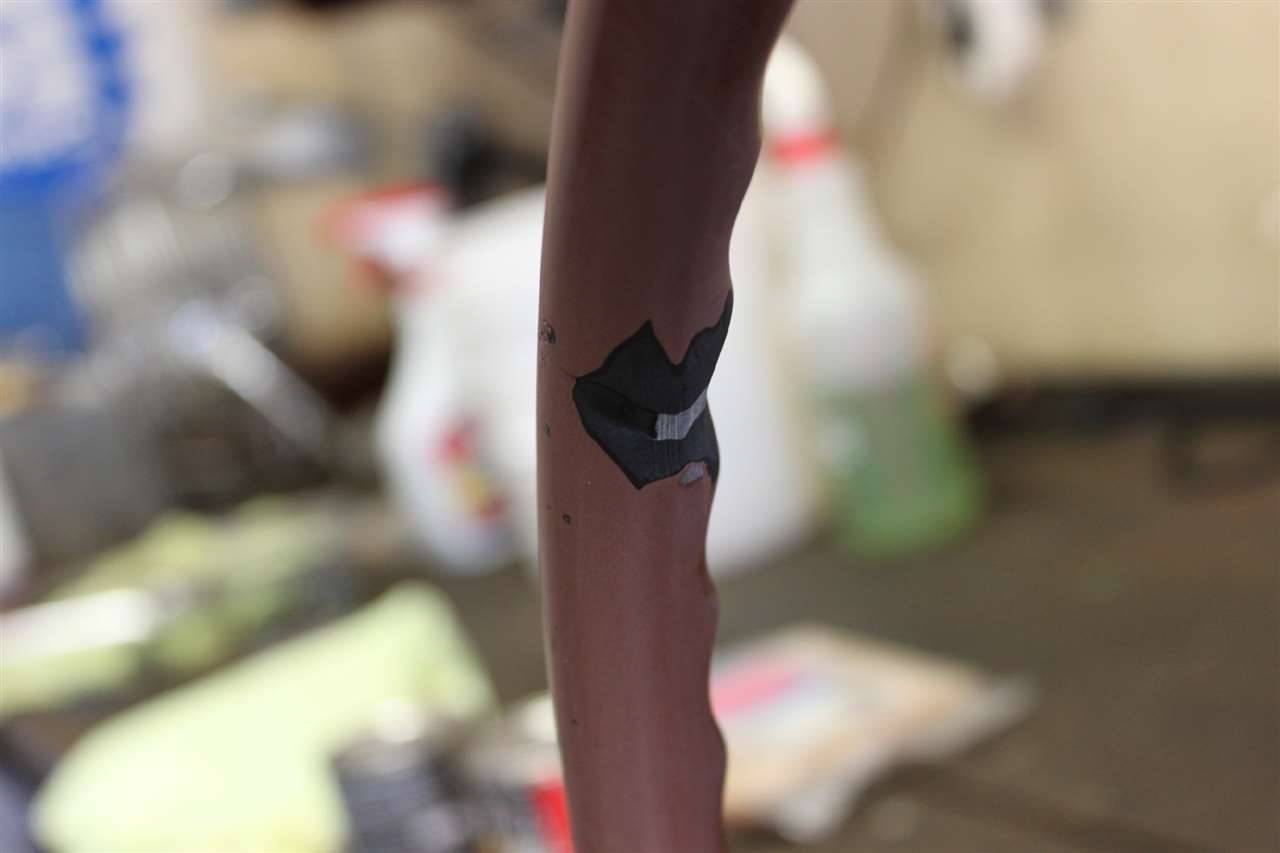 (38.10 KB) (38.10 KB)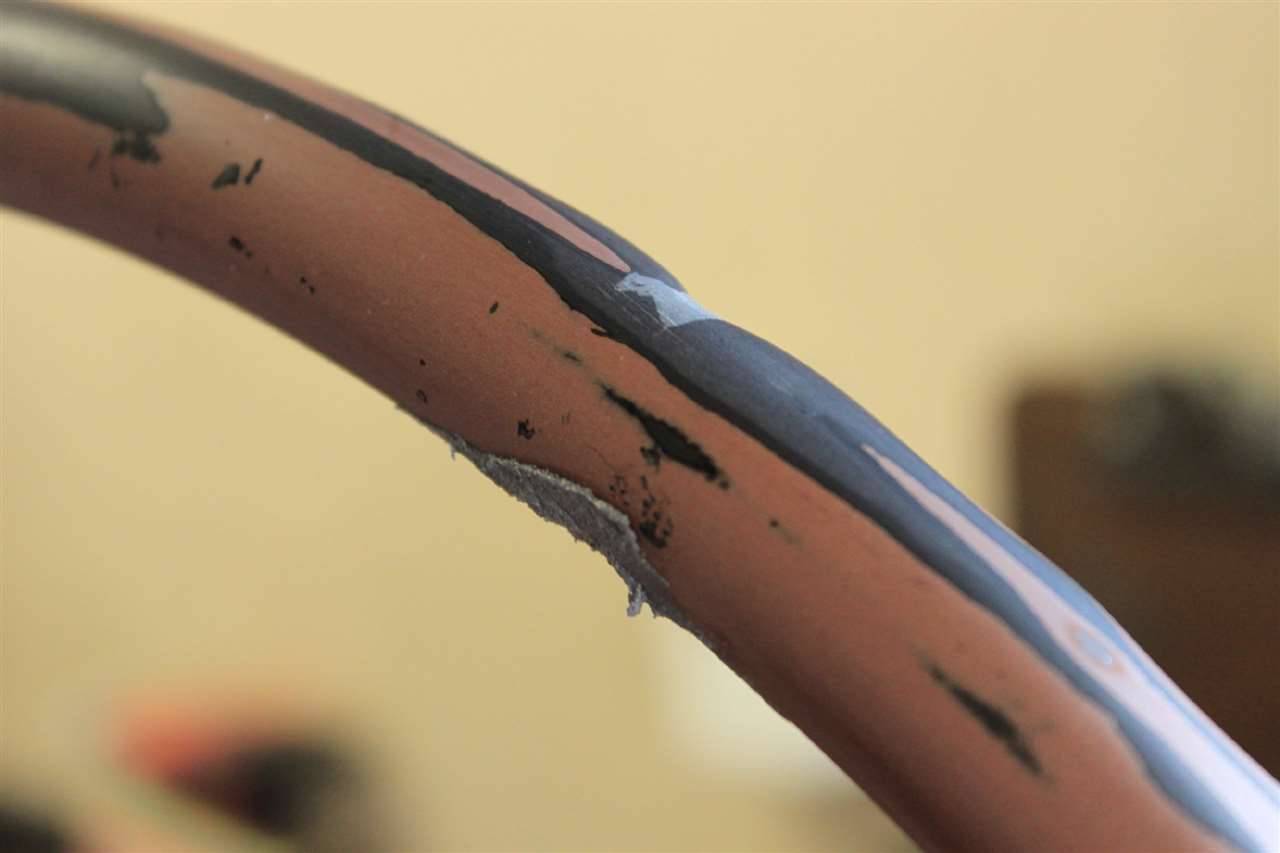 (43.08 KB) (43.08 KB)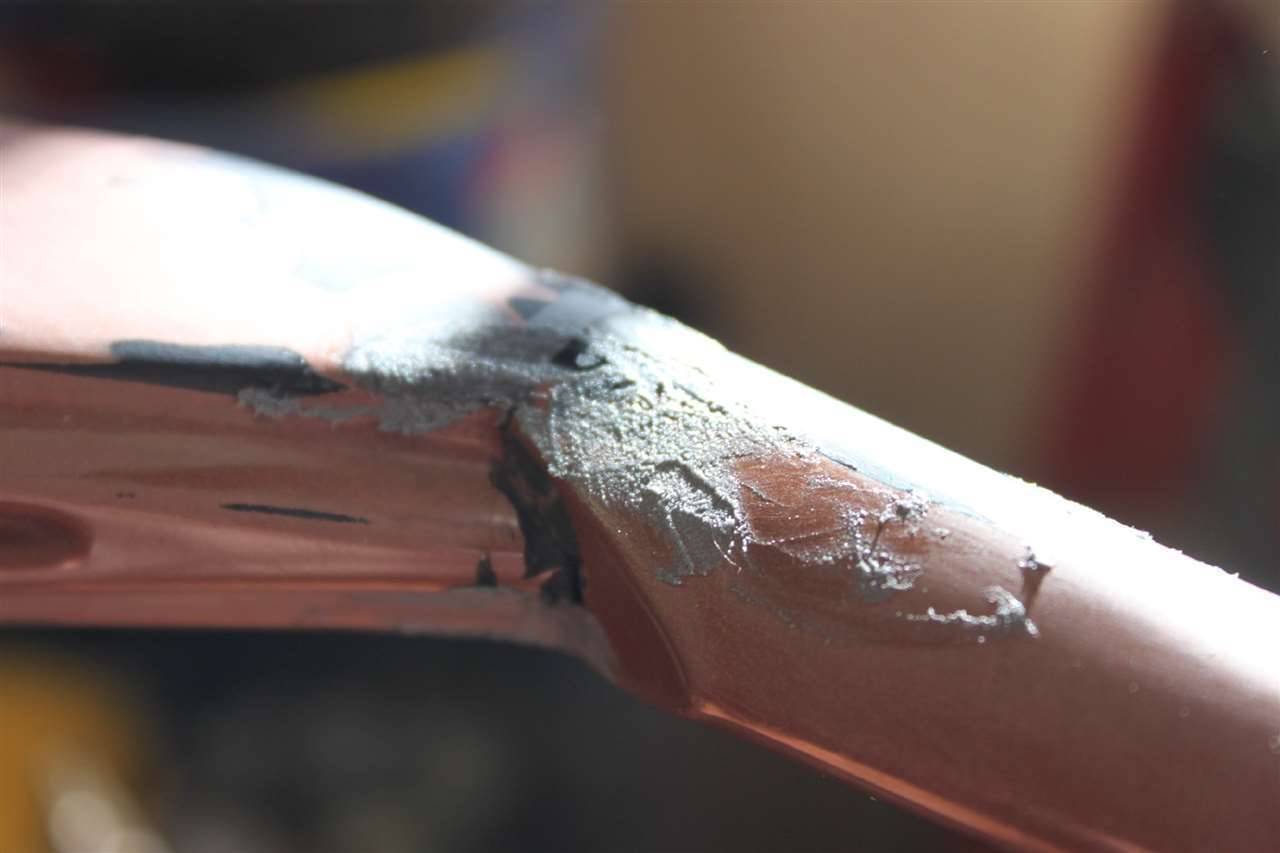 (35.62 KB) (35.62 KB)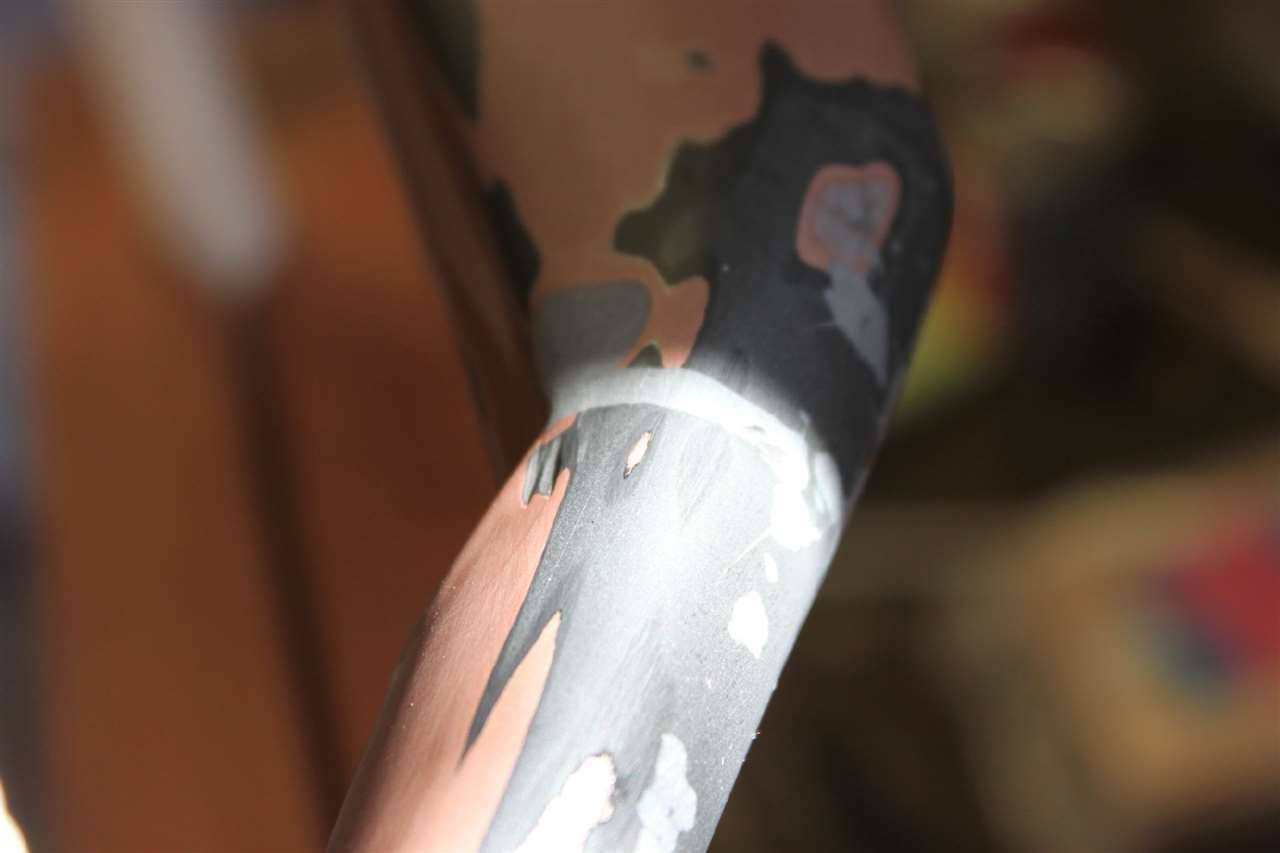 (51.78 KB) (51.78 KB)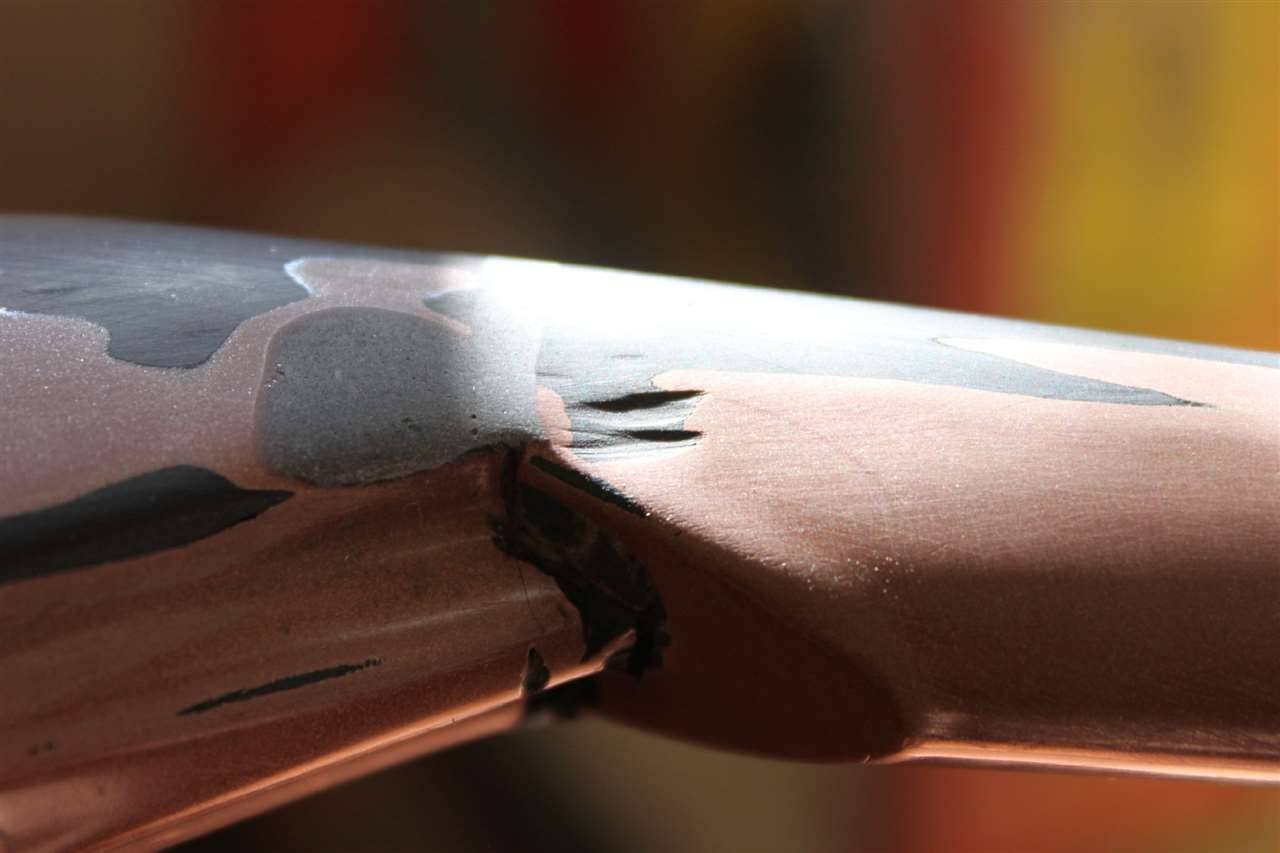 (40.95 KB) (40.95 KB)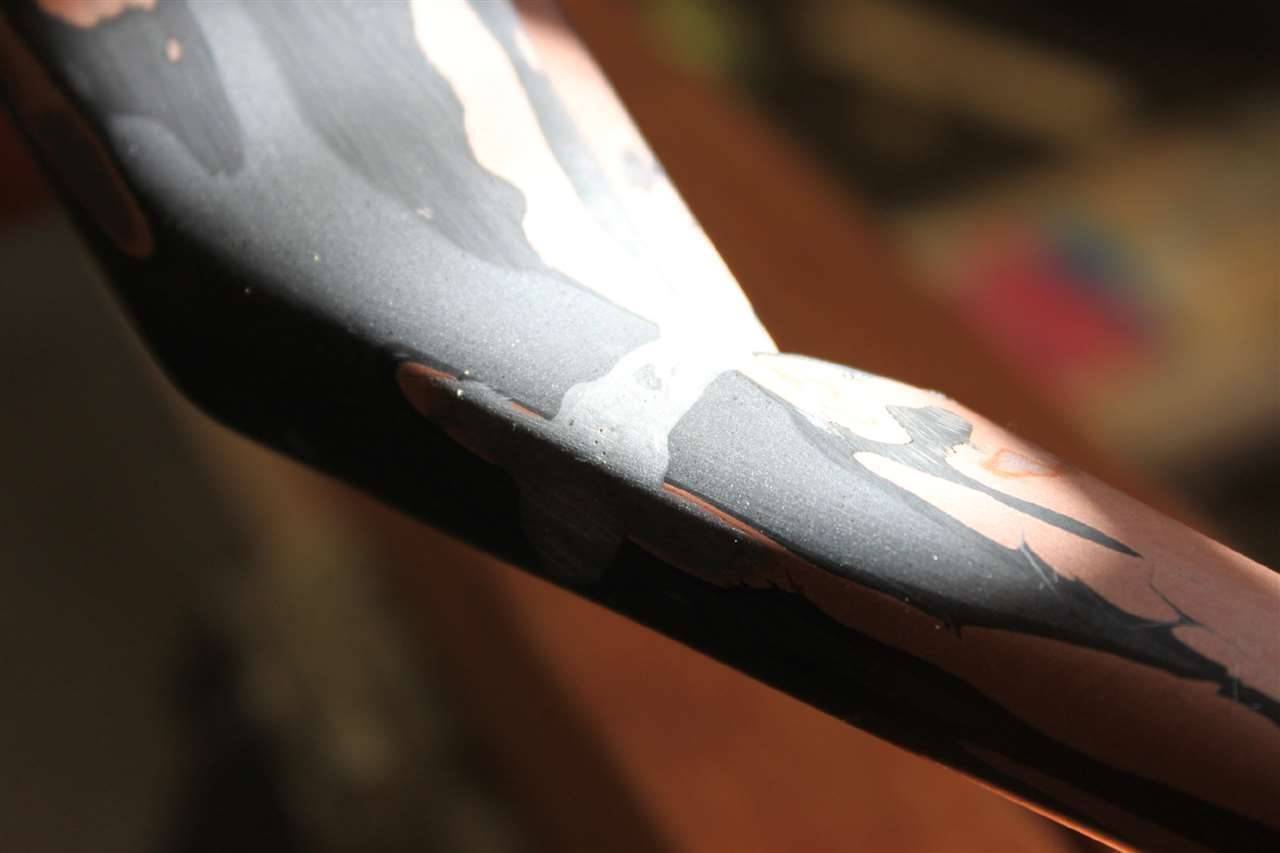 (42.35 KB) (42.35 KB)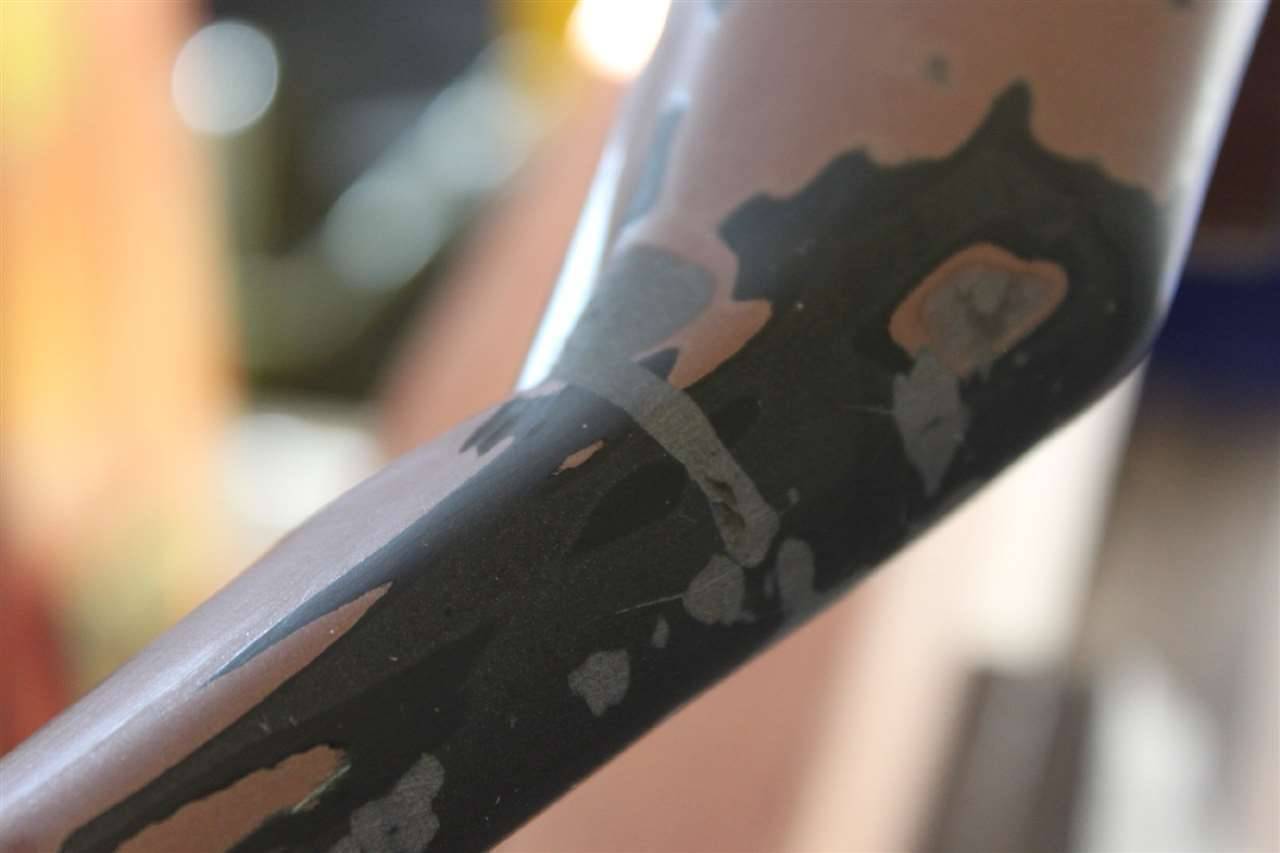 (50.24 KB) (50.24 KB) (67.53 KB) (67.53 KB)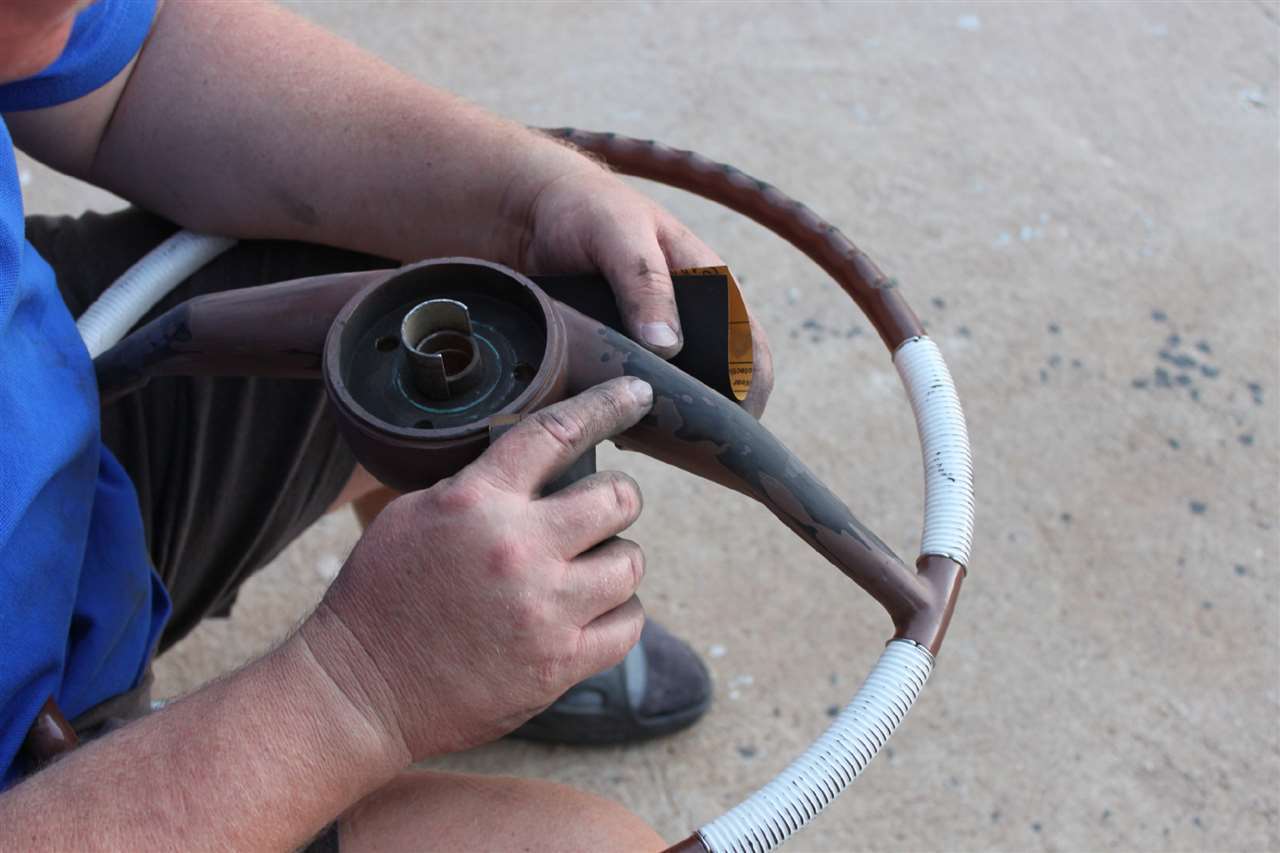 (81.78 KB) (81.78 KB)
Posted on: 2012/6/3 15:53
|
|||
|
||||
|
Re: Kevin AZ's - 1955 Packard Senior Steering Wheel Restoration
|
||||
|---|---|---|---|---|
|
Home away from home
|
With all the epoxy added and sanding completed it was time to prepare the replacement wheel for painting. After thoroughly cleaning the wheel many times, I purchased fine line tape and as best I could covered the white portions of the wheel.
As seen, a threaded rod device was assembled after walking through ACE Hardware for 15 minutes. I didn't under any circumstances want to drop the wheel again! The chains obviously were 'over-kill' but very convenient. Attach file: (81.38 KB)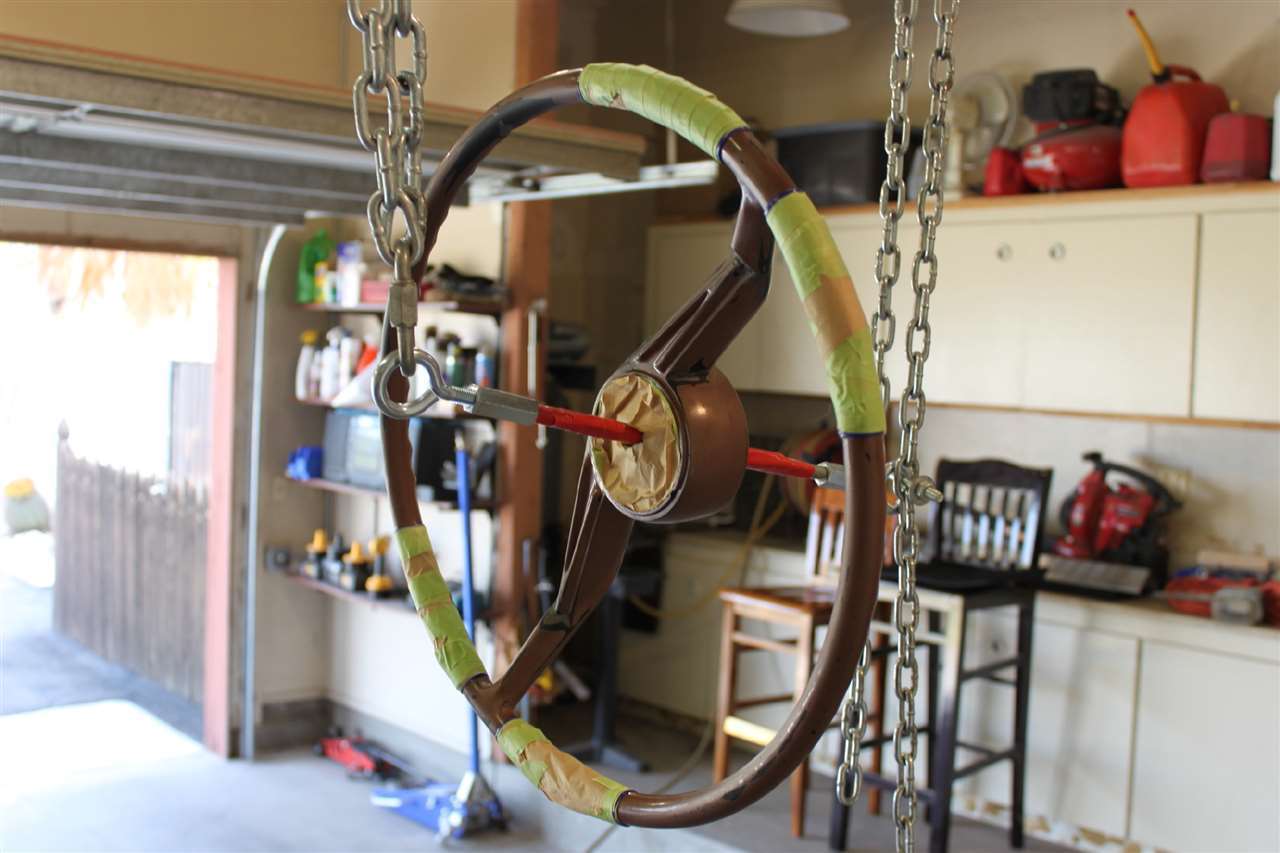 (69.75 KB) (69.75 KB) (65.61 KB) (65.61 KB)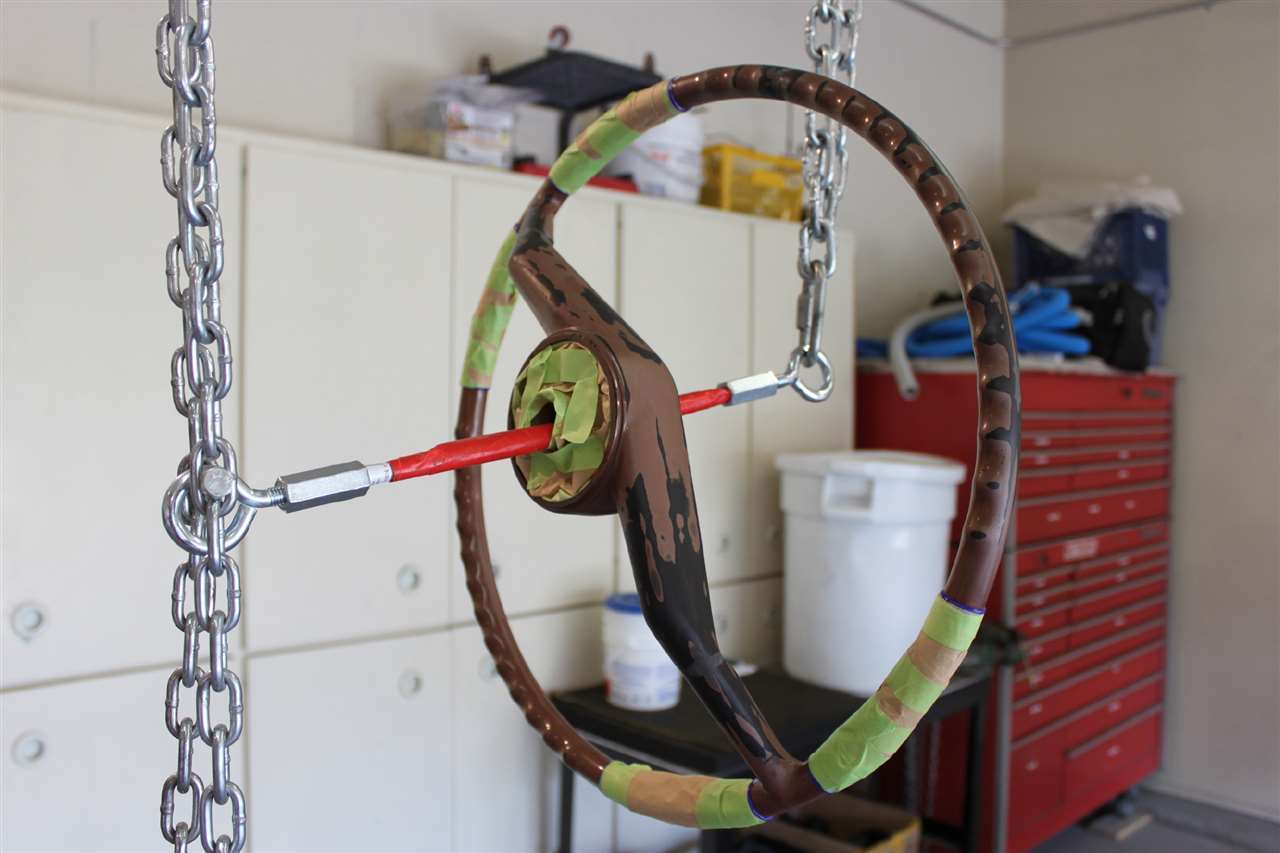
Posted on: 2012/6/3 16:15
|
|||
|
||||
|
Re: Kevin AZ's - 1955 Packard Senior Steering Wheel Restoration
|
||||
|---|---|---|---|---|
|
Home away from home
|
Hey Kevin -
That vice clamp for the steering wheel is nothing short of brilliant! And the rest is great information. I (currently) don't have any steering wheel issues but I've wondered from time to time just how to go about it should some develop. I'll definitely keep this bit filed away for the future. Thanks for posting the process and progress.
Posted on: 2012/6/3 16:25
|
|||
|
1951 200 Deluxe Touring Sedan
1951 200 Deluxe Touring Sedan (parts ?) 1951 Patrician Touring Sedan 1955 Patrician Touring Sedan |
||||
|
||||
|
Re: Kevin AZ's - 1955 Packard Senior Steering Wheel Restoration
|
||||
|---|---|---|---|---|
|
Home away from home
|
The painting begins at Bill's house. He loves to do this kind of stuff to relax, and for the price of a good lunch, good conversation paint, etc., the Packard ends up benefiting. (Bill is toying with a Mustang restoration - he recently picked up a '67 Fastback)
Attach file: (67.16 KB)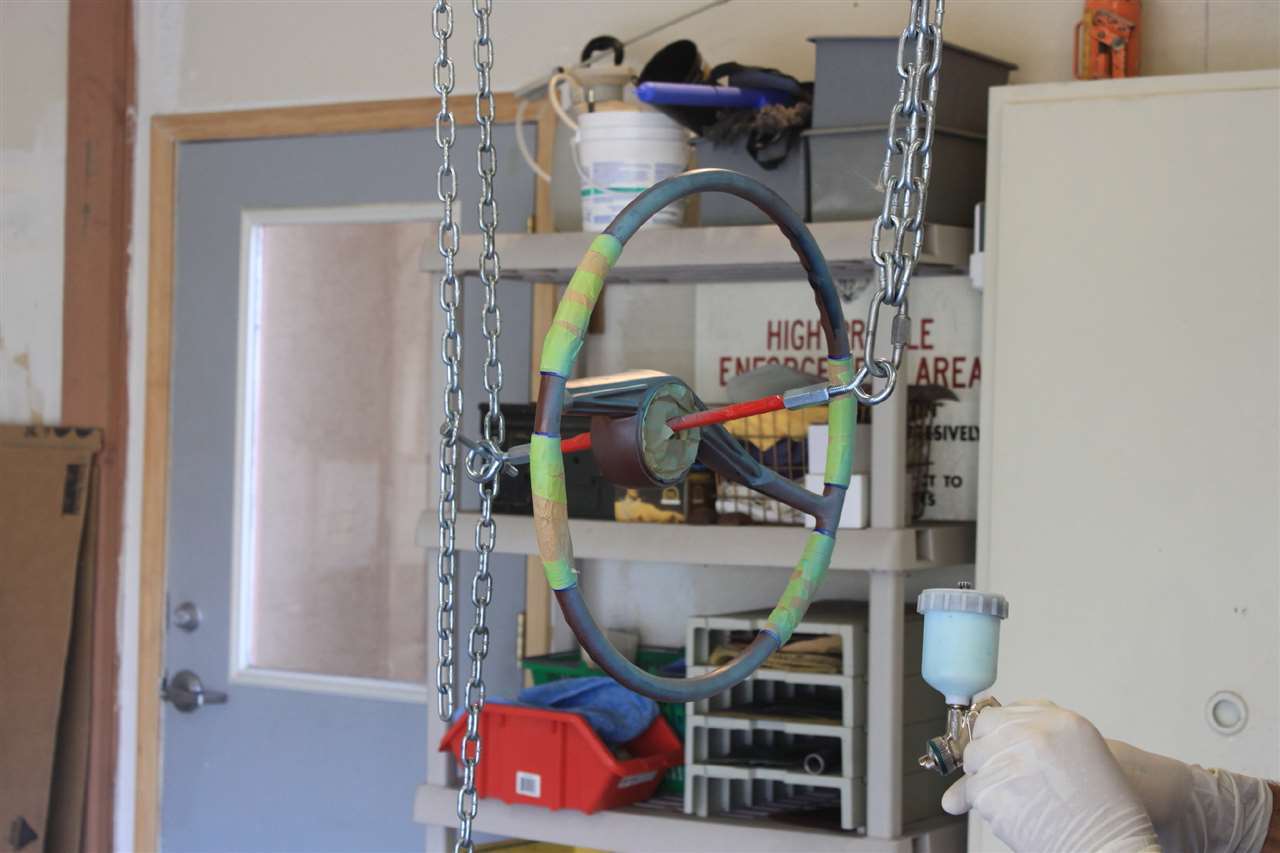 (65.68 KB) (65.68 KB)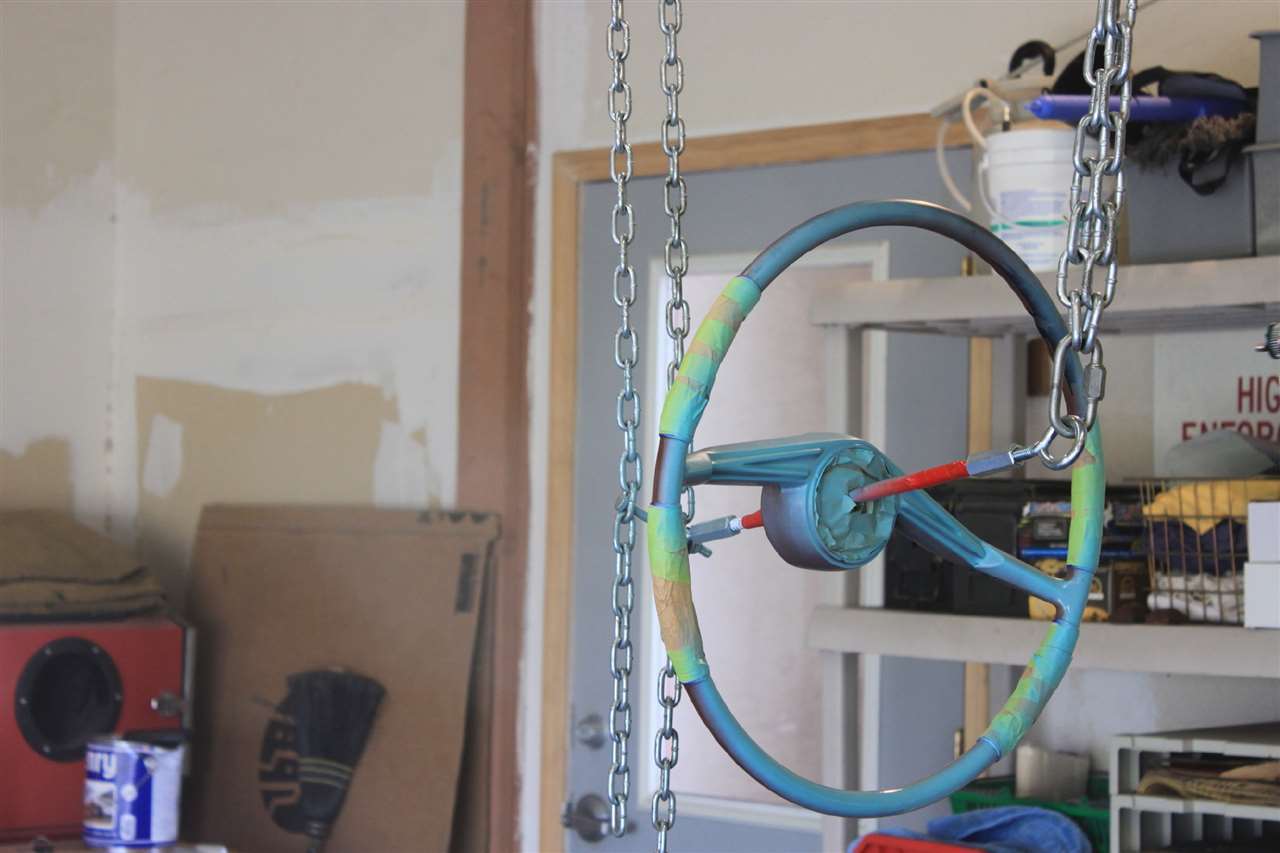 (68.72 KB) (68.72 KB)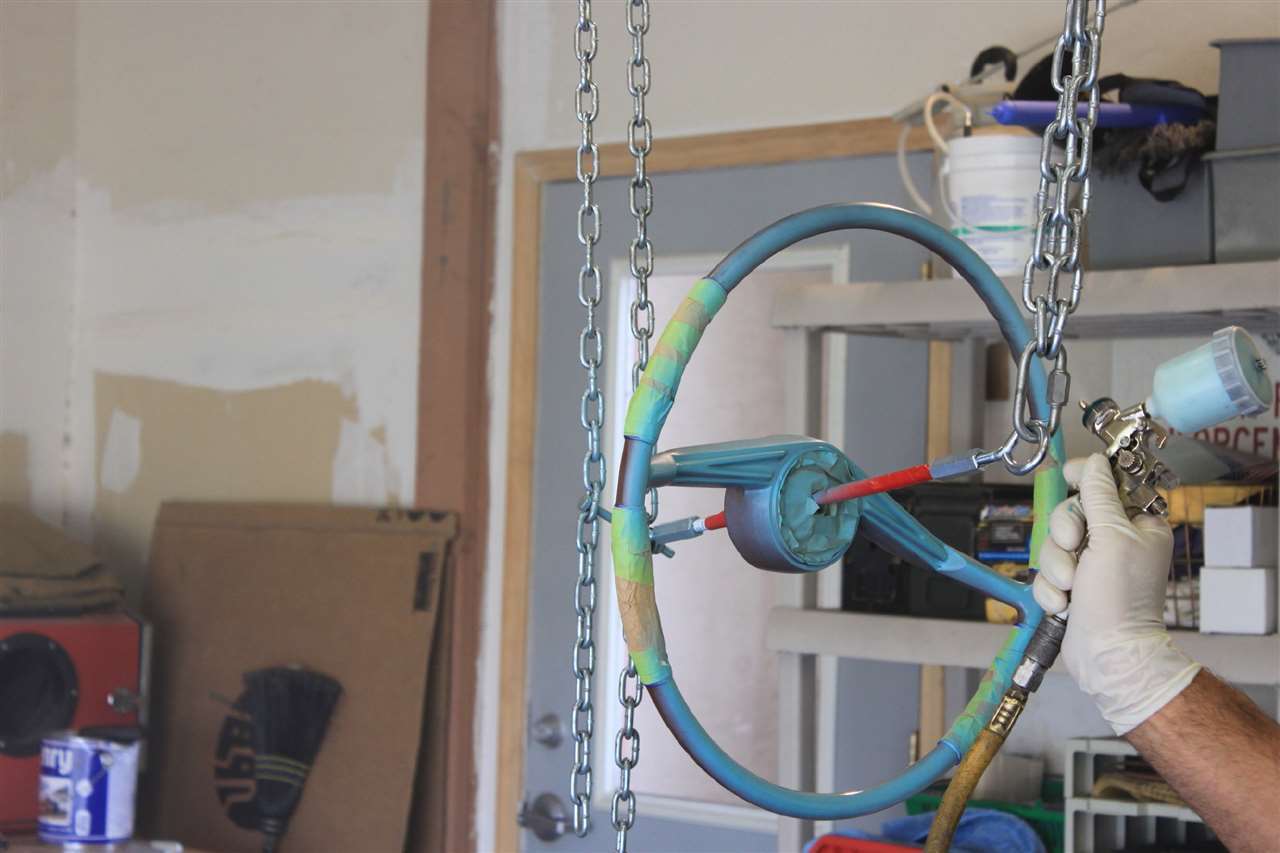 (65.32 KB) (65.32 KB)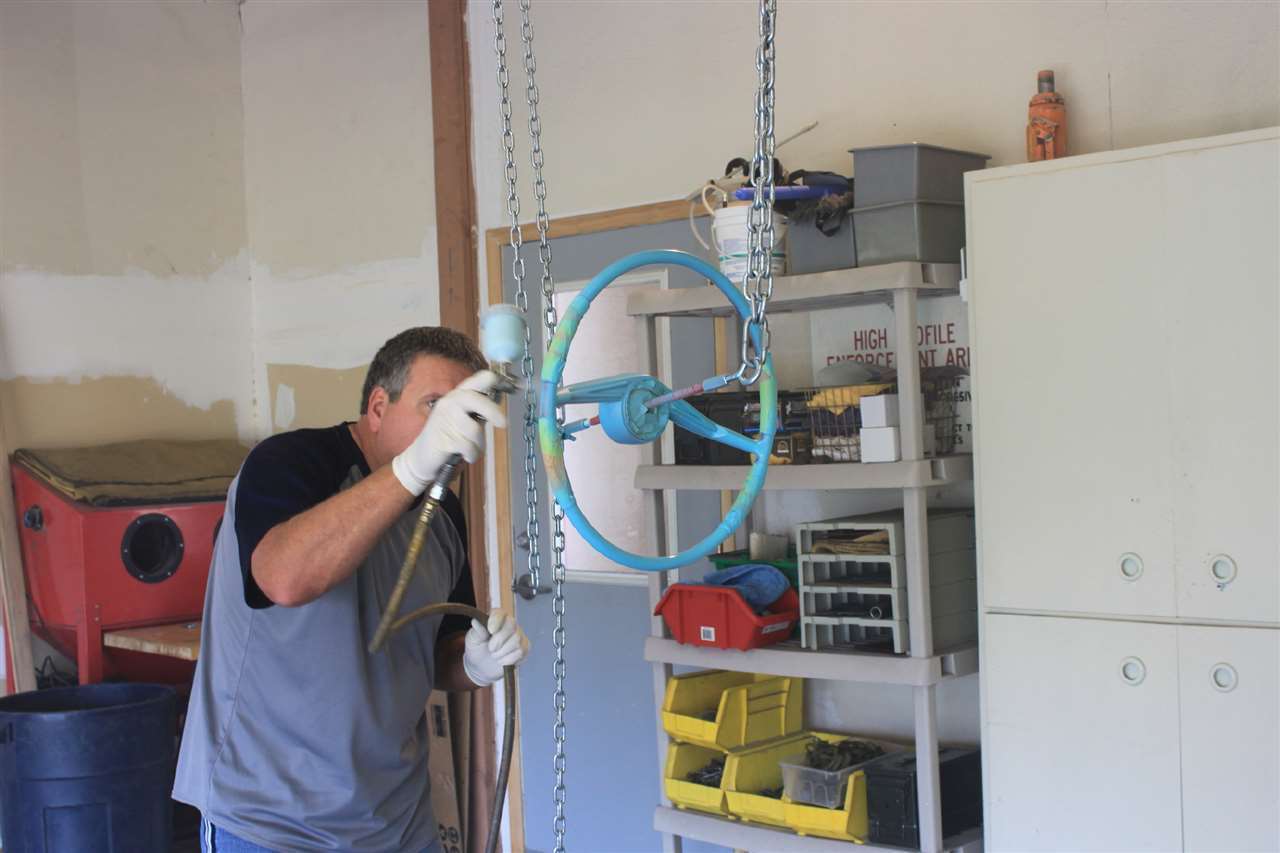 (69.09 KB) (69.09 KB)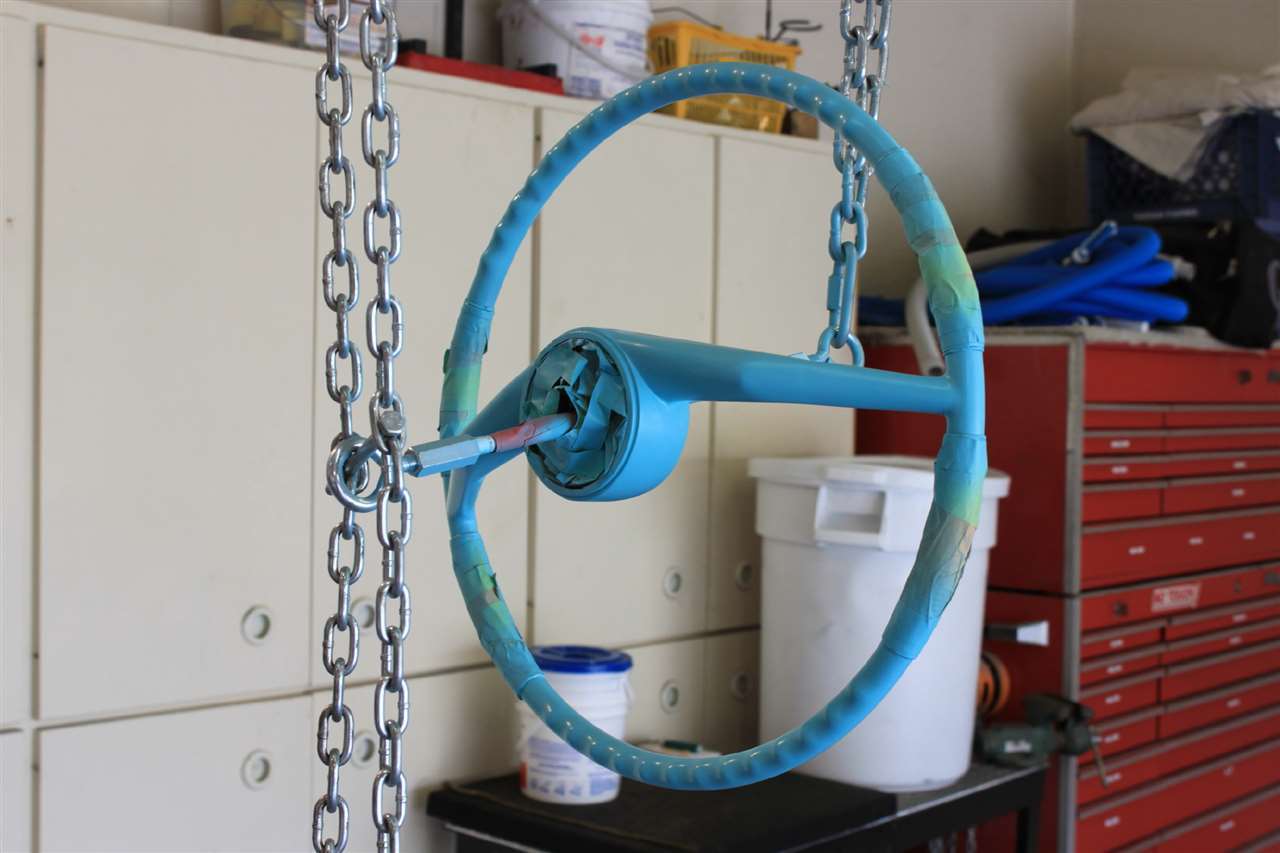 (66.37 KB) (66.37 KB)
Posted on: 2012/6/3 16:26
|
|||
|
||||
|
Re: Kevin AZ's - 1955 Packard Senior Steering Wheel Restoration
|
||||
|---|---|---|---|---|
|
Home away from home
|
Time to strip and re-tape so the white color can be applied.
Attach file: (75.44 KB)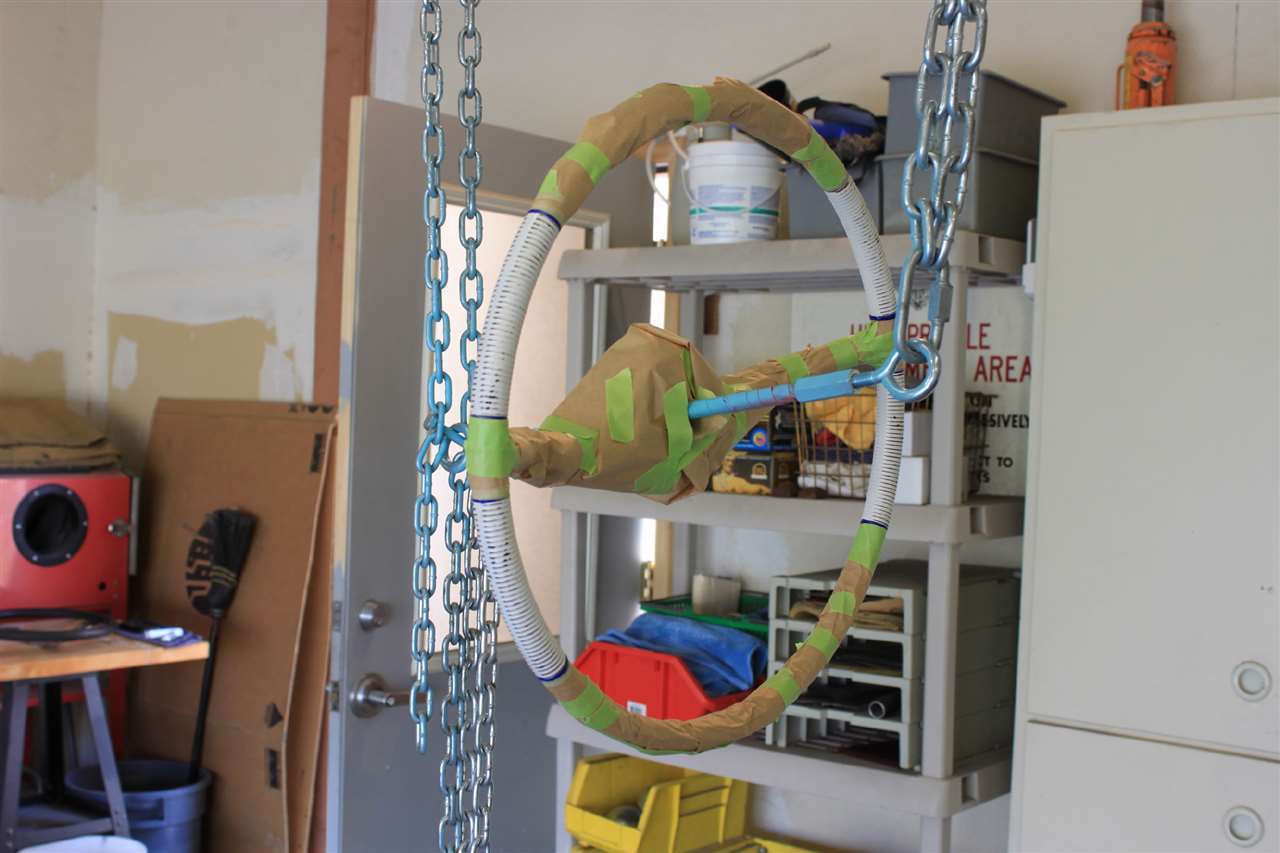 (80.10 KB) (80.10 KB)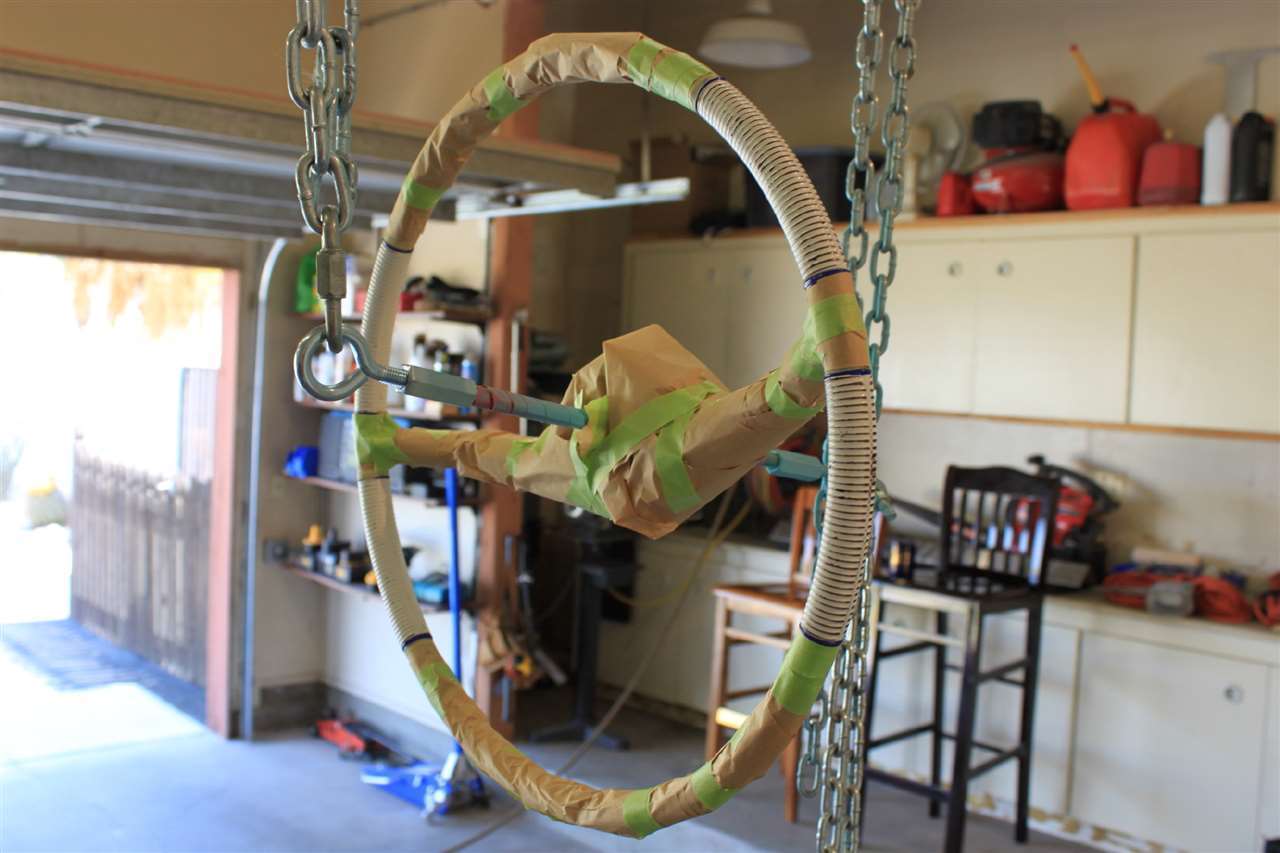
Posted on: 2012/6/3 16:33
|
|||
|
||||
|
Re: Kevin AZ's - 1955 Packard Senior Steering Wheel Restoration
|
||||
|---|---|---|---|---|
|
Home away from home
|
Once the white was applied........it was time to strip the paper from the wheel and get ready to spray clear onto the wheel.
Attach file: (65.40 KB)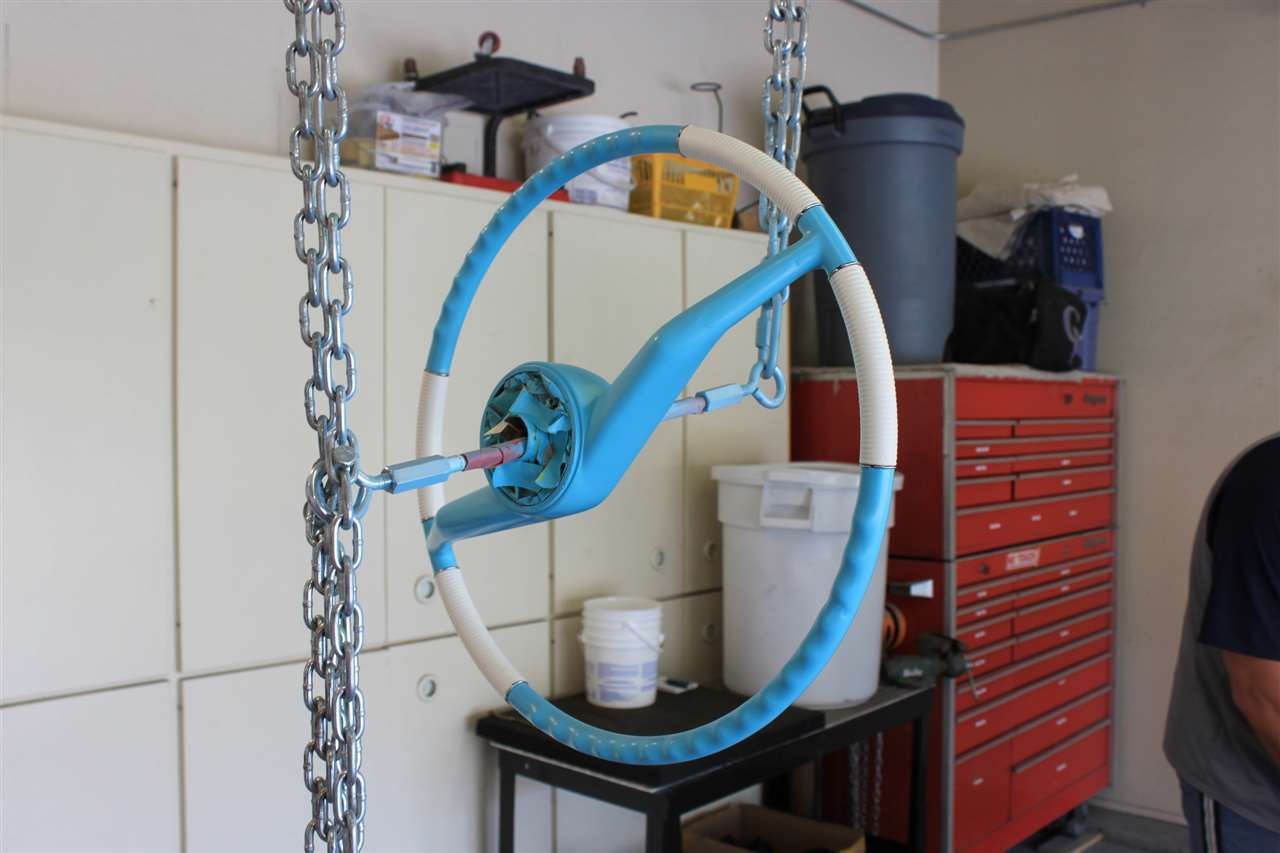
Posted on: 2012/6/3 16:37
|
|||
|
||||
|
Re: Kevin AZ's - 1955 Packard Senior Steering Wheel Restoration
|
||||
|---|---|---|---|---|
|
Home away from home
|
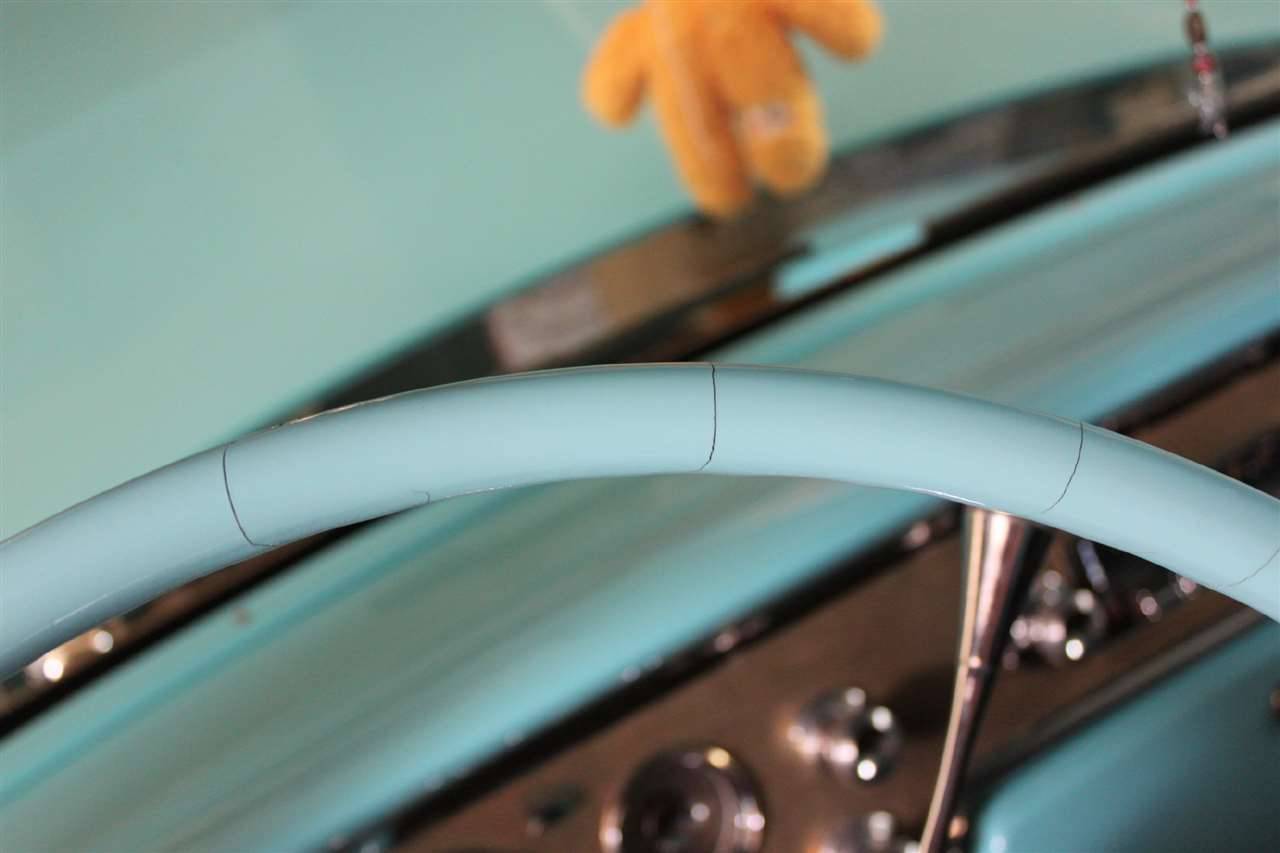
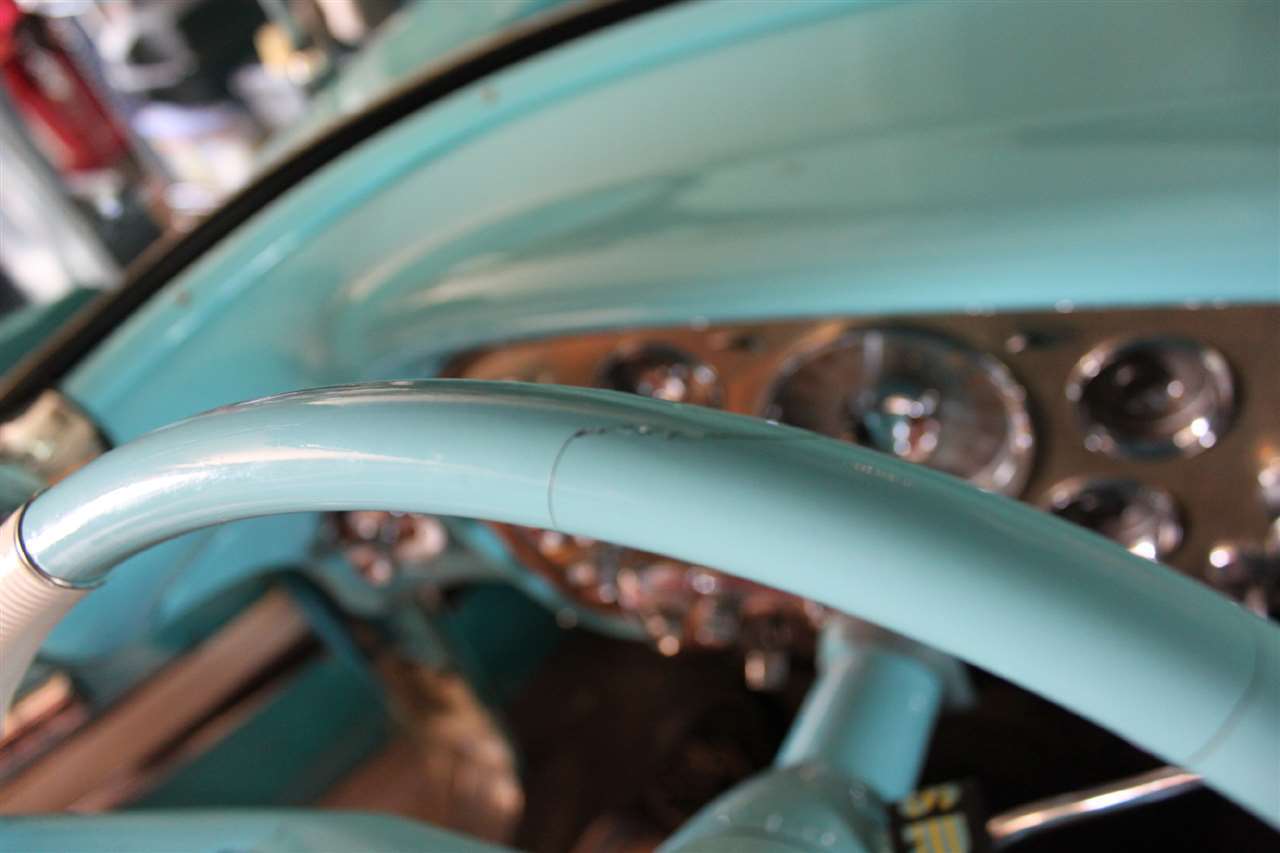
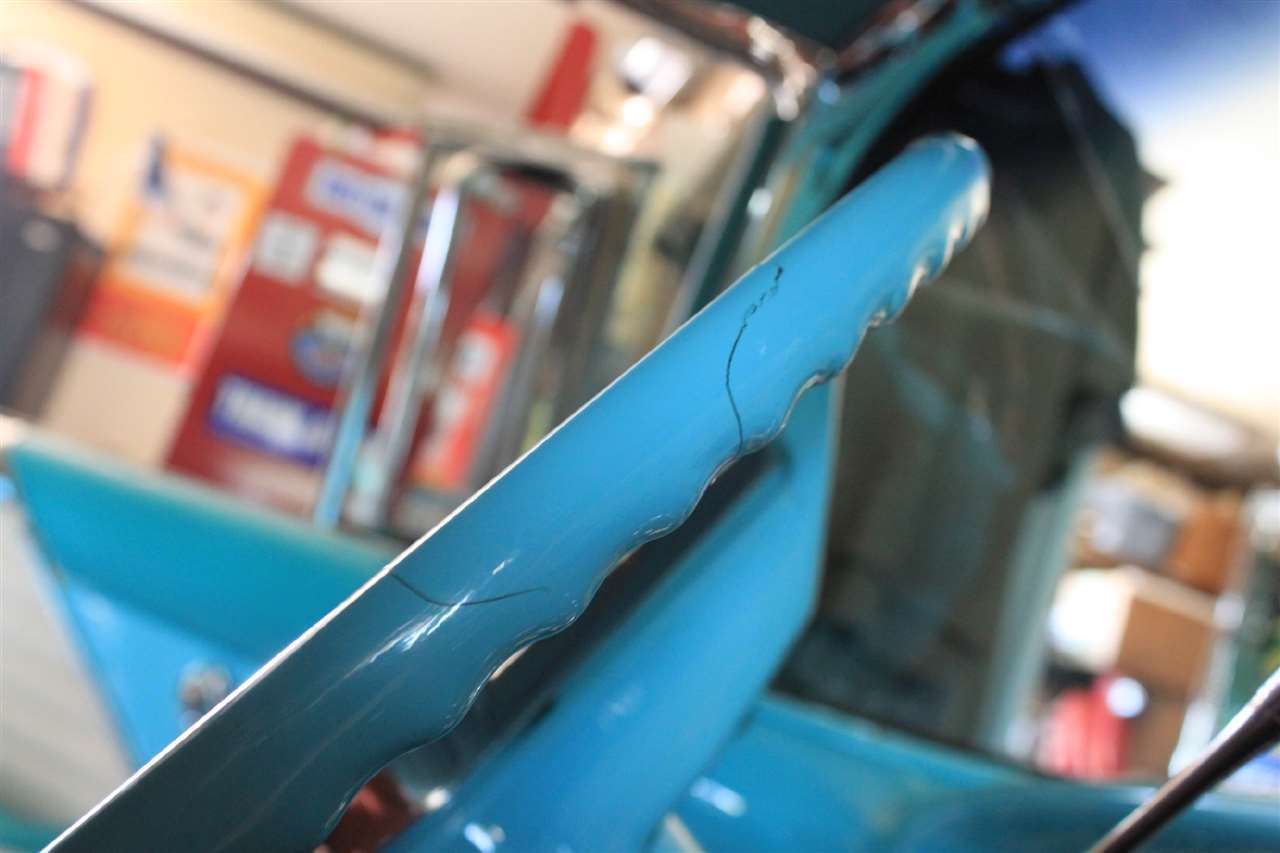
Here are pictures of the wheel with the clear applied. As seen I have some 'patina' already built into my wheel. Perfection is to be pursued but I'm very happy with the result. Now let it fully dry for 24 hours untouched.
Attach file: (67.93 KB)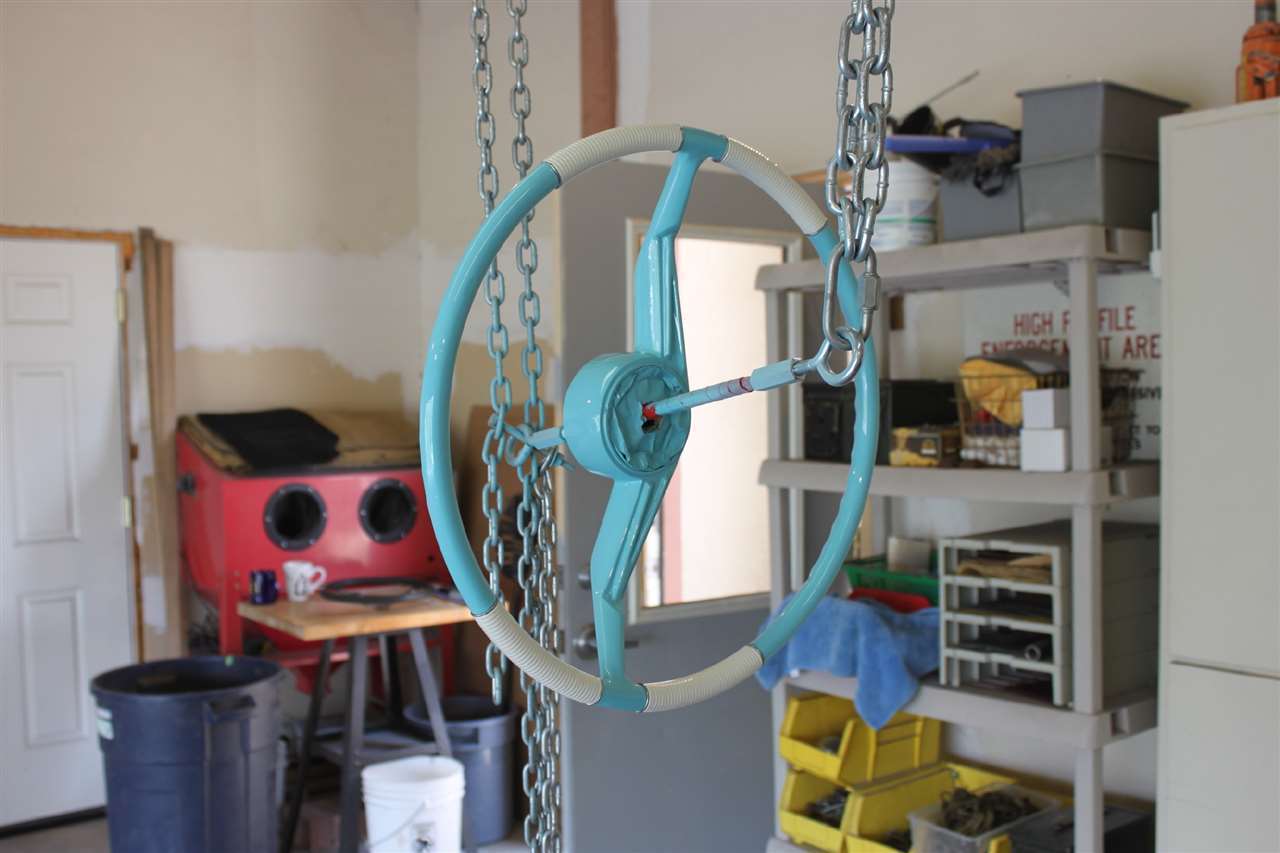 (68.92 KB) (68.92 KB)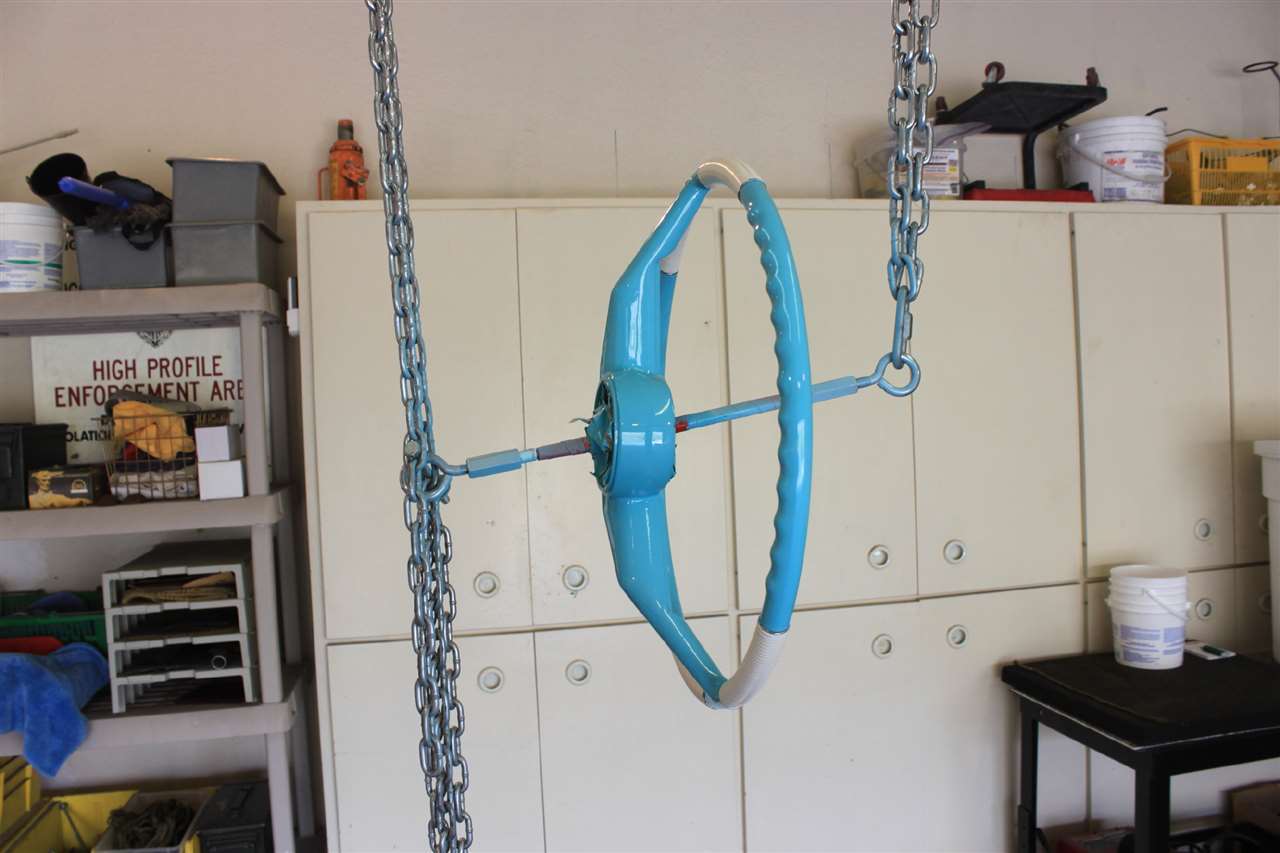 (60.29 KB) (60.29 KB)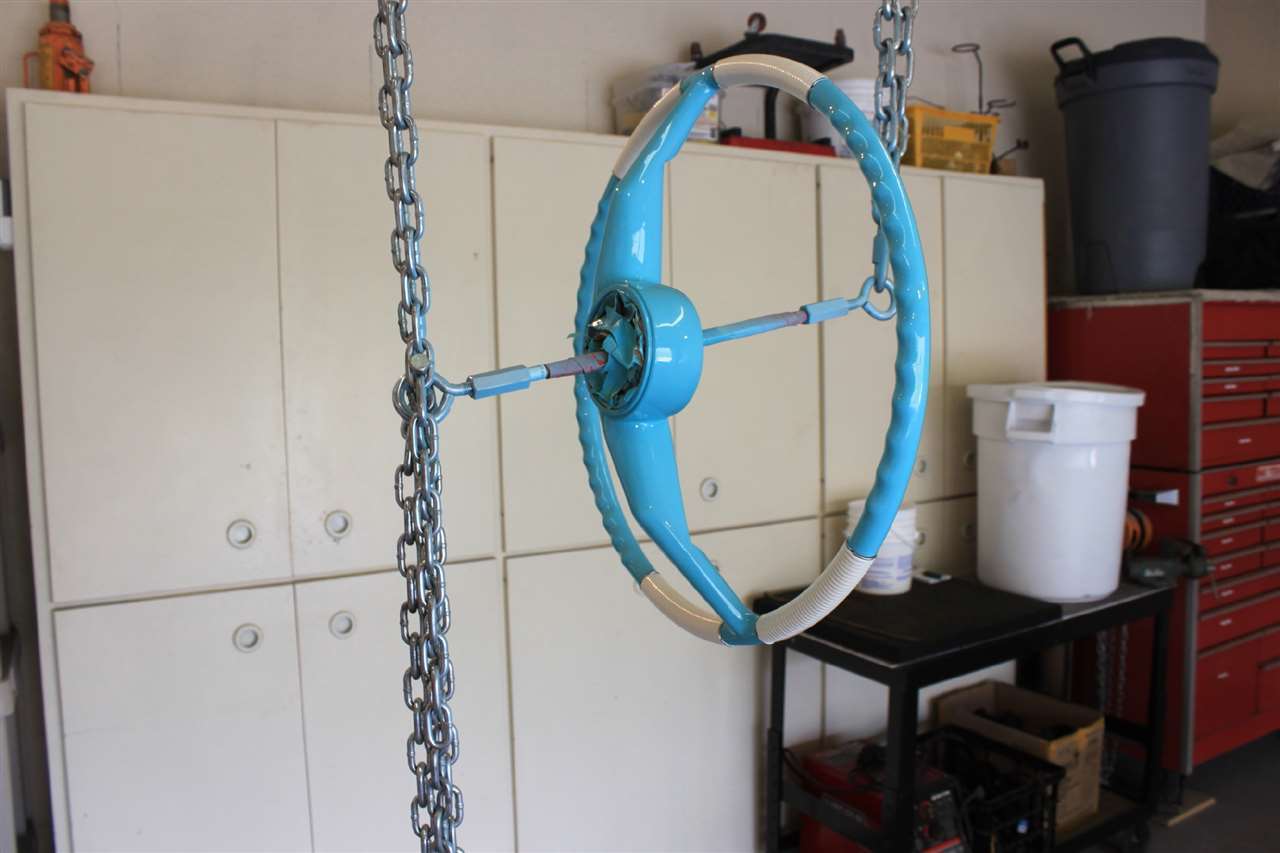 (66.83 KB) (66.83 KB)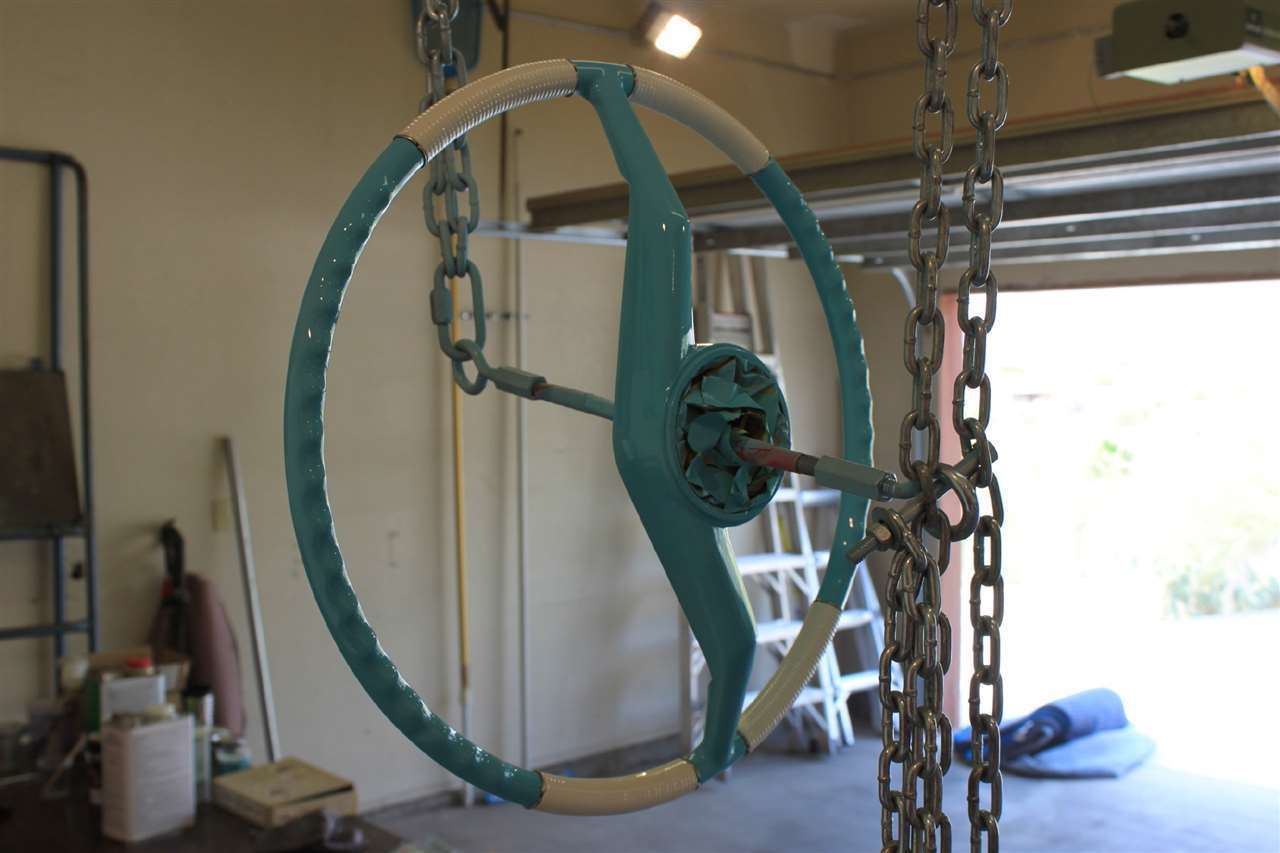 (40.06 KB) (40.06 KB)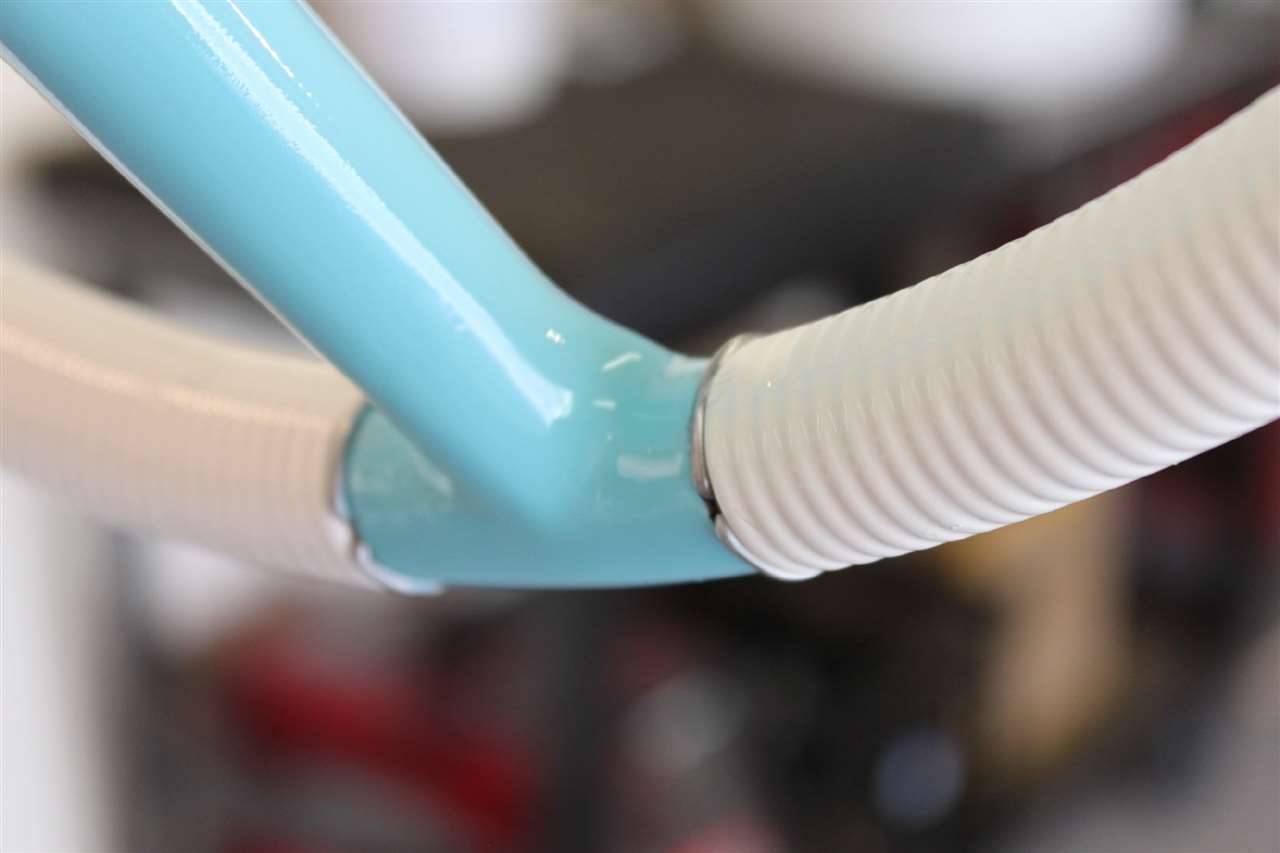 (42.33 KB) (42.33 KB)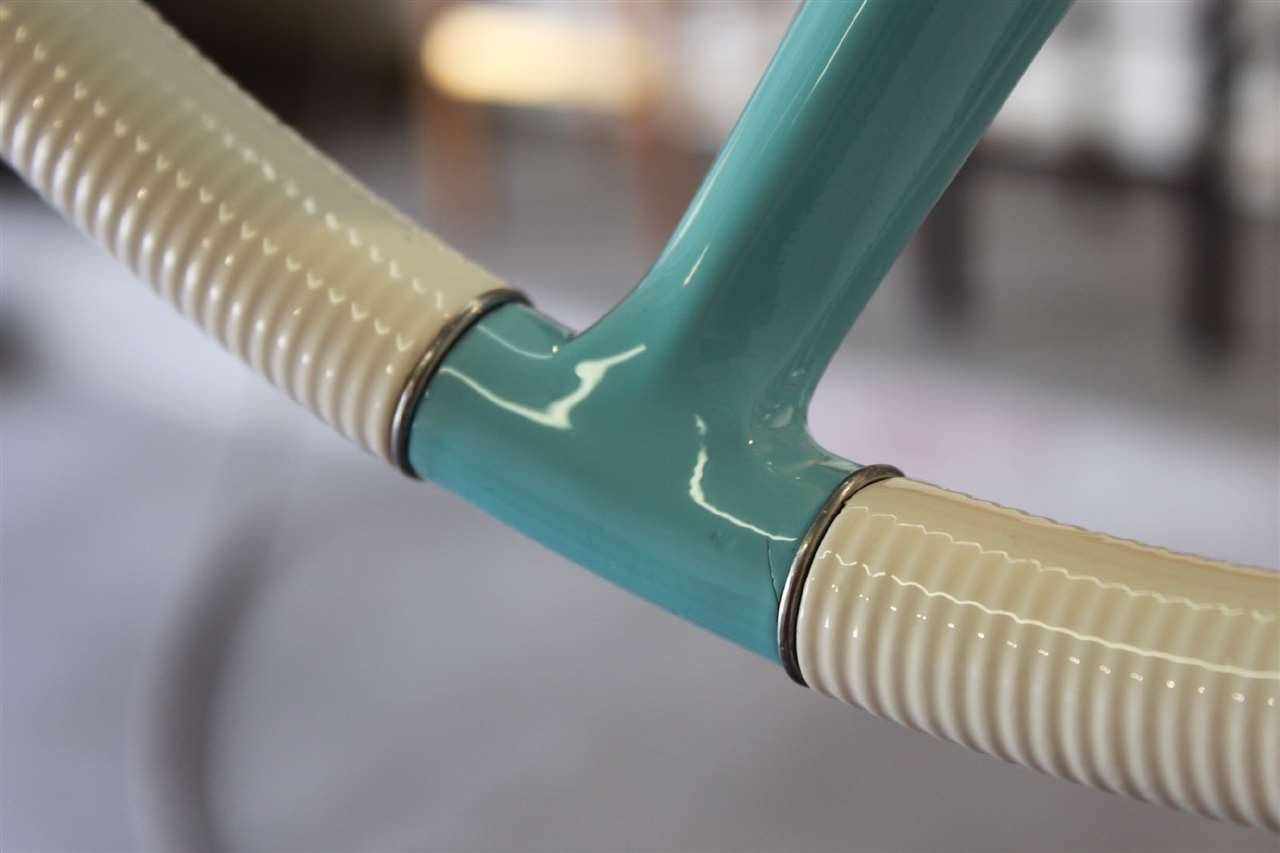 (31.93 KB) (31.93 KB)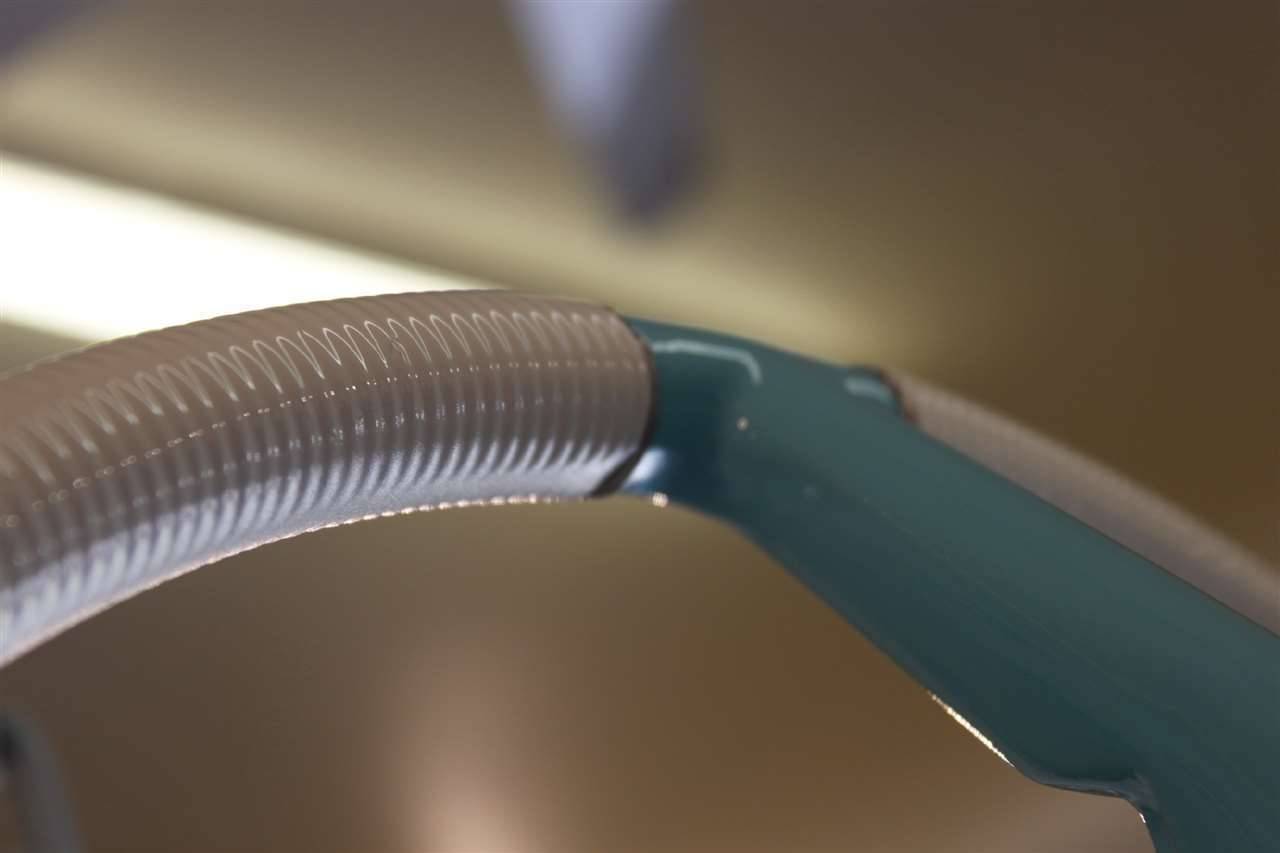
Posted on: 2012/6/3 16:45
|
|||
|
||||


.jpg")


