|
Re: Finally making progress on my 53!!!!
|
||||
|---|---|---|---|---|
|
Home away from home
|
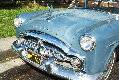
The first pic is of the engine, almost ready to get dropped in (I use the term dropped in lightly... The chain hoist at school can barely lift the thing). Before it goes in I'm going to paint the block and oil pan black, and the head and air cleaner are going to be the same gold 'flake as the side covers. I'm still debating weather or not to paint the firewall black or leave it white so it's easy to see anything I drop, wires, etc... What do you guys think?
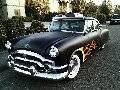
The other pic is of my car, Jezebel, all taken apart for reassembly (minus the hood being taken off, that's for tomorrow). I'll post more pics as it progresses along. Only have 2 hours a day during school to work on 'er. Luckily Wednesday is the start of finals week and I'll have a solid 4 hours to work! Attach file:  (89.70 KB) (89.70 KB) (98.06 KB) (98.06 KB) (68.27 KB) (68.27 KB)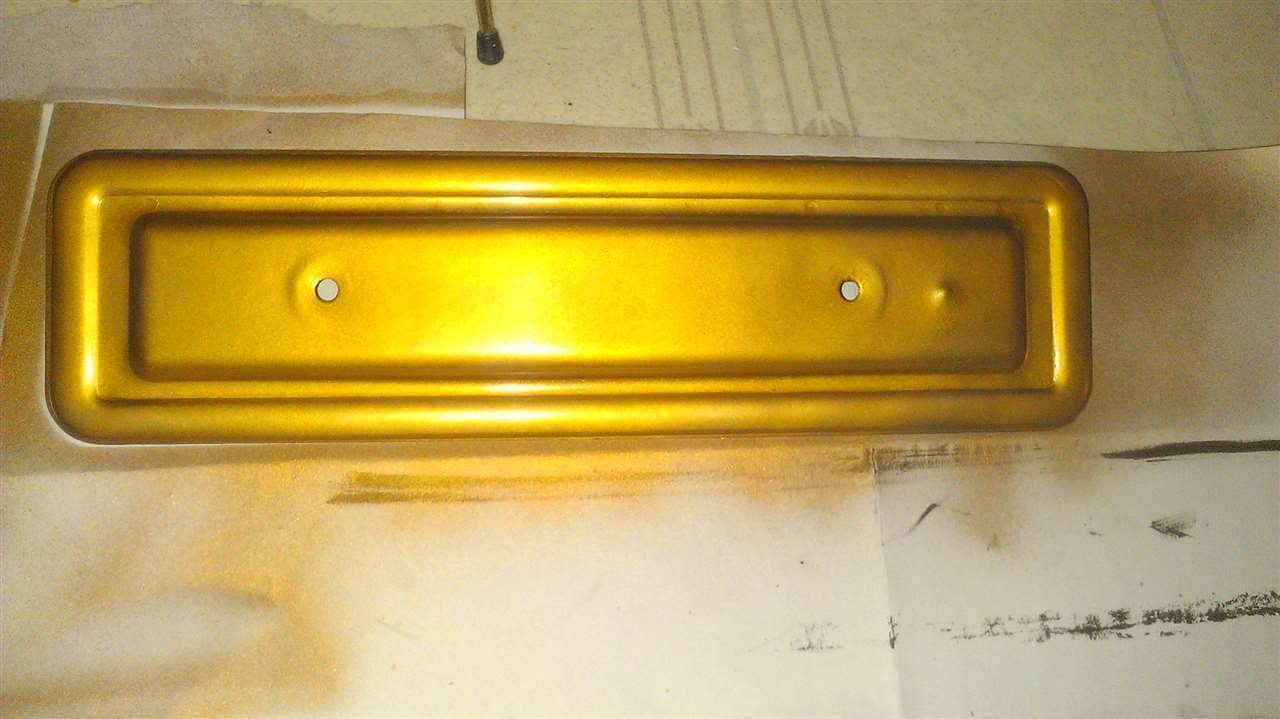
Posted on: 2012/1/9 20:26
|
|||
|
||||
|
Re: Finally making progress on my 53!!!!
|
||||
|---|---|---|---|---|
|
Home away from home
|
I overhauled my 51 200 last year. I found that removing the hood, radiator and horizontal support bracket for the radiator made it much easier to install the motor. I tried attaching the engine with the transmission in the car, but finally gave up after about 15 tries and removed the transmission. I set the transmission on a furniture dolly on the floor and used the engine hoist to line up the engine. It bolted up slick as you please that way and saved me much frustration. The only think is that I cut the radiator support bracket and later welded it back on. I probably could have removed the entire bracket, but cutting and welding was pretty easy. I like the flames on the car - should be good for at least another 10 mph on the top end. I would suggest setting the tappets loose until you get at least 500 or so mile on the new engine, then tighten them up. They'll be noisy but you won't burn them.
Just noticed the chains are on the bolts are on one side. Using the ones in the middle makes it easier, as the engine will be closer to level. Good luck!
Posted on: 2012/1/9 20:34
|
|||
|
||||
|
Re: Finally making progress on my 53!!!!
|
||||
|---|---|---|---|---|
|
Home away from home
|
Flames at HP for sure!! LOL
Guess I should've specified... The motor isn't new-new, just new to me. It's out of a '54 that was a driver. When I took the old engine out I removed the whole core support, which was a total pain! Wish now I would've cut and rewelded as you did. Woulda been way less hassle. The chains are like that for moving it around with no trans on it... I found a kool old Chilton's manual at school that shows where to mount the chain in the perfect spot. Was sure interesting pulling the motor last year at school with none of us knowing how to deal with such a behemoth piece of iron!
Posted on: 2012/1/9 20:49
|
|||
|
||||
|
Re: Finally making progress on my 53!!!!
|
||||
|---|---|---|---|---|
|
Home away from home
|
Here is the engine all painted up. Just about ready to go!!! All that's left is hooking up the tranny.... Hopefully by the end of tomorrow the engine will be in the car and I can start hooking up the rest of it.
I've been wanted to do straight lakes pipes on this car... How well do these motors handle being straight piped? Do they need much back pressure? Attach file: (67.37 KB)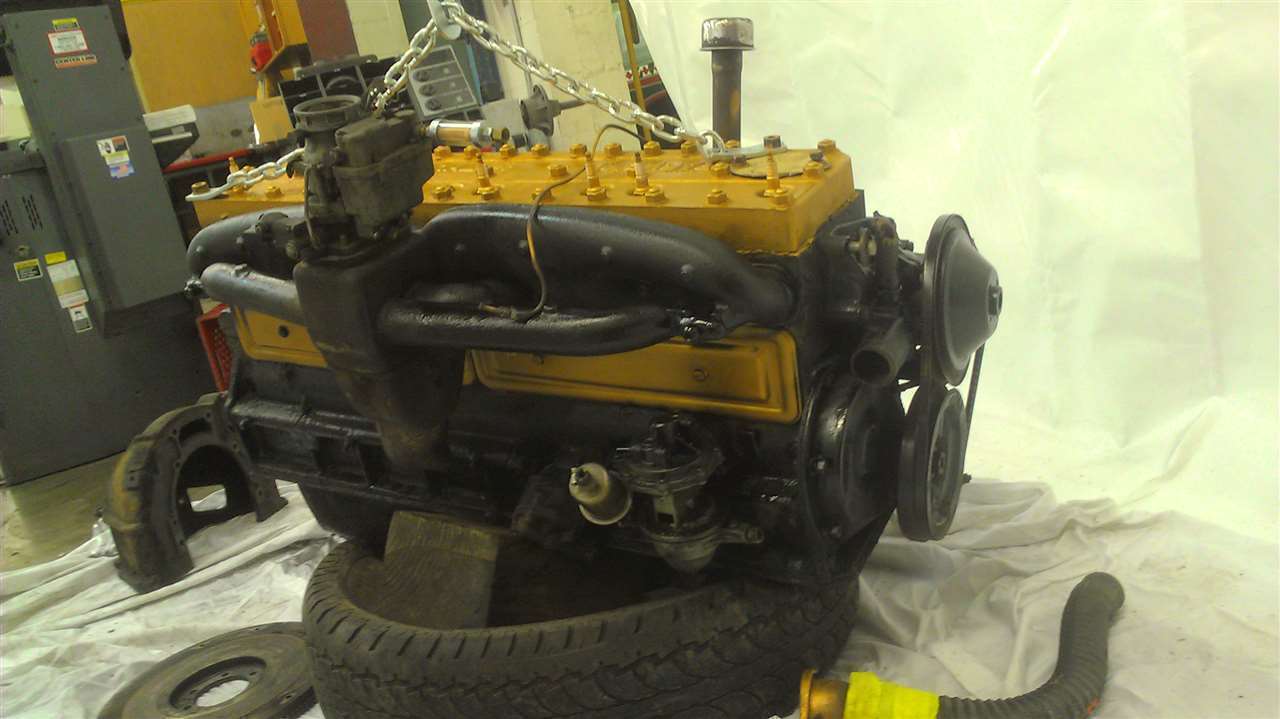
Posted on: 2012/1/10 23:29
|
|||
|
||||
|
Re: Finally making progress on my 53!!!!
|
||||
|---|---|---|---|---|
|
Just can't stay away
|
Quote:
Before it goes in I'm going to paint the block and oil pan black, and the head and air cleaner are going to be the same gold 'flake as the side covers. I was going to suggest you paint it the original gray color until I saw the picture of the car. Never mind.
Posted on: 2012/1/11 15:56
|
|||
|
||||
|
Re: Finally making progress on my 53!!!!
|
||||
|---|---|---|---|---|
|
Home away from home
|
Quote:
Hahahaha yeah, it's not exactly a stock resto.... I want this build to look like a mild Kustom you might've seen on the street around 58-62. I've seen a lot of gold engines in the little books from that time period. I think it looks classy enough to be in a Packard.... At least it's not grabber green or something awful like that!!! LOL Here are some pics of the install... Only bummer is I can't work on it again until next Wednesday.... Finals week means no auto shop the test of the week, and It's a four day weekend. Never thought I would be bummed about a vacation! Hahahaha! Attach file: (93.02 KB)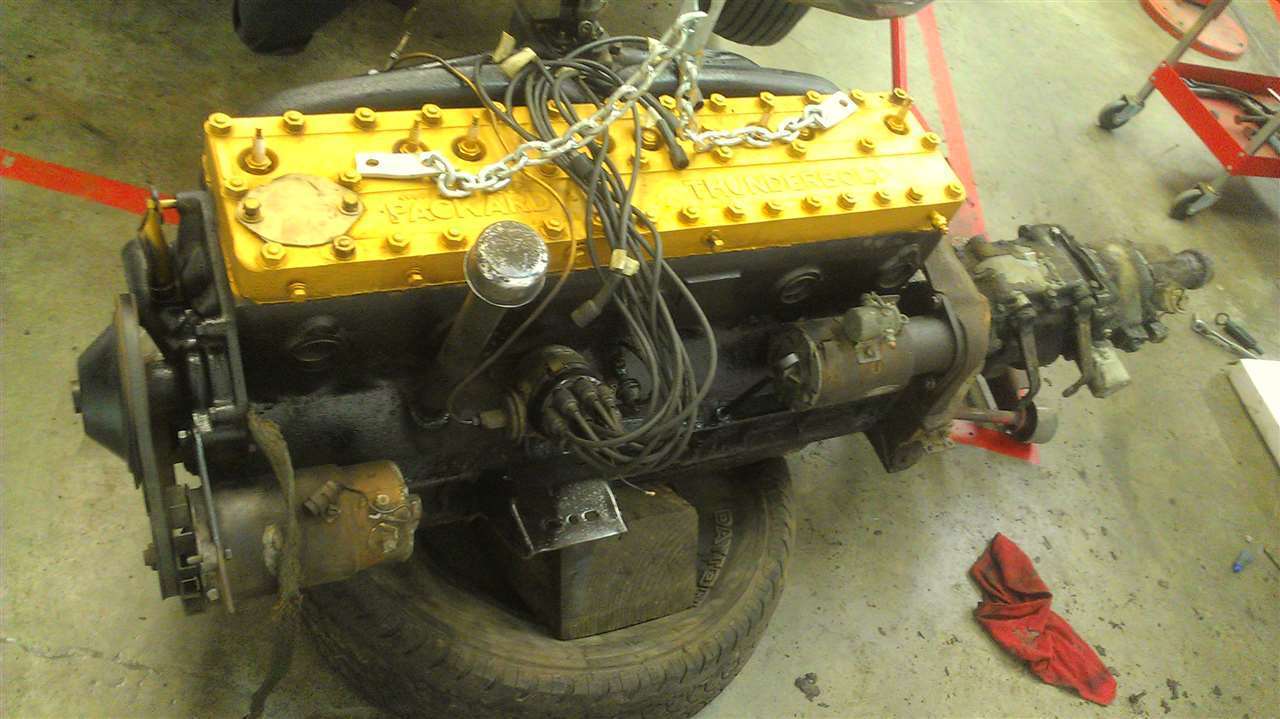 (87.99 KB) (87.99 KB)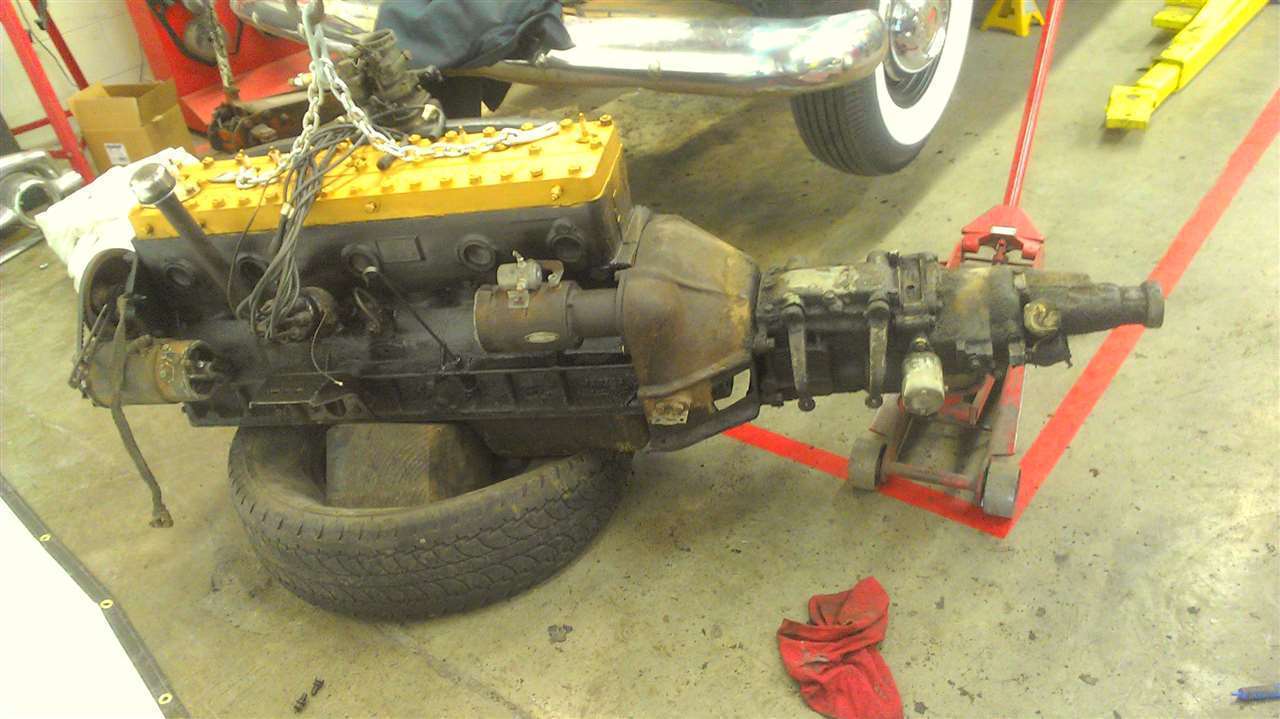 (98.18 KB) (98.18 KB)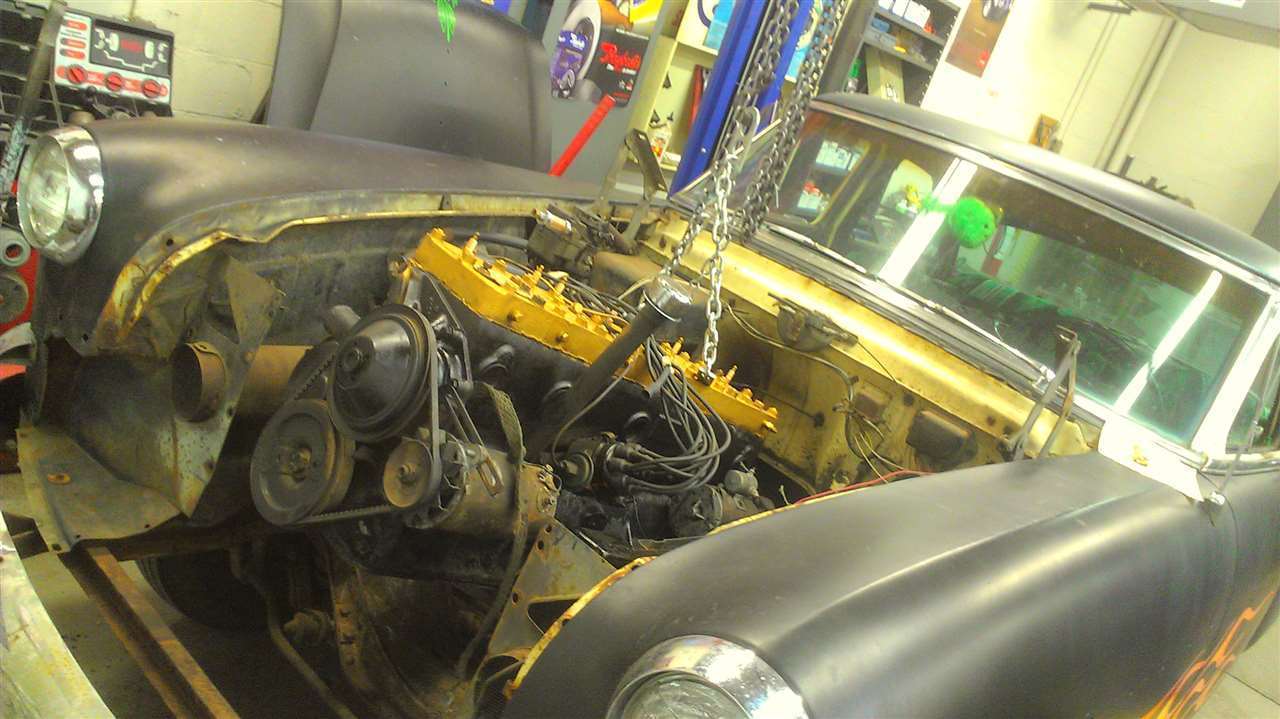 (95.34 KB) (95.34 KB)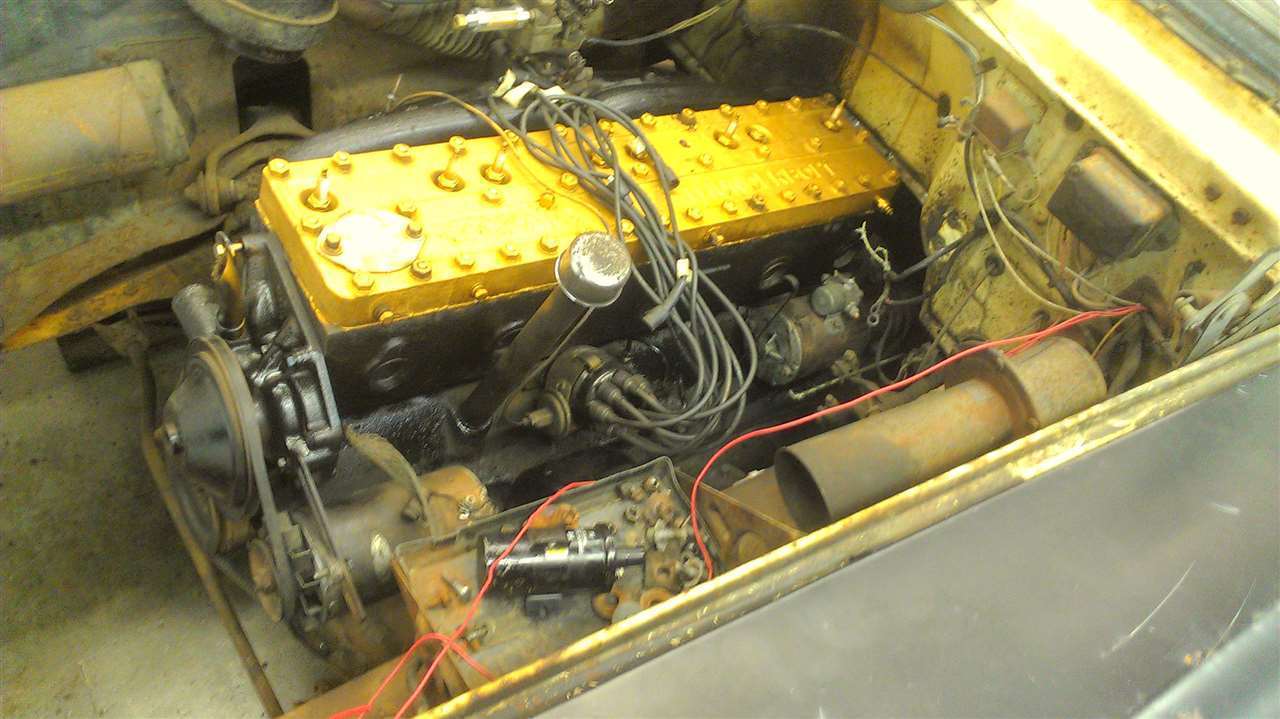
Posted on: 2012/1/12 2:05
|
|||
|
||||
|
Re: Finally making progress on my 53!!!!
|
||||
|---|---|---|---|---|
|
Home away from home

|
How about painting the "PACKARD THUNDERBOLT" in black to make it stand out?
Posted on: 2012/1/12 7:54
|
|||
|
"Do you ever think about the things you do think about?"
Inherit the Wind |
||||
|
||||
|
Re: Finally making progress on my 53!!!!
|
||||
|---|---|---|---|---|
|
Home away from home
|
Quote:
Hey Fory, I'm not familiar with your project but I'm guessing that you're a student in High School and the photos apparently were taken in the school auto shop? Anyways, I certainly admire your enthusiasm and personally support the goal that you've set for yourself. When you have the opportunity, please go in the "General Forum" and read the post "Recruiting the Next Generation". Us "old timers" would like to see what you have to say after you read our comments about passing the "Packard Legend" down through the generations. Your car appears to be coming along quite nicely, the body appears to be in good condition and I'm thrilled that you didn't choose to go the radical route and butcher the old girl by dropping in late model running gear or giving her a facelift. These old cars deserve respect and many of us are thrilled to know that there are young men such as yourself that have been bitten by the Packard bug! There will always be purists who will stick their nose up at your modifications but most will simply support you for keeping another Packard on the road to promote the name and draw interest so keep at it no matter what...just don't chop the top or french the tailights...try not to modify anything that can't be changed back to the original equipment or looks of the car and in so doing, you will be preserving a piece of history that will never repeat itself and would be impossible to replace...  So with that said, here's to hoping that you are surrounded by a hoard of envious and jealous friends and keep us posted of your progress too! Gary
Posted on: 2012/1/12 8:17
|
|||
|
||||
|
Re: Finally making progress on my 53!!!!
|
||||
|---|---|---|---|---|
|
Home away from home
|
Thanks for the kind words, man! I have seen one Packard, I think it was a 51, with a really, really nice chop.... It looked very period correct. Everything else was kept stock. My car will never have anything that radical done to it, though! We have a 50 Ford for doing that to. LOL! I plan to shave the trim forward of the quarters, and move the spearheaded to the door. The fins have been shaved, as have the reverse lights (I am keeping the lenses for another project, the placement of them was terrible) and I'm looking for a set of 53 Buick headlight bezels. I'm only doing mods that someone my age could've afforded in the late 50s, early 60s.
Yep, I'm a senior at McKinleyville High School this year. All the pics were taken at school. I'm grateful we have such a kool teacher that would let us work on projects there! My buddy has a 67 Nova in there that we're doing a bunch of bodywork to. And as a class project we're build a Model A sedan-turned-pheaton, however slow moving it is (It's only a body and frame so far. Has potential, though, and will be a sweet hot rod!). Today I was able to finish a test early and get into shop to do a little work. Didn't have a whole lot of time, but I wired up the ignition and got the coil mounted. Tomorrow I'll be able to get in the during metal shop and put it on the lift to put in the trans crossmember, shift & clutch linkage, and install the drive shaft. Hopefully I'll have time to add oil and do a comp test, but that might have to wait til next week. Anyhow, here's a pic of the trim mocked up! Attach file: (89.70 KB)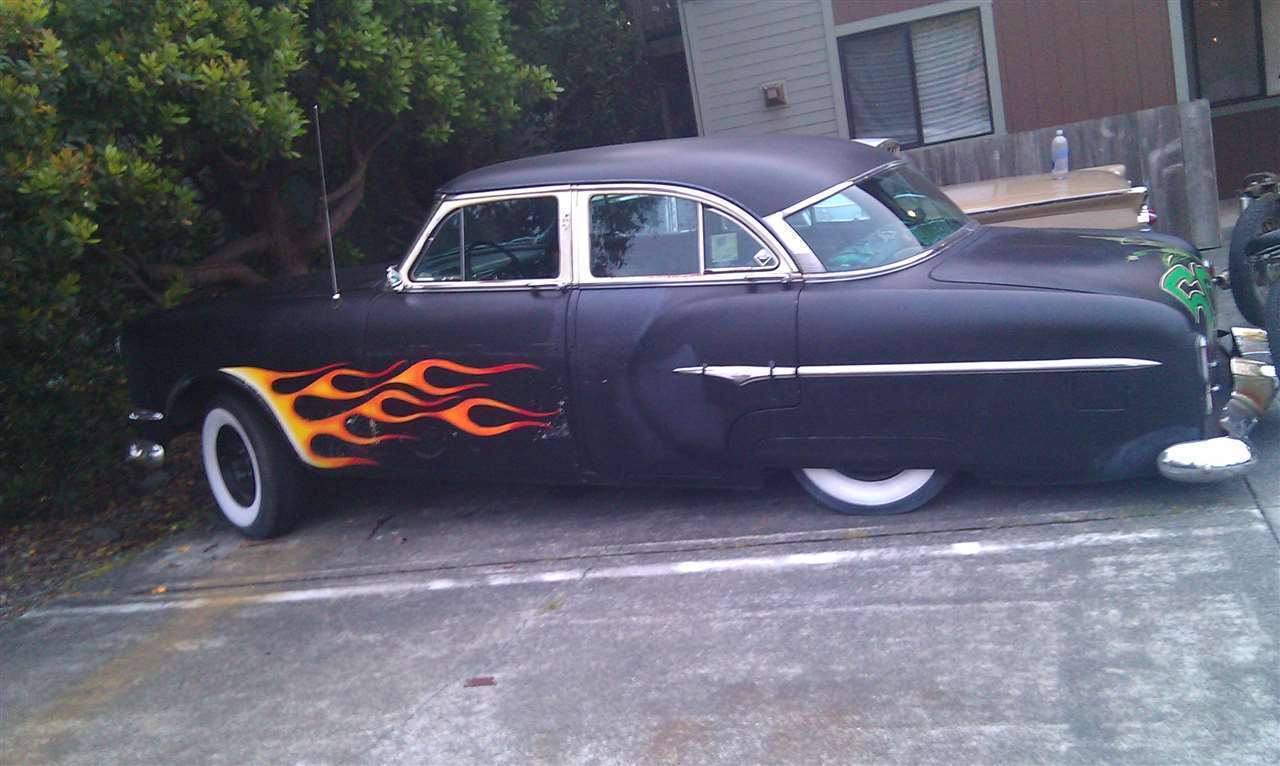
Posted on: 2012/1/13 0:17
|
|||
|
||||


