|
'38 horn ring
|
||||
|---|---|---|---|---|
|
Home away from home

|
1938 Super
3 screws the hold the Horn Ring to Str Whl Are they a special something?
Posted on: 2023/4/24 17:38
|
|||
|
||||
|
Re: Mike
|
||||
|---|---|---|---|---|
|
Home away from home

|
Aerated ATF looks just like homemade strawberry Jam!
The hydraulic cyls are bled and hooked up to the roof. On the weekend I should be able to try out the whole thing. However, I found one leak I need to repair. I guess this is on the pressure side of the pump. Hope I can just tighten it down. Now I need my fuel tank back from being rebopped. Thanks for the advice on the fill process! Attach file:  20230424_214633.jpg (181.09 KB) 20230424_214633.jpg (181.09 KB)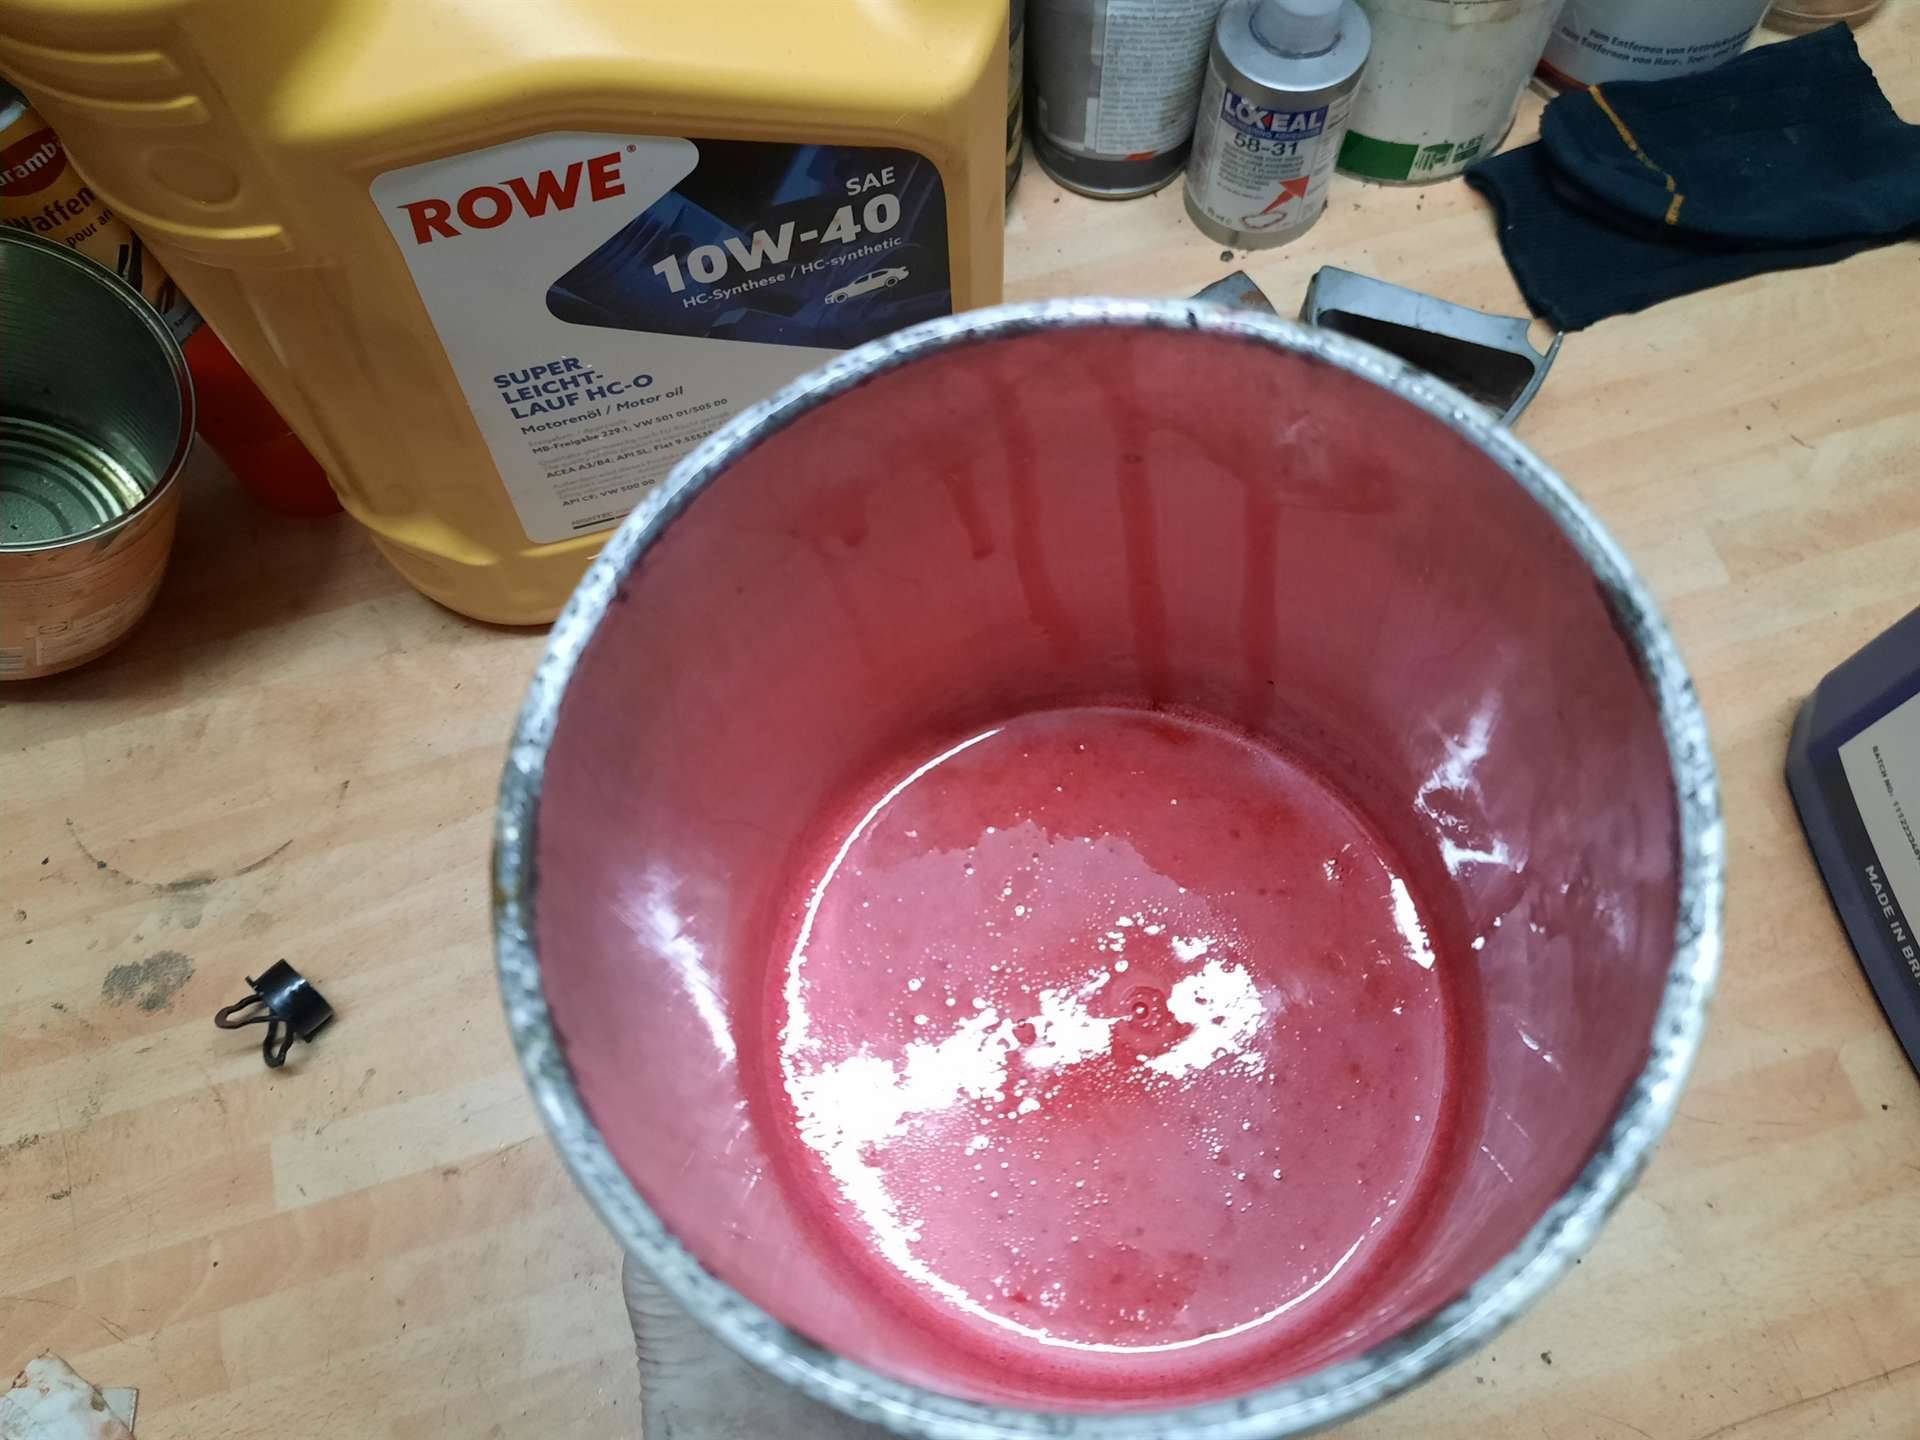  20230424_222011.png (1,096.98 KB) 20230424_222011.png (1,096.98 KB)
Posted on: 2023/4/24 15:42
|
|||
|
1953 Clipper Delux Club Sedan, 1953 Caribbean, 1969 912, 1990 Miata
|
||||
|
||||
|
Re: 1937 "120" Rebound Bumper Lower
|
||||
|---|---|---|---|---|
|
Just can't stay away
|
Yes, I was thinking on doing that, just drill another hole, but just wanted to double check if the single stud version mounted elsewhere. The Merritt description is a little misleading "Rebound Bumper Lower". it's the "lower" in the description that is a little confusing. Thanks
Posted on: 2023/4/24 13:38
|
|||
|
||||
|
Re: BigKev
|
||||
|---|---|---|---|---|
|
Webmaster

|
John, yes, it was a happy surprise when the woodgraining returned from Ron in Texas.
Posted on: 2023/4/24 12:59
|
|||
|
-BigKev
1954 Packard Clipper Deluxe Touring Sedan -> Registry | Project Blog 1937 Packard 115-C Convertible Coupe -> Registry | Project Blog |
||||
|
||||
|
Re: DIY Torsion level control switch conversion
|
||||
|---|---|---|---|---|
|
Home away from home
|
Quote:
Thank you so much for this!! this is amazing!! when I finish maintenance up on my truck I will try this mod!!
Posted on: 2023/4/24 12:45
|
|||
|
||||
|
Re: Identify trunk rack
|
||||
|---|---|---|---|---|
|
Not too shy to talk

|
I can confirm that it will not fit a 35 1202. Ours are mounted and a direct part of the bumper mounting.
Attach file: IMG_20230424_093003305.jpg (287.05 KB)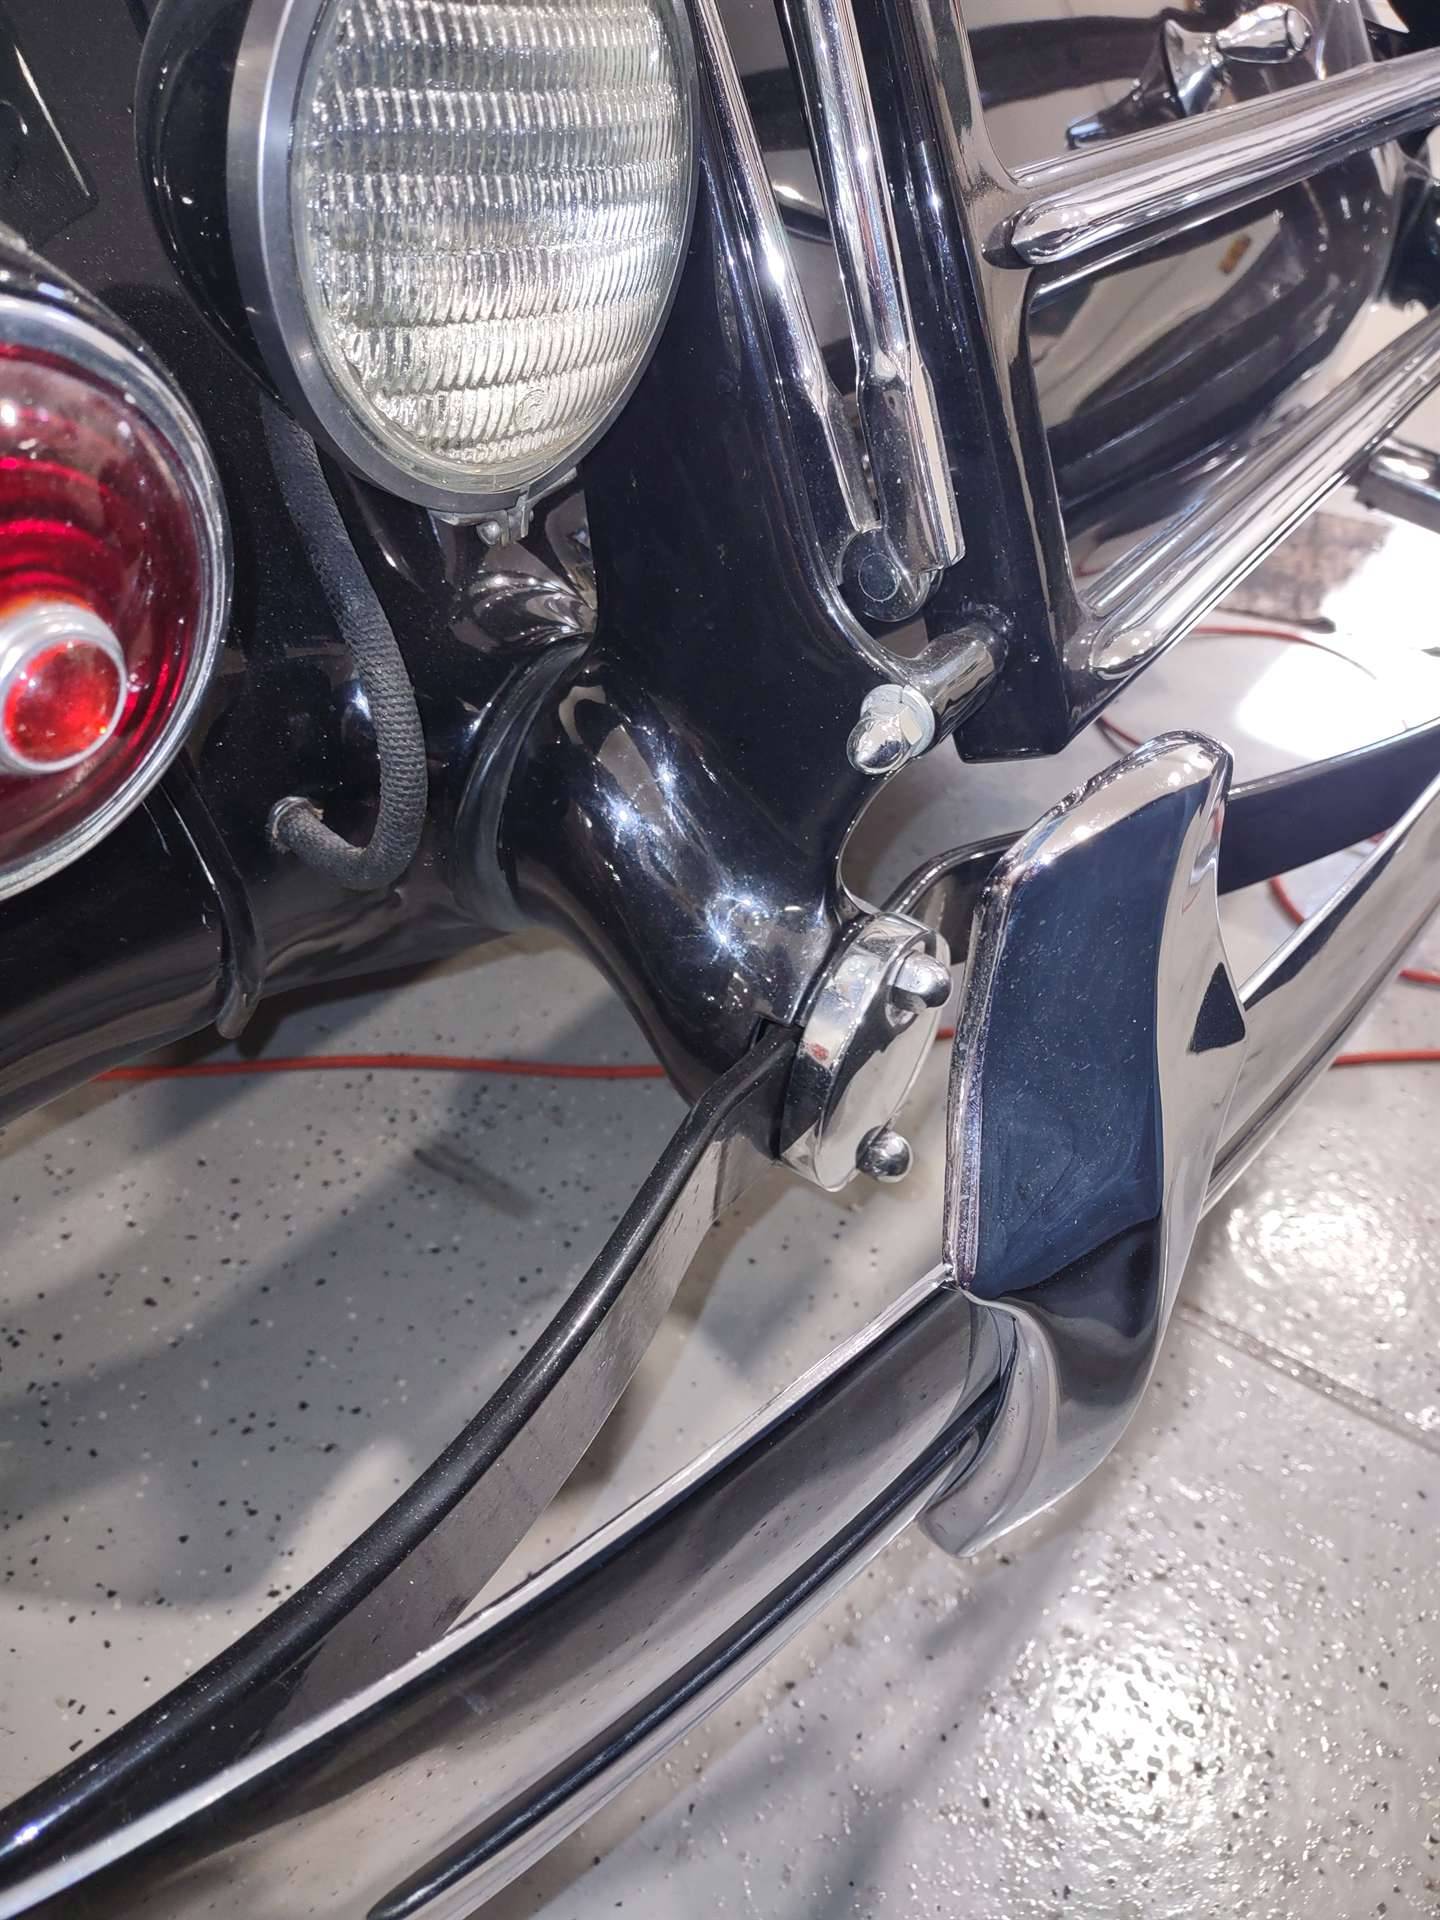 IMG_20230424_093050688_HDR.jpg (248.98 KB) IMG_20230424_093050688_HDR.jpg (248.98 KB) IMG_20230424_093025790.jpg (298.61 KB) IMG_20230424_093025790.jpg (298.61 KB)
Posted on: 2023/4/24 12:35
|
|||
|
||||
|
Re: BigKev
|
||||
|---|---|---|---|---|
|
Home away from home

|
I like the way the steering wheel and instrument panel wood graining match. Very attractive.
Posted on: 2023/4/24 11:49
|
|||
|
We move toward
And make happen What occupies our mind... (W. Scherer) |
||||
|
||||
|
Re: A few listings from Facebook Marketplace
|
||||
|---|---|---|---|---|
|
Home away from home

|
Quote:
I saw those things for sale and thought of you. Warmly, of course. Then I looked at teh picture and saw how trashed one of them was and figured that, If I wouldn't buy it, why should I refer it to you? So I didn't. FWIW, I'm looking, too. Keep your eyes open for a '47 127" WB driver's fender while you're out and about, please.
Posted on: 2023/4/24 11:40
|
|||
|
If you're not having fun, maybe it's your own damned fault.
|
||||
|
||||
|
Re: High Speed Rear End for 1941 Packard 110 club coupe?
|
||||
|---|---|---|---|---|
|
Home away from home
|
You can't beat an overdrive. With OD, you get better low speed performance plus a high speed cruising gear. You also get an on-demand "passing gear" which allows for quick pickup at speeds under 60 MPH or so.
With overdrive and the correct overdrive rear axle ratio, the car will be easier to drive in traffic and have better pickup at speeds from 5 MPH to about 35-45 MPH. Out on the highway, the engine will run about 25% slower in OD than it would with a standard transmission and axle, and much slower than a car with the optional low geared axle and no overdrive. The car should be able to cruise at 65 to 70 MPH in OD under most conditions, assuming it is in good mechanical condition. You get a quieter ride, longer engine life, and better open road fuel economy.
Posted on: 2023/4/24 11:23
|
|||
|
||||
|
Re: 1928 526/533 wooden framing
|
||||
|---|---|---|---|---|
|
Not too shy to talk
|
My 1202 needs 1 top bow in the convertible top. Can I cut from a larger piece, or does it need to be steamed and bent? I am going for authenticity.
Attach file: IMG_20230424_084108810.jpg (420.67 KB) IMG_20230424_084145825.jpg (391.39 KB) IMG_20230424_084145825.jpg (391.39 KB)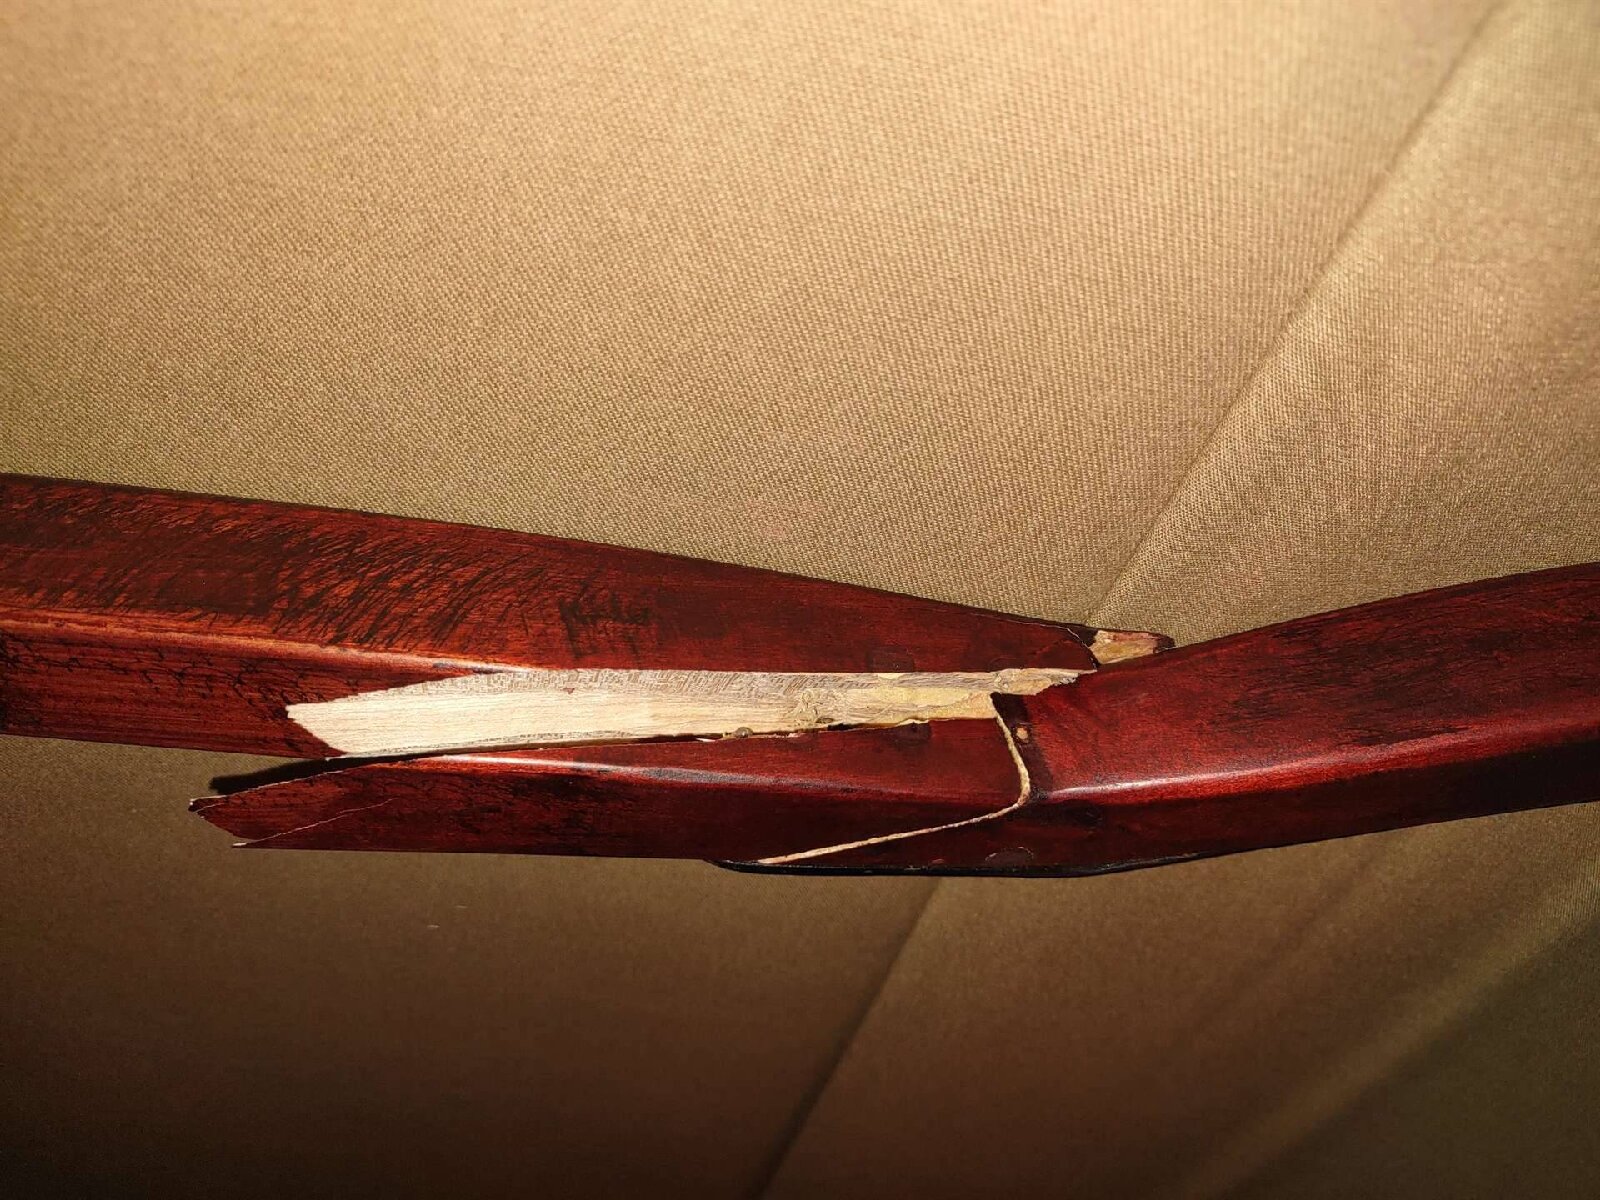
Posted on: 2023/4/24 11:12
|
|||
|
||||


