|
Re: Dash Removal
|
||||
|---|---|---|---|---|
|
Home away from home

|
Here are some behind-the-dash pix. The new disconnects I added get in the way, so you might try putting a light back there, then stick your smartphone under there and take some blind shots to see what you have to deal with.
After all the screws were out, my dash did stick along the top due to some black sealant, so it may just be stuck. Also it may be hung up on the wiper control. Be careful because you don't want to bend the fork that comes out from the wiper motor toward the control. There is a nut holding the control. Attach file:  dashbackspeedo1.jpg (314.26 KB) dashbackspeedo1.jpg (314.26 KB) dashbackCenter1.jpg (214.78 KB) dashbackCenter1.jpg (214.78 KB)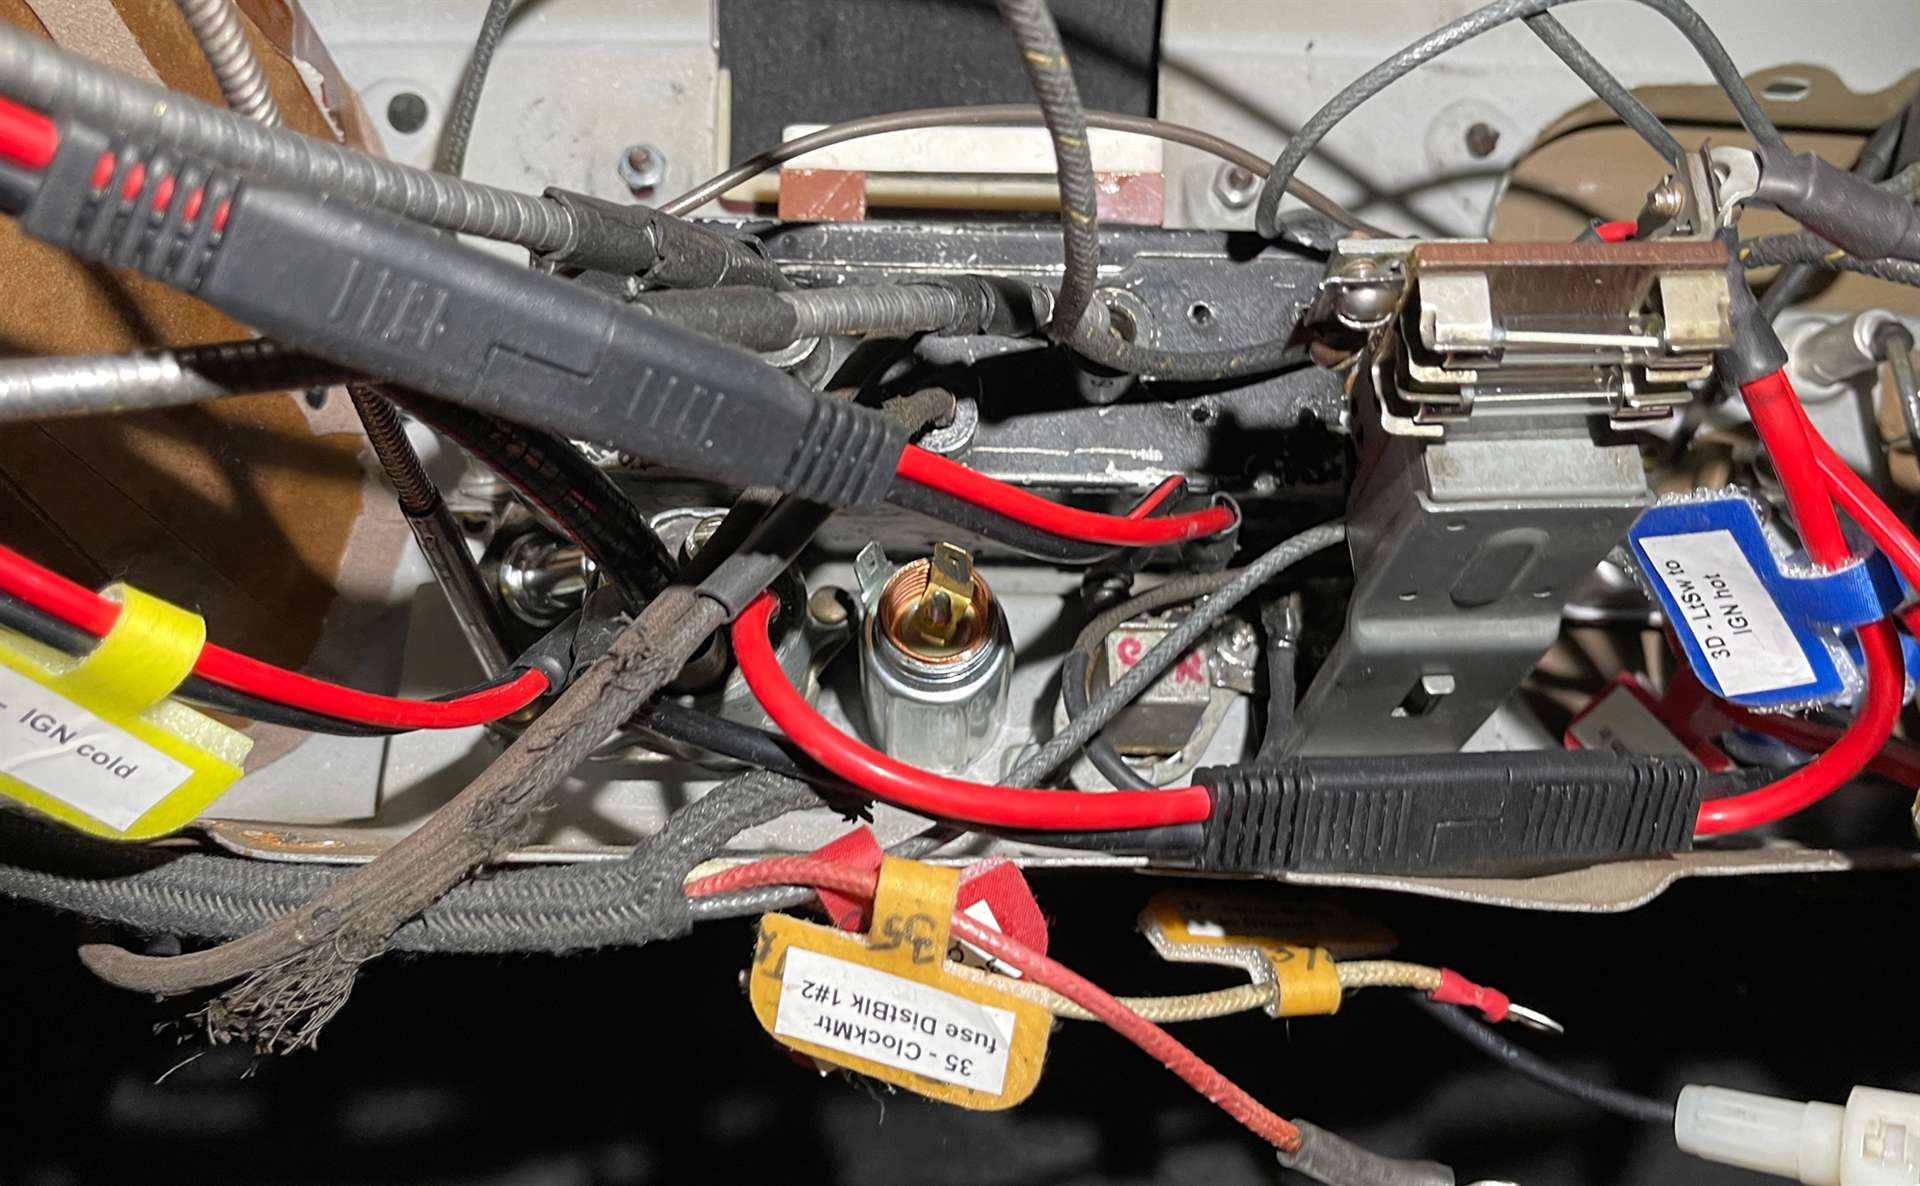 dashbackcenter2.jpg (145.39 KB) dashbackcenter2.jpg (145.39 KB)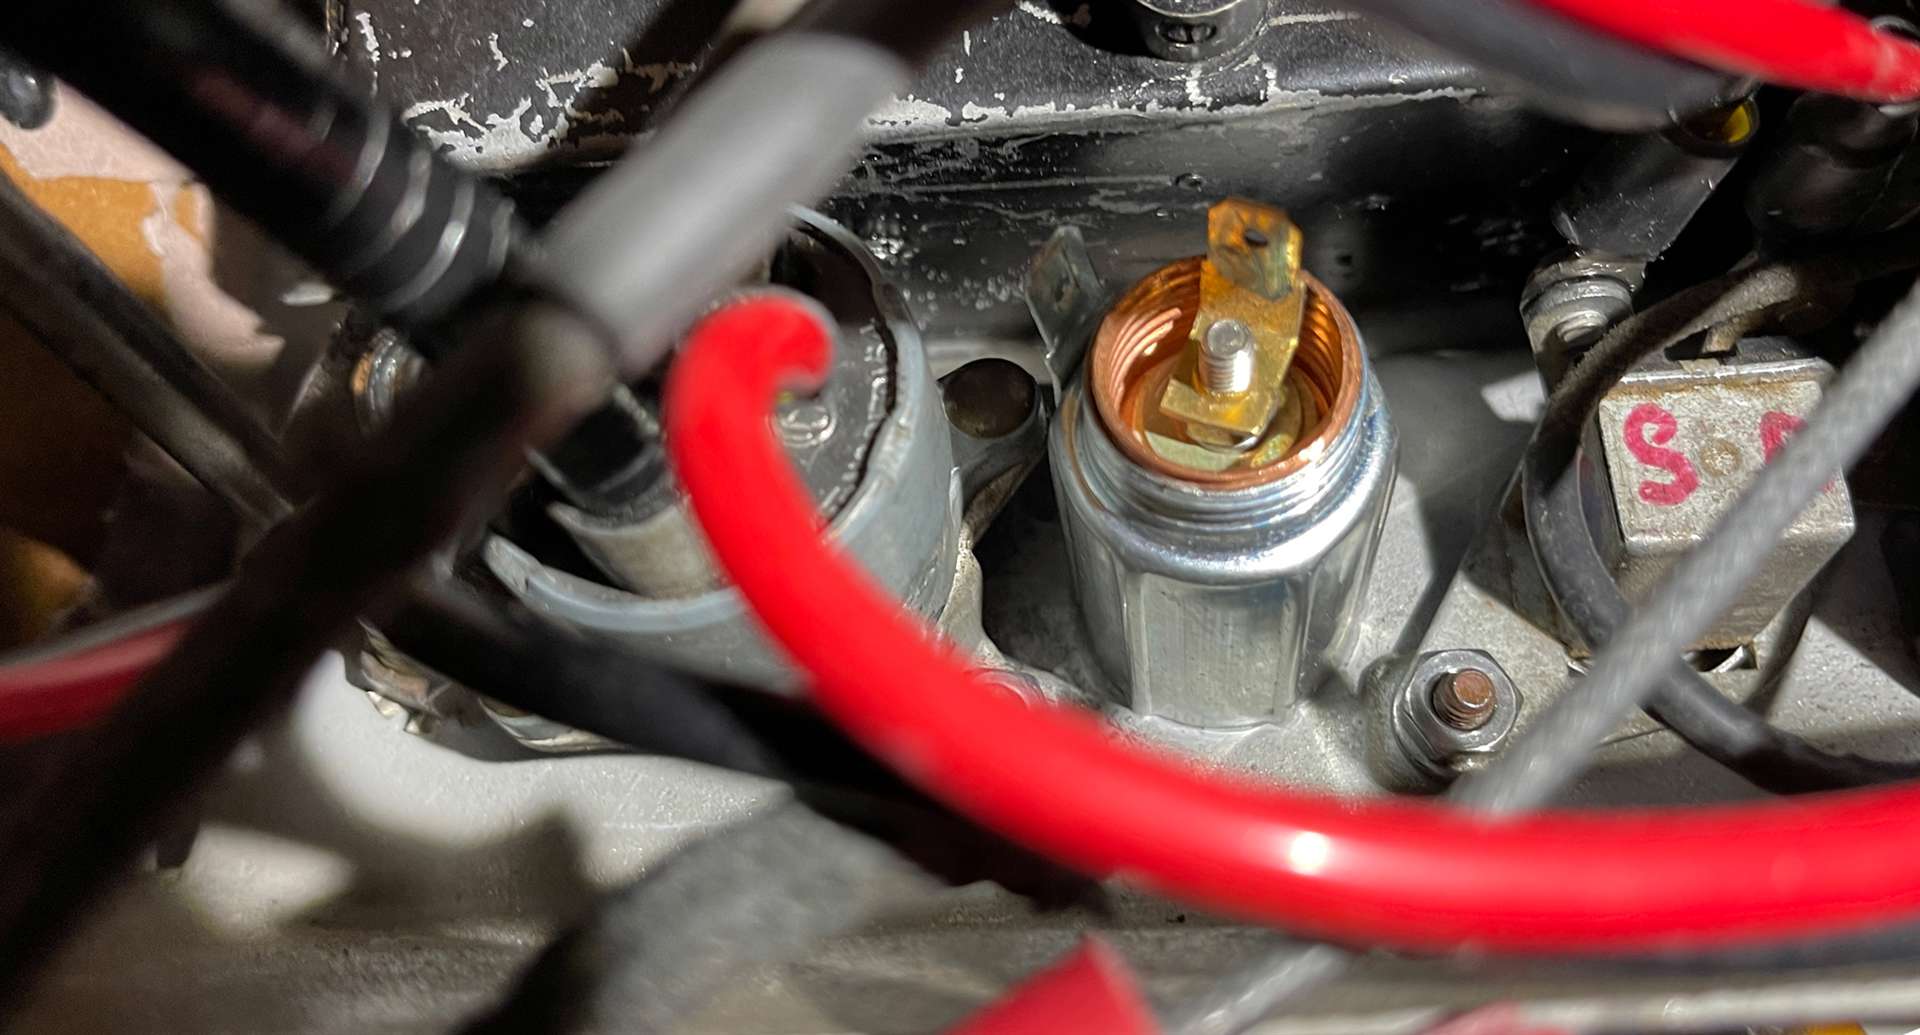 dashbackcenter3.jpg (190.62 KB) dashbackcenter3.jpg (190.62 KB)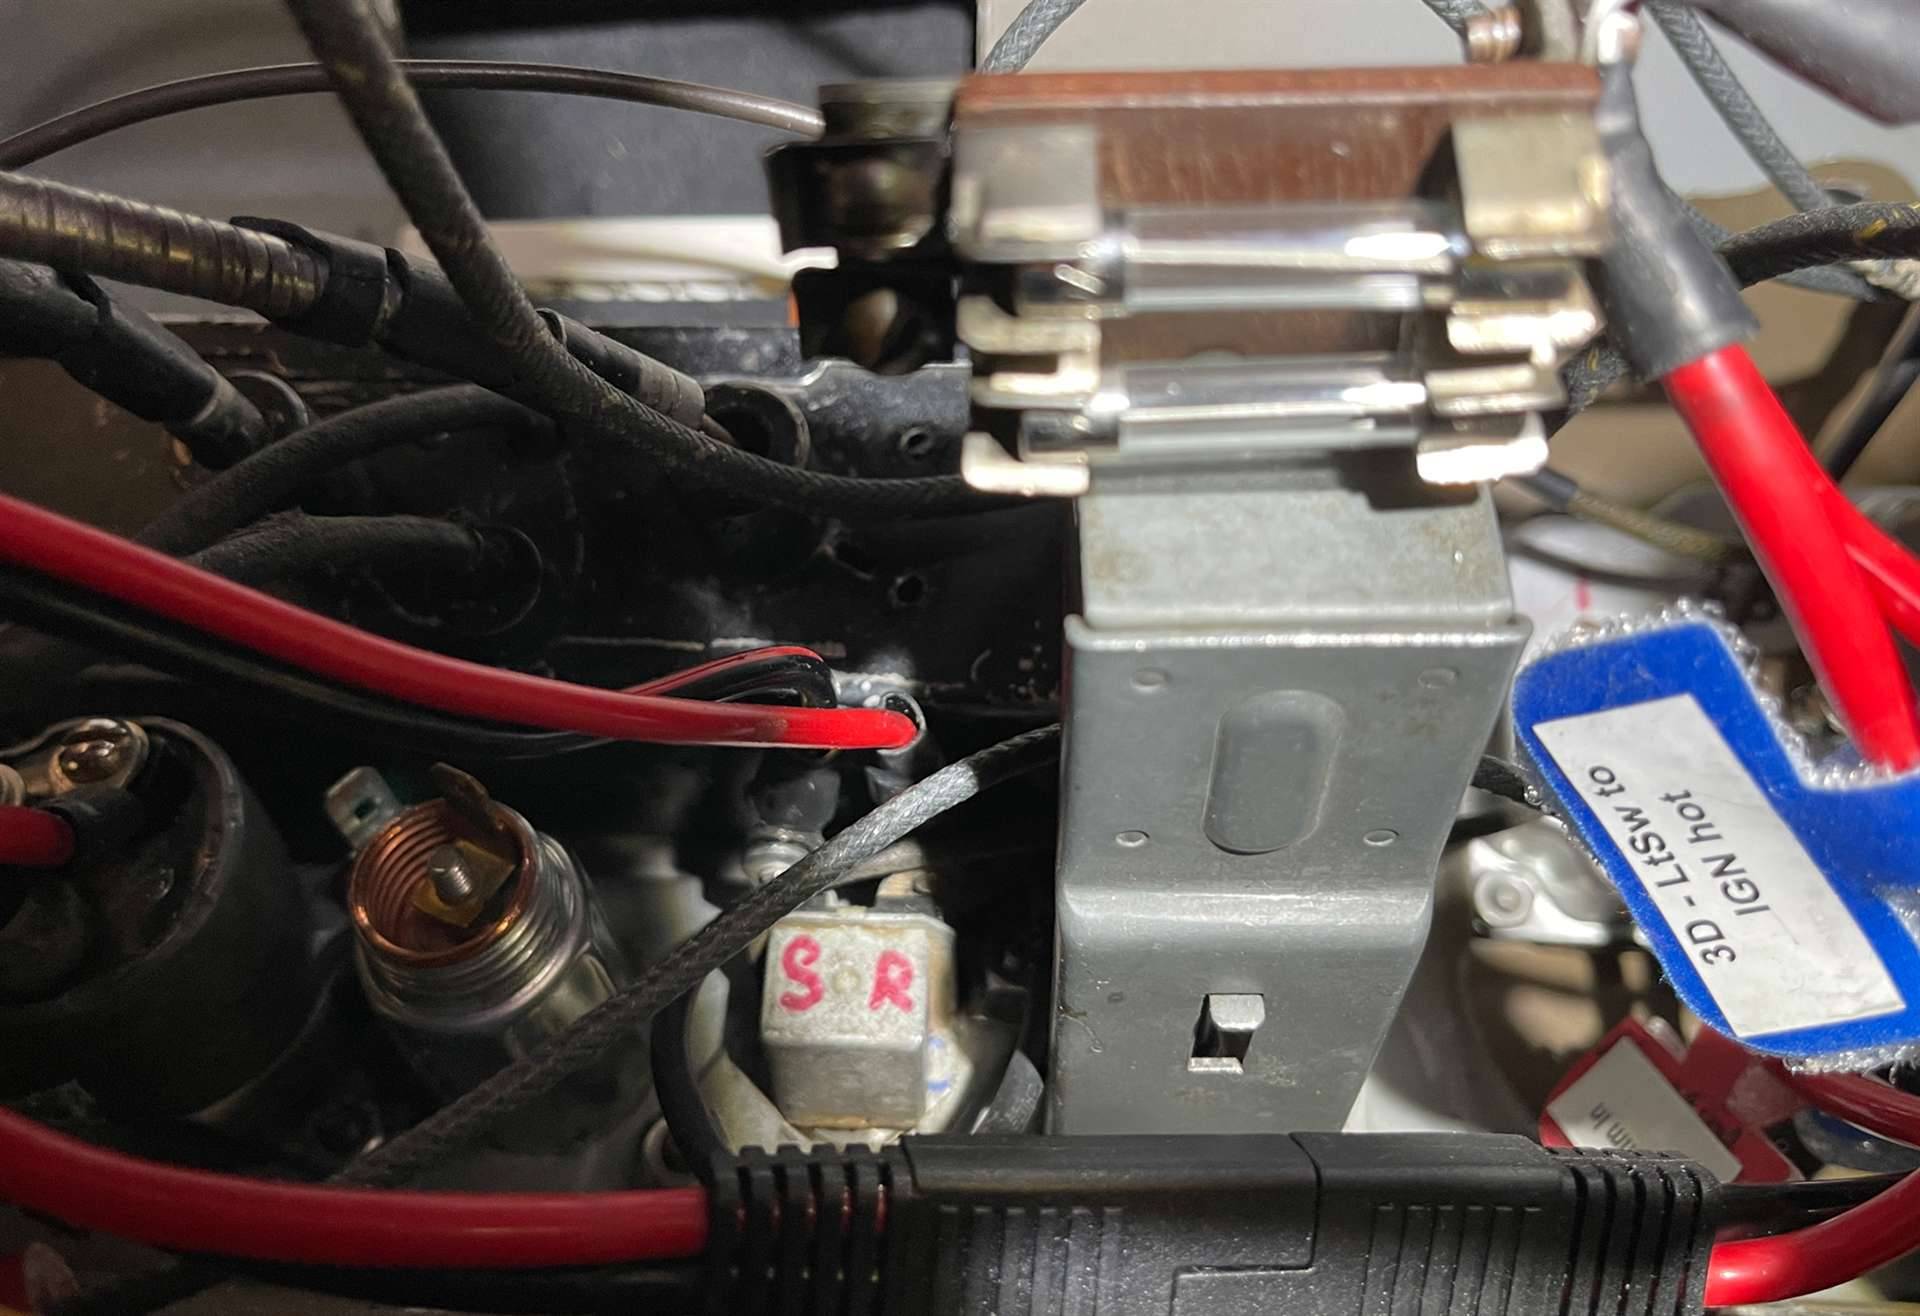 underwipercontrol.jpg (190.24 KB) underwipercontrol.jpg (190.24 KB)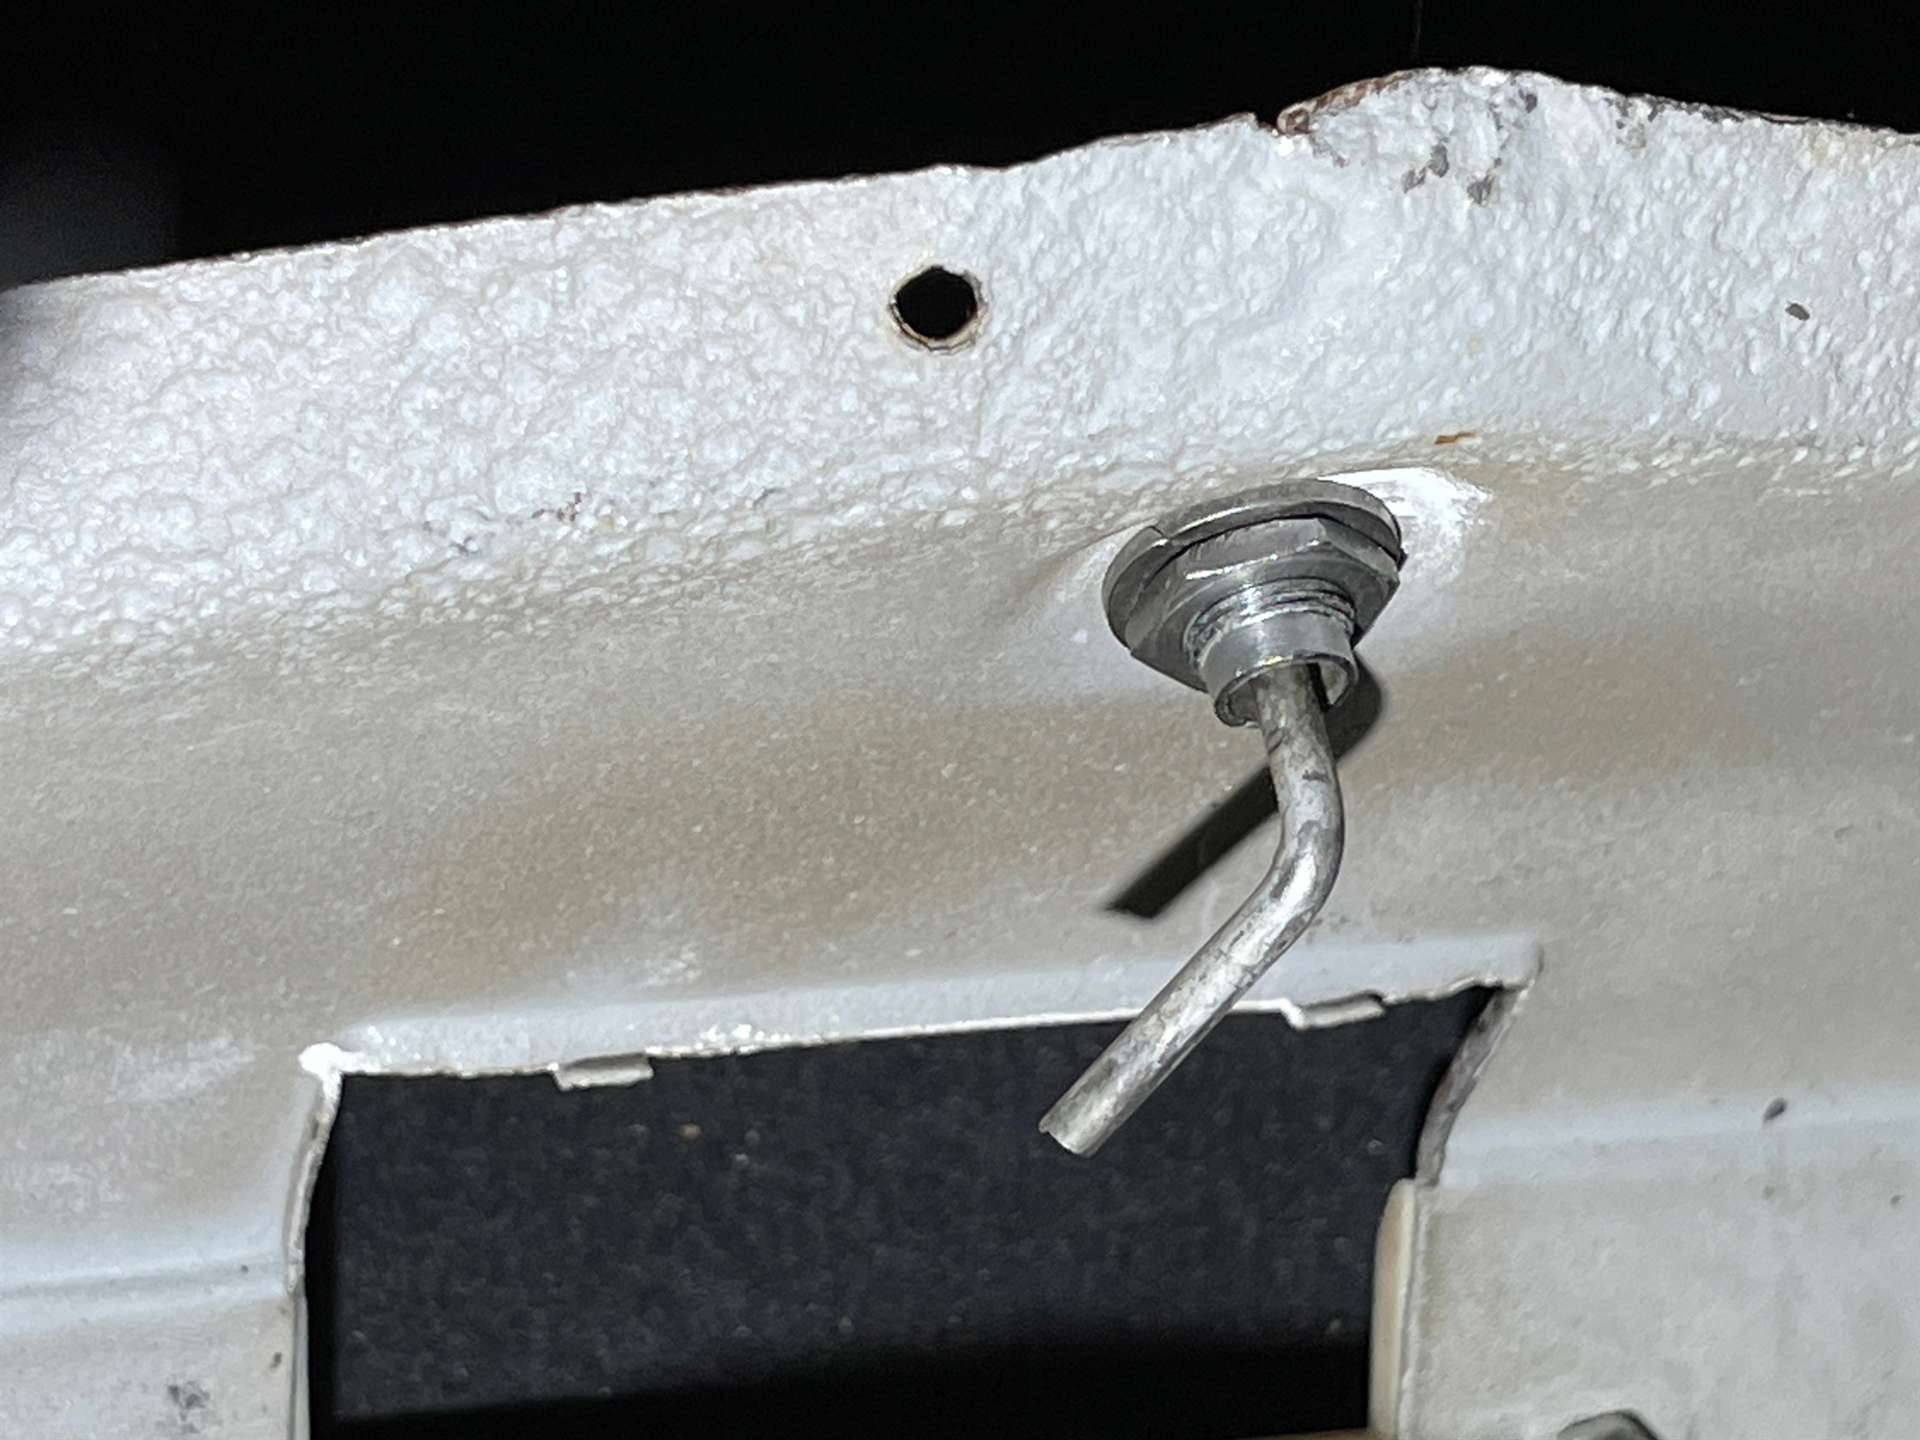 wipercontrolfork.jpg (208.66 KB) wipercontrolfork.jpg (208.66 KB)
Posted on: 2023/2/10 11:11
|
|||
|
||||
|
Re: 1940 horn assembly
|
||||
|---|---|---|---|---|
|
Not too shy to talk

|
Bottom of the cap with copper conductive dish.
Attach file:  4BD62A48-F2FE-4BFE-BD5A-1BE57512DA19.jpeg (468.57 KB) 4BD62A48-F2FE-4BFE-BD5A-1BE57512DA19.jpeg (468.57 KB)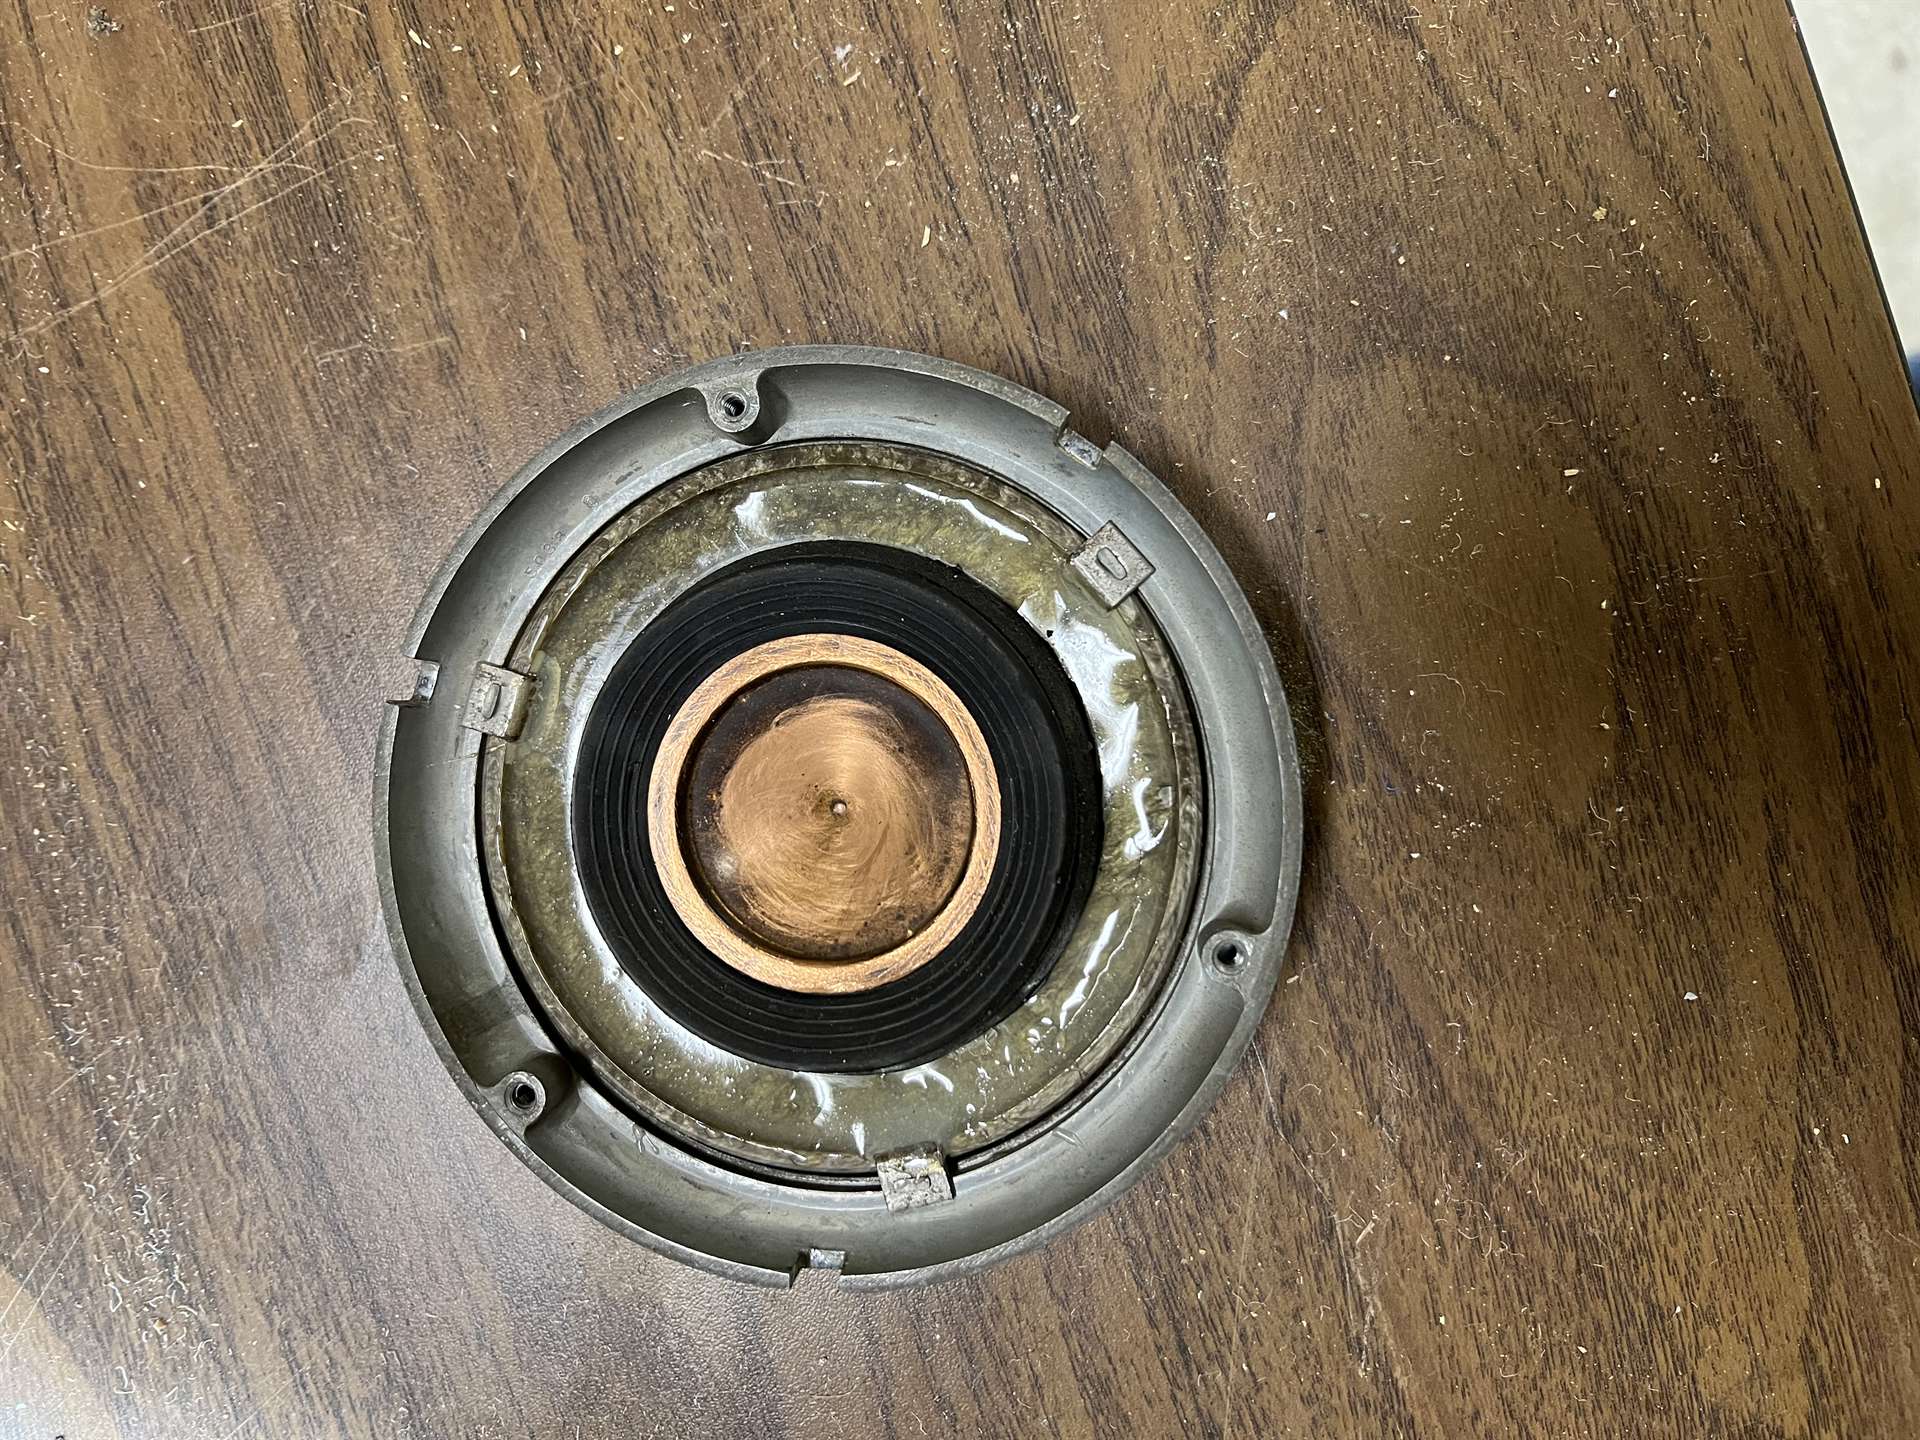
Posted on: 2023/2/10 11:08
|
|||
|
||||
|
Re: 1940 horn assembly
|
||||
|---|---|---|---|---|
|
Not too shy to talk
|
This is the bottom of the horn bar. The bumps are the pivot point and ride in notches in the steering wheel.
Attach file: 6053F159-3A5C-4873-8CF5-1E9039315928.jpeg (135.42 KB)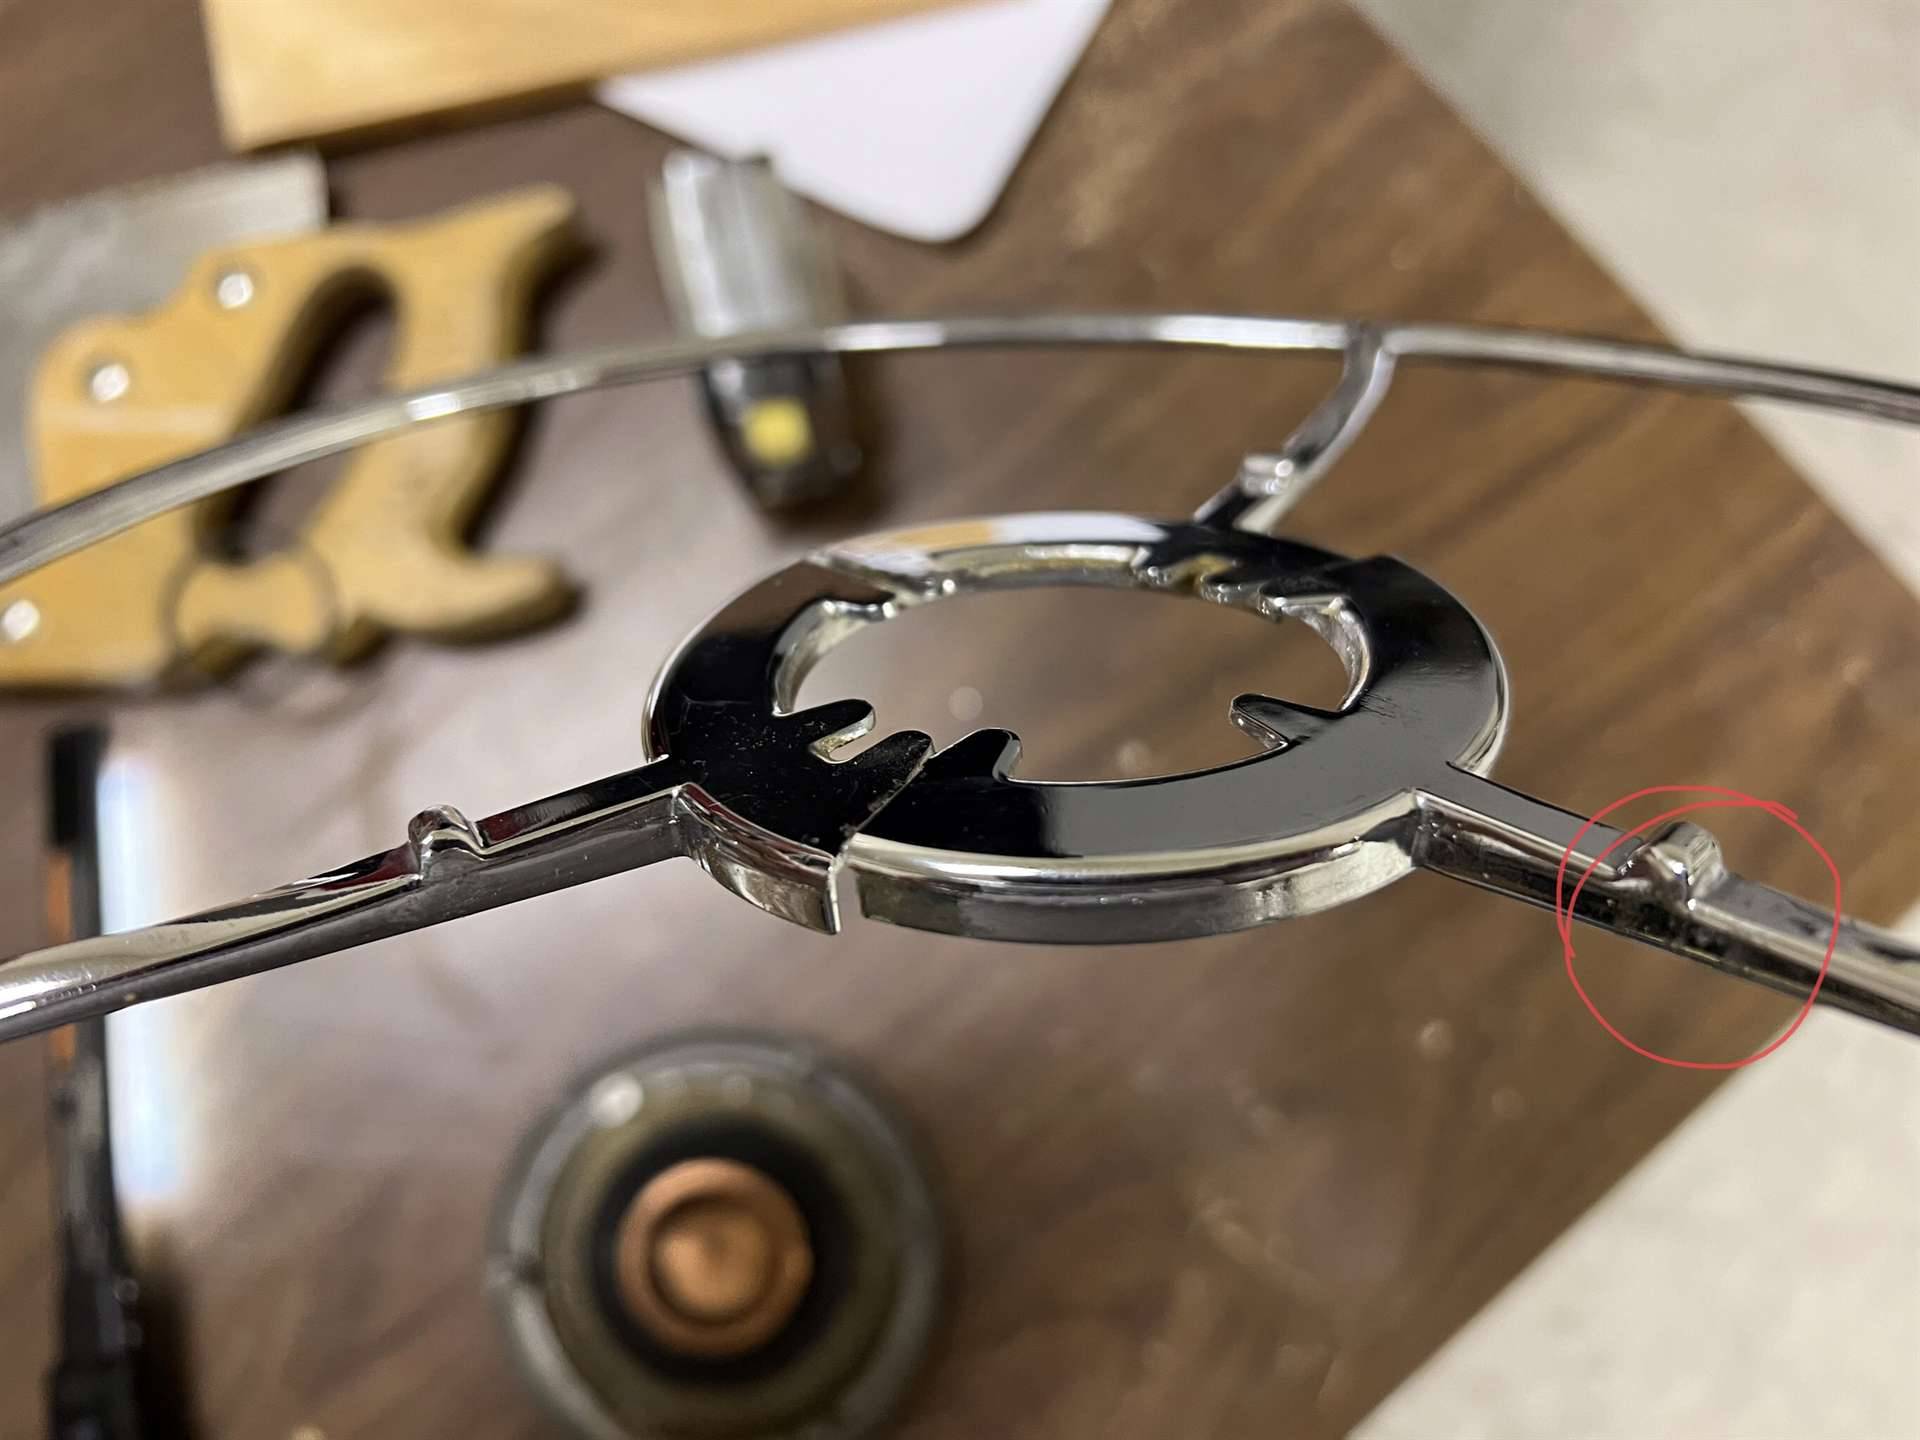
Posted on: 2023/2/10 11:07
|
|||
|
||||
|
Re: 1940 horn assembly
|
||||
|---|---|---|---|---|
|
Not too shy to talk
|
There is a large fiber non-conductive washer first, then a spring, then a small fiber washer, then finally the conductive cap soldered to the end if the wire
Attach file: A12ECC33-77F9-4030-9956-54DD0758D625.jpeg (223.42 KB)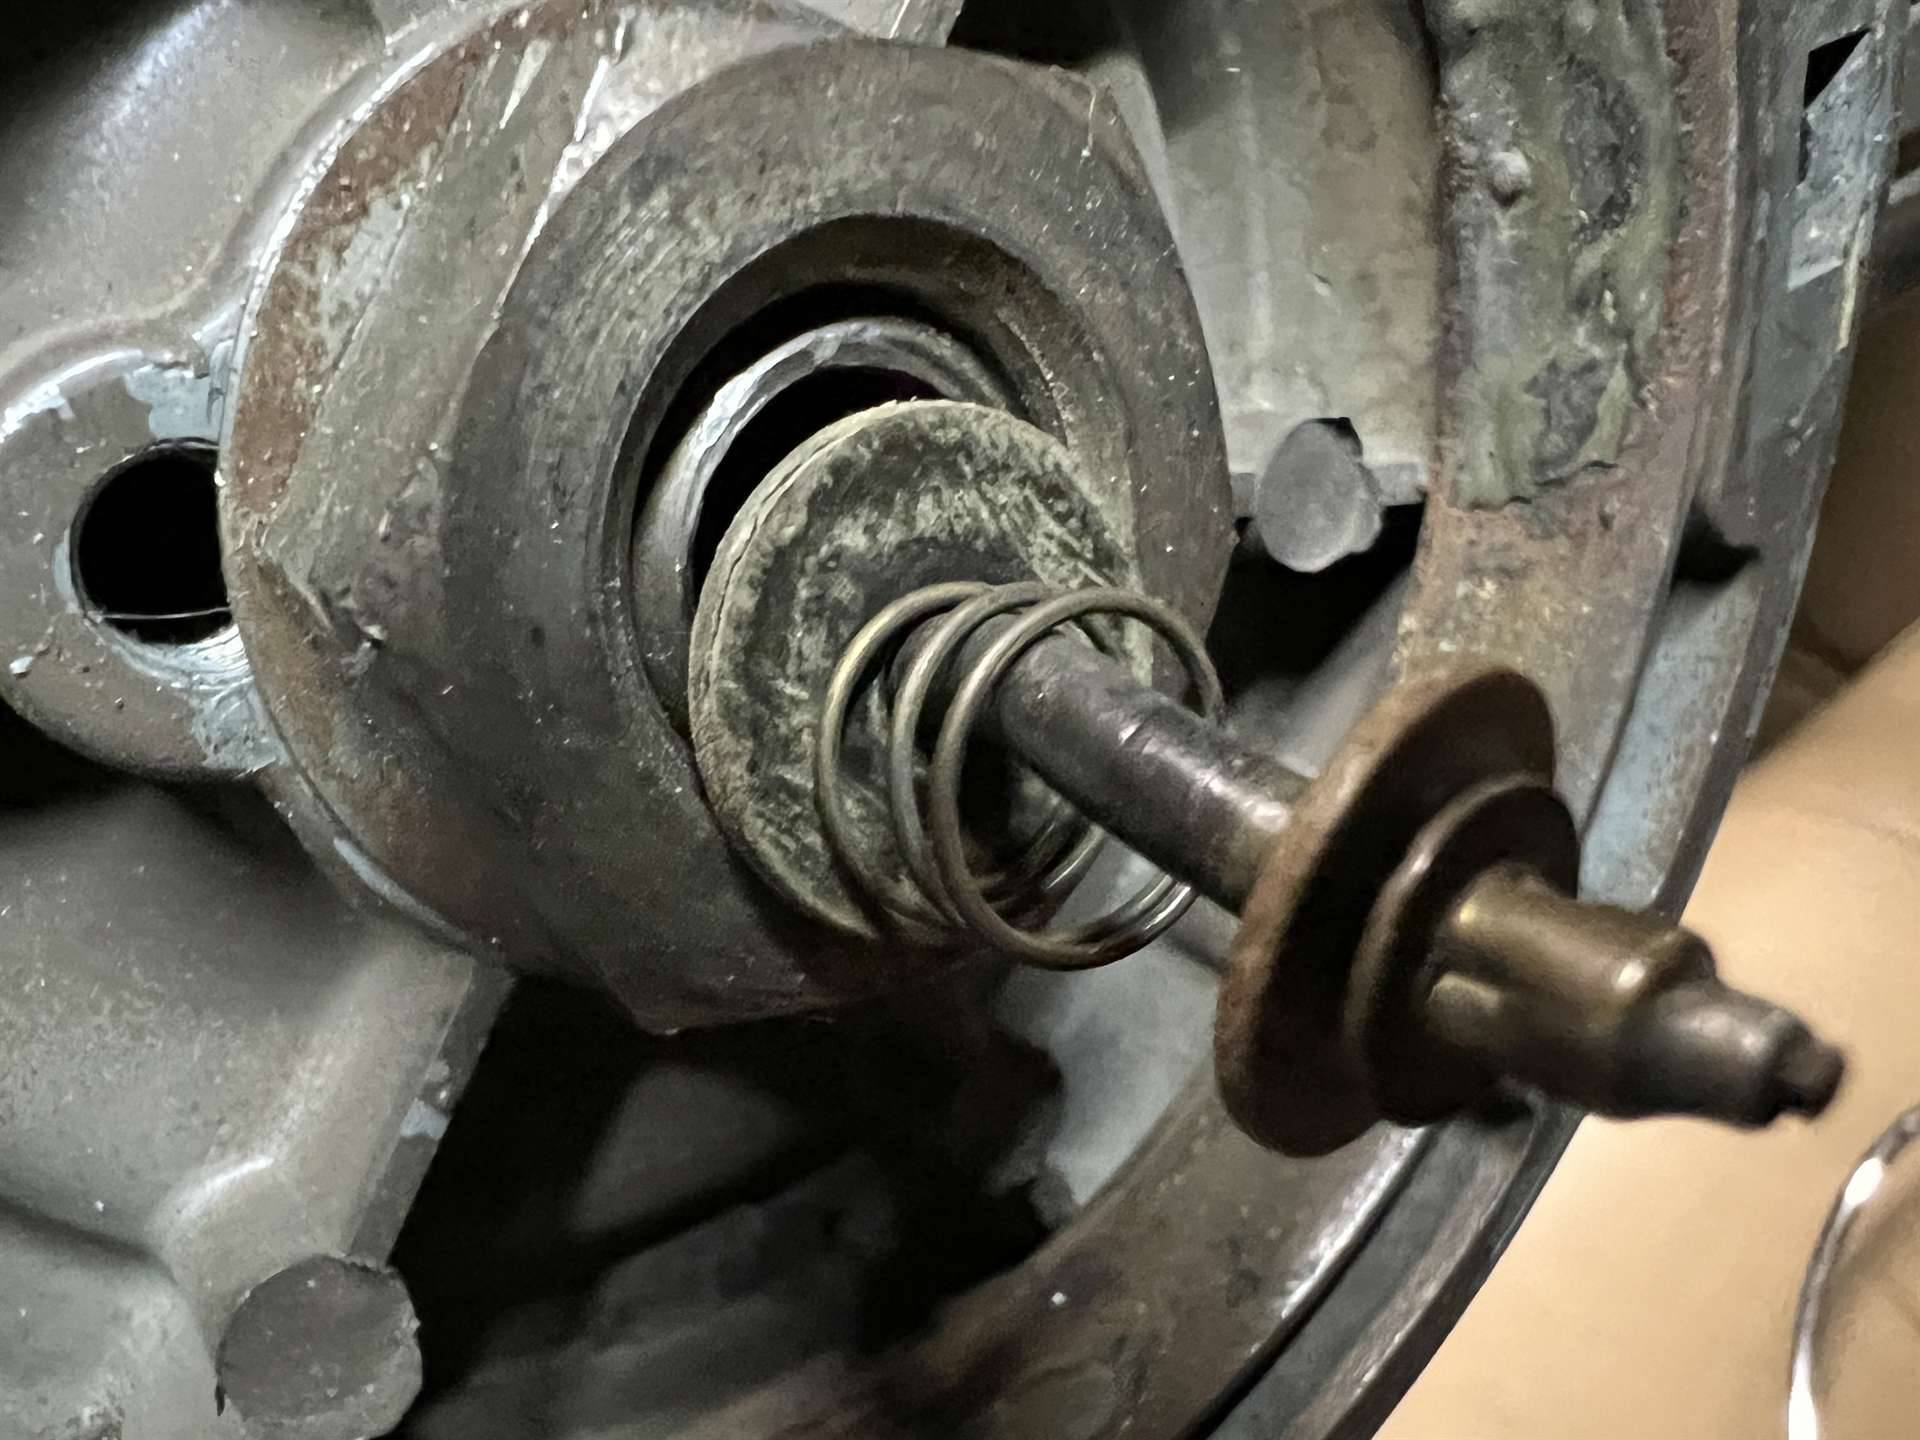
Posted on: 2023/2/10 11:03
|
|||
|
||||
|
1937 120 four door trunk legs and tire clamp WANTED
|
||||
|---|---|---|---|---|
|
Quite a regular

|
Hi everyone, would anyone out there have the trunk tray legs and the tire clamp to hold down the spare tire for a 37 120 four door?
Thanks! Attach file: trunk.jpg (62.44 KB)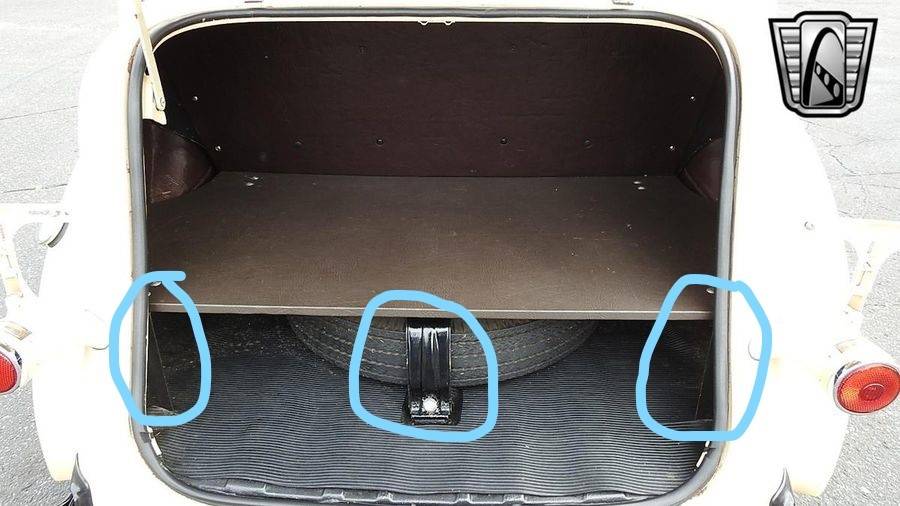
Posted on: 2023/2/10 10:59
|
|||
|
Follow us on Instagram & TikTok @metal_edge_creations
|
||||
|
||||
|
Re: 1940 horn assembly
|
||||
|---|---|---|---|---|
|
Not too shy to talk
|
Wiring
Attach file: 0DCEE1E9-CA49-422C-AC4A-620DC1837611.jpeg (223.86 KB)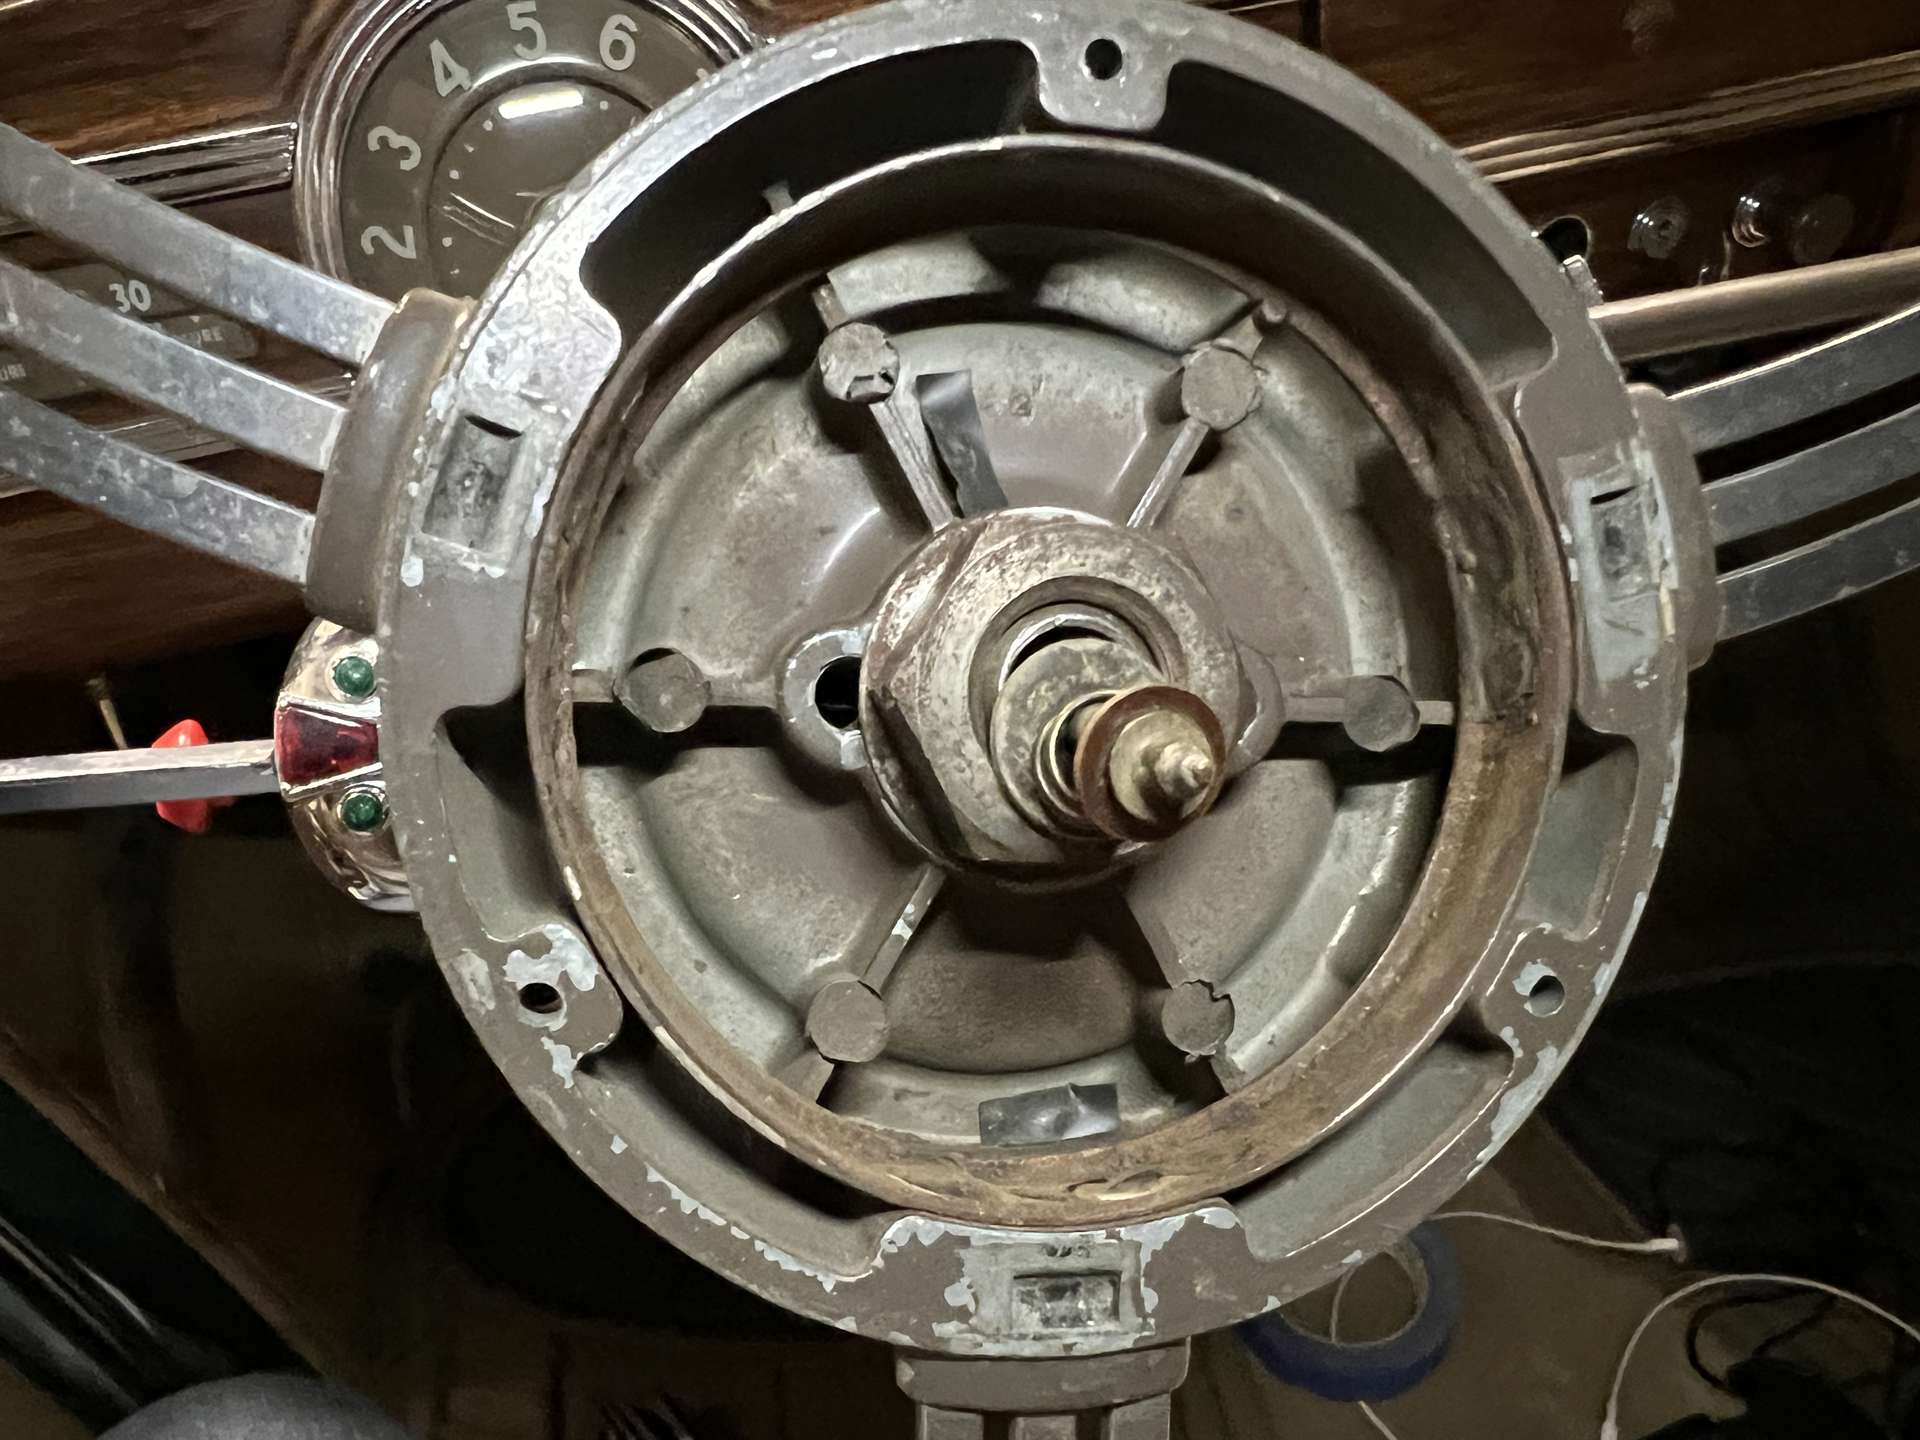
Posted on: 2023/2/10 10:55
|
|||
|
||||
|
Re: 1940 horn assembly
|
||||
|---|---|---|---|---|
|
Not too shy to talk
|
Screws
Attach file: B79CD363-BF99-45DD-8C17-2D8B6C255B68.jpeg (148.15 KB)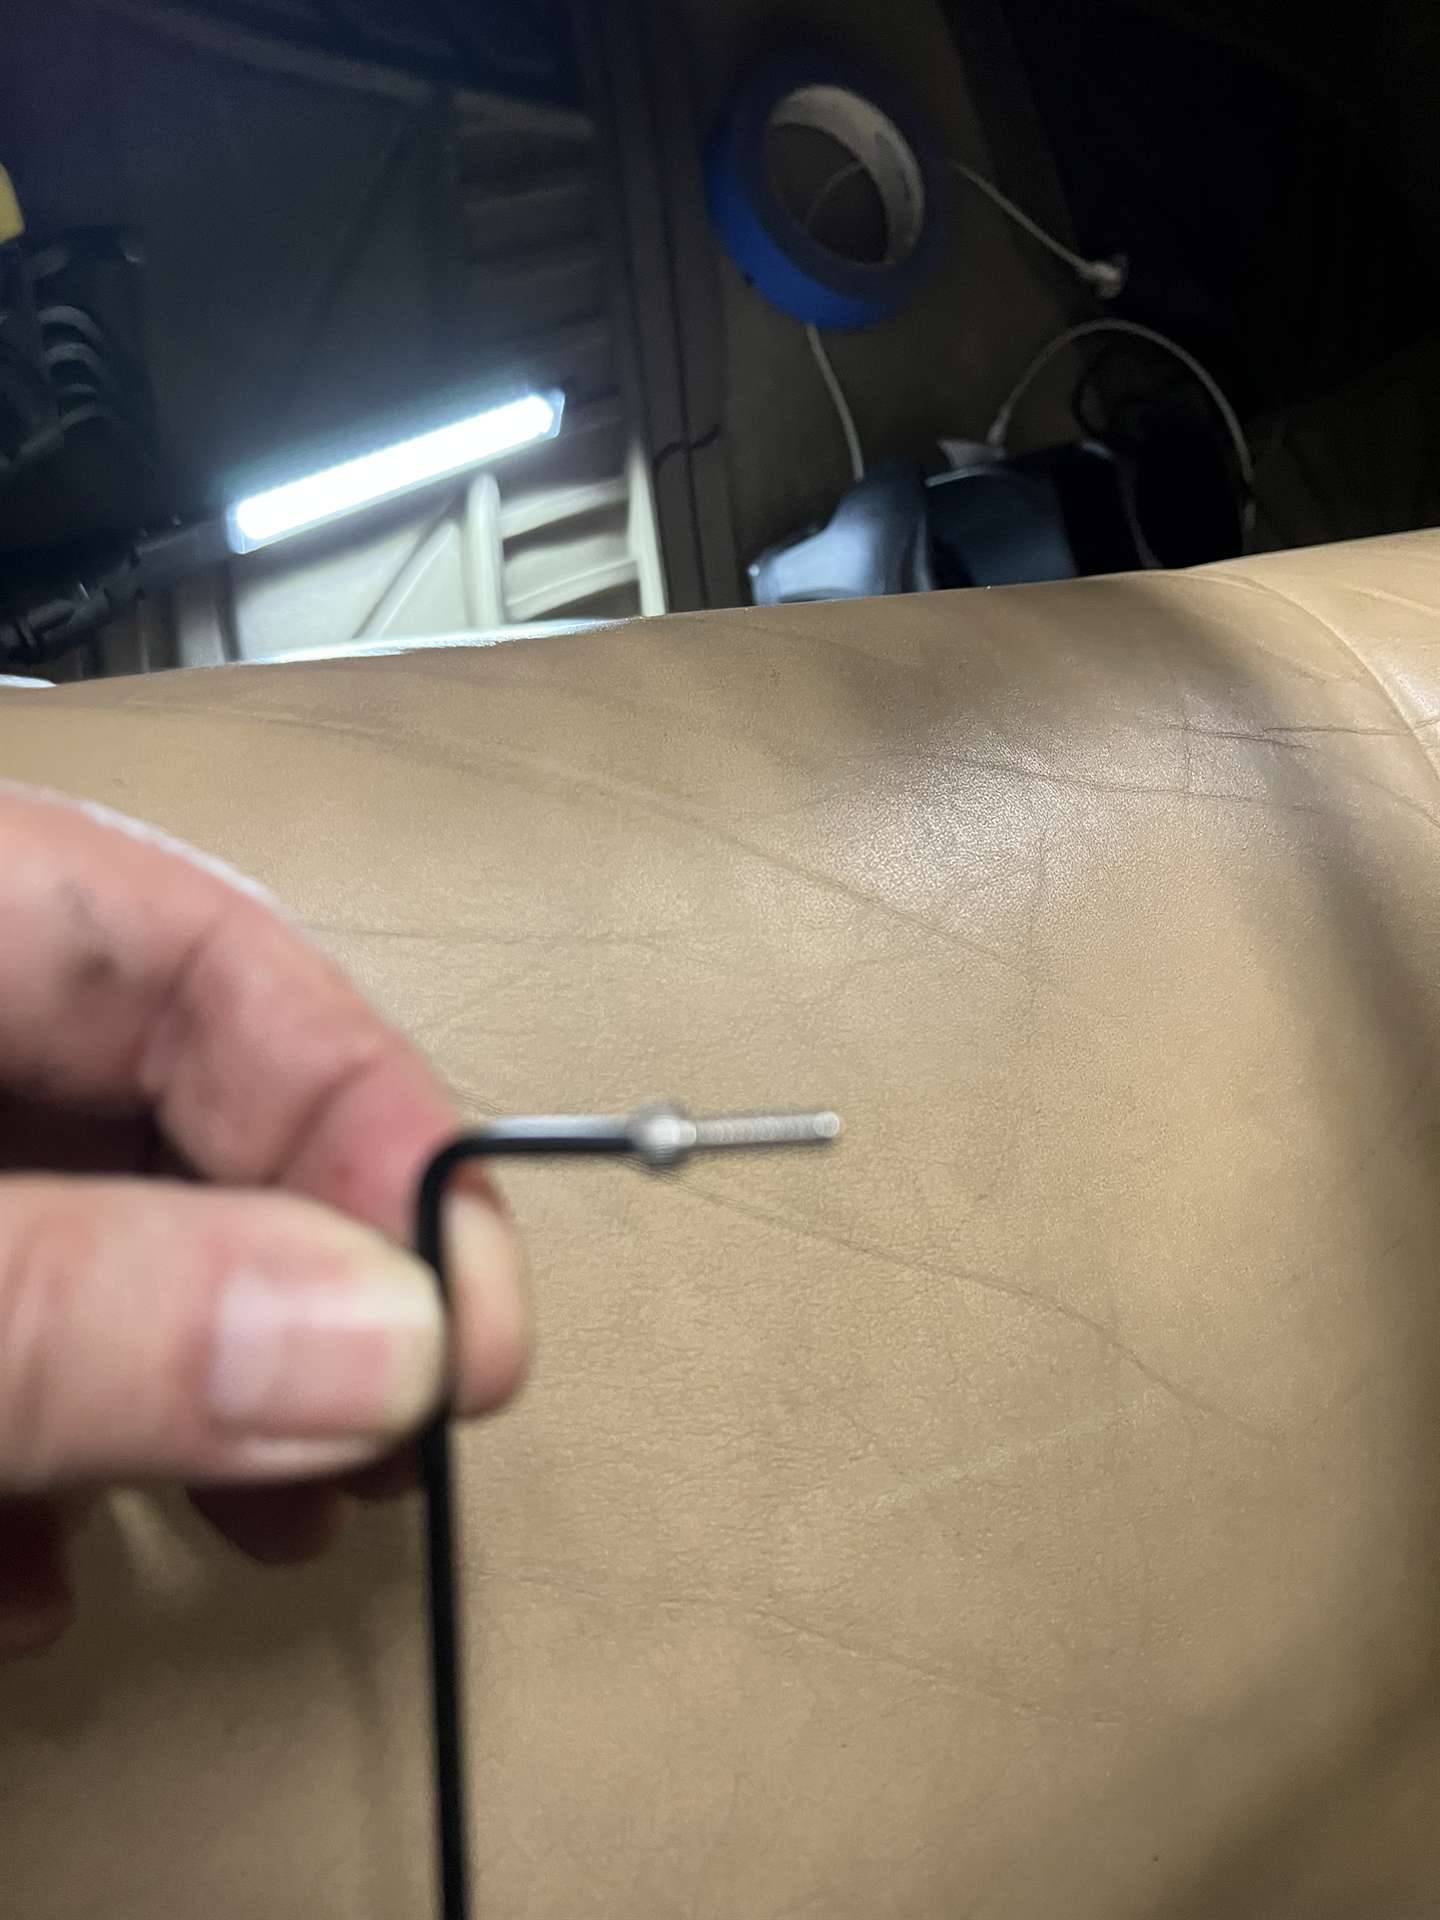
Posted on: 2023/2/10 10:52
|
|||
|
||||
|
Re: 1940 horn assembly
|
||||
|---|---|---|---|---|
|
Not too shy to talk
|
Doing this per request from forum member. Sorry for individual posts per picture. I can’t see how to post multiple photos at once.
First remove the three screws in the back. I replaced the three screws with hex bolts. Installing and removing is way easier with an Allen wrench. Attach file: D0FC35C9-31C5-46B9-8721-77C20088A13F.jpeg (187.57 KB)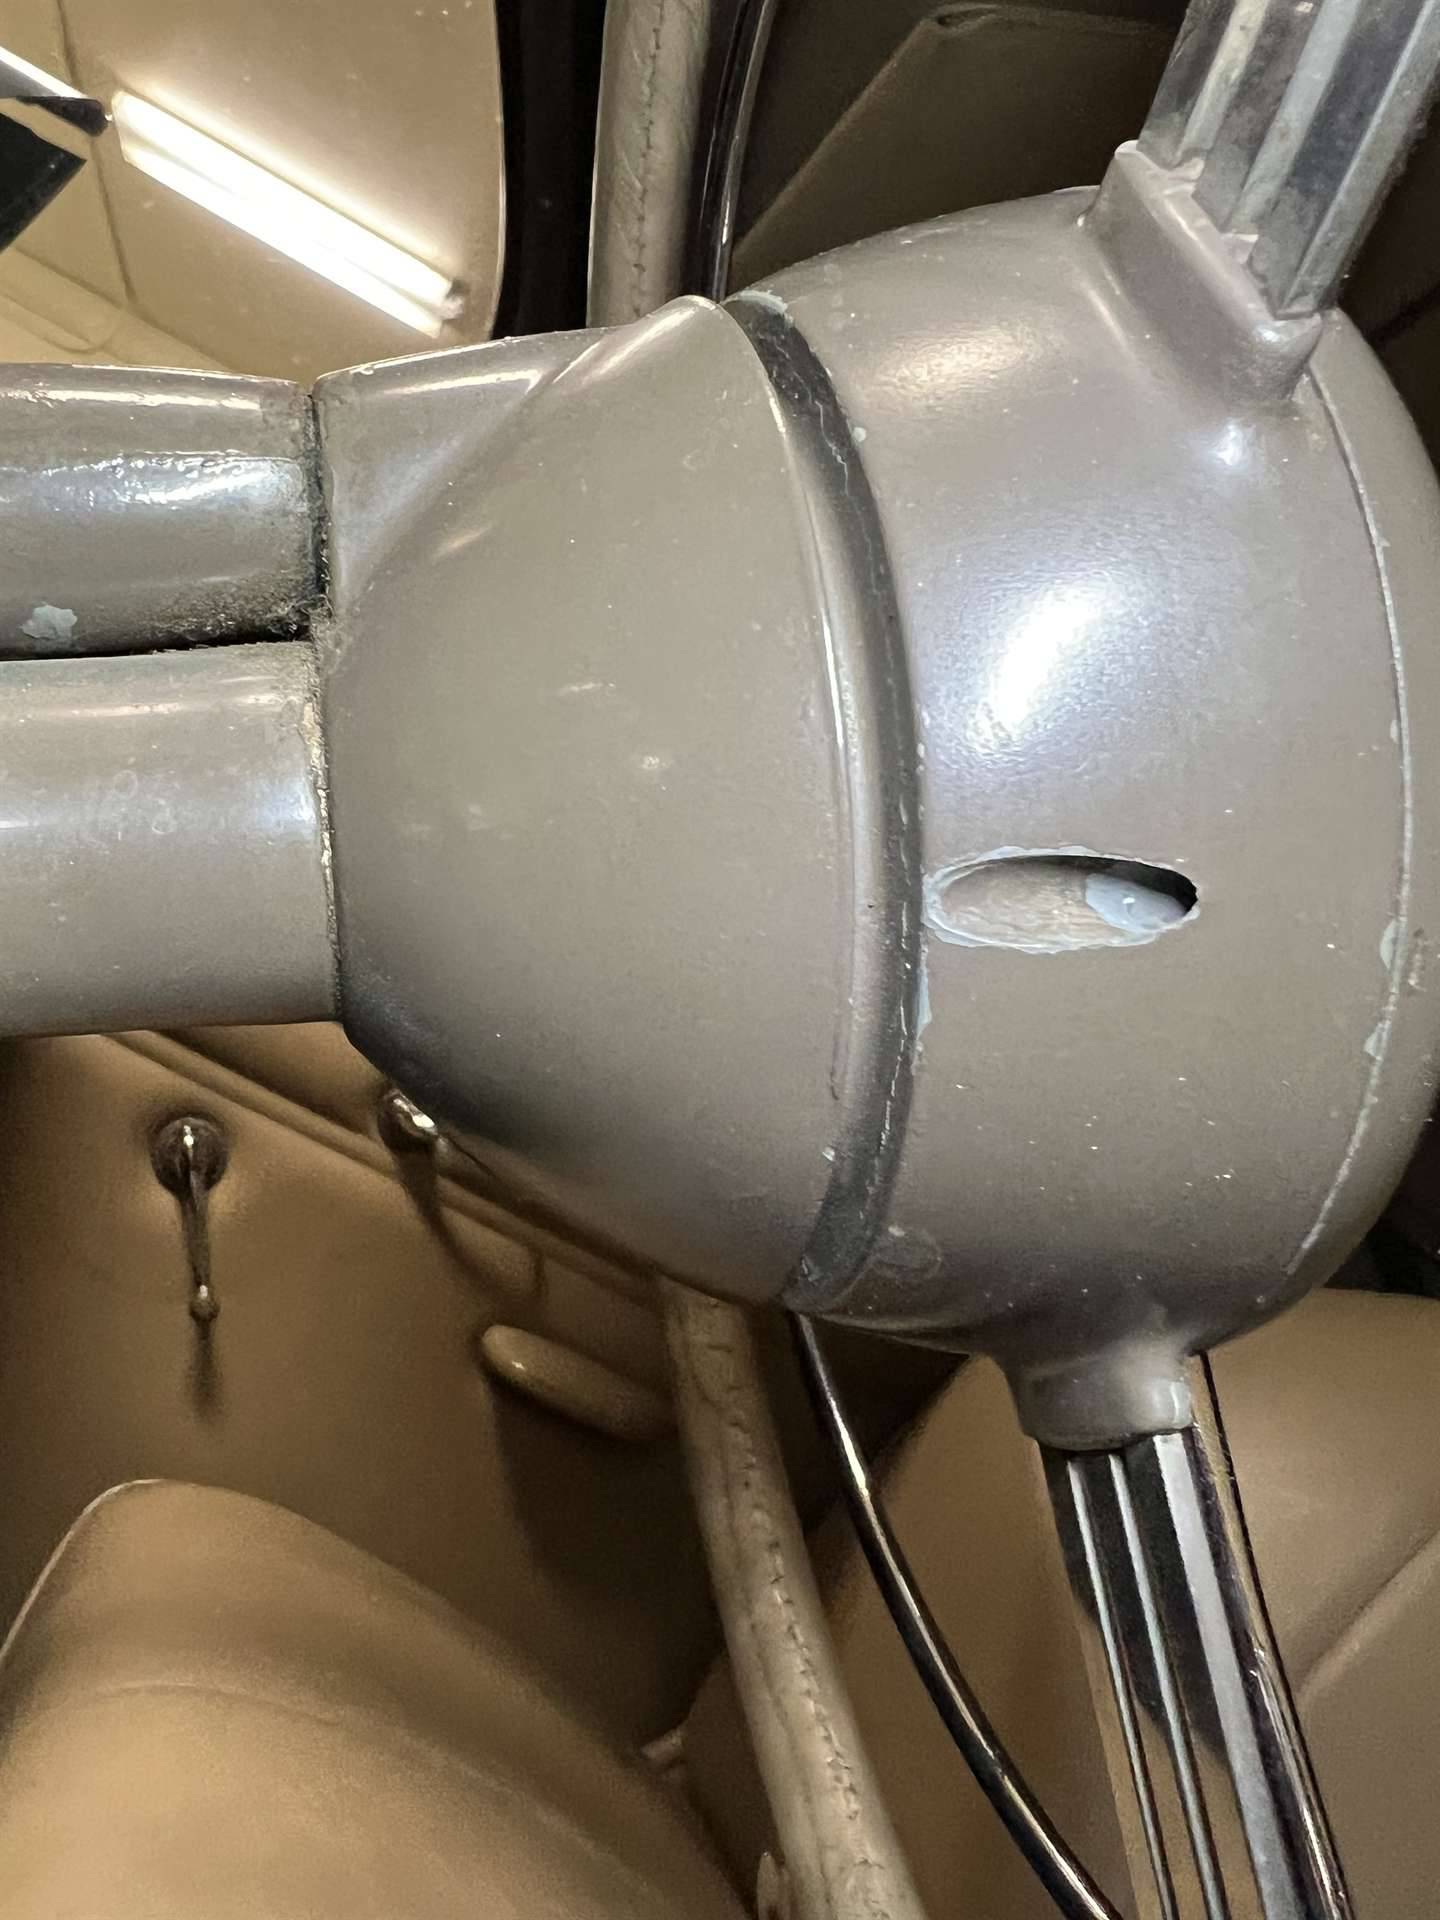
Posted on: 2023/2/10 10:50
|
|||
|
||||
|
Re: 1937 120 rear seat frame WANTED
|
||||
|---|---|---|---|---|
|
Quite a regular
|
bump
Posted on: 2023/2/10 10:49
|
|||
|
Follow us on Instagram & TikTok @metal_edge_creations
|
||||
|
||||
|
Re: Electrical systems
|
||||
|---|---|---|---|---|
|
Home away from home
|
You mentioned that you had the "ground strap" running to the negative side of the battery? Was that the way it was when you got the car? I presume you got a new battery, are you sure you put it in the same way as the old one? The battery in your photo is symmetric to positive/negative, so it would be easy and natural for you to put it in with the negative going to ground, but originally these cars were built with positive going to ground.
On the other hand, this car may have been converted to positive ground in order to power that aftermarket fuel pump. Many things are NOT polarity sensitive - the voltage regulator, the points and ignition, the lights. Things that are polarity sensitive - the generator, which would need to be re-polarized. I mention this because I think you had the generator rebuilt, I don't know if they re-polarized it as part of that process. If I understand it correctly, the starter is NOT polarity sensitive, but just in case you want to make sure the engine is turning clockwise when viewed from the front.
Posted on: 2023/2/10 10:46
|
|||
|
||||


