|
Re: Keegan's Replacement Fuel Tank
|
||||
|---|---|---|---|---|
|
Home away from home

|
Used the tig welder to braze the filler tube in place. I used silicon bronze filller to help flow into the joint. I plan to also use some kind of sealant on the welded joint.
Attach file:  (94.89 KB) (94.89 KB)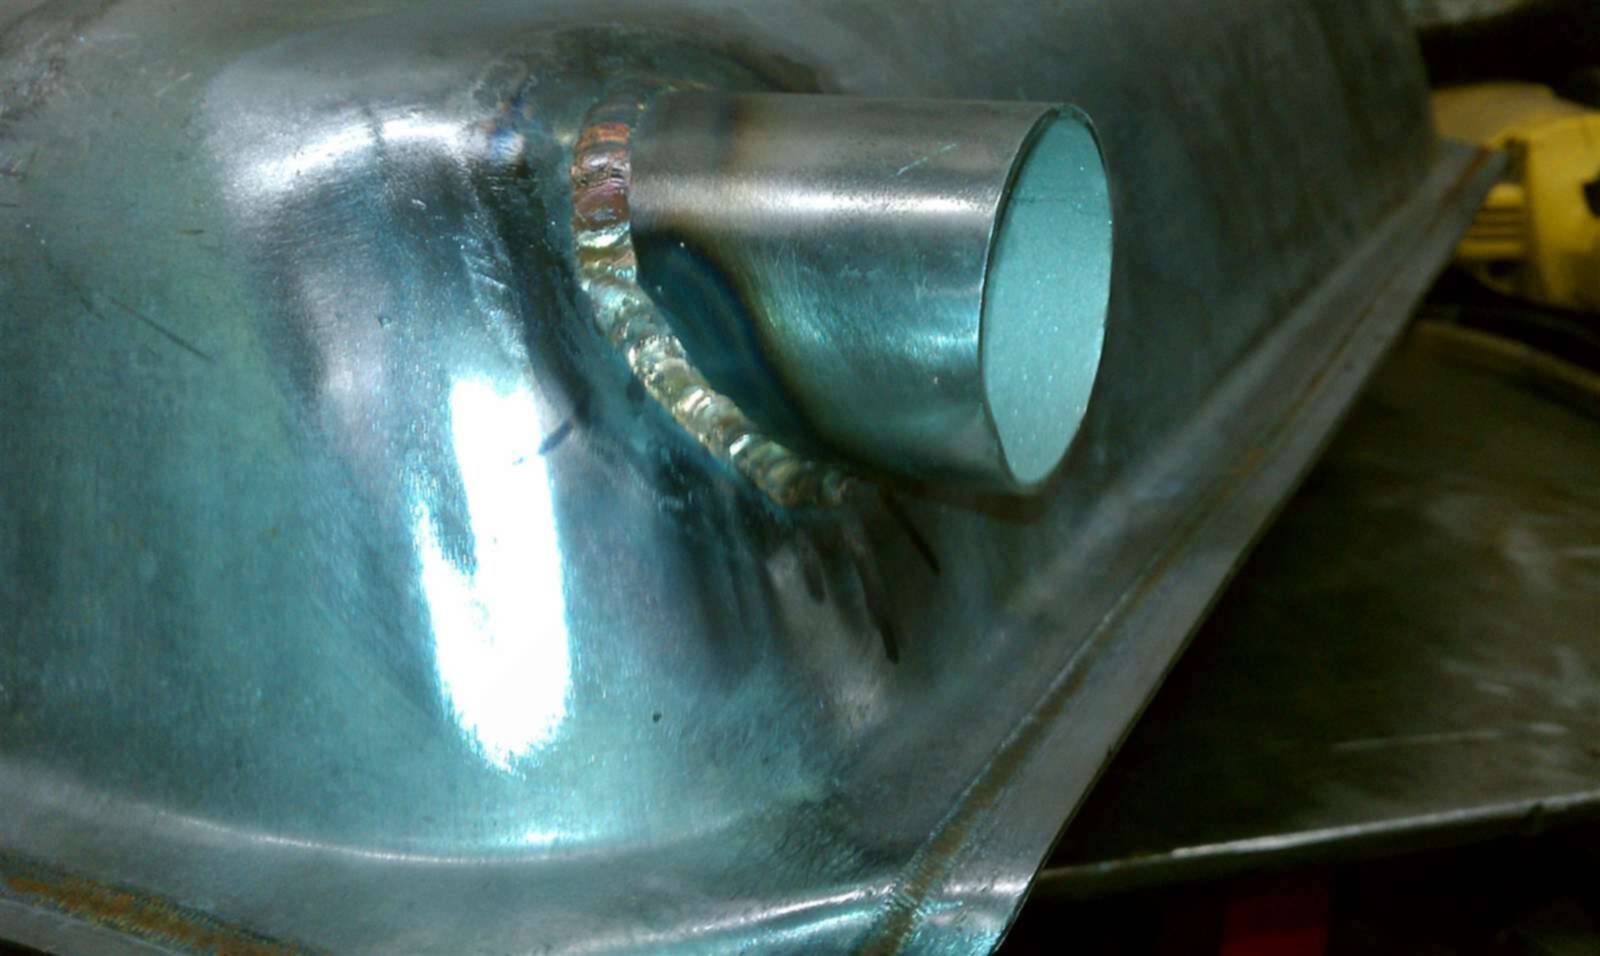
Posted on: 2011/2/24 23:46
|
|||
|
||||
|
Re: Keegan's Replacement Fuel Tank
|
||||
|---|---|---|---|---|
|
Home away from home
|
Chevrolet donor tank was cleaned up.
Cut of original filler. Cut the hole (1.75") for the new filler location. Hopefully this will be ready for a leak test in a day or two. Attach file: (94.86 KB)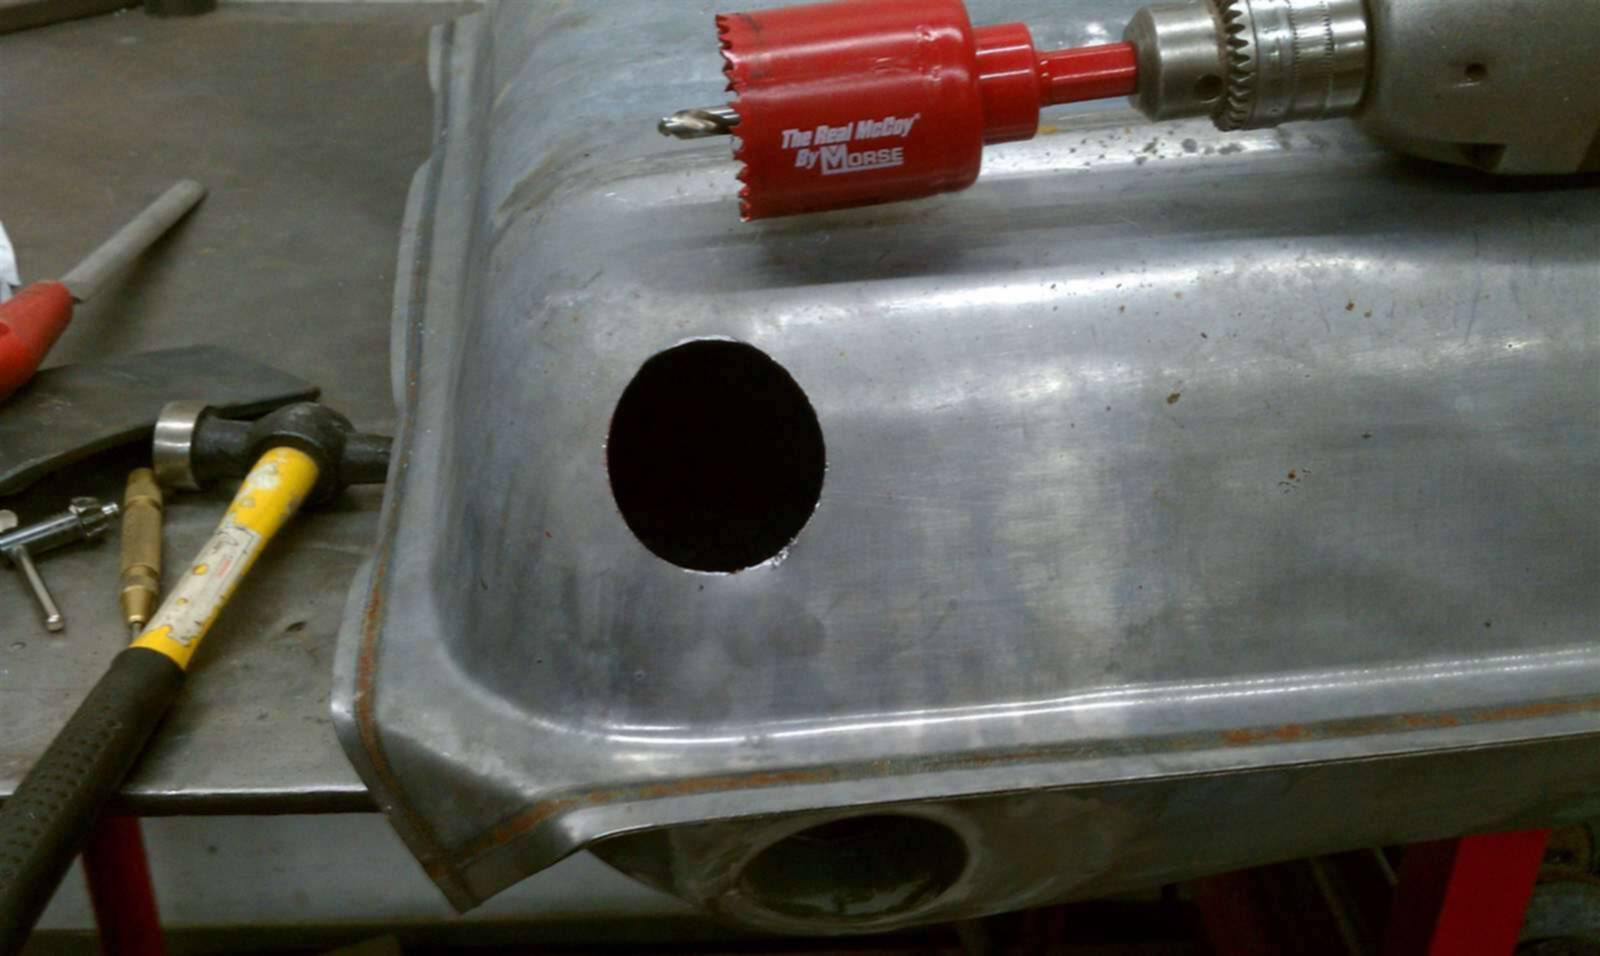 (68.29 KB) (68.29 KB)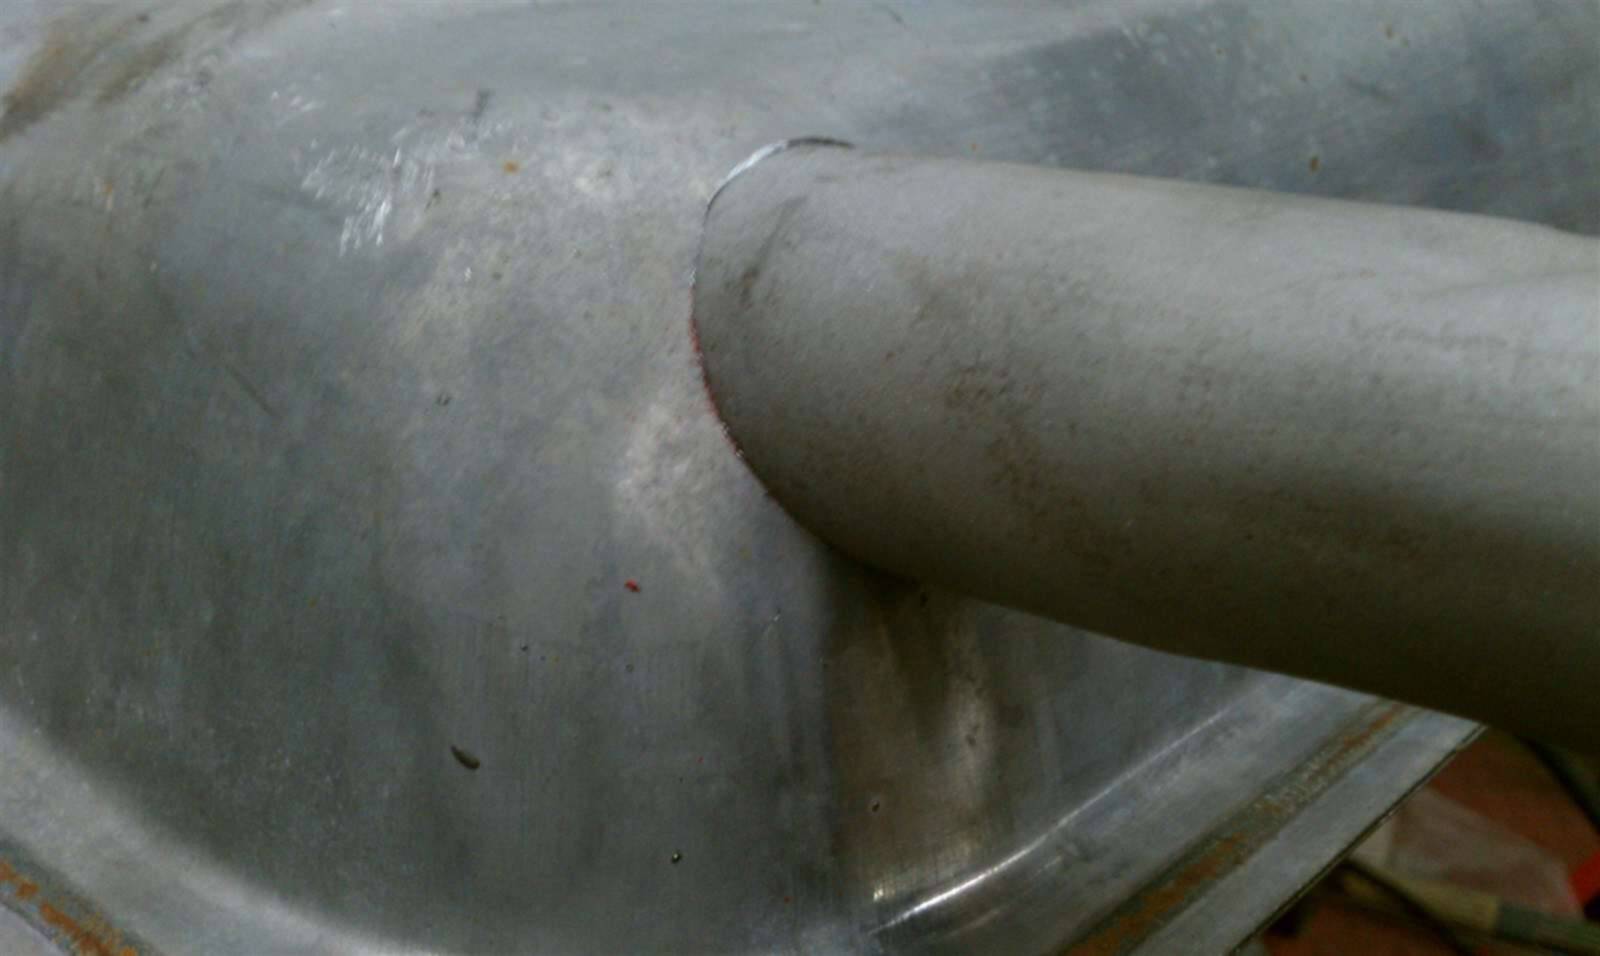
Posted on: 2011/2/23 15:28
|
|||
|
||||
|
Re: Keegan's Replacement Fuel Tank
|
||||
|---|---|---|---|---|
|
Home away from home
|
Wow, that looks like a lot of work. Your tank should be like brand new! Very Cool.
The tank I cut in half would not have been a candidate for that process. You could have put a screwdriver through the metal just about anywhere. After they blasted it, there wouldn't have been much left.
Posted on: 2011/2/23 14:03
|
|||
|
||||
|
Re: Keegan's Replacement Fuel Tank
|
||||
|---|---|---|---|---|
|
Home away from home
|
Cut a Packard tank in half.
Don't think this one can be saved. Check out how much loose rust was in there. Unreal. Attach file: (136.51 KB)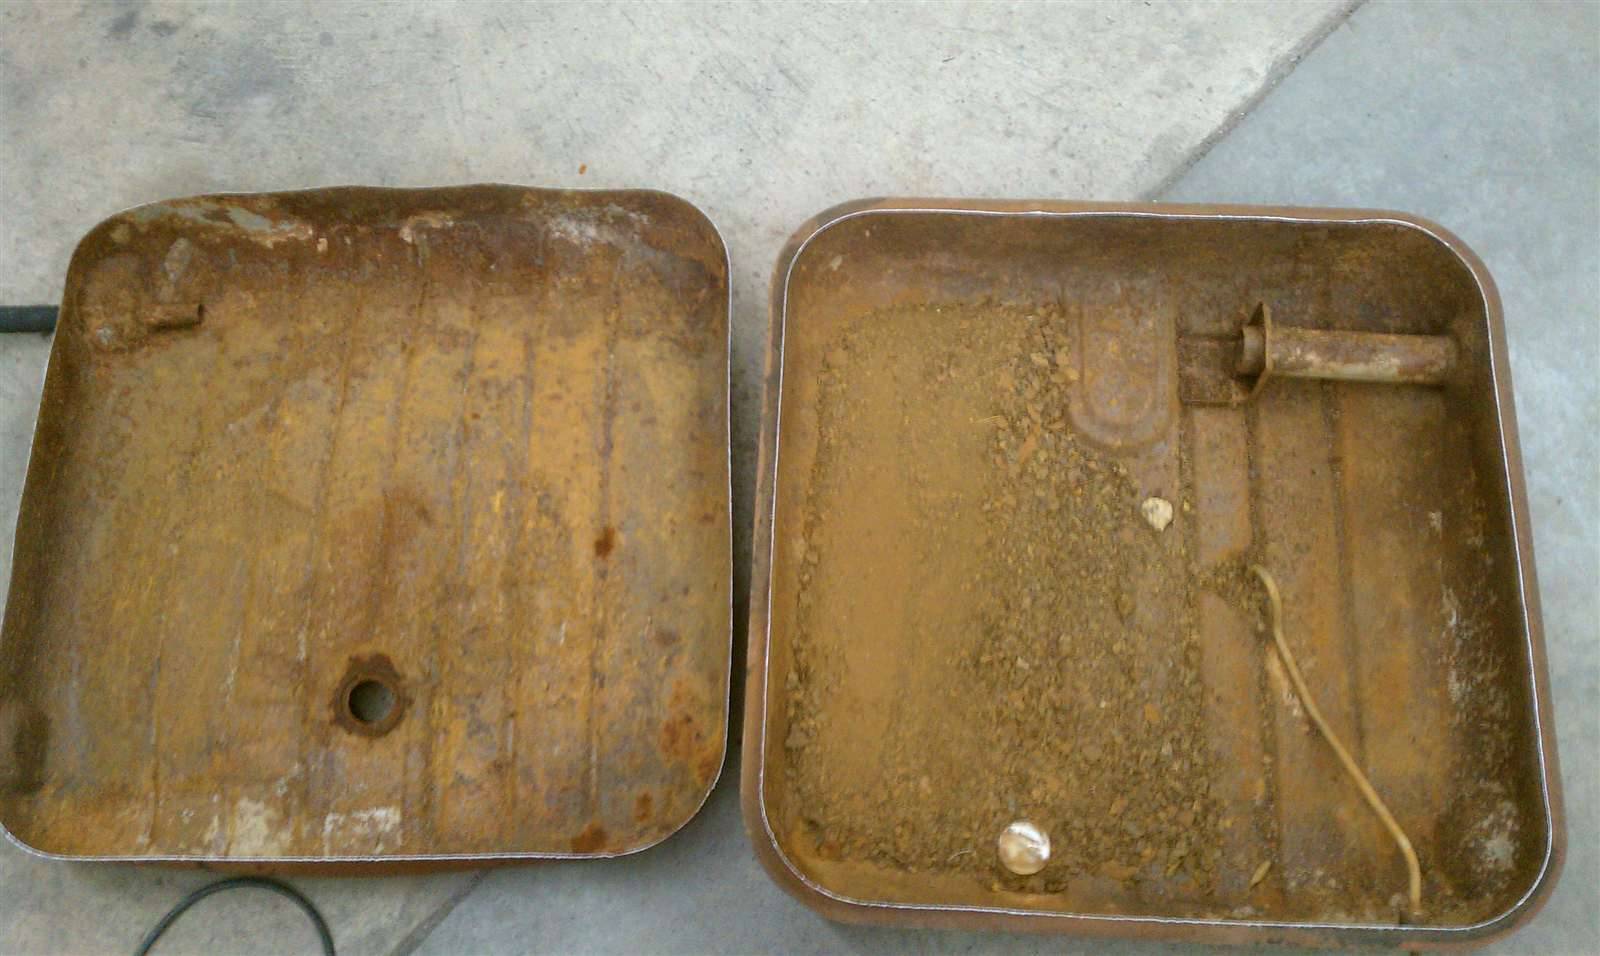 (155.96 KB) (155.96 KB)
Posted on: 2011/2/23 1:04
|
|||
|
||||
|
Re: Keegan's Replacement Fuel Tank
|
||||
|---|---|---|---|---|
|
Home away from home
|
Hand forming a tank, I'm affraid, isn't an option for me.
If someone wants to buy me a planishing hammer and english wheel I'll give it a shot. If someone else want's to give it a try, I'll be very interested in watching the process. Until then, making some relatively simple modifications to an existing tank will be the most cost effective and timely. At least for me.
Posted on: 2011/2/20 14:30
|
|||
|
||||
|
Re: Keegan's Replacement Fuel Tank
|
||||
|---|---|---|---|---|
|
Home away from home
|
Quote:
As far as I've found the '53 tanks are more than twice as expensive and not as plentiful. As far as I can tell, the filler has to come under the frame. There just isn't enough room to go over. In fact on my car the previous owner installed the Chevrolet tank with the top filler and had to cut a notch in the frame for it to work. Quote: On the sender, since there will have to be some changes anyway with the 57 setup, how about investigating the possibility of making a bracket which would weld or bolt to the GM plate. Our senders are only held on the existing round mounting plate via the single terminal screw bolted thru a couple of insulating pieces. Could remove the original plate and replace that with a bracket to provide the ground and mount inside the tank or even on the GM plate if there is room. Secure using the same components as original. Better yet, since the senders are roughly the same shape & size, it might also be possible to take the GM sender off and replace with ours in the same location with a simple mount and just need an arm adjustment. That would save a few dollars if the original sender is still usable but not preclude buying the Whitney or stock Ford unit if not. Replacing the Chevrolet sender with the Packard unit would be fine, but then you have to fabricate a fuel pickup that goes inside the tank and comes out the side somewhere. I like the Chevrolet sender because it's got the in-tank filter which is replaceable. Again, because it's a Chevrolet part, it's available everywhere for very little money. Using the Packard sender is still an option, and cutting a hole in the top of the tank for it would be easy. My only concern is that the Chevrolet tank is not as deep and the Packard sender may bottom out. Unfortunately, I do not have a Packard sender to use as a guide. If someone out there has a Packard sender that is no longer working, I would certainly take it from them to use it for mock up.
Posted on: 2011/2/20 14:21
|
|||
|
||||
|
Keegan's Replacement Fuel Tank
|
||||
|---|---|---|---|---|
|
Home away from home
|
I decided to try and develop a replacement fuel tank for the 51-56 cars.
My main focus is to keep the cost as low as possible while providing a new tank that will have the appearance of a stock tank. The 55-56 Chevrolet tank comes the closest to the shape and size of the original Packard tank. The Chevrolet tank is also very cheap, compared to other new replacement tanks. Another selling point is that these tanks should be available forever and they have a built in drain. With that being said, it is not perfect. For those of you who strictly adhere to Packard originality, this tank is not for you. Issue #1: The biggest complaint I see the average Packard owner will have, is the fact that the Chevrolet tank slightly smaller. The Chevrolet tank gives up about 2 inches in length and width and 1-2 inches in depth. This means the Chevrolet tank will only hold 16 gallons of fuel vs. 20 gallons on the stock Packard tank. Will smaller capacity be a deal breaker for us? Not for me, but others may feel differently. Issue #2: The filler inlet is in the wrong place. The stock filler inlet will have to be removed and the hole patched. The new filler inlet will be located in the correct location and tig welded in place. Issue #3: A new vent tube will be tig welded in the stock location. Issue #4: The Chevrolet sending unit will not work with the Packard gauges. However, the stock Chevrolet sending unit will be used as the fuel supply connection. A universal Ford sending unit, available from JC Whitney can be used for the guages. Issue #5: Use the original filler neck from your old tank. Less to fabricate. Hopefully I'll have the first completed tank in about a week. It depends on how busy I get at the shop. I haven't worked out what the final cost will be, but my goal is to keep the car owner from paying more than $350 for the complete job including all parts needed. Close to what it costs for a professional renew job, but you'll have all new steel, except for the filler neck. Let's hear some opinions about this tank replacement.
Posted on: 2011/2/19 23:12
|
|||
|
||||
|
Re: Gas Tank Blues
|
||||
|---|---|---|---|---|
|
Home away from home
|
You'd be better off just calling Mike directly. He doesn't spend much time on the computer.
I was just at his place on Monday and I saw a stack of tanks out in the snow.
Posted on: 2011/2/18 1:20
|
|||
|
||||
|
Re: "Waking Sleeping Beauty" .... The Blog!
|
||||
|---|---|---|---|---|
|
Home away from home
|
I'm trying to work out a replacement tank solution myself. I'm currently running the Chev tank that's been discussed, but there are a few undesirable issues with it. The two biggest being the frame has to be notched for the filler to work in the current location, and the sender is not compatible with our gauges. Also there isn't a vent on the tank. The Chev must have had a vent built into the filler tube.
Hopefully I can find a solution that put's a new tank under these cars, without breaking the bank. I'll know more in a couple of weeks after some trial, but mostly error.
Posted on: 2011/2/17 0:26
|
|||
|
||||
|
Re: Keegan's 55 Clipper Deluxe
|
||||
|---|---|---|---|---|
|
Home away from home
|
More rust repair on the same panel.
Here's my method. Not meant as a tutorial or as an example to follow, just the way I did it. Attach file: (100.69 KB) (129.50 KB) (129.50 KB) (123.78 KB) (123.78 KB)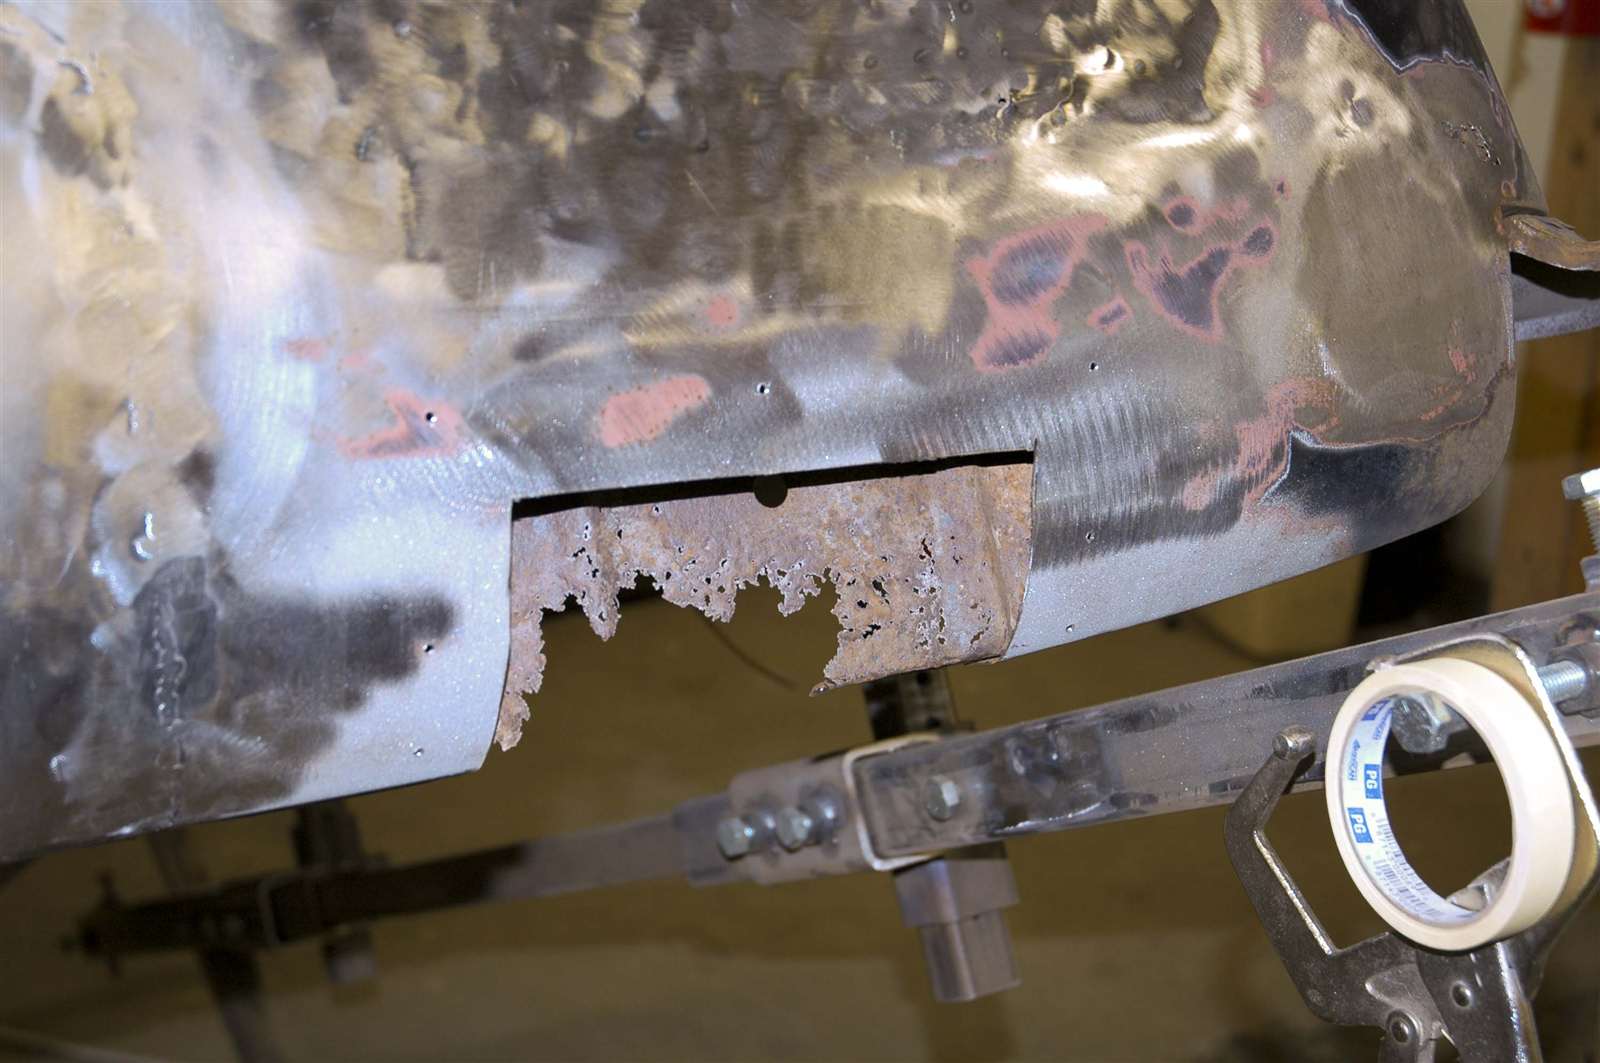 (130.90 KB) (130.90 KB) (88.83 KB) (88.83 KB) (49.02 KB) (49.02 KB)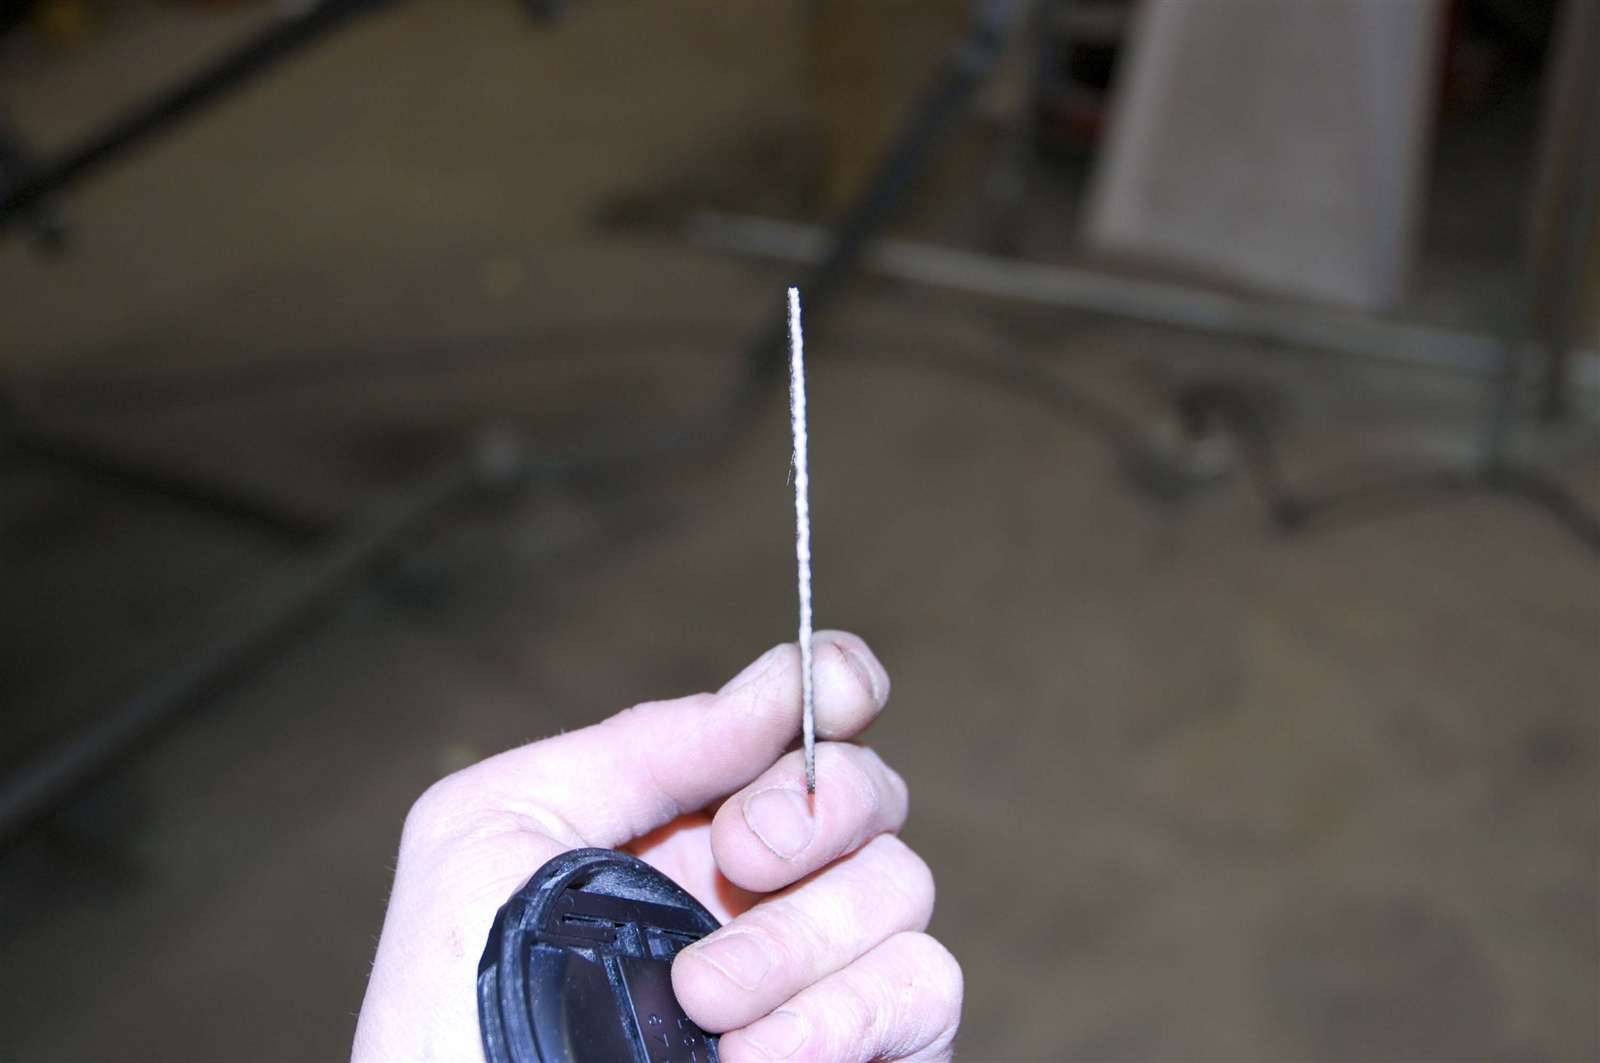 (125.69 KB) (125.69 KB)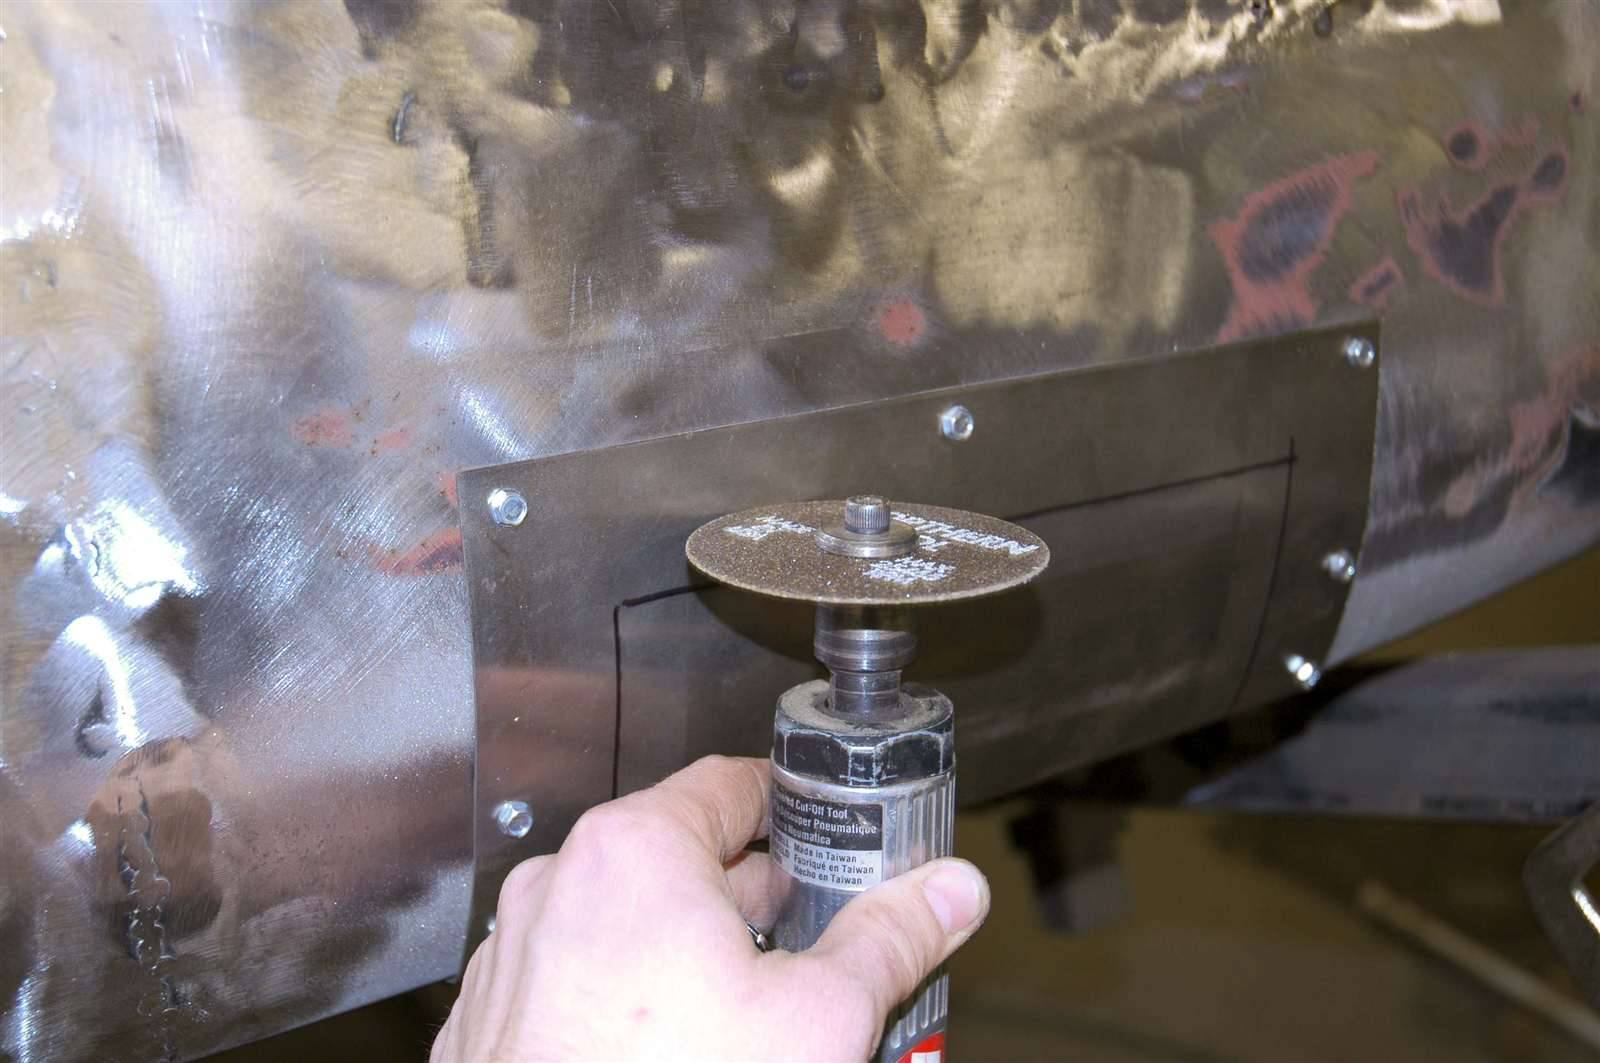 (129.13 KB) (129.13 KB) (104.37 KB) (104.37 KB)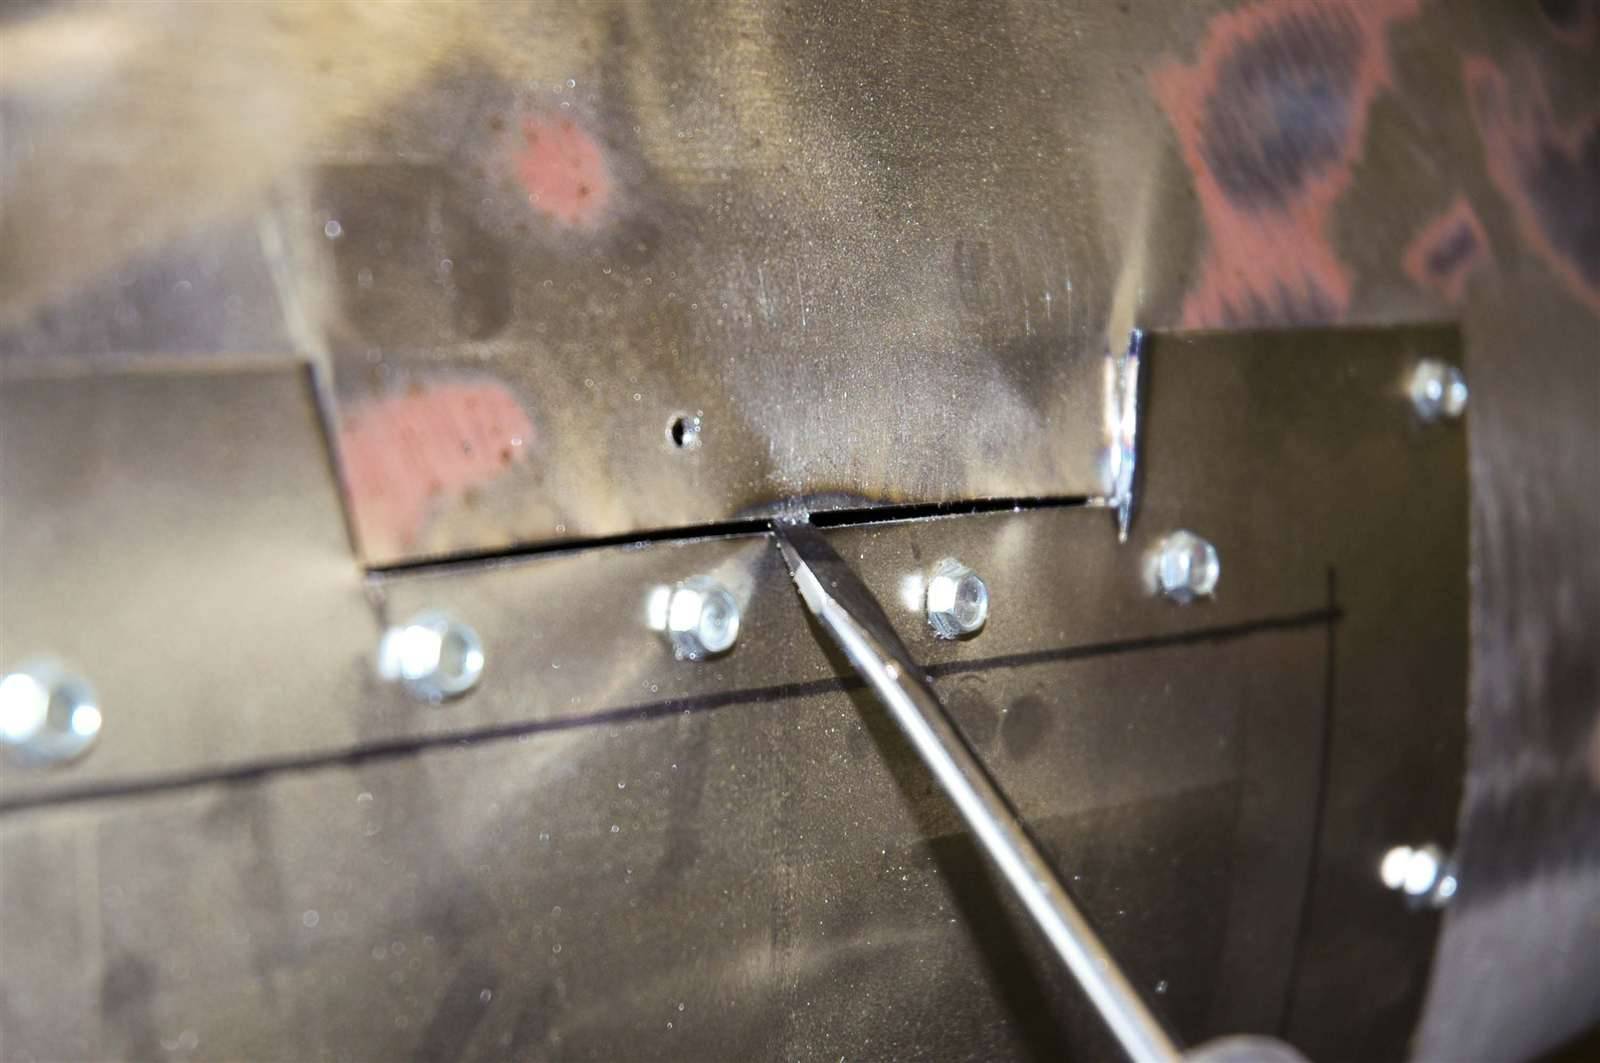 (124.18 KB) (124.18 KB)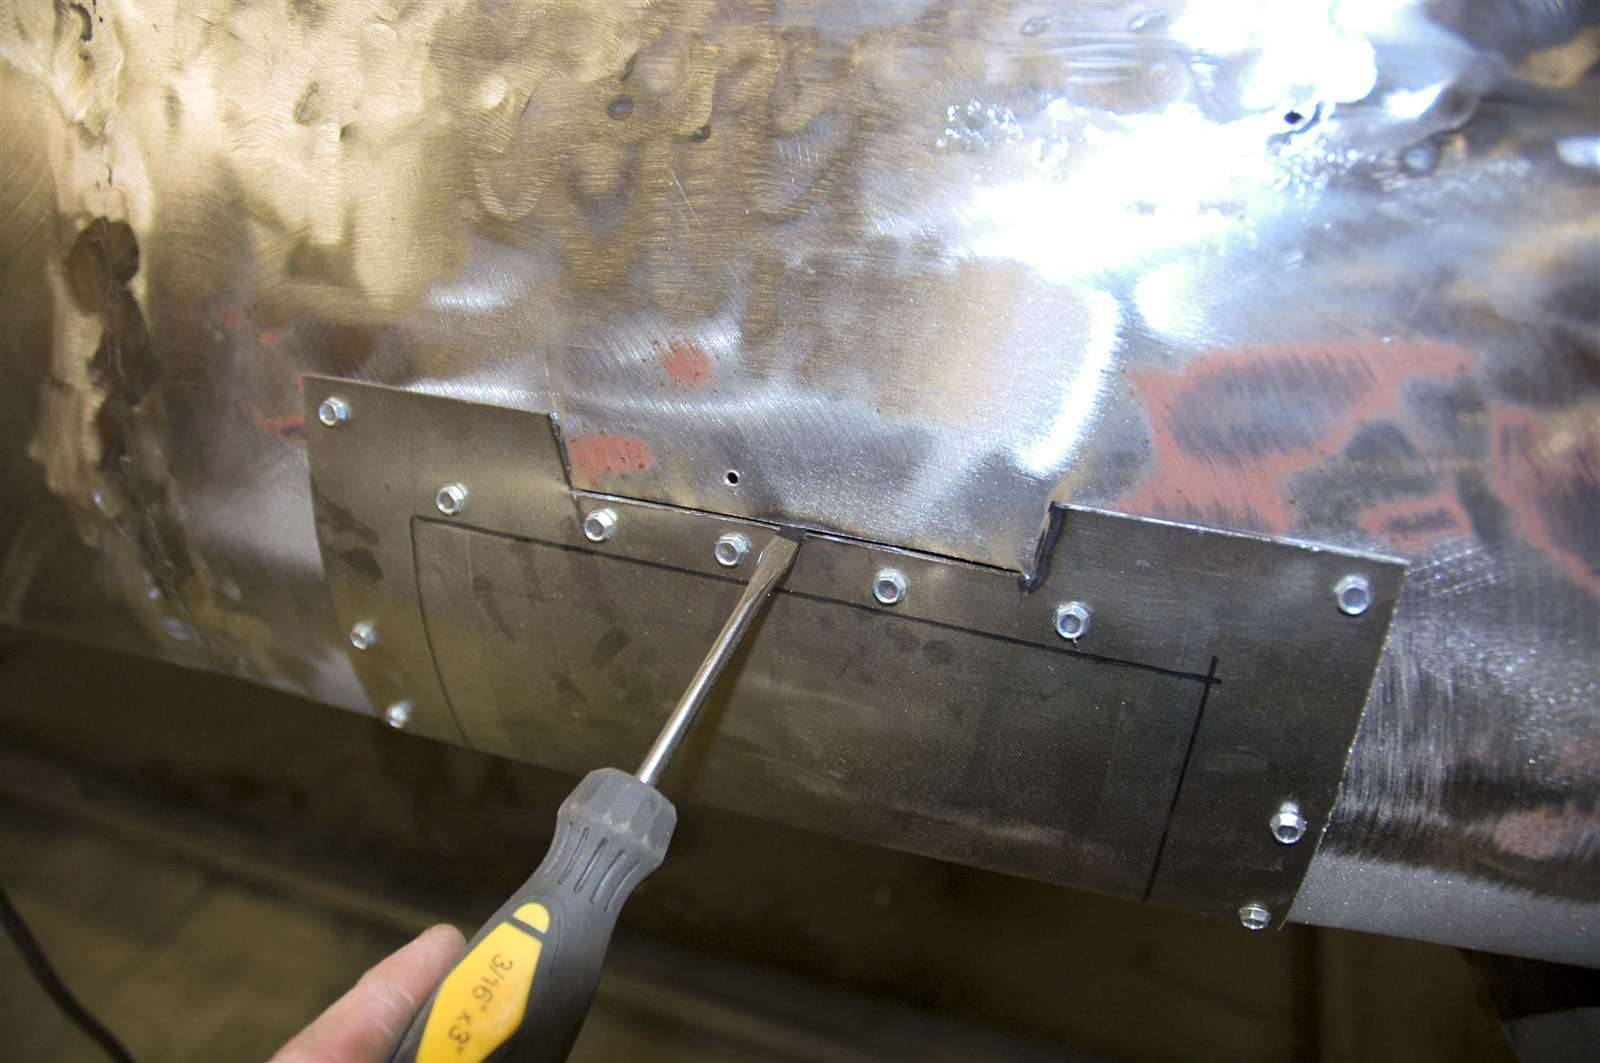 (131.17 KB) (131.17 KB)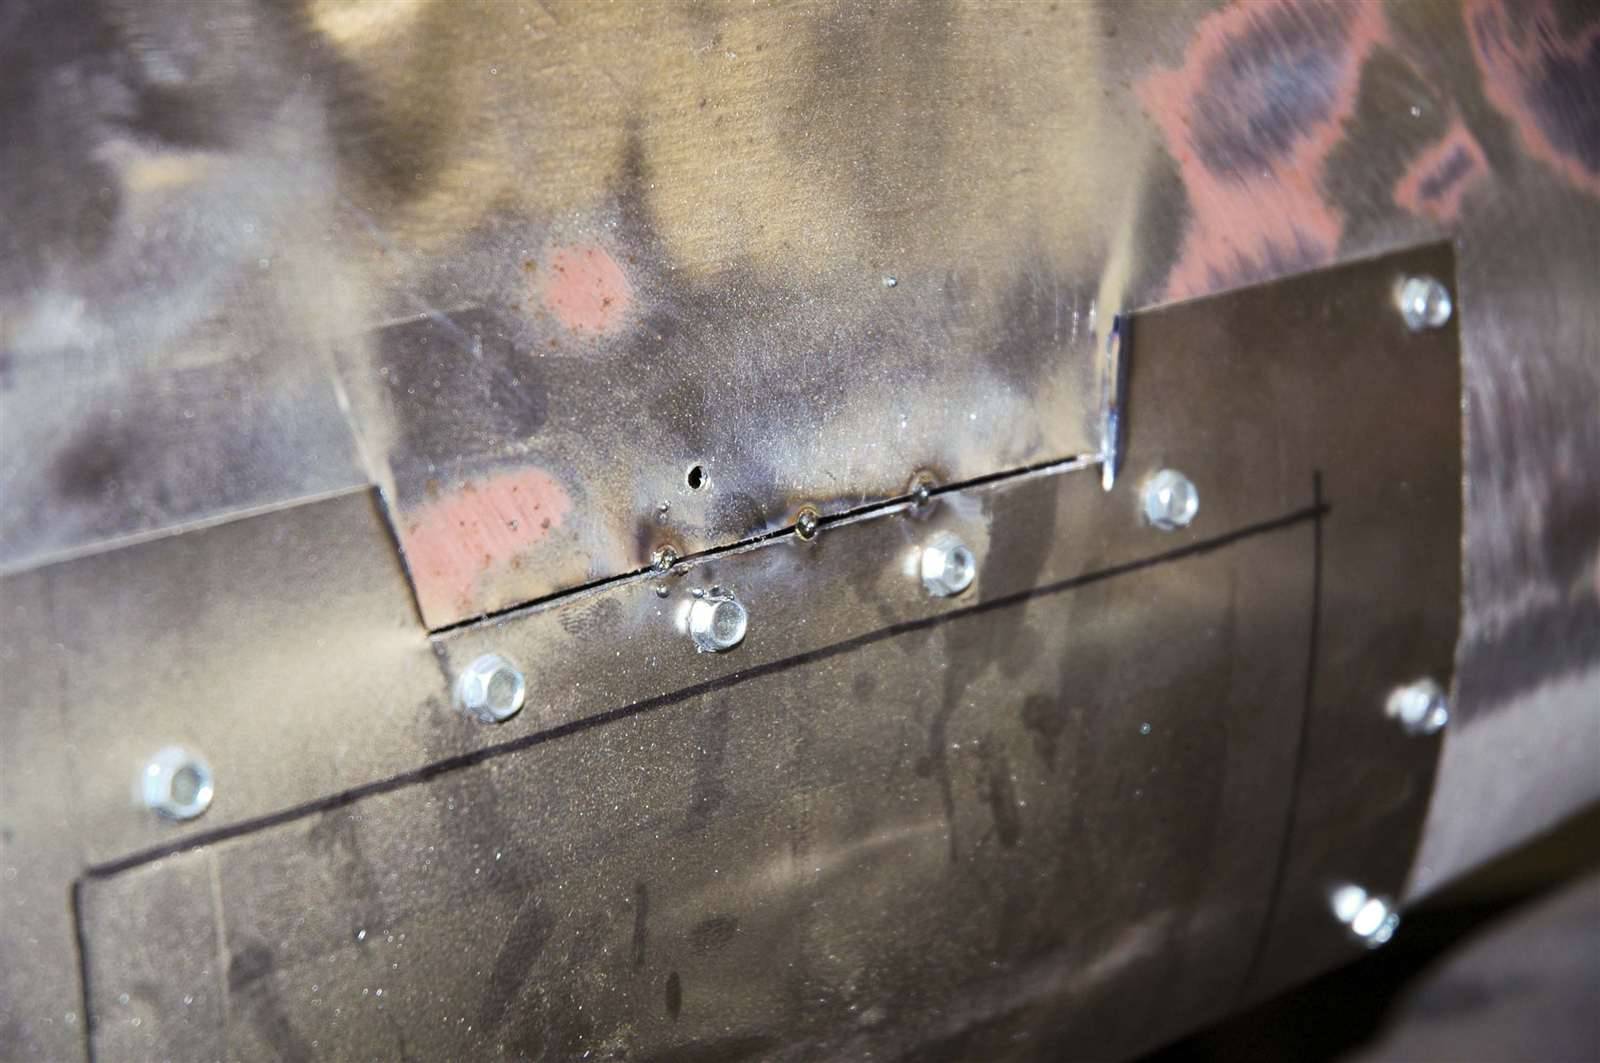 (73.22 KB) (73.22 KB) (111.07 KB) (111.07 KB)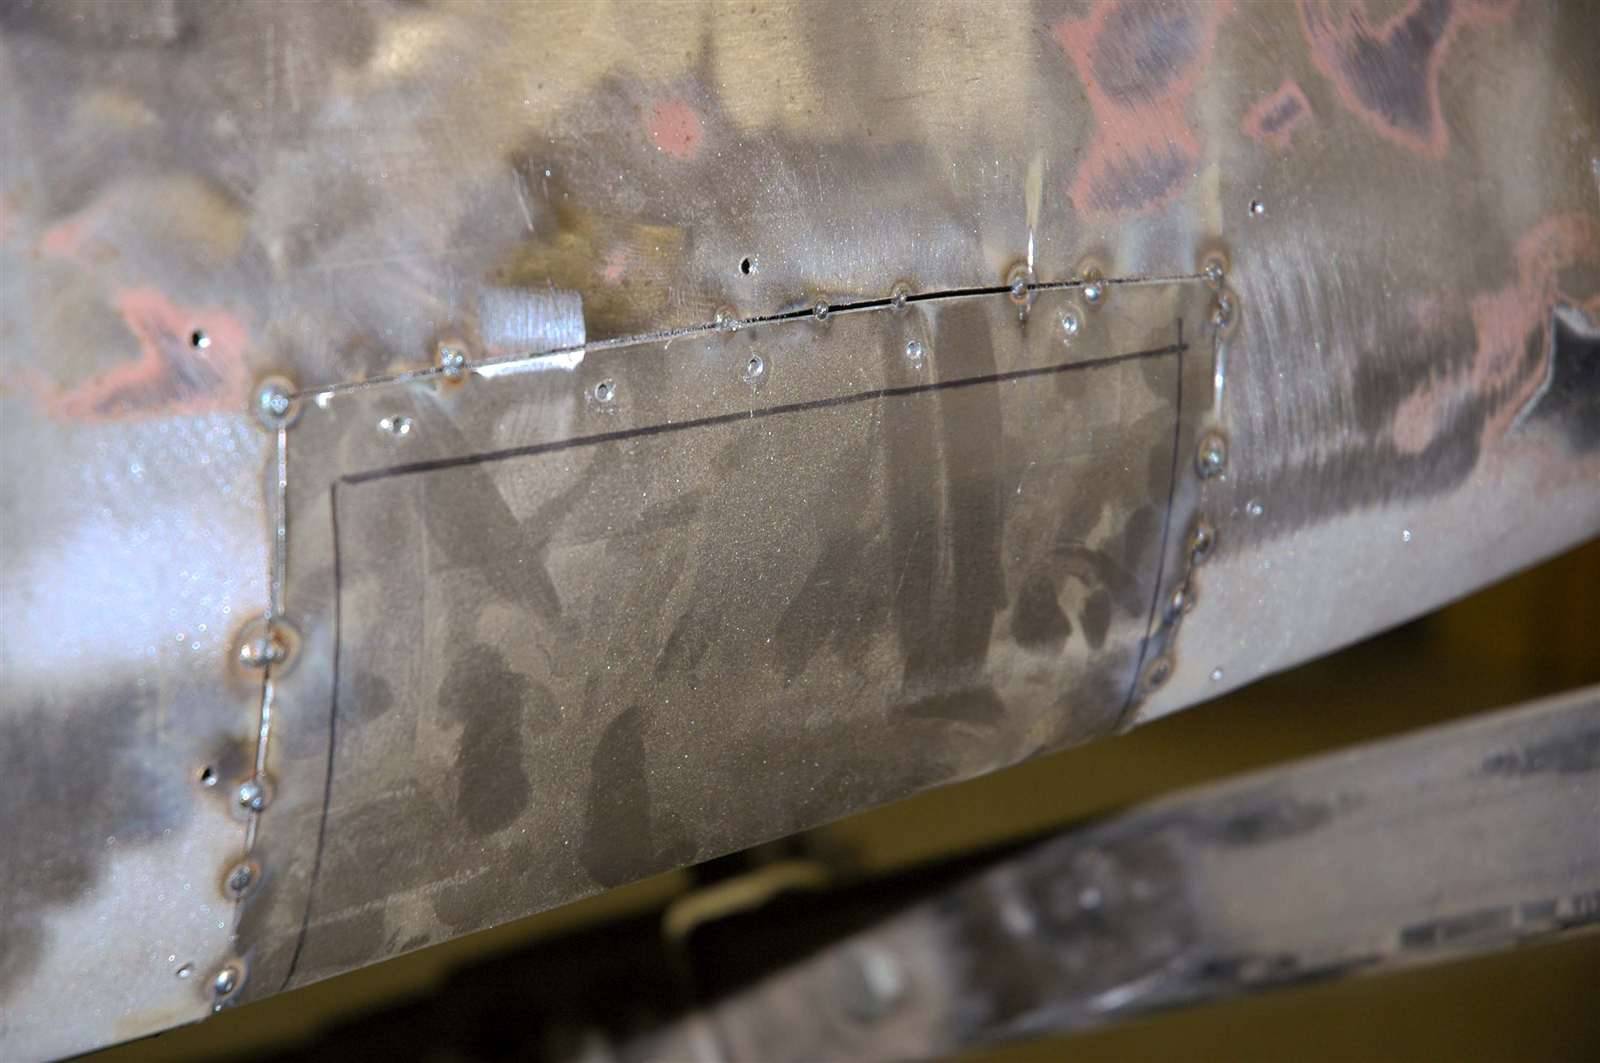 (110.49 KB) (110.49 KB) (107.46 KB) (107.46 KB)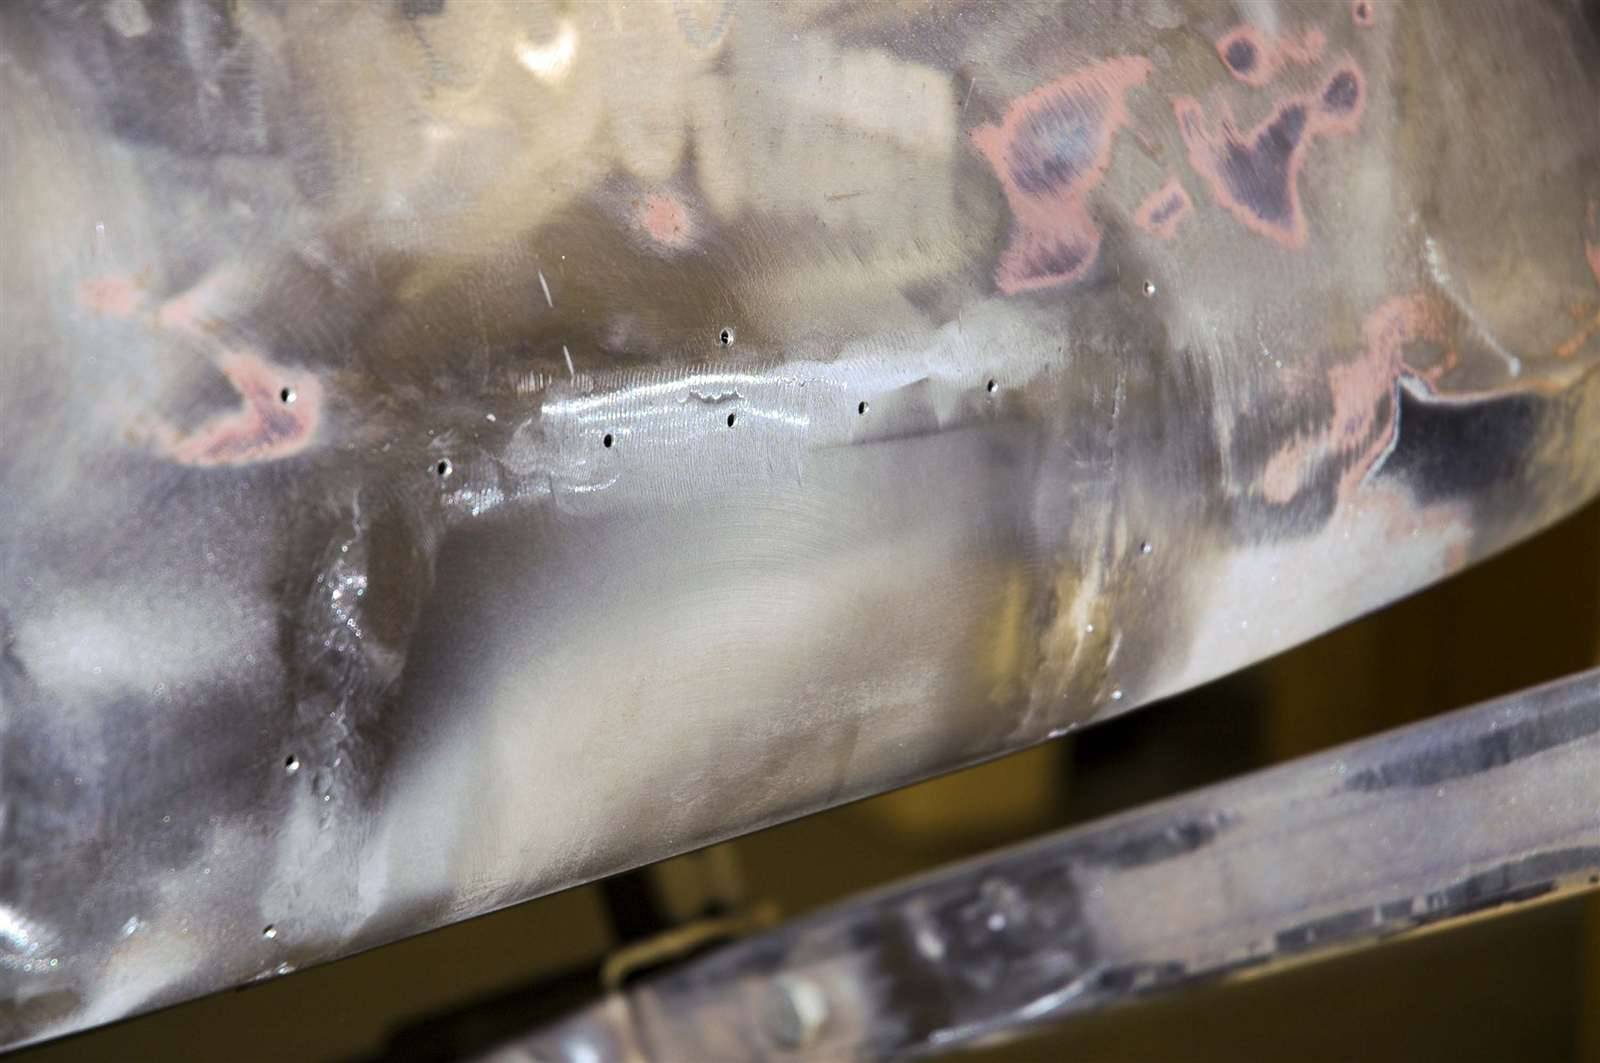 (108.62 KB) (108.62 KB)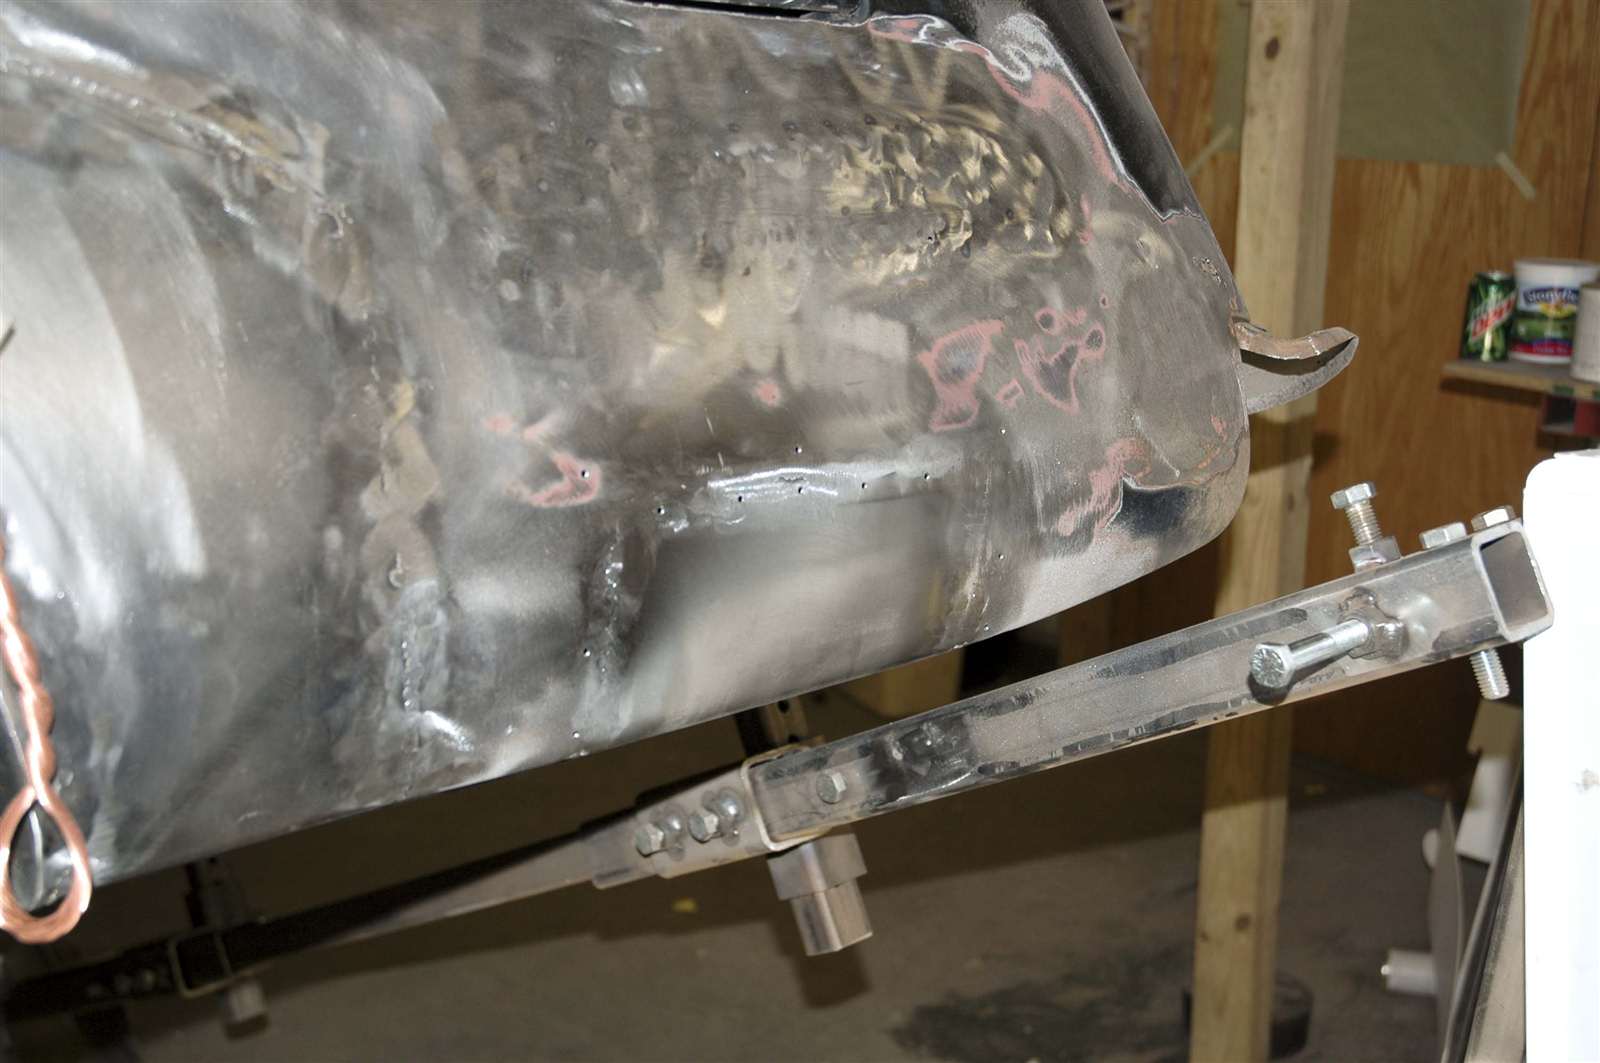
Posted on: 2011/2/3 23:46
|
|||
|
||||


