|
1930 shifter missing part
|
||||
|---|---|---|---|---|
|
Home away from home
|
I seem to be missing the part that keeps the shifter from rotating in the socket. I suspect it looks like a washer with a locating slot on one side and a locating tab on the other side however I don't remember seeing it when I took the shifter apart two years ago. Do any of you have an extra one of these or could you possibly measure the one in your car so I can reproduce it? Below are pictures of the parts that I do have but note that something is missing.
Thanks In advance Todd Attach file:  (53.84 KB) (53.84 KB)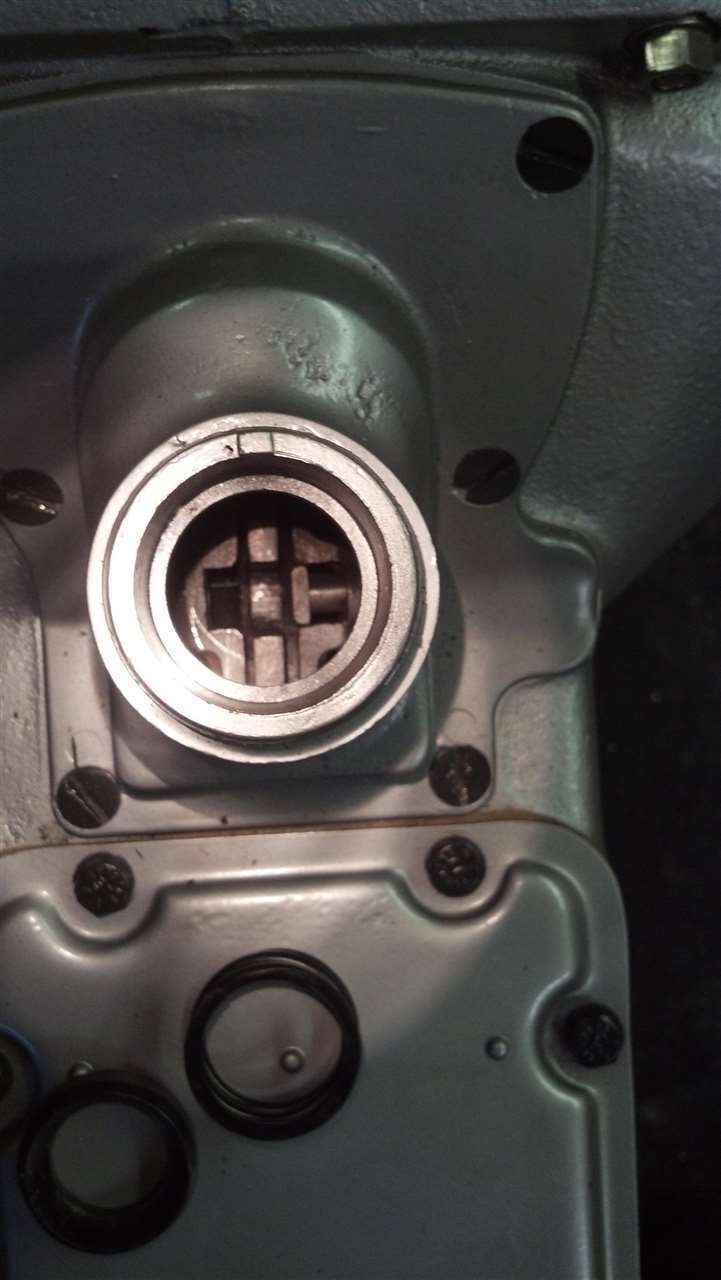 (46.31 KB) (46.31 KB)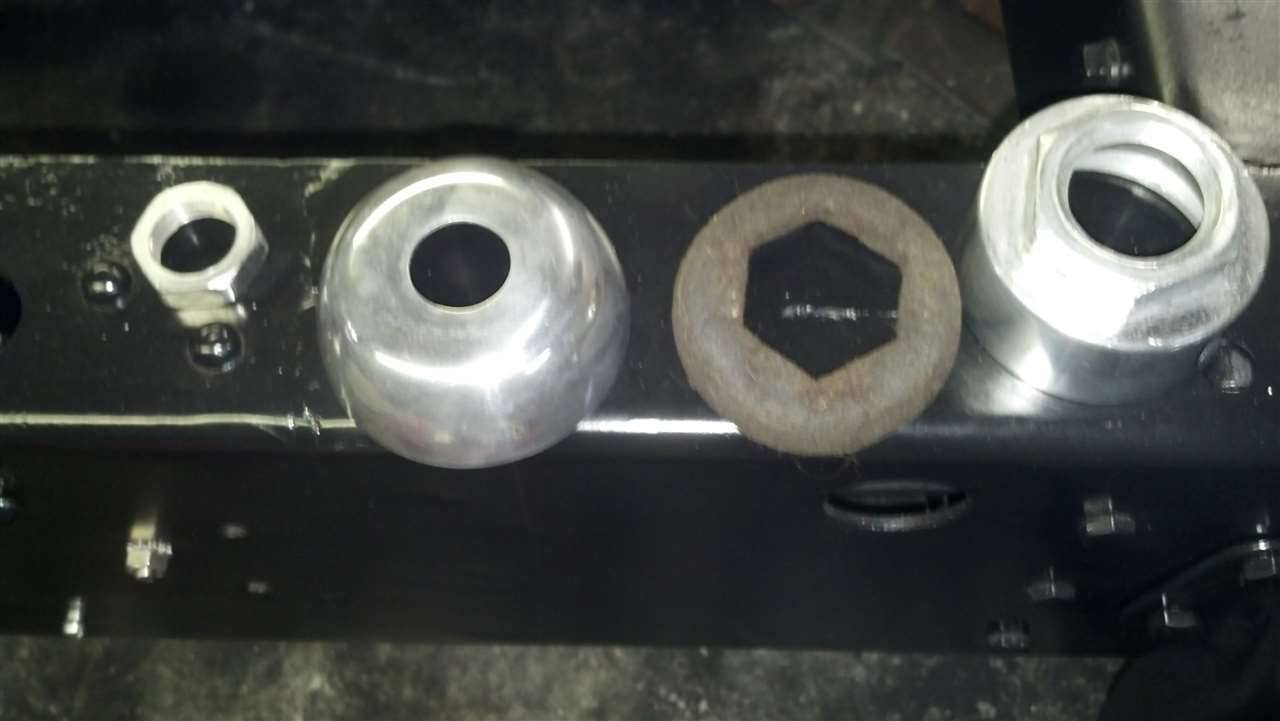 (68.46 KB) (68.46 KB) (37.67 KB) (37.67 KB)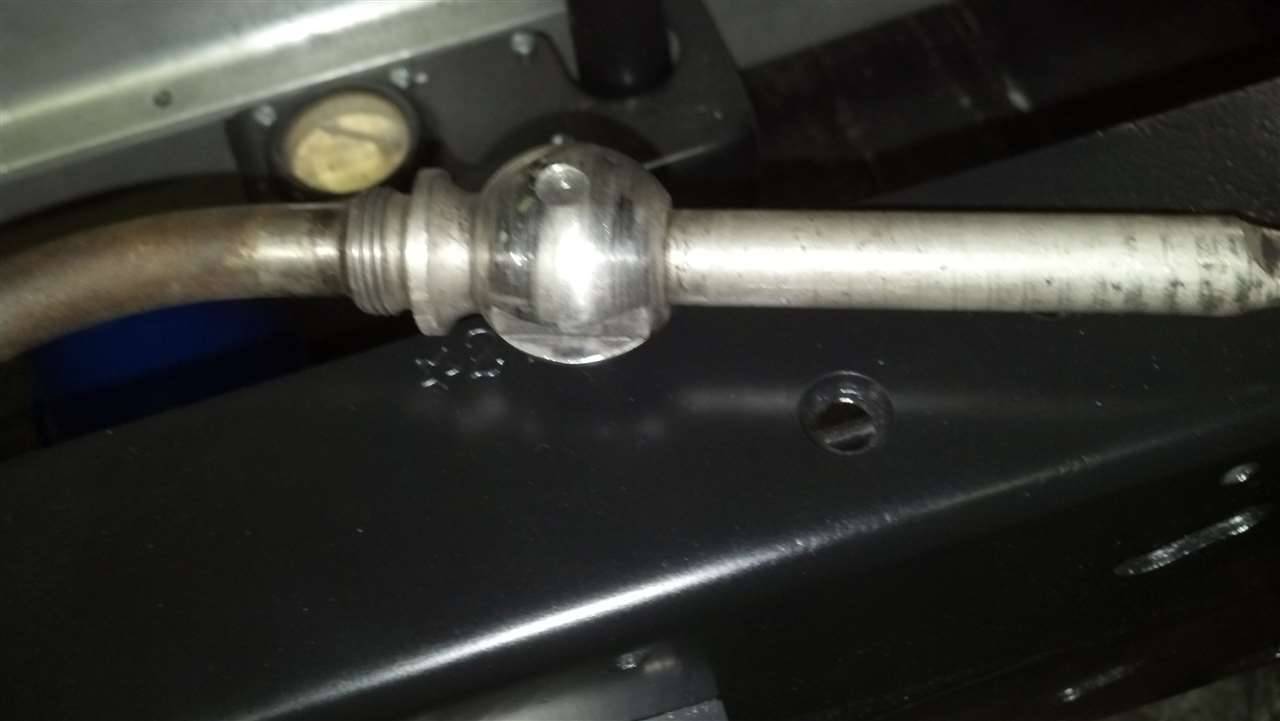 (46.82 KB) (46.82 KB)
Posted on: 2013/3/24 20:21
|
|||
|
||||
|
Re: 1932 902 tie rod
|
||||
|---|---|---|---|---|
|
Home away from home
|
Curtis, the studs and locating cups were shot on my 1930 733 so I made some blueprints up of the parts and sent them off to Rare Parts. They remade myself and another friend new balls and cups for both tie rods and the drag link. You can contact them for new parts even though they don't show these parts on their website.
http://www.rareparts.com The new studs are exact as originals with all oil holes drilled. The studs for the drag link and tie rod are similar but different. The steering studs and cups are the same from 3d series to at least the 9th series. Here's a link to the drawings: http://www.packardclub.org/forum/viewtopic.php?f=6&t=1428 Good luck Todd
Posted on: 2013/3/20 16:27
|
|||
|
||||
|
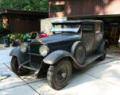
Re: Todds 1930 733 7P Sedan
|
||||
|---|---|---|---|---|
|
Home away from home
|
I have the originals but still need to clean them up. It looks like they had a leather washer around them but these are now mostly rotted off. It looks like the one in the picture has some felt washer inside of it, is that correct? Mine don't have anything inside them.
Posted on: 2013/3/13 12:20
|
|||
|
||||
|
Re: Todds 1930 733 7P Sedan
|
||||
|---|---|---|---|---|
|
Home away from home
|
Thanks guys. I was wondering why you were so quiet Ray. Stay safe and get back to the 28 when you have time. No hurries.
Posted on: 2013/3/11 20:24
|
|||
|
||||
|
Re: Todds 1930 733 7P Sedan
|
||||
|---|---|---|---|---|
|
Home away from home
|
So, here is what the chassis looks like as of this weekend:
Attach file: (84.19 KB)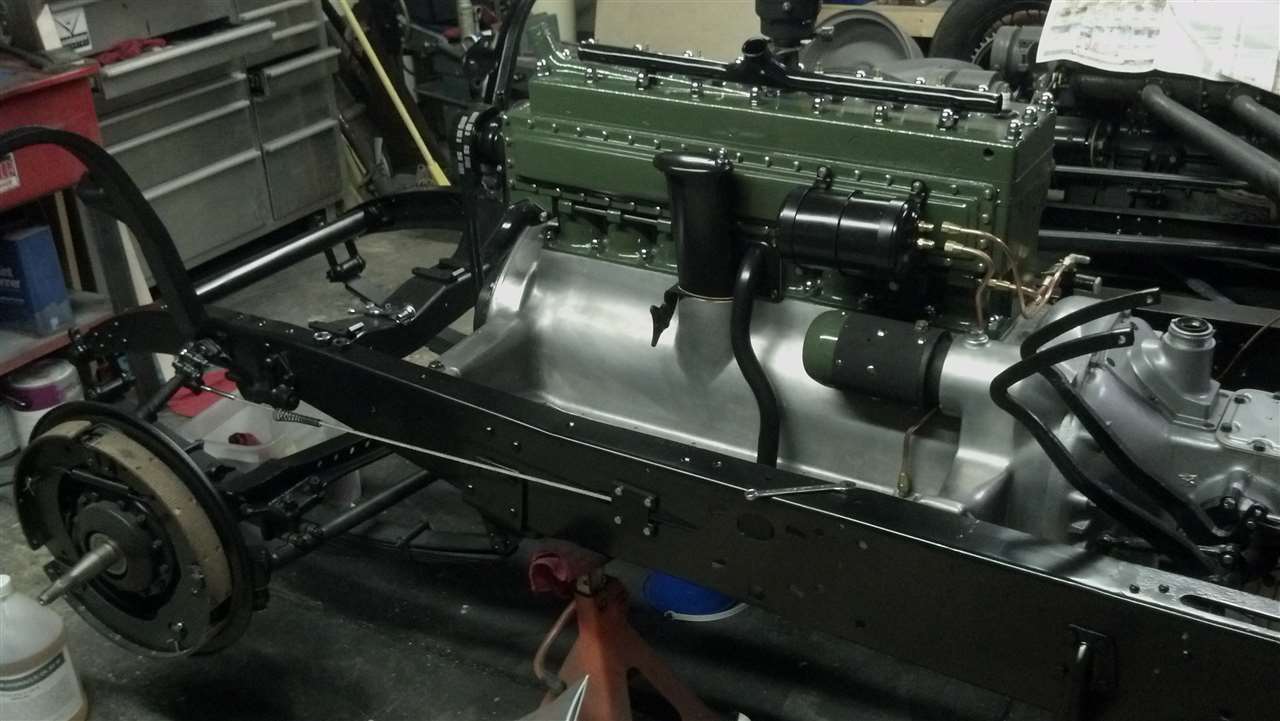
Posted on: 2013/3/11 14:17
|
|||
|
||||
|
Re: Todds 1930 733 7P Sedan
|
||||
|---|---|---|---|---|
|
Home away from home
|
The original brake cable guides on the frame of my car were chewed up so I made new ones from Delrin plastic. One of these guides bolts to each side of the frame like the originals and there is a 3/16" slot cut in to each side at a ten degree angle to let the wire pass thru. Hardly stock but I couldn't find decent originals.
Attach file: (68.98 KB)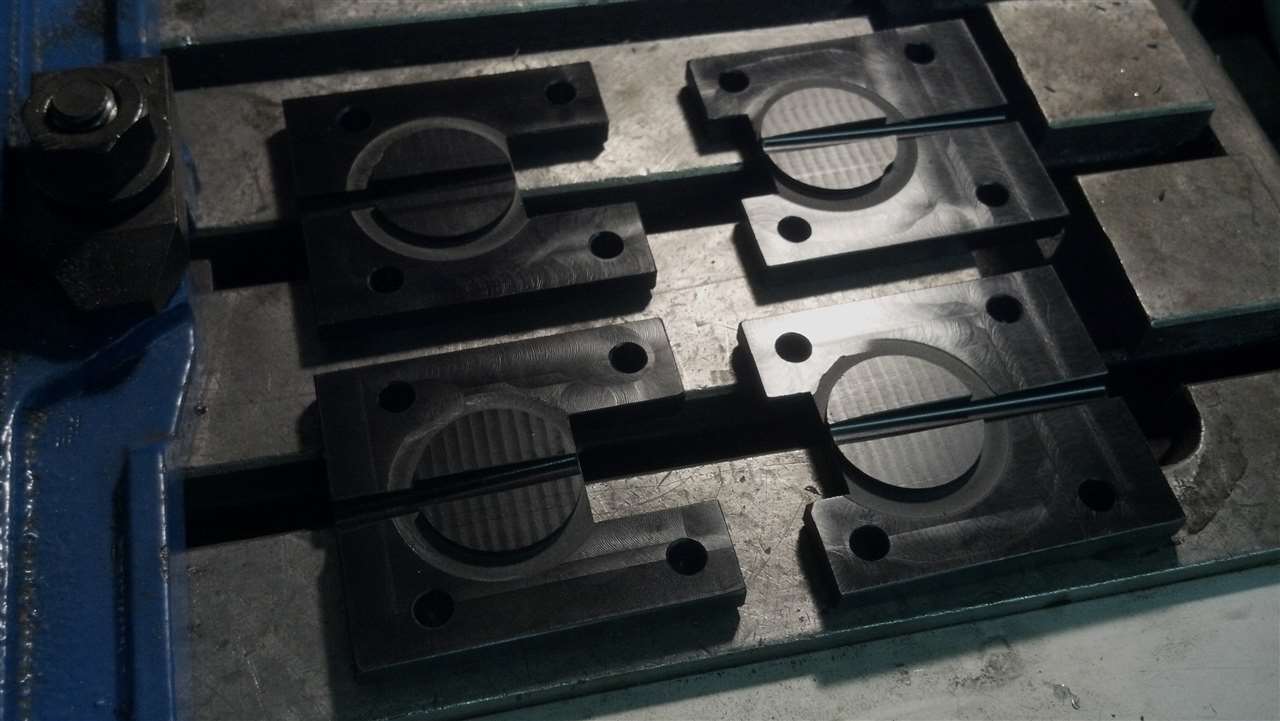 (41.29 KB) (41.29 KB)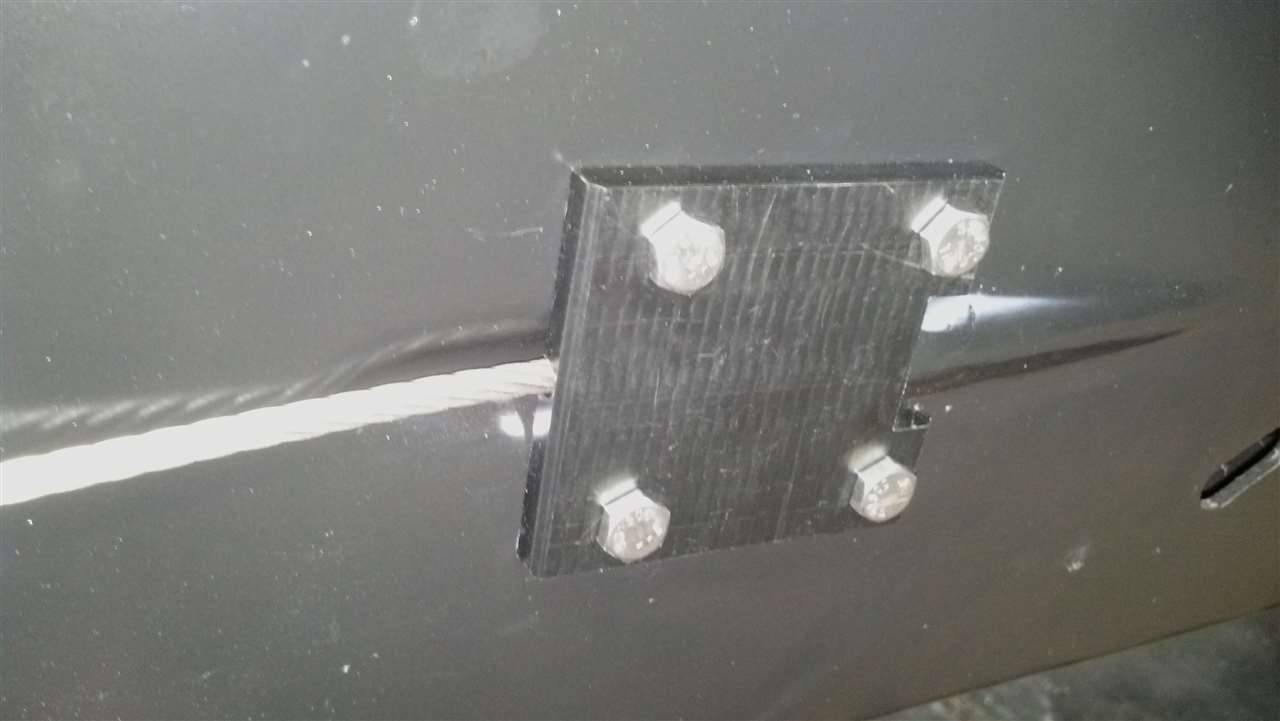
Posted on: 2013/3/11 14:14
|
|||
|
||||
|
Re: Todds 1930 733 7P Sedan
|
||||
|---|---|---|---|---|
|
Home away from home
|
I forgot to mention that I made new felt oil wicks for the links too as these were almost completely gone from the originals.
Attach file: (86.83 KB)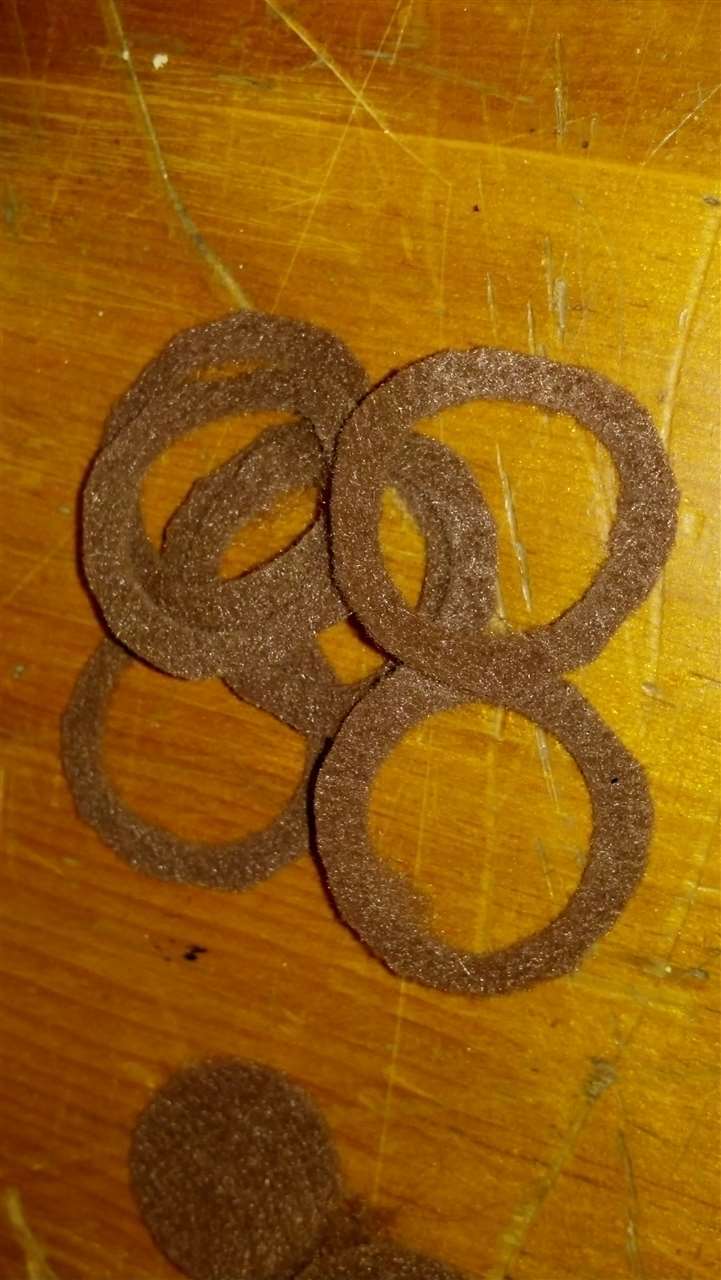
Posted on: 2013/3/11 14:09
|
|||
|
||||
|
Re: Todds 1930 733 7P Sedan
|
||||
|---|---|---|---|---|
|
Home away from home
|
I sent an e-mail over to the folks at Apple Hydraulics to inquire about having my dog bones (shock link arms) rebuilt and they didn't reply so I decided I'd do it myself. How hard could it be?
First I put each link in the vice and machined off the rivet heads on one side. Then they all went back in the mill to have the rivets drilled out. If you do this, don't drill all the way through, just drill them out so the tip of your drill is equal in depth to the backside of the link. I then hammered out the rivets with a punch. All the links were filled with rust and crud and half the ball studs were out of round. I managed to find another pair of links to scavenge for parts that were in better condition and I used the balls from these to get four good links worth of parts. The originals were put together with steel rivets but I don't have the machinery to crush steel rivets so instead I used 3/16" x 1/2" round head brass rivets to put them back together. I made up a pair of dies from some old bolts and made some custom soft jaws for my vice to locate them. I then used the vice to set the rivets and reassemble the links with nice clean parts. This was a lot of work but now that it's done I'm glad I did it. Attach file: (68.86 KB)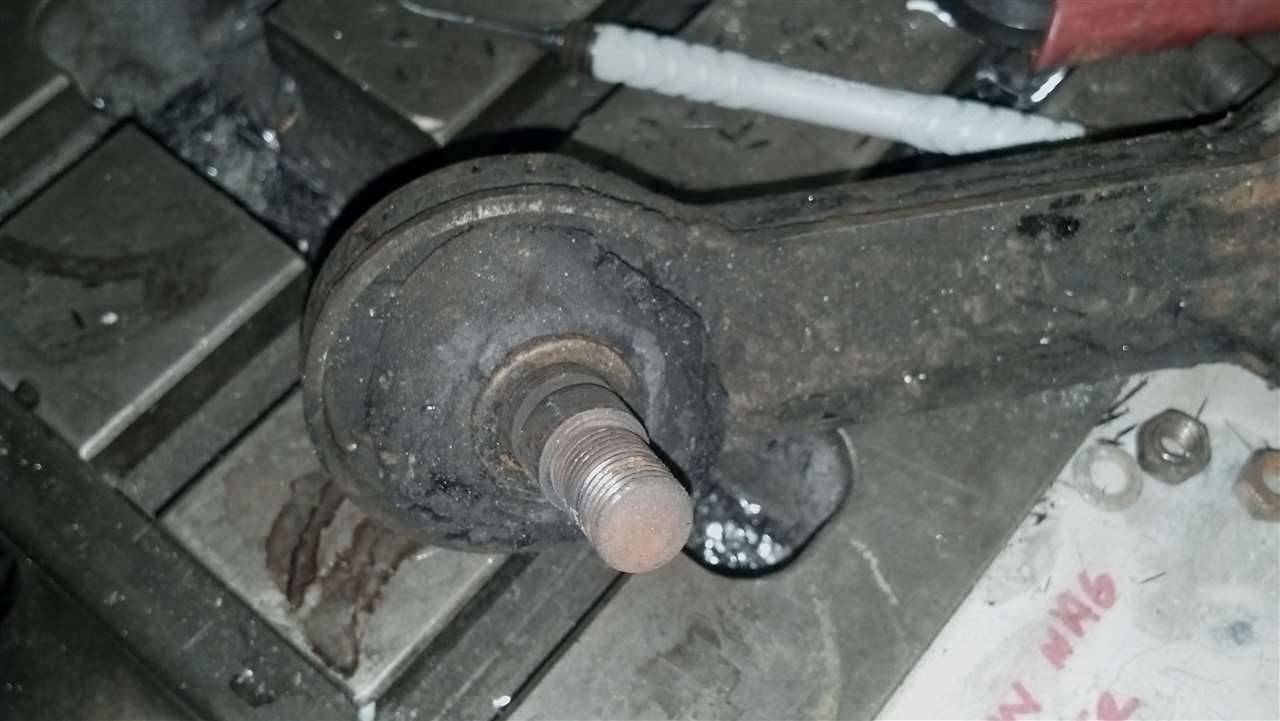 (103.64 KB) (103.64 KB)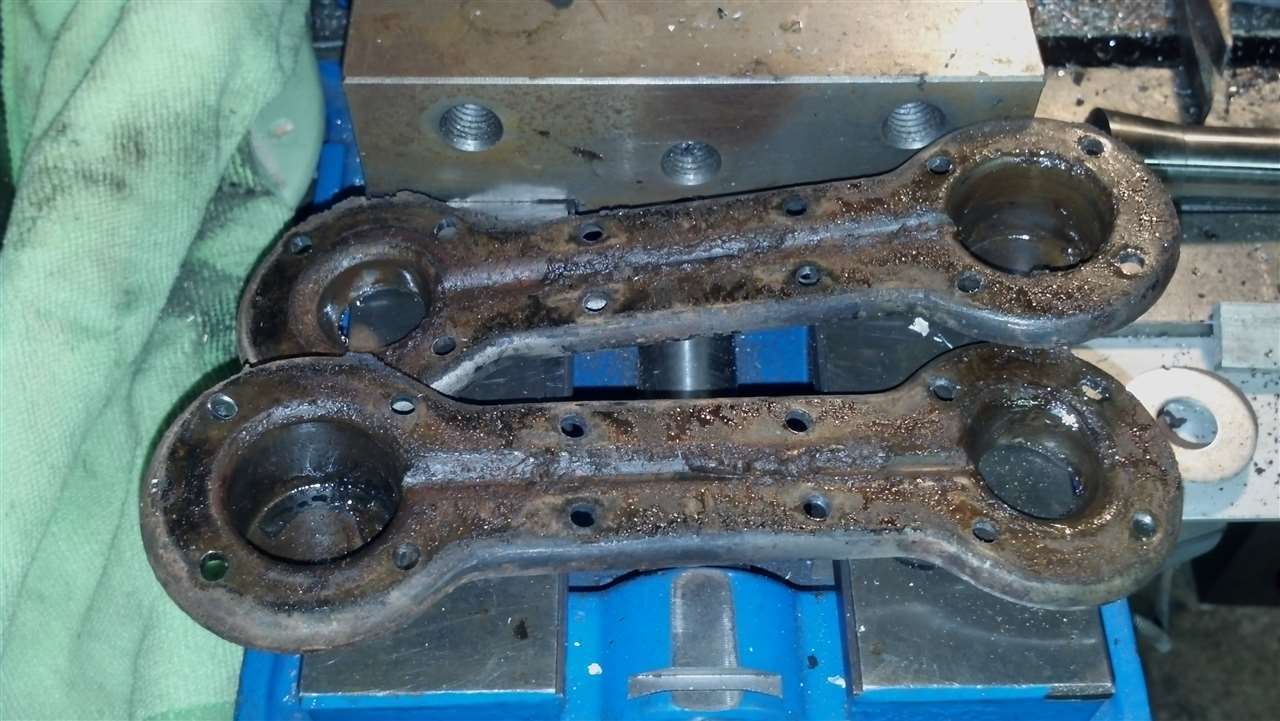 (71.13 KB) (71.13 KB)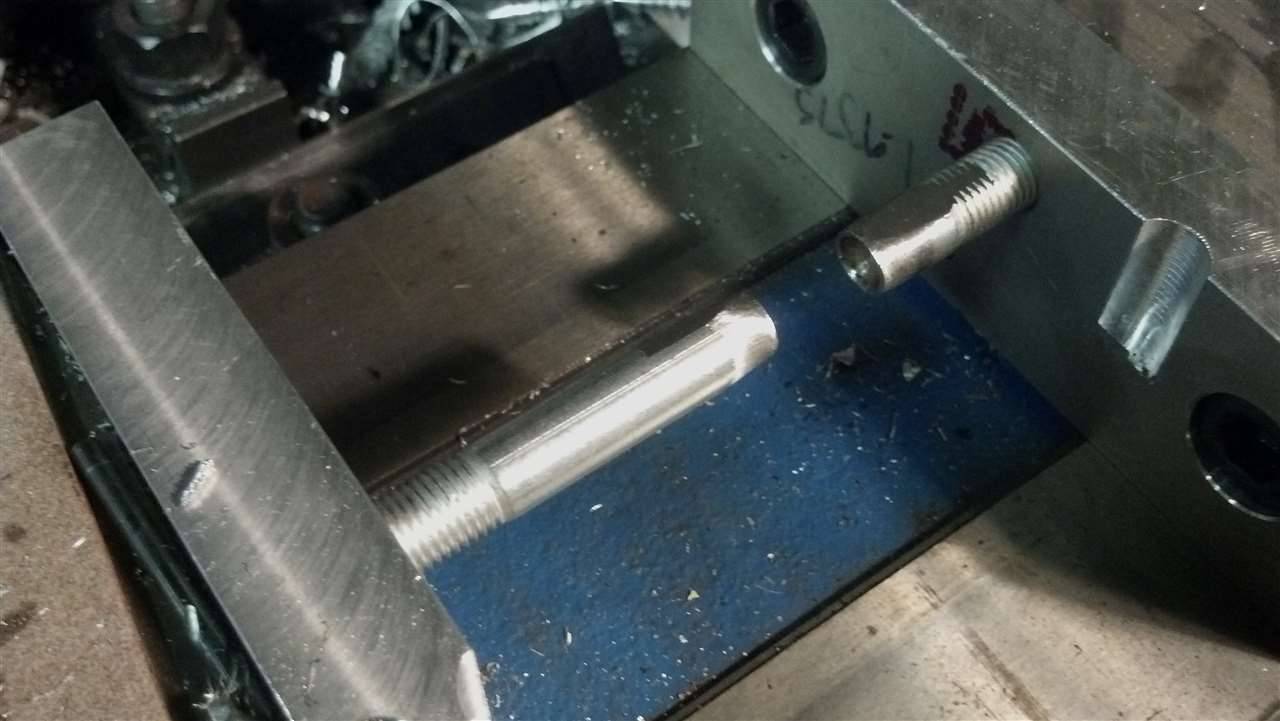 (113.60 KB) (113.60 KB)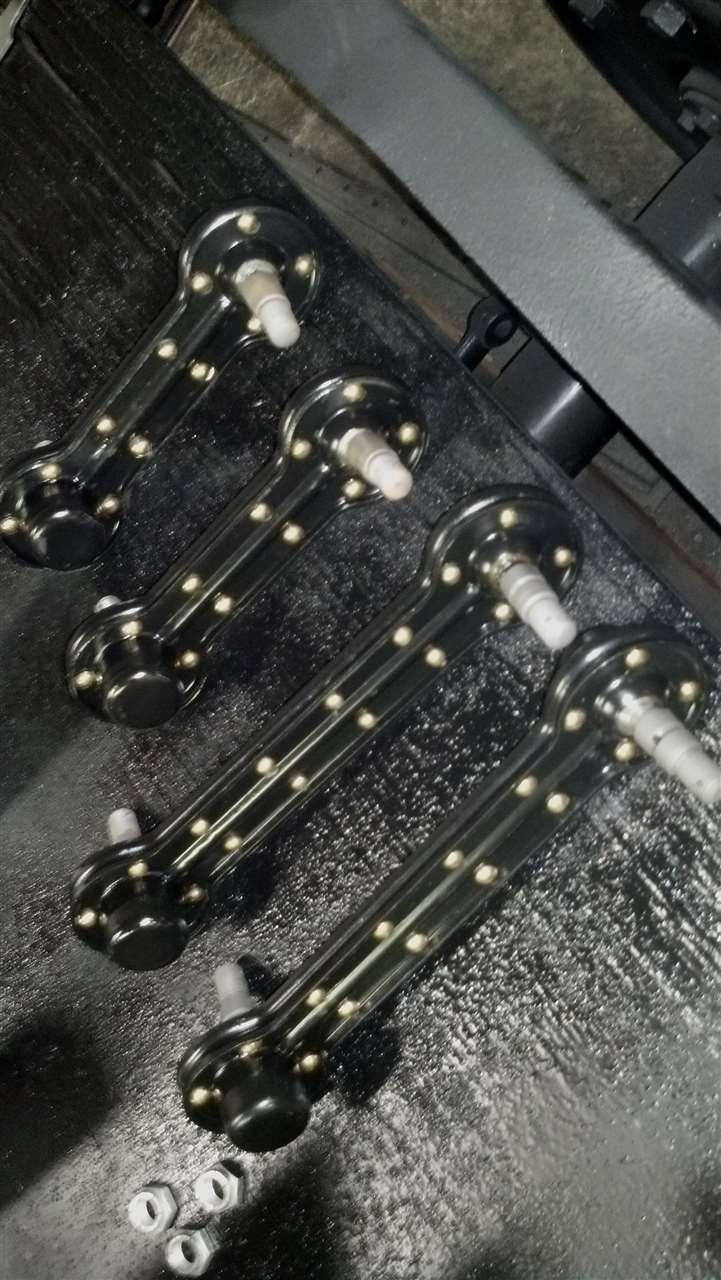
Posted on: 2013/3/11 14:07
|
|||
|
||||
|
Re: Todds 1930 733 7P Sedan
|
||||
|---|---|---|---|---|
|
Home away from home
|
Next I decided to tackle the oil filter. I'd heard of using the old oil filter as a housing for a modern filter and that was the direction I took. I clamped up the original filter and used a propane torch to sweat the solder joints apart. After discarding the nasty paper element and internals I had two filter canister halves that fit together rather nicely. I then drew up a plan and bought a piece of 1" thick aluminum from McMaster and machined it to fit a new Ford filter. Once the machine work was done I used JB Weld to secure the aluminum block inside the canister and then repainted the unit. Mounted on the side of the engine it looks fairly convincing. I will get some decals for it soon.
Attach file: (46.92 KB)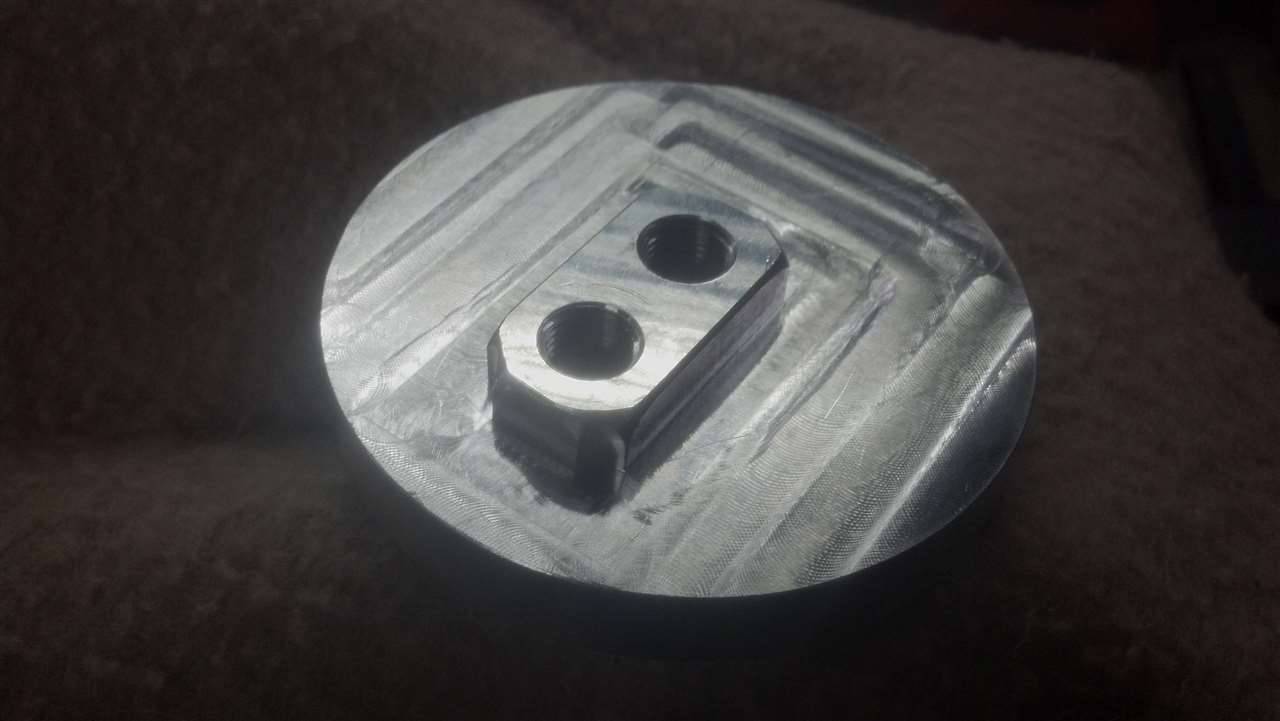 (44.11 KB) (44.11 KB)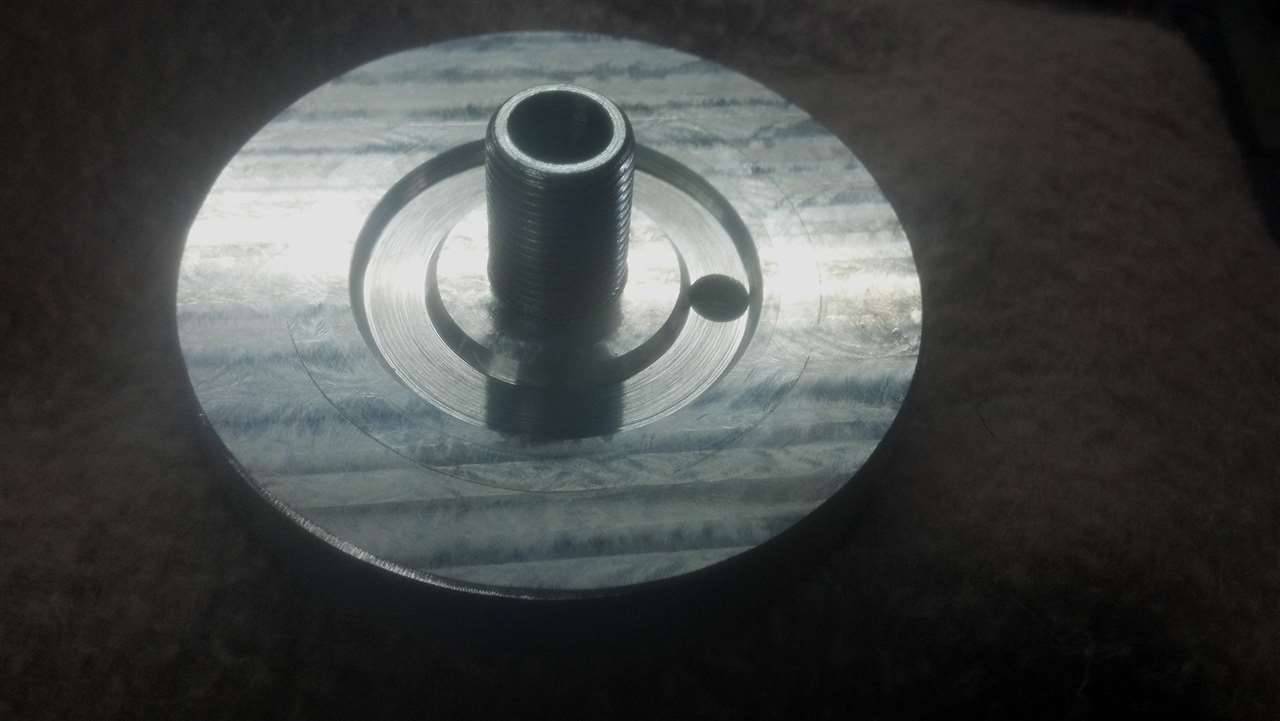 (45.76 KB) (45.76 KB)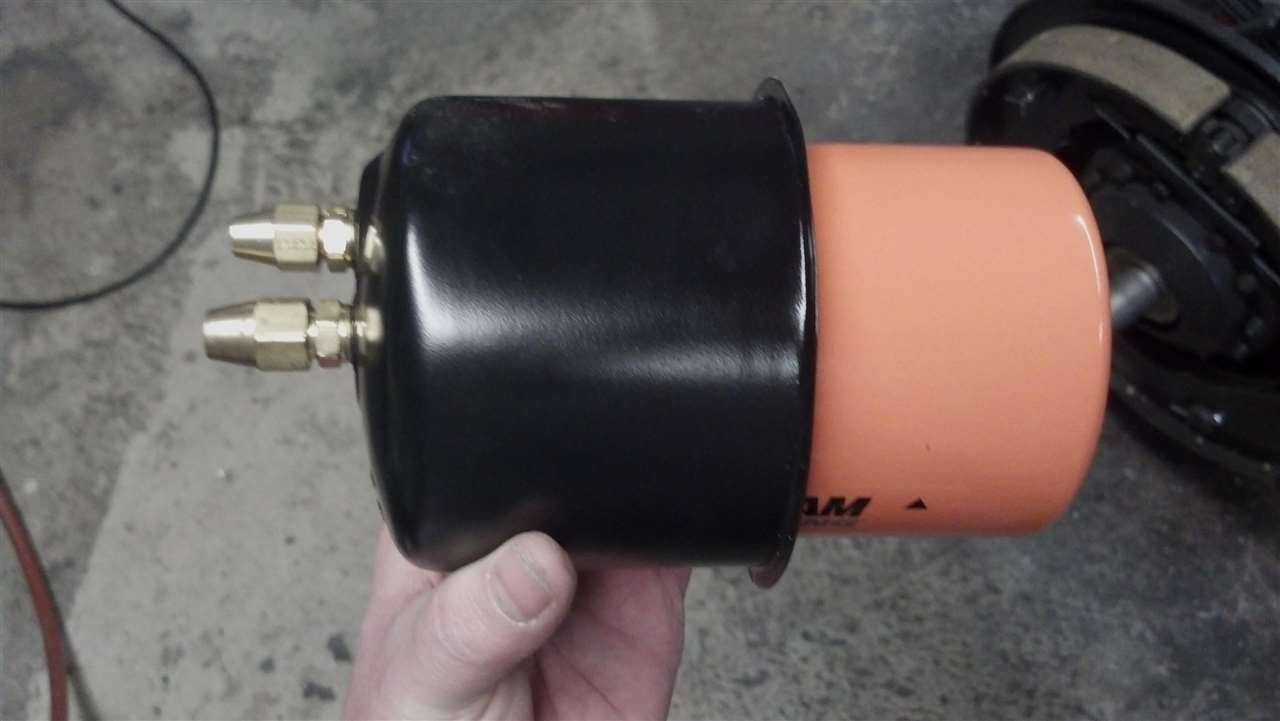 (63.44 KB) (63.44 KB)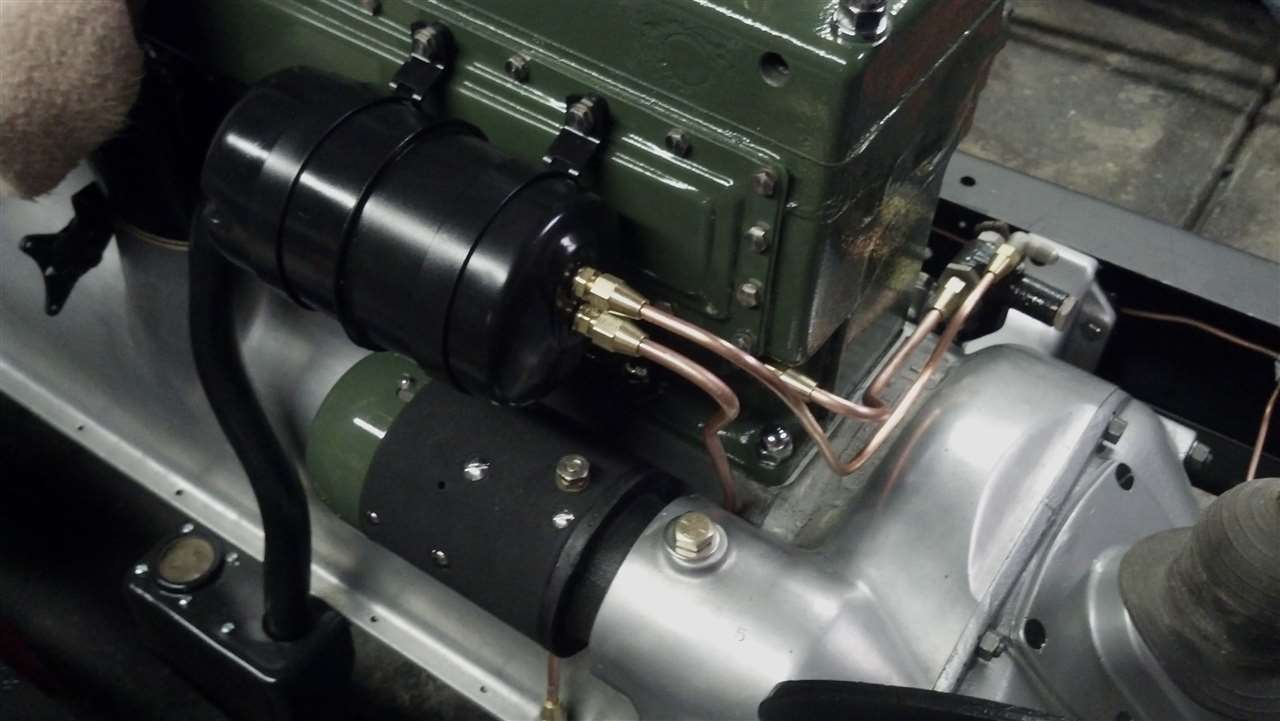
Posted on: 2013/3/11 13:49
|
|||
|
||||
|
Re: Todds 1930 733 7P Sedan
|
||||
|---|---|---|---|---|
|
Home away from home
|
I sent the generator and regulator out to Jason at Advanced Electrical Rebuilders about a month ago and expect to see it back in another month or two so in the mean time I've moved on to other things. First on that list was shortening the driveshaft. Before having the driveshaft worked on I had to rebuild the U-joints. After removing all the bolts I discovered that the original seals were worn out and after finding no suitable replacements I turned up some new seals from brass. They came out quite nice and the U joints went back together with no discernible slop at all. They feel as tight as the day they were made. With the new joints installed I took the shaft to Shaftmasters in Lincoln Park, MI and they took 7" out of the shaft, welded it back together and balanced it for under $250. They also fixed a bad weld that some hack had put in it years ago. The yolk closest to the differential ran out almost 1/8".
Attach file: (106.10 KB)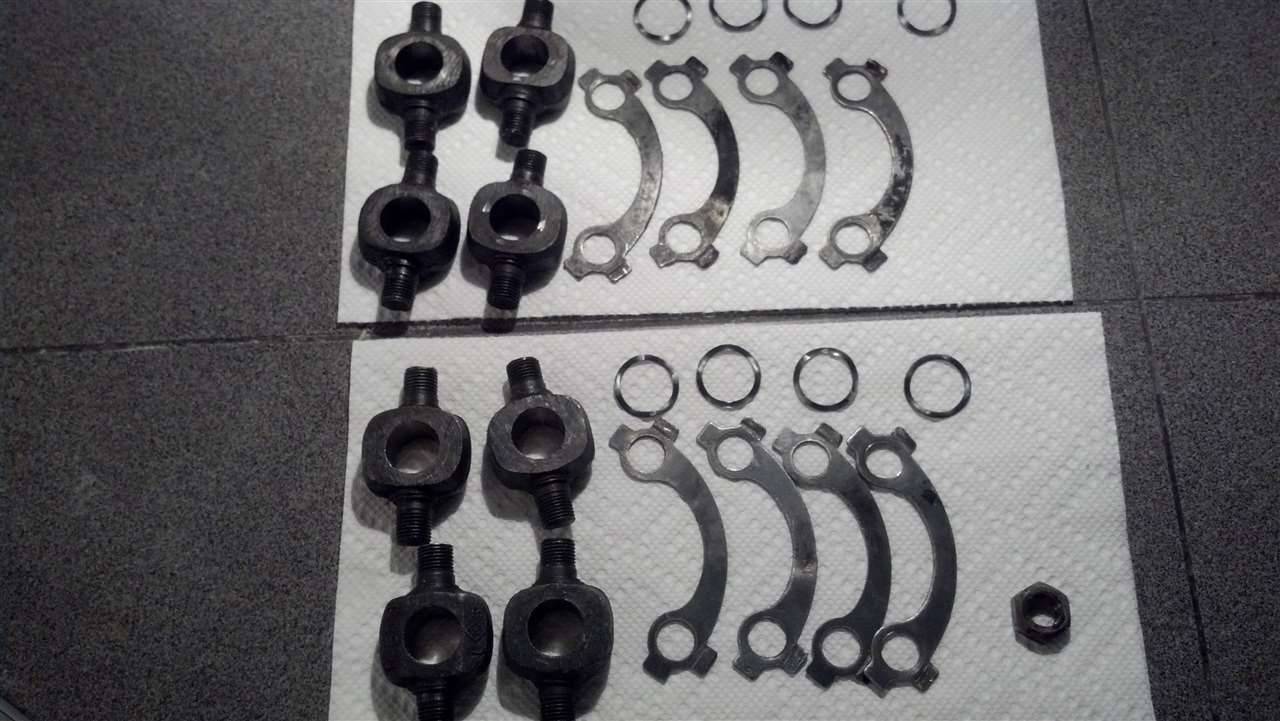 (135.06 KB) (135.06 KB)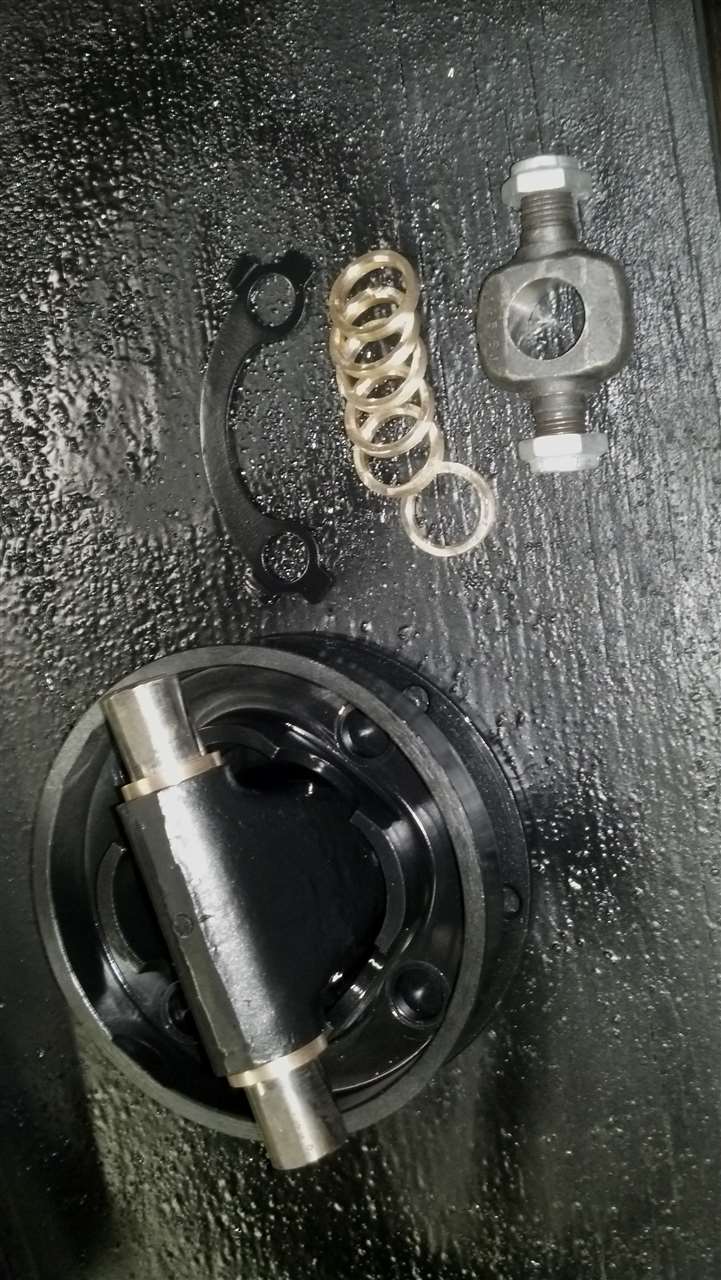 (56.42 KB) (56.42 KB)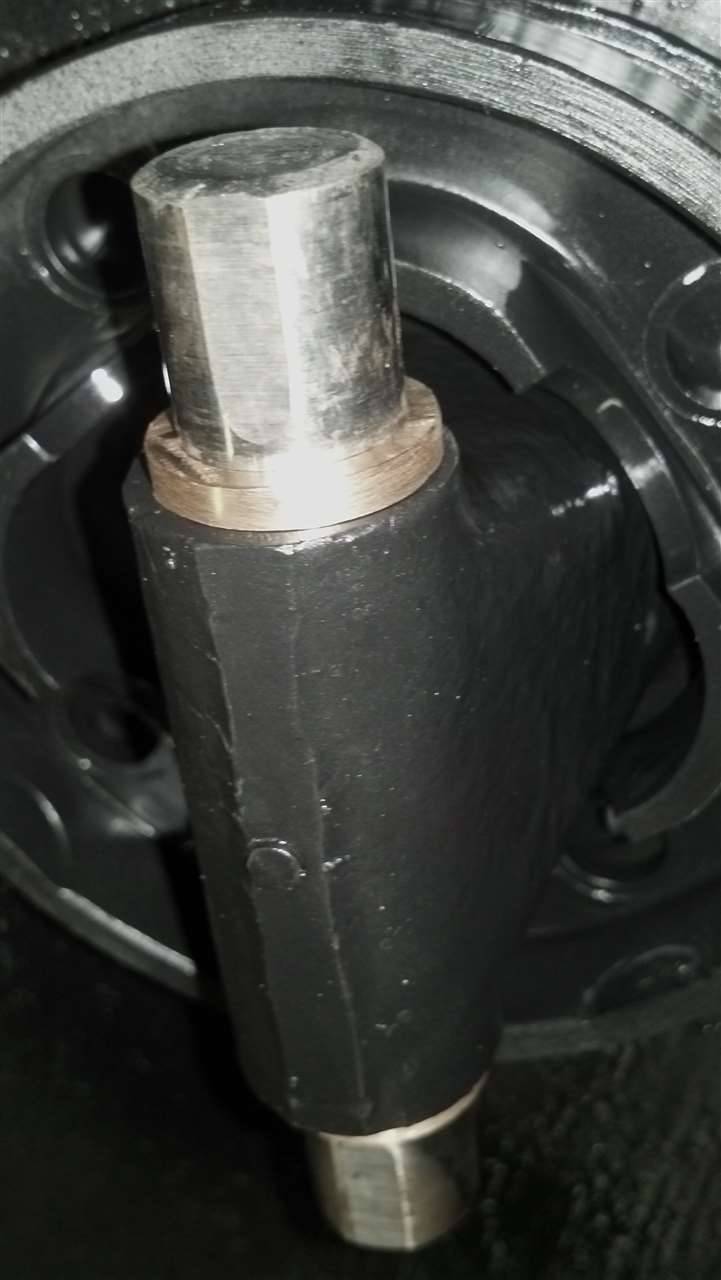
Posted on: 2013/3/11 13:38
|
|||
|
||||


