|
Re: Stewart's 1955 Packard 400
|
||||
|---|---|---|---|---|
|
Home away from home
|
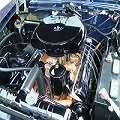
Got parts on order and have had a good week with all the warmer temps lately.
Will post some picture this weekend. Got a question. What is the normal procedure for pressing these caps into knuckle? They appear a bit to larger then the hole and so far I have just bent the one a little out of shape and its not in. Attach file:  (111.29 KB) (111.29 KB)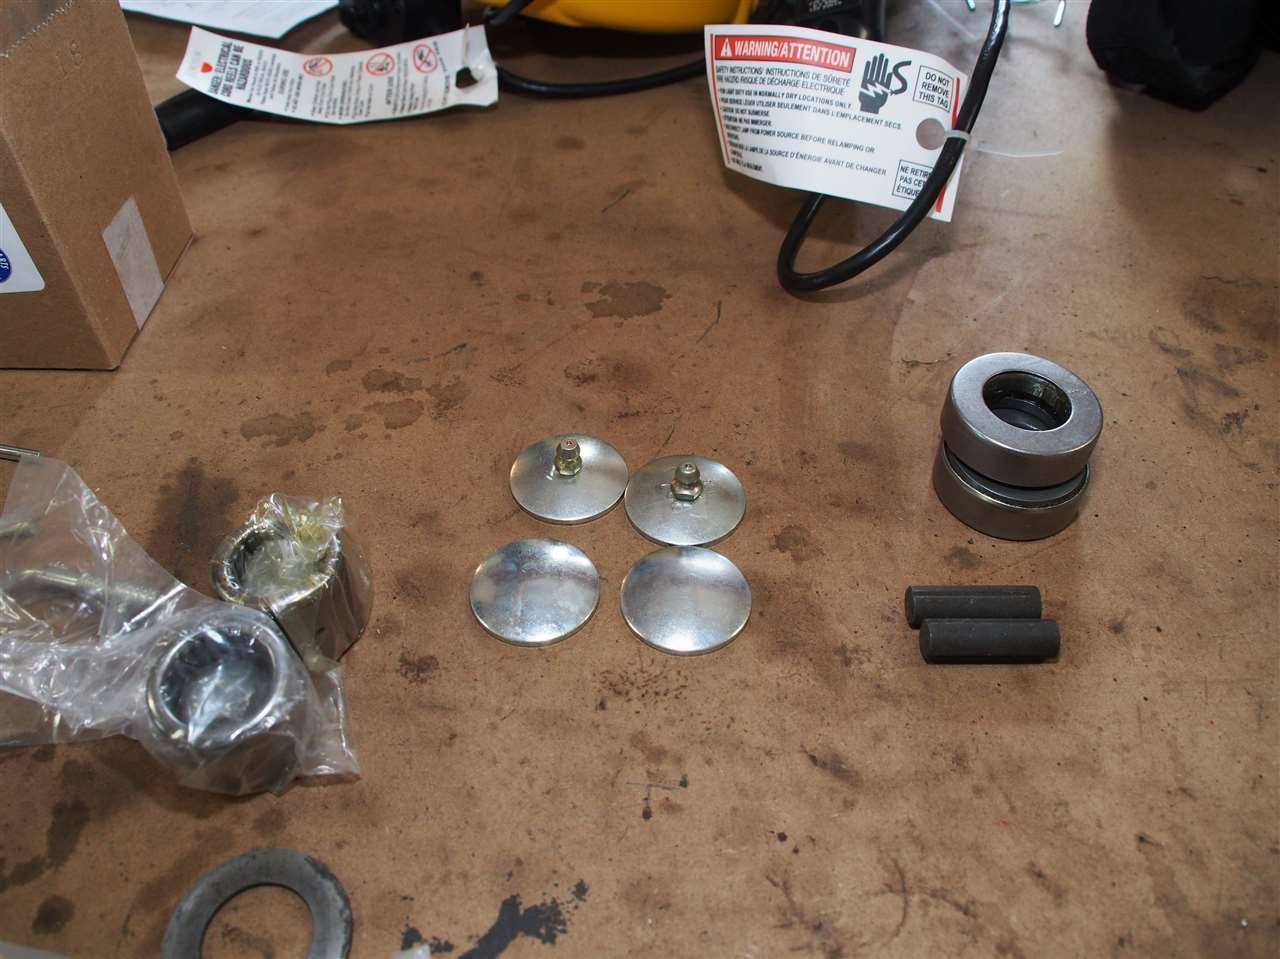
Posted on: 2015/3/12 18:37
|
|||
|
Stewart Ballard
|
||||
|
||||
|
Re: Stewart's 1955 Packard 400
|
||||
|---|---|---|---|---|
|
Forum Ambassador

|
There may be a better way which I'd like to hear too because I've only done a couple of cars. When I did the 56 I used a socket that just barely cleared the knuckle diameter so it could press against the outer edge of the caps as far as it could get. Once they were in I gave a light tap in the center to sort of expand the edge and lock them. As I recall it was a very snug start and I may have even touched up or chamfered the knuckle edge or it might have been the disc edge slightly for a smoother lead in. There is probably something like a bushing tool made for the job.
Posted on: 2015/3/12 18:53
|
|||
|
Howard
|
||||
|
||||
|
Re: Stewart's 1955 Packard 400
|
||||
|---|---|---|---|---|
|
Home away from home
|
I think I figured out my problems with the caps on the knuckle. The ones I got with the King Pin set are 1 5/16. The original caps that I removed appear to be 1 ?. I will try to track down some of the smaller size this week.
Was able to buy a set of hub caps last week and they arrived a few days ago. I bought them from John Smith here on PackardInfo. I couldn't be happier with them. This was the last of the missing parts for my 400. It's hard to believe that I have a complete car out there someplace. Got some new bushings for the rear sway-bar and the rear control arm. I am almost ready to put all this back together. Parts are getting cleaned and painted now that the weather is better. One of the images below shows a pair of Upper Control Arm bushings. The one on the left is the bushing from MOOG that I bought from Advanced Auto parts real cheap. They fit OK but were about ?" short. The bushing on the right is the correct size that I got from Max. The last two images are of two different wheels. I guess I did not notice that they were different until toay. Are they both Packard rims? I didn't inspect them very closely today. I have 6 rim in all just have to dig a few of them back out to see if I have 4 of one type. Attach file: (192.80 KB)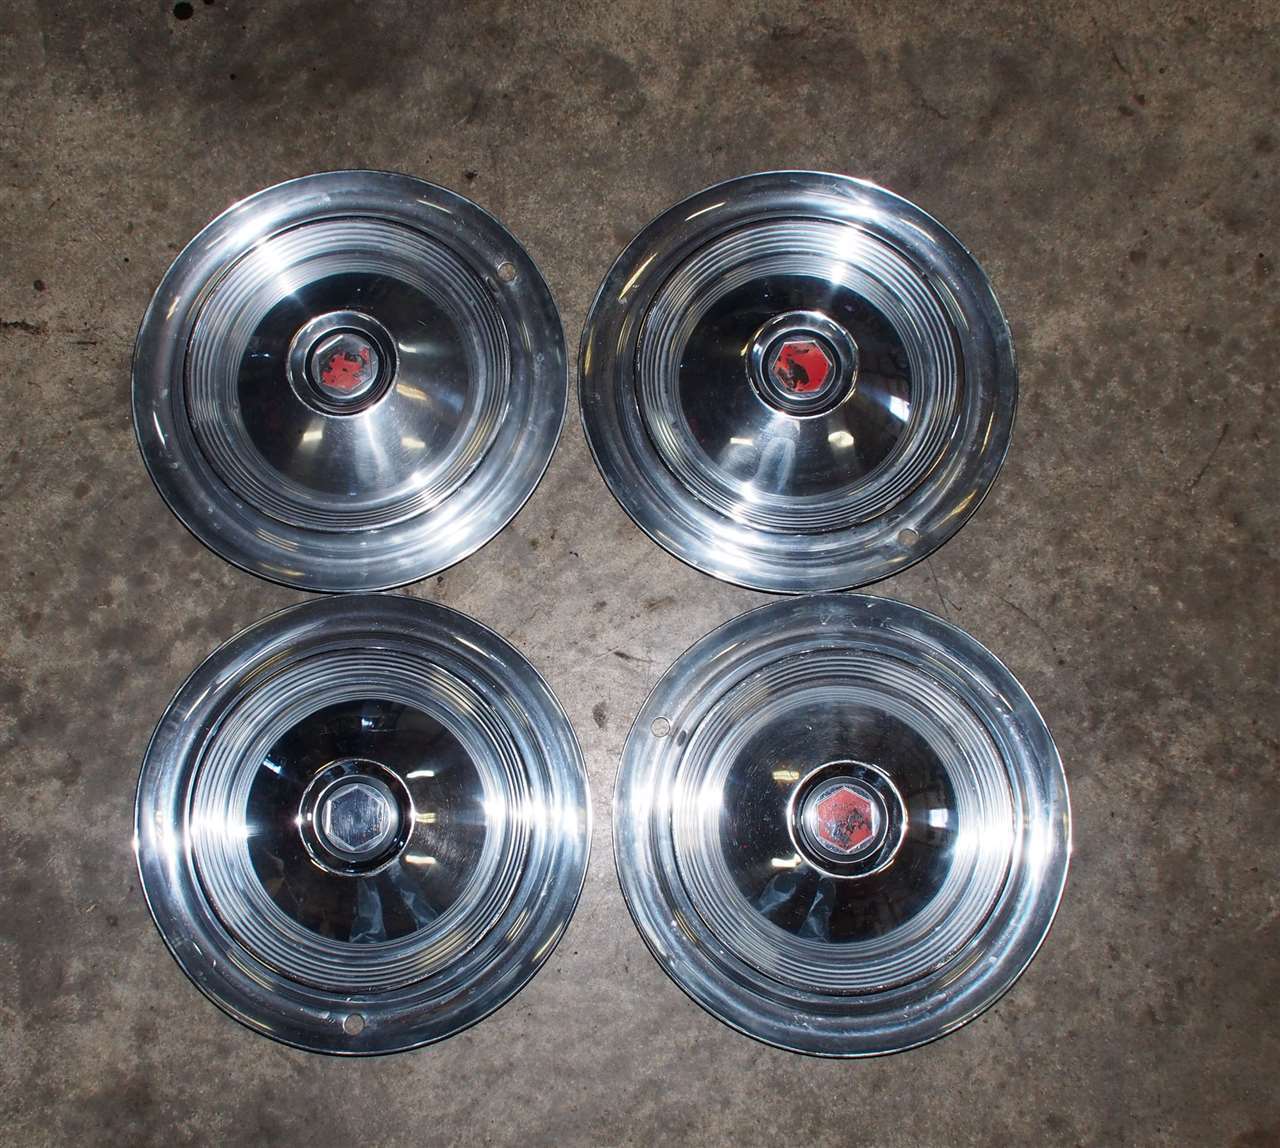 (117.85 KB) (117.85 KB)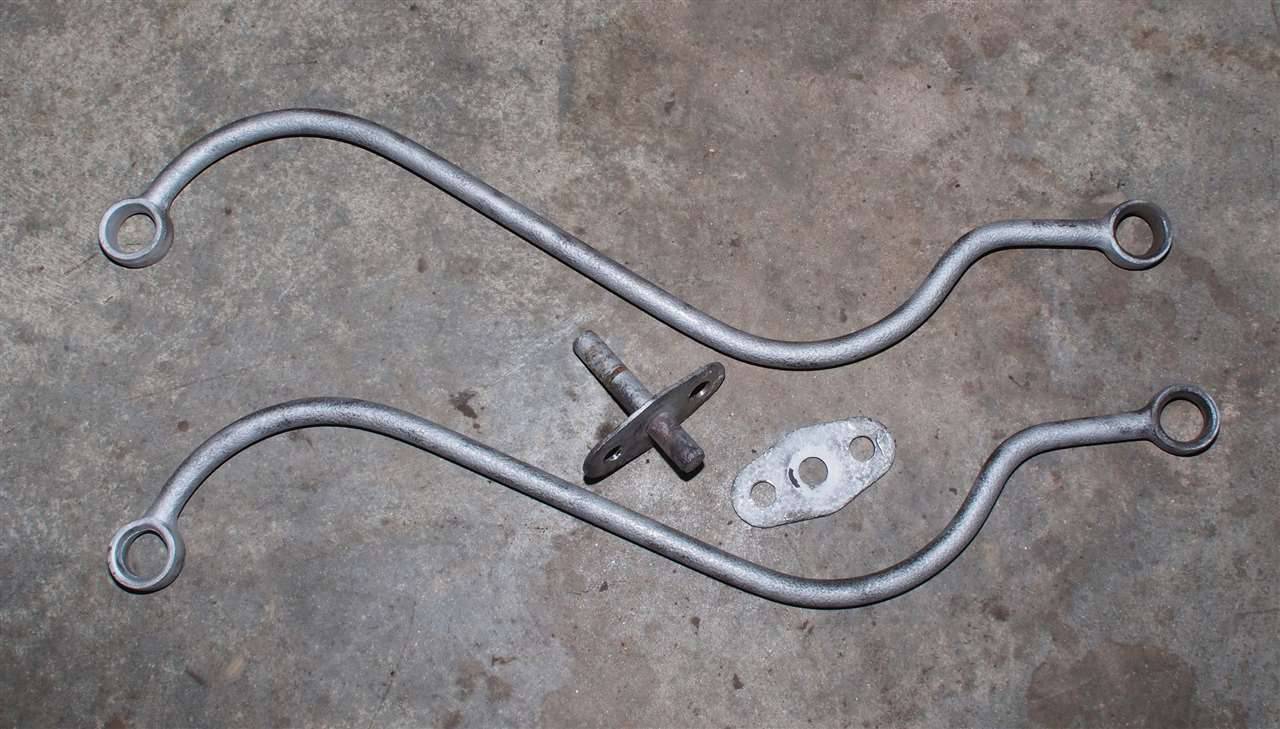 (118.54 KB) (118.54 KB)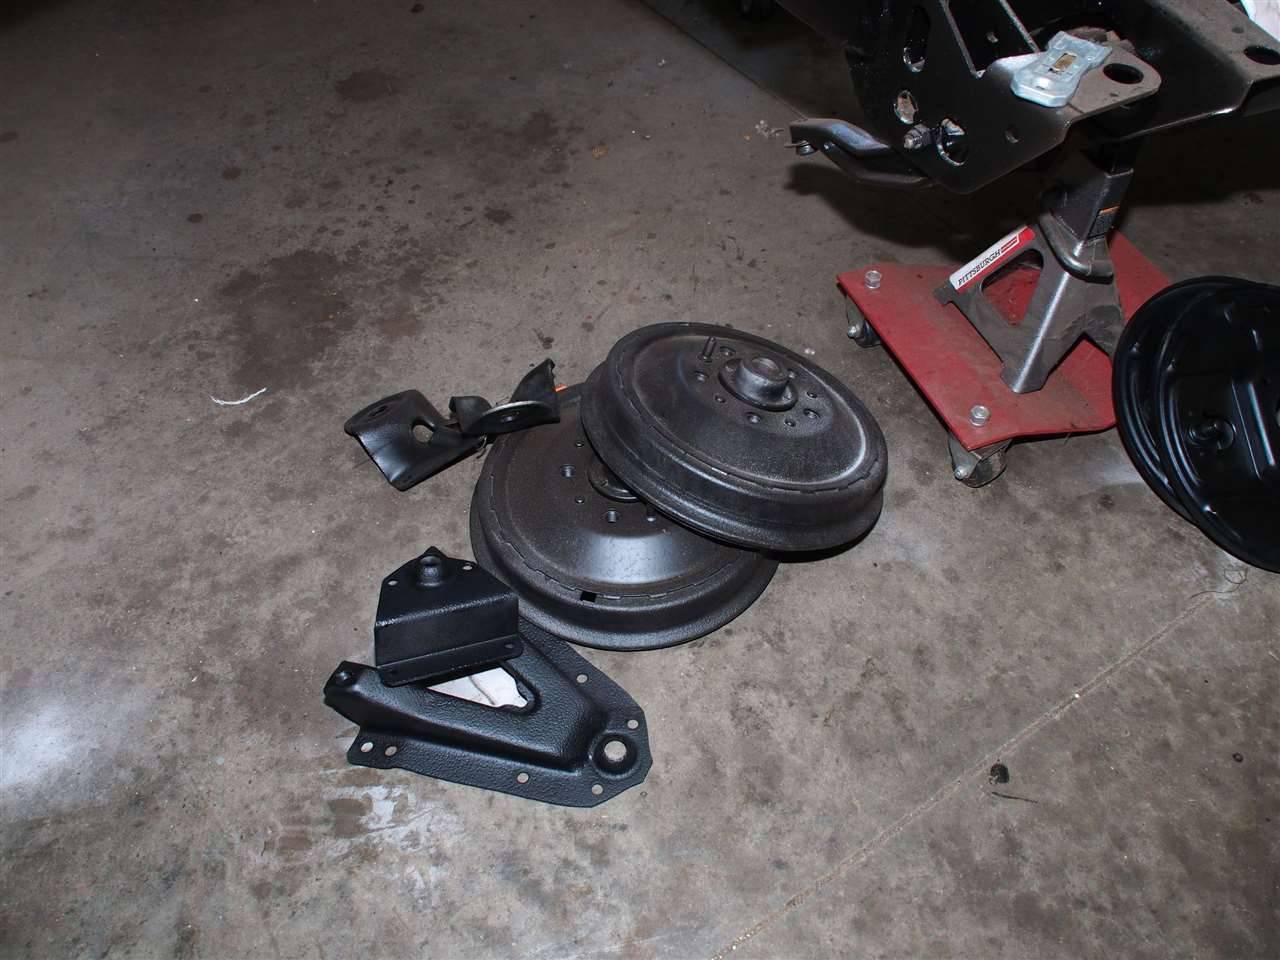 (81.43 KB) (81.43 KB) (144.14 KB) (144.14 KB)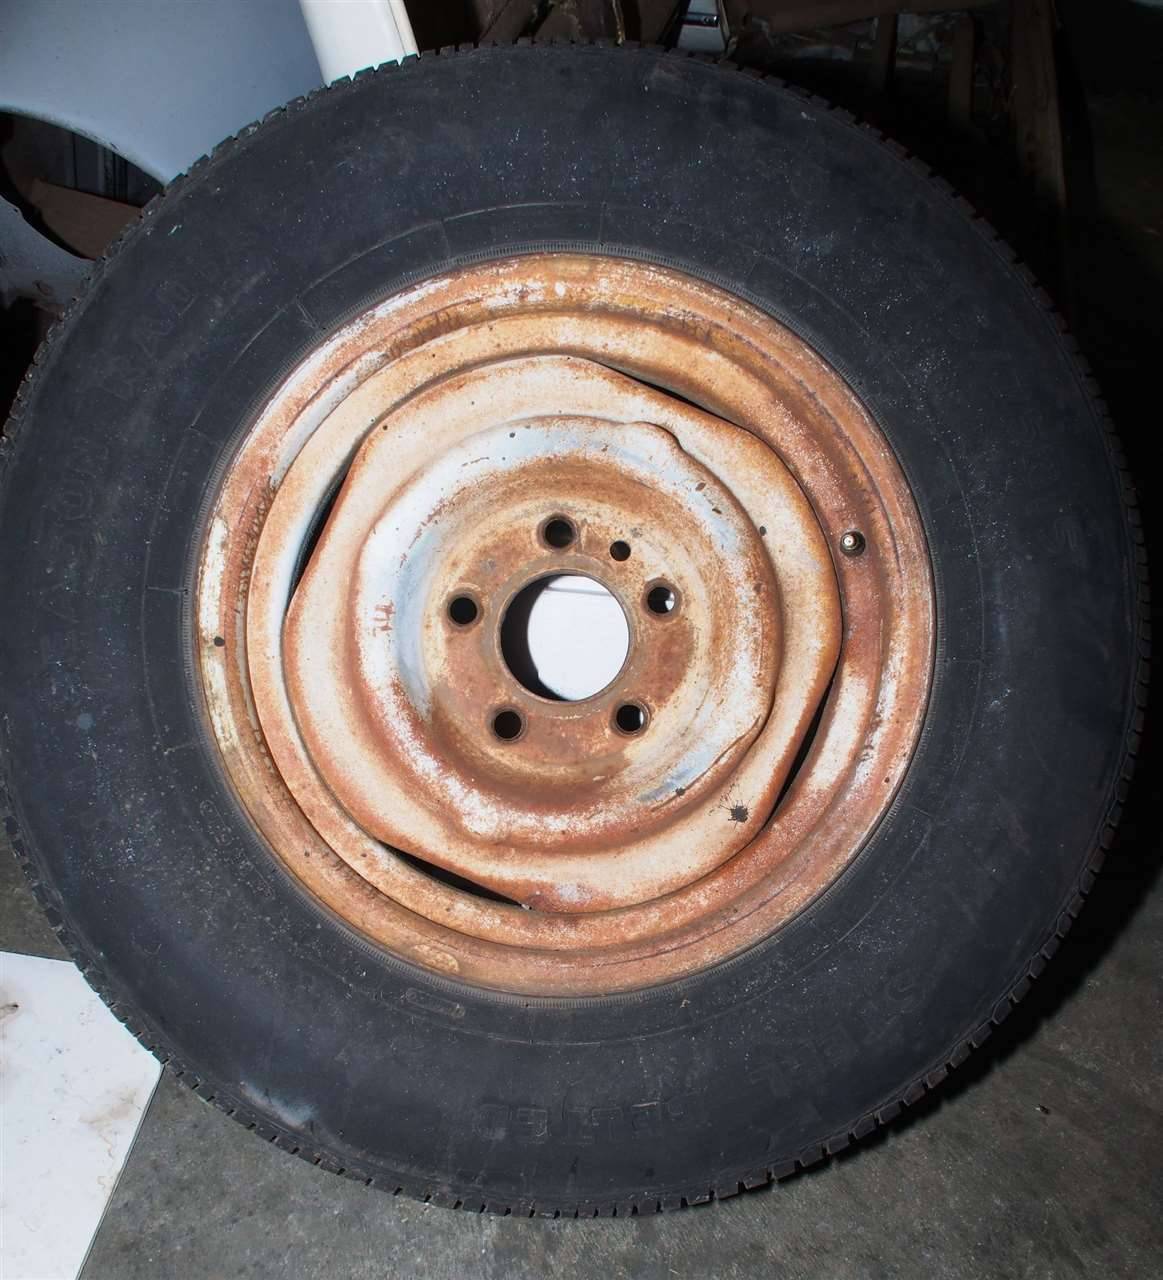 (151.86 KB) (151.86 KB)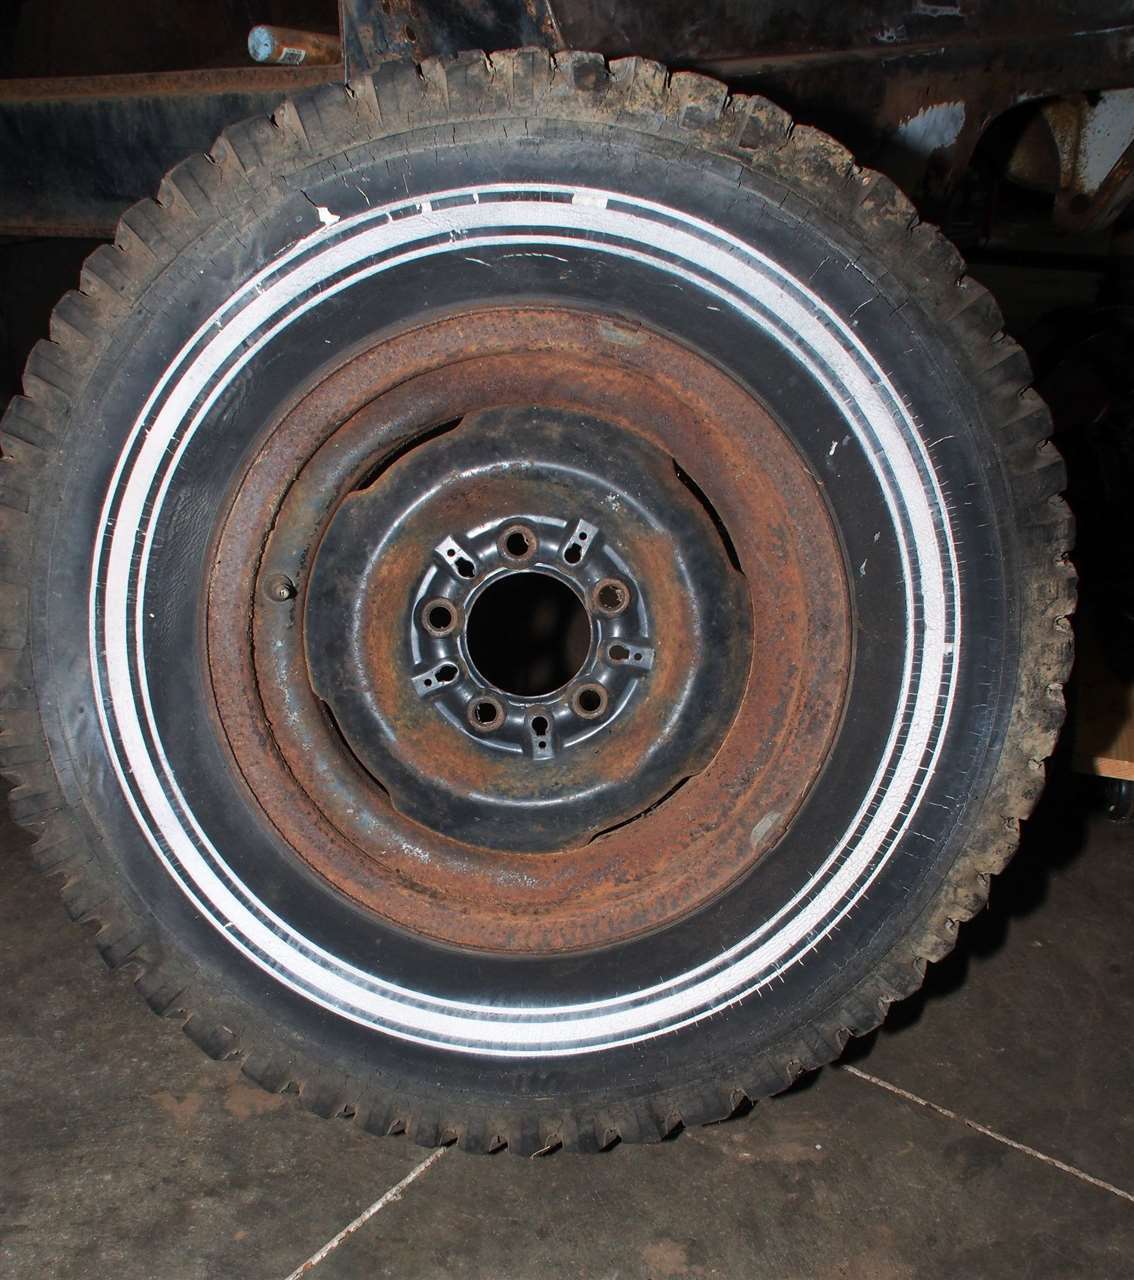
Posted on: 2015/3/15 13:34
|
|||
|
Stewart Ballard
|
||||
|
||||
|
Re: Stewart's 1955 Packard 400
|
||||
|---|---|---|---|---|
|
Home away from home
|
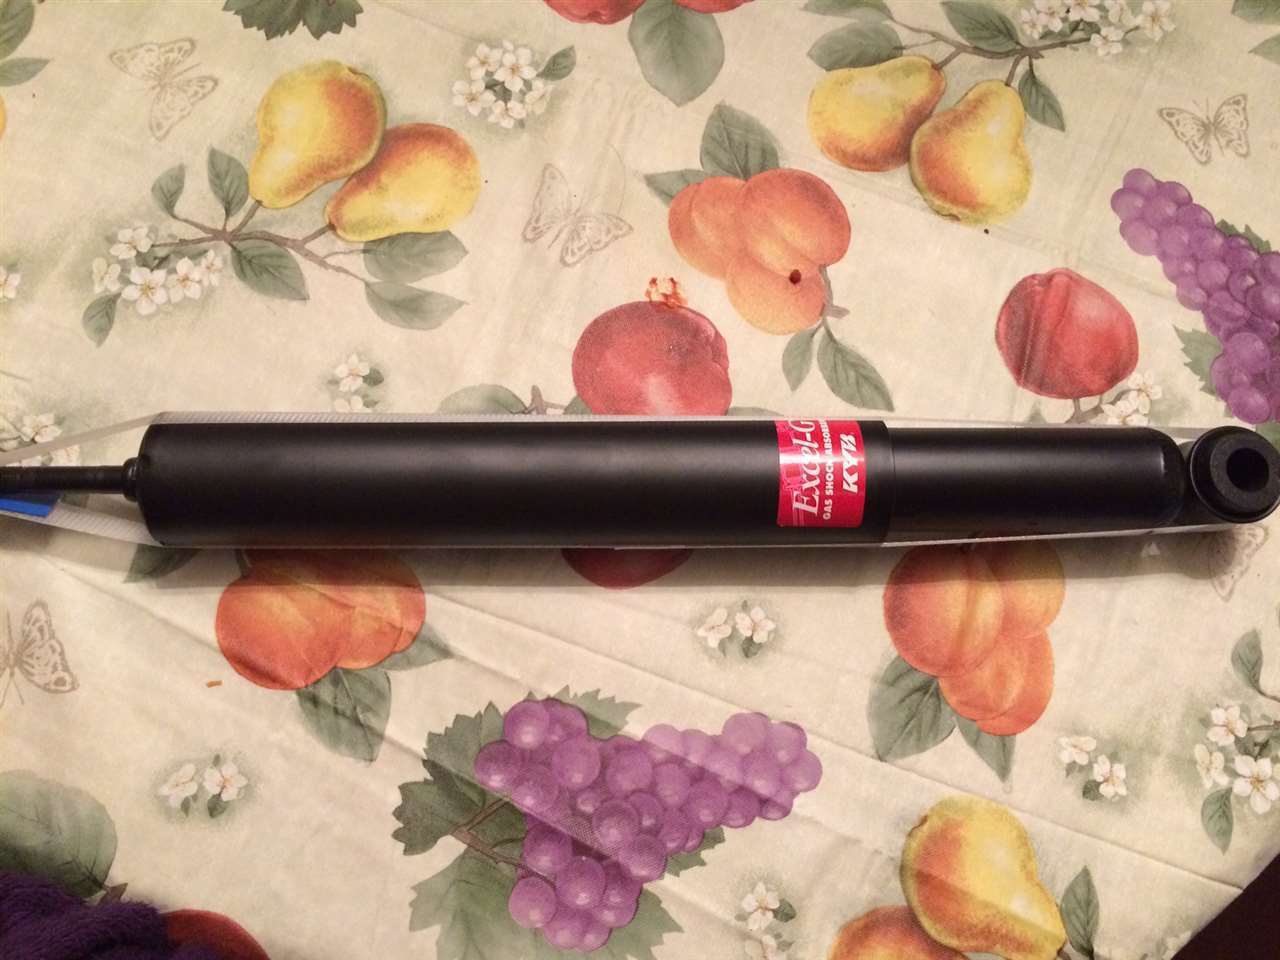
I have been working in the shop about an hour a night for 3 straight weeks now, lots of little jobs getting done.
The rear Watts link is back together. I posted images below of the bolts side by side before and after I ground them off. I will tack weld the bolt and nut after I know I have cut off enough. One night I looked at the completed Watts link laying on the floor and thought I had installed the rods upside down. Walked away that night angry at myself but not wanting to mess with it until tomorrow. The next night I walked out there and it was correct. It took me a minute to realize that I was standing on the other side looking down on it. One way it's backwards, one way it's not. I was trying to figure out how to get the front sway bar links apart on night. I found an old post on here from m KevinAZ showing someone else where he drilled out the spot welds. I could not even see the spot welds until he showed them me. So I drilled them out the best I could and then took my press and broke the remaining welds. All four shocks are here. Thanks to TroyT for helping me get the correct ones. I kept coming up with different part numbers each time I tried it myself so I just contacted him. I am getting other areas of the front and back suspension back on the frame as well. I have almost everything I need to get it done. When I make my April purchase in a couple weeks I'll have everything I need, I think. Attach file: (102.97 KB)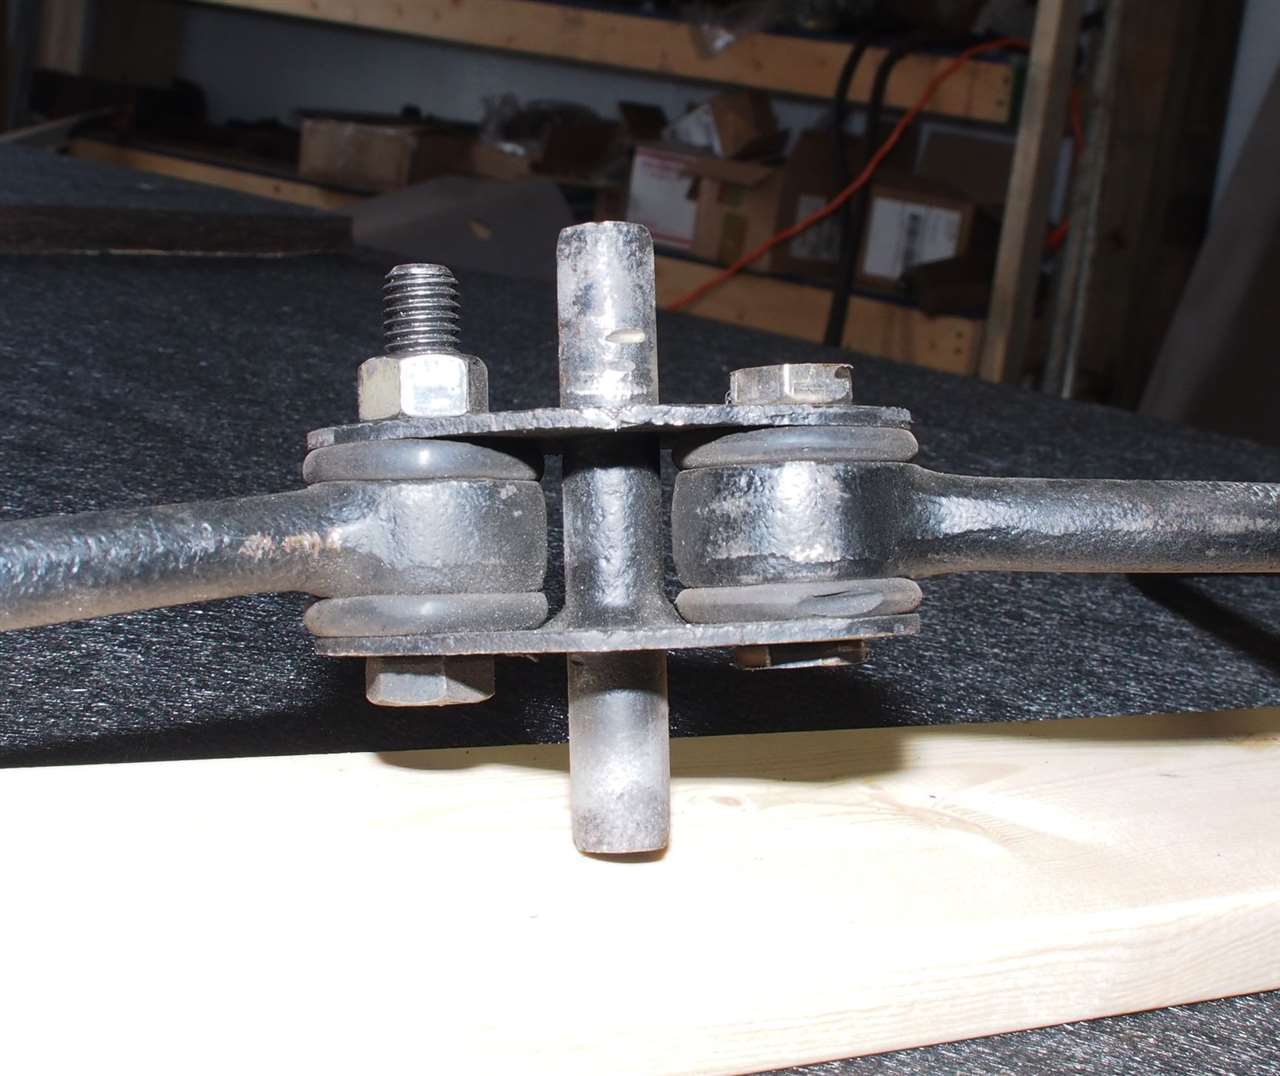 (103.32 KB) (103.32 KB)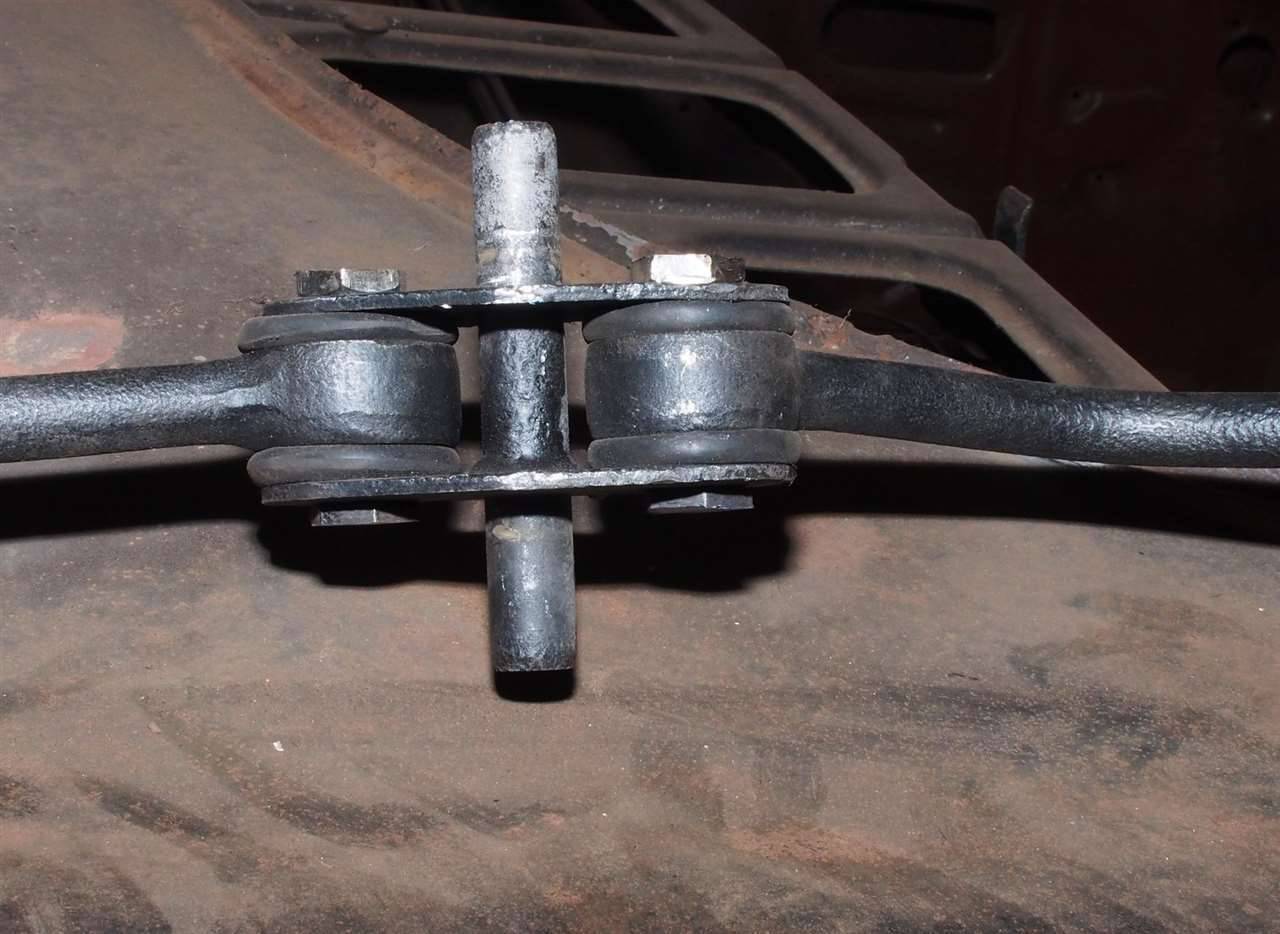 (113.42 KB) (113.42 KB)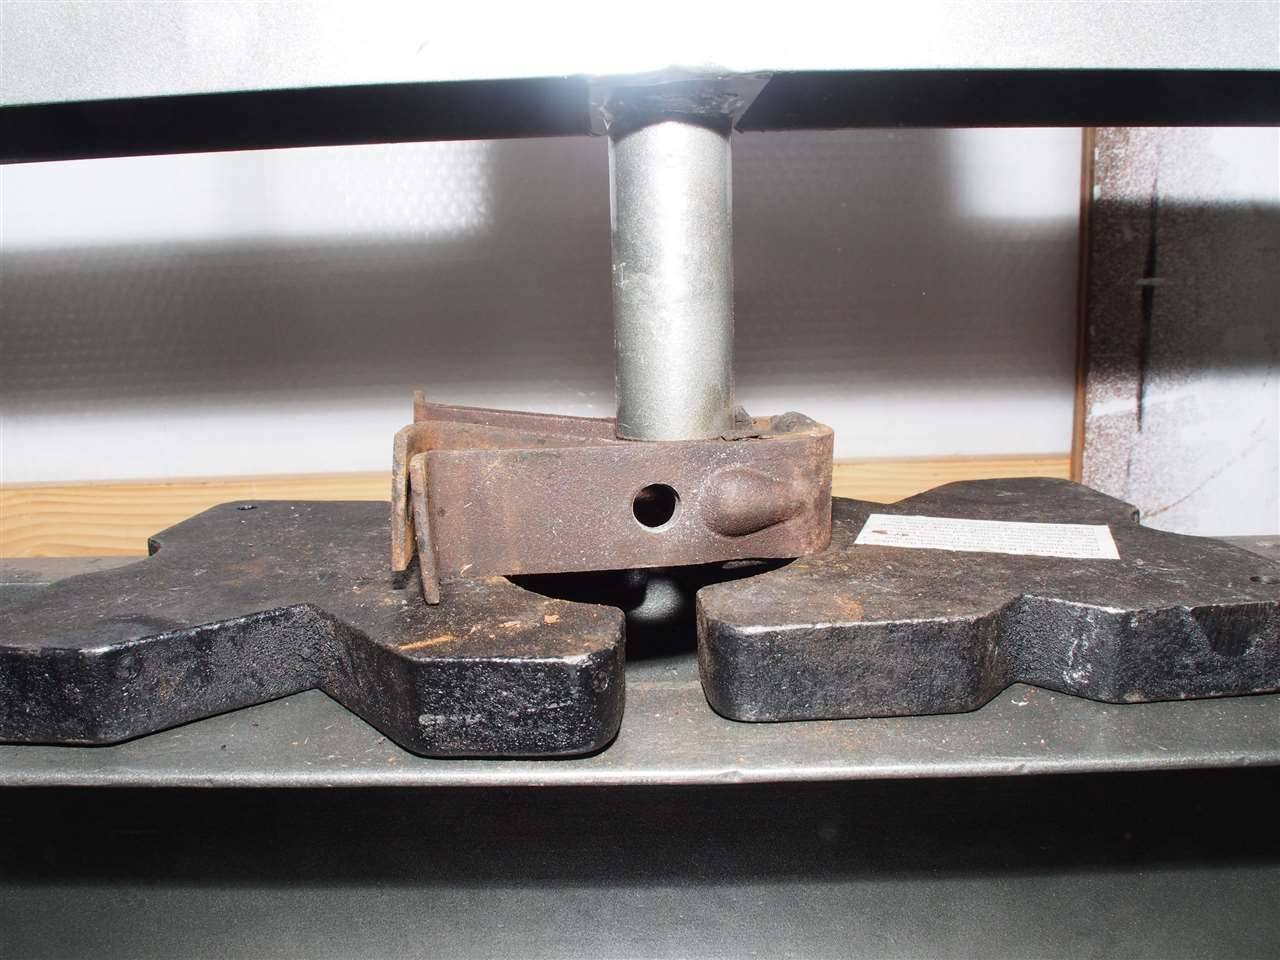 (129.86 KB) (129.86 KB)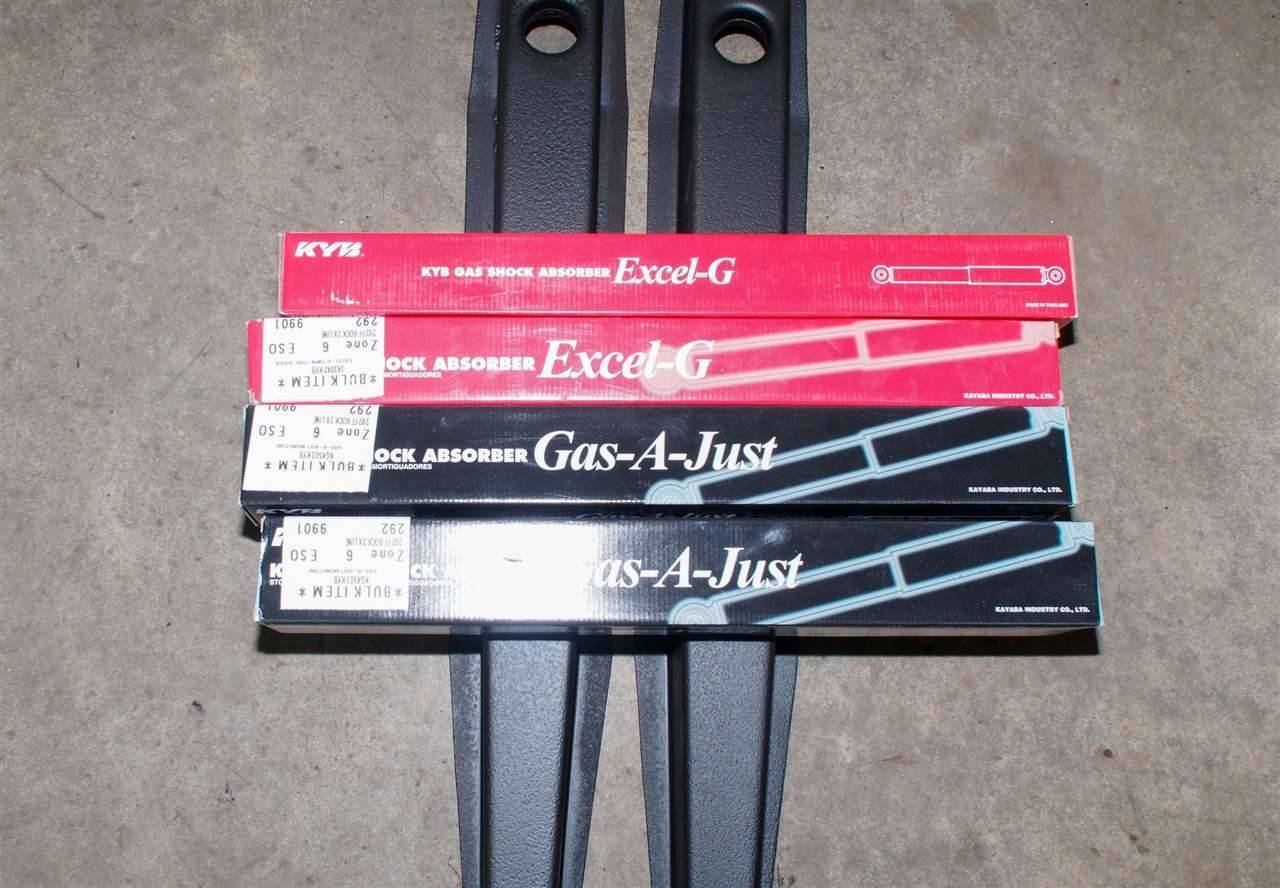 (128.71 KB) (128.71 KB)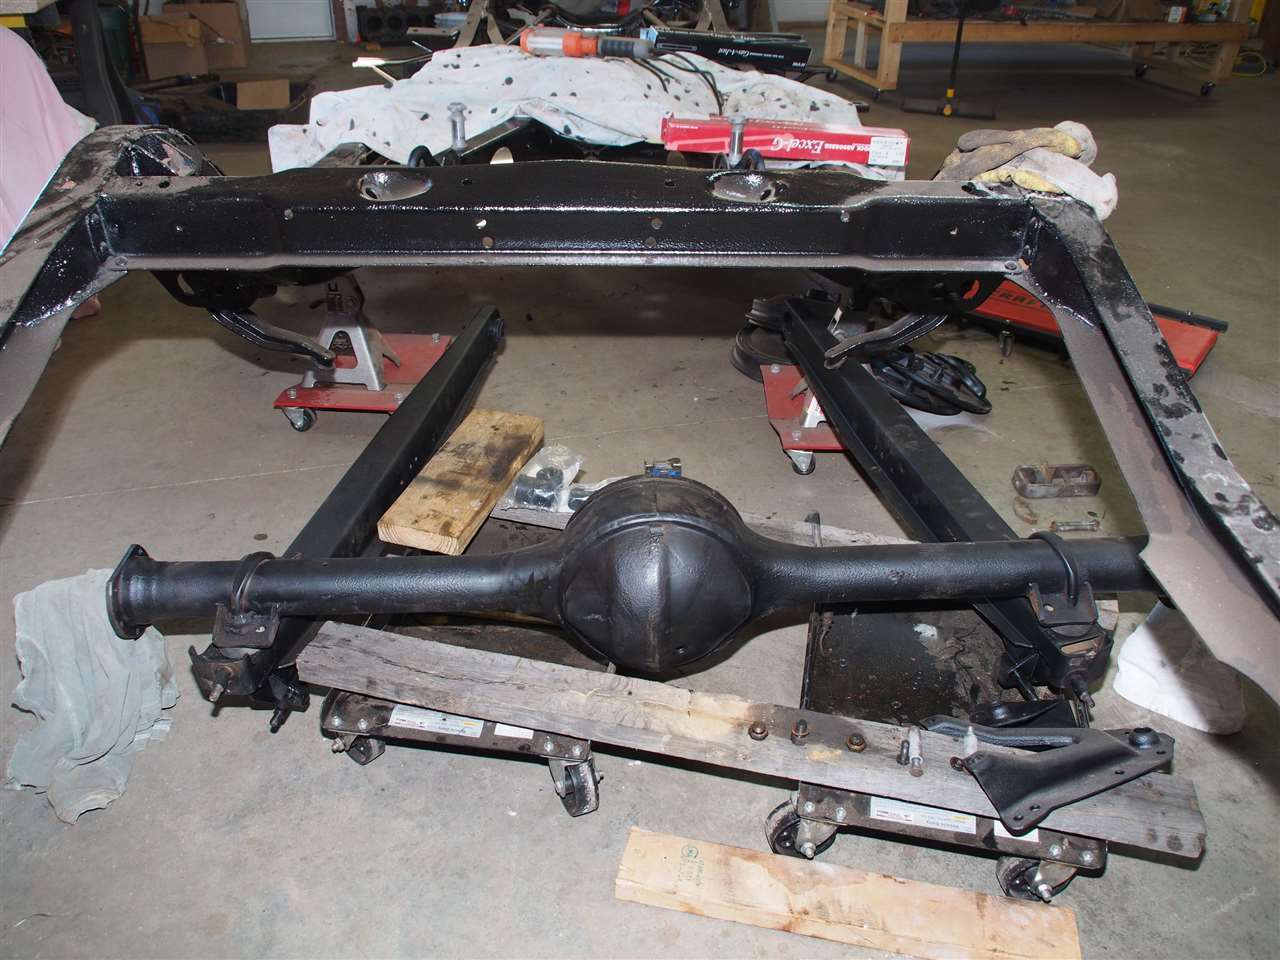 (114.62 KB) (114.62 KB)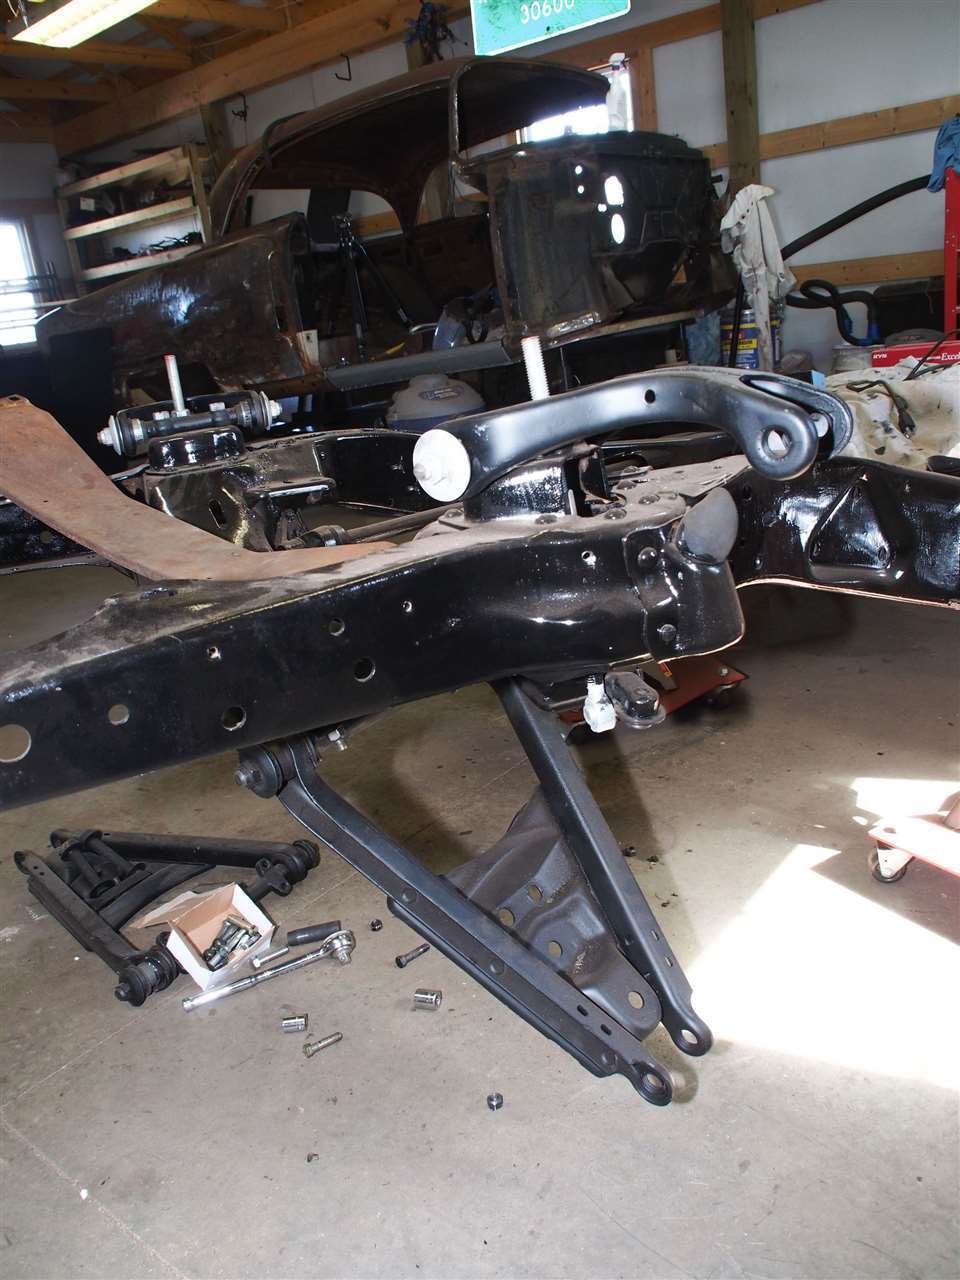
Posted on: 2015/3/29 16:35
|
|||
|
Stewart Ballard
|
||||
|
||||
|
Re: Stewart's 1955 Packard 400
|
||||
|---|---|---|---|---|
|
Home away from home
|
I have a question.
I know what the parts below are and I know where it goes. I just don't know how to assemble it. This goes into the rear support arm and supports the rear T/L arm. I know the two bolts go through the support arm and then through this. When disassembled it just fell into my hands and I never saw what went where. The exploded view is no help. I think the bolts go through the piece as shown in the picture. I am not sure about that odd shaped rubber bushing. Please look at the image below. Imagine its inside the rear support arm. Is either of the two images assembled correctly? Attach file: (111.64 KB)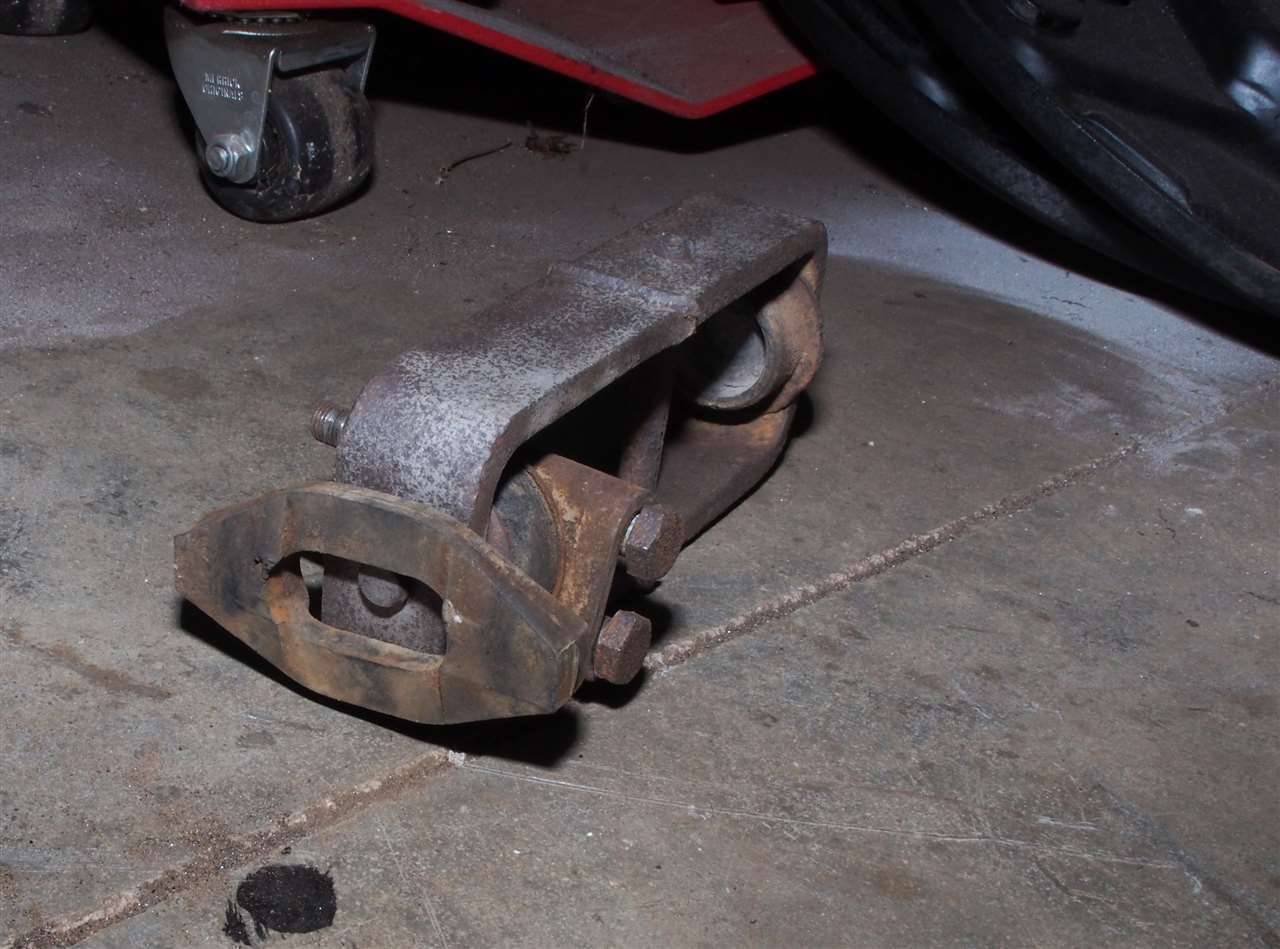 (116.86 KB) (116.86 KB)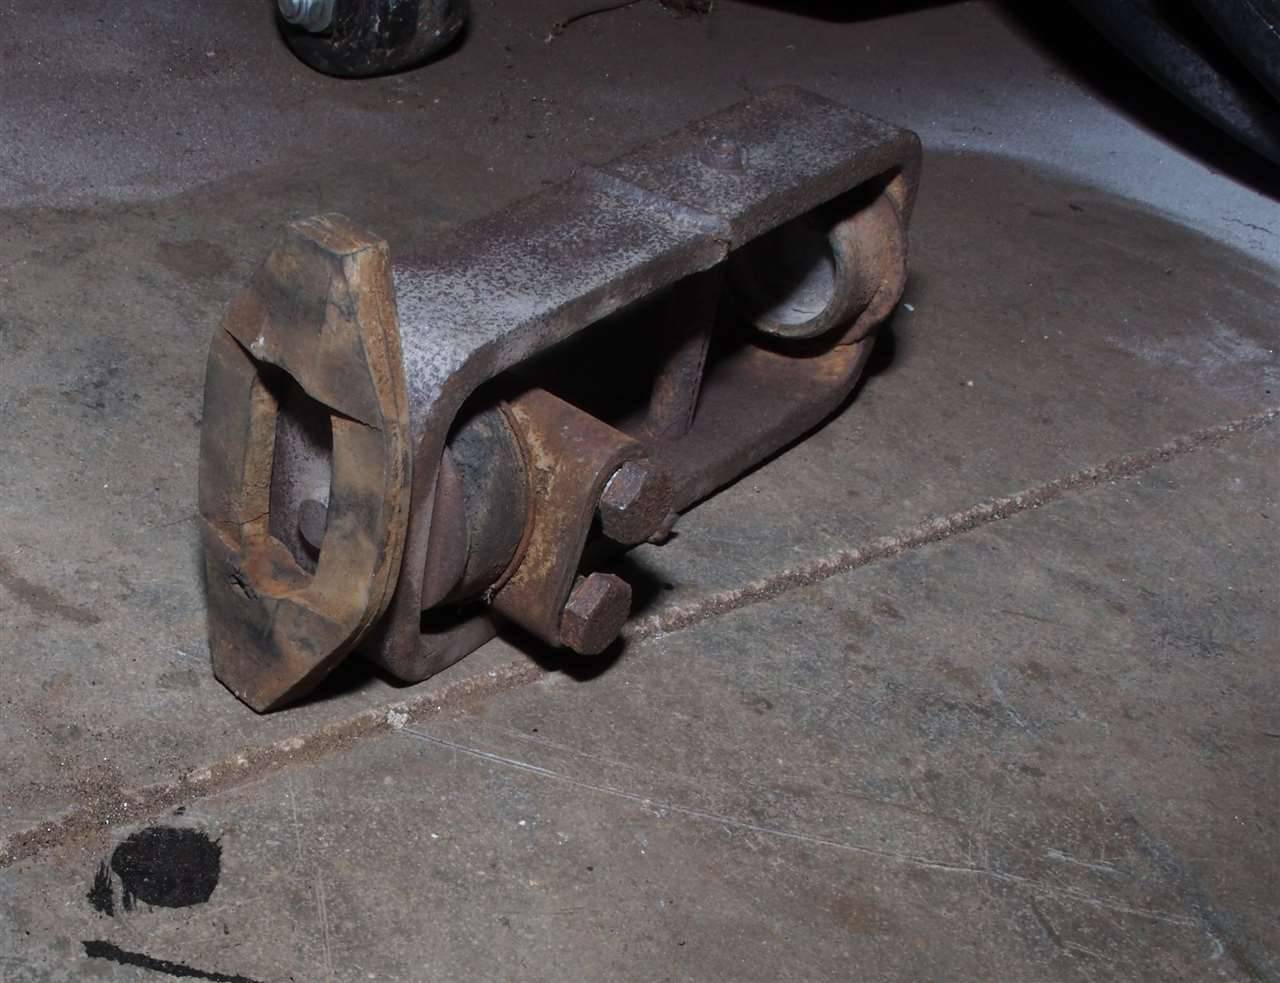
Posted on: 2015/3/29 18:23
|
|||
|
Stewart Ballard
|
||||
|
||||
|
Re: Stewart's 1955 Packard 400
|
||||
|---|---|---|---|---|
|
Home away from home
|
Stewart,
You are on the right track. The Rubber piece goes over the flange that the bolts are going through. When you put the stirrup back in the suspension bar, the rubber goes along side the stirrup and put the bolts through the suspension arm and through the stirrup. The rubber is a dampener so the metal dont clank together. Attach file: (119.46 KB)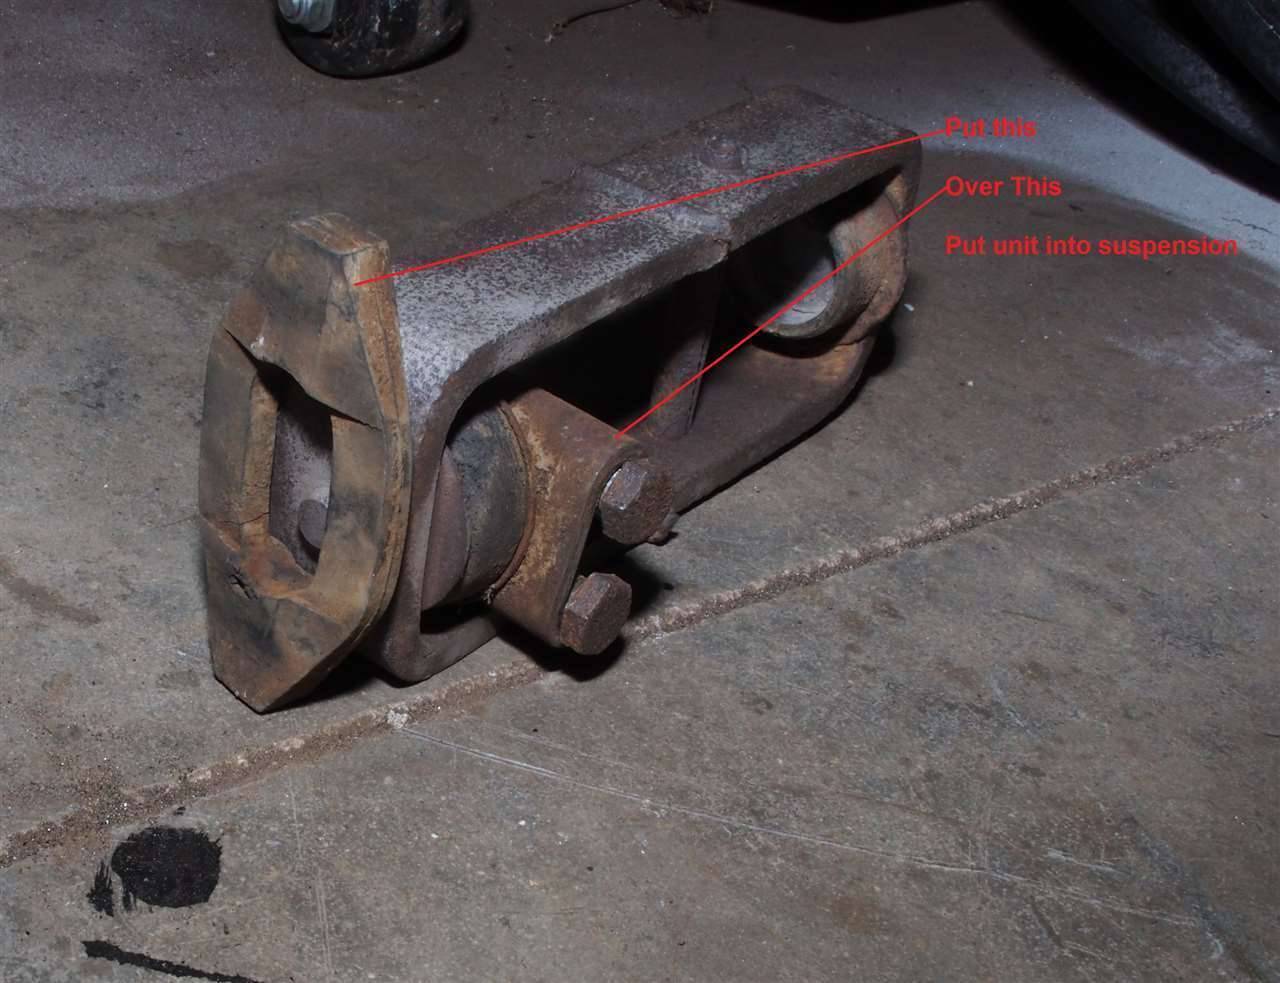
Posted on: 2015/3/29 19:14
|
|||
|
[url=https://packardinfo.com/xoops/html/modules/
|
||||
|
||||
|
Re: Stewart's 1955 Packard 400
|
||||
|---|---|---|---|---|
|
Home away from home
|
Thanks again TroyT... I think.
I never would have guessed it went there. I messed with it tonight out in the shop and still can't picture it. Place round peg in square hole I guess. I'll wait until I order the replacement rubber pieces. Just sand blasted parts tonight. In other shop news, I decided in February that I needed to better insulate my shop before next winter. So I found a building supply discounter on Criagslist and drove up to Bloomington,IN last Friday to pick up 40 sheets of insulation board. My goal it to put up one sheet a day. Will figure out a ceiling later in the summer. Attach file: (147.62 KB)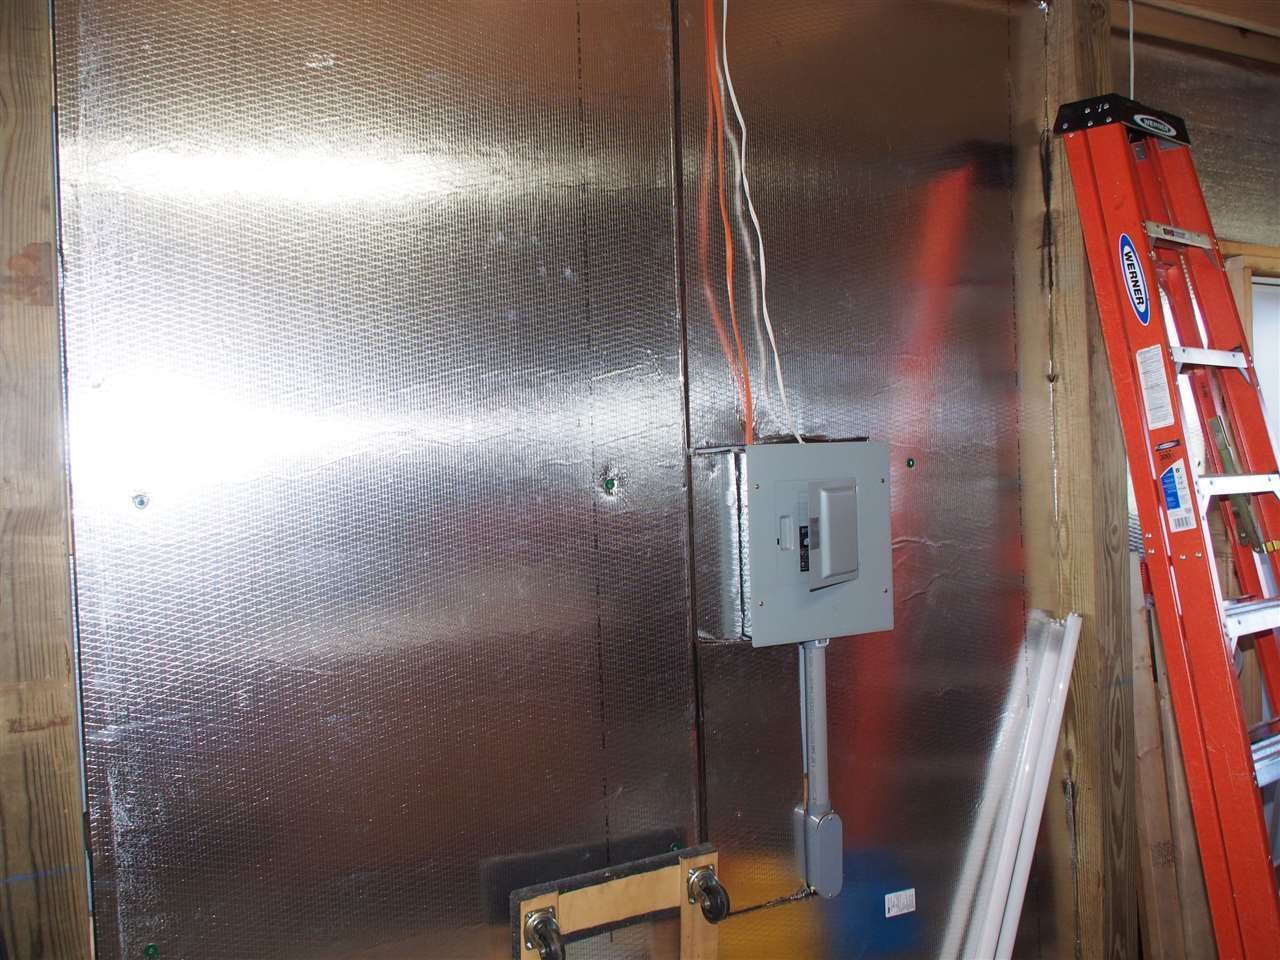 (109.27 KB) (109.27 KB)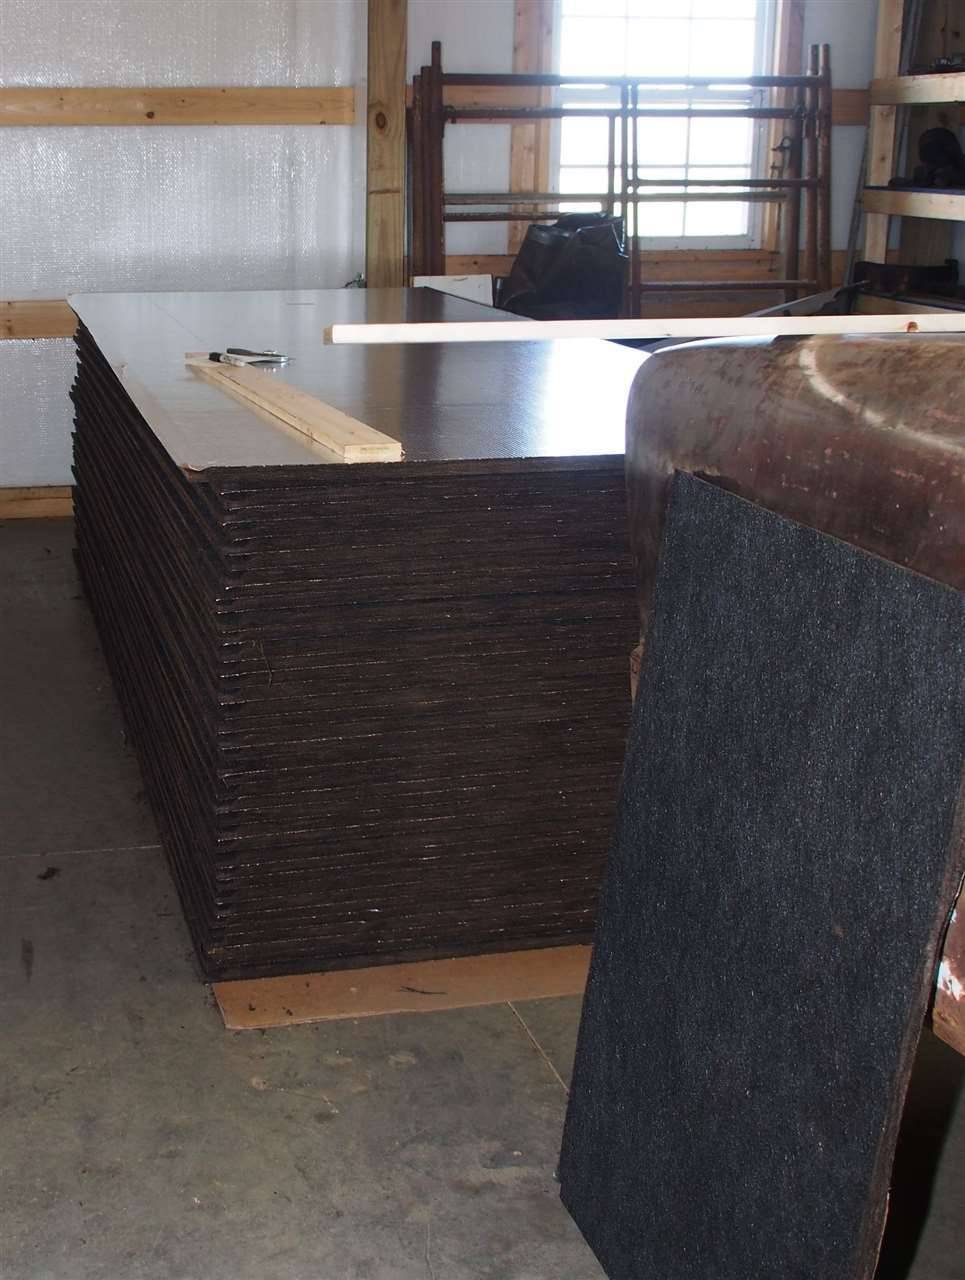
Posted on: 2015/3/30 19:37
|
|||
|
Stewart Ballard
|
||||
|
||||
|
Re: Stewart's 1955 Packard 400
|
||||
|---|---|---|---|---|
|
Home away from home
|
I am going to have to ask this question again. TroyT provided an answer before but I am just trying to make sure as I am still not clear how this goes back together.
I am thinking that I misunderstood the earlier instructions. Are either of the images below close to being correct or does this strange shaped piece of rubber with the rectangular hole really go down over the larger round rubber piece (the one that holds in the grease for the torsion bar). Attach file: (103.91 KB)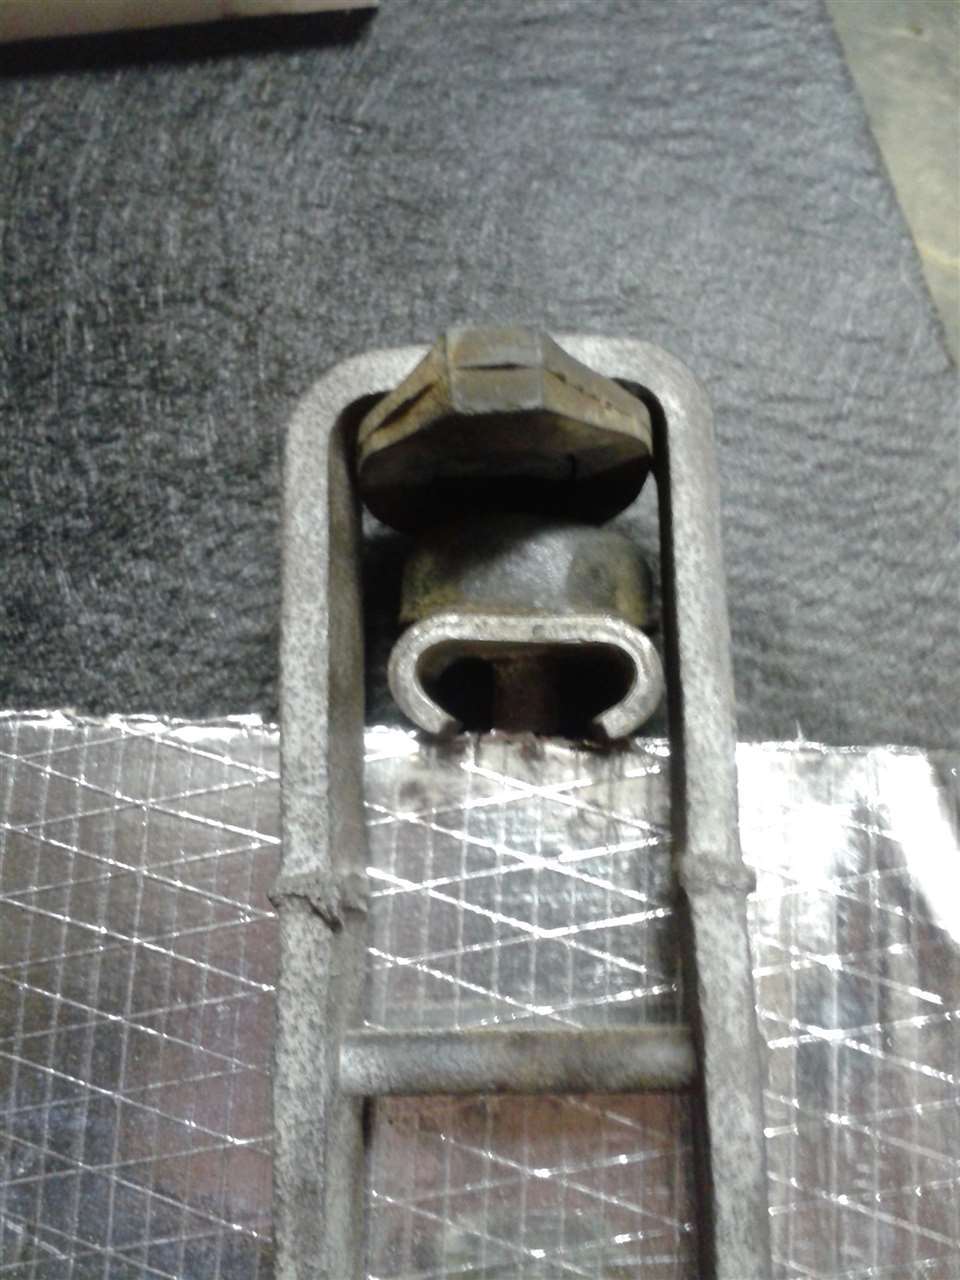 (83.64 KB) (83.64 KB)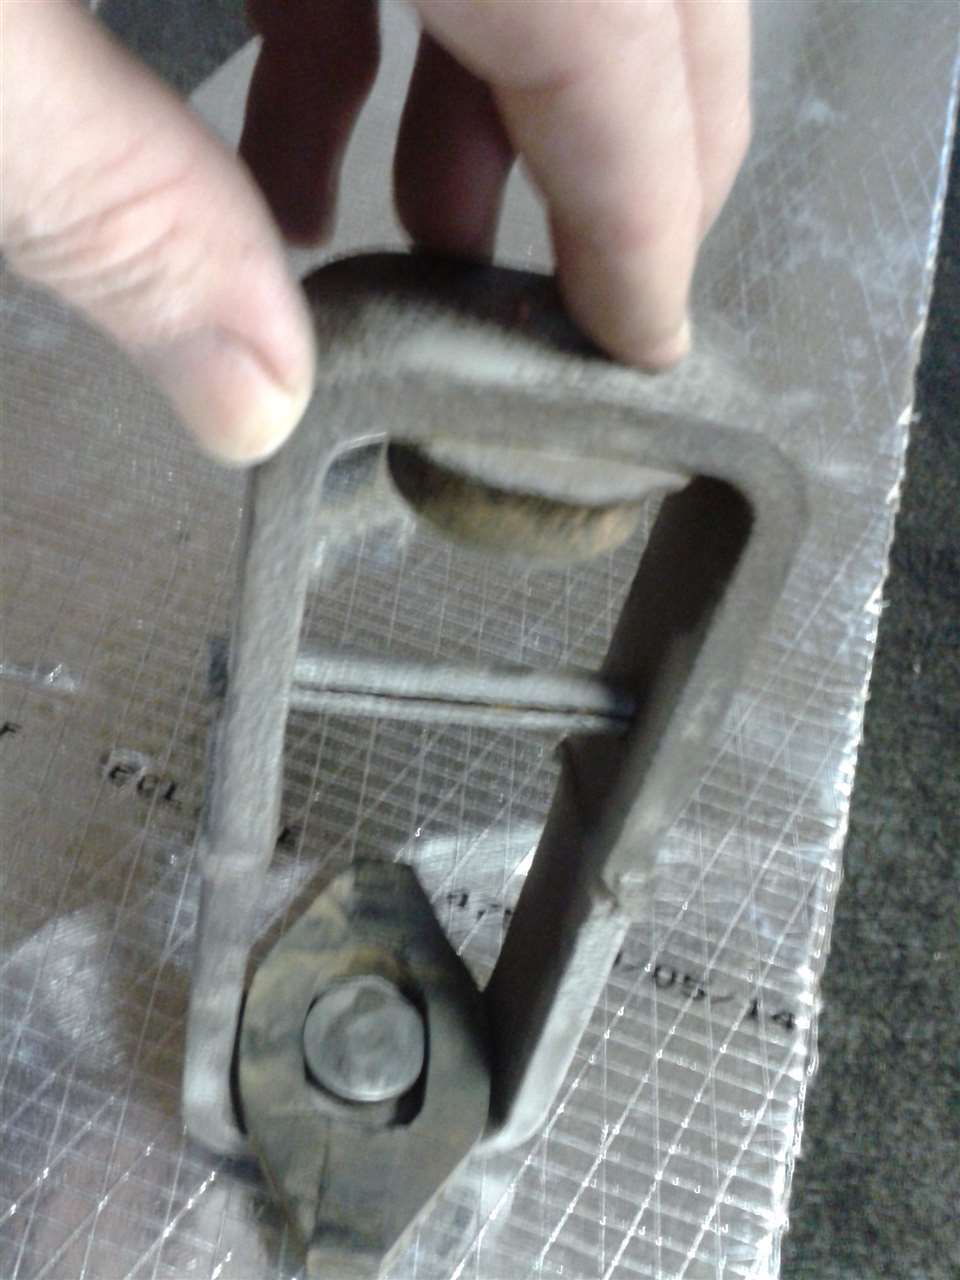
Posted on: 2015/4/7 18:51
|
|||
|
Stewart Ballard
|
||||
|
||||
|
Re: Stewart's 1955 Packard 400
|
||||
|---|---|---|---|---|
|
Forum Ambassador
|
It goes on the side of the stirrup inside the torque arm against the outer side. Supported by the bar and bolts assy that goes thru the arm to hold the upper seat and stirrup.
Attach file: (86.92 KB)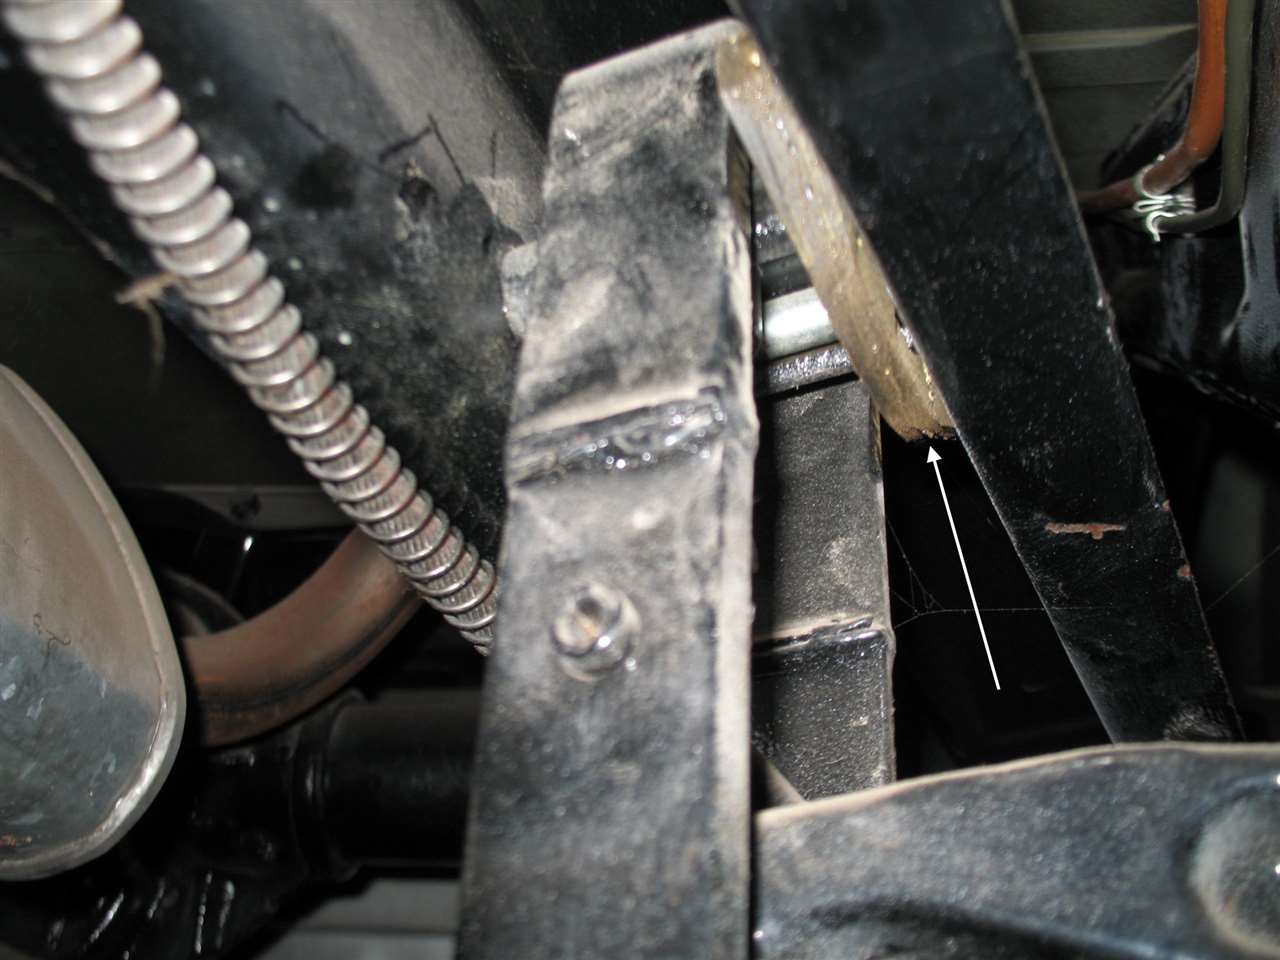
Posted on: 2015/4/7 19:38
|
|||
|
Howard
|
||||
|
||||


