|
Re: piston slap
|
||||
|---|---|---|---|---|
|
Home away from home
|
Has anyone had piston slap and known how much "extra" clearance it took to cause it? I'm pretty sure I'm dealing with piston slap on #4.
I was talking to an older mechanic (opened his shop in 1967) and he said piston slap could start to develop around .005"-.006", and he was referring to a normal piston, not a pre-exapanded Packard Thermostrut piston. What I'm getting at is, that if piston slap on a normal piston can show up around .005"-.006", and the typical clearance should be around .002 to allow for expansion, then piston slap for a Packard with Thermostrut pistons could show up at maybe .004" as the clearance for them is only .0005". Obviously Thermostrut pistons, that only have .0005" clearance, expand very very little when they are warm compared to a more typical piston. Thoughts???
Posted on: 2023/6/15 10:23
|
|||
|
||||
|
Re: 288 Head Gasket and Block Issues
|
||||
|---|---|---|---|---|
|
Home away from home
|
Hi all, so thank you for the replies, I was able to get it all cleaned and together. The good news is that the head gasket seems to be working well, the car has some more pep and seems a bit smoother/better overall in that department. I followed Dave's article on the process and retorquing, just waiting for the final post 100 miler now but no leaks there. The car is movable and that's good at least. Some things I experienced about the reassembly that I'll say in case it helps others:
-I got to a point where I had to call it when it came to cleaning the block itself and the pistons because I was likely not cleaning it any more and just repeatedly wiping it down with no further benefit. The head, being out of the car, I did first and was able to get it ready to eat off of. -I didn't realize the gasket would need some convincing to get over the studs, particularly the large one next to the thermostat housing. This made it bend all around but I avoided kinks or any major damage... still unexpected I guess in my head I naively pictured it sliding right on. Paired with the tacky copper spray, being outside in the driveway, and the heft of getting the head back on by myself, it felt a little like I prepped for surgery then had to crawl into the room on my hands and knees. -I forgot that the stud behind the thermostat neck is super close to the neck flange itself which presents challenges, to the point where mine actually interfered with getting a seal on the neck flange gasket. Rather than untorque the head nut and reorient the washer (which had a side cut flat), I decided to grind a bit at the neck flange to get enough clearance, it looked like someone previously poorly did the same type of thing so I did a bit of a better cleanup and also tried to get the sealing surfaces of the bottom aligned a bit better too (without removing too much strength). Next I also needed gasket sealer like a permatex to really get that neck gasket to hold the water again, I knew this from when I replaced the thermostat before but just forgot and it cost me another day because you don't really find out until you get everything filled up and ready to start. Unfortunately today I did need to refill the water after the heat started to build and I checked to find it low, so I might have a thirsty crack in the block. Still have some hope that it's the system working out air bubbles and filling the heater. But, given I did an initial refill after the short run before the final retorque, I think today's fill is most likely something else. Major bummer. Plan from now, pick one of these "chemical magic" block sealers as a Hail Mary to buy more time. Long term is hoping a rebuildable good engine/block surfaces here in the NE. Here are my new questions: -Does anyone have a positive experience with irontite or something similar? (I know they all have failures, but I'm trying to identify which ones have actually had some success). -Does it make sense to bypass the heater for this sealing? I've heard they can be negatively impacted
Posted on: 2023/6/15 9:51
|
|||
|
||||
|
Re: Battery isolation switch
|
||||
|---|---|---|---|---|
|
Quite a regular
|
My thanks to each of you for your advice. I’m considering both approaches. I really like Howard’s approach and will see if I can design and fabricate something similar for my car. For my car, it would be less obvious to the casual observer than mounting a switch to the back of the battery box, as my car does not have a side mounted spare.
Mounting the switch to the back of the battery box is a far easier approach and won’t tax my engineering skills nearly as much. One possibility is to buy a switch similar to the one shown in the attachment and replace the nut with a knurled ring. If painted the same color as the battery box, it shouldn’t be too obvious. I’ll have to give it some more thought , but one of these approaches should work nicely. Thanks very much for your help. Phil Attach file:  Cole Hersey.png (857.56 KB) Cole Hersey.png (857.56 KB)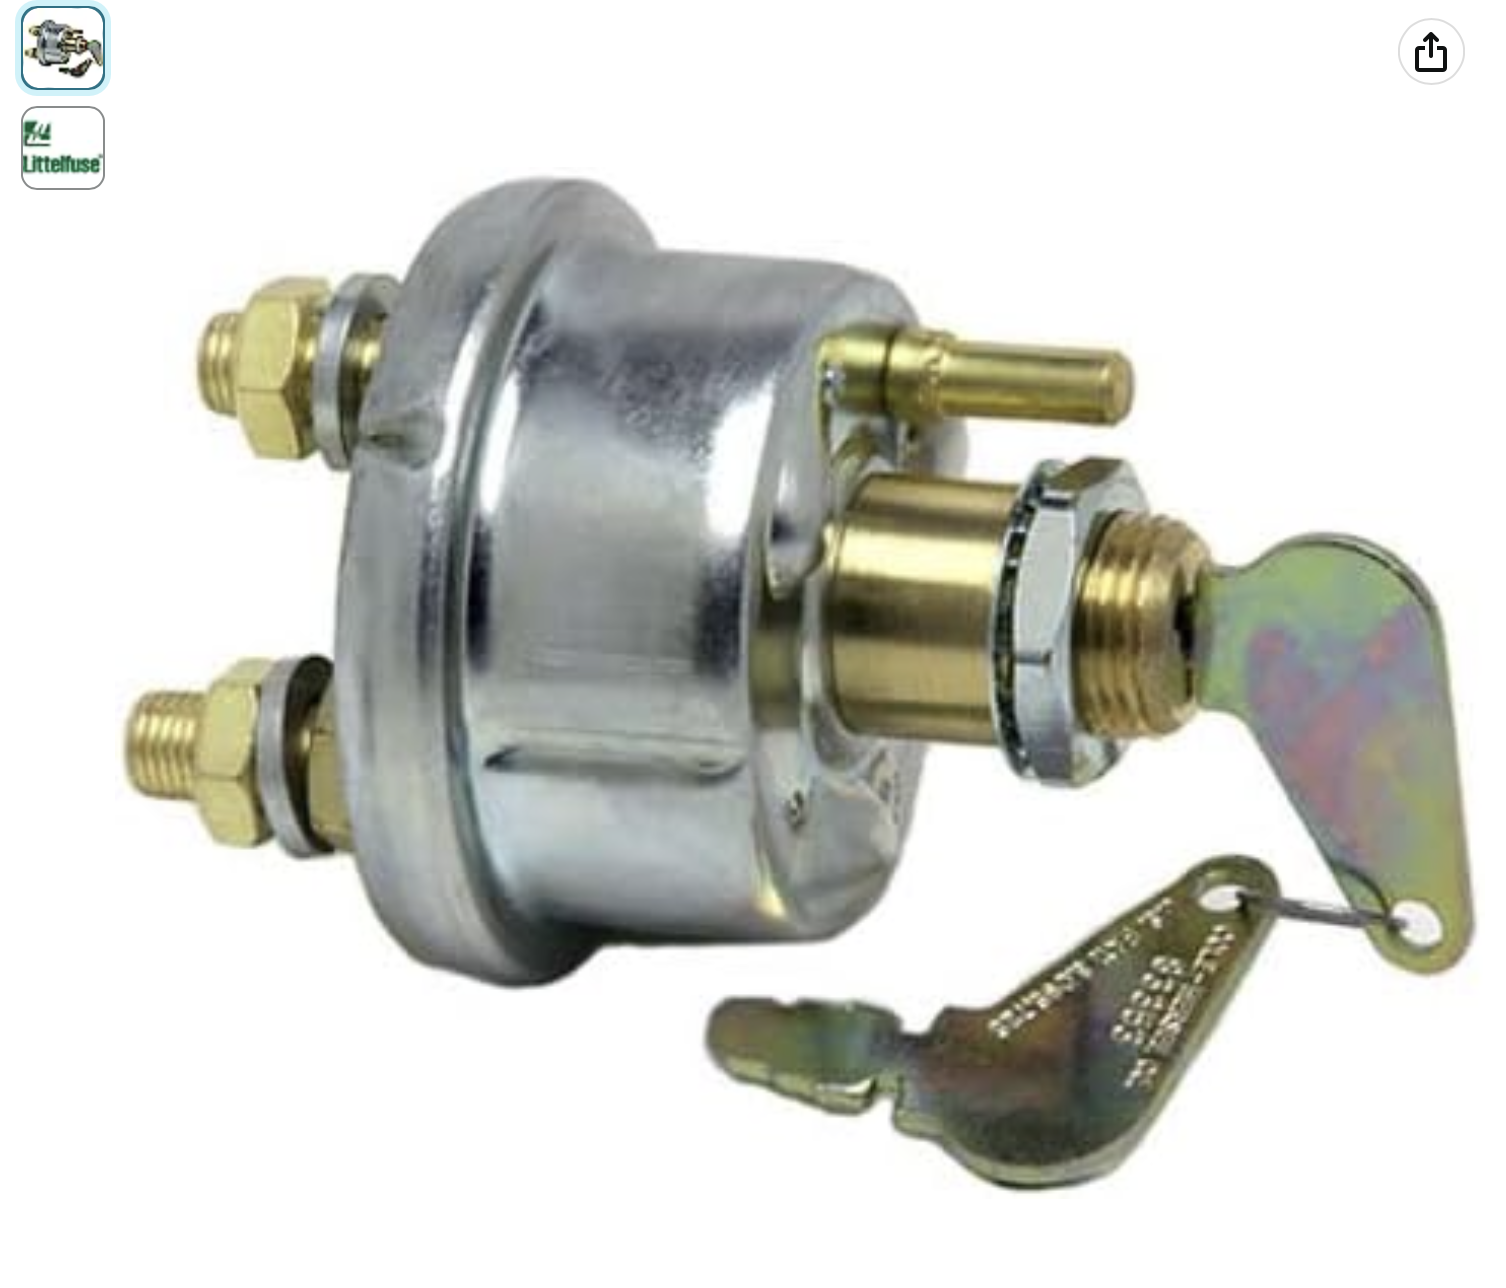
Posted on: 2023/6/15 9:41
|
|||
|
Phil
|
||||
|
||||
|
Gas gauge wire path on a 1950 Series 2300 Custom-8
|
||||
|---|---|---|---|---|
|
Just popping in

|
Hey Guys:
I'm installing new wire harnesses and I'm not sure of the path for the gas gauge wires. Where do they enter the trunk area? Also, can someone tell me how the horn ring is removed from the steering wheel. I tried pushing the center button and turning it CCW but it won't move. Thanks
Posted on: 2023/6/15 9:29
|
|||
|
||||
|
Re: Wanted 1937 Packard 120 four door sedan rear vent window clips
|
||||
|---|---|---|---|---|
|
Quite a regular

|
.
Posted on: 2023/6/15 8:15
|
|||
|
Follow us on Instagram & TikTok @metal_edge_creations
|
||||
|
||||
|
Re: Brake issues
|
||||
|---|---|---|---|---|
|
Not too shy to talk
|
Would changing the type of fluid make a difference and I know you mentioned a rebuild but how would I go about that. I’m very green in this field so where would the valve be?
Posted on: 2023/6/15 7:54
|
|||
|
||||
|
Re: It is finally together
|
||||
|---|---|---|---|---|
|
Home away from home
|
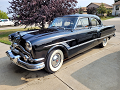
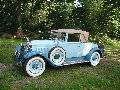
nice looking ride !!!! hope you have lots of fun.
Posted on: 2023/6/15 5:04
|
|||
|
||||
|
Re: 1953 Packard 327 Engine & Ultramatic Trans and many extra parts
|
||||
|---|---|---|---|---|
|
Just can't stay away
|
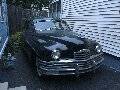
Quote:
I checked the windshield out today to see if it's clear or tinted. It is green tinted. -Chris
Posted on: 2023/6/15 1:44
|
|||
|
||||
|
Re: KPack's 1954 Panama
|
||||
|---|---|---|---|---|
|
Home away from home

|
Thanks both of you. Yes, I knew that the splasher bolts were cadmium/silver, but wasn't sure about the other two behind it. I'll pull them tomorrow and sandblast/paint them.
I'm hoping to paint the edges of the hood and fenders tomorrow if the wind cooperates. I need to get this wrapped up and reinstalled by Saturday and I have a busy schedule until then. -Kevin
Posted on: 2023/6/14 22:39
|
|||
|
||||
|
Re: Front Stabilizer Bar
|
||||
|---|---|---|---|---|
|
Not too shy to talk

|
As far as the ends of the sway bar,Ron Carpender in CaLif. used to rebuild the ends for some years. Though he might not be around anymore.
Posted on: 2023/6/14 22:25
|
|||
|
||||


