|
Re: Body Mounts
|
||||
|---|---|---|---|---|
|
Home away from home
|
There are holes in the frame, a large one the the shoulder of the thick rubber would sit in, which is what made me think there had been rubber cushions there previously. There were cushions at #2 inner still, without bolts when I took things apart. I figured because these were closer to the front where the body is mounted rather solidly to the frame they didn't have a chance to fall out. #3 and #4 inners had no cushions, which I assumed were there at some point, but with just that shoulder sitting in the hole in the frame to hold them in place they had fallen out at some point.
What confused me, and still does, is when I look through the parts book there are thick and thin cushions listed for inner 2, 3 & 4 for my Cavalier, and even nuts are listed for these positions. But if you look for bolts for these same positions there are none listed for the sedans, only the Mayfair, the Caribbean and the convertible coupe, which is what caused all my confusion initially when I was trying to figure out what parts I needed before I pulled everything apart. These three models also have position 4 1/2 for additional support. So after all of this, my conclusion is sedans do not require inners 2, 3 & 4 to be bolted. My plan is to put cushions, and no bolts, at inner 2, which did have cushions when I took things apart. I will also add cushions only to inner #3 and #4 because I don't think it can hurt anything to provide a little more support in this area, rather than outriggers #3 and #4 carrying all the weight of the center of the body. At least that's my plan today, might change by tomorrow! 
Posted on: 3/30 0:51
|
|||
|
||||
|
Re: RIk's 56 ultramatic
|
||||
|---|---|---|---|---|
|
Home away from home

|
RH what are these bushings for?
Posted on: 3/29 21:54
|
|||
|
'55 400. Needs aesthetic parts put back on, and electrical system sorted.
'55 Clipper Deluxe. Engine is stuck-ish. |
||||
|
||||
|
Re: 1937 120 Conv. Sedan - Blanche
|
||||
|---|---|---|---|---|
|
Forum Ambassador

|
I believe the stock 37 one direction heater motor would have 2 wires, one for ground and one for power. Defroster would have a separate motor with the same wiring. I don't think the heaters with the combination heat/defrost controlled by a reversible motor was available in 37 but those motors had 4 wires and used a 5 position switch with 4 terminals.
While the heater install on the last page of this service letter is of a later heater I believe the wiring suggestion might the same or at least very similar in 37s.
Posted on: 3/29 21:54
|
|||
|
Howard
|
||||
|
||||
|
Re: 1937 120 Conv. Sedan - Blanche
|
||||
|---|---|---|---|---|
|
Home away from home

|
I don't recall mine having a ground. One was for the heater blower and the other for the defroster blower which I believe was an option that your car might not have.
Posted on: 3/29 21:35
|
|||
|
||||
|
Re: PackardDon's 1956 Clipper Custom Sedan
|
||||
|---|---|---|---|---|
|
Home away from home
|
Approximately how large is that flat bladed tool?
Posted on: 3/29 21:30
|
|||
|
||||
|
Re: RIk's 56 ultramatic
|
||||
|---|---|---|---|---|
|
Forum Ambassador
|
You don't want them too soft. There is an old post -- maybe 4 or 5 years ago -- by Owen_Dyneto where he was having issues with those same bushings. His issue was with some from Steele that did not last very long. He compared hardness of Steele's to a NOS factory bushing and found the factory bushing to be much harder. He published the results and way he measured using a method he was able to come up with. It was not really precise by usual methods and standards but did give a comparable result so he posted his findings. You might search and see if you can find his info. Maybe you could use his method to test your new bushings.
Posted on: 3/29 21:25
|
|||
|
Howard
|
||||
|
||||
|
Re: PackardDon's 1956 Clipper Custom Sedan
|
||||
|---|---|---|---|---|
|
Home away from home
|
Quote:
If the spline on the lever is sheared there is likely very little if any load from the transverse bars. If you can grab them and twist them to feel the play at the ball socket then there is none. If you cannot twist I would remove the motor first and see if it is disconnected from the worm. If it is you can either fix the snap ring and bearing to get the worm back in place or try to manually move the compensator by using a large screwdriver or rig up some kind of drill attachment to turn the worm. With the dual planetary reduction in the compensator, turn ratio is something like 3000 to one so it takes a lot of turning on the worm to see much movement at the lever. Alternately, there is a procedure in the service manual where you LOOSEN but do not remove the 7 or 8 screws holding the compensator halves together. The center ring gear between the halves is only held by friction so with the upper and lower halves loosened enough the tension on the levers will just rotate the ring until tension is gone. After tension is gone the ends of the bars have screw on caps that are most likely staked in place. The caps and a spring provide tension to the sockets which hold the bars to the balls on the lever. You will need a ratchet and drag link socket to fit the screw slot in order to loosen and remove caps. Thank you, Howard, for those wonderful tips! I think for now it's a bit much at this time on the cold floor so will wait for the lift although I am really curious so we'll see how much time I have here.
Posted on: 3/29 21:22
|
|||
|
||||
|
Re: RIk's 56 ultramatic
|
||||
|---|---|---|---|---|
|
Home away from home
|
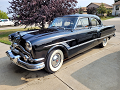
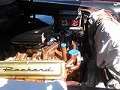
Enduro soft.
Might be more what Packard used. Have to wait and these to Ross . See what ones better. Shore 80 or soft. Attach file:  20240329_190322.jpg (4,005.46 KB) 20240329_190322.jpg (4,005.46 KB)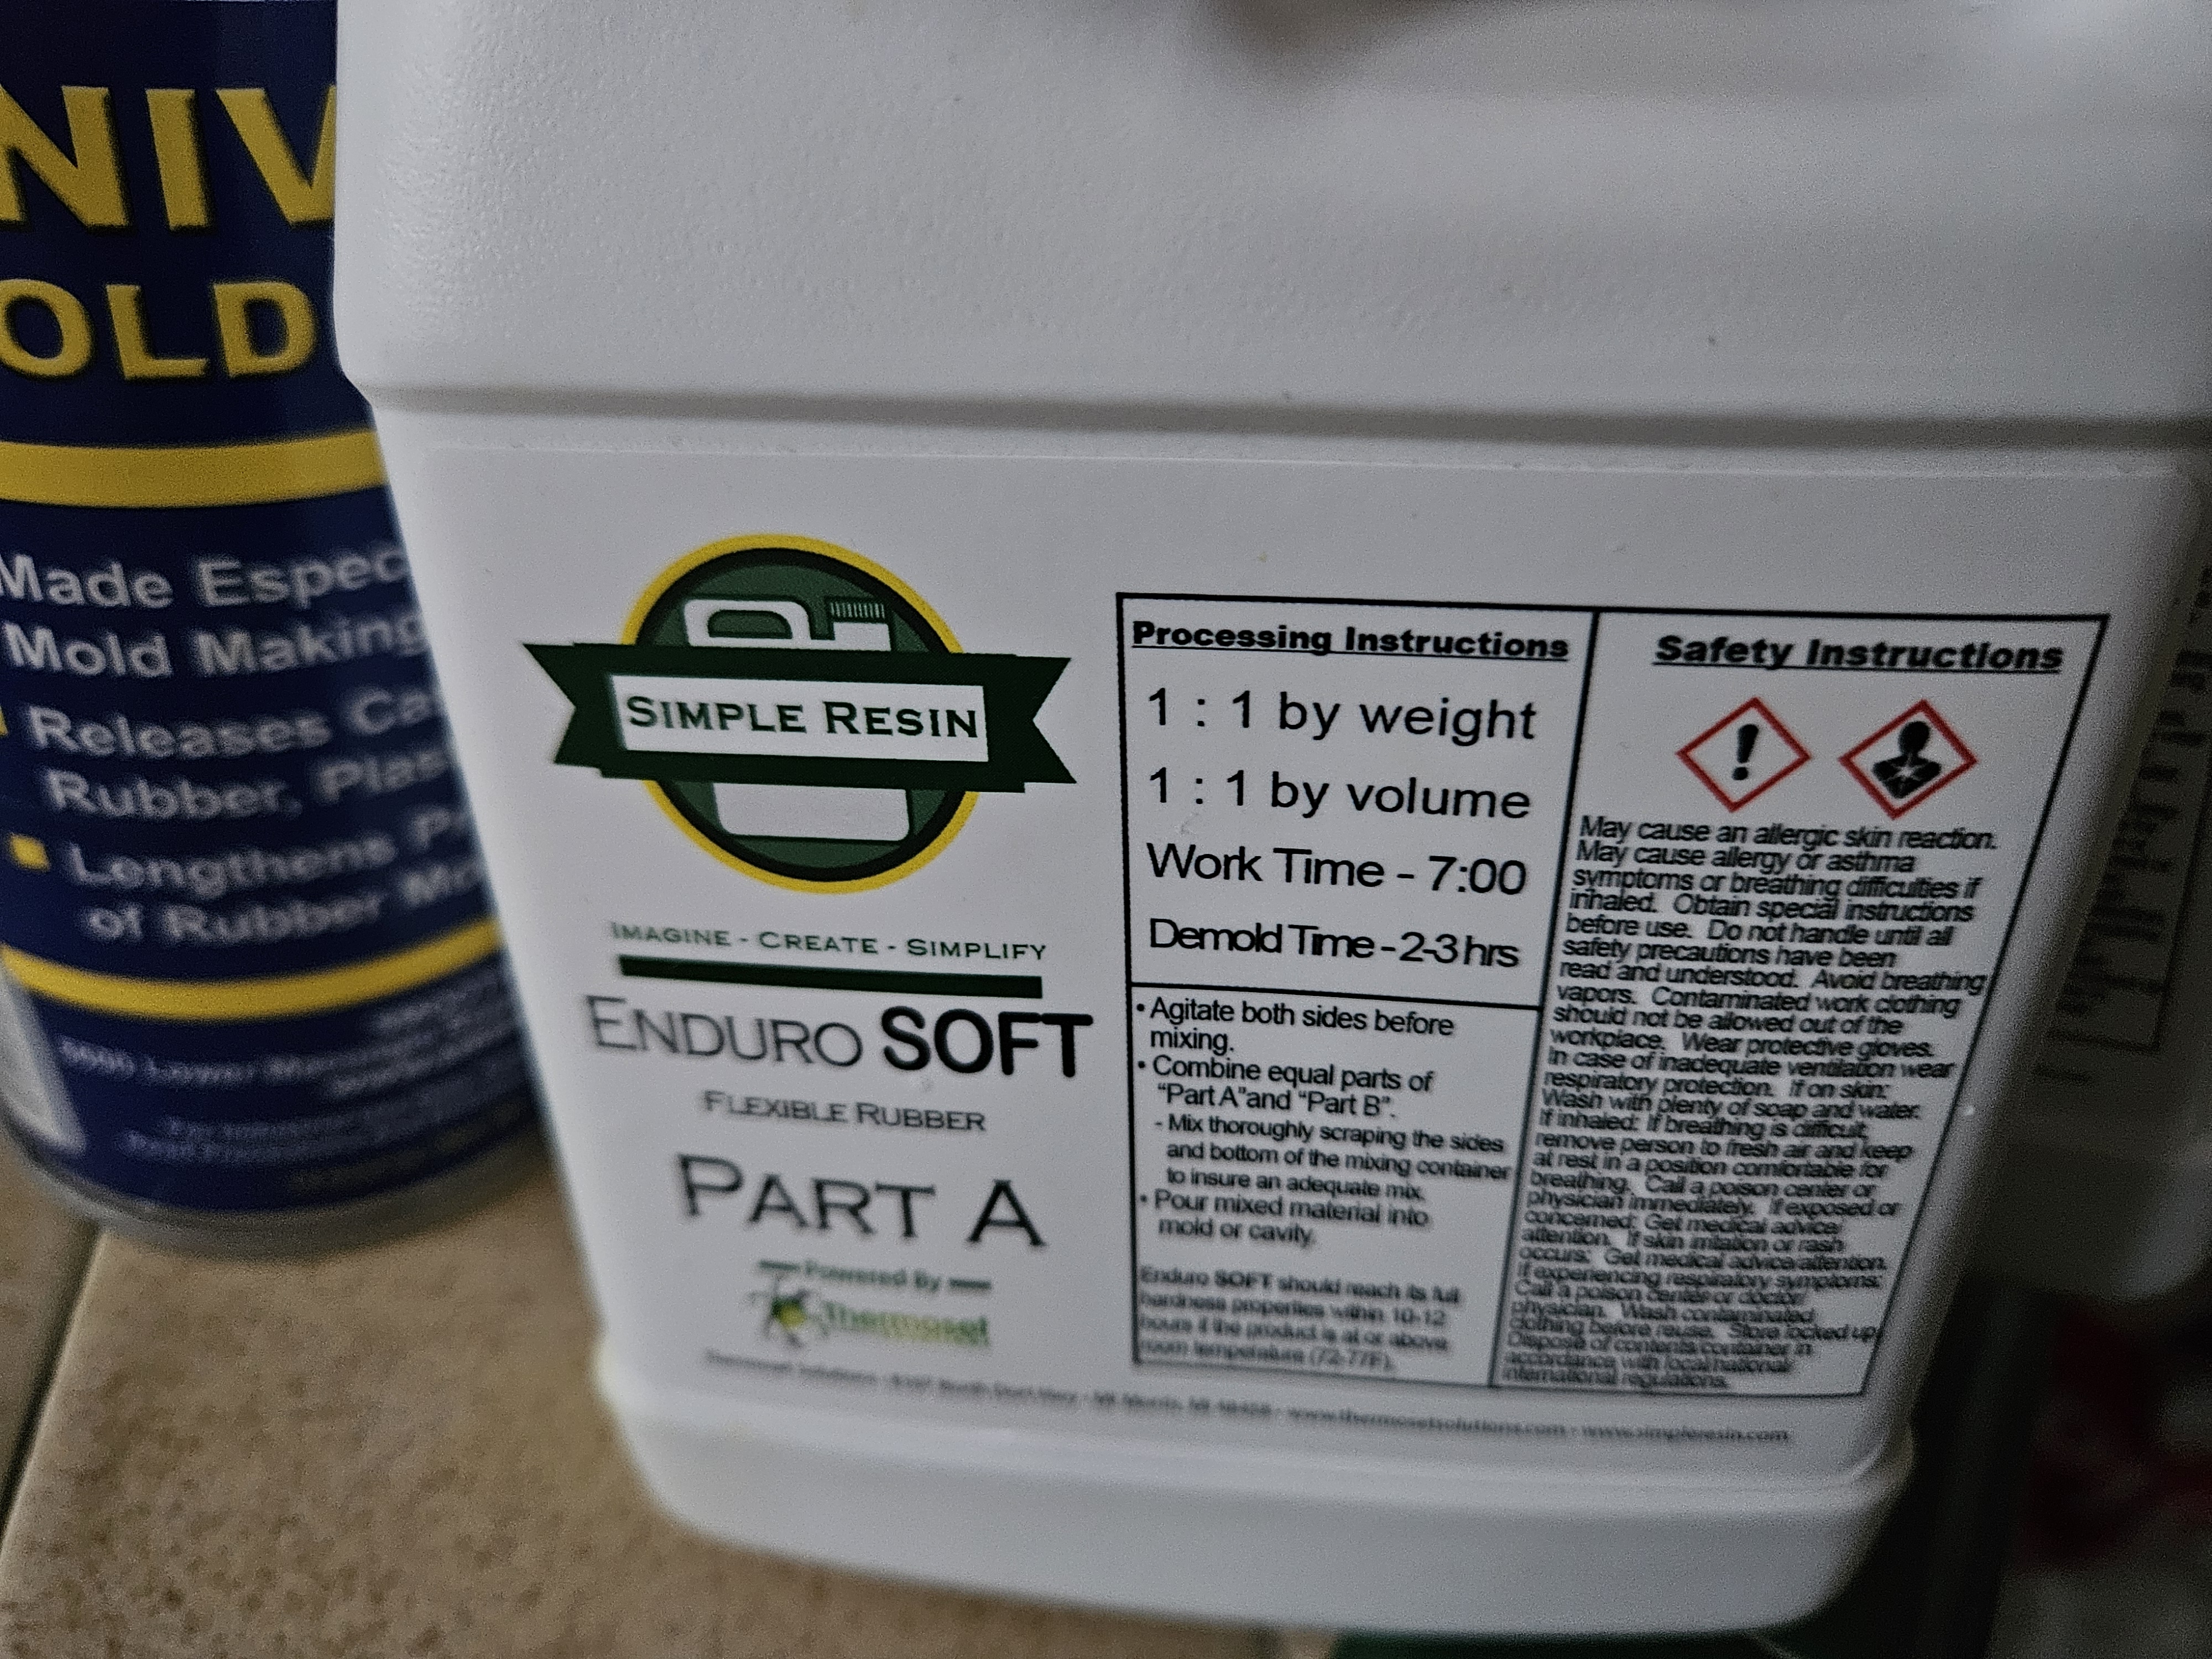 20240329_190346.jpg (4,421.91 KB) 20240329_190346.jpg (4,421.91 KB)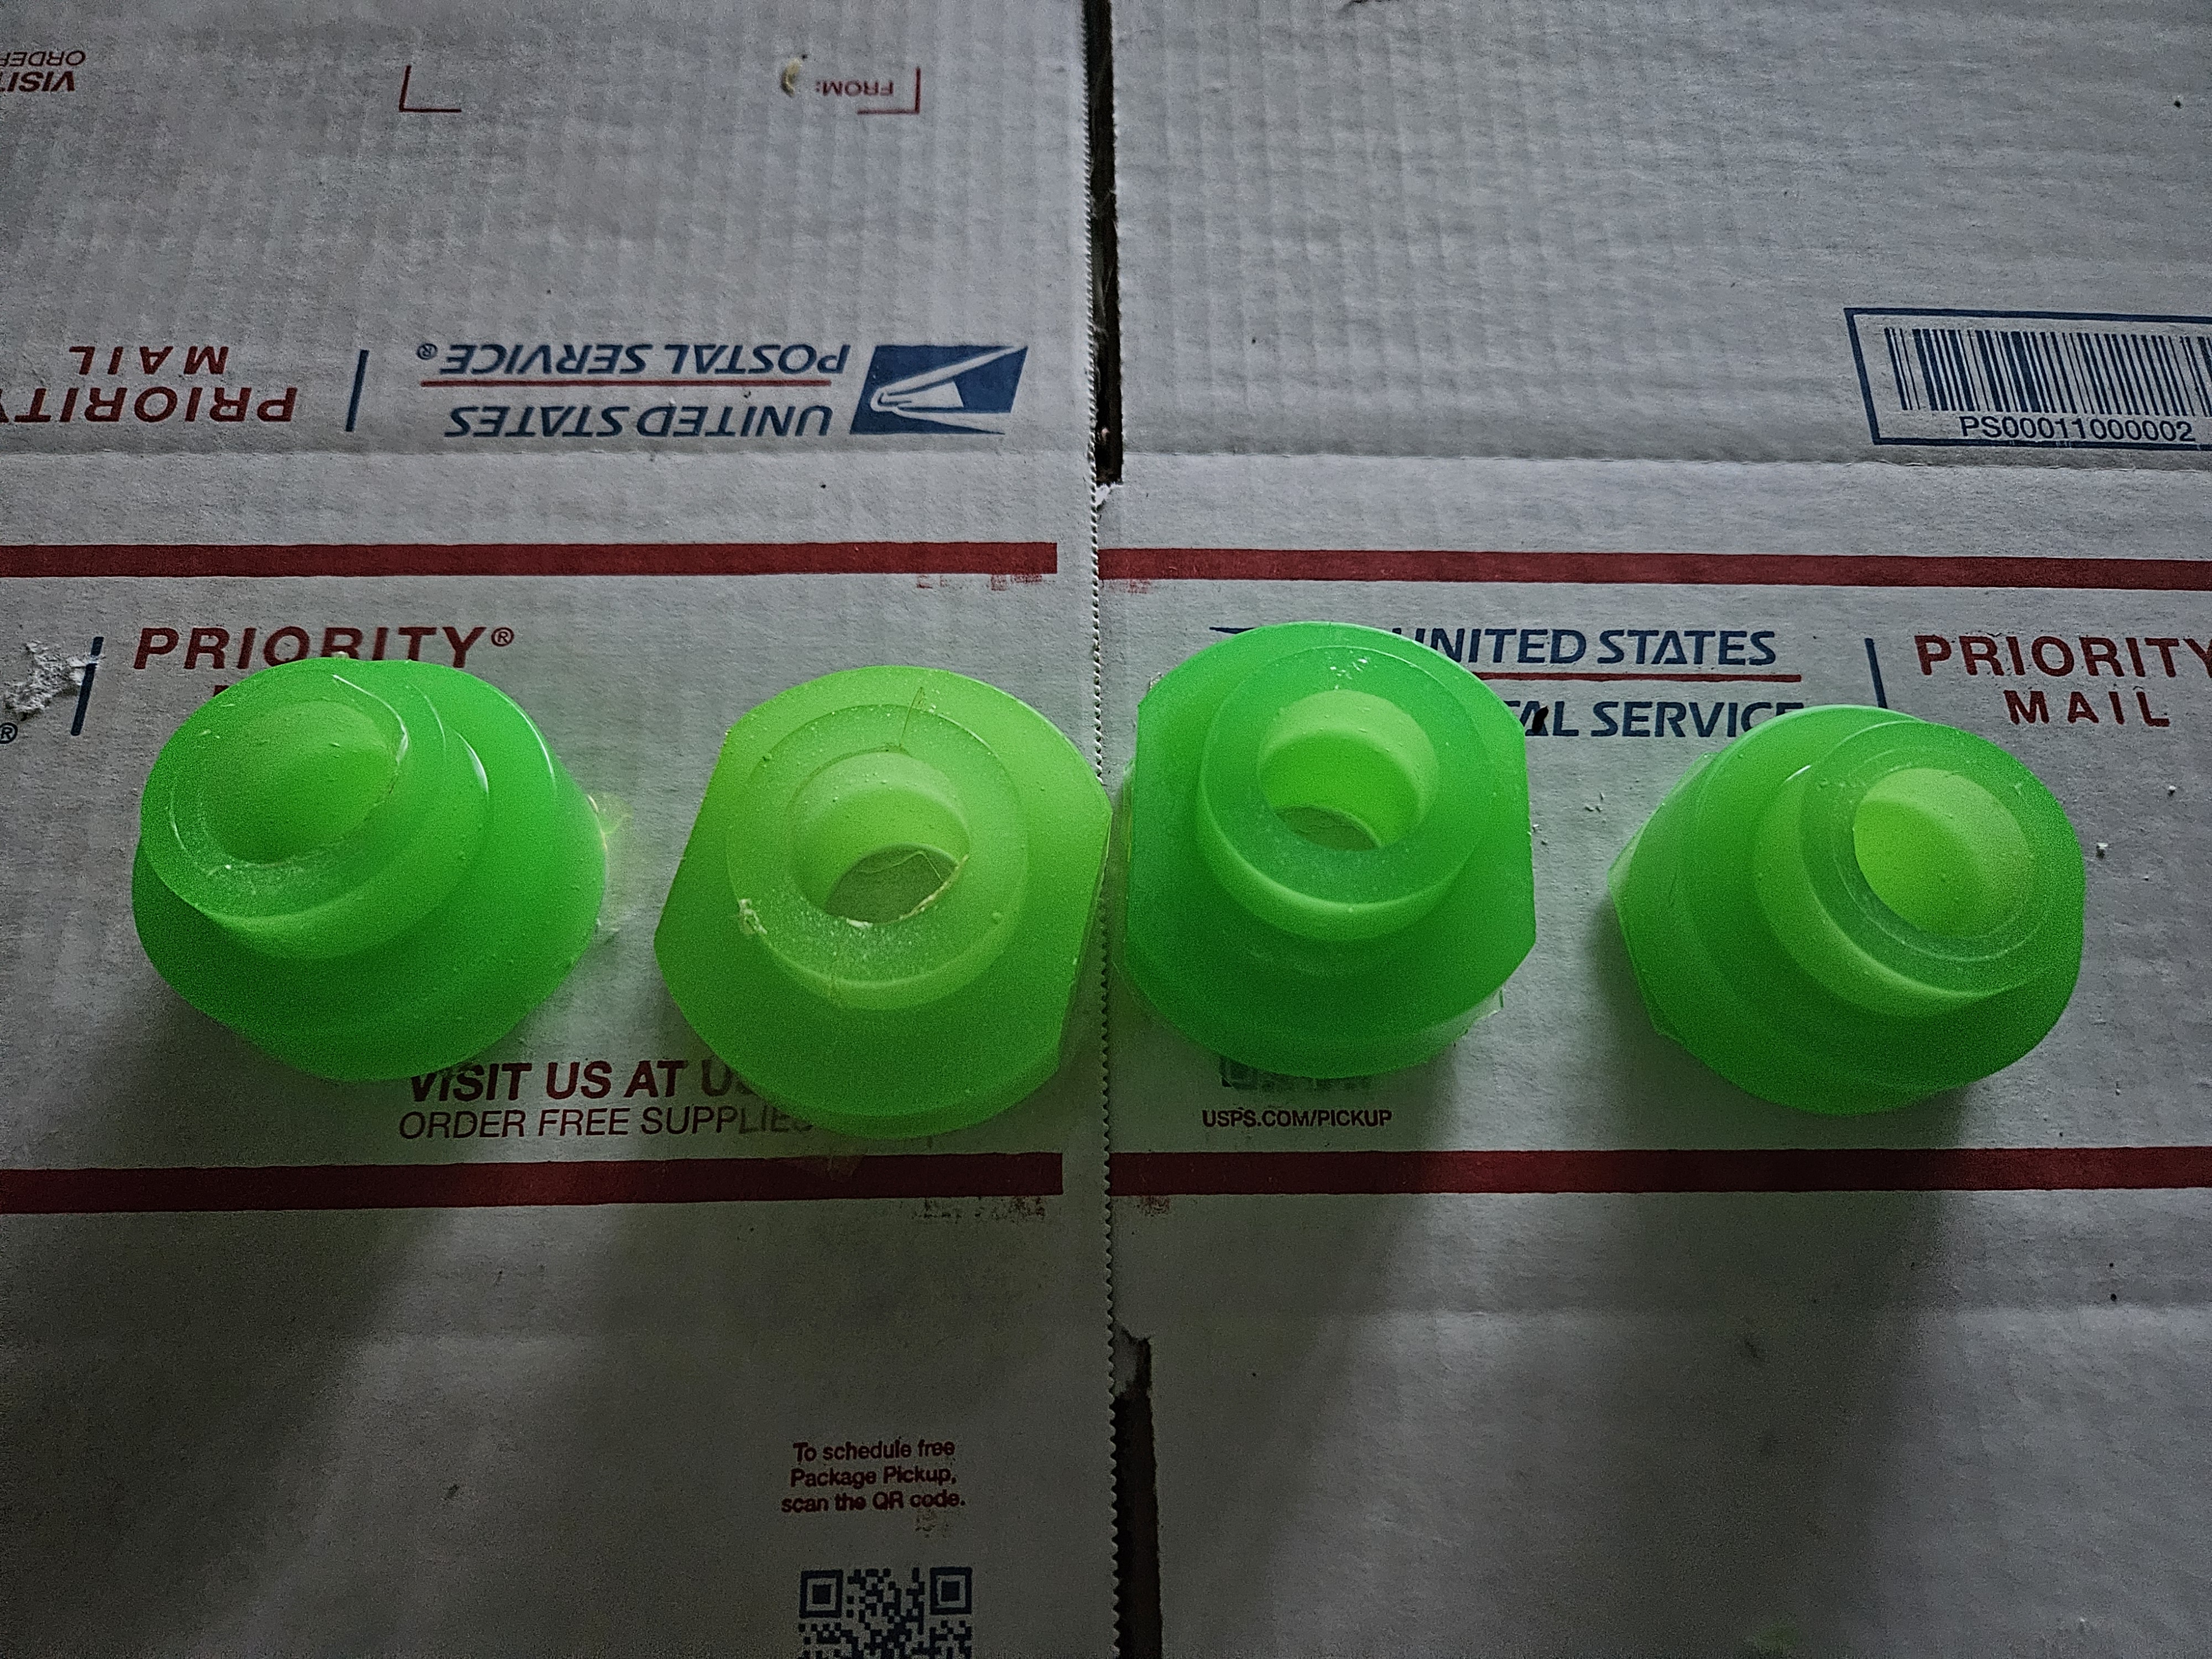 20240329_190359.jpg (1,337.06 KB) 20240329_190359.jpg (1,337.06 KB)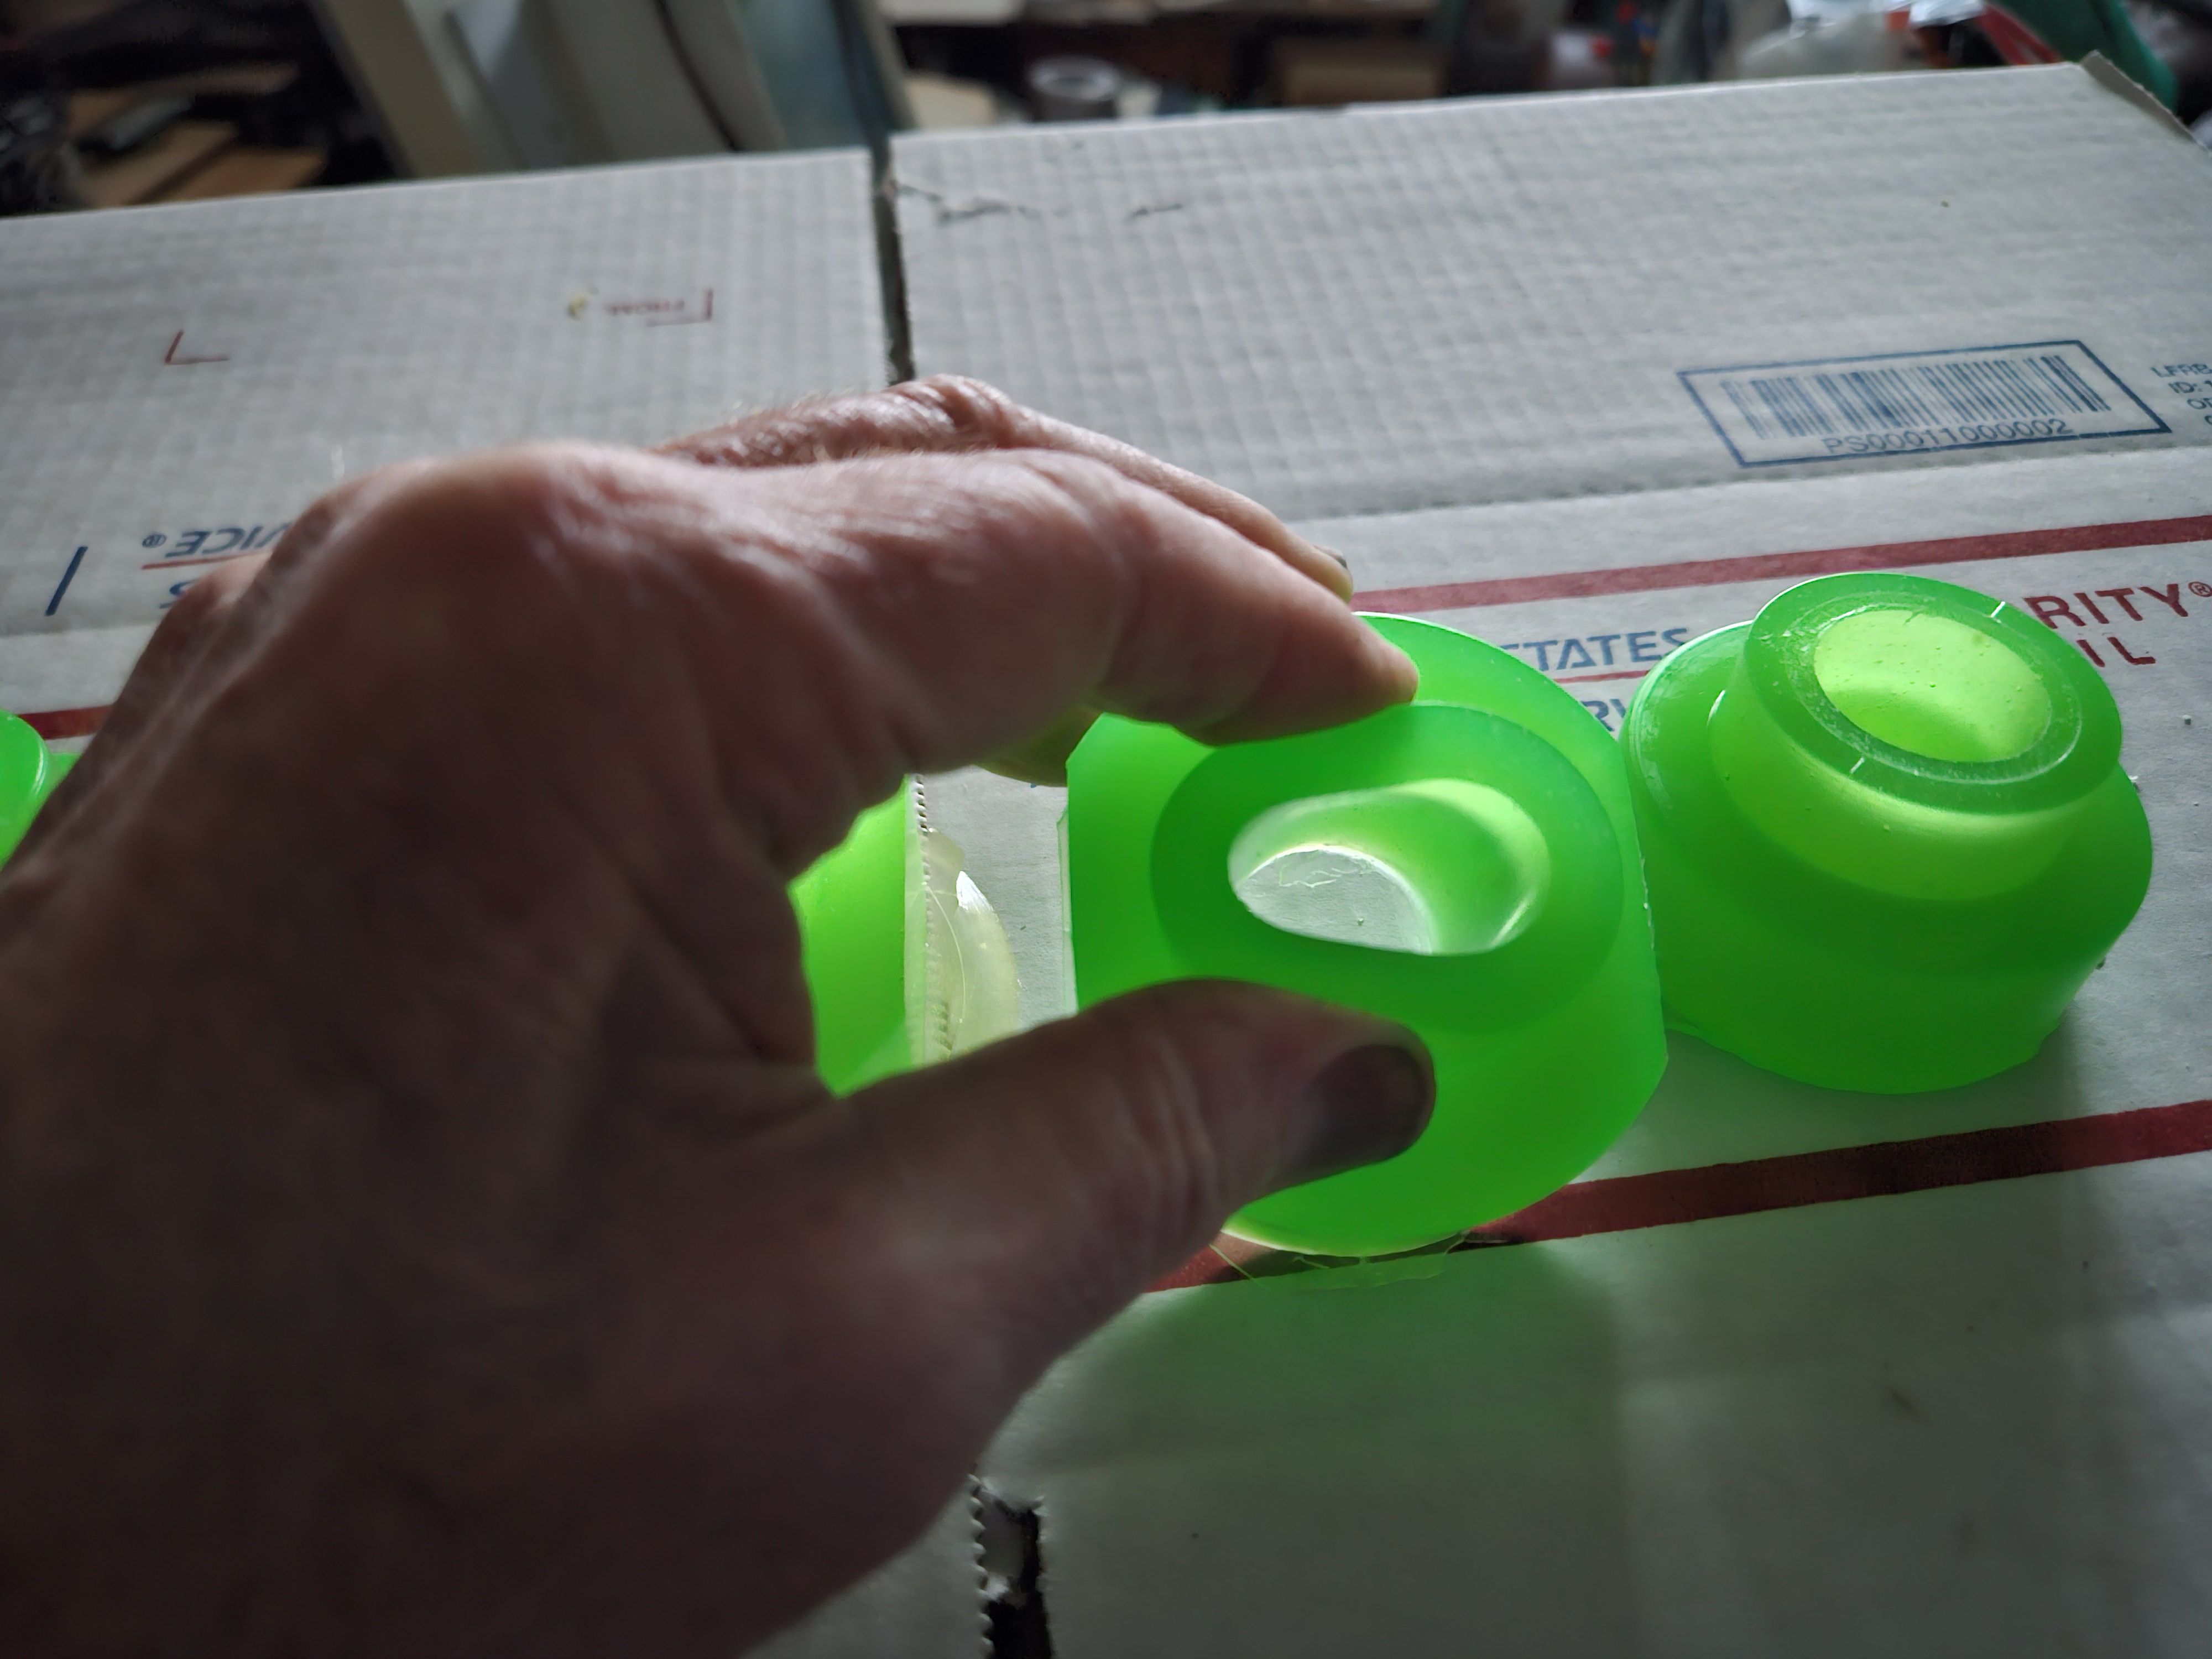
Posted on: 3/29 21:08
|
|||
|
Riki
|
||||
|
||||
|
Re: PackardDon's 1956 Clipper Custom Sedan
|
||||
|---|---|---|---|---|
|
Home away from home
|
I took out all the seats and removed the upholstery as SMS needs them as a pattern. During the COVID lockdown, I took advantage of a sale by making a large deposit and taking a raincheck and it was only last year that I finally sent them the door cards and now the seat skins.
While doing so, I discovered that the back set springs are not usable due to considerable rust on the front and side lower rail and also due to some broken bits, one of which appears to have had a repair at one point unless it was made that way. However, I noticed an embossing on the rear seat cushion's formed foam which had the part number and was surprised to see it was the same back to 1951. If the seat itself was the same, then I may already have a good one from my 1954 Patrician parts car! Enlarging the photo, the embossing is visible in the center which includes the part number. 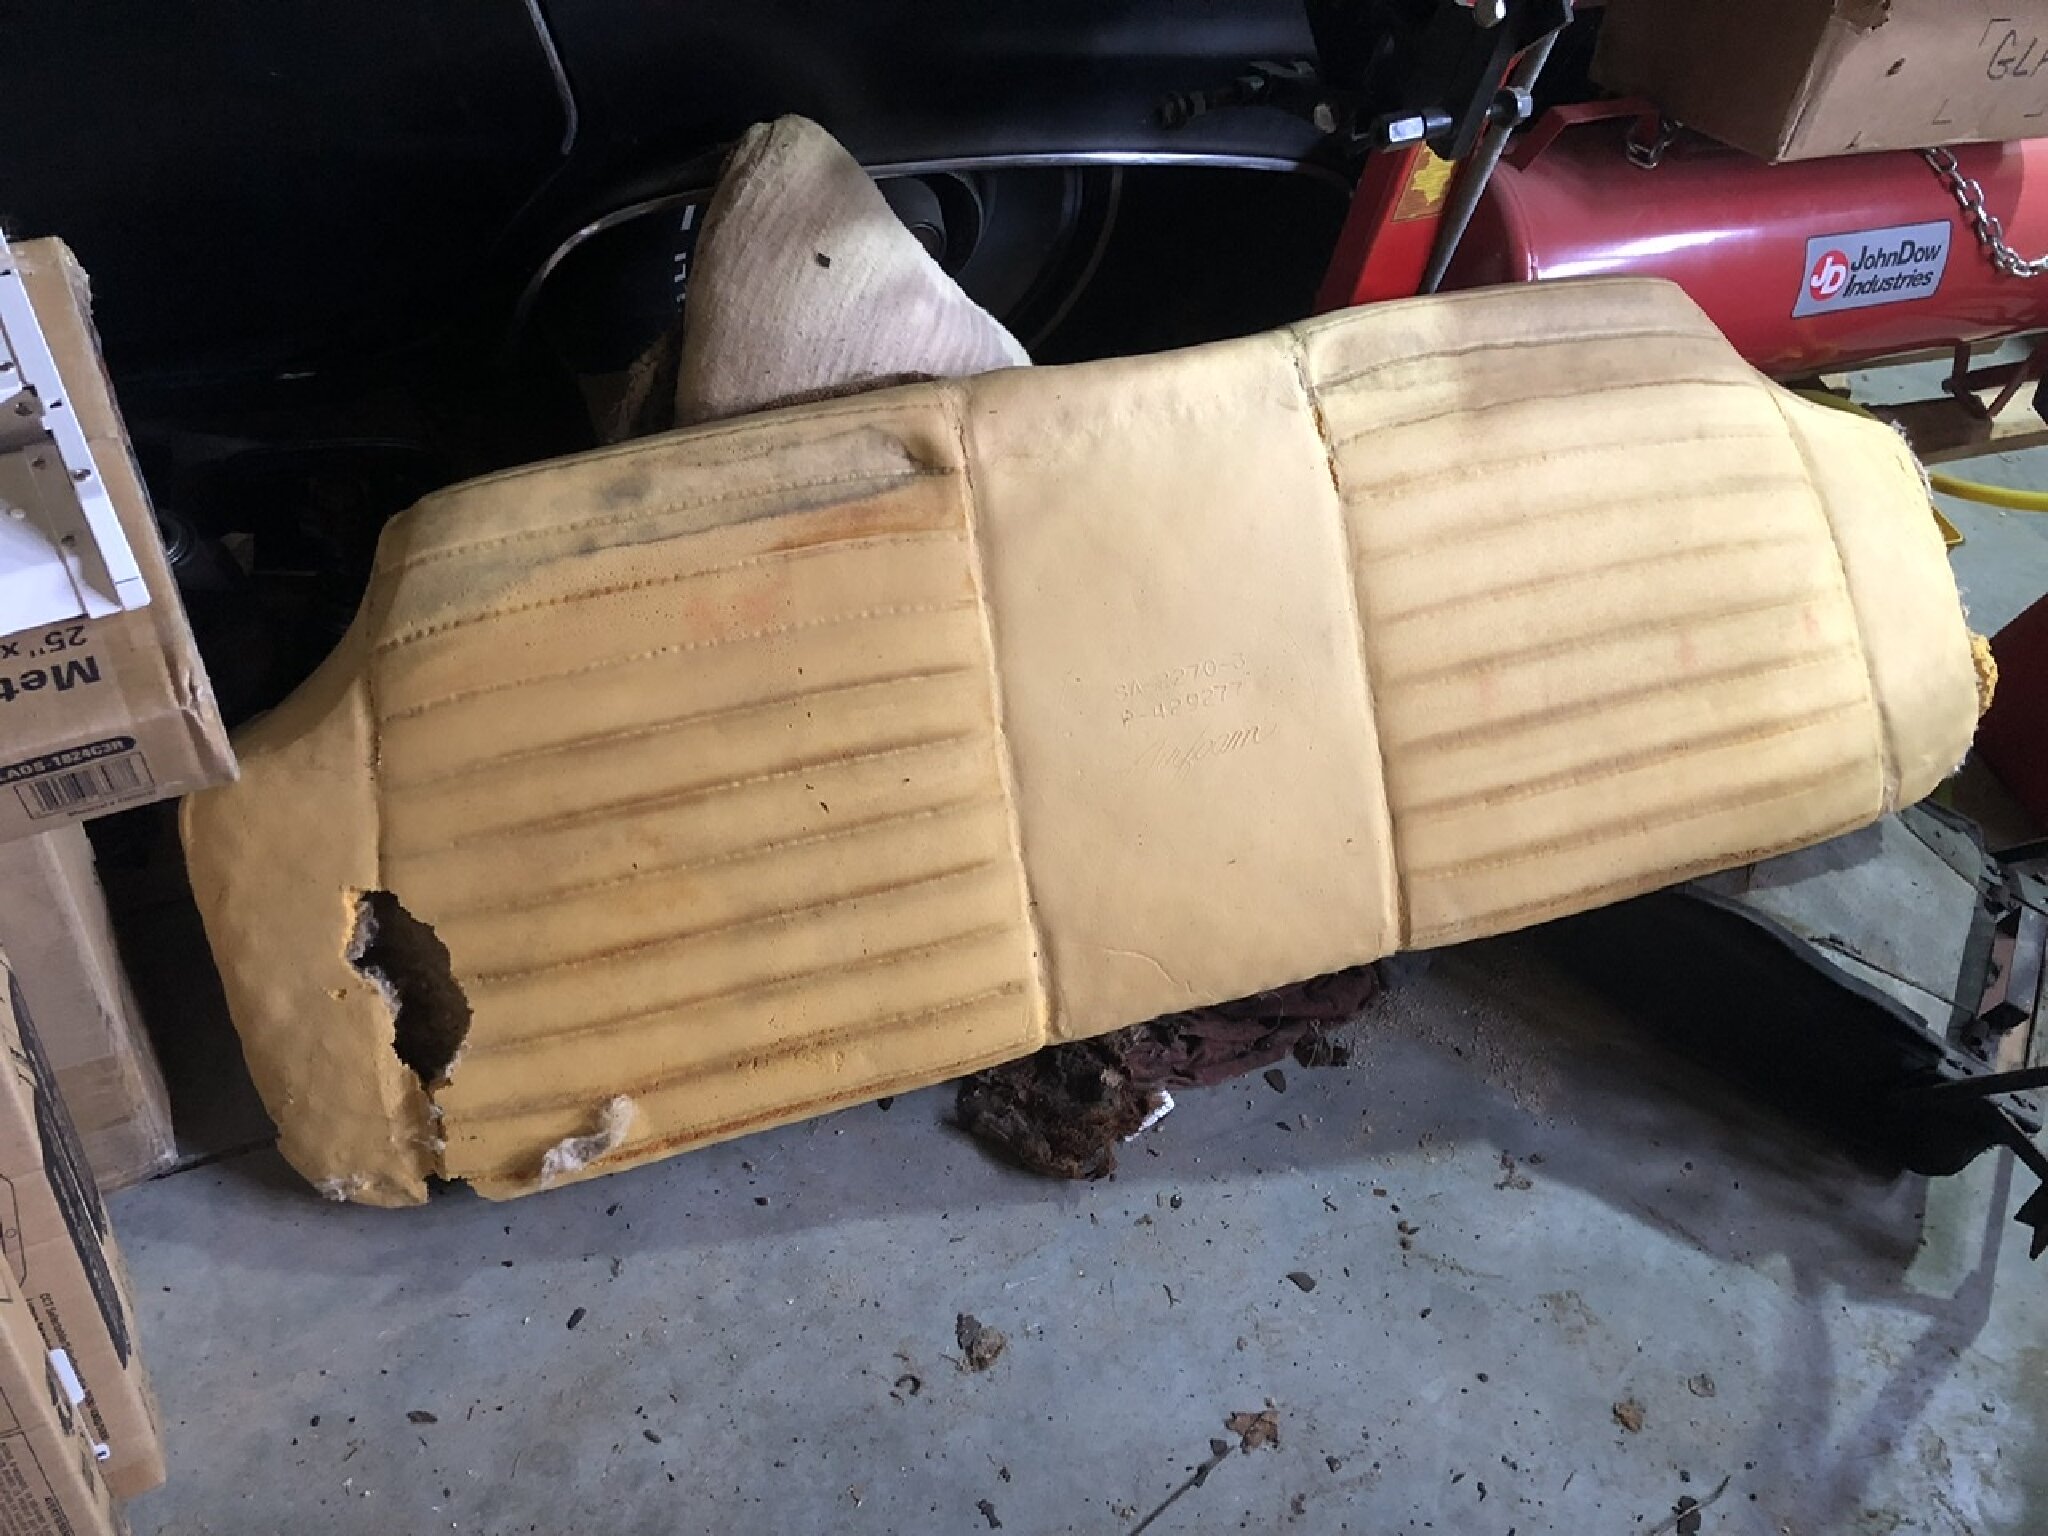 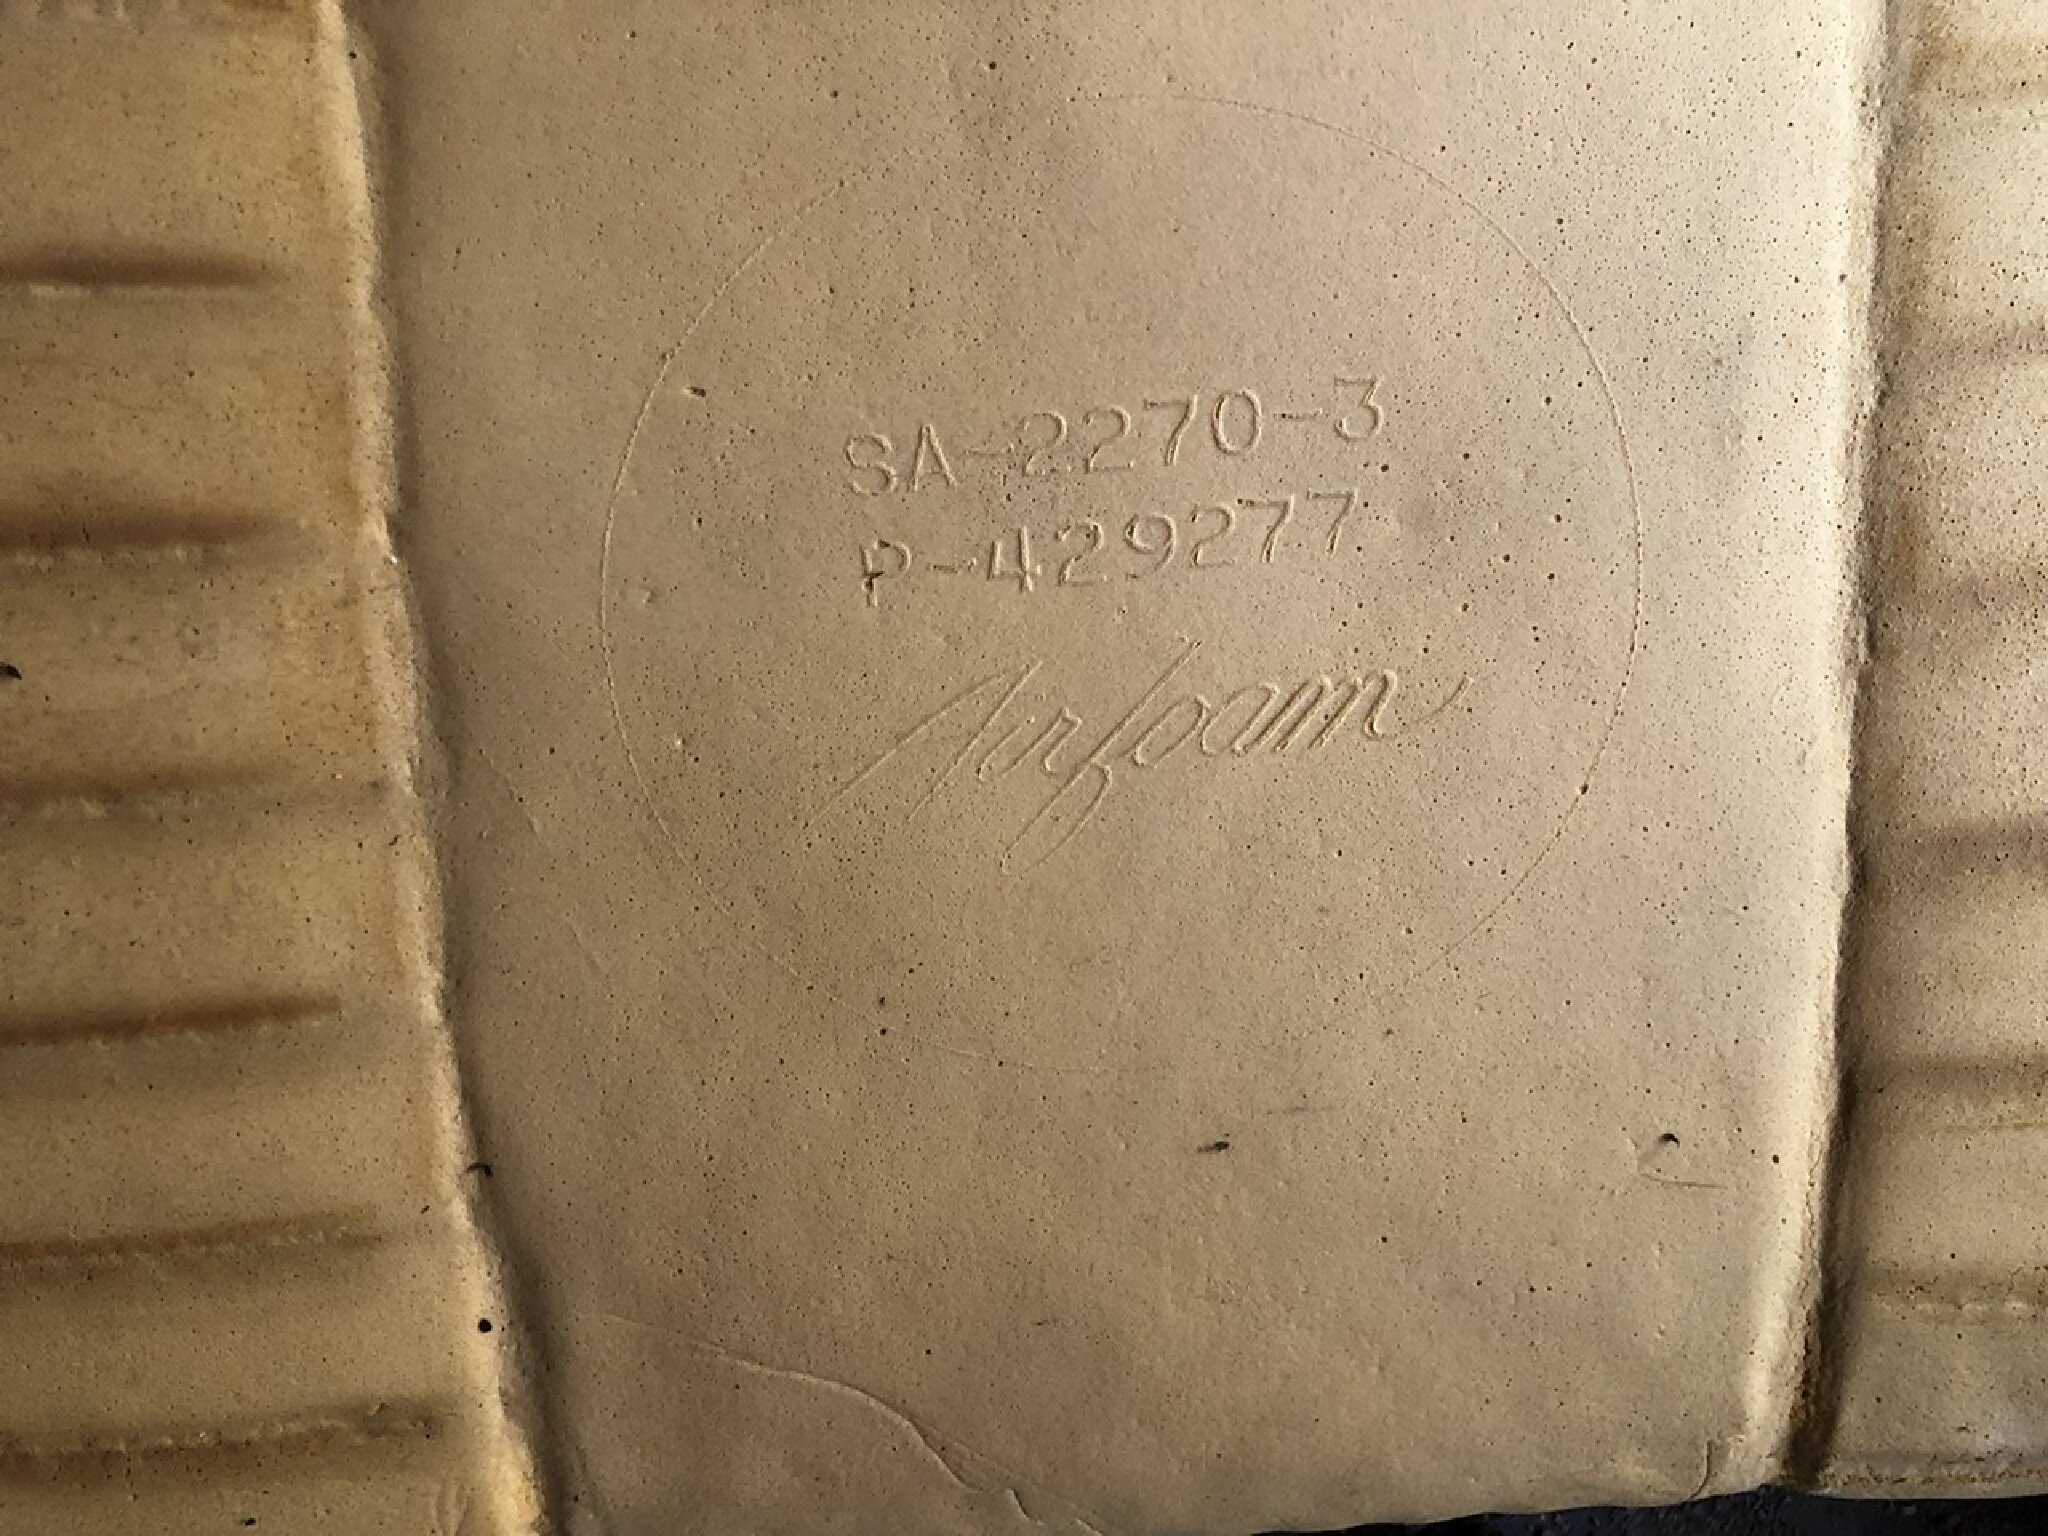 Barely visible in this photo of the rear seat cushion standing upright is the very rusty bottom edge. 
Posted on: 3/29 21:06
|
|||
|
||||
|
Re: PackardDon's 1956 Clipper Custom Sedan
|
||||
|---|---|---|---|---|
|
Forum Ambassador
|
If the spline on the lever is sheared there is likely very little if any load from the transverse bars. If you can grab them and twist them to feel the play at the ball socket then there is none. If you cannot twist I would remove the motor first and see if it is disconnected from the worm. If it is you can follow the bulletin to either fix the snap ring and bearing to get the worm back in place or else try to manually move the compensator by using a large screwdriver or rig up some kind of drill attachment to turn the worm. With the dual planetary gear reduction in the compensator, turn ratio is something like 3000 to one so it takes a lot of turning on the worm to see much movement at the lever.
Alternately, there is a procedure in step 5 of the bulletin where you LOOSEN but do not remove the 7 screws holding the compensator halves together. The center ring gear between the halves is only held by friction so with the upper and lower halves loosened enough the tension on the bars on the lever will just rotate the ring until tension is gone. When loosening the screws keep your hands free of the lever and bars because if there is load and it breaks free things will move in a hurry. After tension is gone the ends of the bars have screw on caps that are most likely staked in place. The caps and a spring provide tension to the sockets which hold the bars to the balls on the lever. You will need a ratchet and drag link socket sized to fit the screw slot in order to loosen and remove caps. Easiest to take off is at the short bar or frame end and leave the bars on the compensator while it is removed. Then you can easily get to the screws at the compensaor end after removal but one issue you may have is access. Sometimes due to various reasons the levers on the end of the short bars will want to bury themselves in the frame and if that happens you may not be able to get the drag link on the screw slot. I usually lay a piece of scrap wood in the frame large enough that the center of the short bar lever will hit it and stop so it does not go all the way into the frame. Attach file: drag link socket.jpg (66.47 KB)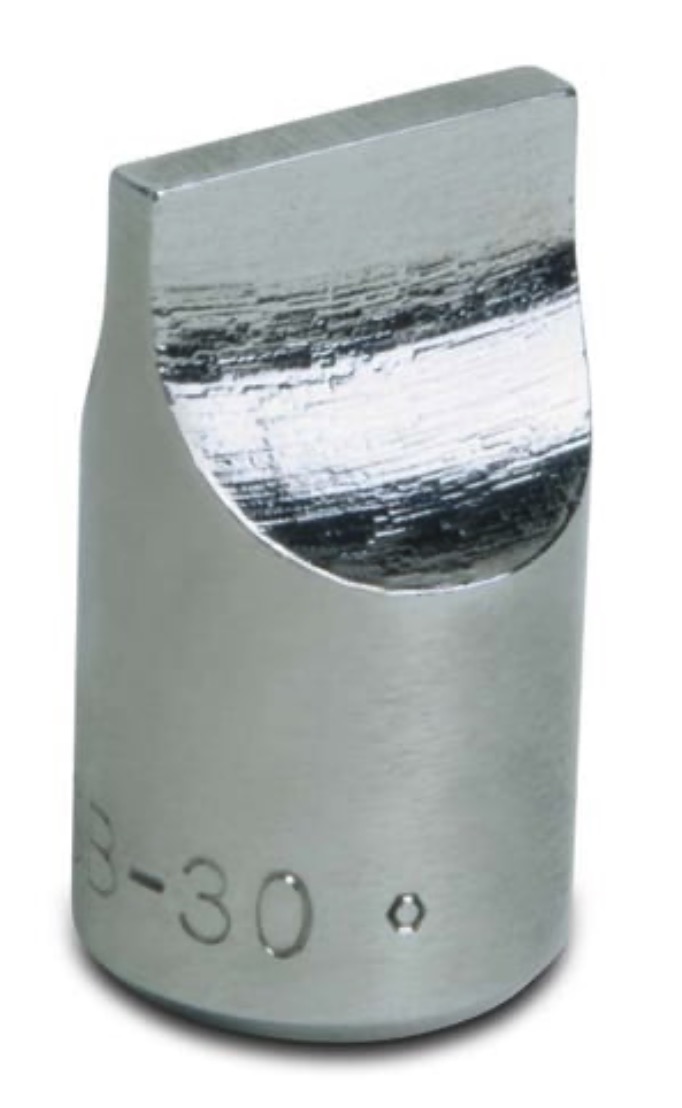
Posted on: 3/29 21:04
|
|||
|
Howard
|
||||
|
||||


