|
Re: '38 1608 V12 Project
|
||||
|---|---|---|---|---|
|
Home away from home

|
I am hand cleaning the engine using oven cleaner, carb cleaner and lacquer thinner, utilizing a pressure washer.
I am starting with the oil pan and it had what looks to be a casting date of 8-23-37. I guess that is right at the model year change. The pan looked like the La Brea tar pits with the junk in it. Attach file:  (93.59 KB) (93.59 KB)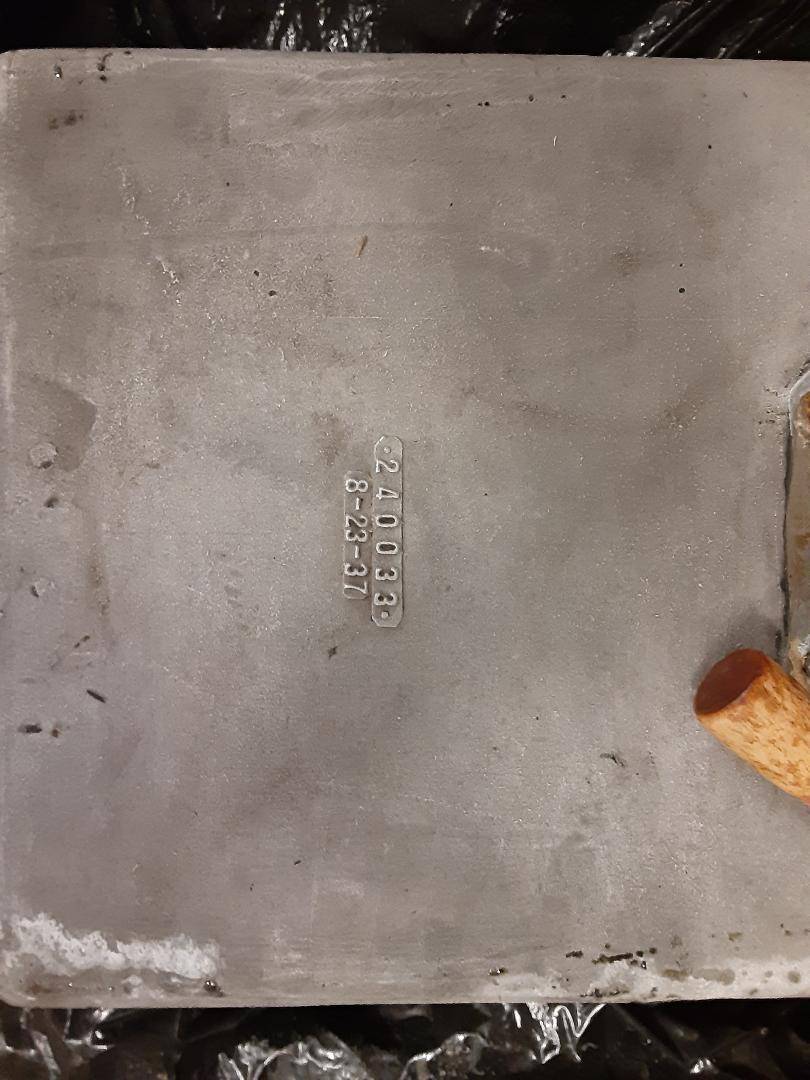
Posted on: 2020/3/8 20:24
|
|||
|
||||
|
Re: Help appreciated
|
||||
|---|---|---|---|---|
|
Home away from home
|
Nice car, hard to find ones like that today.
I would eliminate the pistons/rings as the reason for the low compression. I would preform a "WET" compression check. Take out the plugs, pour a teaspoon of oil into each cylinder and then do another compression check. If it comes up, that indicates rings/cylinder. If it stays the same, then it would indicate head gasket, which you have eliminated or valves. Low compression in a couple of cylinders would make it hard to start.
Posted on: 2020/3/7 10:45
|
|||
|
||||
|
Re: Head Studs
|
||||
|---|---|---|---|---|
|
Home away from home
|
I use these to remove them. They are sized by the diameter of the stud and use rollers and wedge to grip the stud and don't leave the marks of the other style.
I would only heat the studs themselves and use plenty of your favorite penetrating oil, mine's Kroil. (Kano Labs, Nashville, TN) As an addition or alternative, get dry ice. Grocery stores have it around here. Pack it around the stud and let it freeze. (Use gloves because it will cause burns quickly. Theory is to have it go thru expansion(heat) and contraction (freeze) cycles to loosen it's grip. As mentioned a good rap on the top helps, just be sure you have a nut on it flush with the top of the stud to prevent damage to the threads and stud. You might consider using a torque wrench to avoid over stressing the stud, they are not fun to drill out. Below is a chart location (there are others) that will give you an idea of how much torque was used to install them. For example, if a 1/2" stud was torqued to 75# initially, you may not want to exceed, say 100, before stopping and trying some of the above again. Good luck, now if I can just get my piston out. https://aztecbolting.com/sites/default/files/AztecBolting_TorqueEstimatingChart.pdf Attach file: (155.13 KB) (389.74 KB) (389.74 KB)
Posted on: 2020/3/5 14:27
|
|||
|
||||
|
Re: '38 1608 V12 Project
|
||||
|---|---|---|---|---|
|
Home away from home
|
Good news. I disconnected the rod/piston that I thought was the reason for the engine being stuck and it turned over beautifully.
Now just need to get that piston loose. I can now work on it from the crankcase side.
Posted on: 2020/3/2 13:48
|
|||
|
||||
|
Re: '38 1608 V12 Project
|
||||
|---|---|---|---|---|
|
Home away from home
|
And the corrosion behind the water pump and the outlet pipe to the radiator
Attach file: (297.45 KB)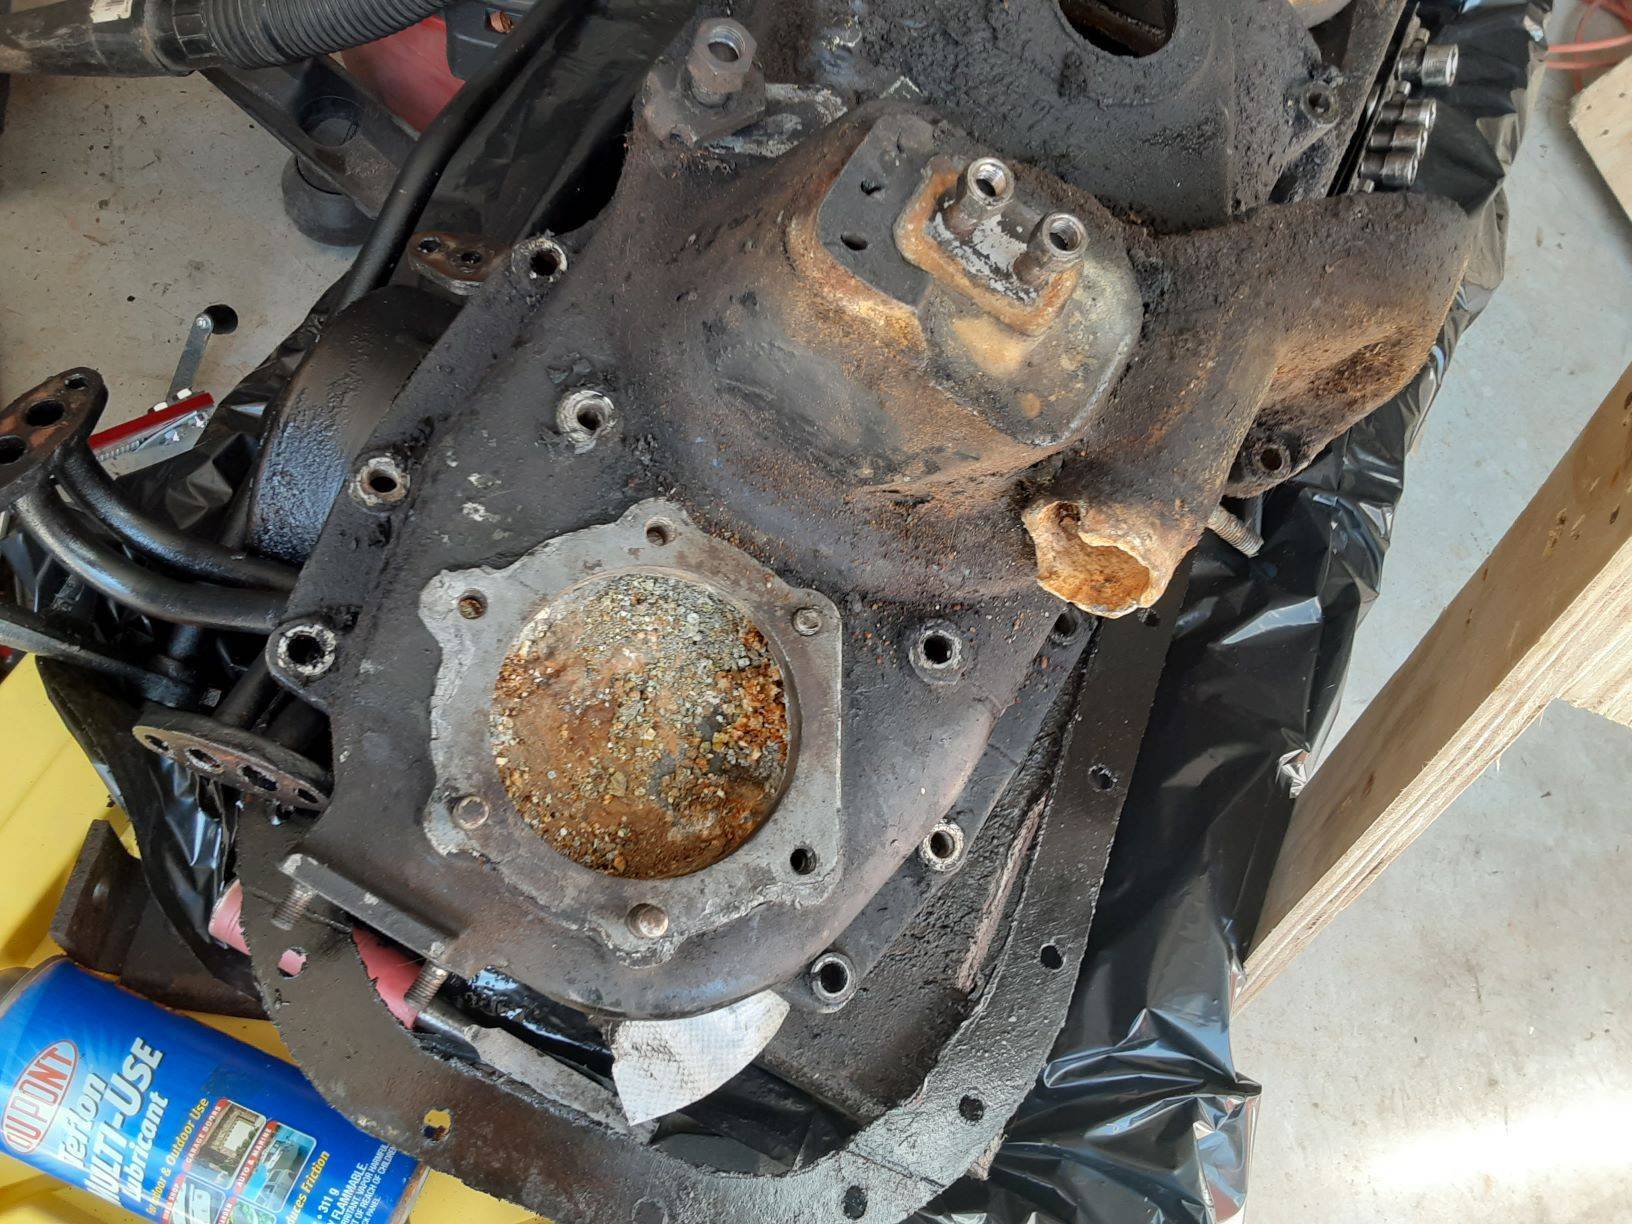
Posted on: 2020/3/1 13:54
|
|||
|
||||
|
Re: '38 1608 V12 Project
|
||||
|---|---|---|---|---|
|
Home away from home
|
Here is some of the corrosion. Notice the water passage holes to the block
Attach file: (309.89 KB)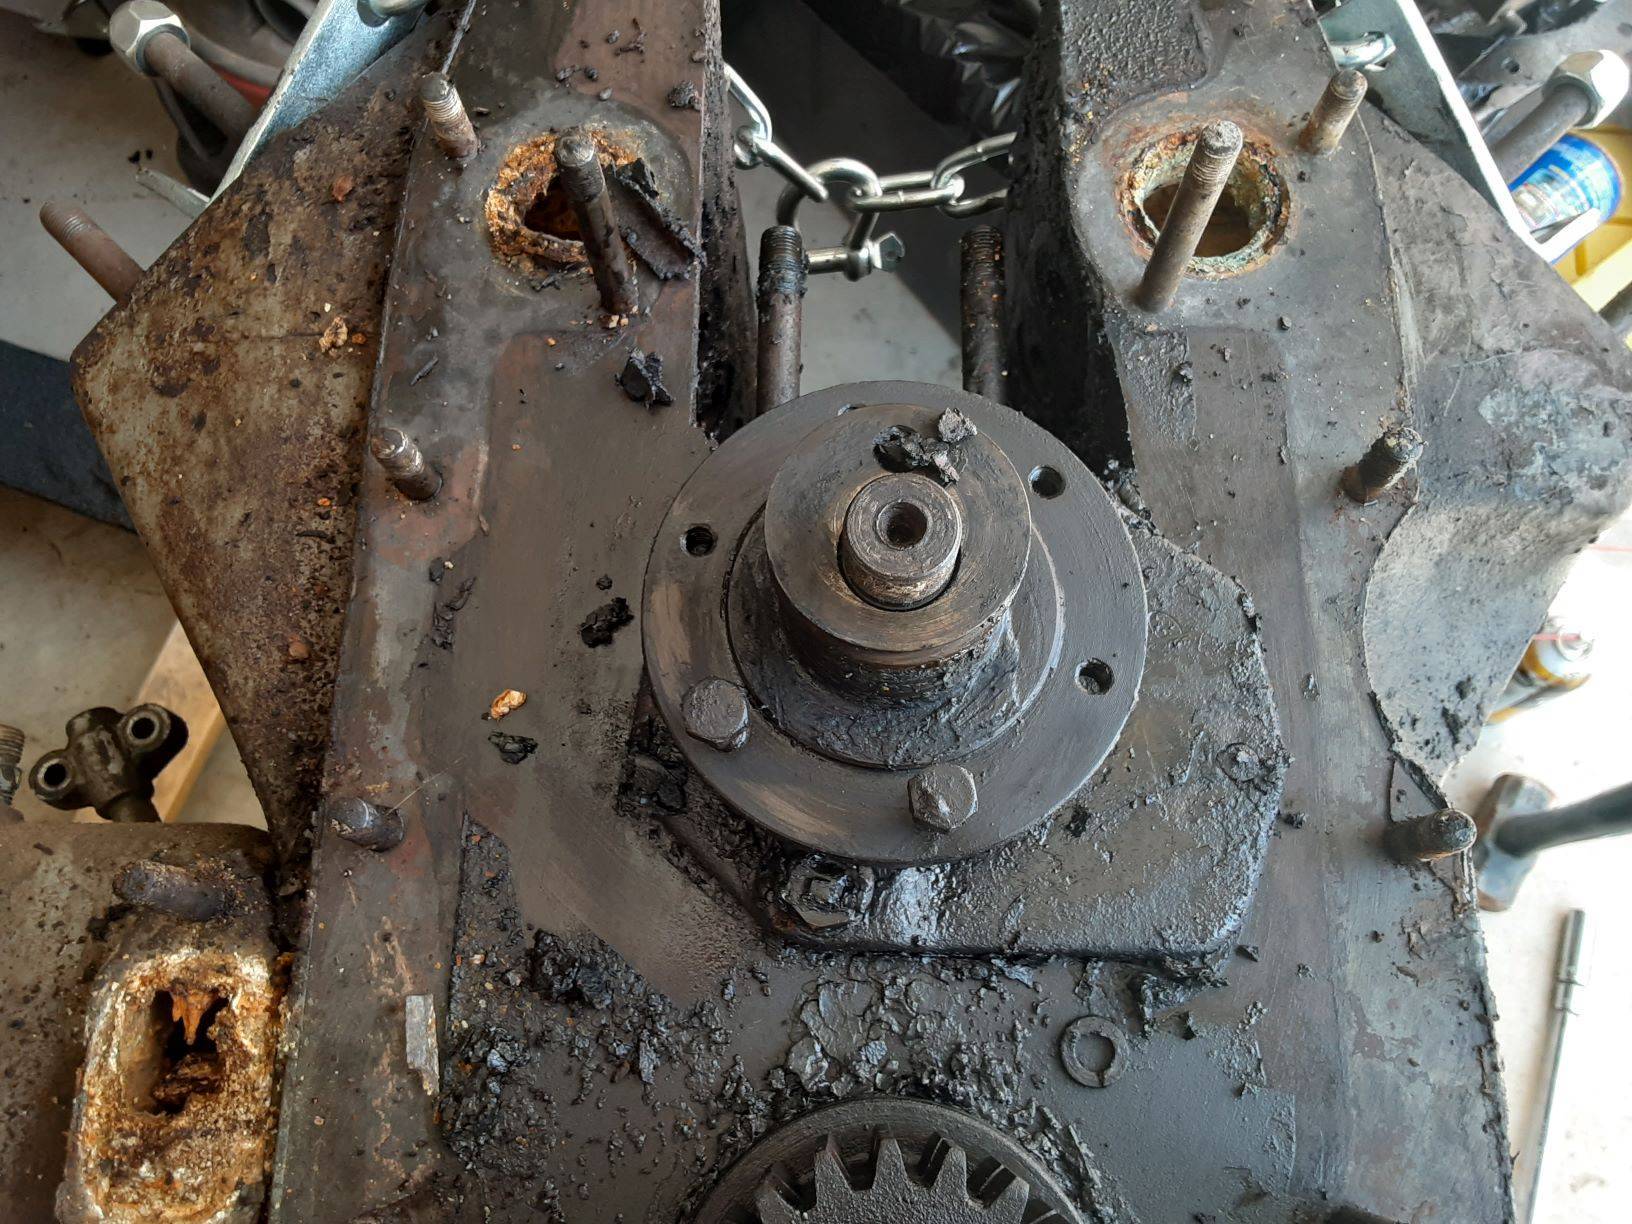
Posted on: 2020/3/1 13:52
|
|||
|
||||
|
Re: '38 1608 V12 Project
|
||||
|---|---|---|---|---|
|
Home away from home
|
I removed the front timing cover. Significant corrosion on the tubes to the block and behind the Water pump and the hose attachment. No surprises there. I will post pictures tomorrow.
One thing I found perplexing is the amount of slack in the timing chain. Are they prone to stretching? How are the replacements?
Posted on: 2020/2/29 21:47
|
|||
|
||||
|
Re: '38 1608 V12 Project
|
||||
|---|---|---|---|---|
|
Home away from home
|
Here is a side view.
Attach file: (240.02 KB)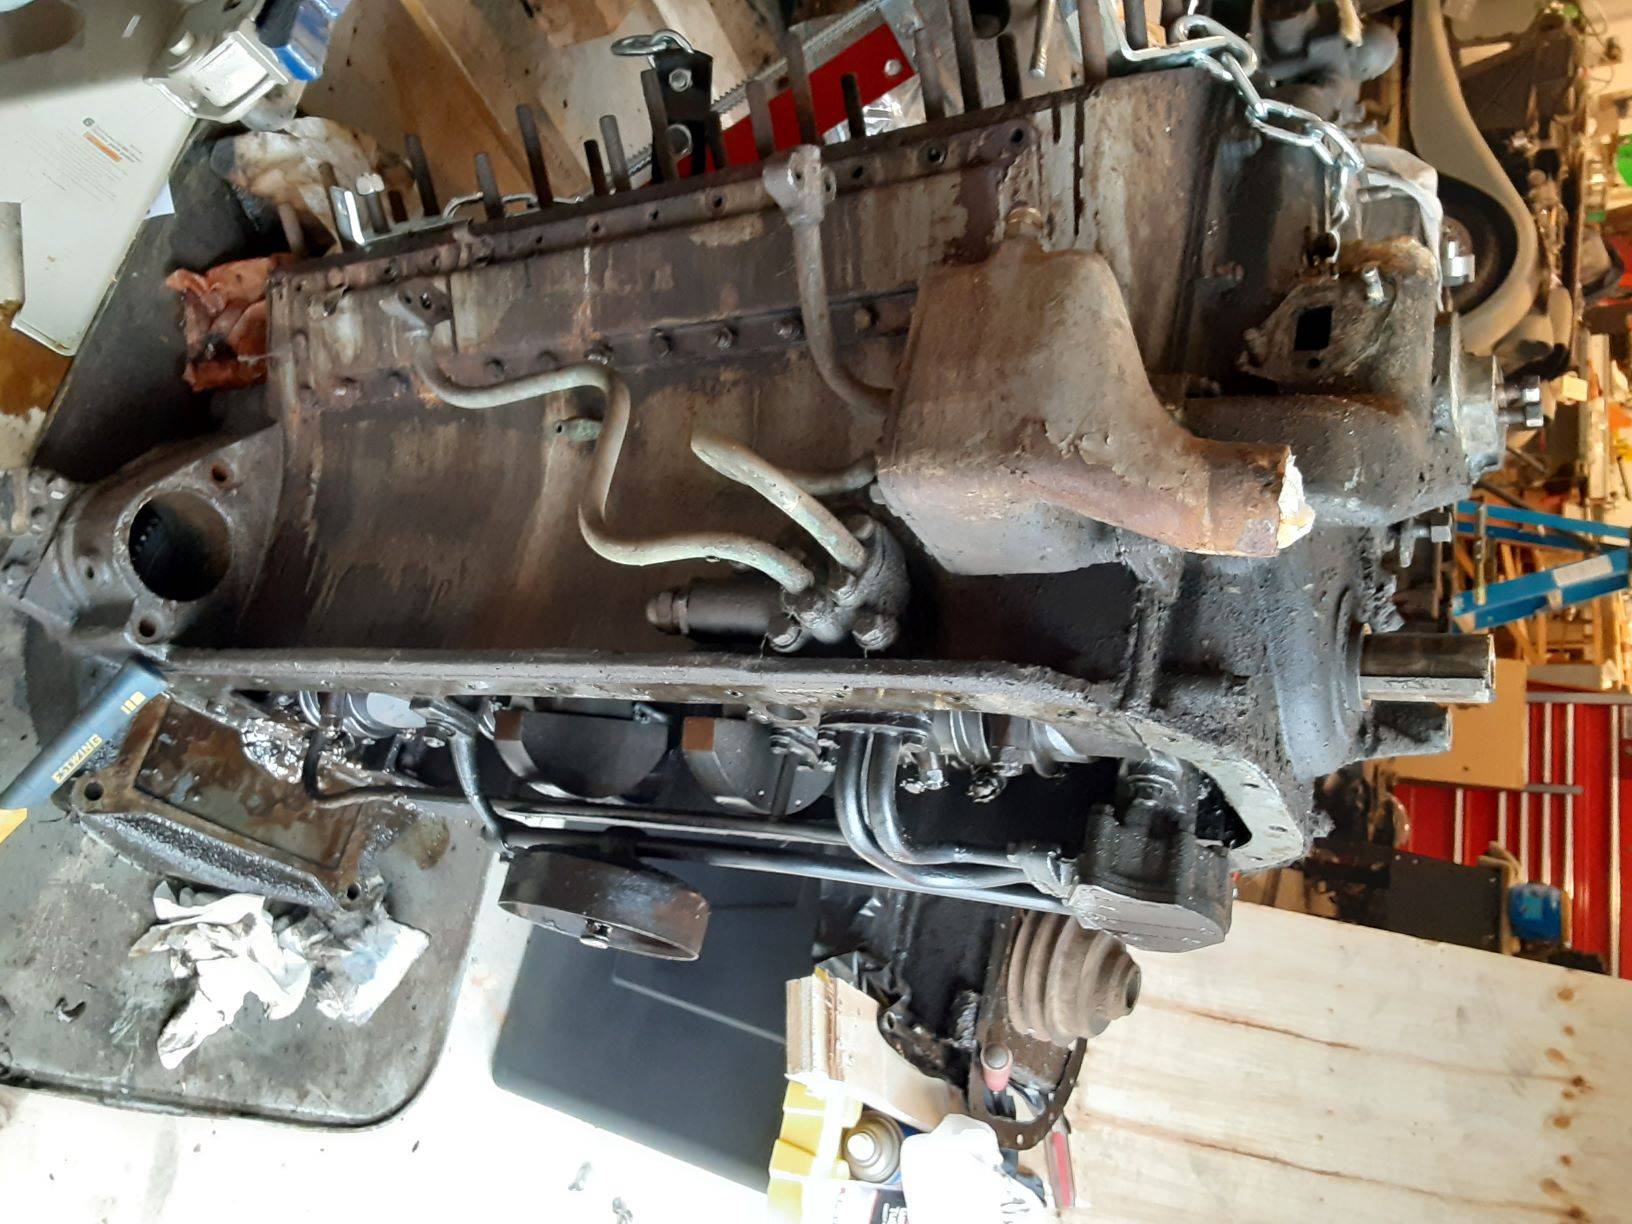
Posted on: 2020/2/23 17:04
|
|||
|
||||
|
Re: '38 1608 V12 Project
|
||||
|---|---|---|---|---|
|
Home away from home
|
Sat it on the bellhousing end after removing the studs and removed the pan. Lot of sludge in the pan but the upper crankcase looked pristine. This photo is to reference the oiling system.
Attach file: (257.75 KB)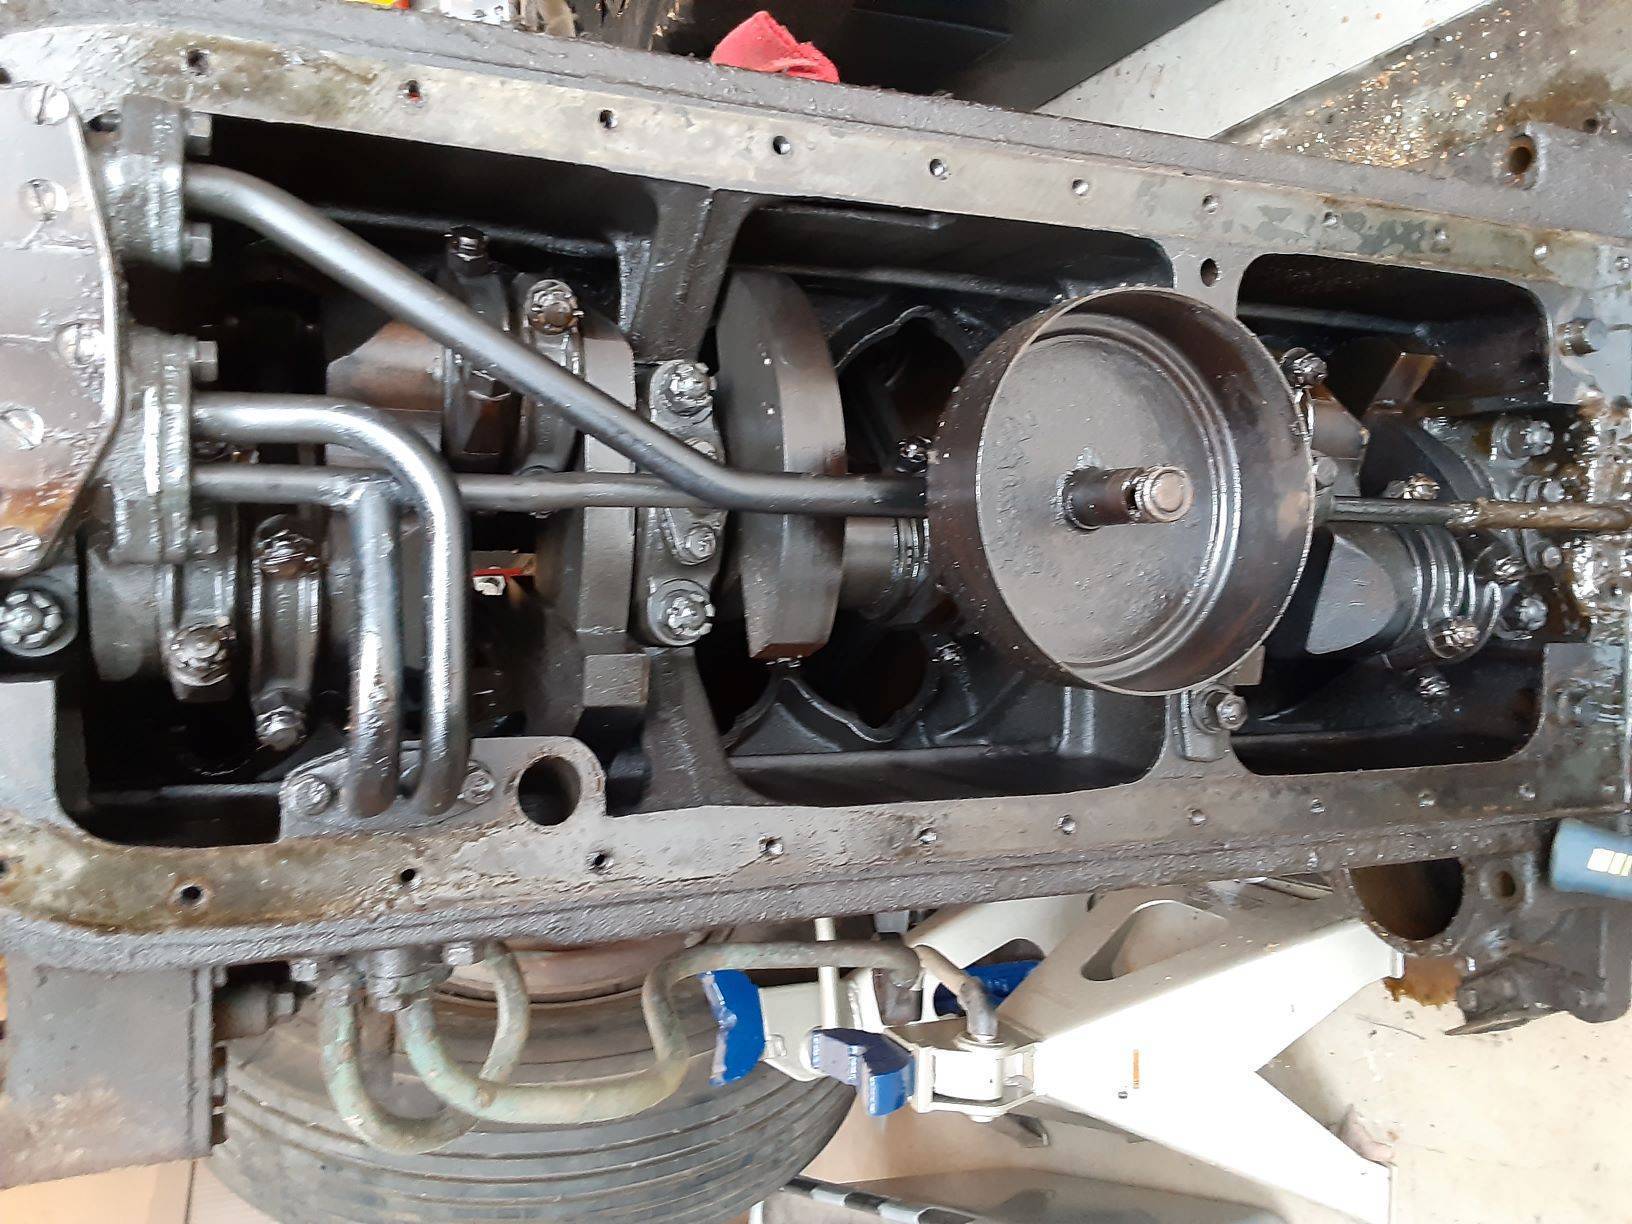
Posted on: 2020/2/23 17:03
|
|||
|
||||
|
Re: '38 1608 V12 Project
|
||||
|---|---|---|---|---|
|
Home away from home
|
Another engine bay view. I had to remove the bolts and move the steering box to get clearance. Pulled it straight out the front.
Attach file: (198.53 KB)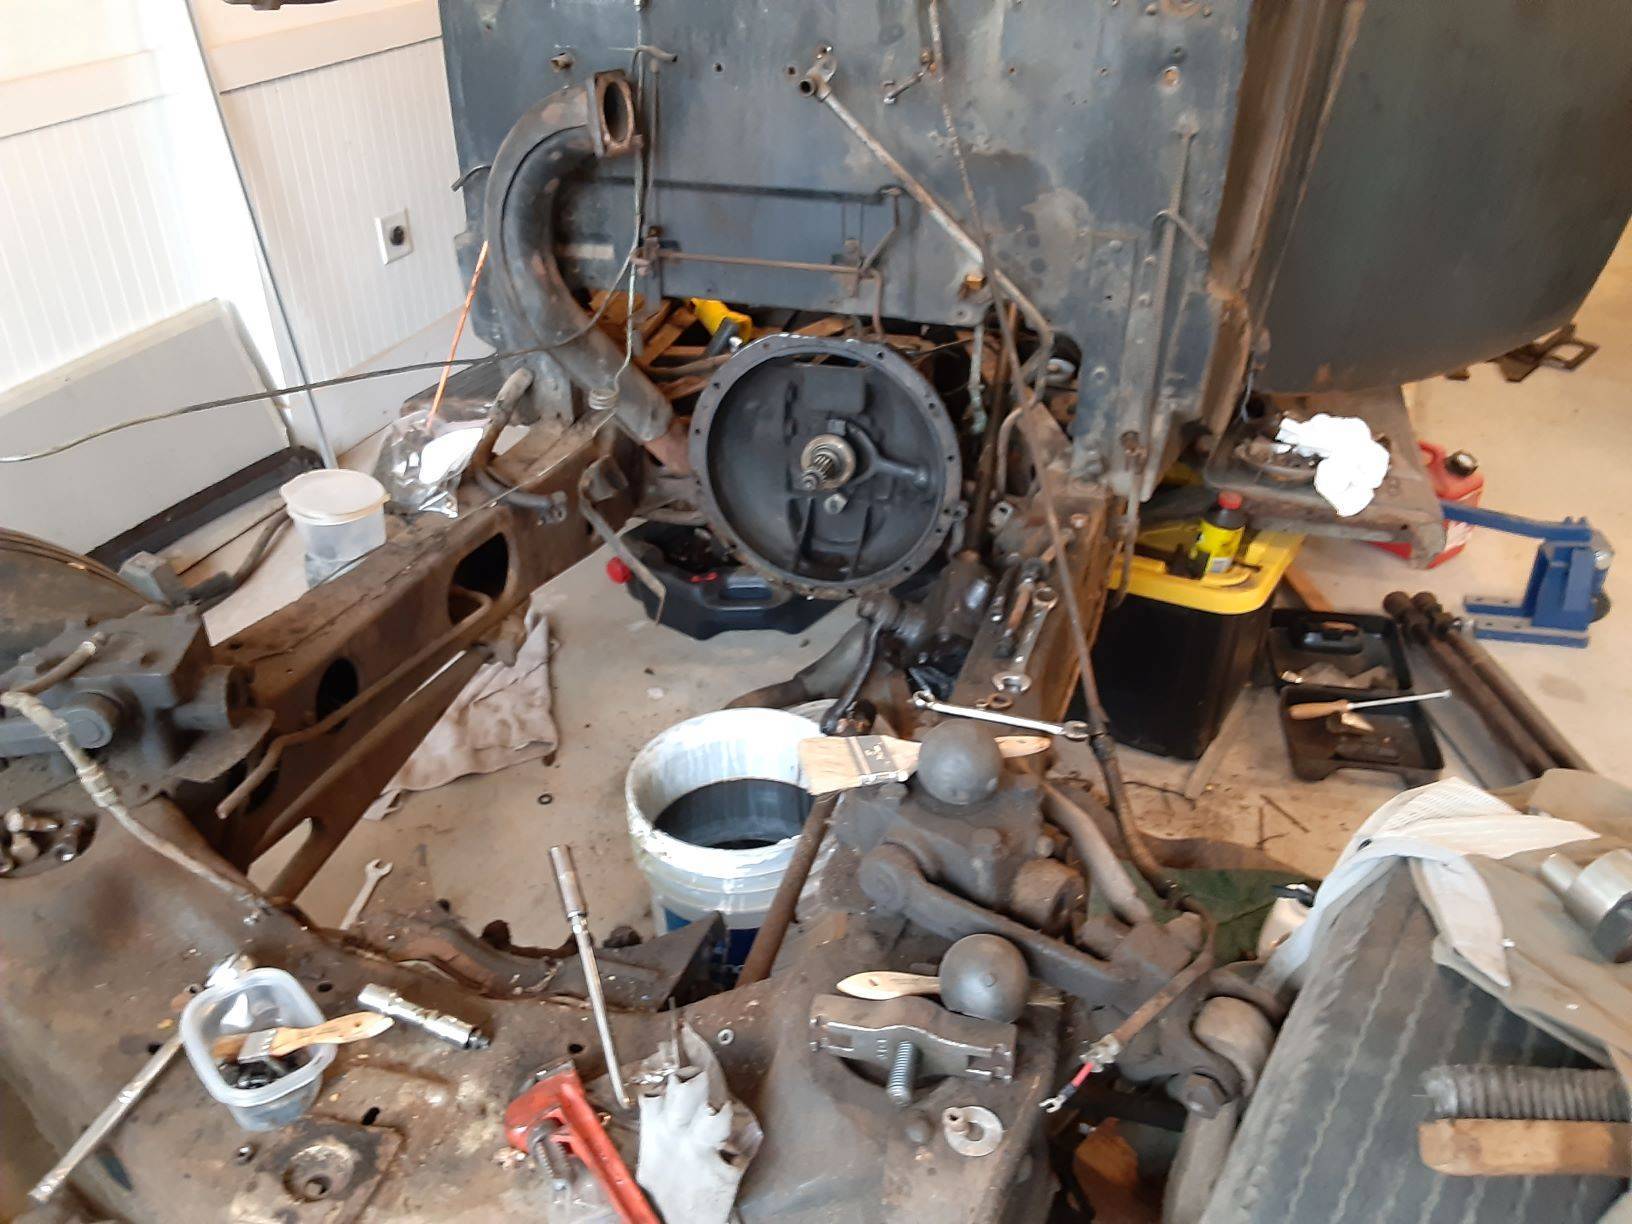
Posted on: 2020/2/23 16:59
|
|||
|
||||


