|
Re: BigKev's 1937 115-C Convertible Coupe
|
||||
|---|---|---|---|---|
|
Home away from home
|
Kevin,
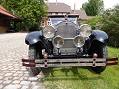
this engine has a very heavy cast block as you know. All Jaguar 6 cylinders maintain temperature quite well under normal driving conditions. And as long as there is enough air pressure to dissipate the heat in the engine compartment. Because that is the real problem and not the cooling of the water. When this engine is working under load and in summer temperatures, the block and cast manifold certainly heat up. Also the heated 4 Gal. Engine oil doesn't make this situation any better. If the air cannot be removed from the engine compartment quickly enough in this condition, overheating cannot be avoided. Especially when, after a fast journey, the car has to slow down, stop and go... or even stop. That's why almost all owners of such vehicles (XK 120...3.5 liters, 140, 150...3.8 liters, MK2...3.8 liters up to XJ4...4.2 liters) usually have an electric fan installed like "kevinpackard" it showed in your blog. And yes, the engine compartment in your Packard has a larger volume and additional ventilation slots that the Jaguar vehicles do not have. But still I am sure that the very high heat that this engine gives off with the shortened fan blades You want to use... cannot be drained out of the engine compartment. In your case, I would try to lead the lower water connection downwards out of the water tank of the radiator and thus make it possible to close the large wing of the 3.8 liter engine (XK 150). Mount it. Or first try with the sucking electric fan inside. It would also be clarified whether the smaller wedge disk can also be mounted on the water pump. You have a number of good suppliers for these Jaguar vehicles in the USA. In 10 years I will I have rebuilt 5 of these engines and vehicles and know the strengths and weaknesses of these model types very well. I drove my Frame OFF restored XK 140 for five years without any problems and with a lot of fun. By the way, I bought it in Hershey in 1995 with only one previous owner and in original condition, but rusted through in all the usual places. But all the original parts were there. Karl Attach file:  JagXK140.jpg (335.41 KB) JagXK140.jpg (335.41 KB)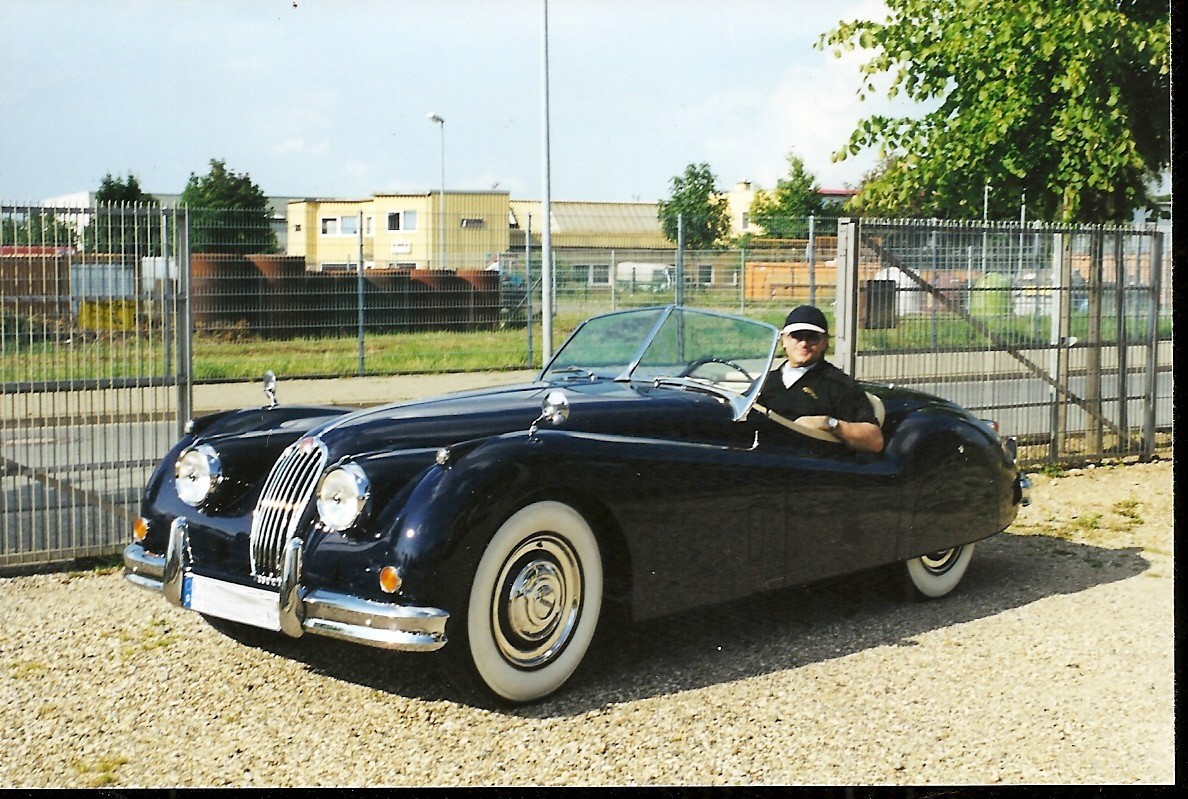 IMG_20240112_0003.jpg (1,819.99 KB) IMG_20240112_0003.jpg (1,819.99 KB)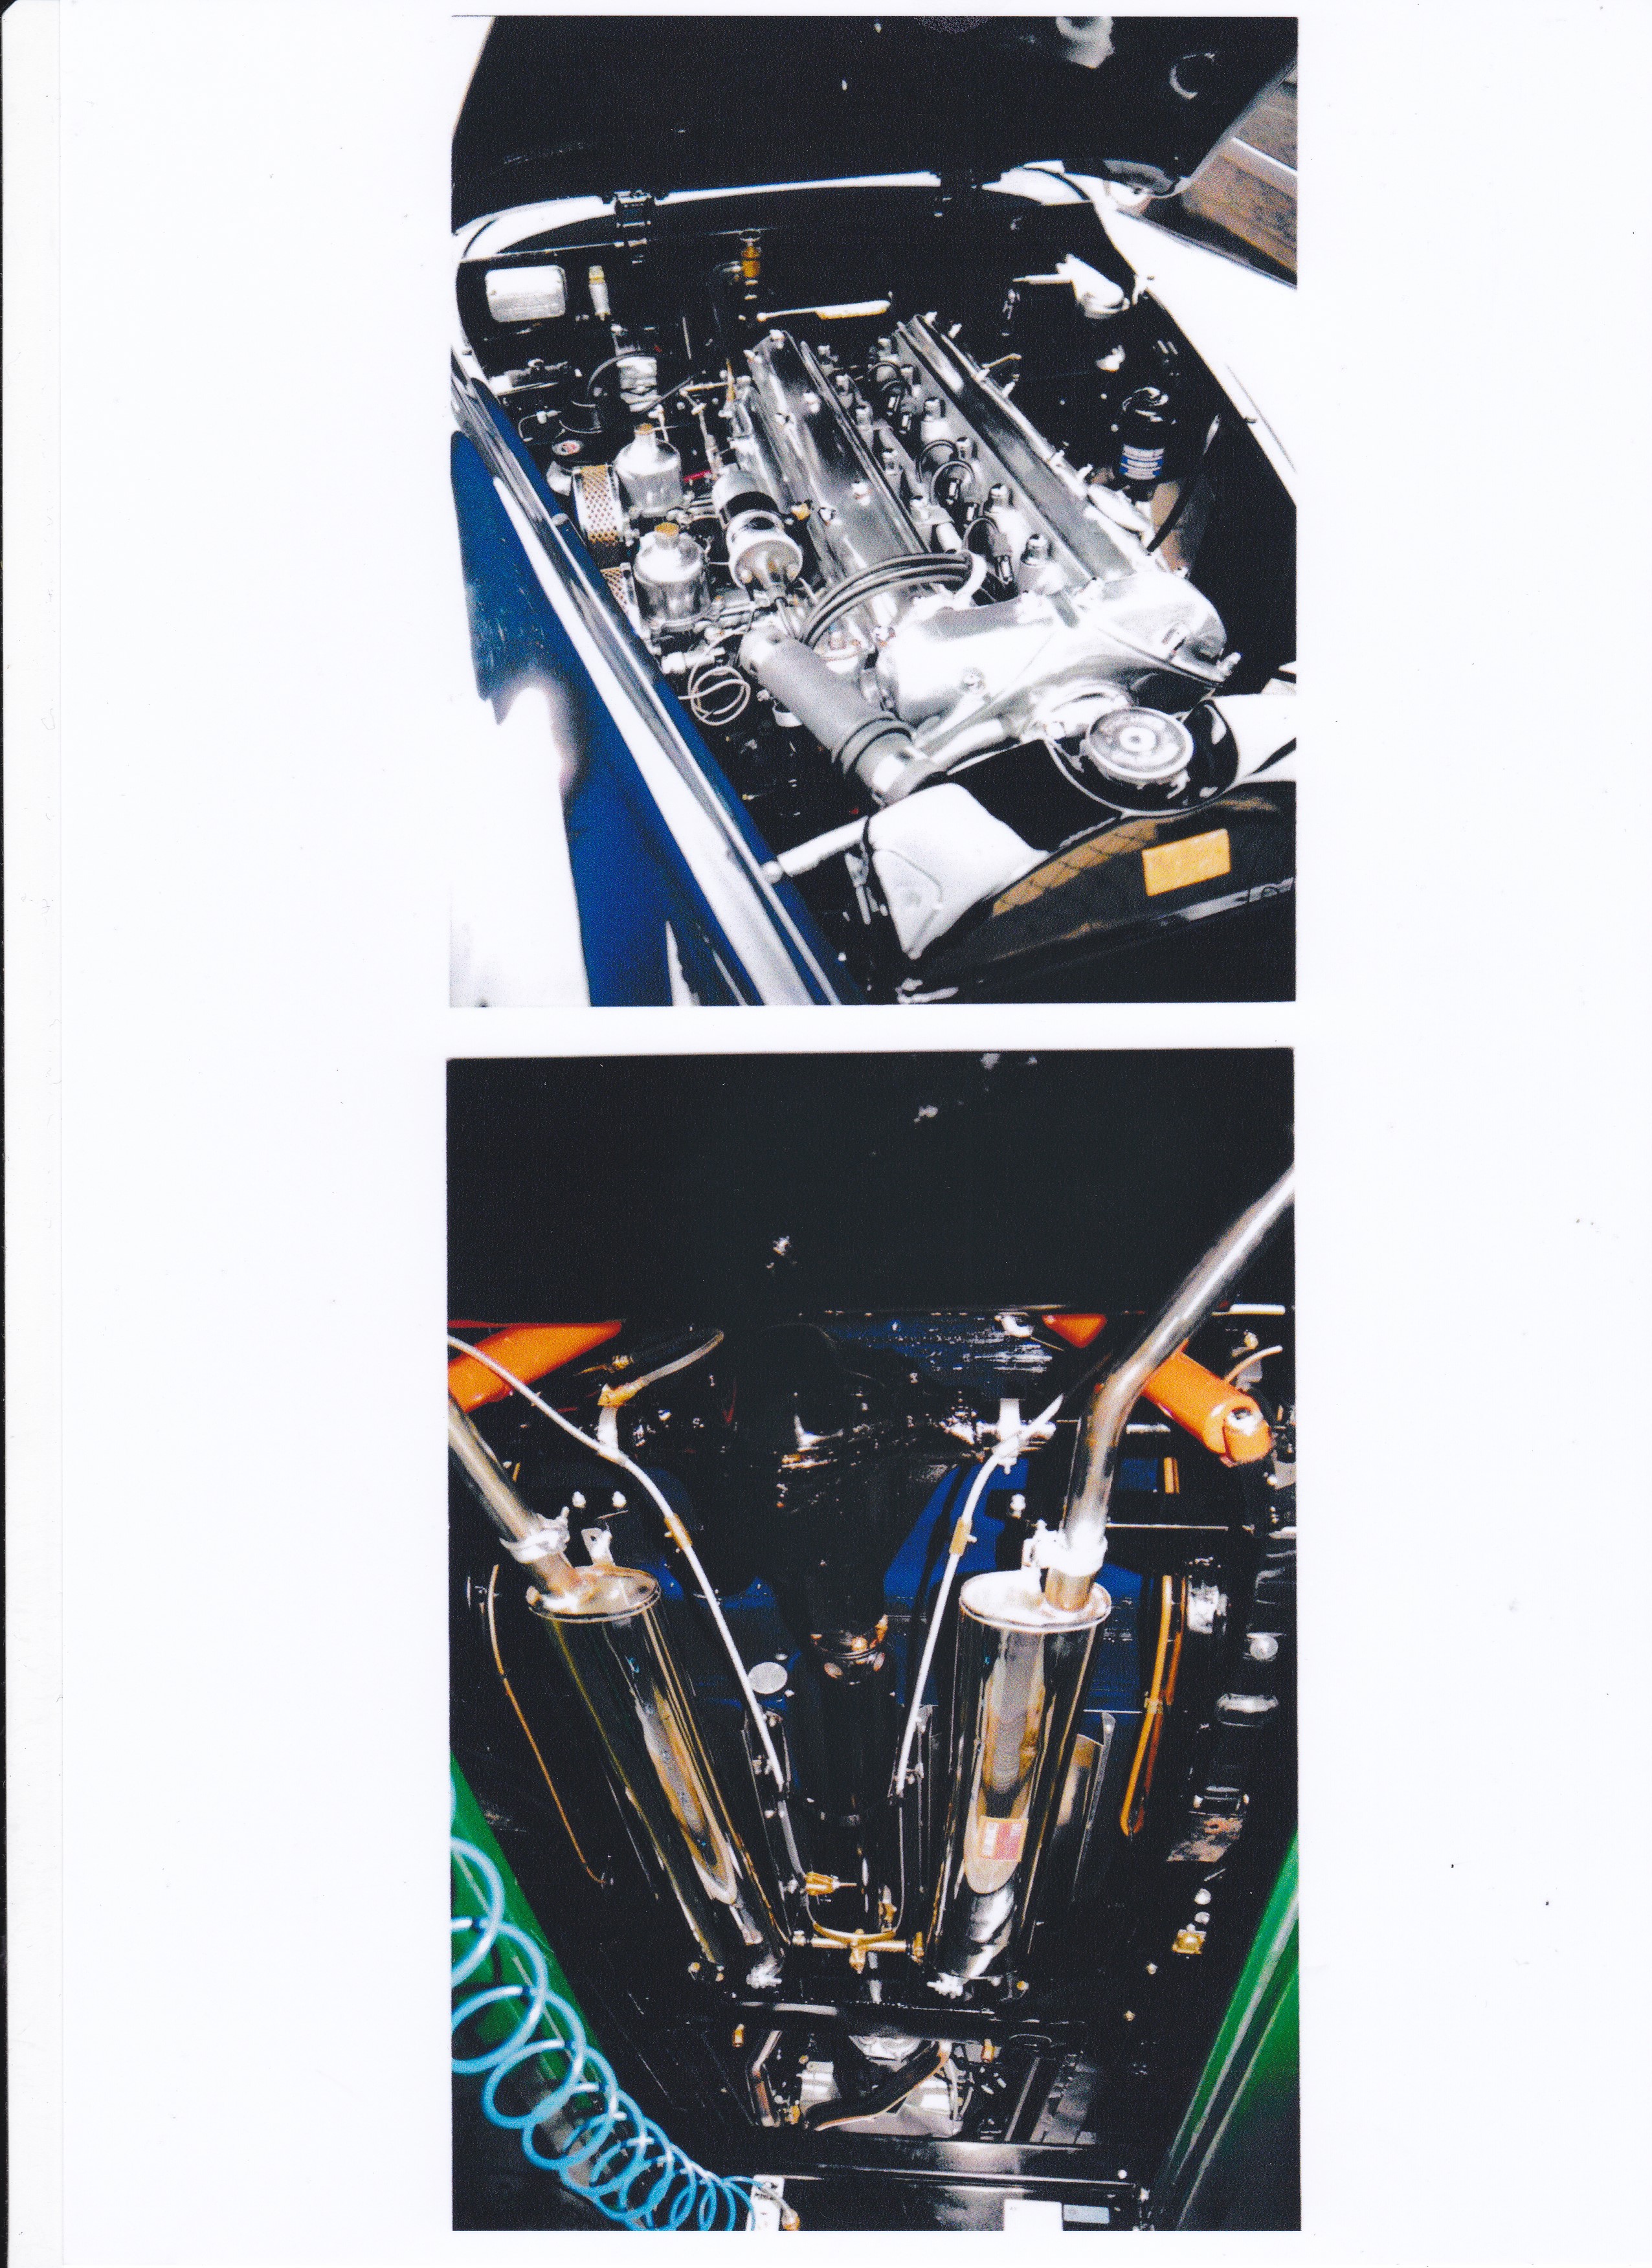
Posted on: 1/12 16:24
|
|||
|
||||
|
Re: BigKev's 1937 115-C Convertible Coupe
|
||||
|---|---|---|---|---|
|
Home away from home
|
Hi Kevin,
You wrote that you let the engine run for half an hour with the shortened fan blades and didn't notice any problematic temperature increase. Was the engine running at idle speed? Karl
Posted on: 1/12 13:17
|
|||
|
||||
|
Re: 1924 Sport 136
|
||||
|---|---|---|---|---|
|
Home away from home
|
The door locks were stiff. Decades of dirt and rust prevent the striker from being easily moved. The springs on the striker were so strong that the doors had to be slammed shut to close the doors. I disassembled the lock cases and blasted the parts with glass dust. After blasting, I brushed all parts with a special brush with very fine wires (OSBORN company). These brushes (diameter ~ 80mm) will be used industrially for brushing freshly manufactured aluminum rims. These brushes do not produce sparks and are therefore approved for this industrial work. They're not cheap. As it turned out, all cast metal parts can be brought into an optical condition after blasting that makes them appear as if they were freshly cast. This applies to aluminum, zinc, bronze but also blasted steel parts. It looks particularly good on carburettor housings (pott-cast or bronze). (To be seen later in the photos of the carburettor restoration). I also tried stainless steel brushes, brass brushes and fine steel brushes. None achieve a result like these OSBORN brushes. I had two weaker versions of the spiral spring that was much too strong made. One of them then let the doors slam shut with the “Packard typical” “.. click.. click” that I wanted. The visible parts of the lock box are polished. All other parts brushed and then nickel plated everything together. Here, too, I later use stainless steel screws for fastening, the heads of which I polish in the visible area. Polished stainless steel parts match the color of nickel-plated parts very well. Their color is more “yellowish” like nickel than “bluish” like chrome. This also saves me the endless search for the right nickel-plated or chrome-plated screws. After assembly, the previously riveted lock boxes can either be soldered with silver solder or, after appropriate preparatory work, they can be screwed together with countersunk screws. I had the door handles cast in brass (nickel-plated) according to the sample that I made myself and presented to the manufacturer.
Attach file: k-P1030795.JPG (149.46 KB)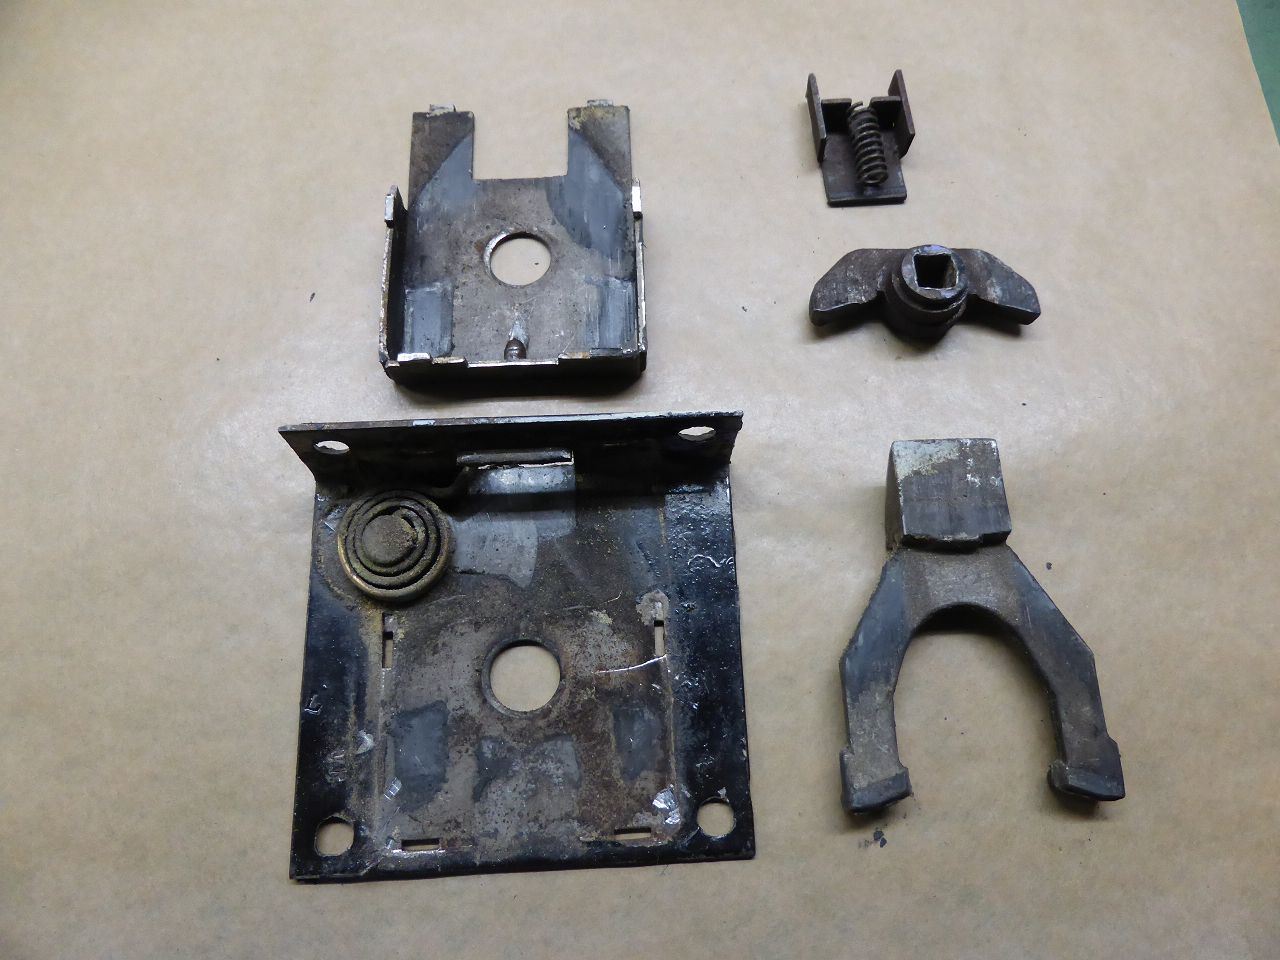 k-P1040273.JPG (83.61 KB) k-P1040273.JPG (83.61 KB) k-P1040275 - Kopie.JPG (87.93 KB) k-P1040275 - Kopie.JPG (87.93 KB)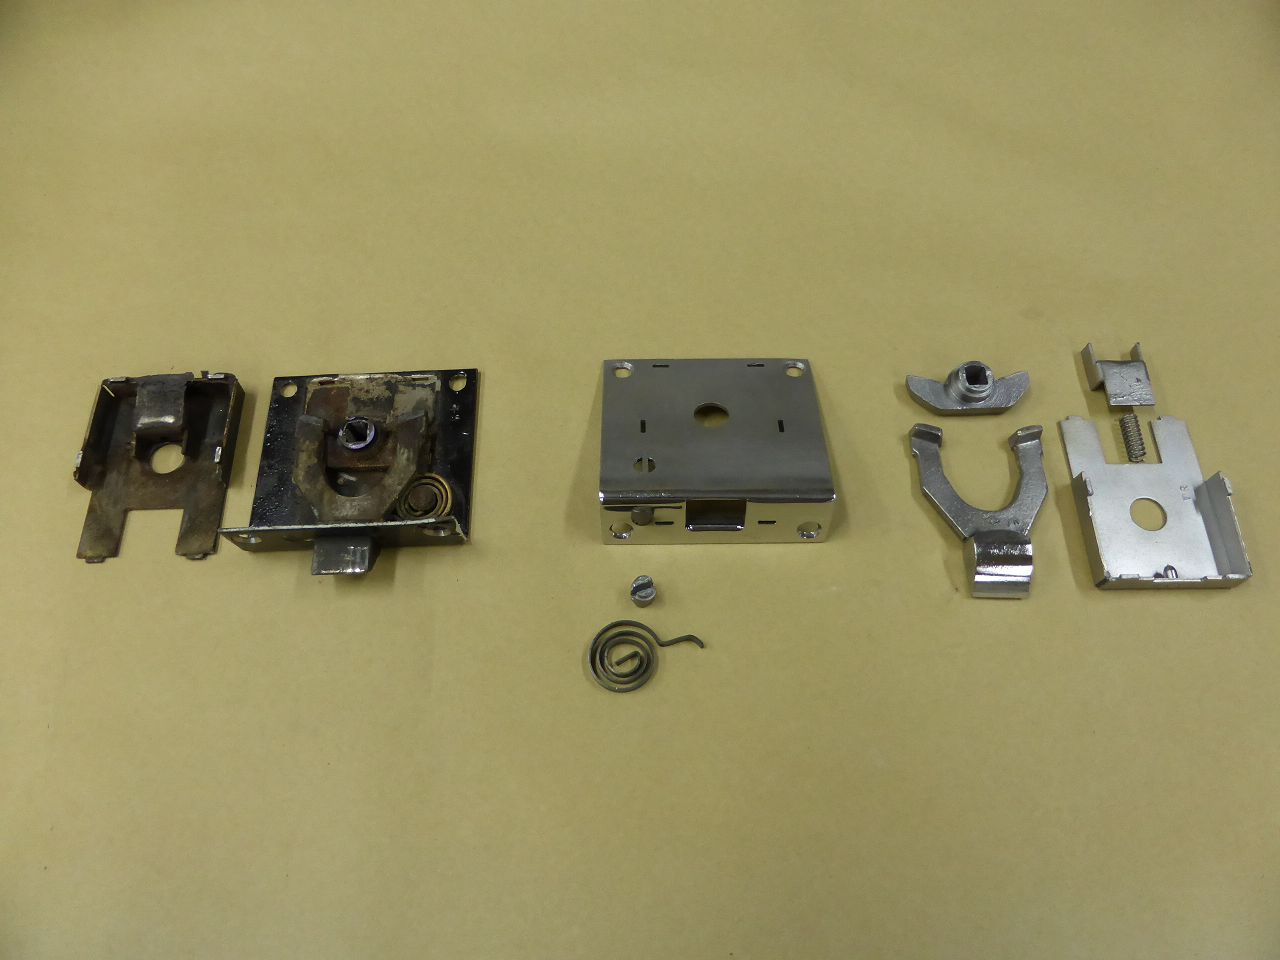 k-k-P1030017.JPG (82.28 KB) k-k-P1030017.JPG (82.28 KB)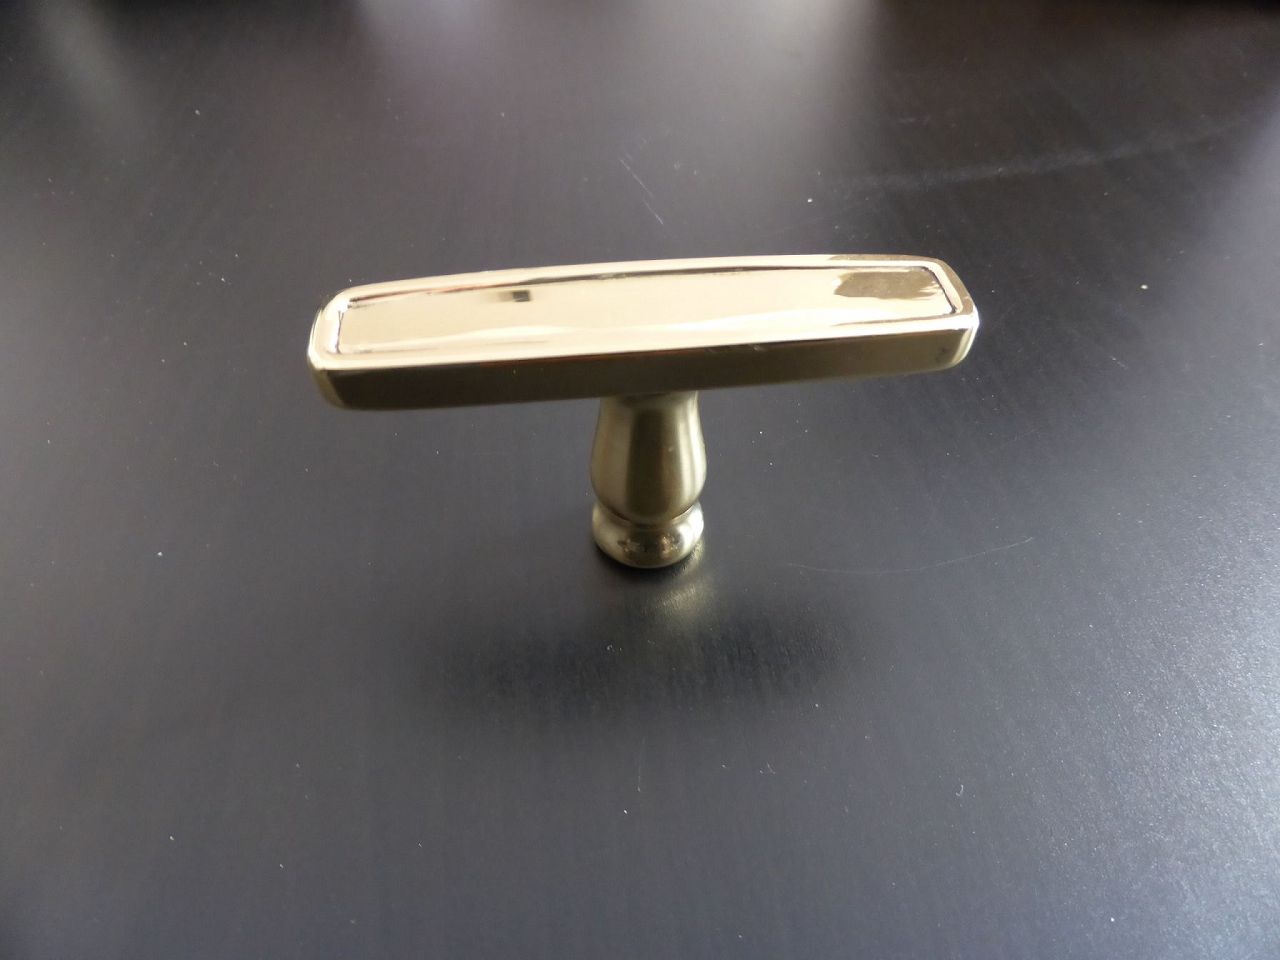
Posted on: 1/12 8:31
|
|||
|
||||
|
Re: 1924 Sport 136
|
||||
|---|---|---|---|---|
|
Home away from home
|
Hi W. Peterson,
Thank you very much for your kind advice about the opportunity to save time. If I were still in the US I would certainly heed your advice. But on the one hand, it is part of my restoration philosophy to find all the solutions to missing parts myself, as far as possible. I just enjoy it. And this has been the case for over 45 years. On the other hand...please imagine you were restoring a 100-year-old German car and hardly had sufficient German language skills, especially not in the technical area. With these requirements you would then call here in Germany to try to order them from a dealer who offers parts online. But because he hardly understands anything you're saying, he simply hangs up because he doesn't want to waste a lot of time in such conversations. Or he says he doesn't ship outside Europe. Or the profit he could make is disproportionate to the effort he would have to make. This happened to me a few times when I started restoring my Packard. And there are still dealers in the USA today who do not supply customers in Europe. I was all the more grateful when I received help in solving such problems from Australia, of all places. And was that surprising to me after a few years in the USA? … not really …. But there is a lot of help from Australia. Incidentally, I already knew what Twin Sixx offers and wrote something about it in my introductory text. And I also contacted Bruce about another questions. But thank you again for this kind note. Karl
Posted on: 1/10 11:55
|
|||
|
||||
|
Re: 1924 Sport 136
|
||||
|---|---|---|---|---|
|
Home away from home
|
Detail work on the Body
“Door Stops” The original shape of the door stop timbers was damaged on all 4 doors. Some of the protruding wooden parts into which, for example, the door guide parts or the rubber stop are inserted, had some of the wood broken out or was completely missing. Accordingly, the metal fittings were either missing or had been replaced by wrong parts from other cars in order to be able to close the doors at all. The broken wooden parts were recreated from ash wood. Since some of the parts are small, it is not enough to simply replace them with glue. In any case, they should also be pegged sufficiently deep into the old wood using metal or wooden pins. I recreated the missing brass fittings. I made some tools with which I could press the parts into shape. After edging the brass and sheet metal parts, I closed the remaining open slots with silver solder. I know that the larger brass door guide covers can be purchased as replicas. The problem with these parts is that they don’t fit exactly into the existing mounts. Most of the time these have to be adjusted first. In addition, I don't want to pay the prices quoted for them if I still have to rework them anyway. All parts are nickel-plated. For screws I use stainless steel screws whose heads I polish. The color of the stainless-steel heads then matches the nickel very well. When using stainless steel wood screws in solid wood such as ash, oak or beech, be sure to pre-drill. Smaller screw diameters cannot tolerate high torque and tend to tear off. Karl Attach file: k-P1030788.JPG (110.70 KB)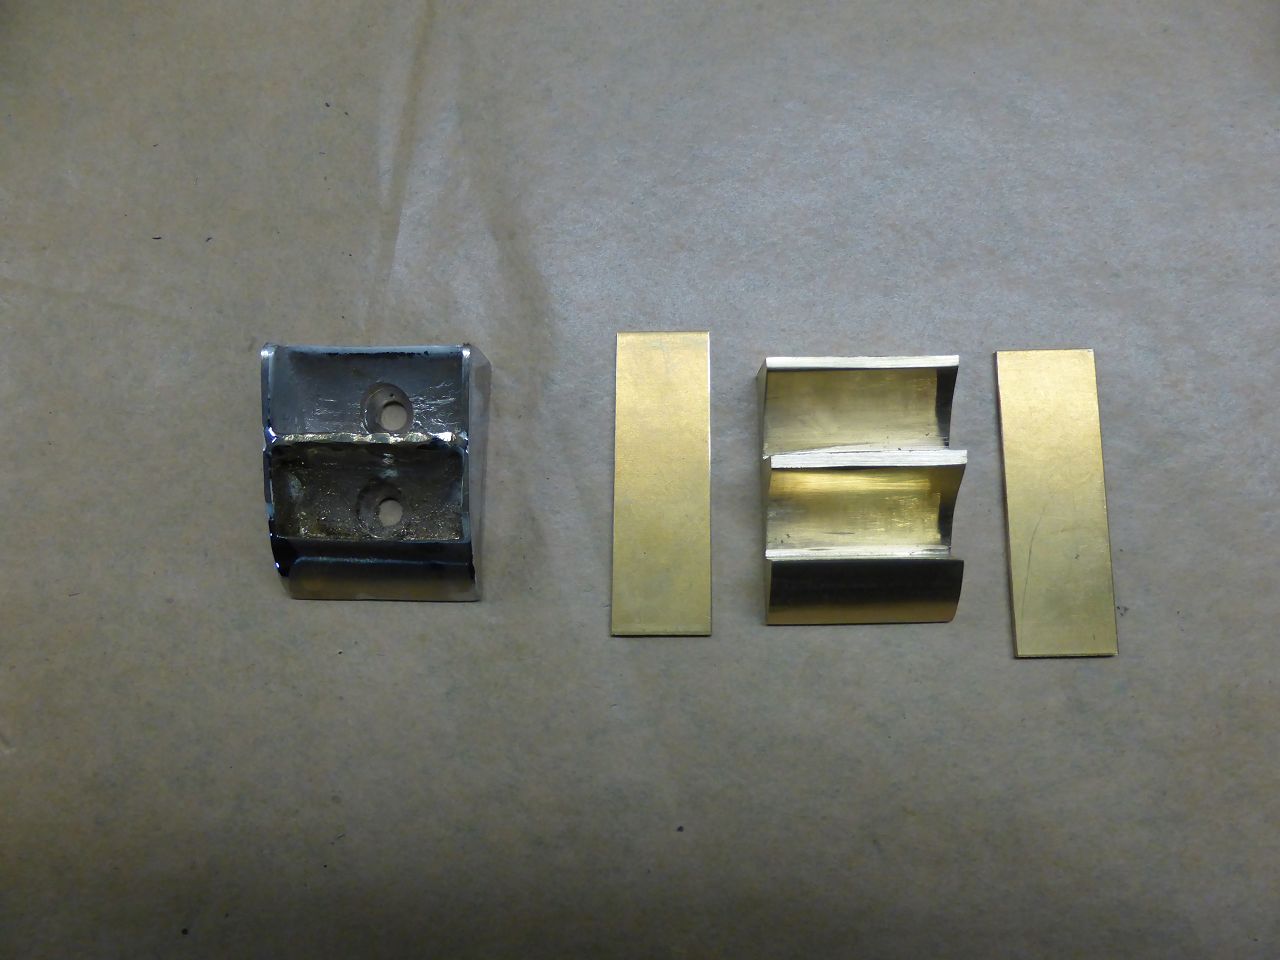 k-P1030789.JPG (128.92 KB) k-P1030789.JPG (128.92 KB)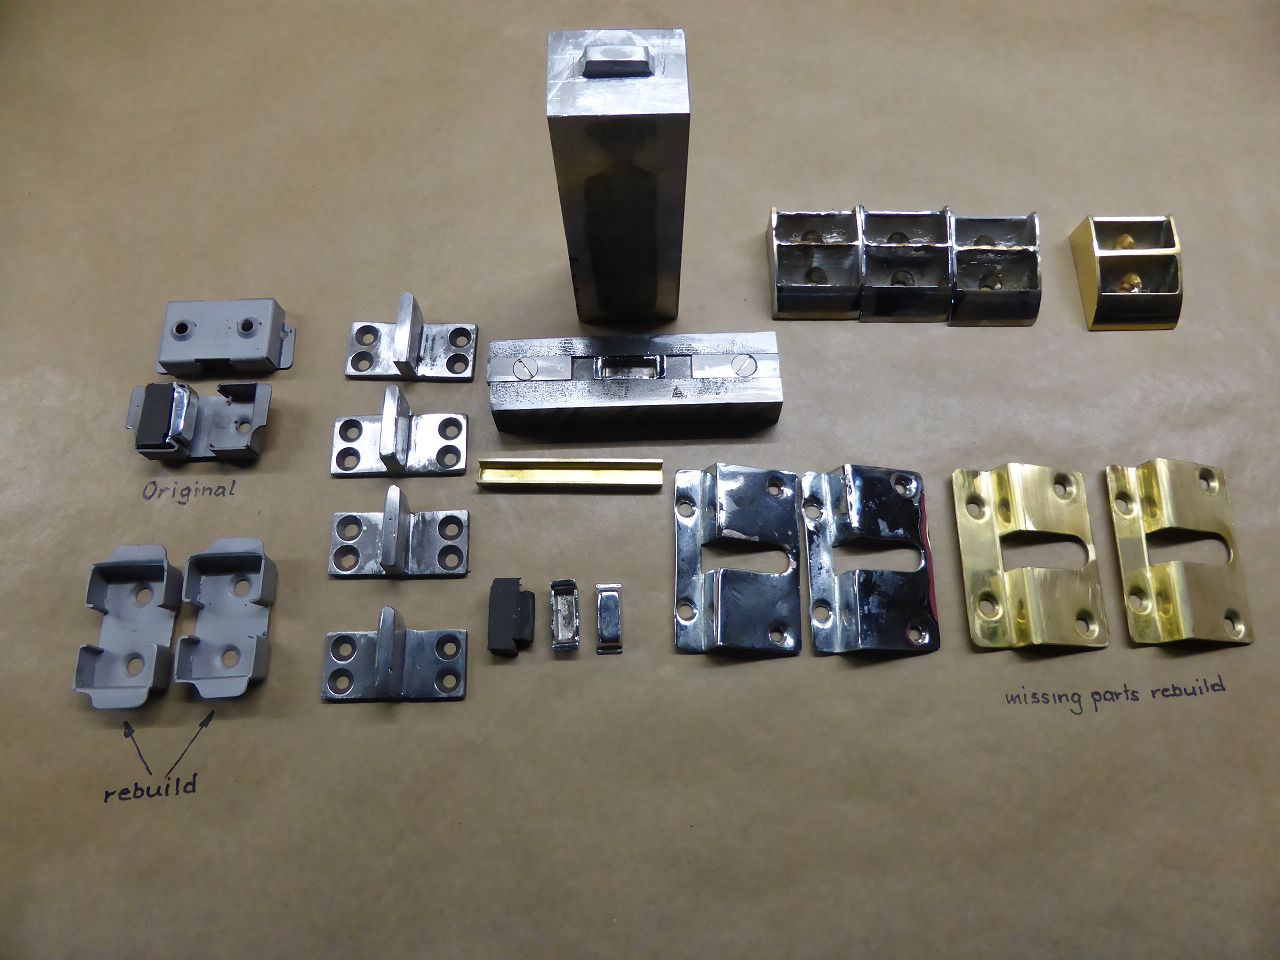 k-P1030790.JPG (126.24 KB) k-P1030790.JPG (126.24 KB)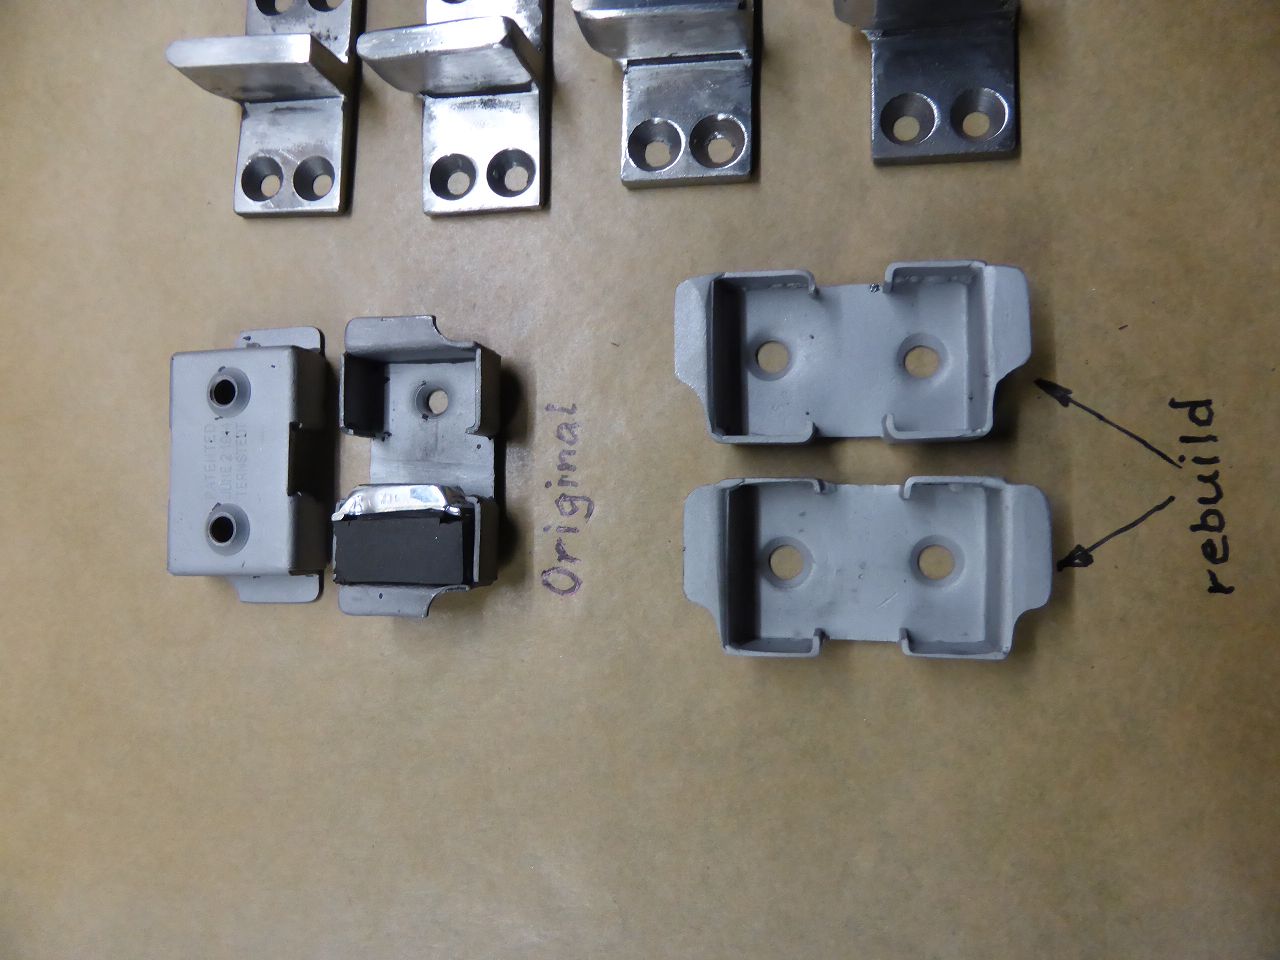 k-P1030796.JPG (144.04 KB) k-P1030796.JPG (144.04 KB)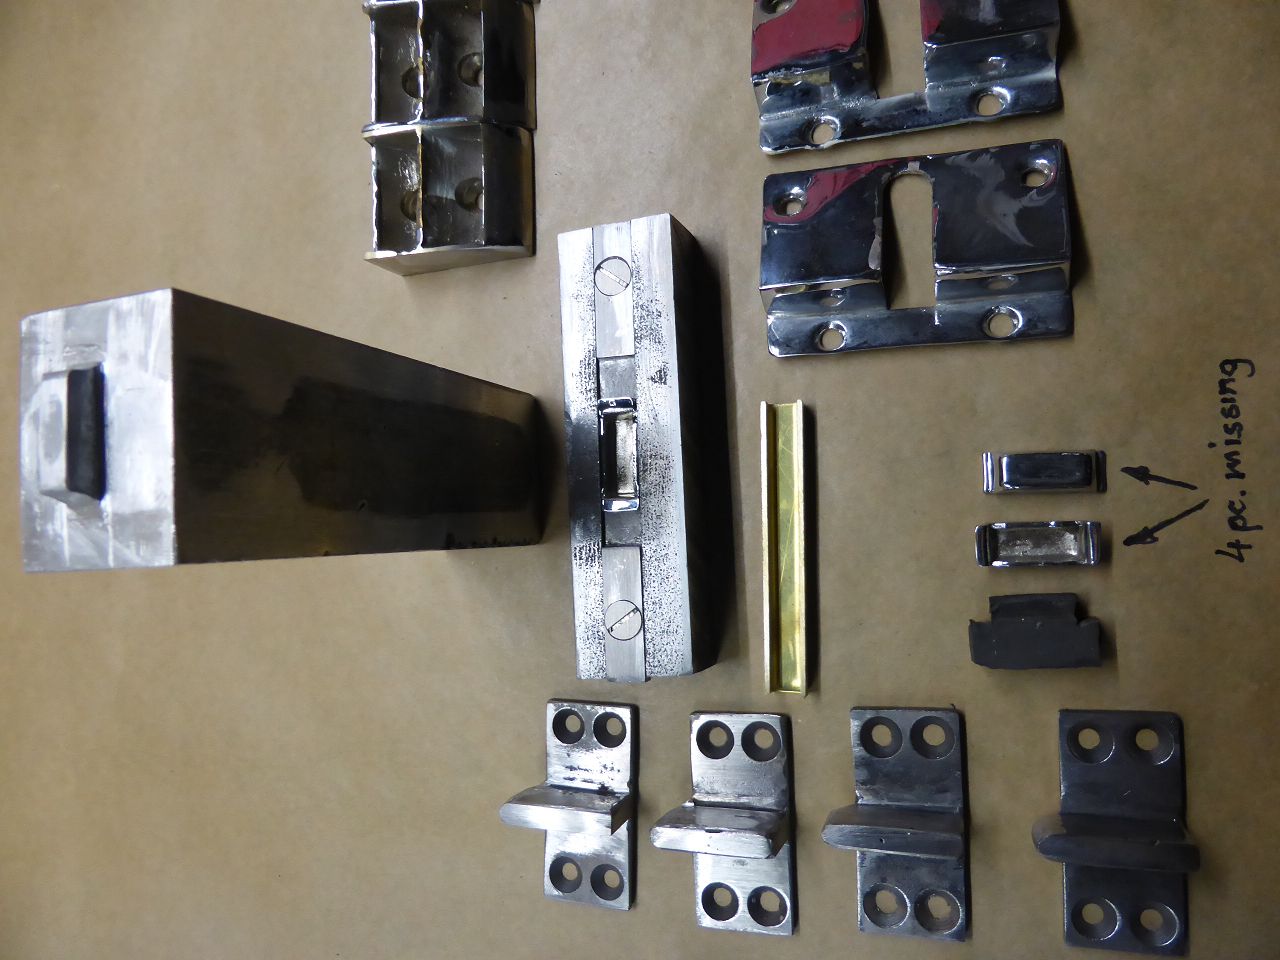 k-P1030797.JPG (137.14 KB) k-P1030797.JPG (137.14 KB)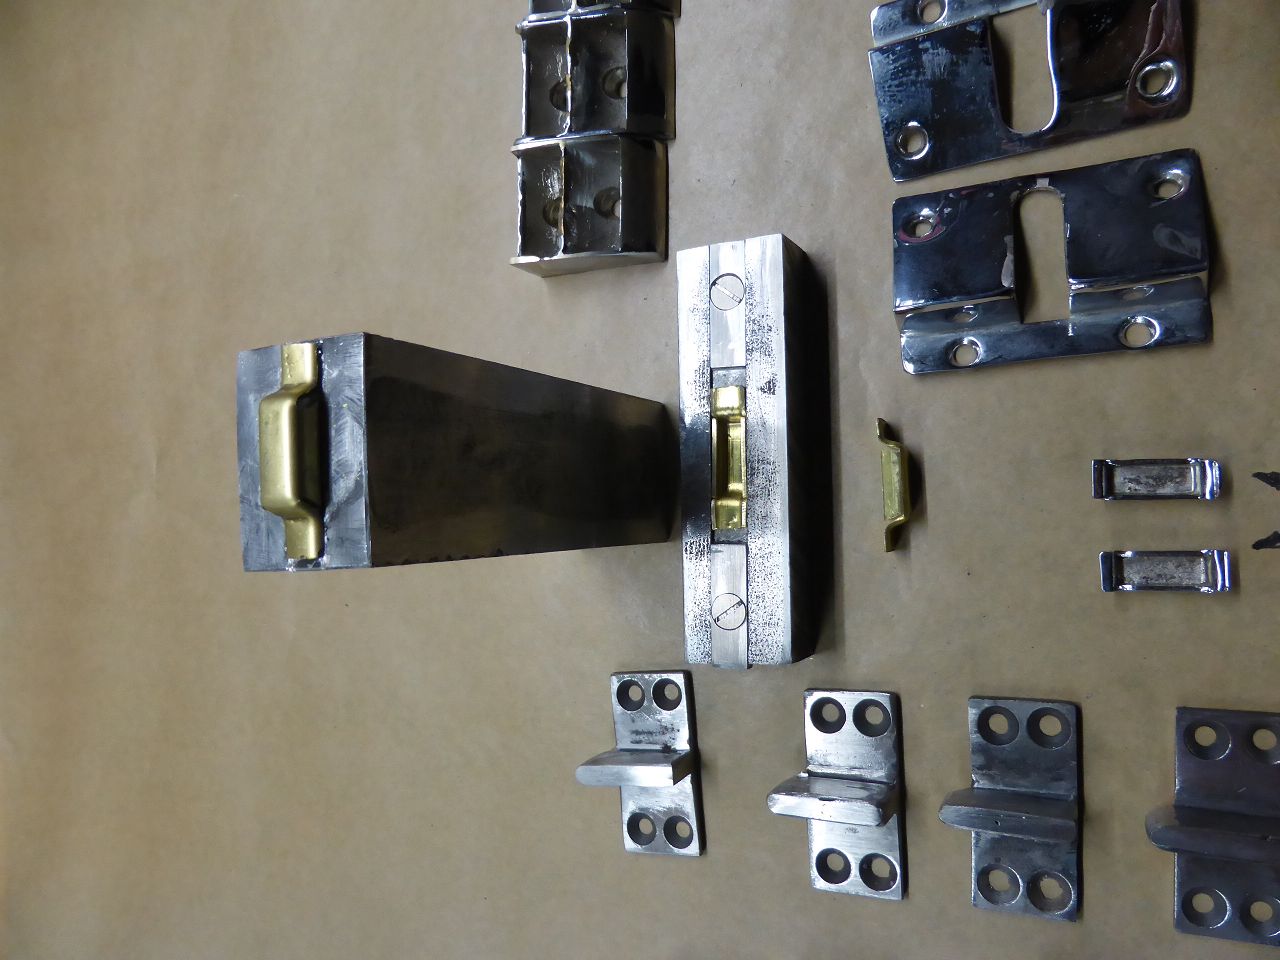 k-P1030820.JPG (122.10 KB) k-P1030820.JPG (122.10 KB)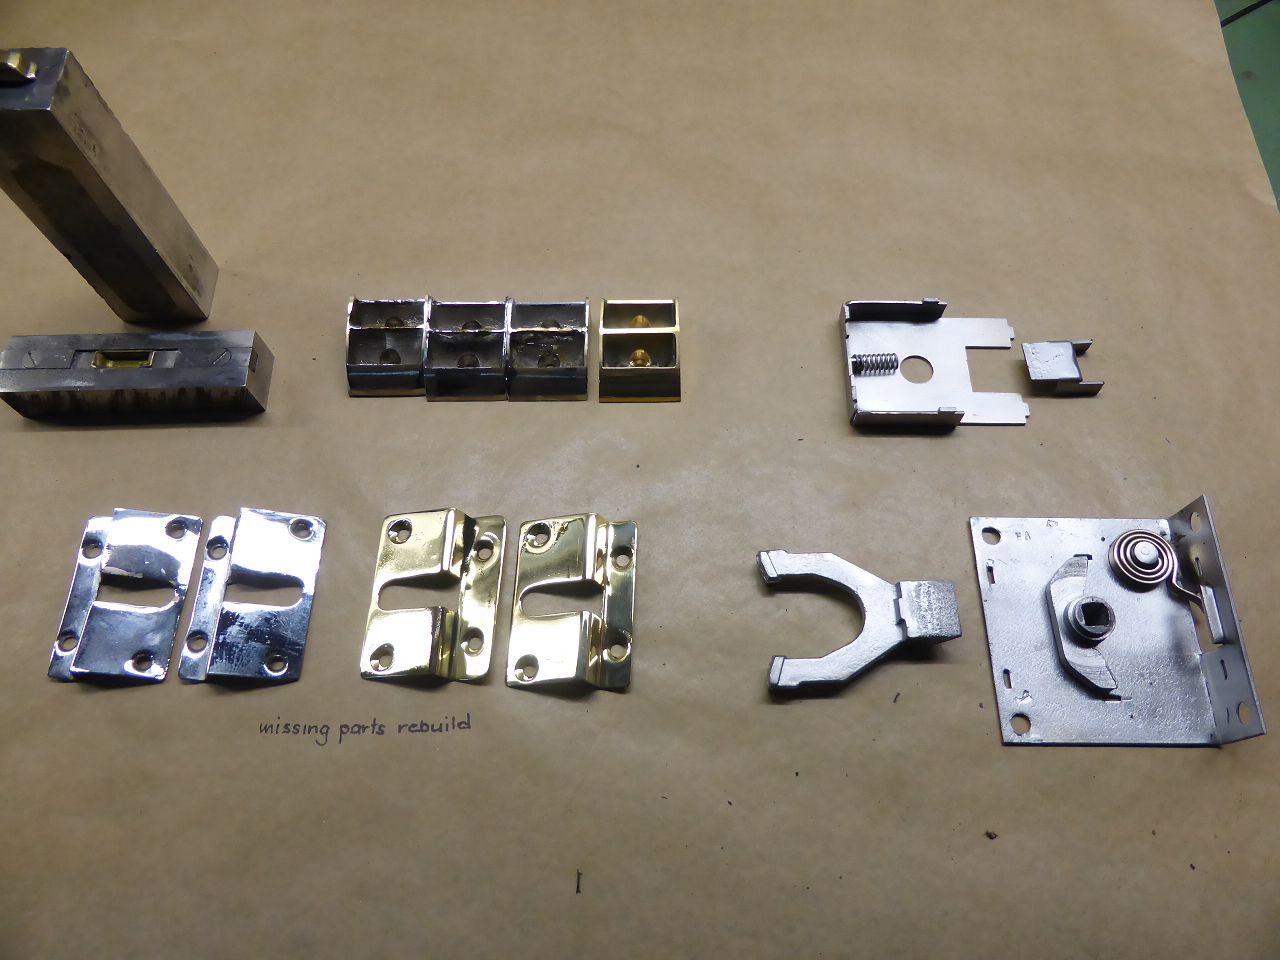 k-P1030929.JPG (89.02 KB) k-P1030929.JPG (89.02 KB)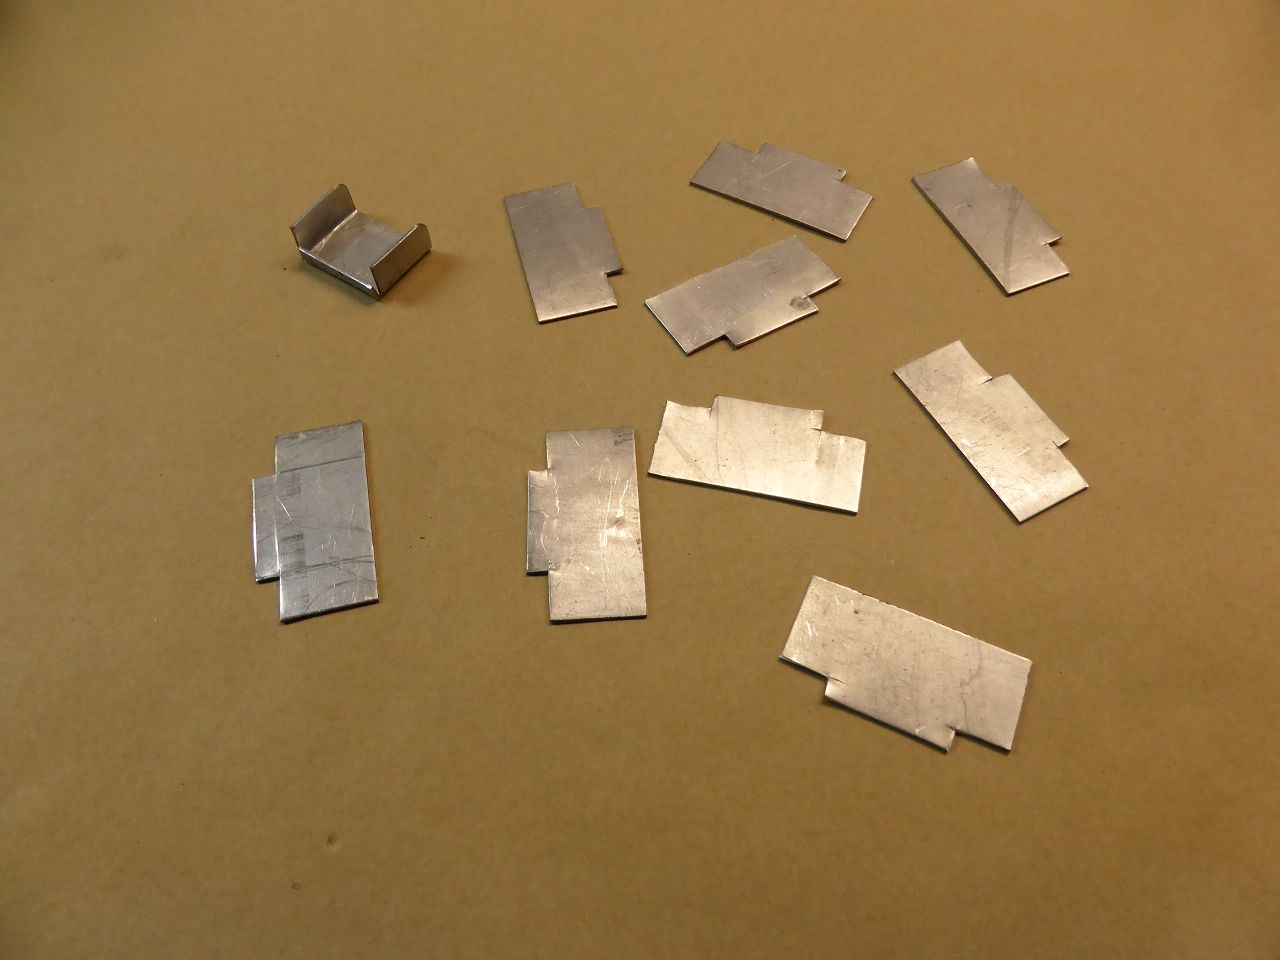 k-P1030931.JPG (133.80 KB) k-P1030931.JPG (133.80 KB)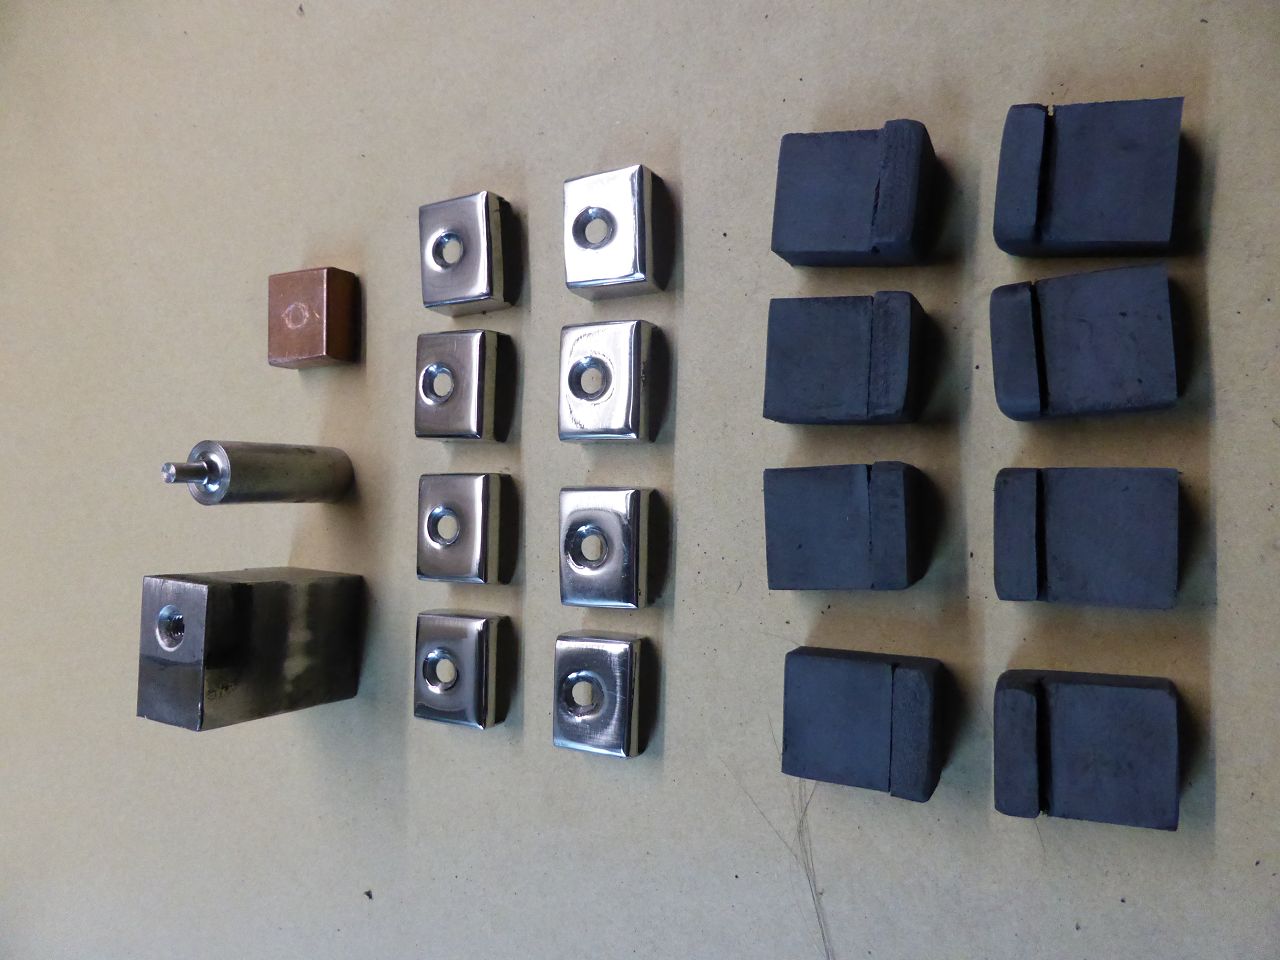
Posted on: 1/9 11:32
|
|||
|
||||
|
Re: 1924 Sport 136
|
||||
|---|---|---|---|---|
|
Home away from home
|
All of the wooden panels on the floor, which were originally made of boards, were replaced with the cheapest plywood. Likewise the front wall. I created this area with waterproof glued multi-layer beech wood (German name “Multiplex”). These multiplex panels are used here in Germany in various areas of vehicle construction. The metal tray under the rear seat was missing. I made a new one.
After the paint and filler were removed, the front fenders showed a heavily rusted surface but no rust through. These severe rust scars were also spread all over the frame. I reinforced the area where the connecting rod on which the headlights are mounted connects the two front fenders with a 2mm plate to prevent the fenders from warping the panels at this point. Because the rod and headlights have a lot of weight when this area is shaken while driving. The rear fenders were in a sorry state. Apart from the severe rust scars, the rear parts were rusted through. Some areas were poorly welded over with sheet metal. Others, however, are “professionally” pasted over with fiberglass fabric and everything is covered with a thick layer of putty. All surfaces had probably never been completely rust removed. Apparently the surfaces had only been brushed by hand or possibly with a flex and cup brush. The remaining rust was simply painted over. I reworked the rusted areas in their shape and welded these sheets together. I`show the restored floor later, because the body is at the paintshop right now. The running boards were so bent and rusted through that I replaced them. I made the parts from 2mm stainless steel according to the original parts. After their restoration, all restored sheet metal parts were sandblasted and primed with epoxy primer. After their restoration, all restored sheet metal parts were sandblasted and primed with epoxy primer. In order to check the fit, all body parts were assembled on a test basis. Attach file: k-P1020715.JPG (174.55 KB)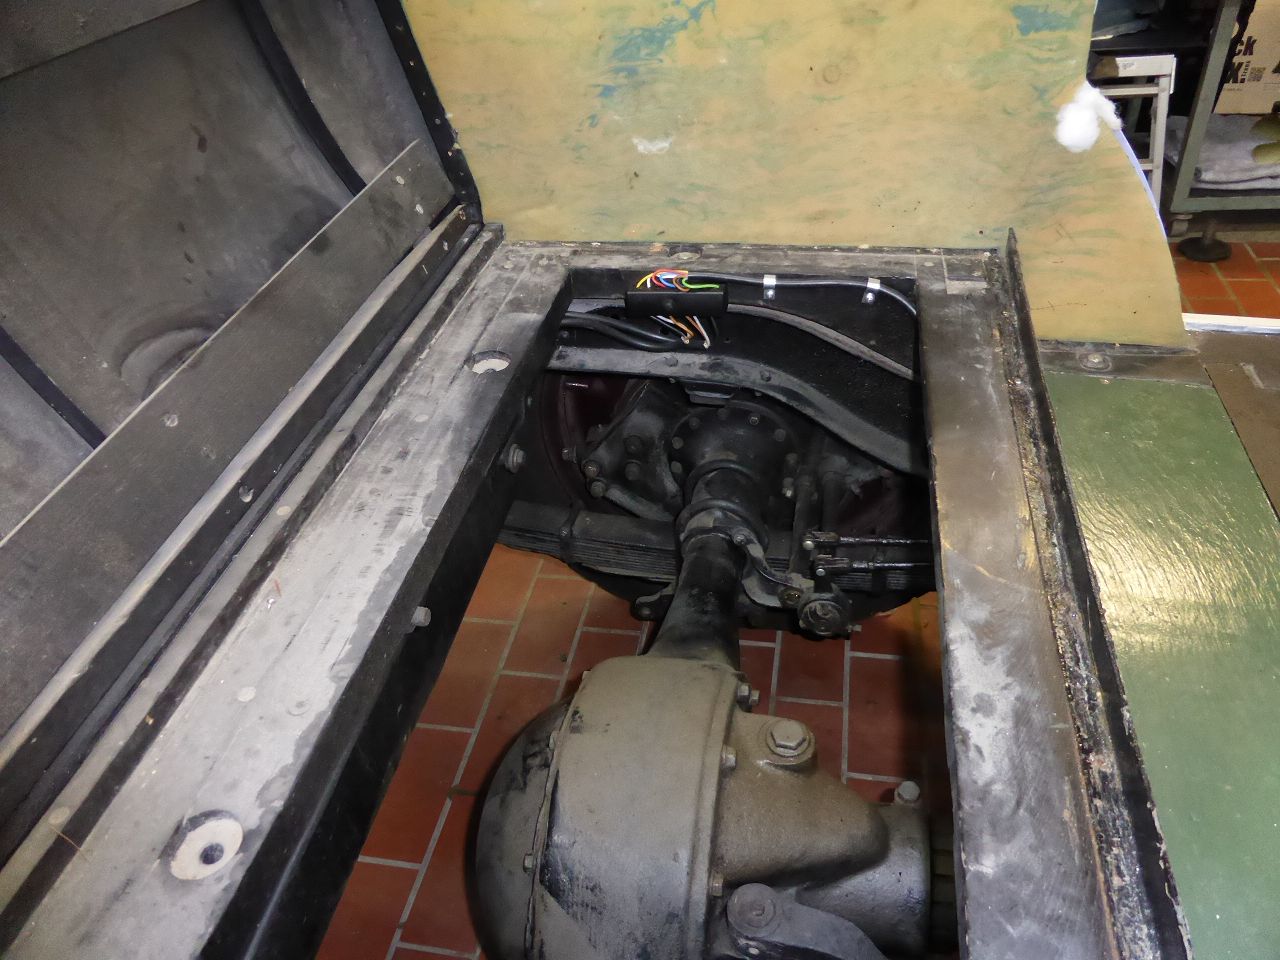 k-P1020717.JPG (231.71 KB) k-P1020717.JPG (231.71 KB)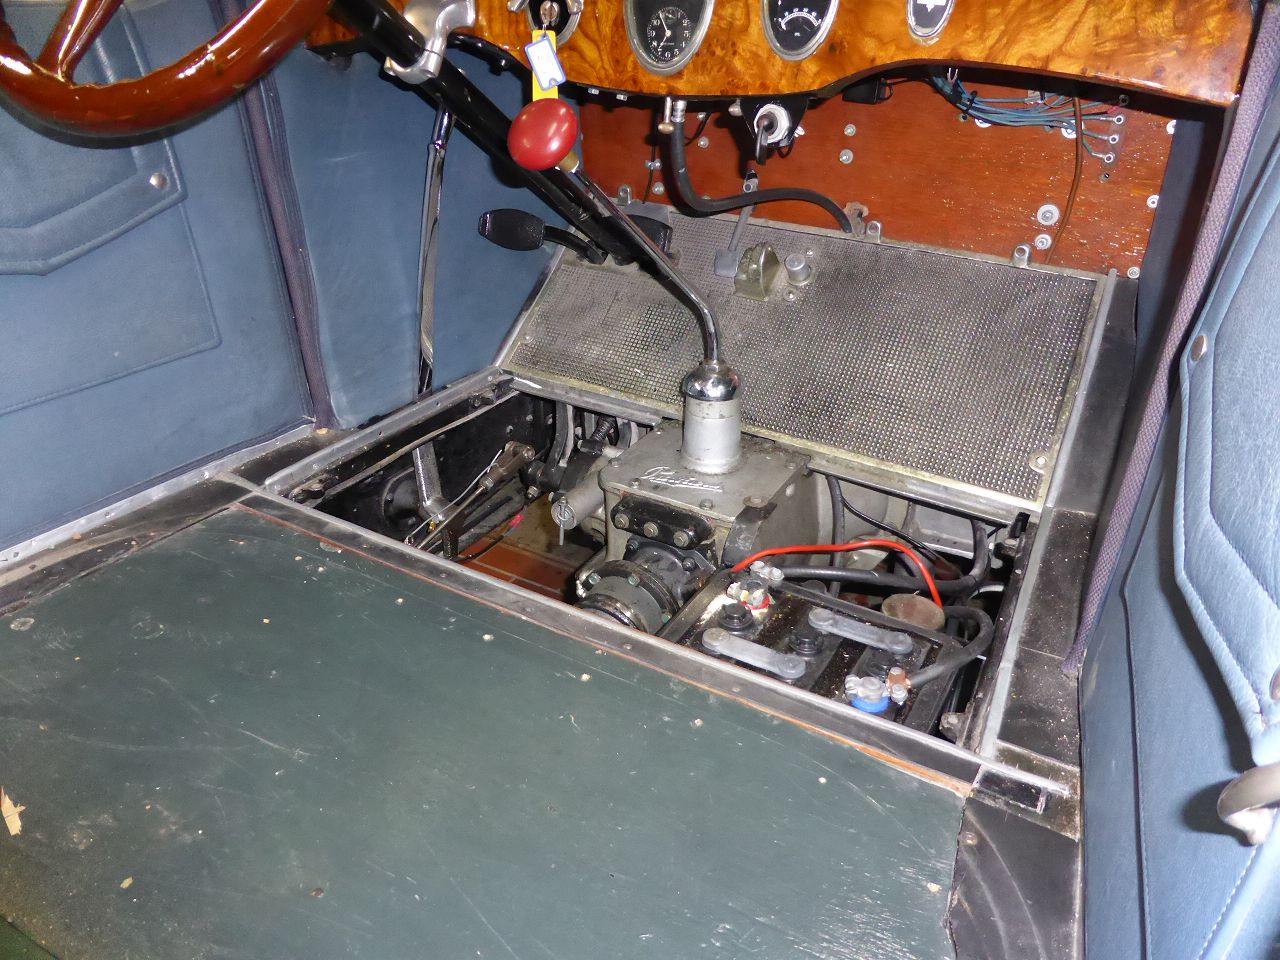 k-P1040134.JPG (262.34 KB) k-P1040134.JPG (262.34 KB)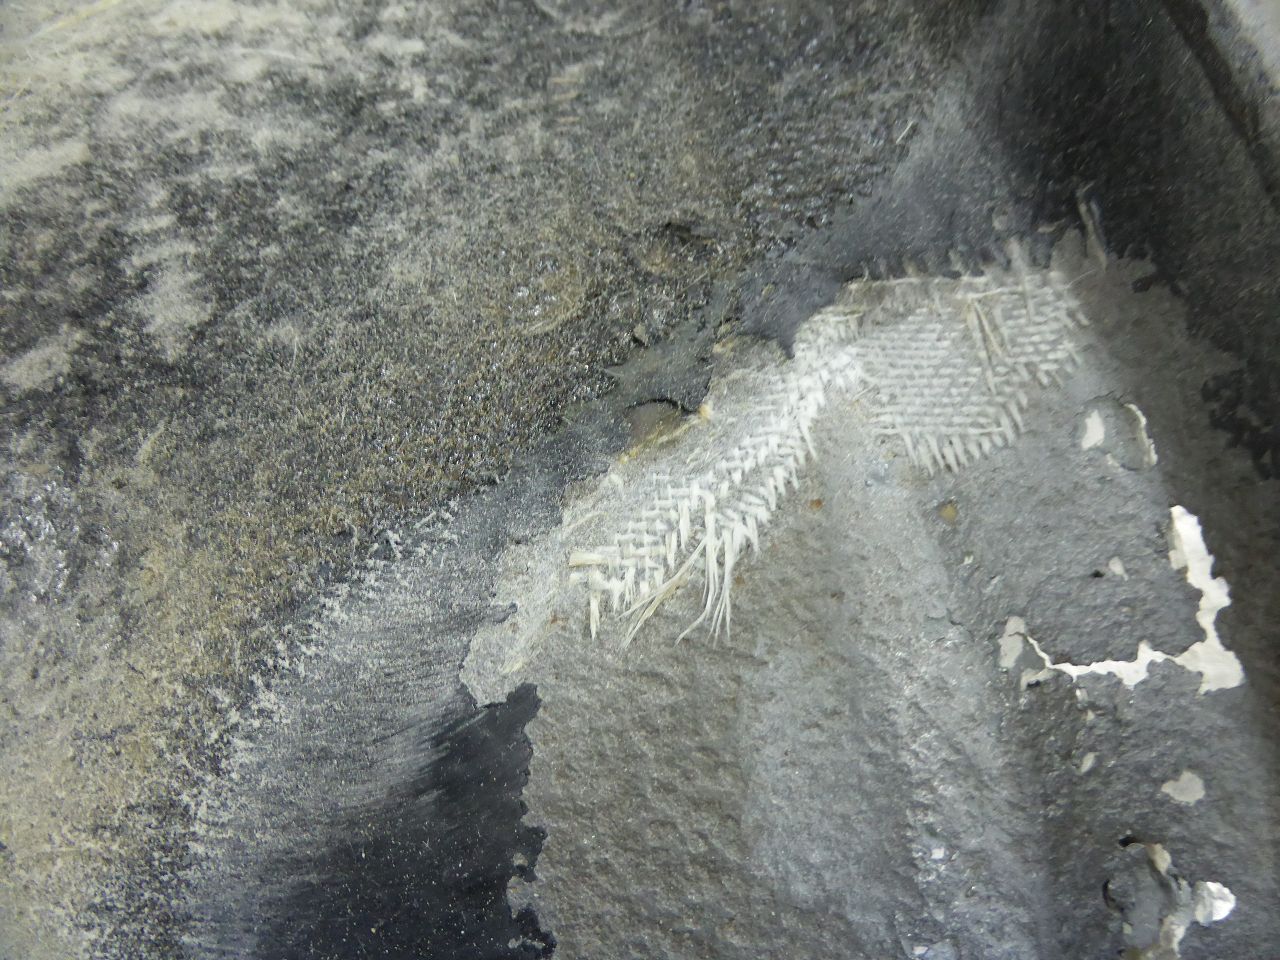 k-P1040136.JPG (261.99 KB) k-P1040136.JPG (261.99 KB)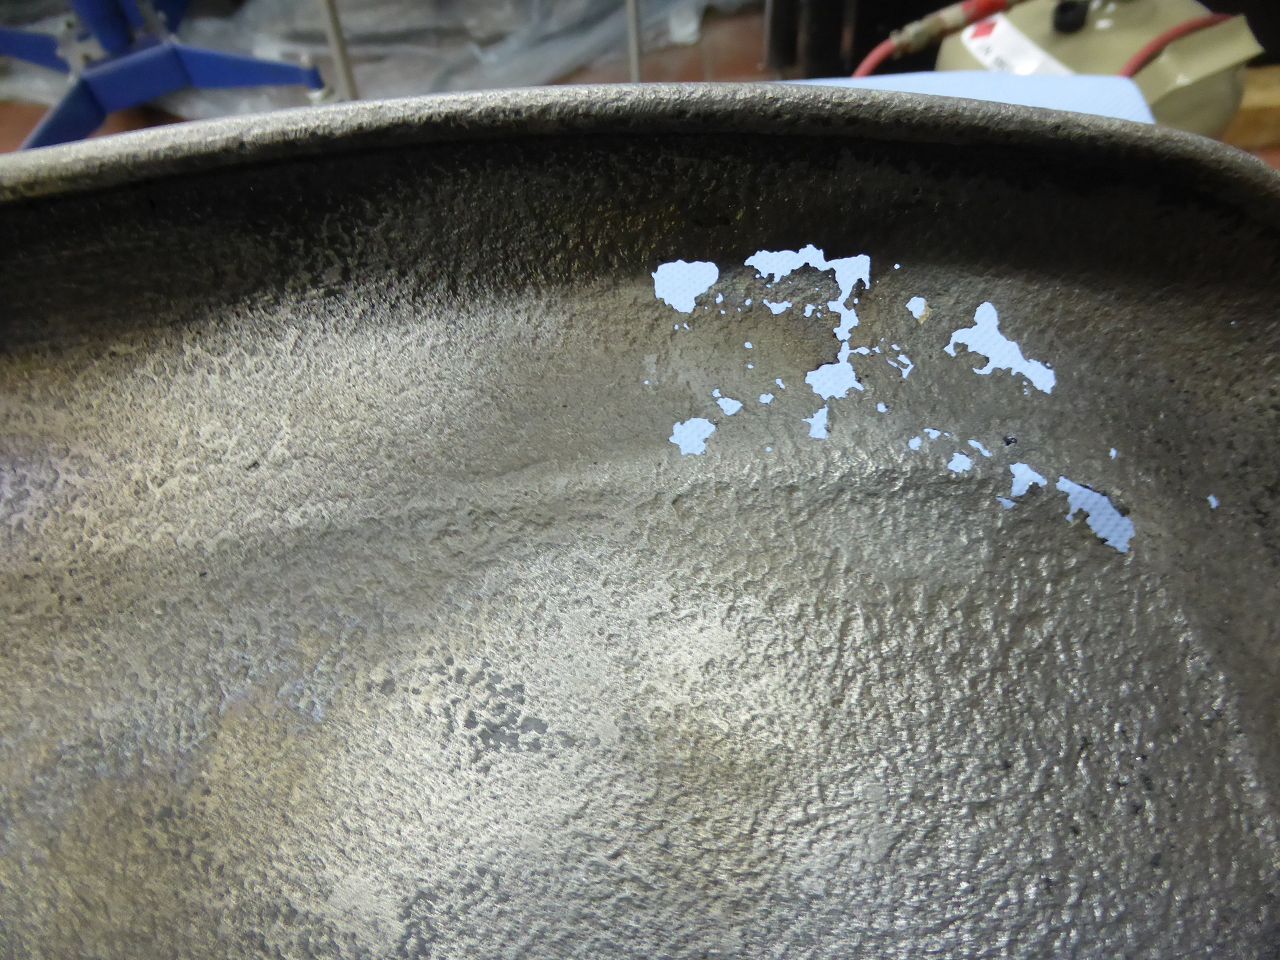 k-P1040139.JPG (78.88 KB) k-P1040139.JPG (78.88 KB)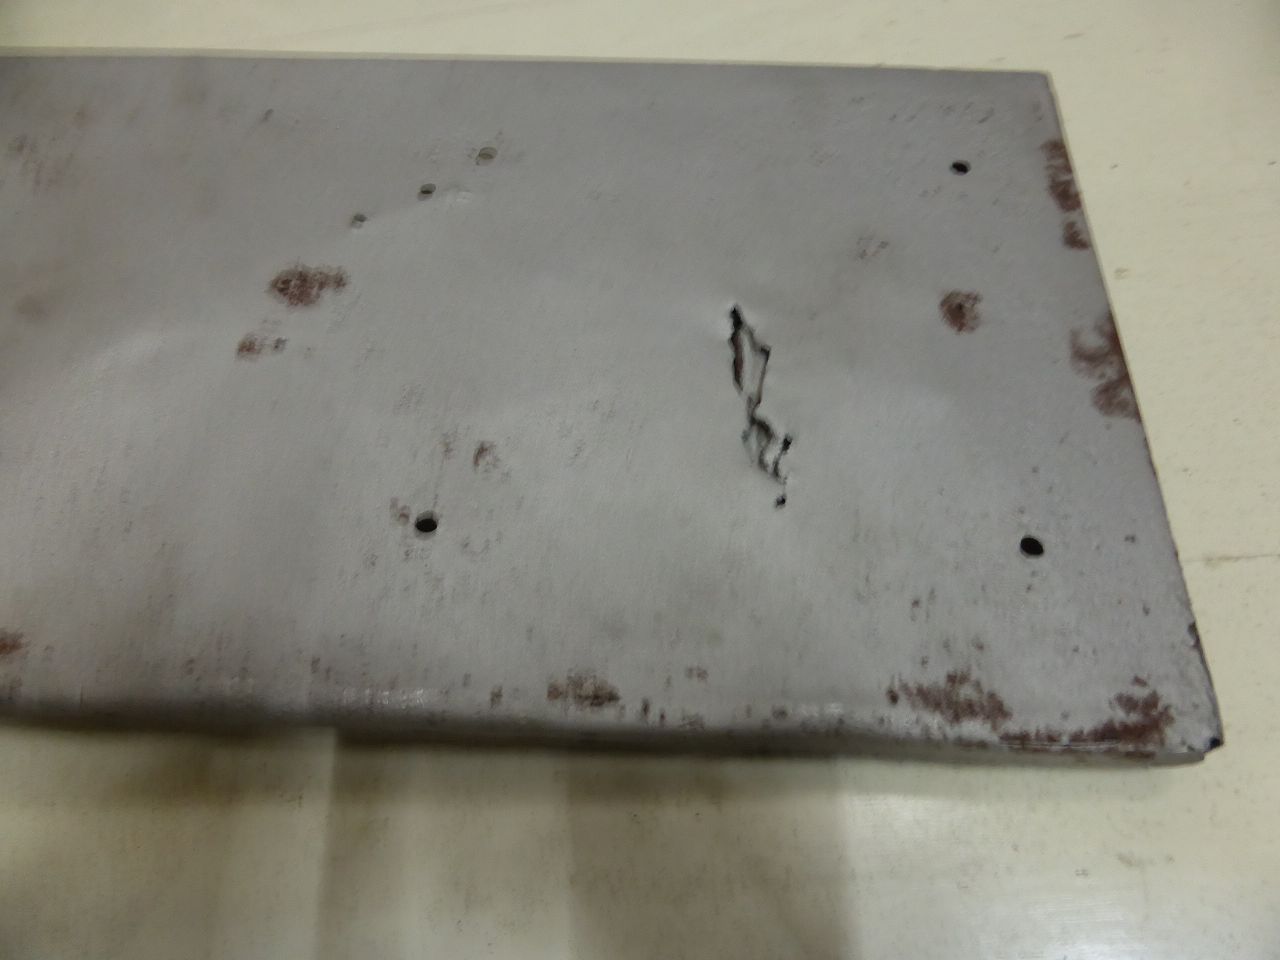 k-P1040137.JPG (105.12 KB) k-P1040137.JPG (105.12 KB)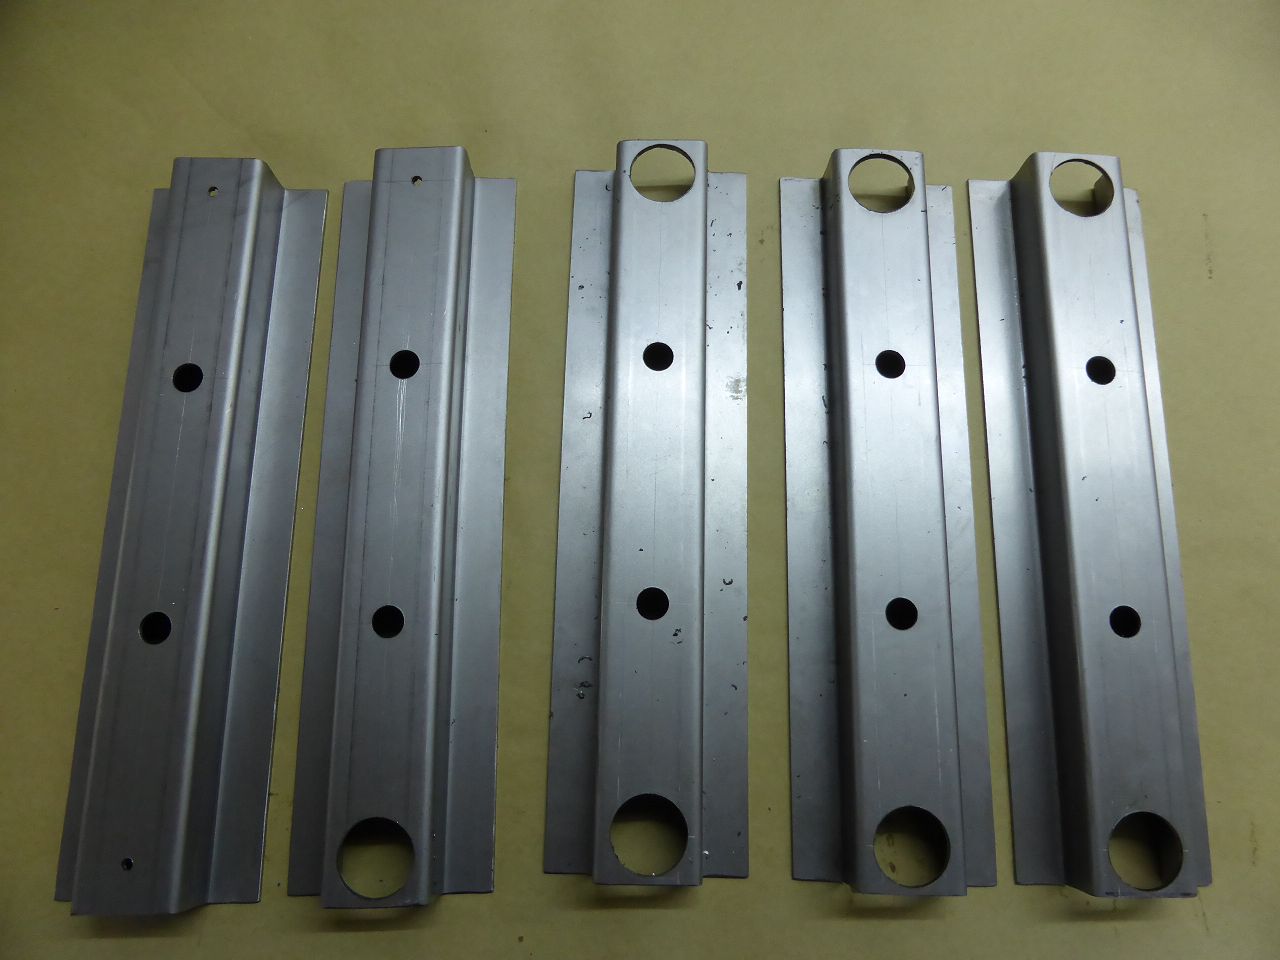 k-P1040140.JPG (104.56 KB) k-P1040140.JPG (104.56 KB) k-P1040141.JPG (161.46 KB) k-P1040141.JPG (161.46 KB) k-P1040163.JPG (130.00 KB) k-P1040163.JPG (130.00 KB) k-P1040159.JPG (125.92 KB) k-P1040159.JPG (125.92 KB)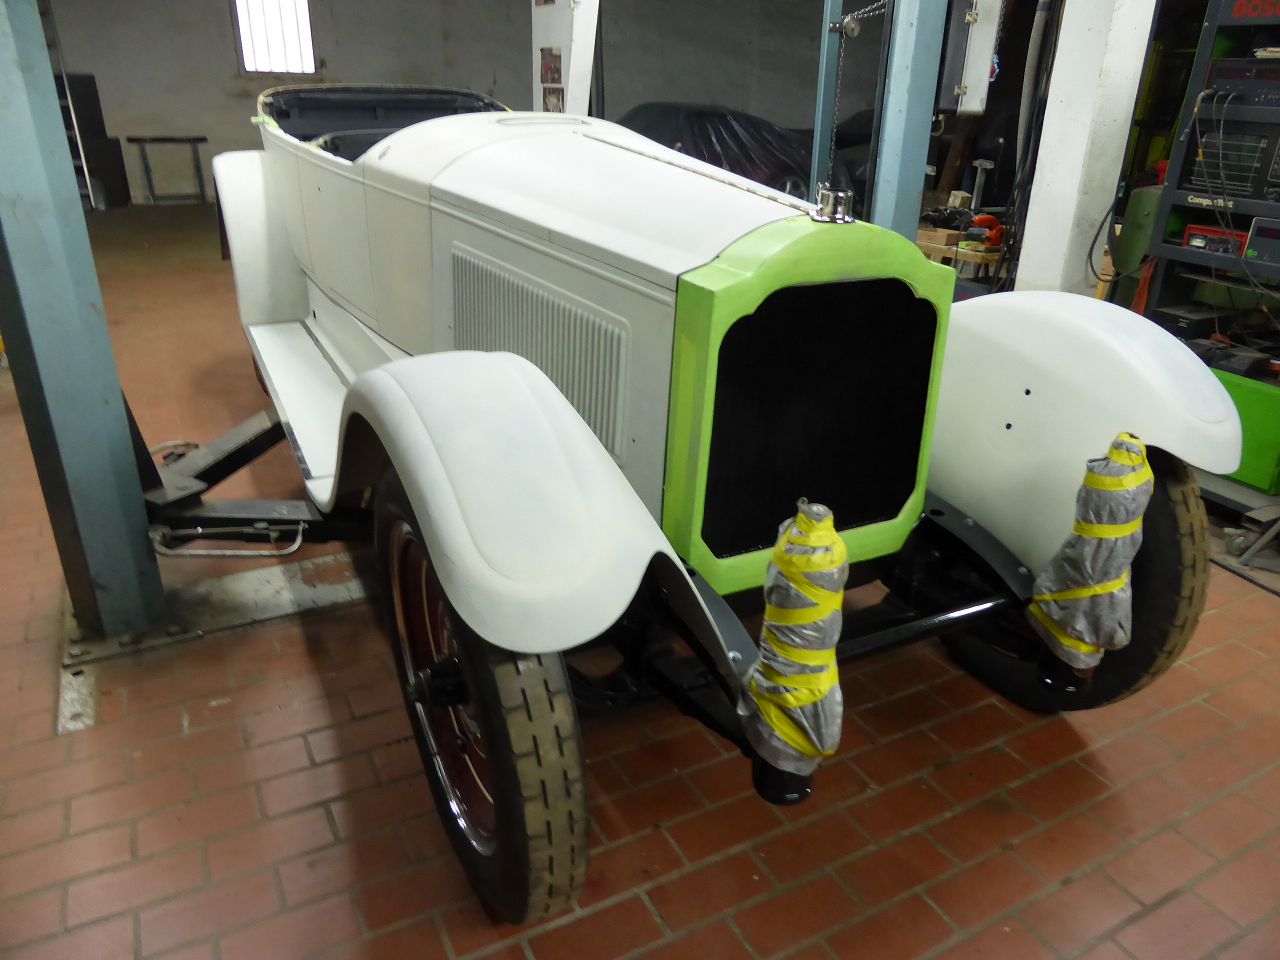
Posted on: 12/22 6:28
|
|||
|
||||
|
Re: 1924 Sport 136
|
||||
|---|---|---|---|---|
|
Home away from home
|
The body was in a restorable condition. All sheet metal parts of the body were only slightly affected by rust. The two main wooden planks running from front to back on the right and left were in a stable condition. The wood between the doors had rotted from moisture and could easily be replaced with new ones. I only replace structural wooden parts that need to be replaced with ash wood. I also optimized the gap dimensions of the doors. A very time-consuming job, as the doors can only be adjusted vertically by lining or removing wood in the hinge stop area. The problem is that the wood screws can no longer hold in the 100-year-old, dead wood and are spinning. I solve this problem by inserting dowels into the otherwise stable wooden parts. I drill the holes 8-12 mm depending on the screw diameter, fill the holes with expanding PU glue (Titebond PU 335) and hammer in a suitable beech wood dowel. The dowel forms an extremely strong connection with the old wood. I don't know of any other glue that forms such a strong bond with old wood and also fills possible gaps and smaller cavities.
The wooden frames of the doors on 3 doors were twisted so that one corner in each case protruded up to 5mm from the body line. In one case, so much so that it was necessary to completely remove the sheet metal paneling in order to straighten the frame and re-glue the loosened, glued corners with a special adhesive. For all other door frames, it was sufficient to overstretch them against the distortion when installed and fix them in this position. I filled the resulting gaps in the corner connections with an expanding special adhesive and immediately drove very thinly ground wooden wedges into the gaps. How this is done in detail is not easy to describe and it takes some experience to do it in such a way that it leads to the desired result. Attach file: k-P1030946.JPG (309.43 KB)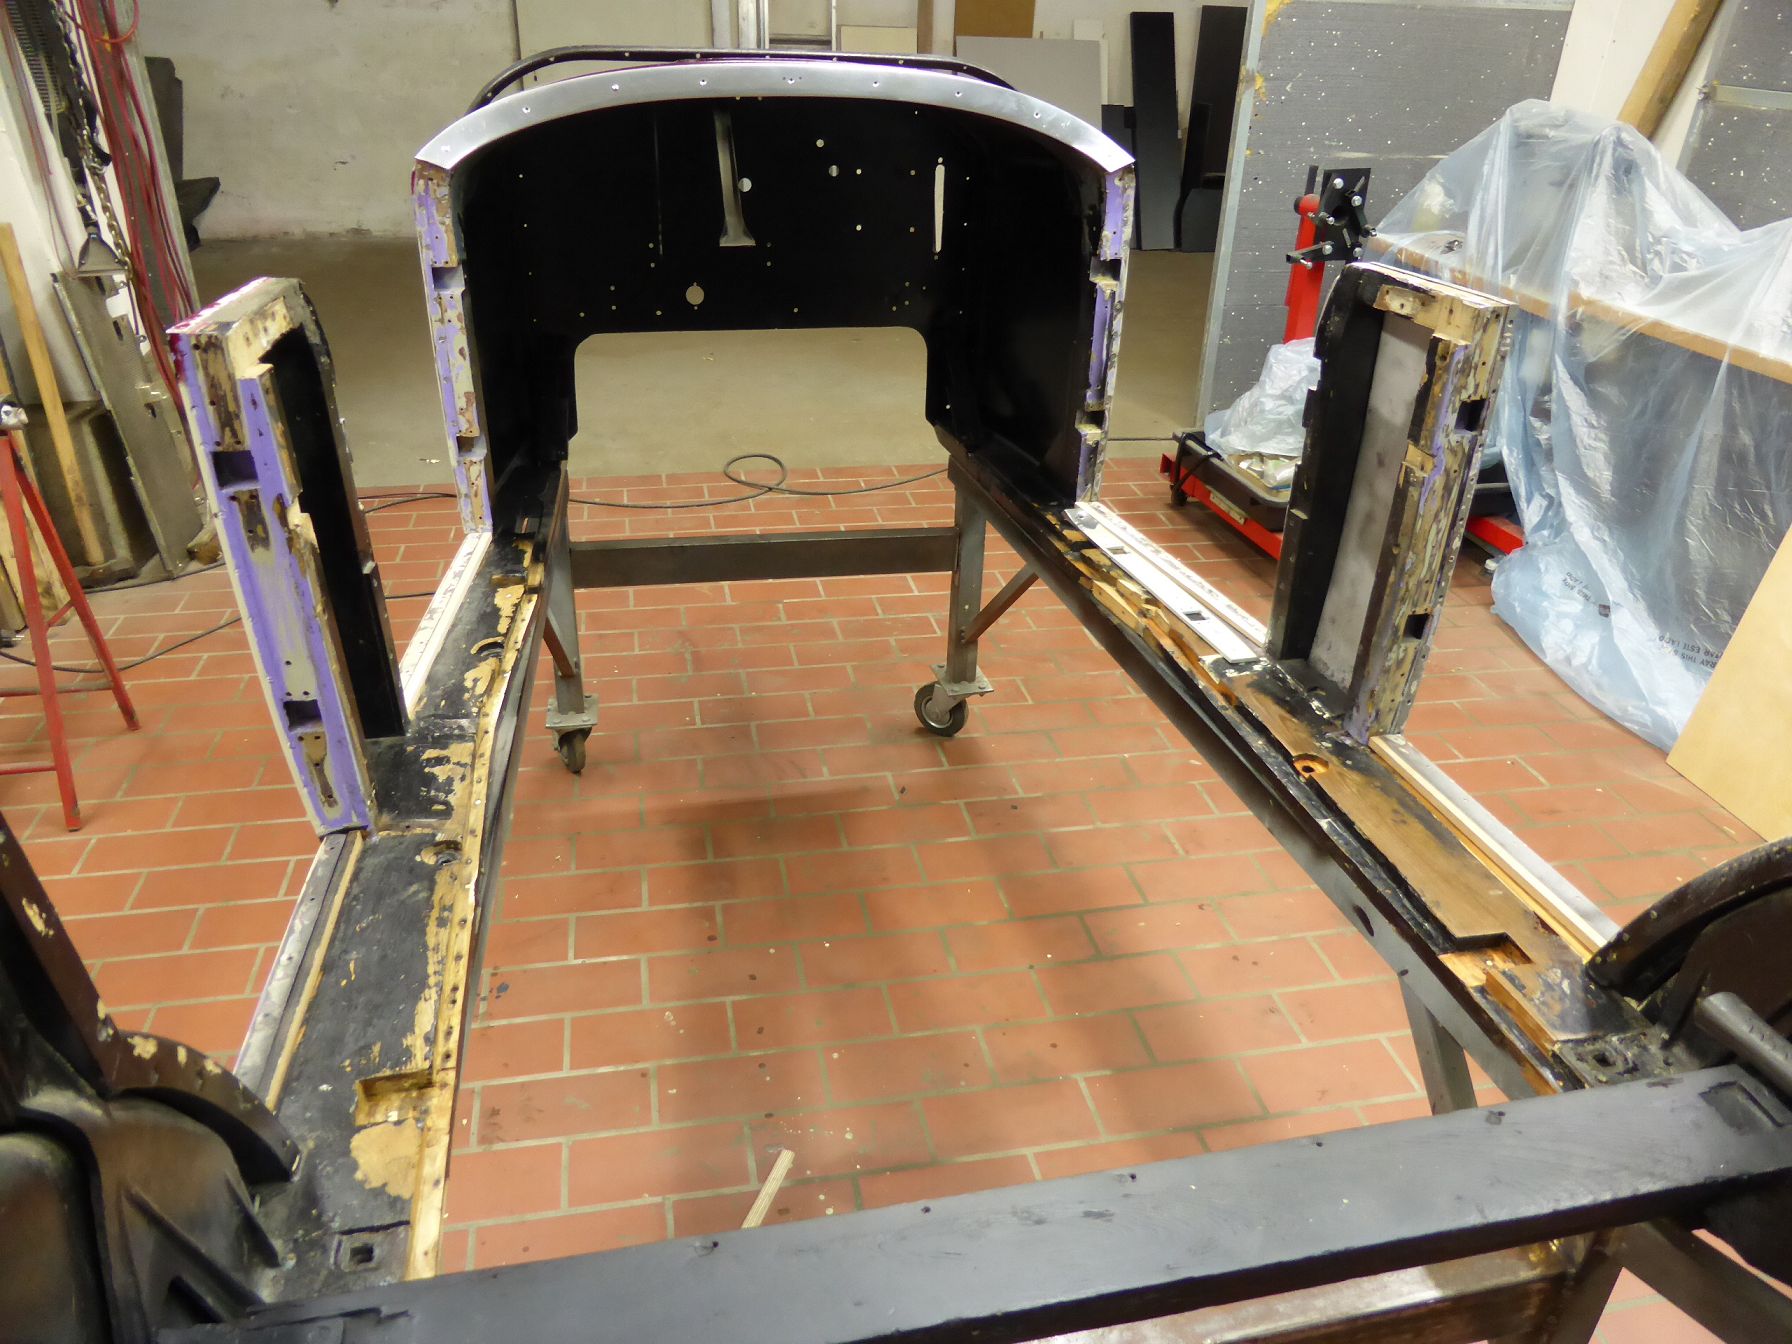 k-P1030397.JPG (290.68 KB) k-P1030397.JPG (290.68 KB) k-P1030777.JPG (164.43 KB) k-P1030777.JPG (164.43 KB)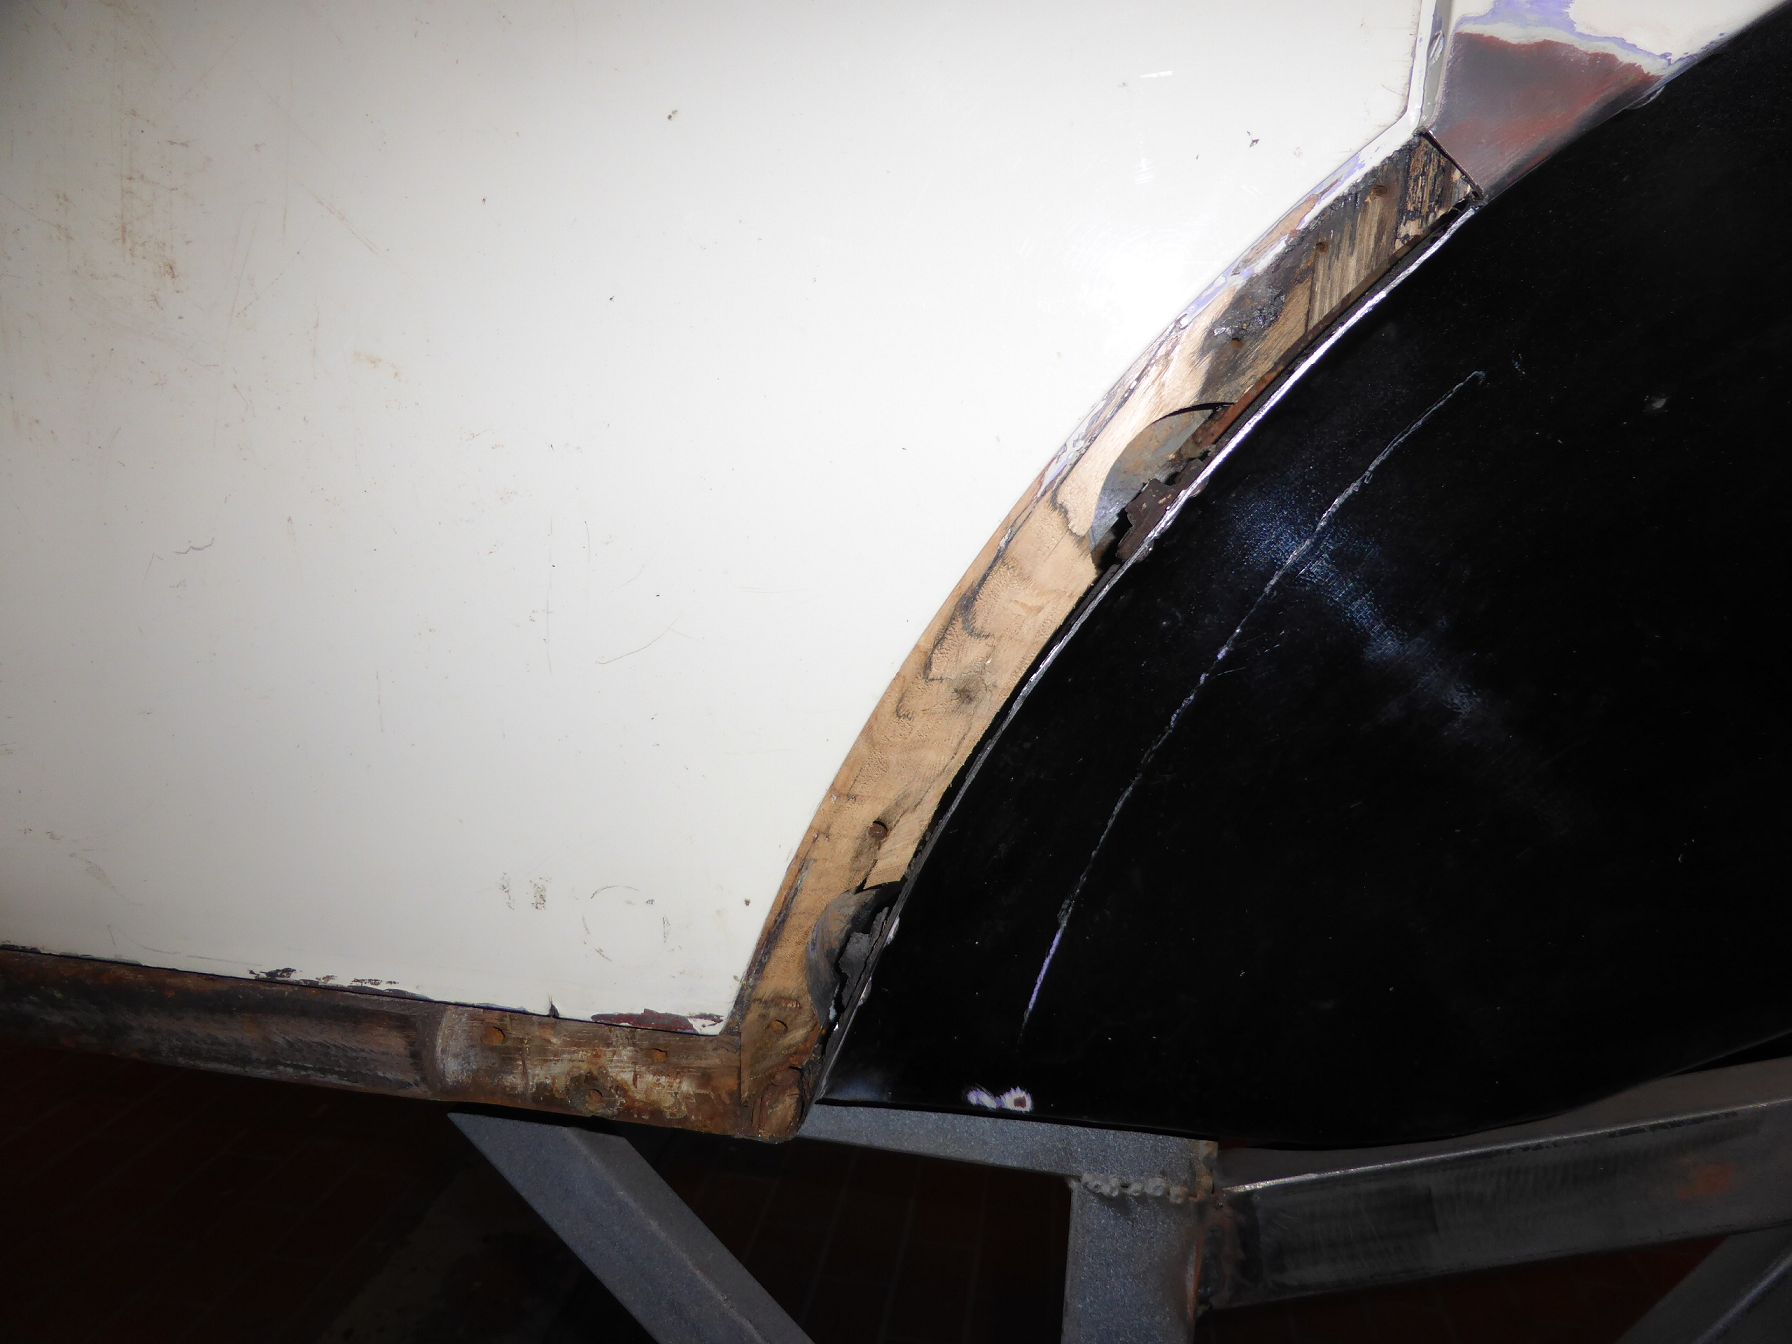 k-P1030779.JPG (138.69 KB) k-P1030779.JPG (138.69 KB)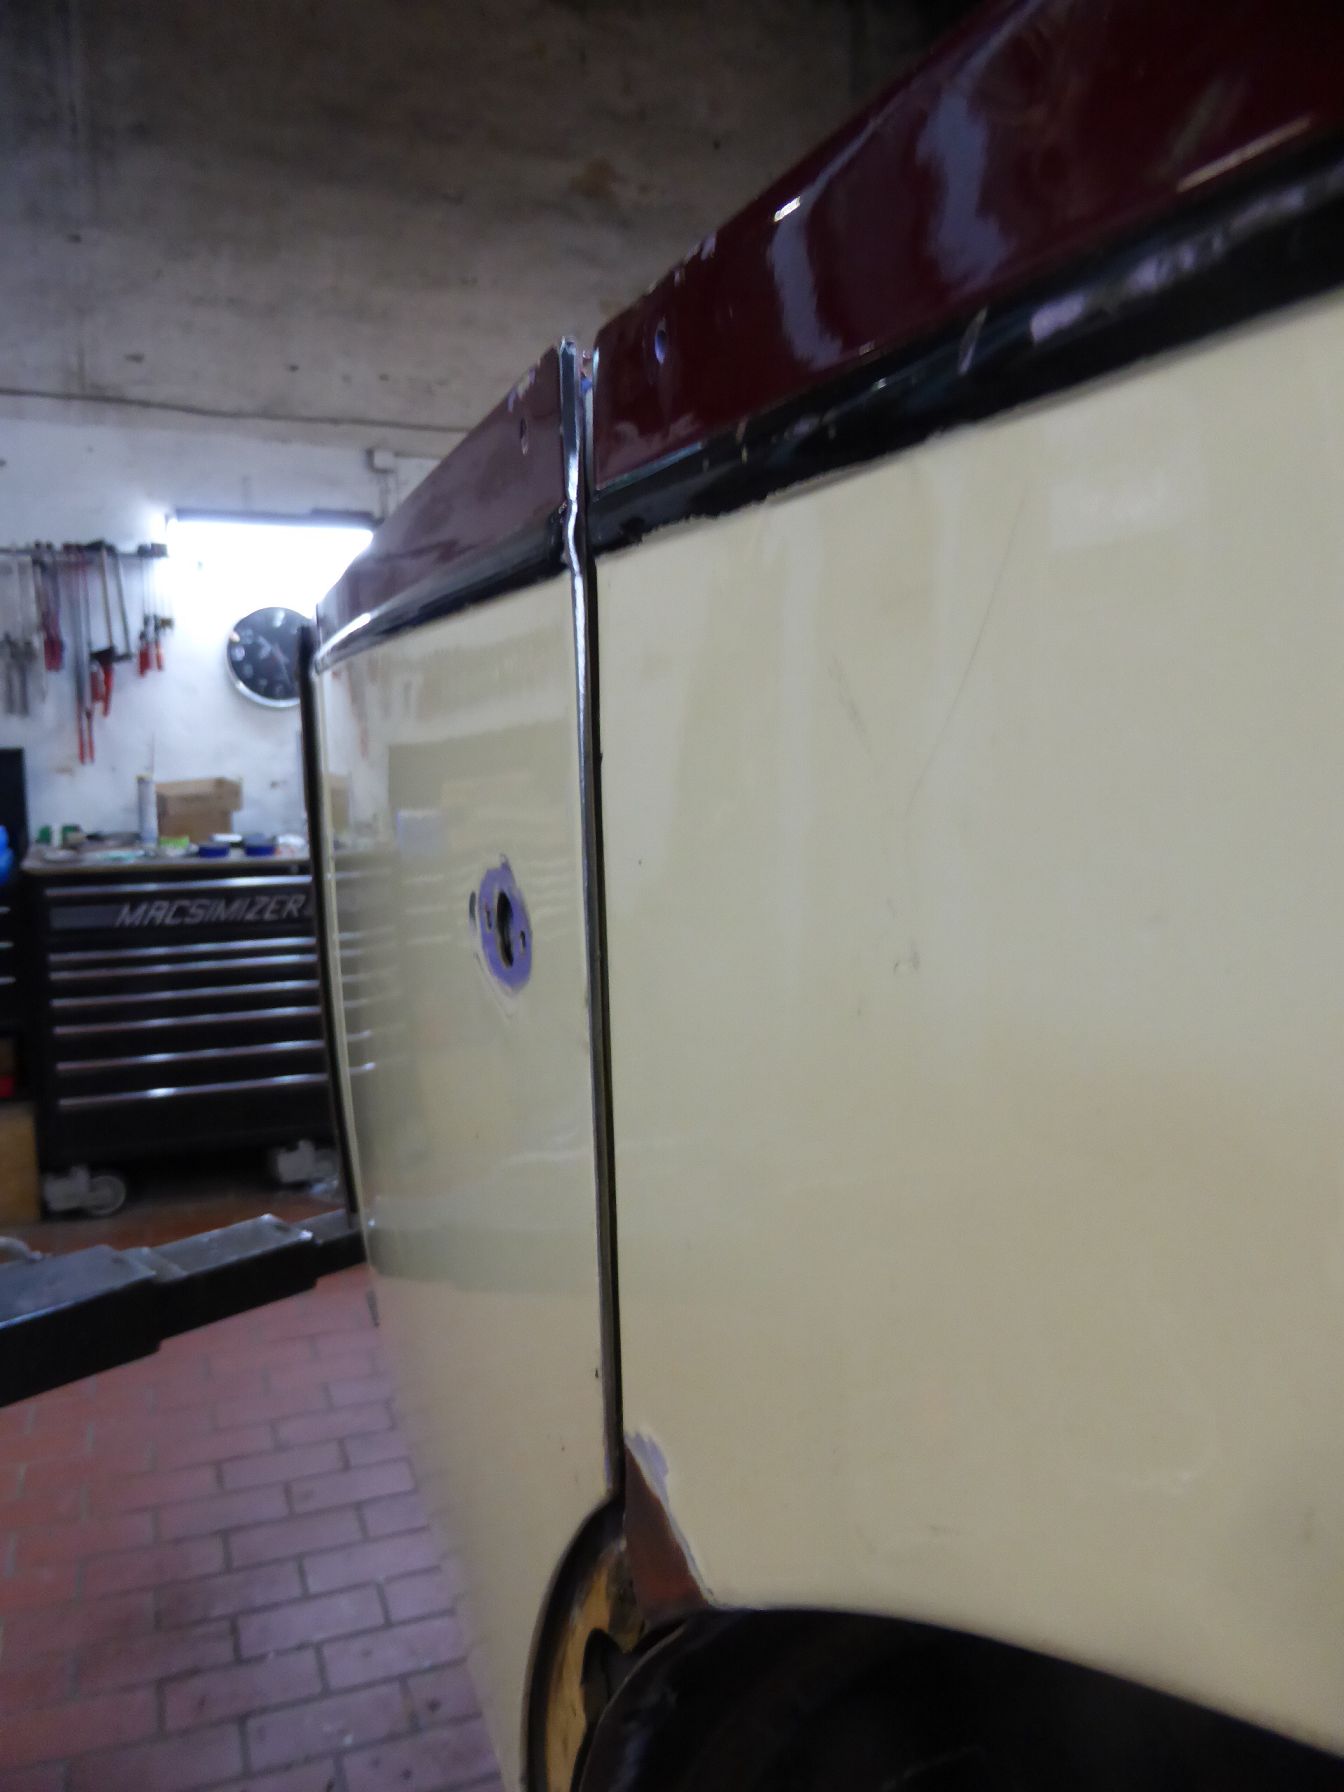
Posted on: 12/21 15:22
|
|||
|
||||
|
Re: 1924 Sport 136
|
||||
|---|---|---|---|---|
|
Home away from home
|
Thanks George, I want to try to present my work here in the blog as extensively as possible. I was in the USA for some time and I still have my green card and social security card. It was an educational and interesting time. Especially when I was able to drive through NY in a Packard with seats that I restored myself.
Attach file: 2007centralparkny.jpg (171.41 KB)
Posted on: 12/21 15:09
|
|||
|
||||
|
Re: 1924 Sport 136
|
||||
|---|---|---|---|---|
|
Home away from home
|
No, Kevin, I am a civil engineer. But my first job was as a technical draughtsman. 3 1/2 years of training with a technical degree in the early 60s. After 5 years in this profession it was not difficult for me to draw and construct such a profile bending machine, after I took the basic construction from the pictures of the companies that build such machines professionally. So I designed and built the necessary parts so that they would fit on my beading machine. I had the steel plate for it cut to size by my steel supplier and I made the rollers myself on my lathe. I only needed this profile bending machine for 2 window frames. It was not possible to find or buy a suitable machine for the profile of my Packard. And to find a company that makes suitable rollers to bend this profile is pretty hopeless. The time and cost would also be out of the budget.
Karl Attach file: k-P1040356.JPG (147.00 KB)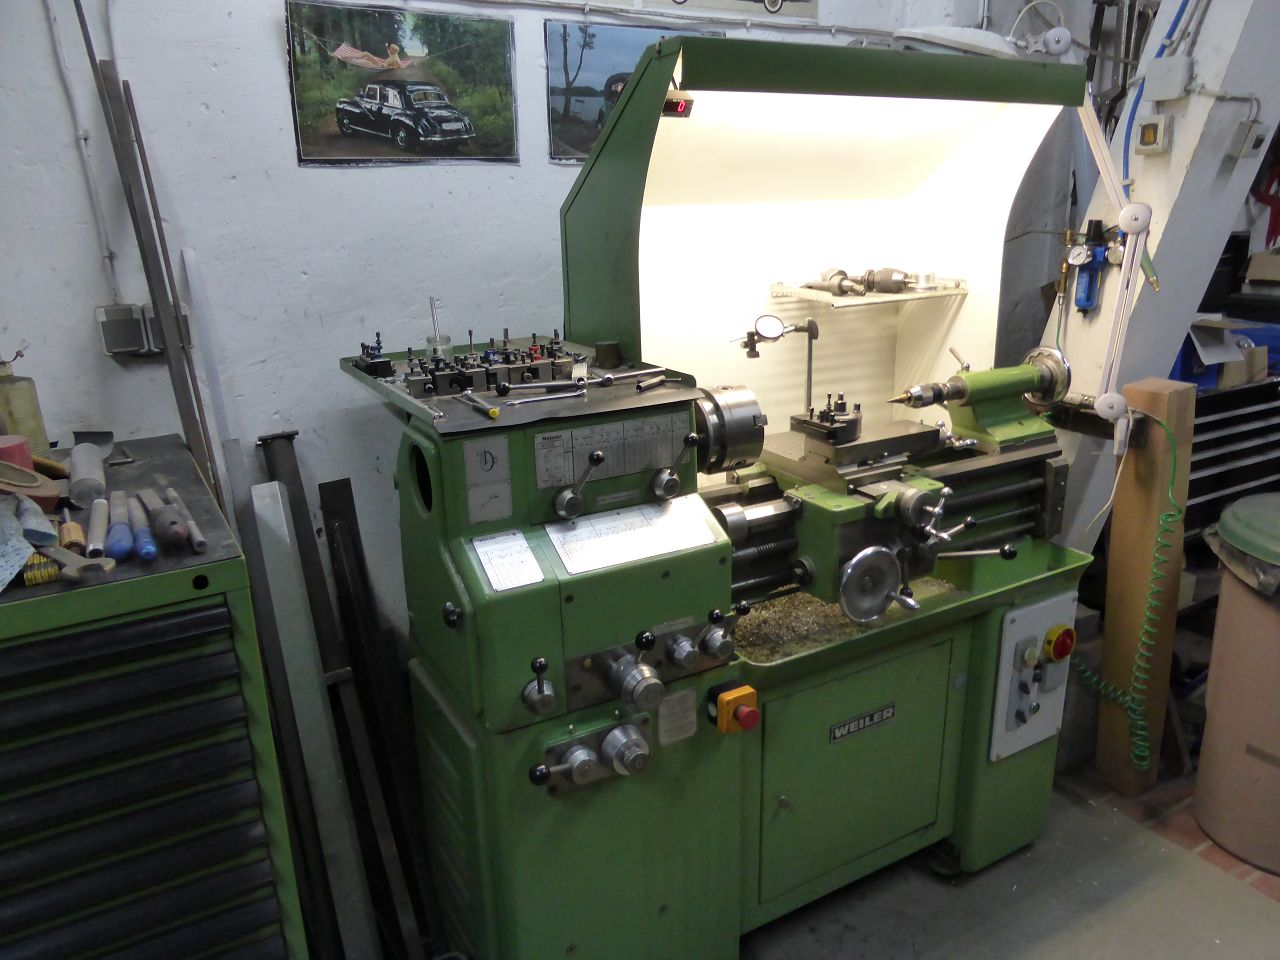 k-P1040357.JPG (156.19 KB) k-P1040357.JPG (156.19 KB)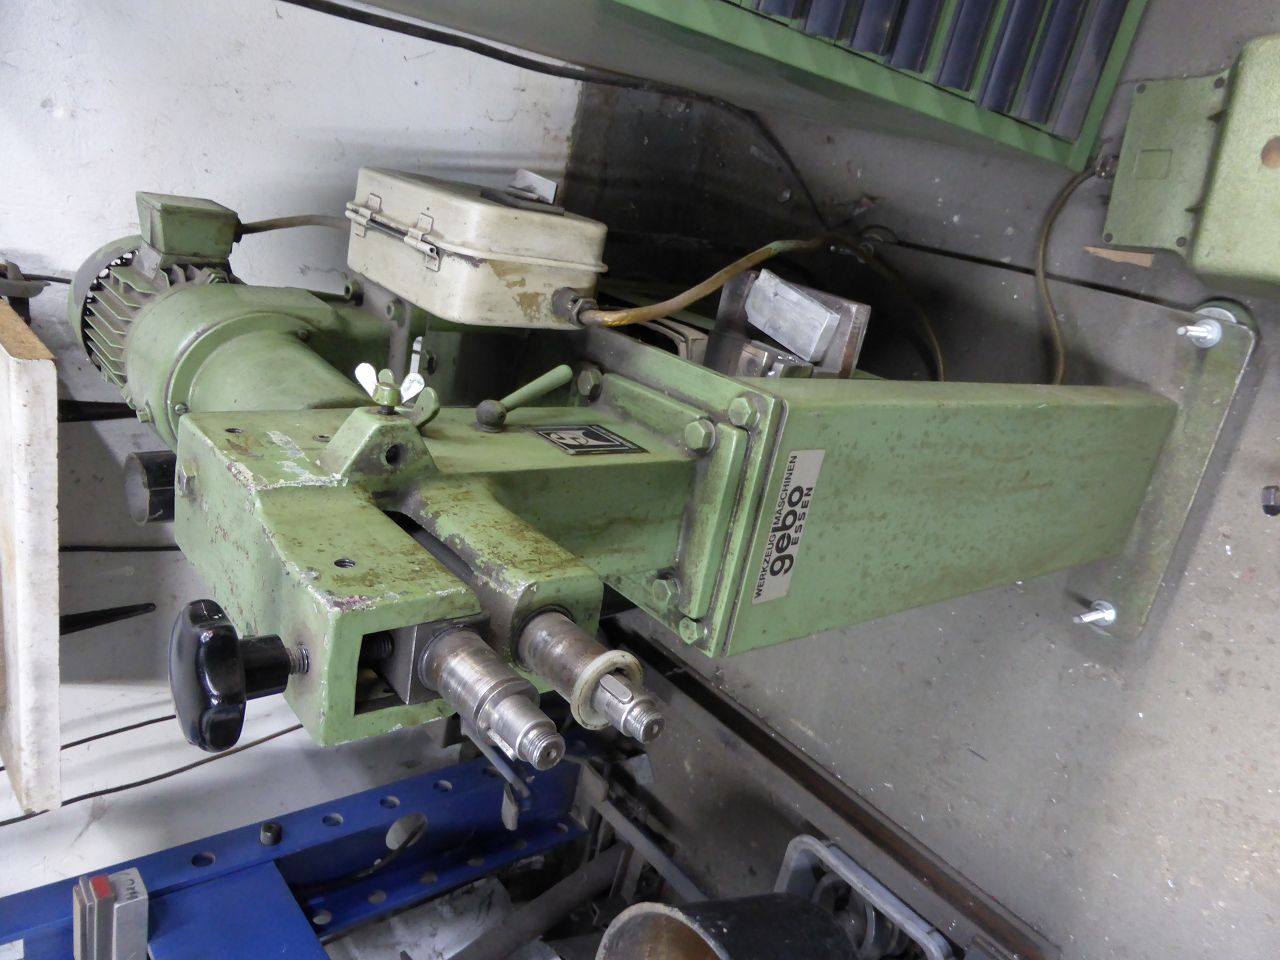 k-P1040359.JPG (134.84 KB) k-P1040359.JPG (134.84 KB)
Posted on: 12/14 12:03
|
|||
|
||||
|
Re: 1924 Sport
|
||||
|---|---|---|---|---|
|
Home away from home
|
Sorry... BigKev, but if you are 75 years old and your health limits your ability to act even in summer temperatures, then there is hardly any work that can still be carried out properly at an ambient temperature of 37°F. That's why I divide my work very precisely, what I can do at what time. And now I can only do the work that I can do in my heated upholstery room. But even that is limited, because it takes a while to heat the room every day so that the thick shoe leather has become warm and flexible enough to be carried out cleanly under the sewing machine's presser foot. So I try to make the best possible use of the winter time. And the rough work like body work, chassis and so on... has already been done. But thank you for your encouragement, I will do my best.
Karl
Posted on: 12/10 10:18
|
|||
|
||||


