|
Re: KPack
|
||||
|---|---|---|---|---|
|
Home away from home

|
I had a bit of time on Saturday so I gently washed the Panama. The paint felt very rough still because of all the sandblasting, metal grinding, and welding. So I decided to try a clay bar to see how it would do. The clay came up red, which I think means there was a bunch of steel dust on the surface that was corroding.
I clayed the whole car, then waxed it all. The paint is much smoother, but there are many, many imperfections from dust bits to chips in the paint, to the huge dent in the rear fender. Eventually I might fix those. A couple things I'm noticing now. I have a very small leak at the junction between the hard and flexible fuel line in the front. I thought I had fixed that previously, but turns out it's still there. I still have a very slight leak on the rear junction at the fuel tank. So fun. I have a ticking in the engine that I believe is a lifter, or possibly still that sticky valve. I can hear it up high in the vicinity of the valves. It is louder when the car first starts up then quiets down some as the car warms. Should I run a bottle of Seafoam or Marvel Mystery Oil through a full fuel tank? -Kevin Attach file:  Contaminated paint.jpg (64.78 KB) Contaminated paint.jpg (64.78 KB) After clay and wax.jpg (116.71 KB) After clay and wax.jpg (116.71 KB) It looks way worse in person.jpg (135.71 KB) It looks way worse in person.jpg (135.71 KB)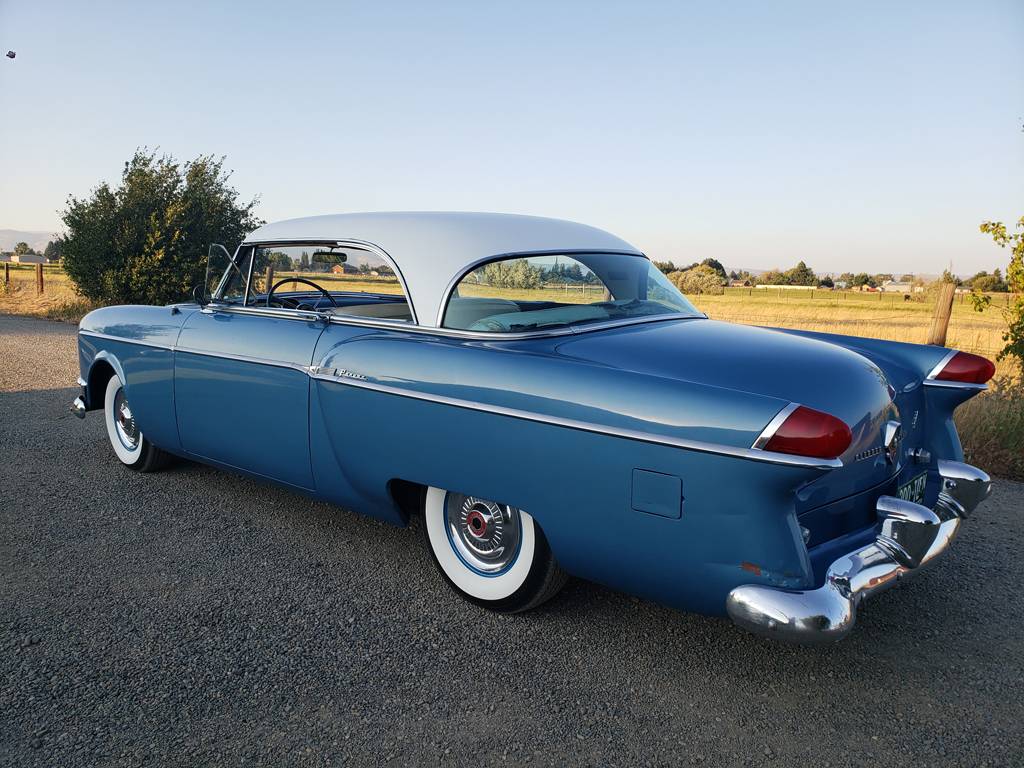
Posted on: 2021/7/12 10:33
|
|||
|
||||
|
Re: Various CL Pickings
|
||||
|---|---|---|---|---|
|
Home away from home
|
Quote:
Looks like they installed an electric fuel pump back by the tank. So having the filter between the tank and the pump makes sense. I think that's how most guys set it up if they are doing an electric auxiliary pump. -Kevin
Posted on: 2021/7/11 15:36
|
|||
|
||||
|
Re: 53 Clipper rear flex brake line
|
||||
|---|---|---|---|---|
|
Home away from home
|
I used 11146 for all three hoses. It's worked great. Plenty of length on the rear one. I installed it with my axle hanging all the way down and it wasn't even close to causing a problem.
-Kevin
Posted on: 2021/7/10 18:52
|
|||
|
||||
|
Re: KPack
|
||||
|---|---|---|---|---|
|
Home away from home
|
Don and Jerome - definitely not a fun job. If the dipstick were easier to access it wouldn't be so bad.
I got the Ultramatic topped off this evening and didn't even make a mess this time. I ran it through all the gears to be sure that it was distributed around and the level was right on. While I had the car on stands I took the opportunity to install my new front seatbelts from Retrobelt. I got the 72" length because I wasn't sure if the 60" would be enough. Better to have too much. A previous owner had installed seatbelts, and they were in a box of junk when I got the car. The color was hideous and all the hardware was rusted, so into the trash they went. I went with the dark blue from Retrobelt, because I feel it matches the dark blue carpet, dash, and trim. The seats are currently lighter than they should be, and the light blue from Retrobelt is very bright. I used a body mount on the outside belts, and previous drilled holes for the inner belts. Grade 8 hardware and big fat washers. Should be plenty strong. Because I don't trust my fuel gauge I picked up a 2 gallon can and threw it in the trunk, along with a tool roll and jumper cables. I really don't want to get stranded while I test drive. Threw some more gas in the car and double checked the timing. It's still right on target at idle. Then buckled my new seatbelt and turned on the "radio". My wife got me a JBL Flip 5 for my birthday a while back, and even managed to match the color to the inside of the car. I place it right under the front of the bench seat and it blends right in. Sound is great. It's pretty nice to cruise while listening to Elvis or Sinatra. I don't think I'll get to repairing the factory radio anytime soon, so this solution works great. I took a nice 15 mile or so drive to test everything. The transmission feels fantastic. So much more responsive now. The fuel gauge is miraculously registering something....not sure it's accurate but at least it shows something. Took the car up to 50 for a few miles and it was effortless. Temp stayed very steady (85 ambient), engine was smooth, slight bounce in the speedo (lube the cable?). Brakes are working great. When I got home the car had quite a bit of light colored smoke coming out the exhaust. I notice this whenever I run the car hard. I can't tell if it's just burning off carbon build up, burning up a clogged muffler, or if it's something more serious like a head gasket leak. I have a new exhaust system coming in a couple months, so hopefully that will help. -Kevin Attach file: New seatbelts.jpg (133.49 KB) Emergency necessities.jpg (141.72 KB) Emergency necessities.jpg (141.72 KB)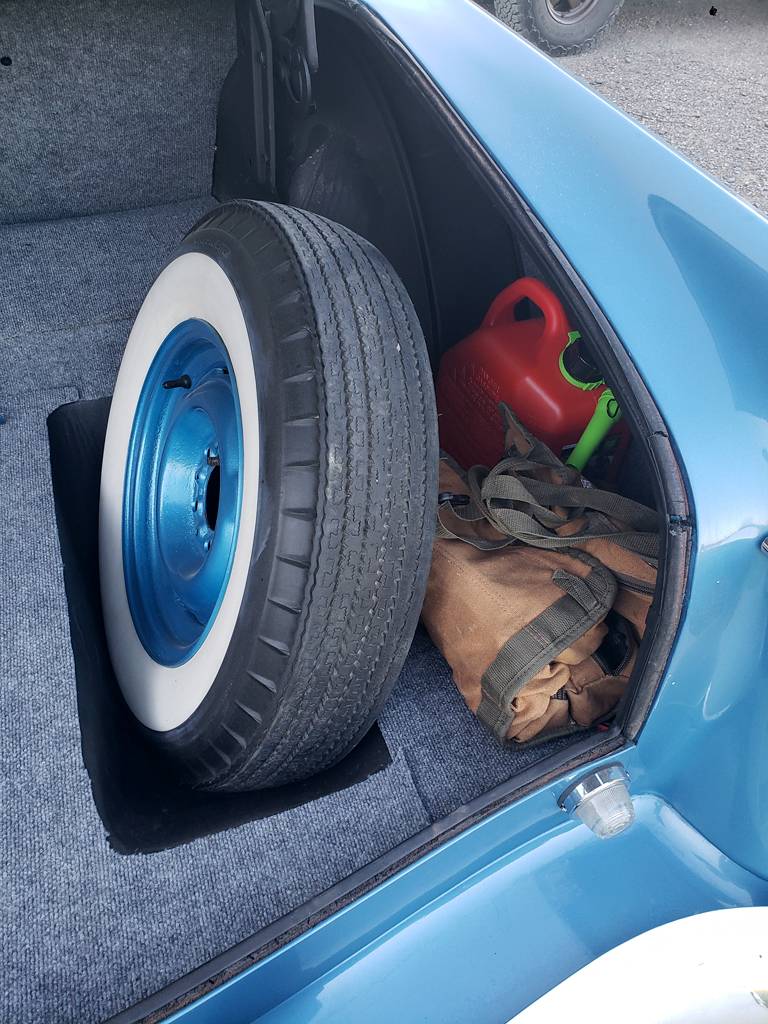 JBL Flip.jpg (143.00 KB) JBL Flip.jpg (143.00 KB)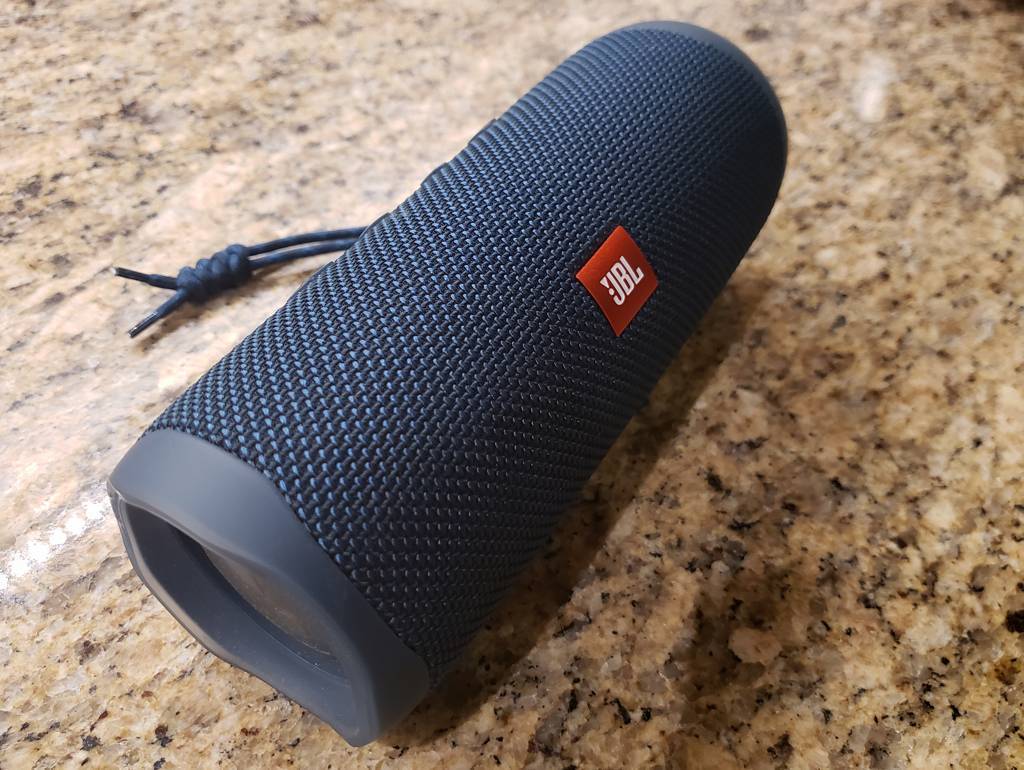 Quick and easy stereo.jpg (132.79 KB) Quick and easy stereo.jpg (132.79 KB) Evening drive.jpg (79.37 KB) Evening drive.jpg (79.37 KB)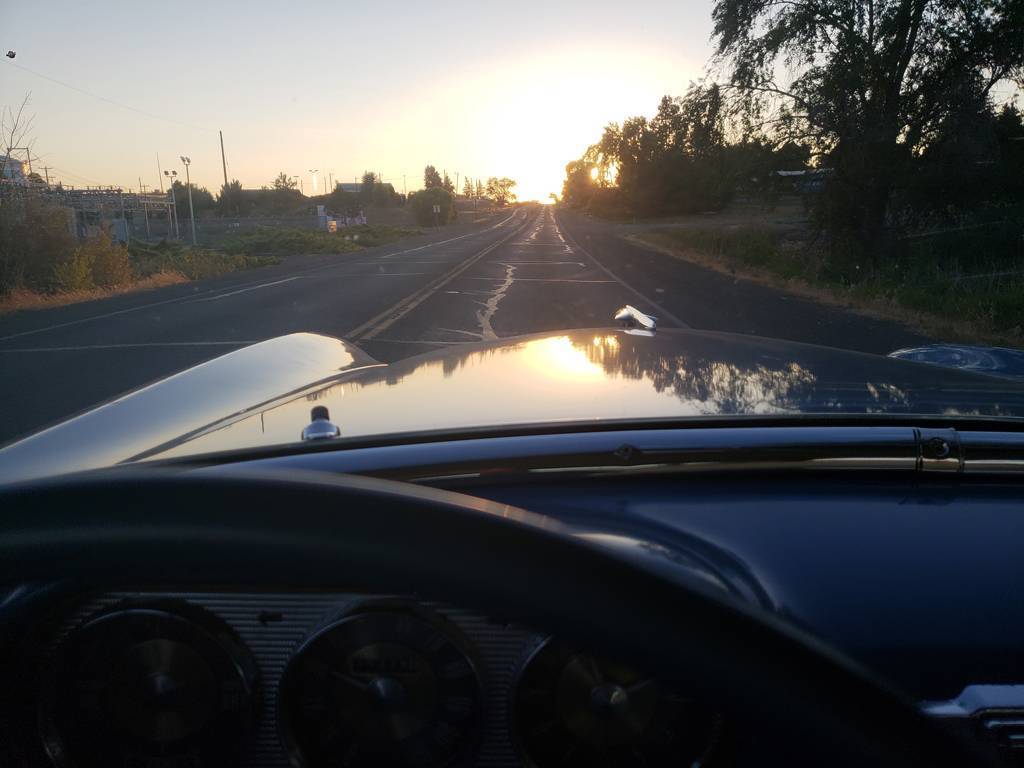 Cruising at 50.jpg (100.30 KB) Cruising at 50.jpg (100.30 KB)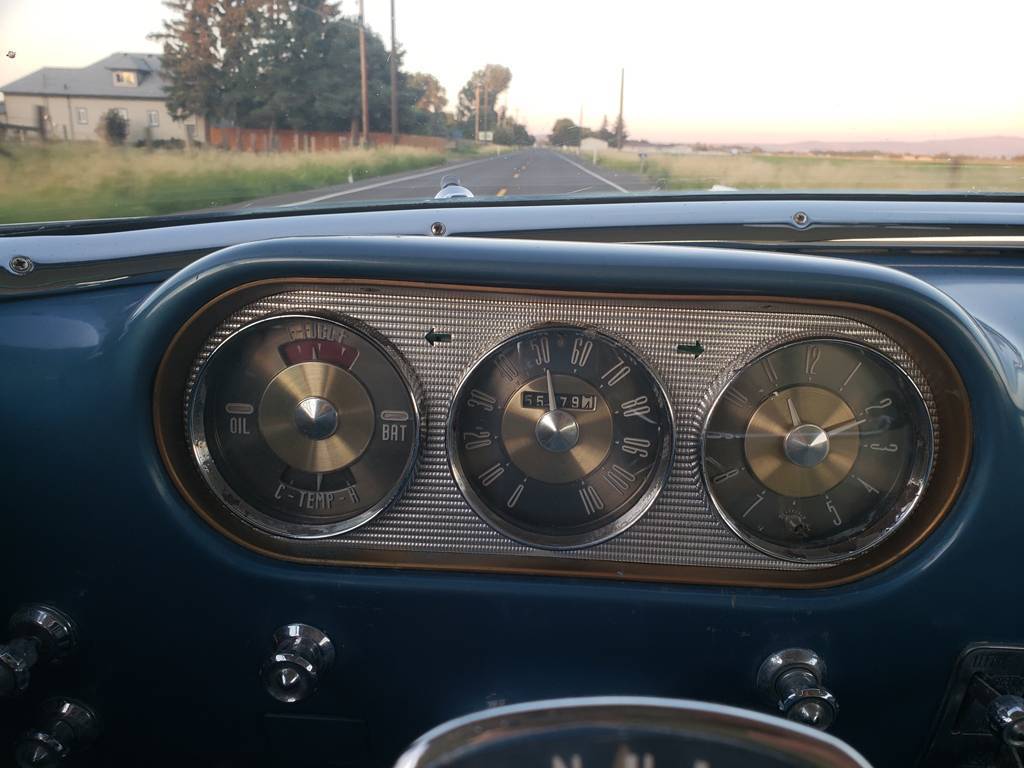
Posted on: 2021/7/9 23:22
|
|||
|
||||
|
Re: KPack
|
||||
|---|---|---|---|---|
|
Home away from home
|
Quote:
At some point I'll get a four post lift and all this will be much easier. Until then I will suffer like everyone else and get type F transmission fluid all over me. -Kevin
Posted on: 2021/7/9 17:17
|
|||
|
||||
|
Re: KPack
|
||||
|---|---|---|---|---|
|
Home away from home
|
Steve - I wasn't sure if it could be filled from there or not. Good to know. However, I still need to be under the car to check the level, right? Last I looked under that cover it didn't look like there was a way to pull the dipstick from inside the car.
-Kevin
Posted on: 2021/7/9 15:07
|
|||
|
||||
|
Re: KPack
|
||||
|---|---|---|---|---|
|
Home away from home
|
Thanks Don, that's good advice on the seals. I was wondering what I would use to replace them. I'll swing by Lowe's this weekend and pick up something that will work.
I finished reinstalling the heater box to the firewall and hooked all the parts up inside the cabin. I also cleaned up the replacement heater control valve (thanks Ross!) and installed that. My car was missing the valve when I got it. After I cleaned this one up I did my best to test it in water to see if it leaked. I didn't see any leaks, but my method may not have been the best. I will get new heater hoses, hook everything up, then continue to use straight water for the cooling system until I'm sure there are no leaks. If there are , I'll address them. If not, I'll drain the water and fill with 50/50 coolant mix. Doing some reading on the site, I realized that I may have done my transmission fluid fill wrong. I thought that I was supposed to let the car run for a minute or two, then turn it off and check the fluid. I think that gave me a false reading, like it was full. I didn't end up using all 12 quarts that the manual called for...I had just assumed that I hadn't fully drained the torque converter. Some posts talked about having the car running while checking the transmission fluid level, or having everything warmed up and checking the level within a minute after shutting off before the fluid left the TC. So last night I got the car up to temp, put it on jack stands and checked my levels. Way low. I added several quarts and checked again. I need to add another quart to get it to "Full", so I'll take care of that today. A quick test drive showed that the transmission felt much better and much more responsive. Thankfully I've only driven a handful of miles with it being low. Filling the transmission with the car on jack stands and engine running isn't fun. -Kevin Attach file: Heater control valve before.jpg (111.30 KB)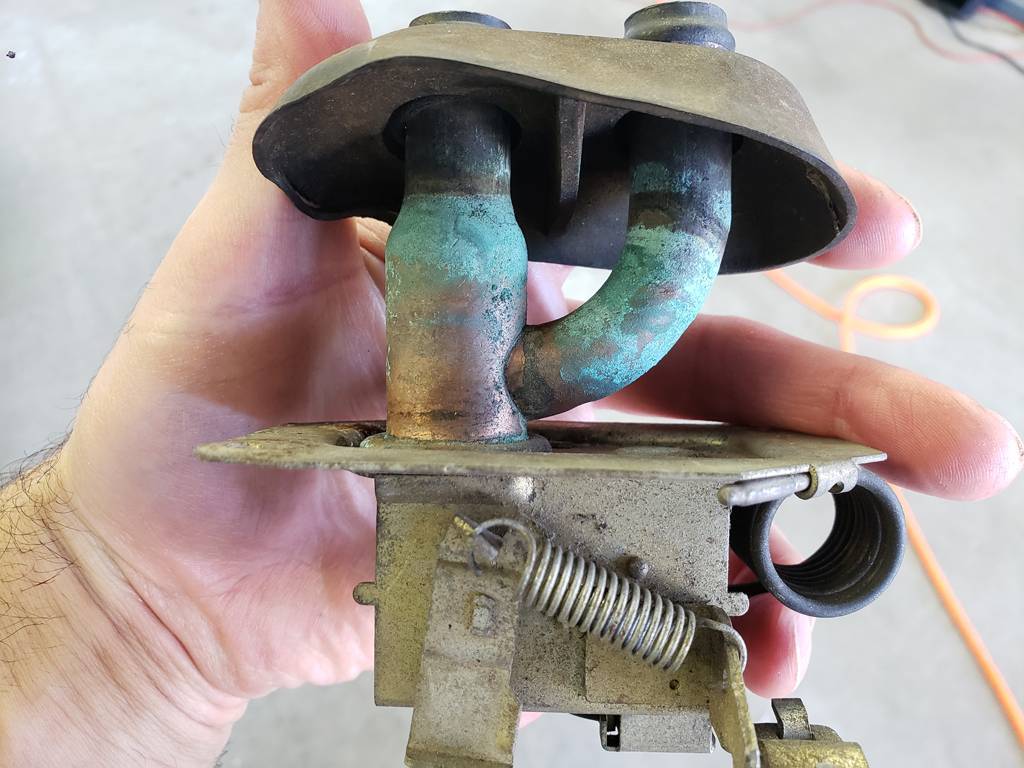 Heater control valve after.jpg (84.33 KB) Heater control valve after.jpg (84.33 KB)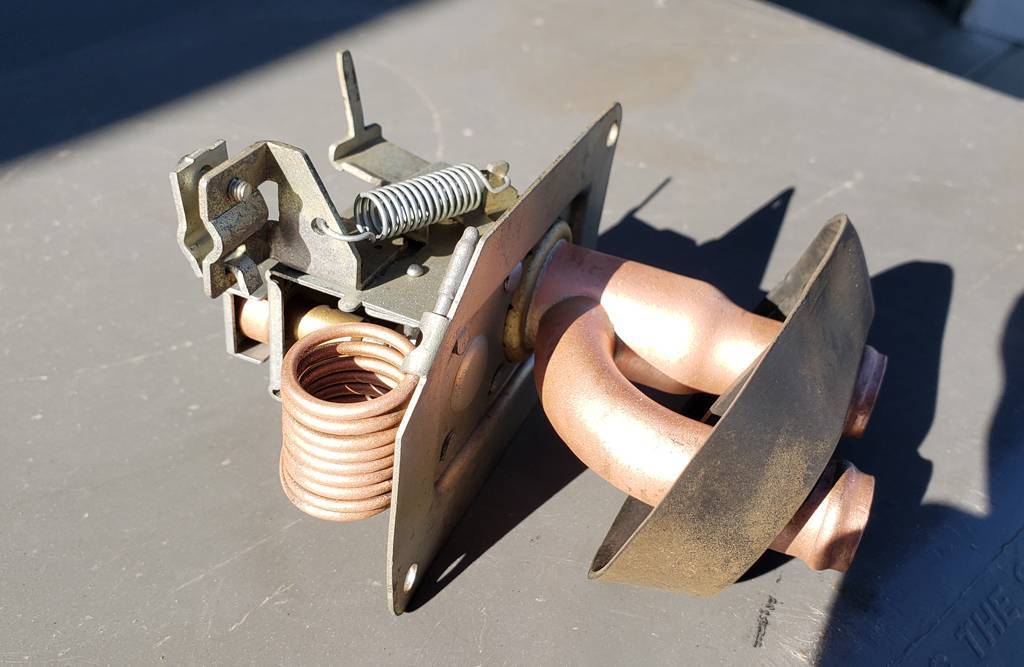
Posted on: 2021/7/9 12:44
|
|||
|
||||
|
Re: KPack
|
||||
|---|---|---|---|---|
|
Home away from home
|
Took some time the other day to work on a few parts. I pulled off the heater box to disassemble and clean it out, and to check the heater core. An amazing amount of sand poured out of every part of the box while doing so.
Someone had already been into the heater core in the past, since the two rear-facing screws were missing. I will leave them off so I can easily access the core without having to take the whole assembly off the firewall. I wire wheeled and sandblasted everything to bare metal, then painted it all with black appliance epoxy. I'm pretty sure the heater core has a leak because I could see wisps of vapor coming out of the box when I had it hooked up and the car warmed up. However, I submerged the core and put about 10 lbs of air pressure into and didn't see any bubbles. So I'm not sure. I can remove the heater box top and get to the core easily in the future if I need to. While I was in there I cleaned up the splash panel and air blower, then painted them as well. I will need to replace the flexible ducting at some point. Overall it looks less disgusting in the engine bay right now. Eventually I will need to pull the fenders and address the engine and exhaust. But at least it's beginning to look slightly better. -Kevin Attach file: Heater box.jpg (157.81 KB)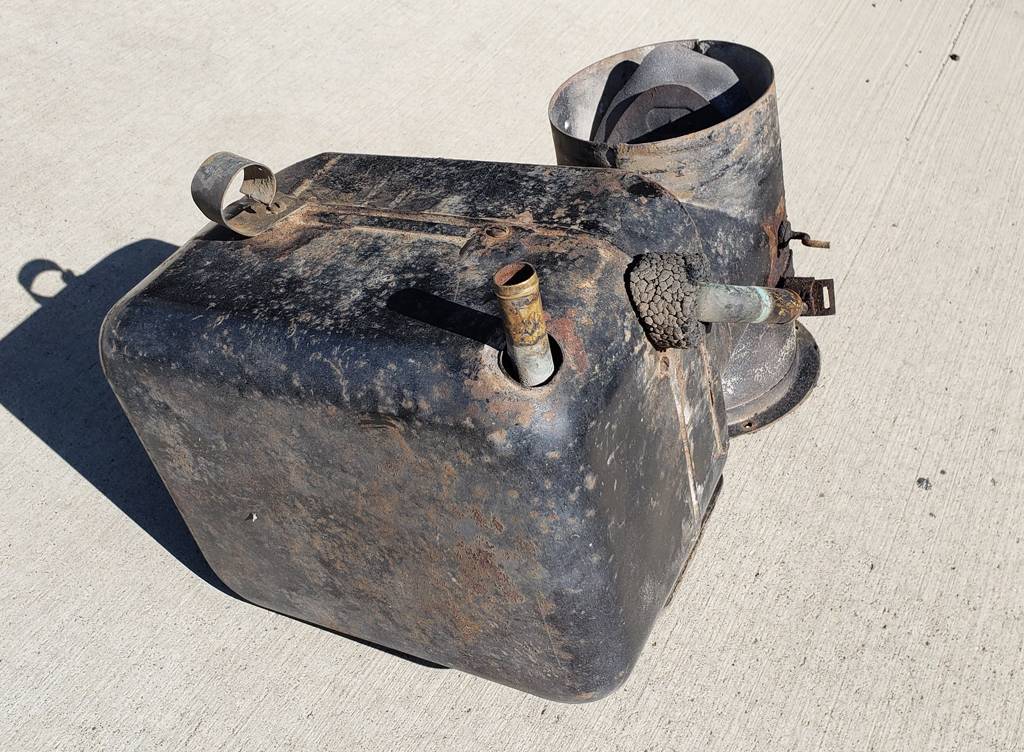 Sand on the inside.jpg (144.70 KB) Sand on the inside.jpg (144.70 KB) Heater core.jpg (393.93 KB) Heater core.jpg (393.93 KB)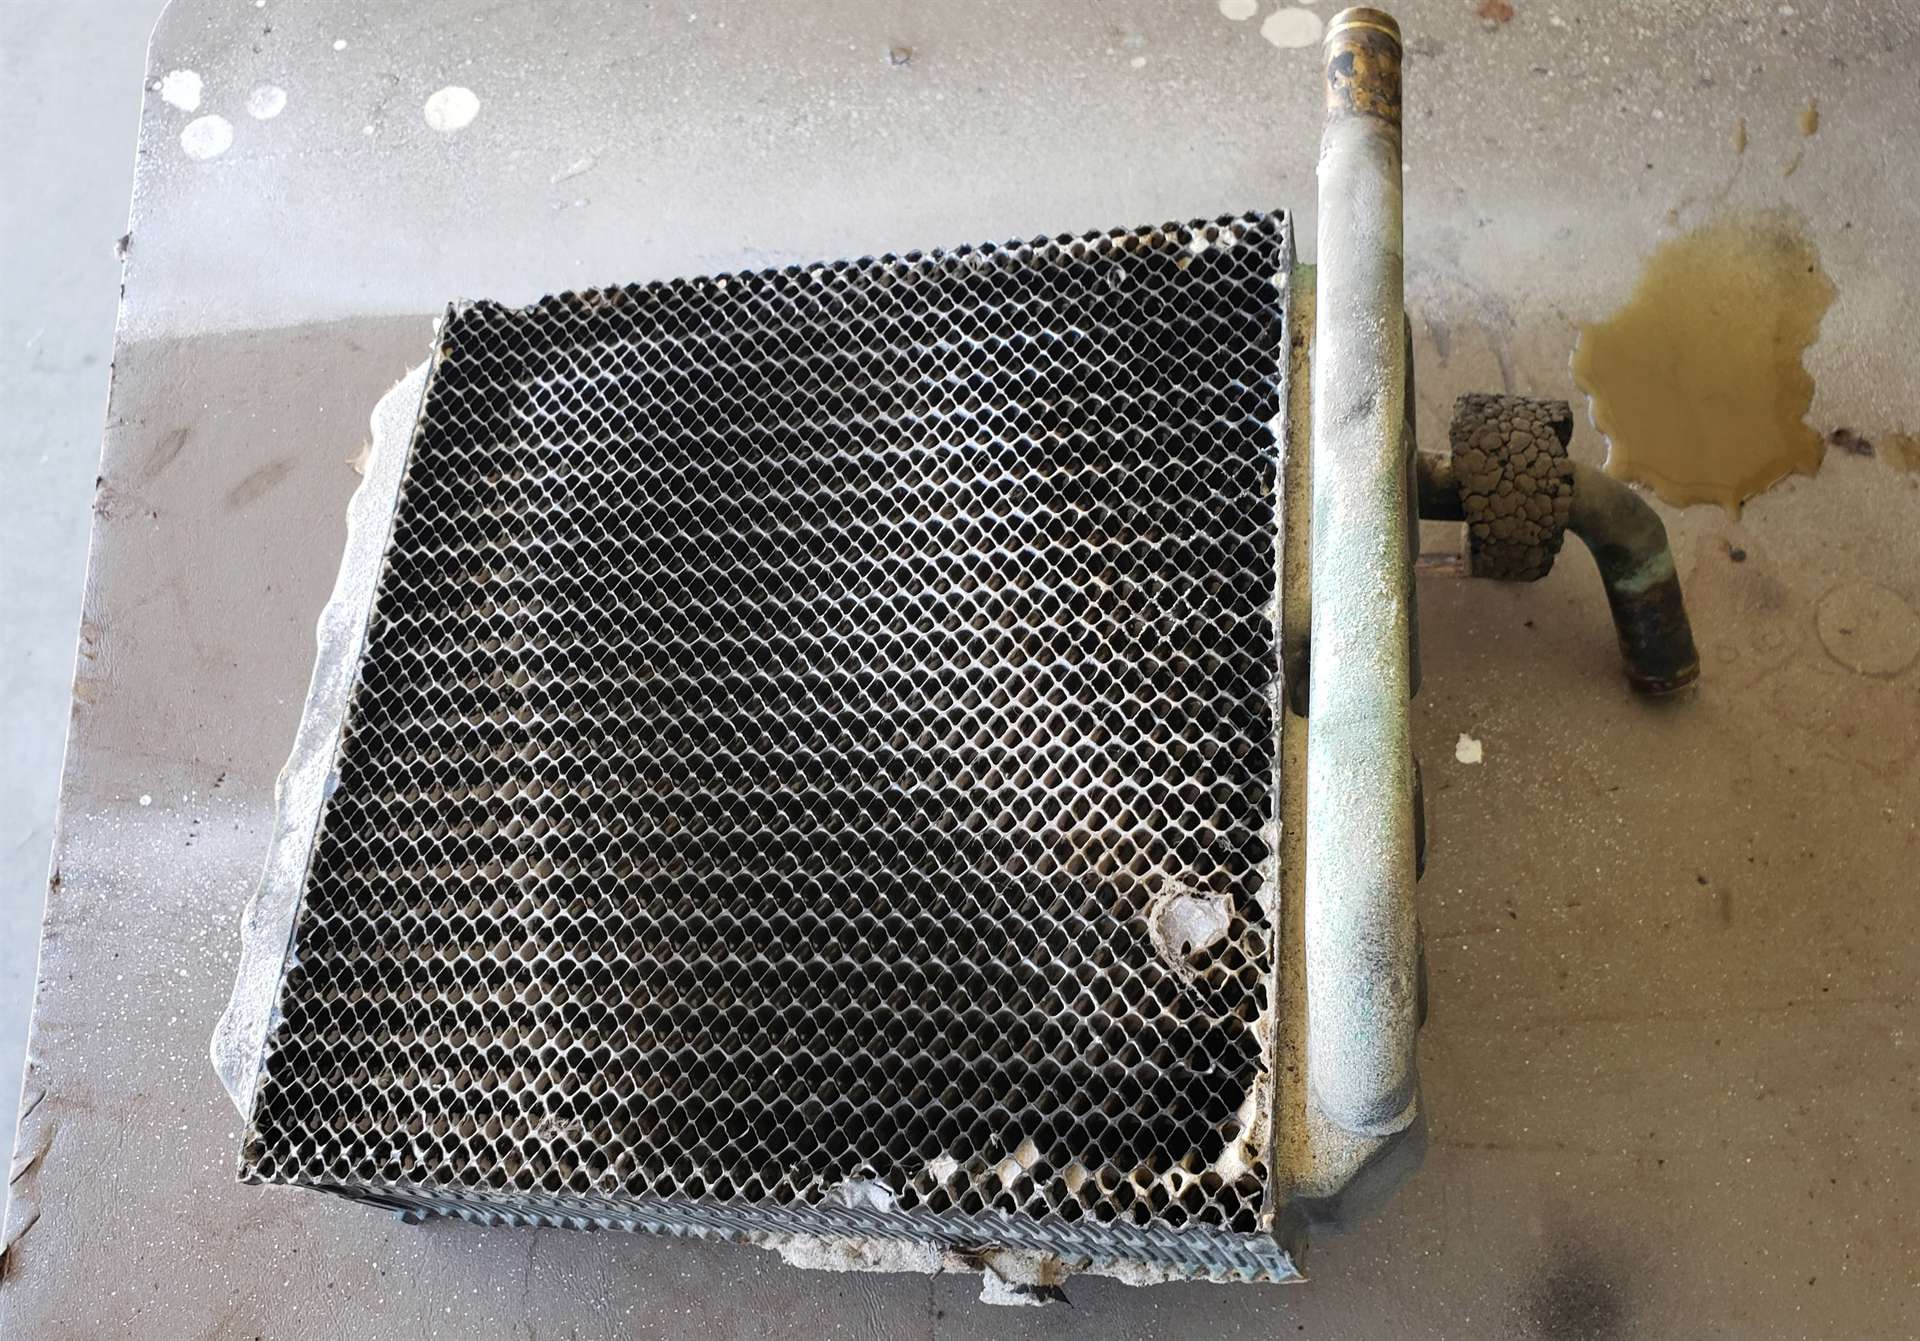 Heater box stripped and ready for paint.jpg (105.98 KB) Heater box stripped and ready for paint.jpg (105.98 KB) Heater box painted.jpg (68.31 KB) Heater box painted.jpg (68.31 KB) Air duct painted.jpg (102.76 KB) Air duct painted.jpg (102.76 KB)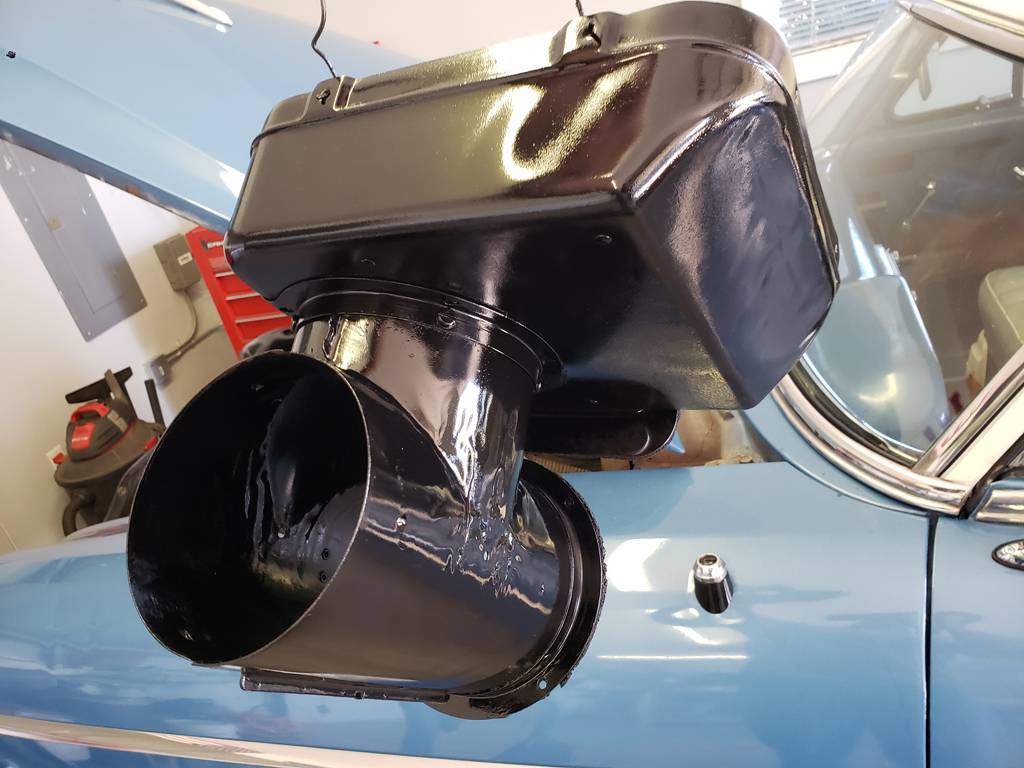 Clean heater box.jpg (92.31 KB) Clean heater box.jpg (92.31 KB)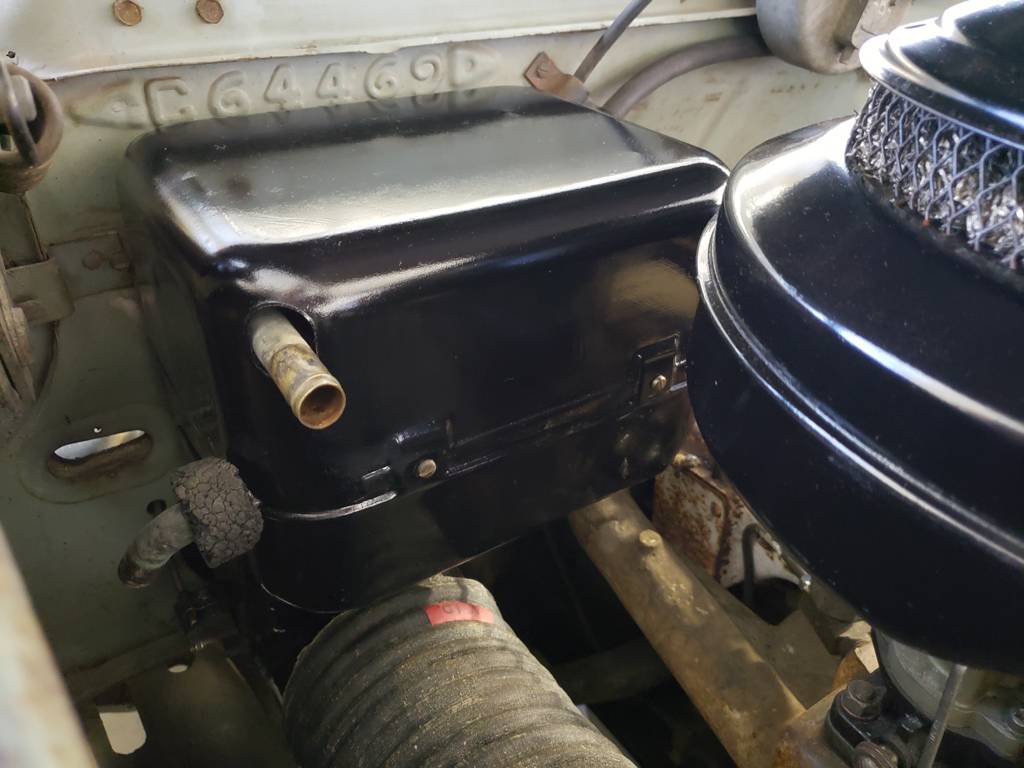 Heater box and engine bay before.jpg (121.11 KB) Heater box and engine bay before.jpg (121.11 KB)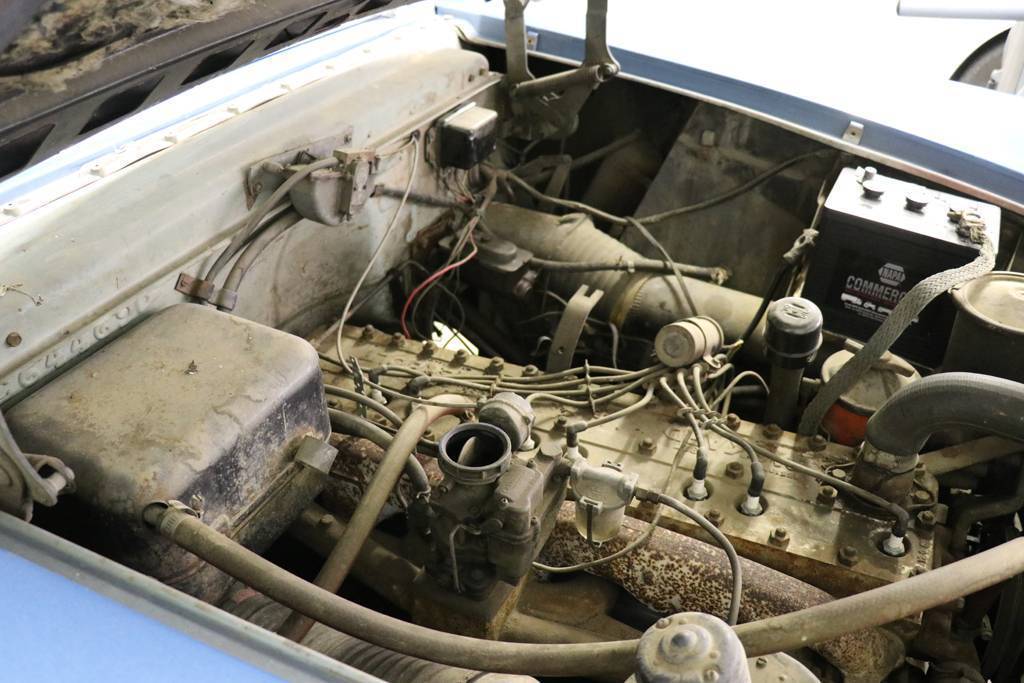 Engine bay looking slightly better.jpg (151.89 KB) Engine bay looking slightly better.jpg (151.89 KB)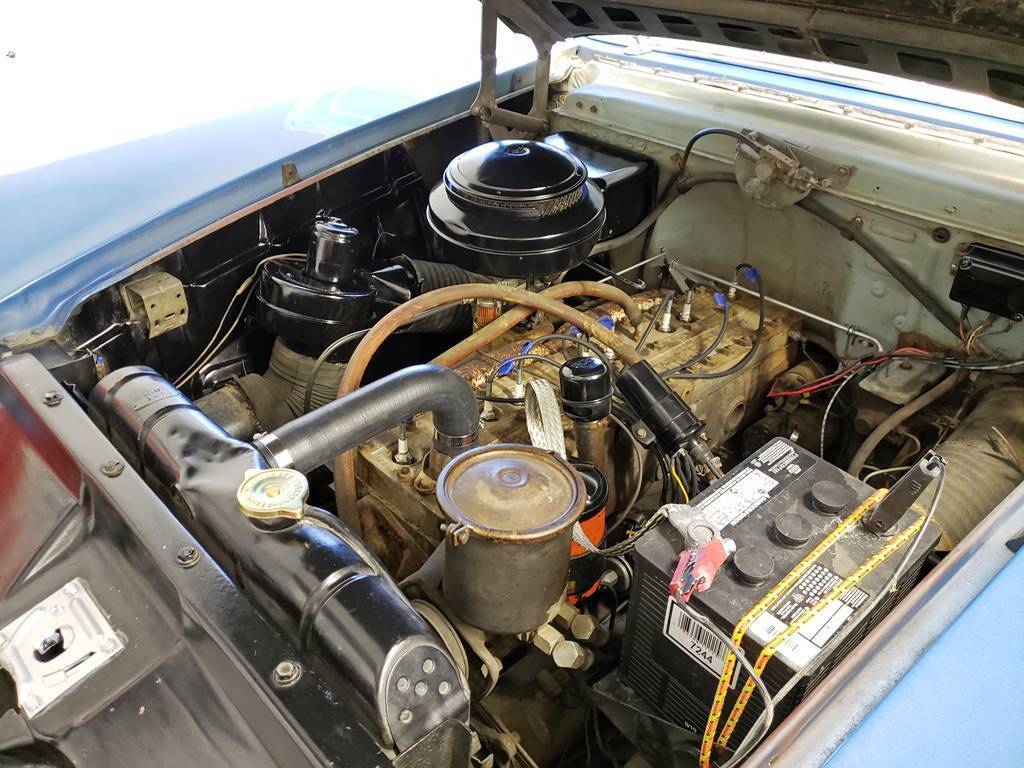
Posted on: 2021/7/7 21:24
|
|||
|
||||
|
Re: Brake pulling issue
|
||||
|---|---|---|---|---|
|
Home away from home
|
Marty, here you go!
-Kevin
Posted on: 2021/7/7 14:31
|
|||
|
||||
|
Re: Brake pulling issue
|
||||
|---|---|---|---|---|
|
Home away from home
|
Regarding arcing the shoes....I talked to a half dozen shops around me to see if I could get my shoes arced, and they all looked at me like I was from another planet. They either didn't know what it was, or didn't have the tools to do it. In a larger city I may have had better success, but I'm in a small place.
I agree with Don though....there are a lot of variables with the brakes and it would be nice to know what exactly was done when the brakes were worked on. My understanding is that changing the shoes requires the major brake adjustment outlined in the Service Manual (better yet watch Ross's video). Also, aren't drums normally turned when installing new shoes? Simple things like primary shoe towards the front or putting in the springs opposite might be part of the problem. Again, watch Ross's video. I've never done a thing with drum brakes before I did mine, but that video gave me confidence and now I know my brakes inside and out. -Kevin
Posted on: 2021/7/7 13:45
|
|||
|
||||


