|
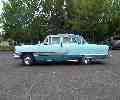
Re: BigKev's 1954 Packard Clipper Deluxe Sedan
|
||||
|---|---|---|---|---|
|
Webmaster
|
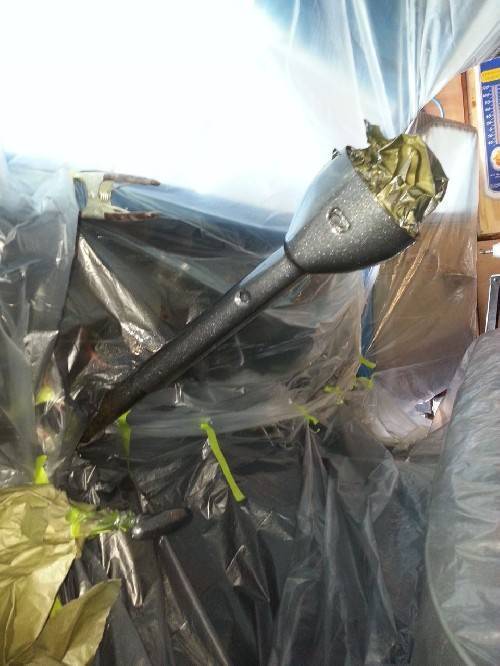
Need about one more pint of paint to finish painting the steering column, the package tray cardboard (after I make a new one), and do a few touchups on the back side of those parts. Put I will let these cure off for several days first. They make go out in the hot sun tomorrow. Still tacky at the moment.
Posted on: 2013/9/6 21:22
|
|||
|
-BigKev
1954 Packard Clipper Deluxe Touring Sedan -> Registry | Project Blog 1937 Packard 115-C Convertible Coupe -> Registry | Project Blog |
||||
|
||||
|
Re: BigKev's 1954 Packard Clipper Deluxe Sedan
|
||||
|---|---|---|---|---|
|
Webmaster
|
Jim, thanks!
Posted on: 2013/9/8 19:07
|
|||
|
-BigKev
1954 Packard Clipper Deluxe Touring Sedan -> Registry | Project Blog 1937 Packard 115-C Convertible Coupe -> Registry | Project Blog |
||||
|
||||
|
Re: BigKev's 1954 Packard Clipper Deluxe Sedan
|
||||
|---|---|---|---|---|
|
Webmaster
|
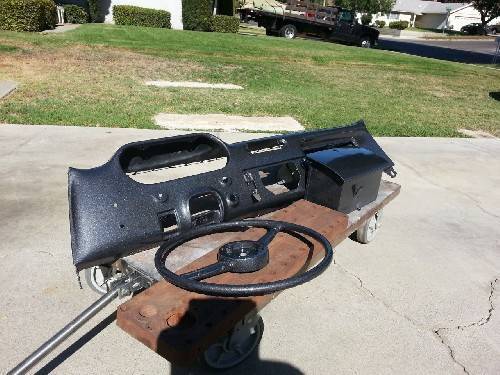
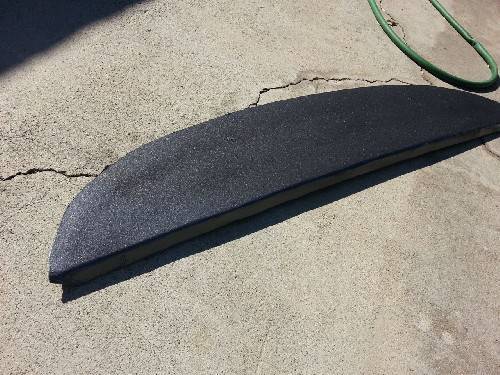
Got a new rear package tray made out of some cowlboard (door panel board), and painted it and also the steering column.
Let some of the parts to cure in the hot sun here. The sun and the camera flash make the metallic in the paint just look crazy. Way more subdued in regular light.
Posted on: 2013/9/8 19:09
|
|||
|
-BigKev
1954 Packard Clipper Deluxe Touring Sedan -> Registry | Project Blog 1937 Packard 115-C Convertible Coupe -> Registry | Project Blog |
||||
|
||||
|
Re: BigKev's 1954 Packard Clipper Deluxe Sedan
|
||||
|---|---|---|---|---|
|
Webmaster
|
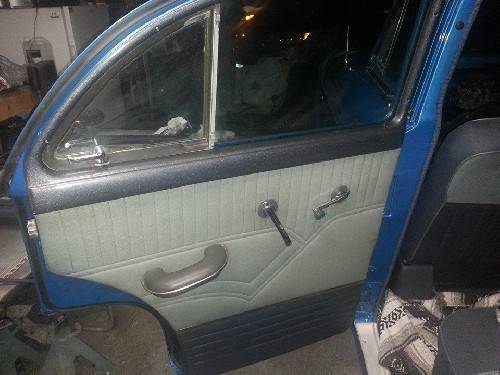
Here is what the color actually looks like in the car. The paint on the window garnish moldings are a good match for the material on the bottom of the original Super Clipper door panels.
Posted on: 2013/9/9 11:49
|
|||
|
-BigKev
1954 Packard Clipper Deluxe Touring Sedan -> Registry | Project Blog 1937 Packard 115-C Convertible Coupe -> Registry | Project Blog |
||||
|
||||
|
Re: BigKev's 1954 Packard Clipper Deluxe Sedan
|
||||
|---|---|---|---|---|
|
Webmaster
|
Worked a little on the car last night...but it was a bit of a study in frustration. I thought I was going to make life easier for myself by buying a "Interior Screw Trim Set" from Max Merritt. But upon using the screw set to installed the rear windshield garnish moulding, I realized that while similar, the screws are not the same as the original, and as such they made a simple task a PITA.
There are long, medium, and short screws that are used to retain both halves of the moulding. The problem is that the short Max Merritt supplied screws just wouldn't reach in some places where they were supposed to. But when visually compared to the original screws, they were the same length. But after a lot of cursing, I realized the screws are not the same. The Max screws have a different (larger) head design, when causes them not to countersink in the the trim enough, as such, this make them just a have to short to engage the slot on the body. So I took my rusted original screws, ran them through the buffer wheel to repolish them, and then went right in without any fuss. The OEM Packard screws use a much smaller oval head then a standard oval head screw of the same size. The allows the screw to counter sink fully below the surface of the moulding. The Max supplied screws are standard style oval head screws, and crown of the screw actual sits above the surface of the molding because the head is too large to sink in the countersunk area of the moulding. Just something to be aware of if you are using the Max supplied screws, or are buying replacement screws from the local hardware store.
Posted on: 2013/9/10 12:26
|
|||
|
-BigKev
1954 Packard Clipper Deluxe Touring Sedan -> Registry | Project Blog 1937 Packard 115-C Convertible Coupe -> Registry | Project Blog |
||||
|
||||
|
Re: BigKev's 1954 Packard Clipper Deluxe Sedan
|
||||
|---|---|---|---|---|
|
Home away from home
|
I agree, do some samples before you select the sizes. I ended up using #8 stainless screws from Lowes in 1/2, 3/4, and 1 inch sizes. The oval head screws seemed to work well for me. I am anxious to see how your headliner goes in before I attempt to do mine.
Posted on: 2013/9/10 12:34
|
|||
|
||||
|
Re: BigKev's 1954 Packard Clipper Deluxe Sedan
|
||||
|---|---|---|---|---|
|
Home away from home

|
Quote:
Kevin, I did the same thing awhile back (right after you painted the car). Your patience and persistence has paid off!!
Posted on: 2013/9/10 12:37
|
|||
|
||||
|
Re: BigKev's 1954 Packard Clipper Deluxe Sedan
|
||||
|---|---|---|---|---|
|
Webmaster
|
Willis, headliner is probably going to wait a little bit. Time and money ya know. For now, everything is going back in the car so I can get the painted parts off the ground and workbench. Also I want to get the dash and electrical back together so I can get the car running again. It's been a while, and probably needs some fluid changes to boot.
Posted on: 2013/9/10 13:17
|
|||
|
-BigKev
1954 Packard Clipper Deluxe Touring Sedan -> Registry | Project Blog 1937 Packard 115-C Convertible Coupe -> Registry | Project Blog |
||||
|
||||
|
Re: BigKev's 1954 Packard Clipper Deluxe Sedan
|
||||
|---|---|---|---|---|
|
Home away from home
|
On the stainless screws for interior trim I go to Lowes Homedepot or order smsll box from mcMaster Carr MSC or Grainger if you buy small box you will have spares or give some to another person doing a restoration or what ever. You will always run into some one who can use a few I keep some in my supply suitcase in my trunk
Posted on: 2013/9/10 19:21
|
|||
|
||||

 (93.20 KB)