|
Re: 51Packard's....51 Packard
|
||||
|---|---|---|---|---|
|
Home away from home

|
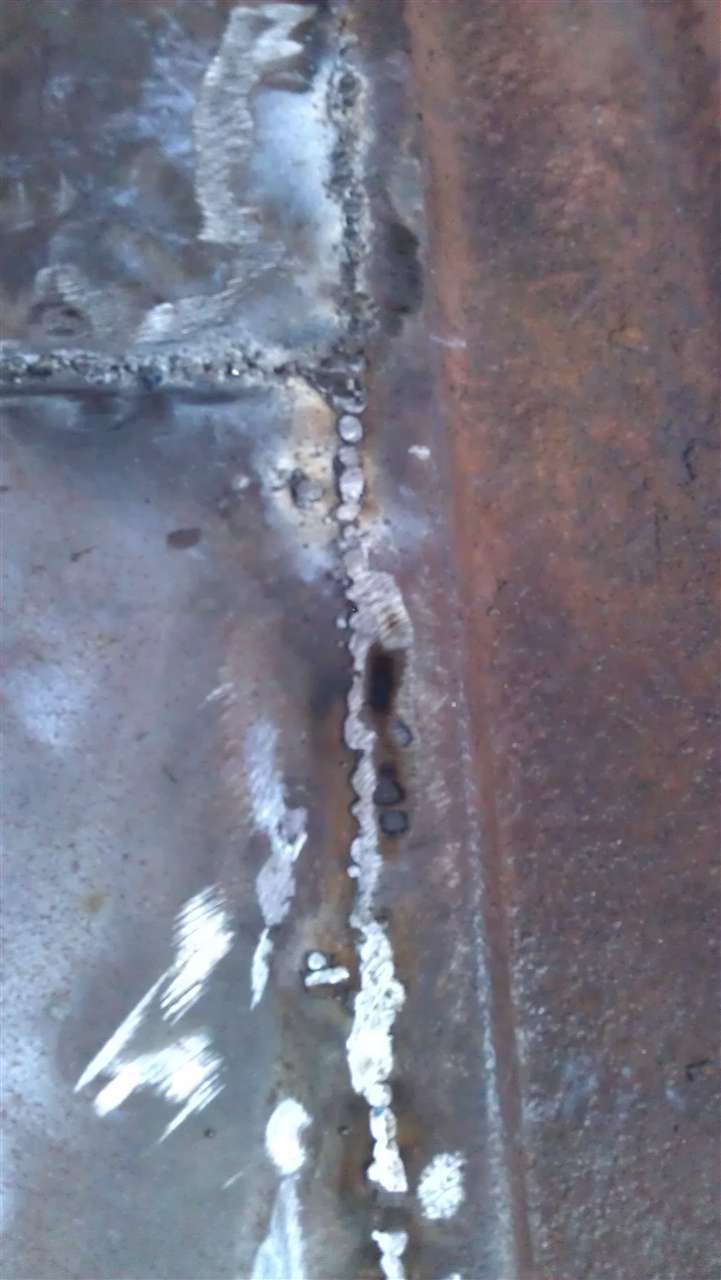
Try cutting back on your wire feed and going slower. You need more penetration. This is a common failing with MIG welders. Slow down and see how much better your welds get. If you have trouble seeing the weld put a strong light on the work area. When you have the knack of making good welds you can increase the power and the wire speed and weld faster.
Posted on: 2012/3/21 22:36
|
|||
|
||||
|
Re: 51Packard's....51 Packard
|
||||
|---|---|---|---|---|
|
Home away from home

|
Will do Rusty. I see what you mean. The welds seem higher than examples that I see on the internet. They should be flatter showing it is penetrating better.
Posted on: 2012/3/25 17:27
|
|||
|
[url=h
|
||||
|
||||
|
Re: 51Packard's....51 Packard
|
||||
|---|---|---|---|---|
|
Home away from home
|
3-25-12
Not much progress this weekend. I bought a new spacer piece that goes between the engine block and the fuel pump bolts to replace the one I lost. It was a little too long so I ground it down to size and ground the edge so it would sit inside the housing like the OEM one did. Bolted that in and tried to attach the vacuum line but ti wouldn't line up. I'll have to adjust the bends in it. Took the fan and pulley back off, sanded the hub, and reassembled. The pulley still seems a little off compared to the pulley on the generator. Maybe it was always that way and nothing to worry about. Bought some new bolts to attach the generator, but I don't know which bolt is which in the parts book. I thought I bought the right size one that connects the generator adjustment strap to the water pump, but I am not sure. Seems too long. You can see it sticking out in the pic. I have about 1/4" screwed in so far. Attach file:  (57.94 KB) (57.94 KB)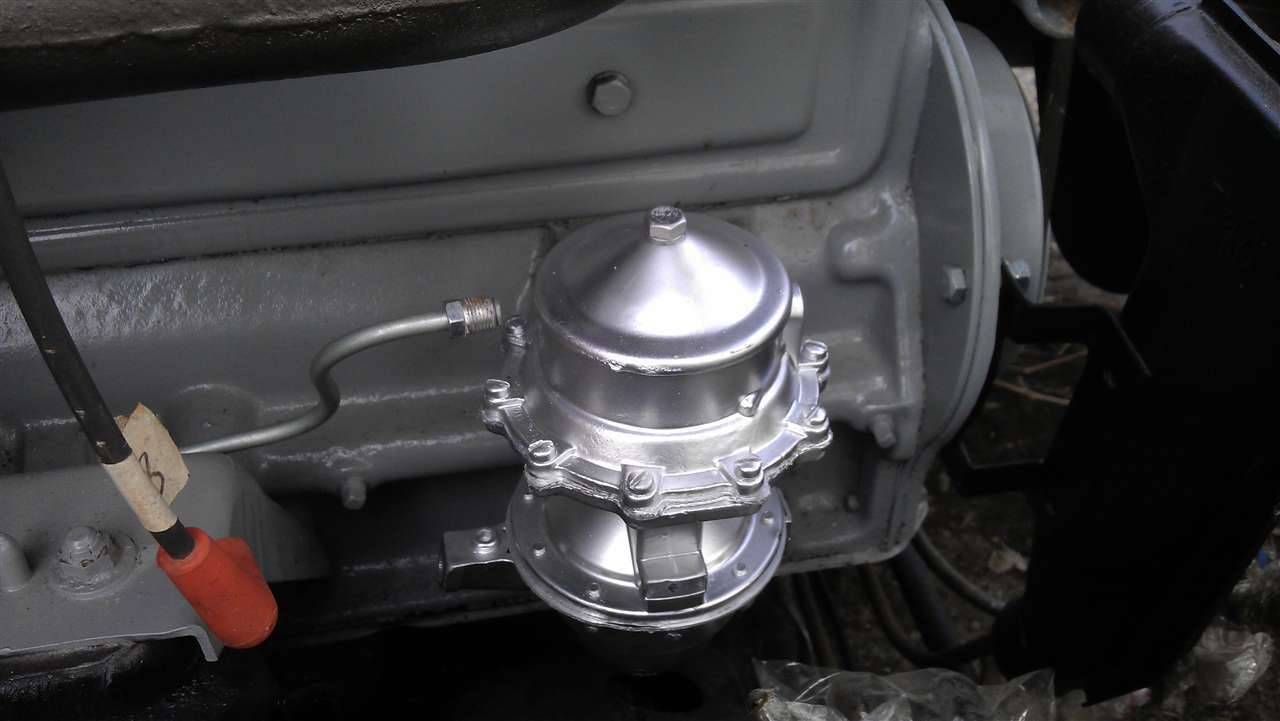 (106.46 KB) (106.46 KB)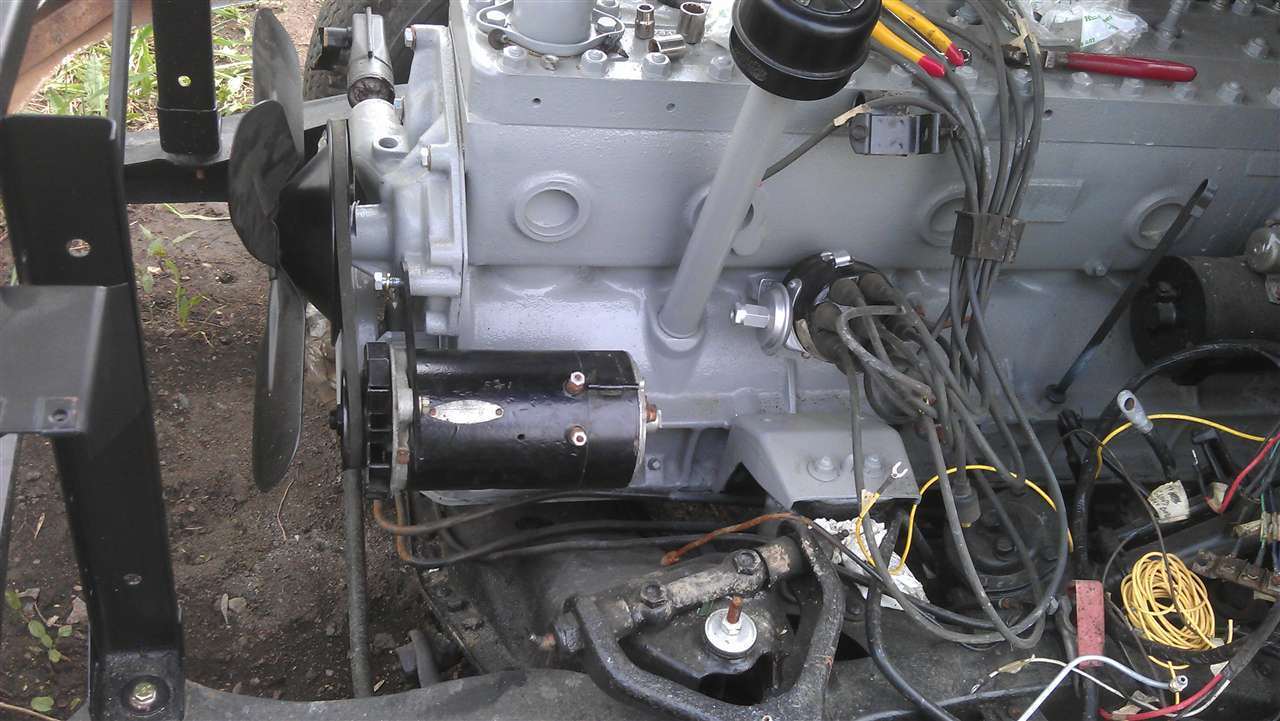
Posted on: 2012/3/25 17:36
|
|||
|
[url=h
|
||||
|
||||
|
Re: 51Packard's....51 Packard
|
||||
|---|---|---|---|---|
|
Home away from home
|
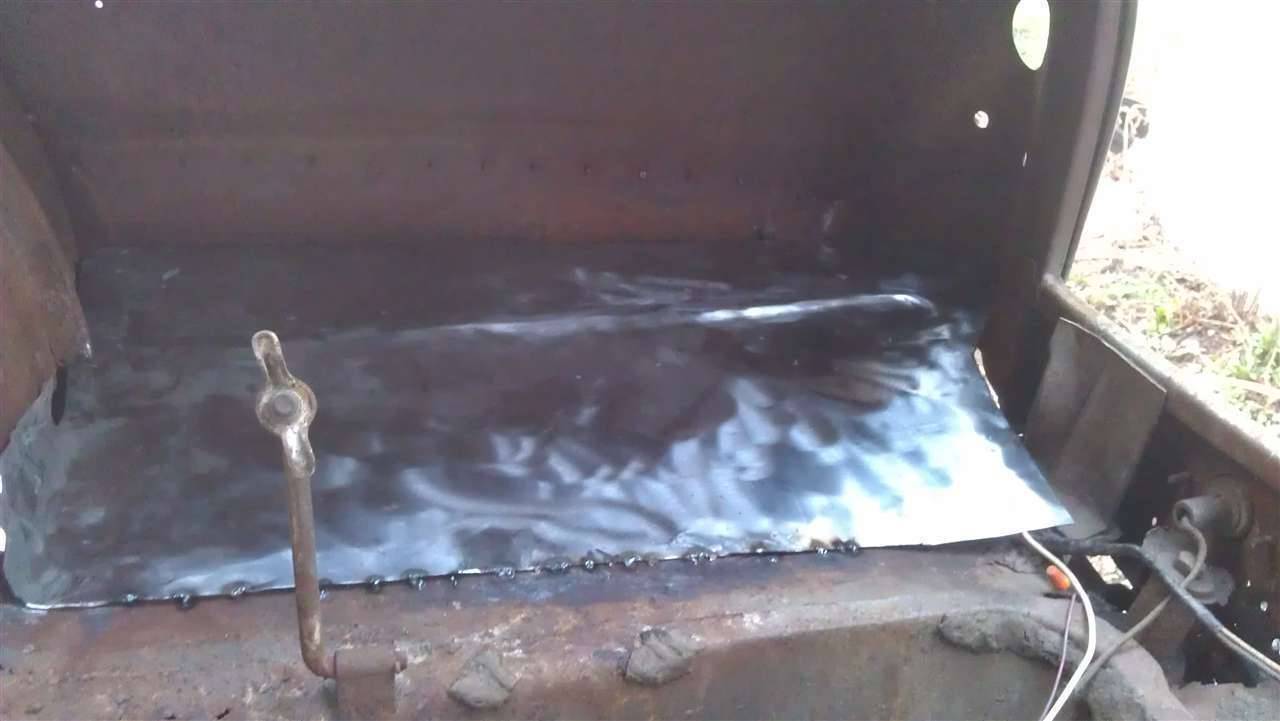
3-26-12
Another attempt at welding today. I took Rusty's advice and slowed down and reduced the wire feed. Seems to have helped and the welds are not as built up as before, but another problem arose. Both gauges on the regulator now do not work so I have no idea how much gas is being fed to the welds. I was getting a lot of brown around them so I thought I should turn up the gas a little. Not sure if that even helped. Didn't have a chance to grind them down yet and look for holes. Yesterday while looking through the plate pictures in the parts manual, I came across a pic of the trunk pan. Looks like I bent the strengthening channel in the new panel wrong. I made it come up instead of going down. The drivers side was raised so I assumed the other side would be the same. We all know what happens when we assume! Oh well, live and learn. I'm certainly not going to do anything about it at this point. I'm sure no one besides a Packard owner will be able to tell. Attach file: (82.33 KB)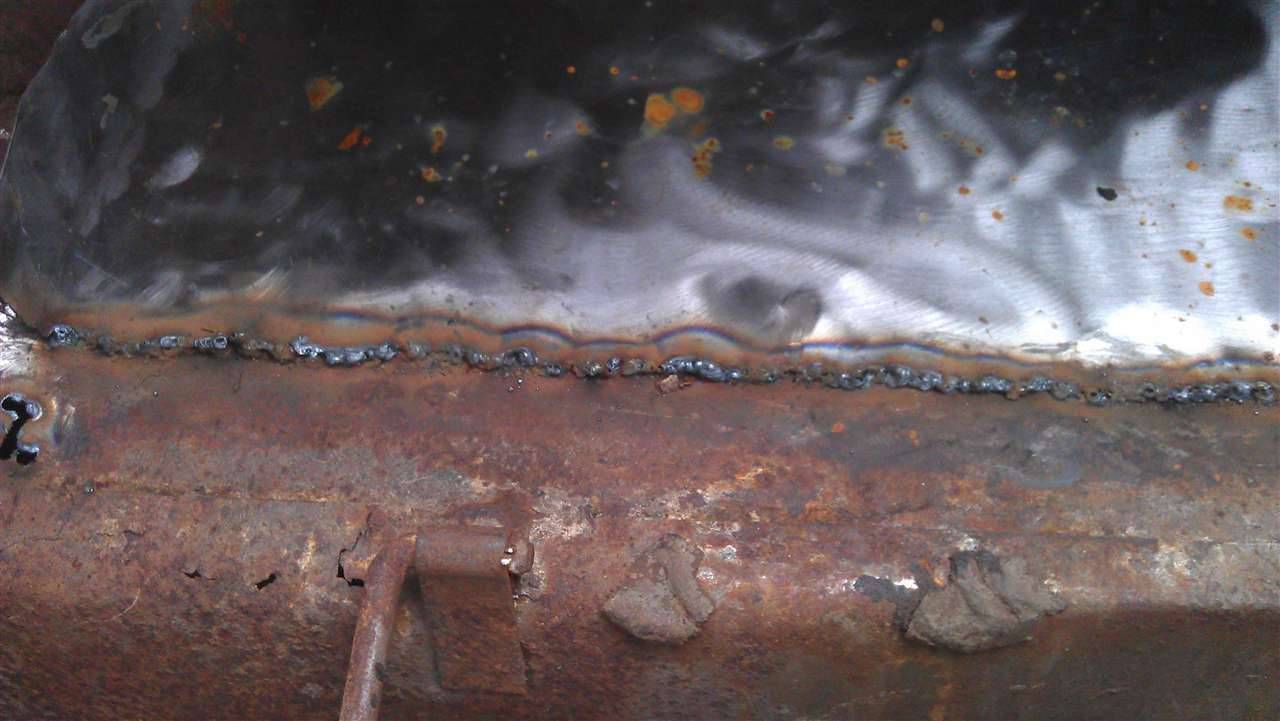 (74.08 KB) (74.08 KB)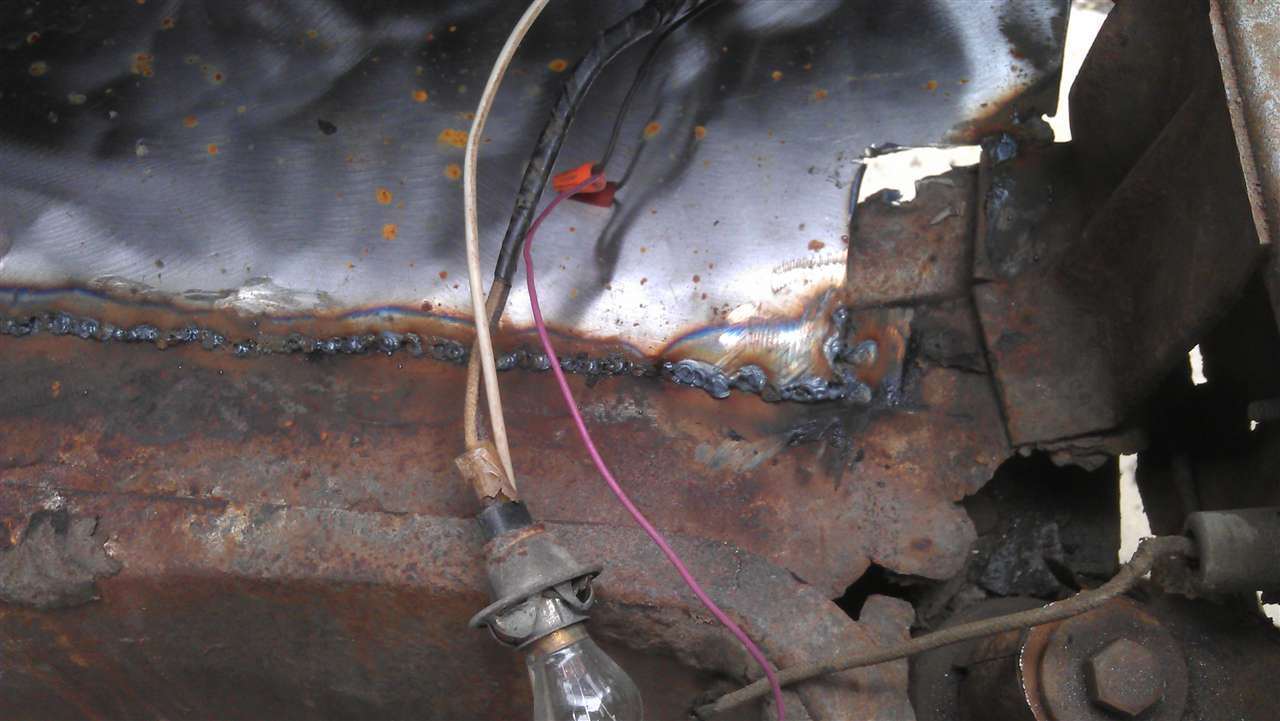
Posted on: 2012/3/26 18:19
|
|||
|
[url=h
|
||||
|
||||
|
Re: 51Packard's....51 Packard
|
||||
|---|---|---|---|---|
|
Just can't stay away
|
I got into reading this discussion late, but, for filling any little holes in the body I would suggest using lead. I did that on my '51 300 and am quite pleased with the results. It takes a bit of practice, but you get a repair that will not fall off the steel, is very hard after it cools, and will never rust. I buy lead from ACRO Sales in Menomonee Falls WI. IT is called 3070 acroloy bar solder. It comes in 1/4lb bars. You will also need the tinning compound available at the same source. Their phone #is 262/781-8940.
Last time I bought lead it was about 5.75/lb (a whole lot cheaper than Eastwood), and you can remelt the drips and small pieces left to make new bars. The wooden paddles are usually available on e-bay along with the vixen files etc. Try it I know you will like it.
Posted on: 2012/3/26 20:05
|
|||
|
||||
|
Re: 51Packard's....51 Packard
|
||||
|---|---|---|---|---|
|
Home away from home
|
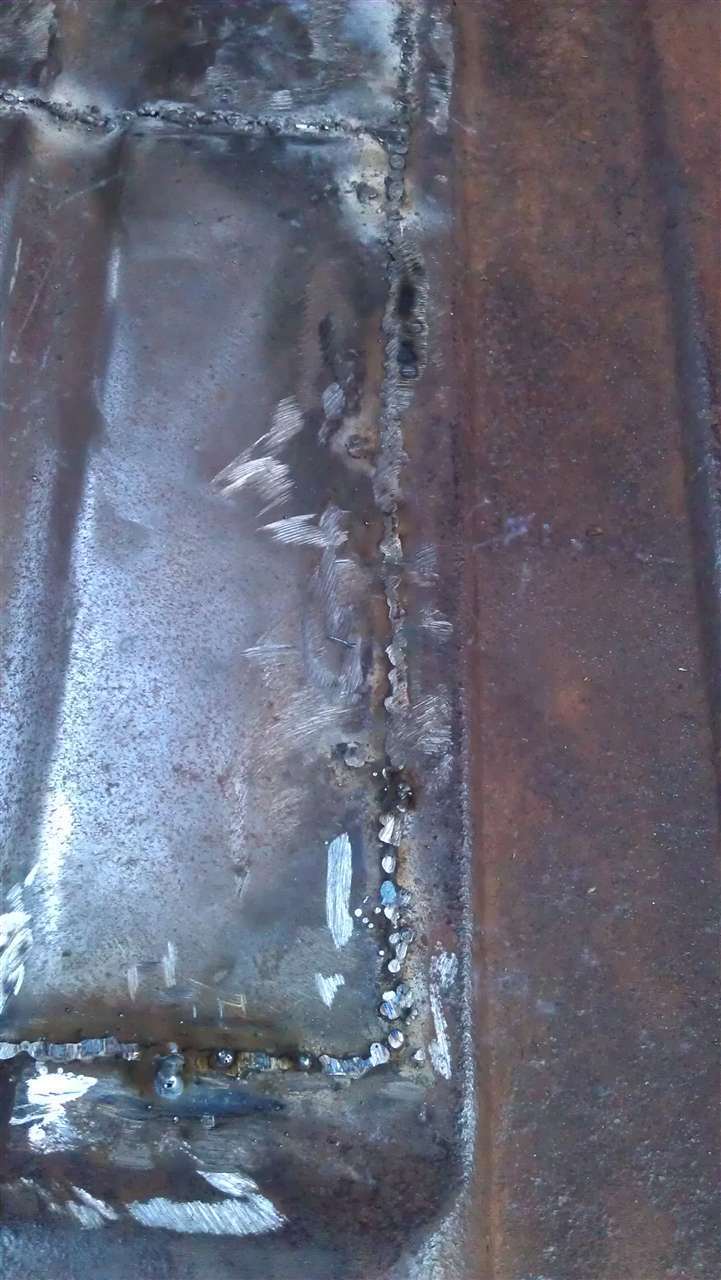
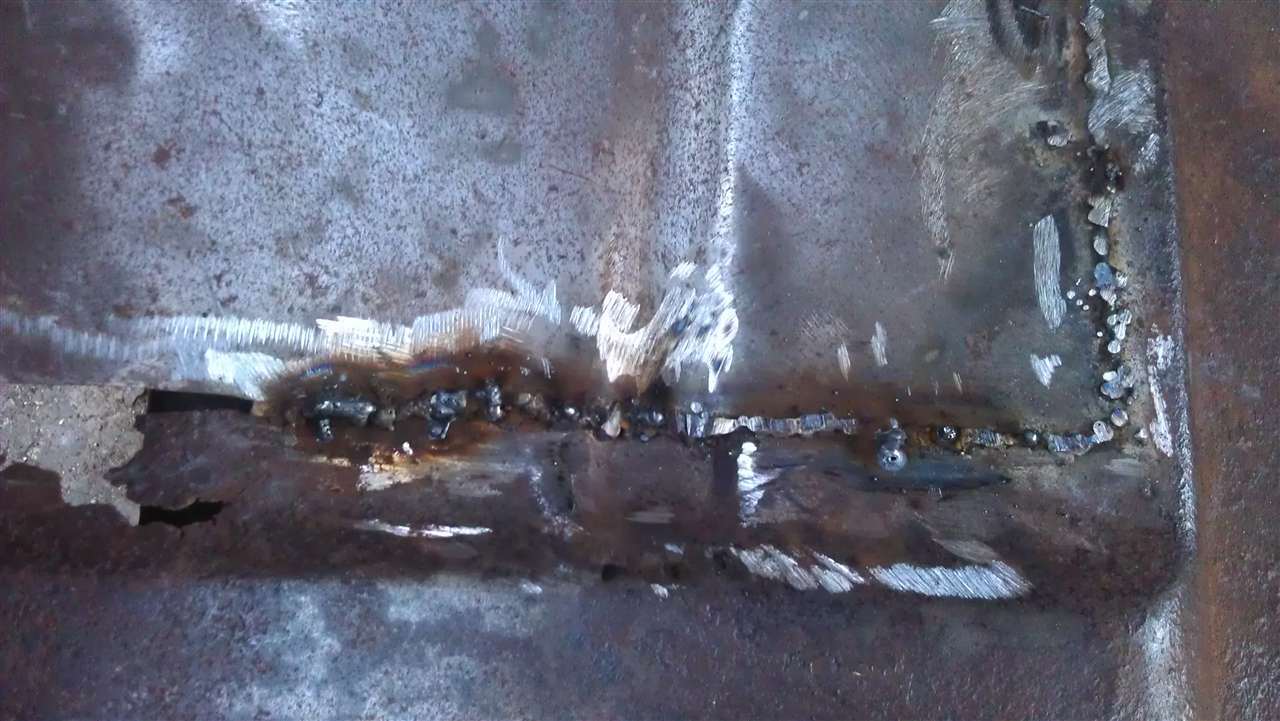
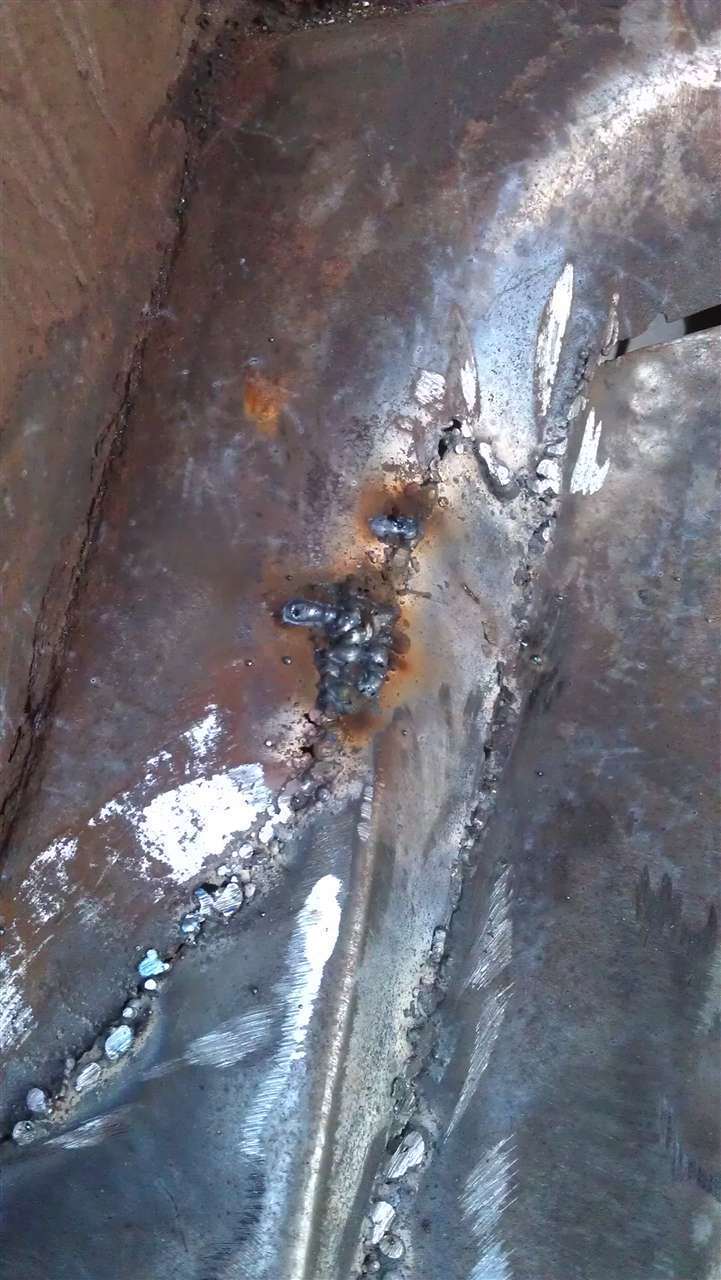
Your welds do not seem to be penetrating. You need to get all the rust and paint off, grind the weld area down to clean metal. Welding will go a lot easier. The weld should melt right in. You may want to increase the power but not so much you burn through. Don't be discouraged, you might want to practice on a few scrap pieces and see what settings work best.
Posted on: 2012/3/26 22:24
|
|||
|
||||
|
Re: 51Packard's....51 Packard
|
||||
|---|---|---|---|---|
|
Home away from home
|
Thanks guys! I have always wanted to learn how to lead but it seems really hard. Good to know that supplies are really close to me!
Rusty, next time, I will try more voltage. I noticed that my panel lifted on me while I was welding it in so I have a small bump there. Looks bad, but I will fix it with some kind of filler. Although my pics do not show it, I had bare metal before welding. Next patch, I will try to clean it more.
Posted on: 2012/3/27 19:48
|
|||
|
[url=h
|
||||
|
||||
|
Re: 51Packard's....51 Packard
|
||||
|---|---|---|---|---|
|
Home away from home
|
3-27-12
Today was spent cleaning up the trunk area. Rusty mentioned that maybe my weld area was not derusted enough. I ground the welds down and wire brushed it again. While I was at it, I wire brushed some more areas of the trunk and guess what? More rust holes appeared! I feel really down about this, but I will recover. I honestly had no idea the trunk was this bad off. Hind sight being 20/20, I would have been ahead of the game if I would have bought the bullet and bought the trunk pan from Classic 2 Current. Oh well. I will persevere. The trunk will definitely not pass for OEM, but now my goal must be to have a strong car body again, regardless of what it looks like. I will just have to cover it all up with filler, lead, carpet or whatever. I also tested my theory that the passenger side of the car is sagging (resting on the frame) causing the trunk to be misaligned. I jacked the car up really high and put a 2x4 in the wheel well between the fender and tire. I lowered the car so the body was being supported by the 2x4 and the frame dropped down. The trunk did not align so I jacked up the back part of the body by putting some plywood under the new patch panel I put in. My welds do not look great, but they are definitely strong because I was able to jack up the car body with pressure only on that panel and my welds. Tested the trunk lid again and still not a good fit. Then I took out a level and did some tests. The trunk lid is straight across, but the back filler panel droops on both ends. Looks like the middle must have been pushed up causing a hill. One more hurdle to overcome! Attach file: (71.85 KB)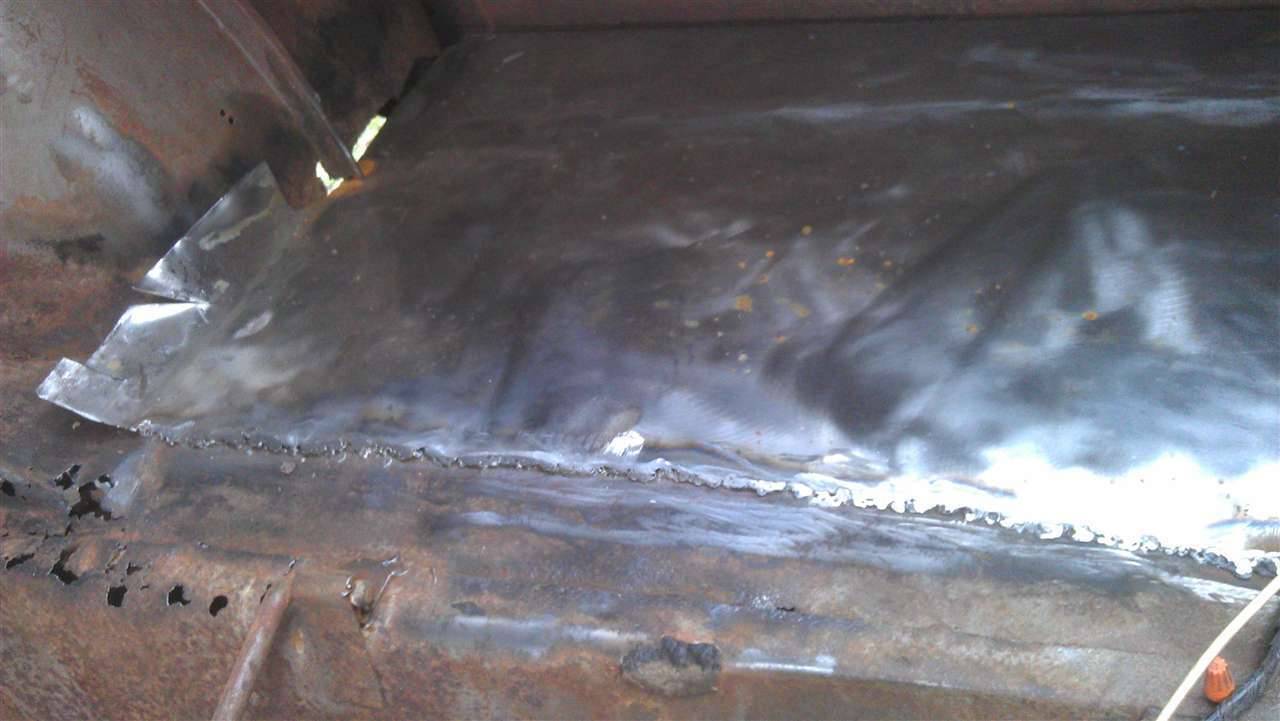 (58.85 KB) (58.85 KB)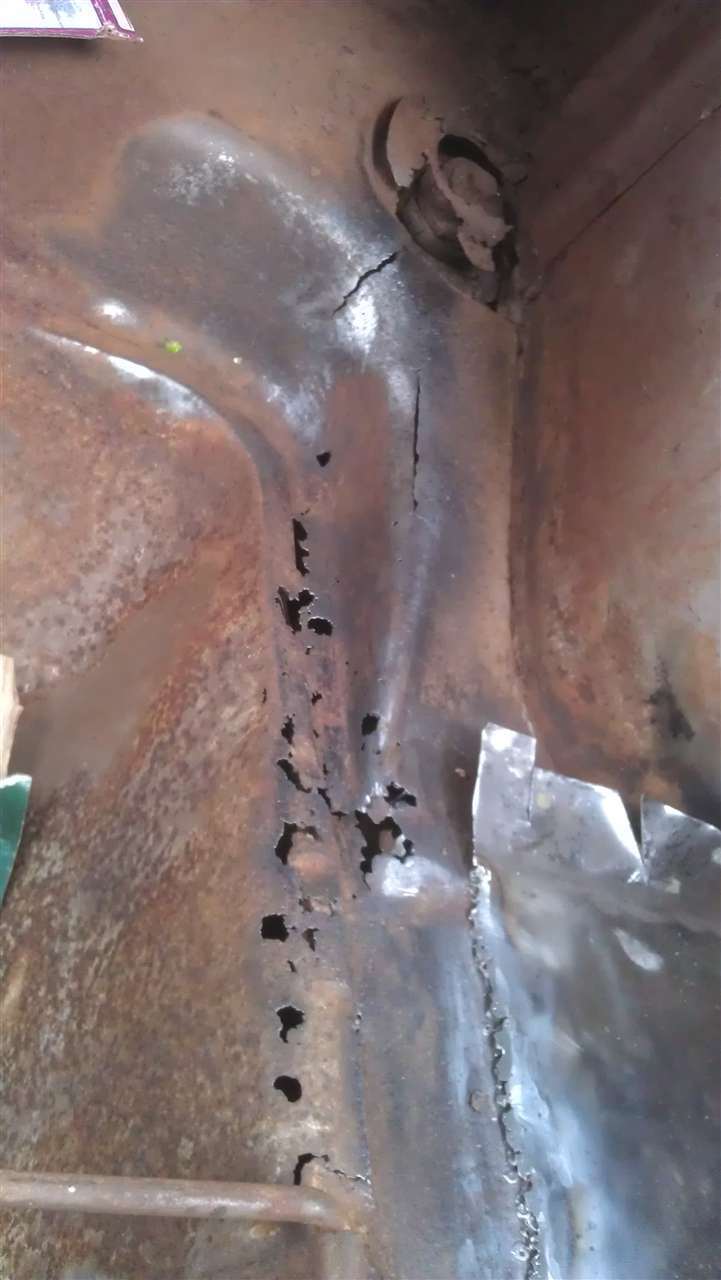 (70.87 KB) (70.87 KB)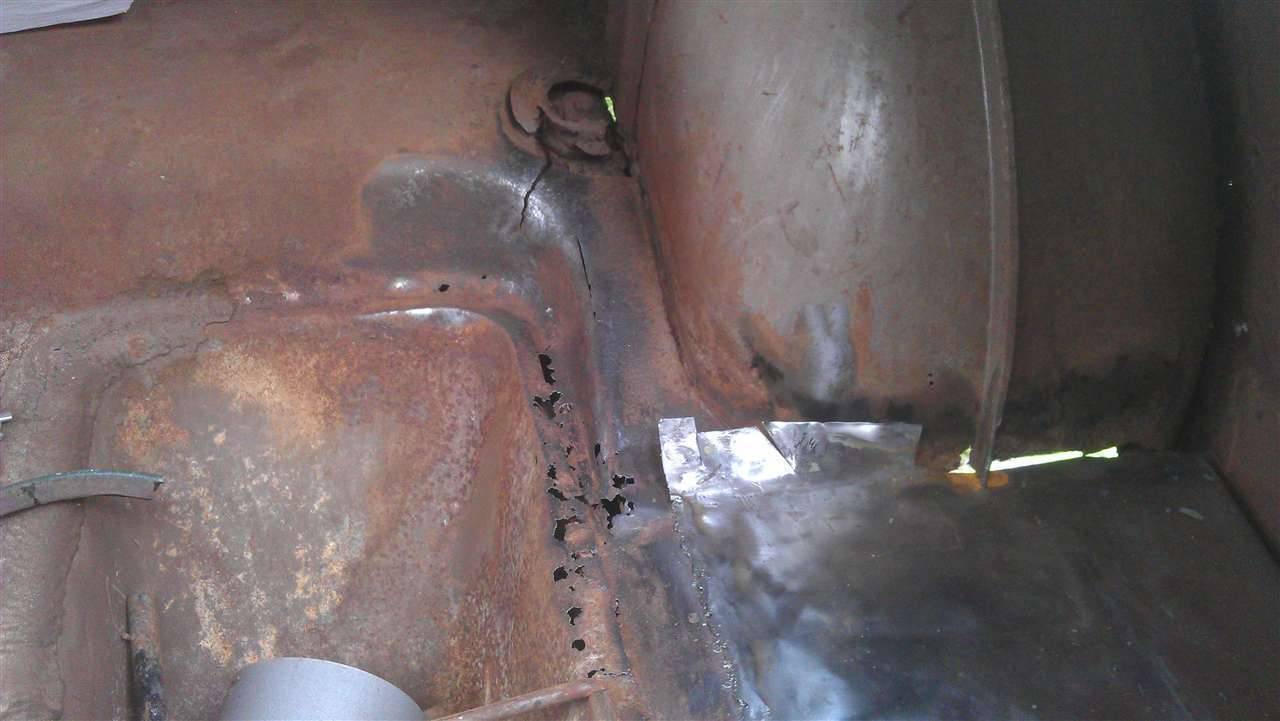 (54.47 KB) (54.47 KB)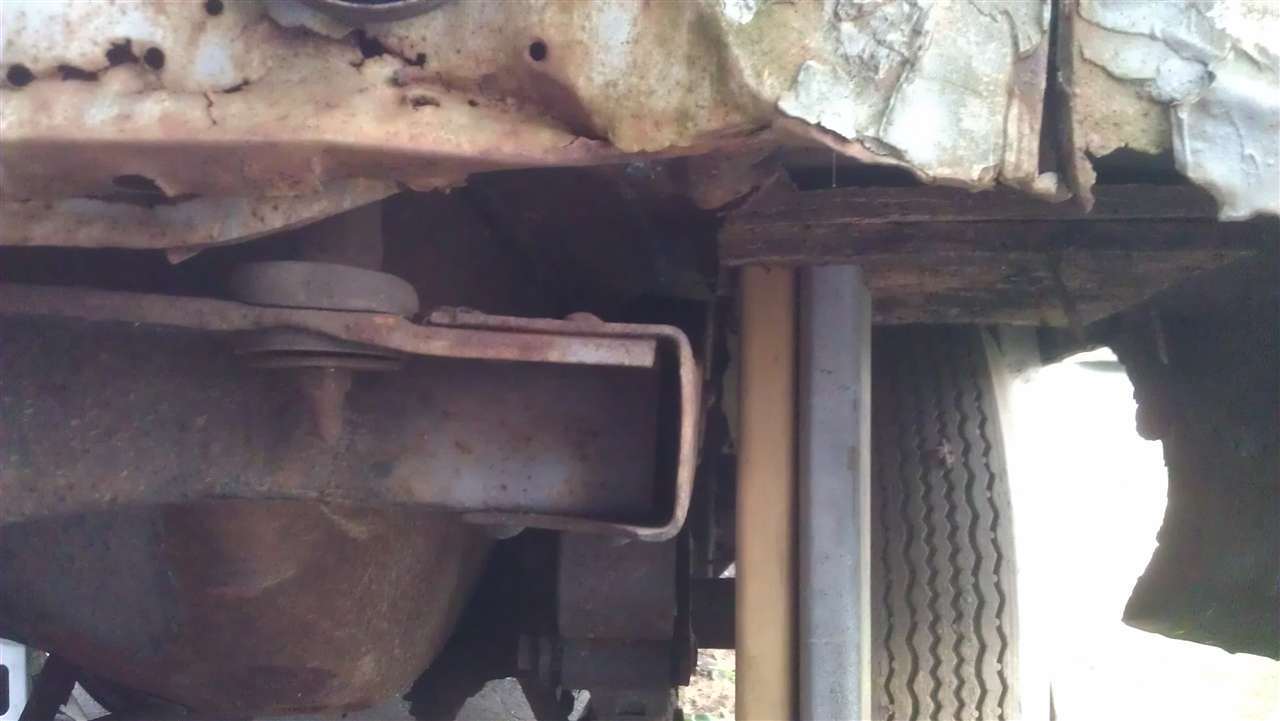 (79.90 KB) (79.90 KB)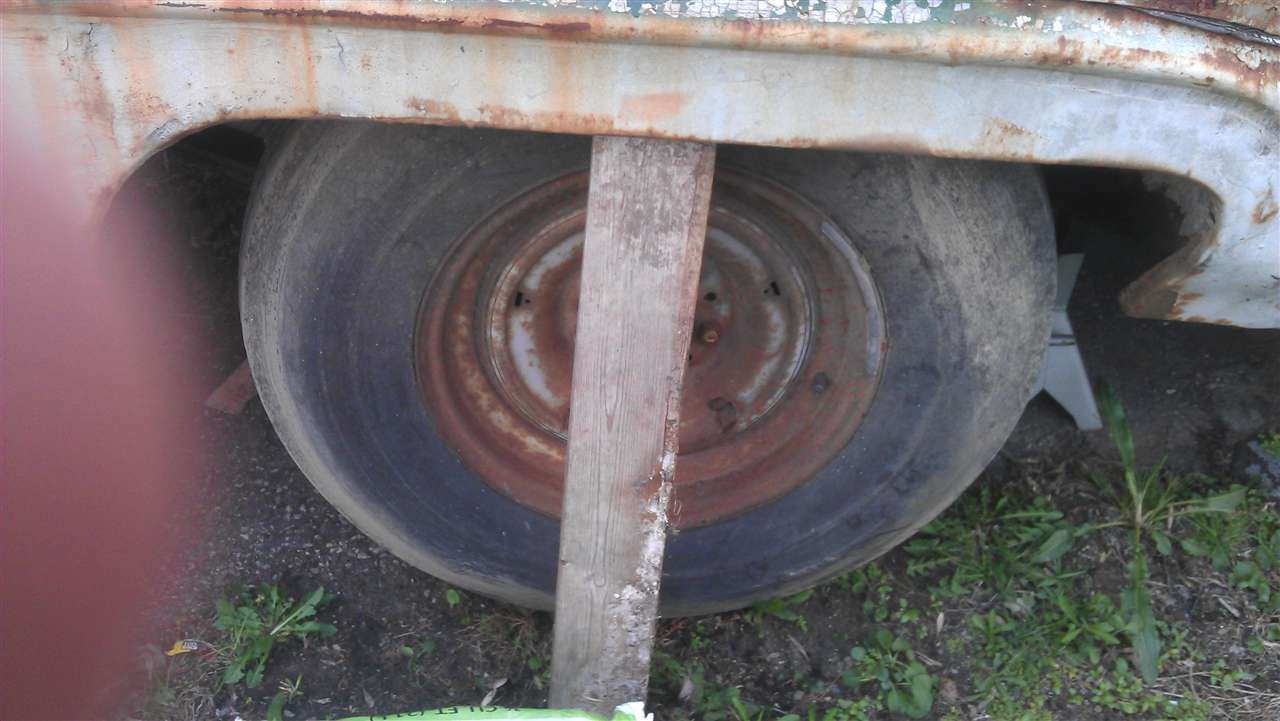 (74.32 KB) (74.32 KB) (42.52 KB) (42.52 KB)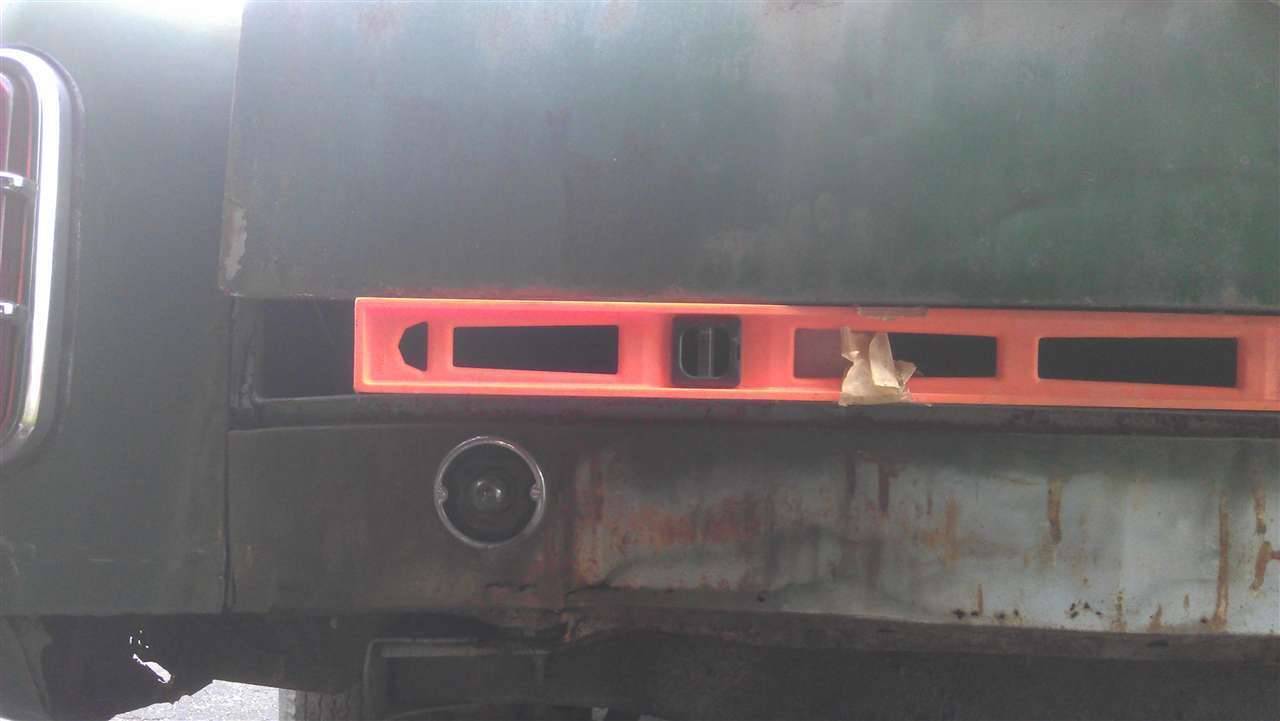 (51.40 KB) (51.40 KB)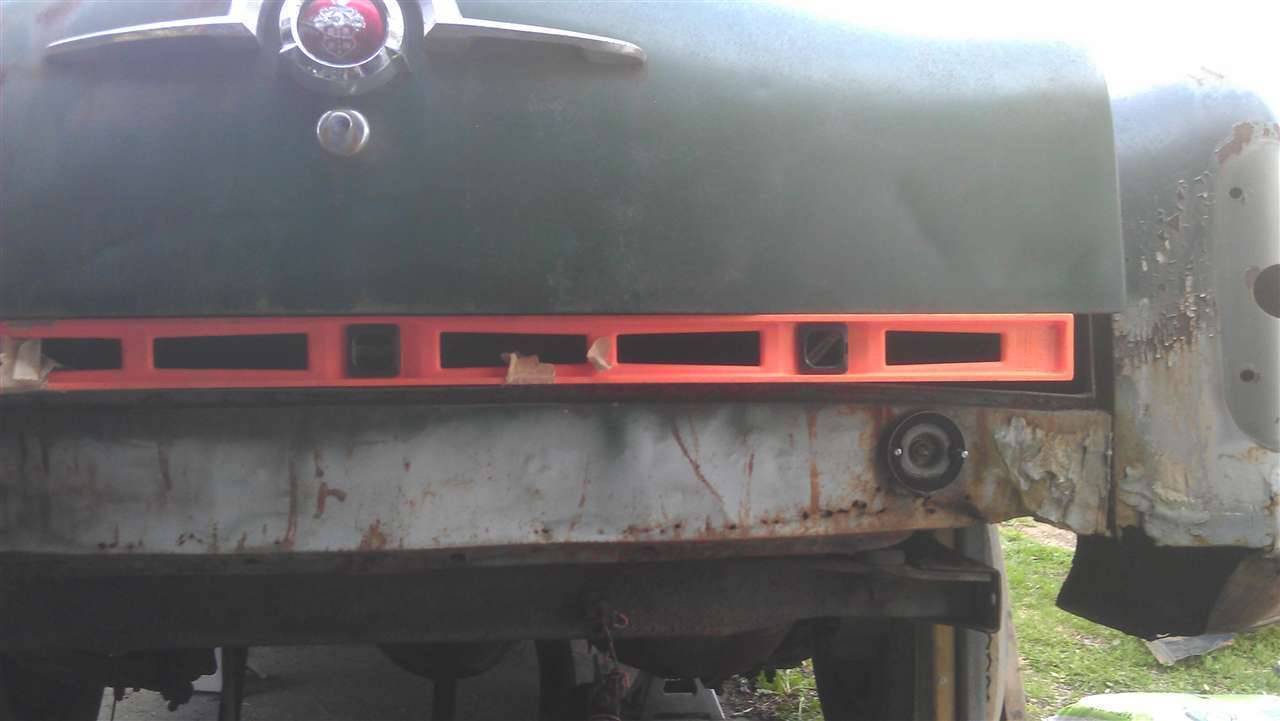
Posted on: 2012/3/27 19:50
|
|||
|
[url=h
|
||||
|
||||
|
Re: 51Packard's....51 Packard
|
||||
|---|---|---|---|---|
|
Home away from home
|
Charles,
From your photo in post #574, it looks like your generator is missing a spacer between the top bracket and the generator. I know mine has one. That may be the reason for the misalignment. J
Posted on: 2012/3/27 22:27
|
|||
|
Joey
(?=#=?) "If chrome got me home, I'd for sure still be stuck somewhere." [url=http://pac |
||||
|
||||


