|
Re: 1939 Packard 110 Dashboard Trim Removal
|
||||
|---|---|---|---|---|
|
Just can't stay away

|
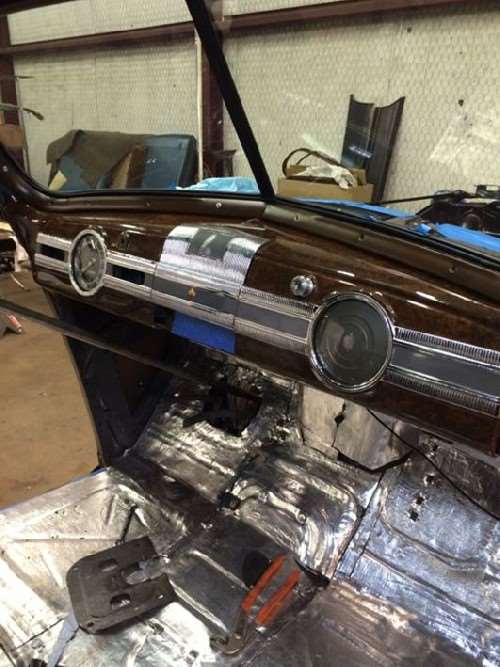
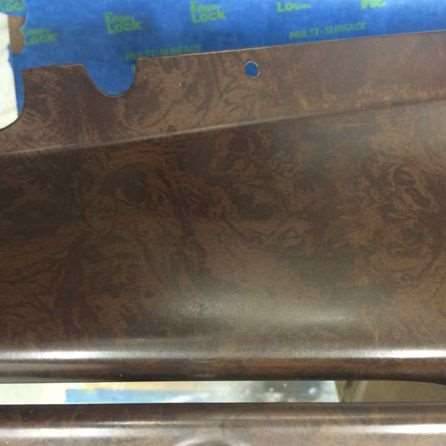
I just finished this project about two months ago, good luck on the results. There are several small tabs that are bent over to hold the chrome to the dash, you will need to slowly straighten these up to release them. You probably will have several of them break off but it should work OK at the finish. I sent my chrome pieces out to the chrome shop and they look very nice now. To re attach all of this I was able to rebend a few of the tabs but I put a thick coating of RTV silicone around the speedo and clock circles and along the edges of the straight sections. Then I used a bunch of clamps to hold it all tight for a bit. It came out very nice. I used the Grain-It Technologies kit with their large size roller, this process took several weeks as I would strip it again and repaint it to get the correct pattern and color.
Posted on: 2016/2/29 9:15
|
|||
|
||||
|
Re: 1939 Packard 110 Dashboard Trim Removal
|
||||
|---|---|---|---|---|
|
Home away from home
|
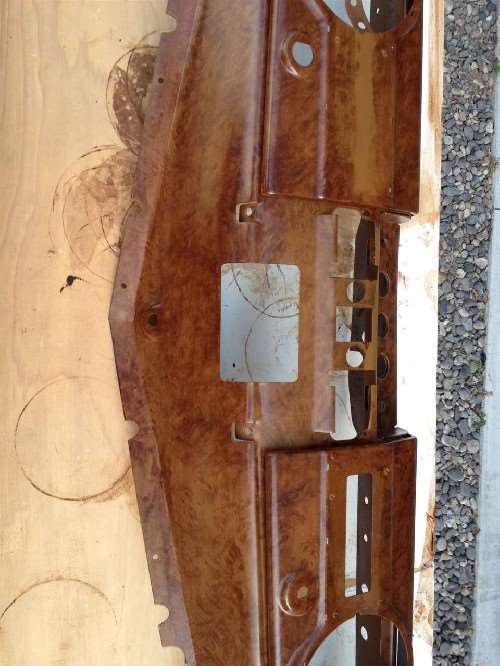
Here is a dash for a 39 110 that I wood grained last year for a friend, using Grain-It technology tools. It is the 5th dash that I've done. Not too hard after you butt your head against the wall a few times and finally get the technique down.
Posted on: 2016/2/29 9:30
|
|||
|
||||
|
Re: 1939 Packard 110 Dashboard Trim Removal
|
||||
|---|---|---|---|---|
|
Home away from home
|
Thanks David & John !
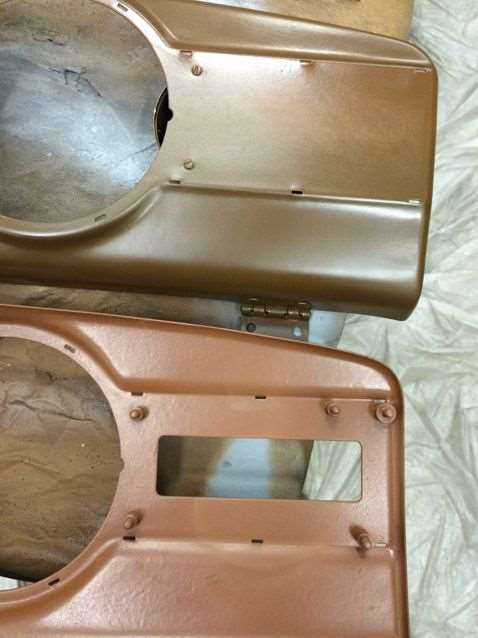
Over the years, someone had "flocked" the glove compartment door and I did not see the tabs. Haven't banged my head against the wall for about a week, so ready to tackle the graining Any secrets in removing the dash?
Posted on: 2016/2/29 9:44
|
|||
|
||||
|
Re: 1939 Packard 110 Dashboard Trim Removal
|
||||
|---|---|---|---|---|
|
Home away from home
|
You can first remove the instrument panel by crawling on your back, on the floor. There are about 4 or 6, don't remember exactly, nuts that hold the panel on. Remove the speedometer cable and disconnect the battery (so you don't accidentally move a wire and short something out). You will also need to disconnect the gauges as well. There are two bolts on each end of the dash that come from the body into the dash. Remove all four of the nuts from them. Also, remove the front window trim, as there are a number of Phillips head screws along the edge of the windshield. Be sure to label each wire before you take them loose, and take lots of photos as you are laying on your back, so you will be able to figure it out.
When I pulled the dash on my car, the glove box was missing so that made things easier. I believe the box is held in with screws accessible inside the box. You may also want to remove the front seat completely just to make life a bit less painful. The job is not difficult, just takes some head scratching and fiddling.
Posted on: 2016/2/29 14:42
|
|||
|
||||
|
Re: 1939 Packard 110 Dashboard Trim Removal
|
||||
|---|---|---|---|---|
|
Home away from home
|
Thanks David, looks like I am up for lots of fun. I plan on repairing and rewiring a lot at the same time. Will take tons of photos for others
Thanks again John
Posted on: 2016/2/29 14:50
|
|||
|
||||
|
Re: 1939 Packard 110 Dashboard Trim Removal
|
||||
|---|---|---|---|---|
|
Just can't stay away

|
The back of the glove box door was "flocked" by the factory............................
Posted on: 2016/3/1 0:22
|
|||
|
||||

 (61.63 KB)