|
Re: 51Packard's....51 Packard
|
||||
|---|---|---|---|---|
|
Forum Ambassador

|
Packard51 -
POR-15 is a wonderful product for its intended purpose - provided you follow their directions for preparation and application to the letter. Be forewarned that POR-15 won't stick to shiny metal or other (cured) paints/primers, and keep in mind that you need to topcoat POR-15 - else it will degrade from exposure to UV (even reflected). Based on how the system held up for a small, underbody repair on my father's 03 Impala, I'm planning to using it , this summer, to stabilze the rocker panels and adjacent underbody areas on my 15 year old daily driver. I'm also gonna try using POR-15 on the scabbed up lips of the wheel openings, then prime and topcoat with BC/CC. While POR-15 is a good choice for your floor pan, I have a feeling it could be hard to apply inside the door and other concealed areas. You might wanna take a look at what Hank (Cli55er) is doing with boiled linseed oil (BLO) in his project blog. Unlike POR-15, I suspect you could put the locally available stuff in a trigger spray or a more sophistcated sprayer with a wand to get into tight spaces; catch the run-off on some cardboard. As for drilling those rivets, they do make large diameter bits (like 7/16") with reduced (3/8") shank; though they might be special order, they're well worth the comparatively small investment. Just be sure to apply some light oil, periodically, while drilling. Use a variable speed drill, but don't drill too fast. You'll know you're applying just enough speed/pressure if the bit is making chips of metal; under the right conditions, you might even get little corkscrews of metal coming off. However, if you're drilling with the waffle pattern present, you may still need to take a good sharp could chisel, after you're done drilling, and knock the flare off (cutting perpendicular to the centerline of the shank). THEN, try knocking the rivet through with punch and hammer. I'm sure all this extra work is frustrating, but you're getting an incredible education.
Posted on: 2013/6/26 10:34
|
|||
|
||||
|
Re: 51Packard's....51 Packard
|
||||
|---|---|---|---|---|
|
Home away from home
|
Brian and 51Packard,
Hope you guys don't mind me jumping here regarding the linseed oil. What I turned Hank on to is 100% organic linseed oil that is manufactured by Allback in Sweden. North American distributor is Viking Sales near Rochester, NY.http://www.solventfreepaint.com/. The reason I am bringing this up is because hardware store linseed oil is mostly chemical in composition and I haven't had it work worth a darn on anything I used it for before I came across Allback and Viking Sales two and a half years ago. Only thing "linseed oil" does is make your wood darker and doesn't stop anything from rusting. I can't praise the Allback line loud enough. Great stuff based on old practices before advent of petroleum industry taking over paints in late 1800's. Also Allback has raw and boiled linseed oil. I would recommend using the raw as it isn't as structurally dense and to heat it to 140F before application with either brush or sprayer.
Posted on: 2013/6/26 16:34
|
|||
|
Stephen
|
||||
|
||||
|
Re: 51Packard's....51 Packard
|
||||
|---|---|---|---|---|
|
Home away from home
|
For internal rustproofing of double panels such as bootlid etc, I would recommend using fish oil compounds. I have some small rust bubbles in the double skin of my 38 Richards Six. I put some fish oil into the double skin in 1973 and the bubbles have not changed in size or number since then. The fish oil penetrates very efficiently and appears to dry the water out of the rust quite well. PT
Posted on: 2013/6/26 17:22
|
|||
|
I like people, Packards and old motorbikes
|
||||
|
||||
|
Re: 51Packard's....51 Packard
|
||||
|---|---|---|---|---|
|
Home away from home

|
Wow, thanks guys! A lot to consider on rust proofing. I NEVER want to have to redo any of this again so I appreciate the input.
Good news, I got the rivets out of the old bracket. Originally I drilled a hole most of the way through. Then I ground off the waffle side of the rivet. Since the bracket is junk I could be more aggressive with my grinder. That worked on the lower rivets and I was able to pop them through with my screwdriver "punch". The upper ones were difficult because the top of the bracket interfered with the drill. I also could not get the grinder at the rivets. Like a gift from God, I was digging through my tools looking for something small I could grind with and came across an old Craftsman drill bit set that I forgot I even had. Inside, was the right size bit that fit my drill! Score! Once the waffle section was drilled out and the center cut deeper into the rivet, it popped through. Now I have a system and tools for the next ones. They should go more smoothly.
Posted on: 2013/6/26 19:47
|
|||
|
[url=h
|
||||
|
||||
|
Re: 51Packard's....51 Packard
|
||||
|---|---|---|---|---|
|
Home away from home
|
6-27-13
I shouldn't have complained about having to drill out the rivets. Cutting through the welded bracket on the replacement section proved to be a much bigger job! The two rivets on the top were drilled but never popped out. Ended up drilling all the way through. Used a cut off wheel to cut the bottom of the brace from the frame. Then I used a grinder to remove a lot of material from the 90 degree bend in the frame piece. That allowed me to bend it back and forth until it snapped off. The remaining frame piece on the top of the bracket was a real pain. Used the grinder and cut off wheel to try to trace where I thought the end of the bracket would be. Could not tell because of the welds running all along the side of it. Also used a screw driver to pry and help show where it was stuck still. Finally broke loose with no damage. Now I have to deal with the one on the car. That will be a lot harder with having to crawl under the car,
Posted on: 2013/6/27 18:05
|
|||
|
[url=h
|
||||
|
||||
|
Re: 51Packard's....51 Packard
|
||||
|---|---|---|---|---|
|
Home away from home
|
7-7-13
Had a bit of luck today on the next stage, removing the old front bracket from the frame. I thought for sure I would have to cut the body bolt to get it off. On a whim, I put a socket wrench on it and a bar for more leverage. Hope was that the top of the bolt would break off and save some time. To my amazement, the bolt started to turn instead. OK, let's put a wrench on the nut underneath, let it lock against the other part of the frame and see what happens. Used the bar on the ratchet again expecting something to break and instead, the bolt turned again! Kept going and I actually got it off intact. That saved some time! Next I cut out the floor section to expose the bracket and floor brace. Once that was removed, I cut the floor brace about an inch from my floor cut so I could weld it back (at least the usable section) easier. Removed the rubber donut from the top of the frame bracket. The top and bottom of the bracket were no longer attached together at the end, having rusted away. Then another piece of luck. I was going to start cutting the bottom of the bracket from the frame when I decided to see how well it was attached. A little body weight on the lower part and the bracket broke free. Saved even more time! Top part of the bracket was a bear as I expected. Rivets were removed with the previous technique. Since I was not trying to save the bracket, I was able to be more aggressive with my grinding of the welds, taking care not to mess up the frame. Eventually with the help of the cold chisel, the last of the bracket came off. Ground down what was left of the welds. Did a trial fit of the new bracket and all looks OK. Maybe 1/8" longer than the previous one, but that could be from rust cutting into the old bracket. Now that I have a lot of room where the brackets used to be, I can take my replacement floor section and raise it against the car, trimming under the door hinge until I get a reasonable fit. Hopefully I will not get too aggressive with my cutting. Attach file:  (143.04 KB) (143.04 KB)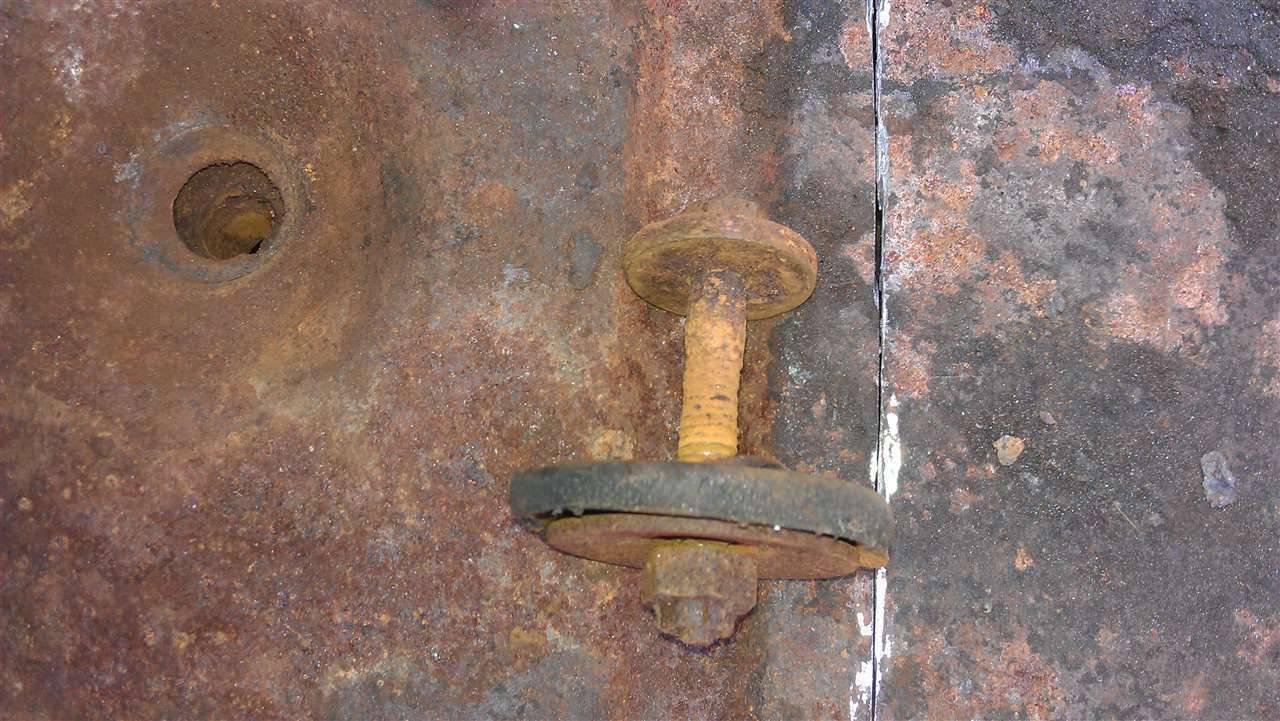 (108.98 KB) (108.98 KB)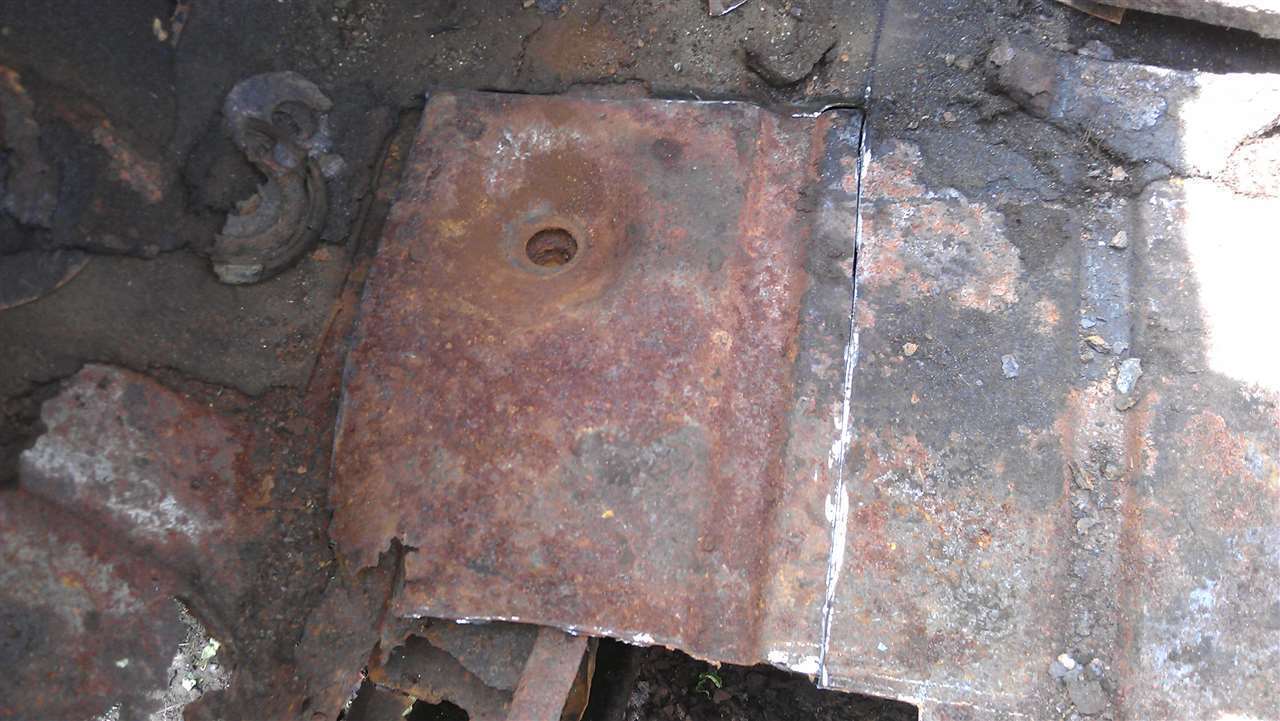 (107.12 KB) (107.12 KB)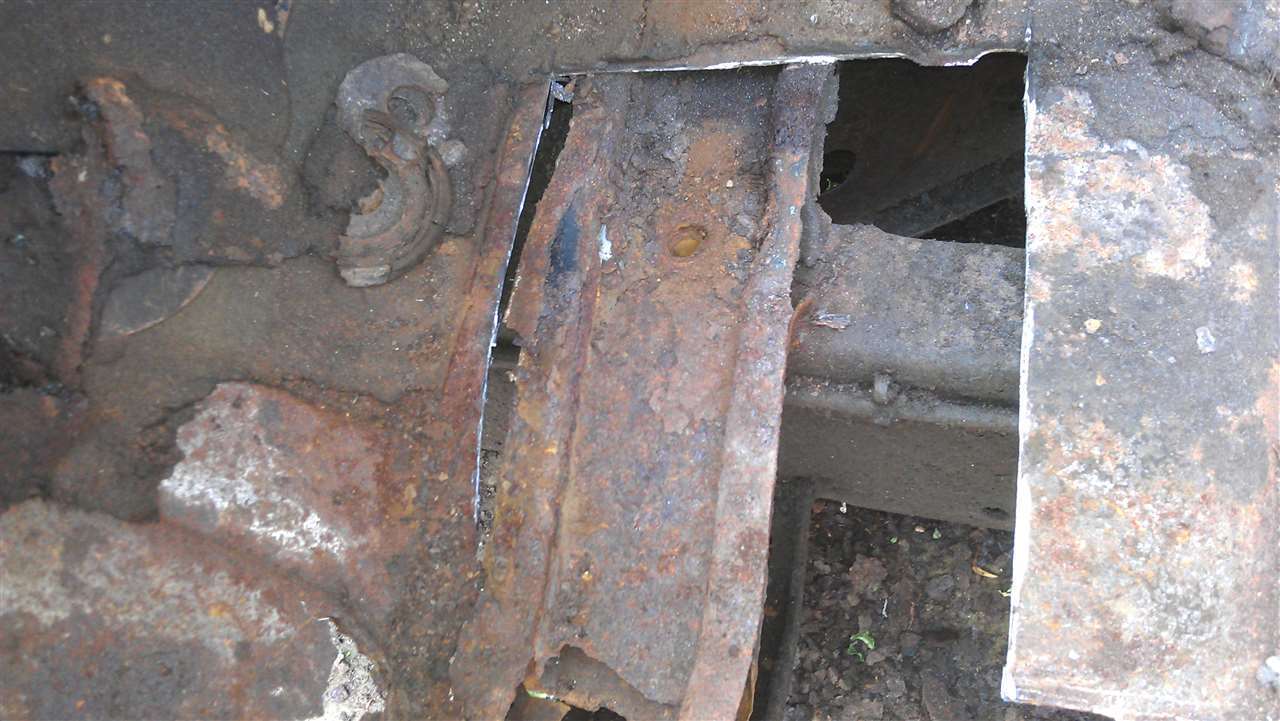 (96.15 KB) (96.15 KB) (129.24 KB) (129.24 KB)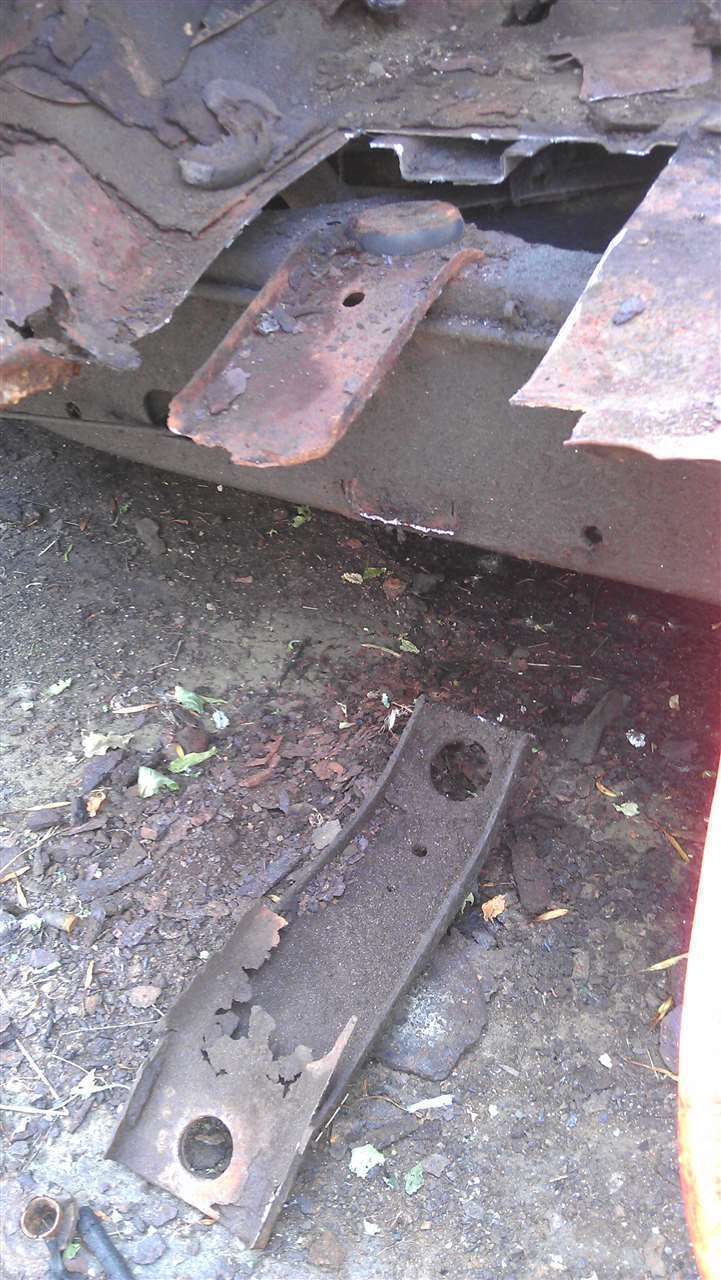 (91.60 KB) (91.60 KB)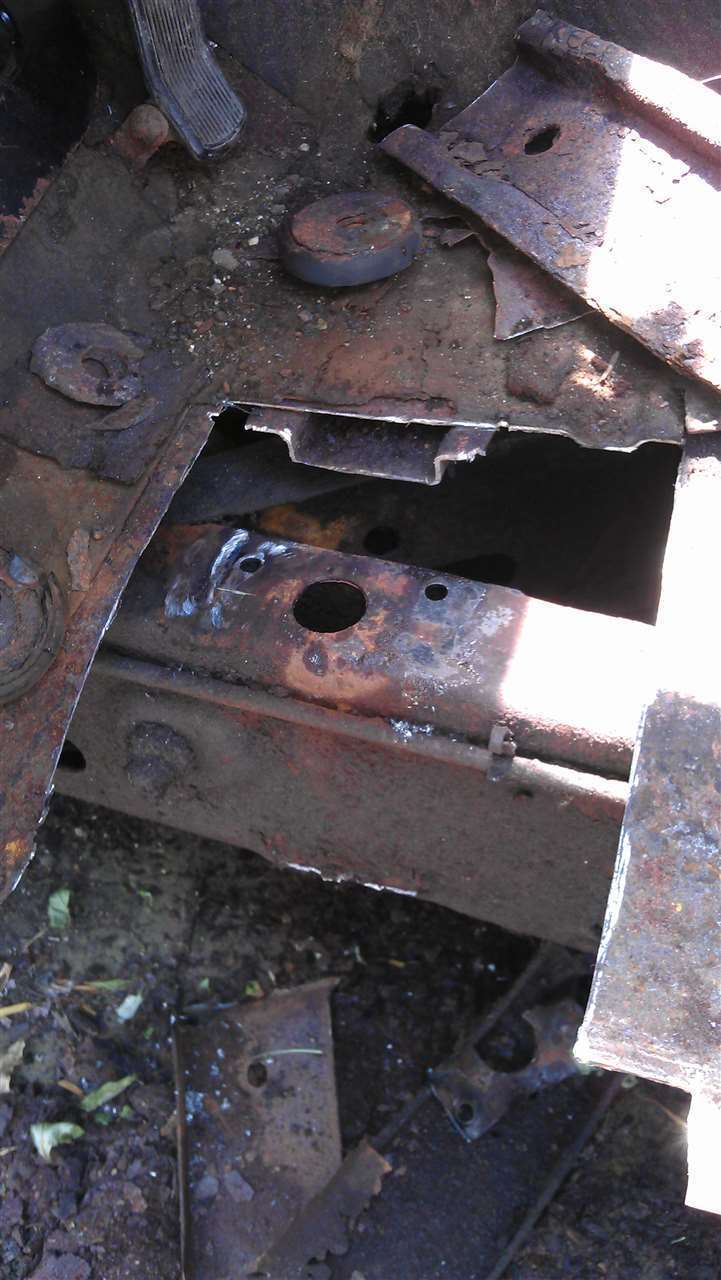 (105.14 KB) (105.14 KB)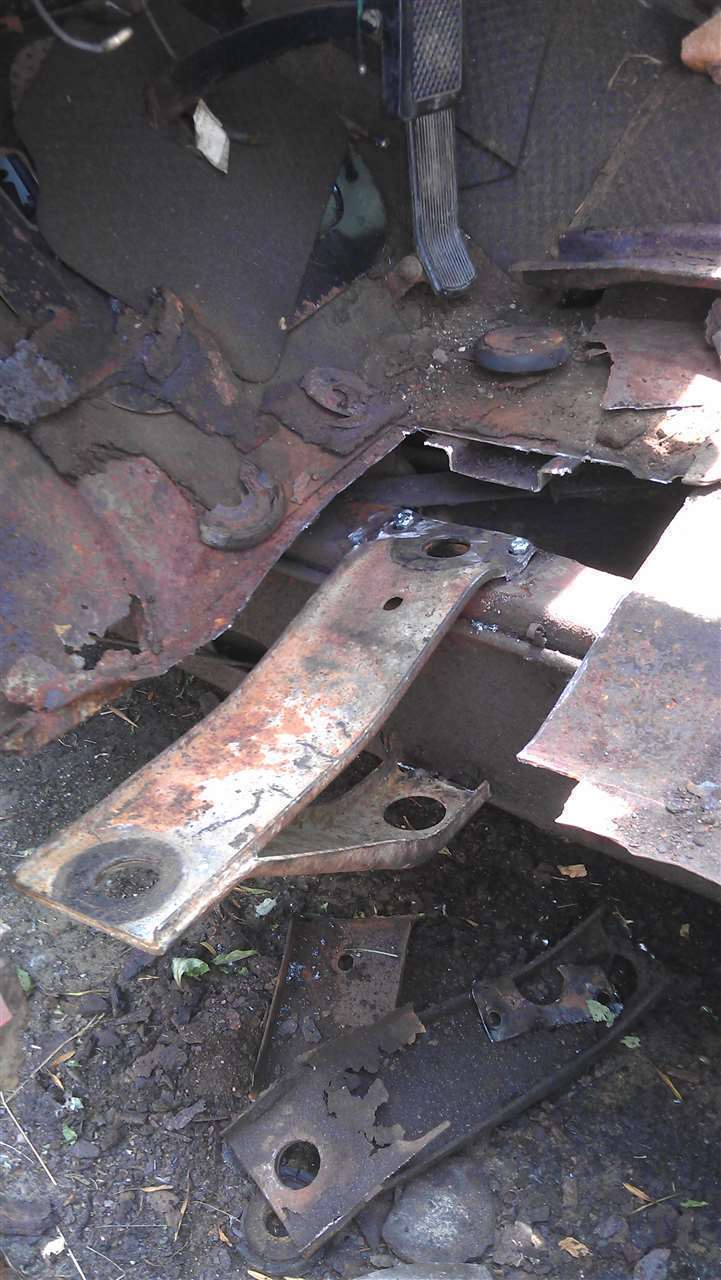
Posted on: 2013/7/7 16:05
|
|||
|
[url=h
|
||||
|
||||
|
Re: 51Packard's....51 Packard
|
||||
|---|---|---|---|---|
|
Forum Ambassador
|
Great to hear that you're enjoying some progress.
Sometimes it helps to let things soak awhile - and give yourself some time to cool off. Keep us posted on your progress and problems.
Posted on: 2013/7/7 17:49
|
|||
|
||||
|
Re: 51Packard's....51 Packard
|
||||
|---|---|---|---|---|
|
Home away from home
|
7-8-13
Thanks BH for the words of encouragement. I am definitely learning new skills and how old cars are constructed. Today I started surgery on the portion of the body that is under the front fender running into the rocker. I'm going 1/2" below the lower hinge plate since there is no way I will be able to unscrew the Philips head screws. I cut from that line at a 45 degree angle to a section where there is a panel overlap. I followed the overlap up and cut straight across and then straight down where the metal bends inward to accept the front fender. I will trim the replacement panel in a similar manner leaving about a 1/4" fudge factor that I can trim down as necessary for a good fit.
Posted on: 2013/7/8 18:03
|
|||
|
[url=h
|
||||
|
||||
|
Re: 51Packard's....51 Packard
|
||||
|---|---|---|---|---|
|
Home away from home
|
7-9-13
Trim, test, repeat... Slowly trimming away metal as I try to get the rocker panel fit into place. Have it on a jack so I can lift it into position and back out of the way. Progress is being made. Closest the car has had to having a proper rocker panel in a long time! Attach file: (69.98 KB) (76.46 KB) (76.46 KB)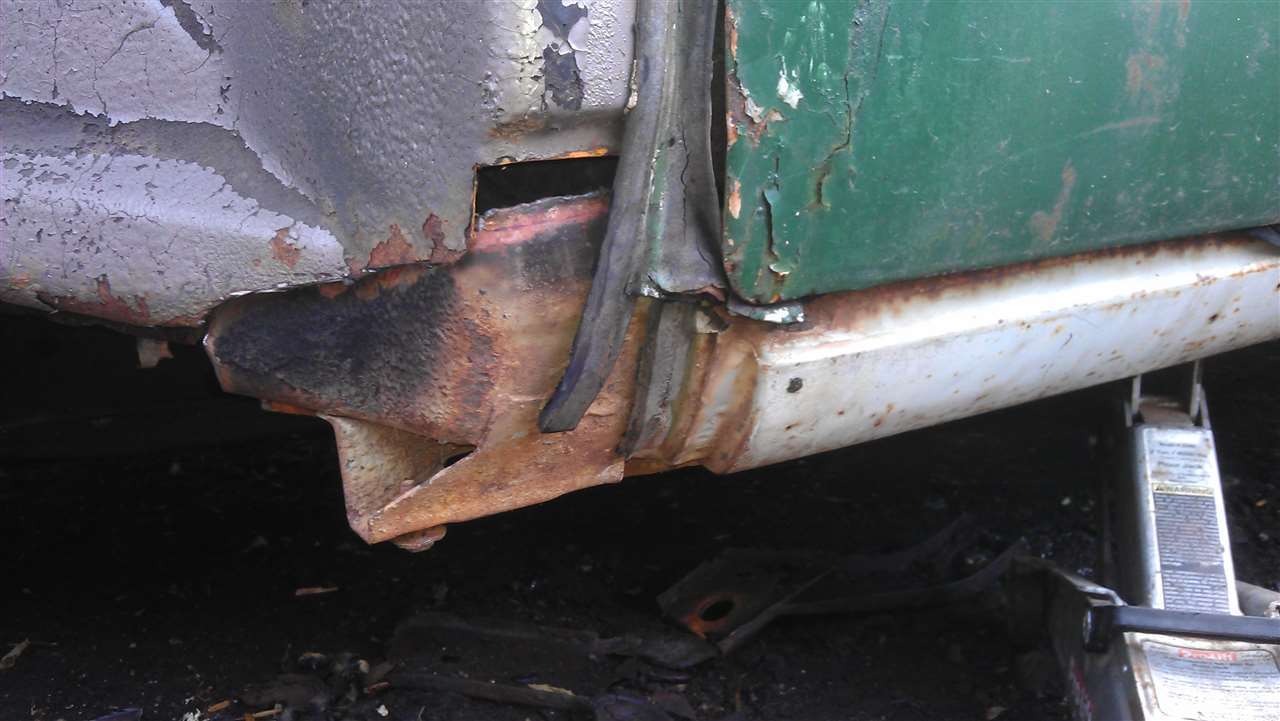 (102.16 KB) (102.16 KB)
Posted on: 2013/7/9 18:29
|
|||
|
[url=h
|
||||
|
||||


