|
Re: Stuck Transmission Gearshift Shaft - 1950 Deluxe
|
||||
|---|---|---|---|---|
|
Home away from home

|
Ernie, thanks for the info. To make sure we're on the same page, is the arrow in the attached diagram pointing to the spot where you drilled the 3/16" hole? Also, did you clamp the wrench onto the lever? If so, how did you hold the shaft to keep it from turning along with the lever?
Attach file:  (34.34 KB) (34.34 KB)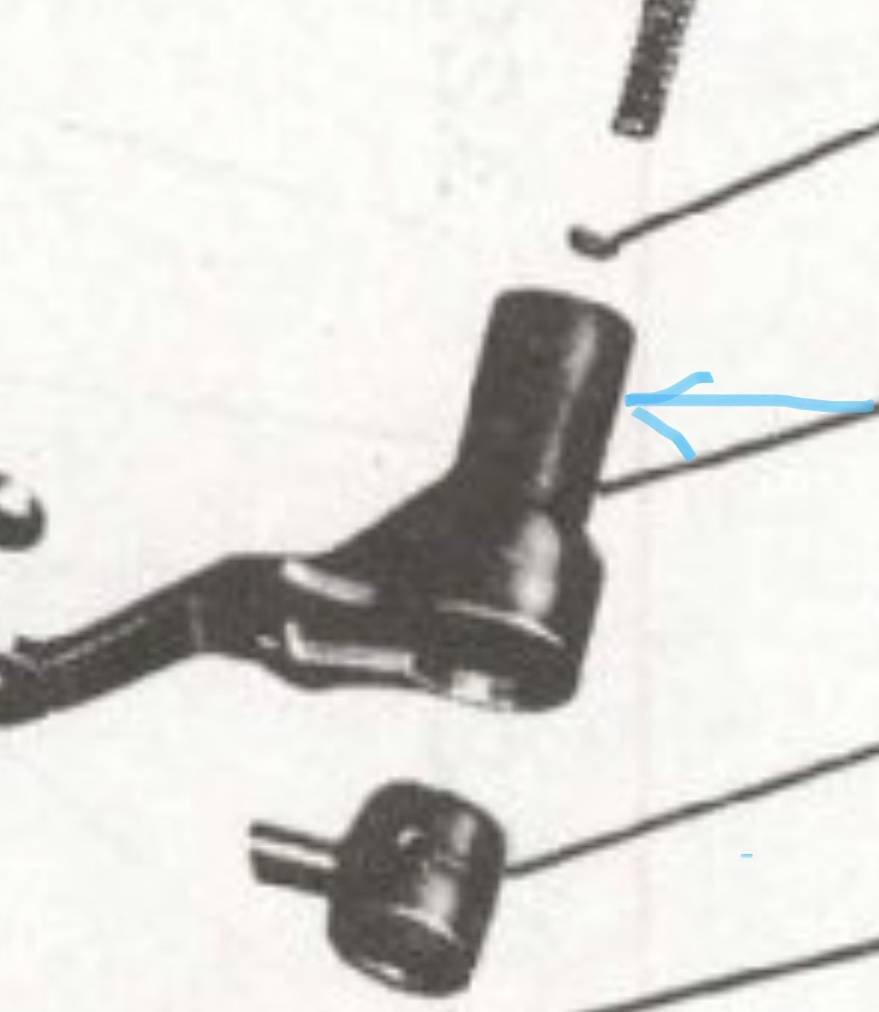
Posted on: 2020/8/17 13:49
|
|||
|
||||
|
Re: Stuck Transmission Gearshift Shaft - 1950 Deluxe
|
||||
|---|---|---|---|---|
|
Home away from home
|
Yes Don, you have the correct location...we used two vice grips (fairly small ones) one on the collar and one on the shaft...not too much pressure, let the acetone and Auto Trans fluid do most of the work...you can also give it a tap with a hammer (gently) and by and by it will begin to move...a little holly water can't hurt! Ernie in Arizona
Posted on: 2020/8/17 14:44
|
|||
|
Caretaker of the 1949-288 Deluxe Touring Sedan
'Miss Prudence' and the 1931 Model A Ford Tudor 'Miss Princess' 
|
||||
|
||||
|
Re: Stuck Transmission Gearshift Shaft - 1950 Deluxe
|
||||
|---|---|---|---|---|
|
Home away from home
|
😆 Thanks.
Posted on: 2020/8/17 15:51
|
|||
|
||||
|
Re: Stuck Transmission Gearshift Shaft - 1950 Deluxe
|
||||
|---|---|---|---|---|
|
Home away from home
|
JoeSantana, thanks for the input. I disconnected the linkages to the shaft levers and moved the lower linkages to the transmission levers back and forth. Both moved freely. With the upper linkage to the Direct & 2nd lever disconnected (and with R - 1st connected), shifting to R and 1st was also smooth and easy. It was only when trying to move the (disconnected) Direct/2nd lever freely on the shaft that I ran into great resistance. They were/are locked tightly together. I was actually relieved to find that the problem was apparently not in the transmission or transmission levers.
Posted on: 2020/8/17 16:20
|
|||
|
||||
|
Re: Stuck Transmission Gearshift Shaft - 1950 Deluxe
|
||||
|---|---|---|---|---|
|
Home away from home
|
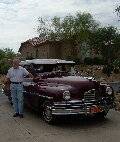
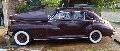
I figured I wold add these two pictures might be helpful or not since it is older then what your working on.
Wes
Posted on: 2020/8/17 23:54
|
|||
|
||||

|
Re: Stuck Transmission Gearshift Shaft - 1950 Deluxe
|
||||
|---|---|---|---|---|
|
Home away from home
|
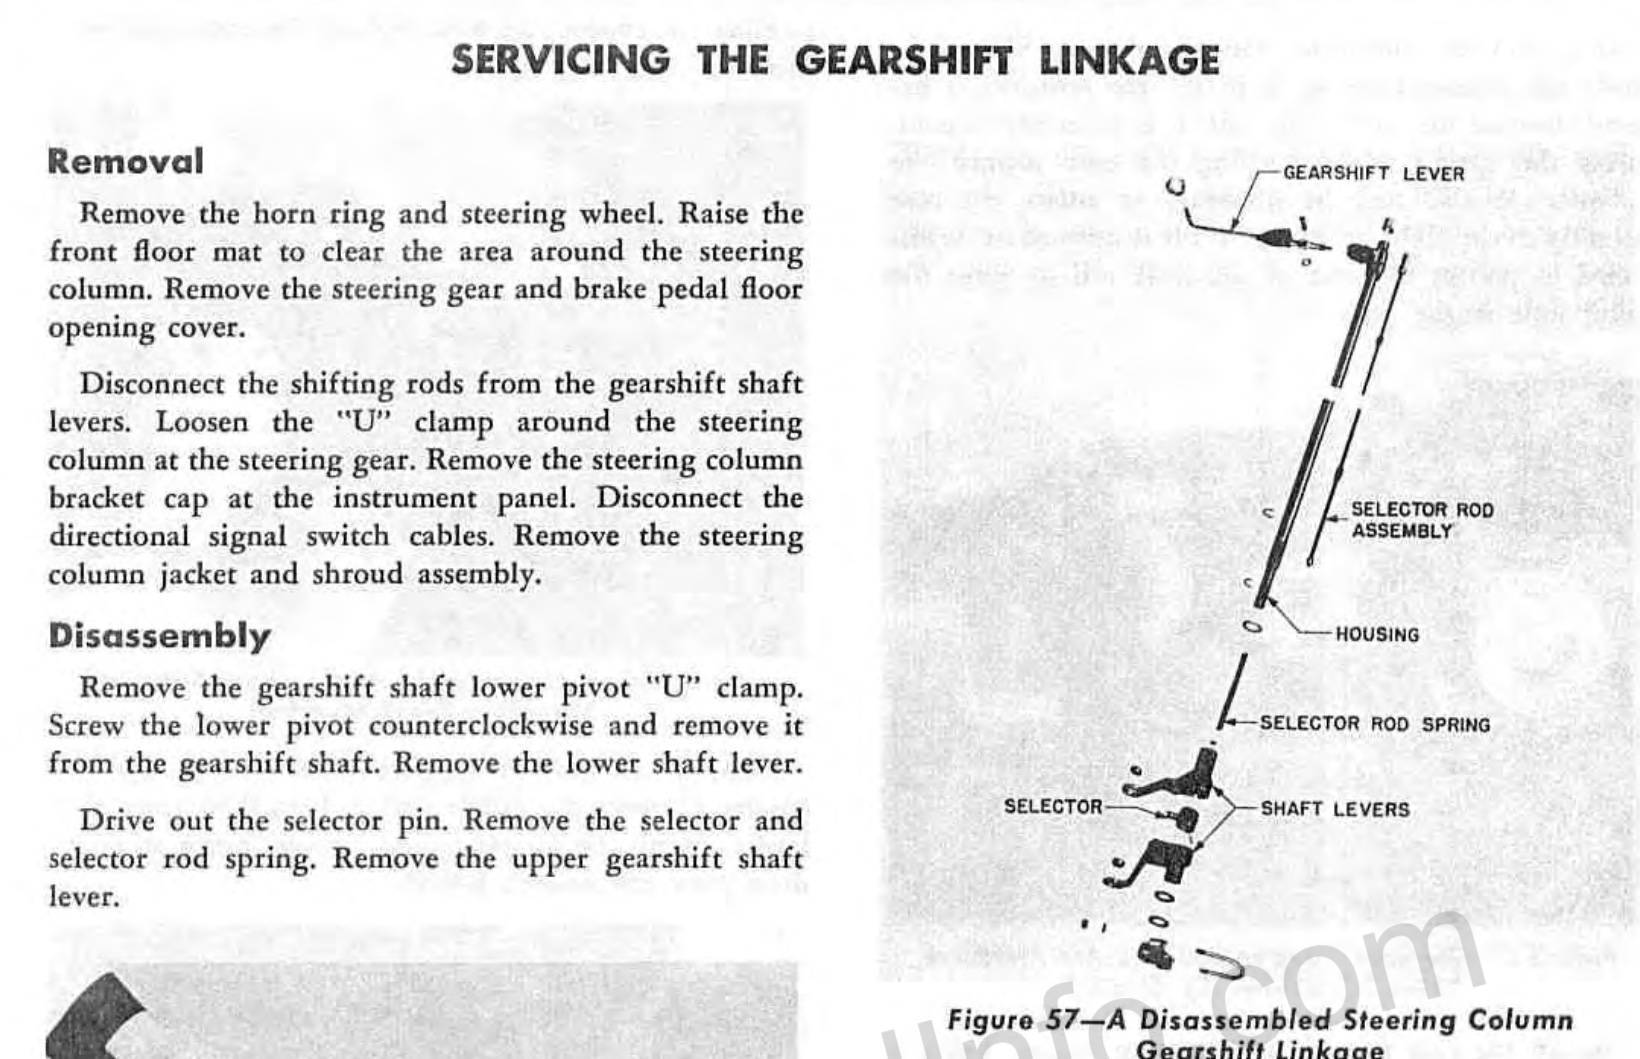
Wes and HH56 - I have resigned myself to the removal of the shifter shaft and the steering column, but already hit a snag on just removing the steering wheel. I appreciated the YouTube video, but my '50 steering column looks quite a bit different than the '47. I don't see any screws exposed and definitely don't want to start prying on anything unless I know for sure prying is required. I've also looked ahead at removing the shroud over steering and gear shift columns and haven't solved that puzzle either. Removing the wiper knob, the turn signal arm and the gear shift was the easy part, but it looks as if the only way is for it to slide down the column once it's released either from under the steering wheel or the clamp halfway down the column - or maybe both. Any direction you can give me on the steering column and shroud is appreciated.
Attach file: (64.84 KB)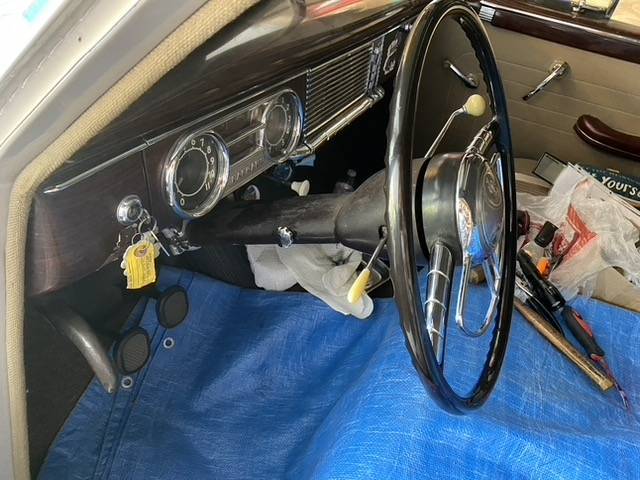 (53.76 KB) (53.76 KB)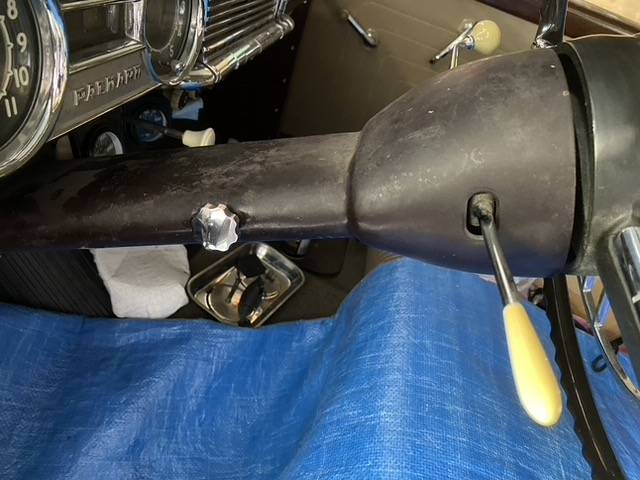
Posted on: 2020/8/18 19:37
|
|||
|
||||
|
Re: Stuck Transmission Gearshift Shaft - 1950 Deluxe
|
||||
|---|---|---|---|---|
|
Forum Ambassador

|
On your wheel it is a bit different than the 47 so you will need to remove everything from the front side of the wheel. Place your palm on the plastic emblem and push down gently as you rotate counter clockwise a few degrees. There is a rubber cushion under the emblem and if that is still in good condition the emblem should come free. If the cushion has deteriorated and the piece of waxed paper between the cushion and the emblem has been left off the cushion can sometimes act like glue and make the emblem very hard to remove.
Once the emblem is off there are 3 screws that hold the horn ring assy to the wheel. Remove the ring assy and the horn wire and contact and retaining nut should be revealed. Take note of the positions of any small plastic or fiber insulating washers that might be at any of the screw locations. Disconnect the horn wire from the inline connector located a few inches away from the bottom of the steering box and tie a string around it so the string will be pulled up into the shaft as you pull the contact and wire out. When the wire is out cut off the string and use a bit or grease or something similar in the end of the shaft so you can push the string back down out of the way and have it stay in the shaft so you can grab it again and tie it back onto the wire when the wire is ready to go back in. Take a measurement of the space or gap between the bottom of wheel and top of shroud. It should be approx 1/16 to 1/8 inch. Remember the number so you can get the shroud and wheel back in the approximate position with the least effort. Depending on how much space is available on the shaft either loosen the nut several turns so the wheel has enough room to break free of the splines or remove the nut entirely. Thread the bolts of a steering wheel puller into the two holes on the hub. If you removed the nut use something under the end of the puller to protect the shaft as the end of the puller pushes against the threaded portion of the shaft. You need something so the puller does not distort the shaft or otherwise damage the first few threads. Once you get the wheel off then it gets a bit more involved. You can try but I do not think you will be able to completely remove the gear shift assy while the column is in the car. I believe the oval sheetmetal shroud is going to interfere and that is positioned under a piece welded onto the column so the column will need to be out so the shroud can be loosened or even removed so the wide portion of the shift tube where the operator lever is attached can pass. You will need to disconnect the wiper cable at the wiper motor and pull it thru to the inside of the car and disconnect the turn signal wires at the round plug under the dash. Under the steering wheel there is a large spring and under that is a small concave ring around the steering shaft which is part of the upper shaft bearing. Carefully remove that ring making sure the ball bearing is in good condition and all the balls are intact. Once all the mechanical stuff is disconnected then it is a matter of removing the toe plate and all the clamping screws holding the column -- one at the steering box and a few under the dash edge so the entire assy can slide up and come off the steering shaft. The column may get close to or even touch the headliner as it nears the end so place a towel on the top of the column so nothing can stain the headliner. Attach file:  (72.71 KB) (72.71 KB)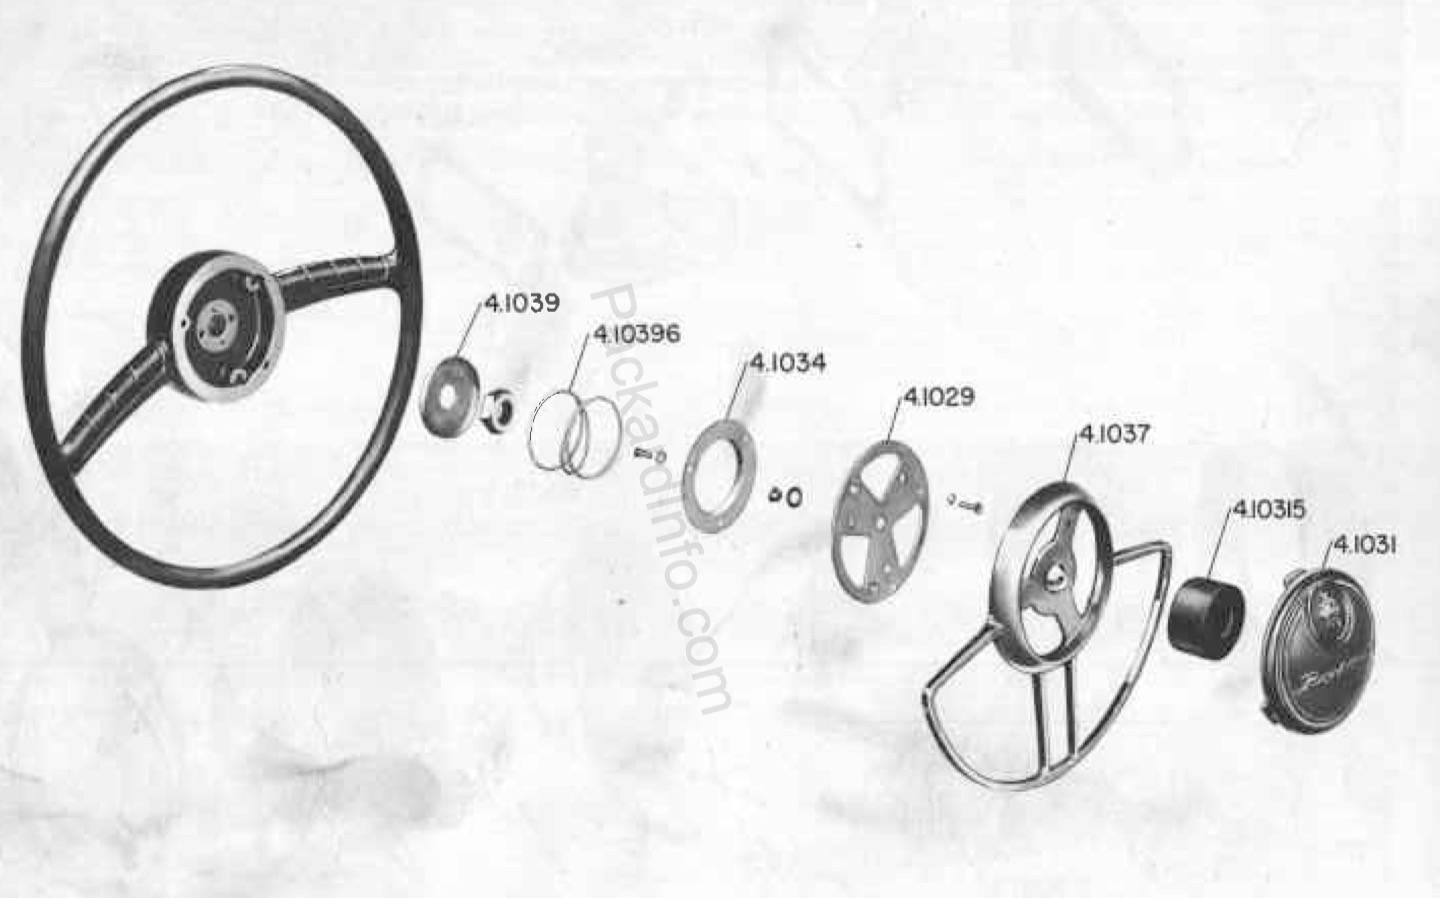 (76.99 KB) (76.99 KB)
Posted on: 2020/8/18 19:54
|
|||
|
Howard
|
||||
|
||||
|
Re: Stuck Transmission Gearshift Shaft - 1950 Deluxe
|
||||
|---|---|---|---|---|
|
Home away from home
|
Don't know how close the 47 and 50 are but they do look similar. So here's a photo of what to look for after the Steering Wheel is off that Howard was talking about. I tried pulling mine off before removing the spring and collar the bearing is under the collar.
Did you checkout my Blog "Wes's Maroon 1947 Custom Clipper"? I have just shown pulling out my Steering Column. Wes Attach file: (213.40 KB)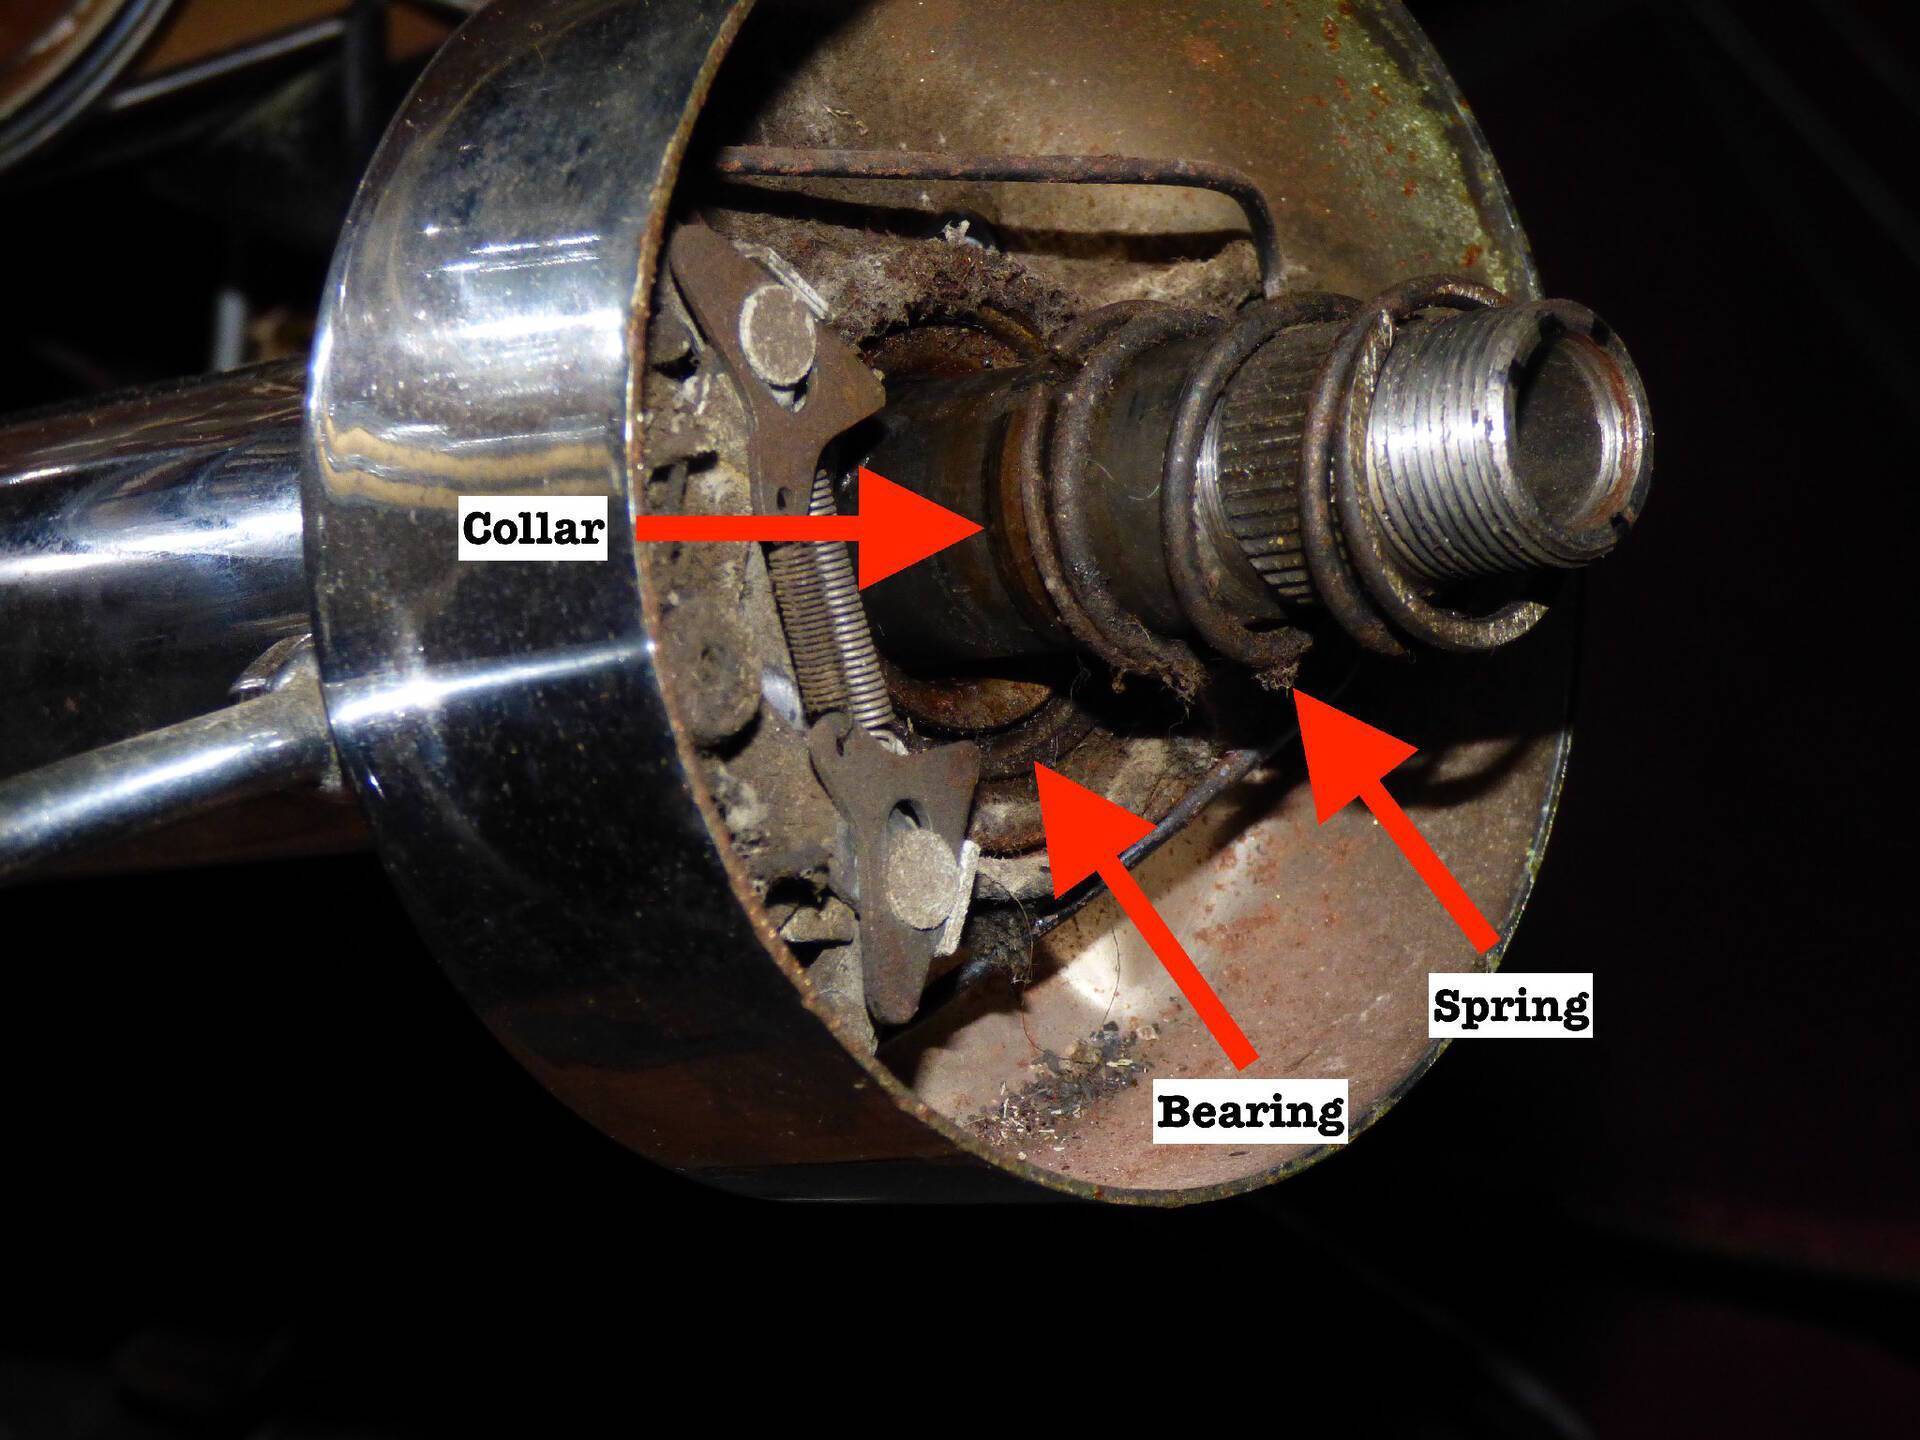
Posted on: 2020/8/18 21:22
|
|||
|
||||
|
Re: Stuck Transmission Gearshift Shaft - 1950 Deluxe
|
||||
|---|---|---|---|---|
|
Home away from home
|
Hold the phone! So glad I hit a snag before even getting started on removing the steering column/shifter shaft. Using bits and pieces from the discussion thread, I decided to give breaking loose the lever from the shaft - while still in the car - one more try.
Vice grips - gently applied to the shifter shaft and upper shift lever were the key, but there is no discounting the various fluids applied at the top of the upper lever. I used PB Blaster first, then lacquer thinner, then a concoction of automatic transmission fluid and acetone. I couldn't tell you which one did the trick, but no amount of tapping up on the lower edge of the lever had any effect whatsoever. Probably a combination of too much give using a hammer and wooden dowel and a bad angle for the dowel. But as soon as I applied the vice grips, the lever and shaft started moving independently - just a minute amount at first - then a little more and a little more as I kept working the vice grips. As the amount of rotational movement increased, I was able to begin to move the lever up and down the shaft as well. Each time the movement exposed some ancient crud, I removed it with Q-tips and lacquer thinner. Good stuff! Eventually the lever moved freely around the shaft as well as up and down - as freely and easily as it ever did before. Before I button up the shaft and levers and get ready to take my Packard back on the road, I have one more question. What would be the best treatment for the exposed selector and interior surfaces of the levers - as well as lubrication for the upper lever going forward? Would the answer be as simple as coat all of the interior surfaces with 3 in 1 oil or would anti-seize lubrication be better? What about the concoction of transmission fluid and acetone? I haven't drilled the hole in the upper lever housing yet, but I think it would come in pretty handy for future lubrication needs. Much thanks to everyone who took the time to help me through the process. I never could have done it alone.
Posted on: 2020/8/21 22:27
|
|||
|
||||


