|
Re: 51Packard's....51 Packard
|
||||
|---|---|---|---|---|
|
Home away from home

|
It would appear that Humphrey Chevrolet was around at least until 1974. From the Evanston public library website:
"Several 1974 articles about fire at Humphrey Chevrolet (600 Chicago Av.). Arson was suspected." A Bit Off Topic: There was also an interesting case in 1955 where the dealership sued the city of Evanston for an ordinance that banned dealerships from being open on Sunday. If interested, just Google!
Posted on: 2011/4/21 21:41
|
|||
|
||||
|
Re: 51Packard's....51 Packard
|
||||
|---|---|---|---|---|
|
Home away from home

|
5-04-11
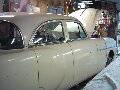
After doing research and taking some of the advice here, I tried my hand at welding again. I decided to modify an extension cord with a dimmer switch, like I heard of someone doing on a welding website. Lowering the voltage available to the welder gave me better control. I also used a copper pipe as a heat sink where I could fit it. My welds are still ugly, but I do not burn through as easily as I was. I didn't grind any of them down yet so I don't know how well they penetrated. I keep getting large gaps between my patch panel and the existing trunk floor. This time, I purposely left the panel long and cut through both the panel and old floor to make the gap smaller. While doing this with my jig saw, another piece opened up on the right corner. Now I have to fix that too! Does it ever end! Also, even though I cut both pieces at the same time, I still had a large gap at the top of the panel. I guess I need more practice. Attach file:  (183.13 KB) (183.13 KB)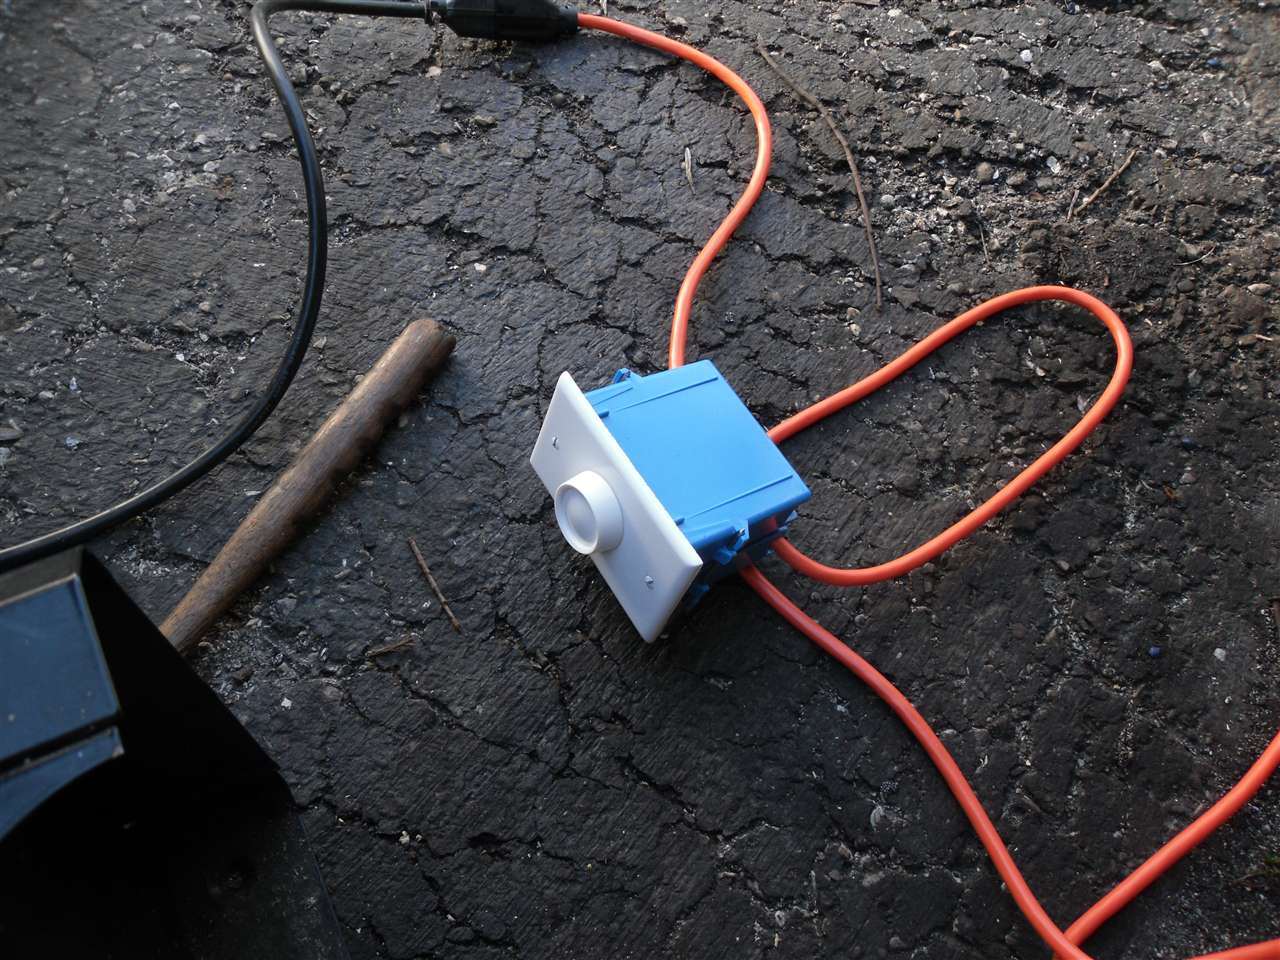 (119.36 KB) (119.36 KB) (100.60 KB) (100.60 KB)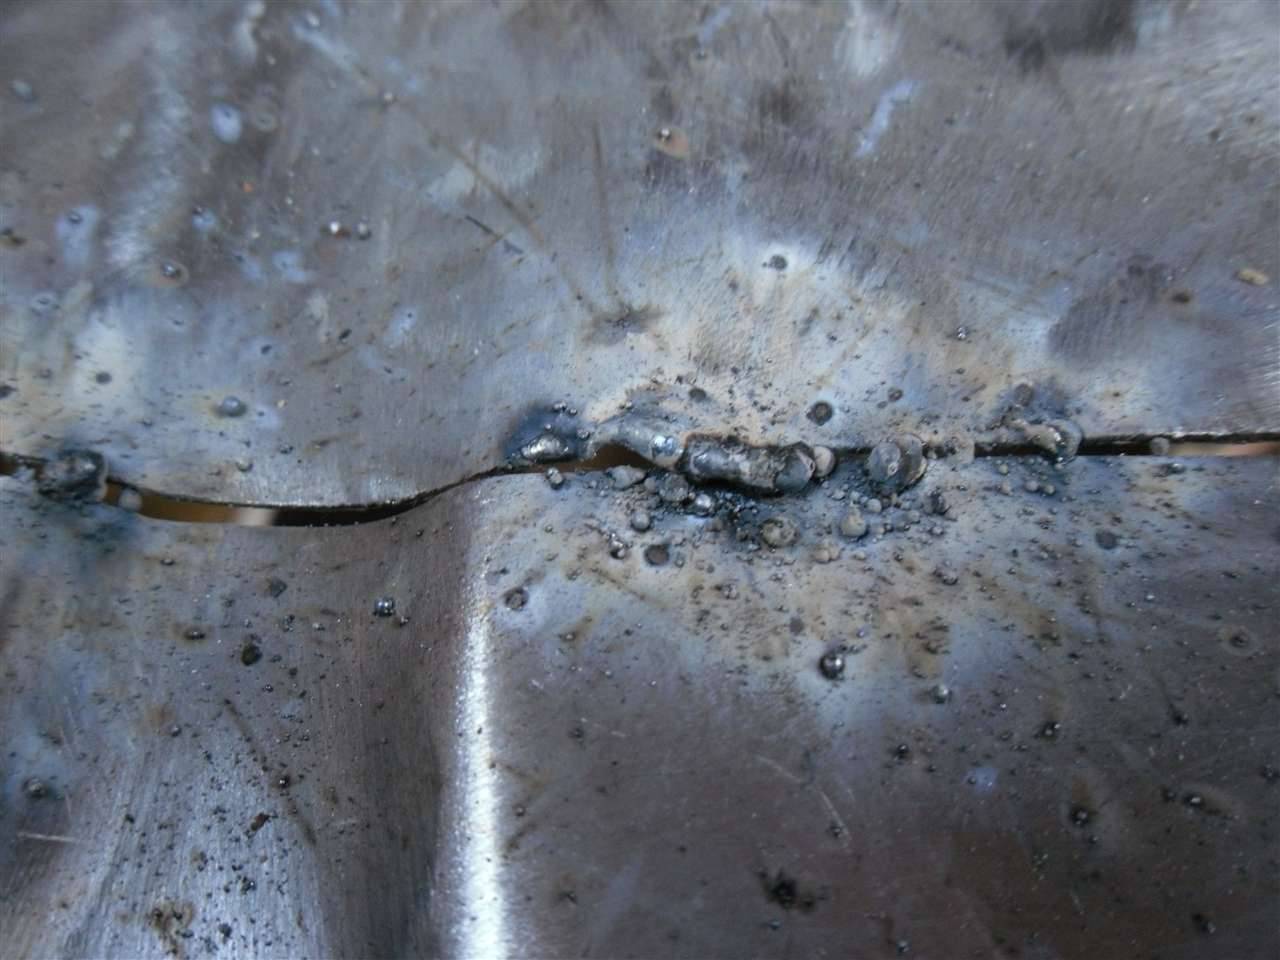 (121.73 KB) (121.73 KB)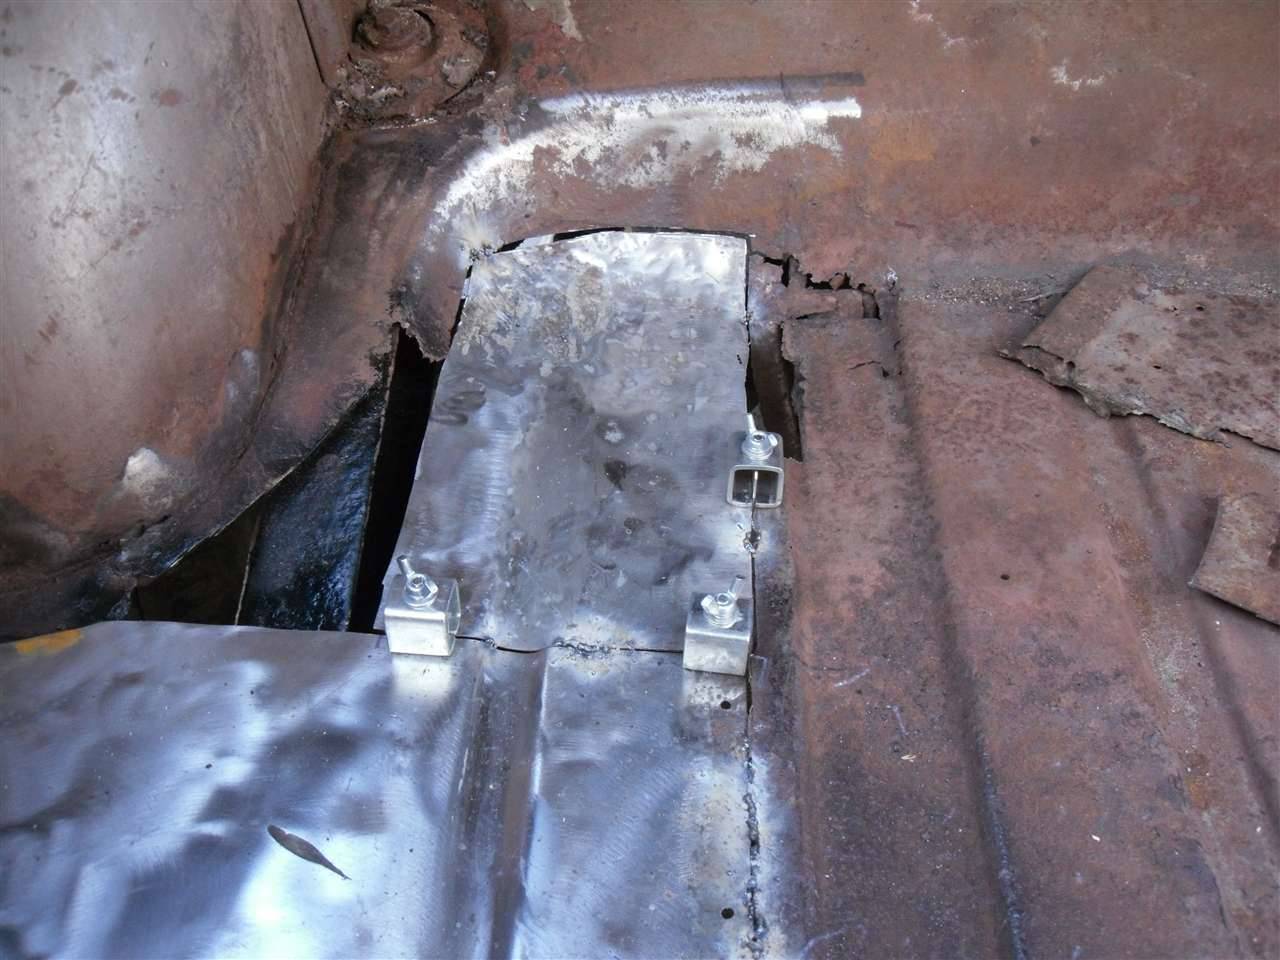
Posted on: 2011/5/4 18:38
|
|||
|
[url=h
|
||||
|
||||
|
Re: 51Packard's....51 Packard
|
||||
|---|---|---|---|---|
|
Home away from home
|
It looks to me like the bead in your third picture was too cold. It shouldn't sit up on top of the metal like that.
When I'm welding two pieces of sheet metal together, I put down a 1/2" bead, wait for it to cool a little, and then do another 1/2" two to three inches away. Go around the patch and repeat. Just a crazy thought- have you ever tried a different welder, or had someone else try to lay a bead with your welder? Sometimes MIG welders can be finicky. Good luck!
Posted on: 2011/5/4 20:11
|
|||
|
1937 120 1092 - Original survivor for driving and continued preservation.
https://packardinfo.com/xoops/html/modules/newbb/viewtopic.php?topic_id=16514&forum=10 1937 115 1082 - Total basket case, partial restoration, sold Hershey 2015 https://packardinfo.com/xoops/html/modules/newbb/viewtopic.php?start=0&topic_id=6550&order=ASC&status=&mode=0 |
||||
|
||||
|
Re: 51Packard's....51 Packard
|
||||
|---|---|---|---|---|
|
Home away from home
|
Thanks Ken...I'm using a cheap flux core welder, no MIG. It is notorious for being difficult to use on sheet metal. It's all I have to work with right now. The MIG welder at my work has a bad regulator so I can't even borrow it. It's all a learning experience. I might turn up the voltage on my dimmer switch next time.
Posted on: 2011/5/4 21:28
|
|||
|
[url=h
|
||||
|
||||
|
Re: 51Packard's....51 Packard
|
||||
|---|---|---|---|---|
|
Just can't stay away
|
I had the same problems you have with welding sheet metal. I
also have a cheapo flux wire welder. What worked for me was lowering the wire feed speed to 1. Put the welds on about 6" apart so a lot of heat is not build up, then go back and weld between the 6" welds.
Posted on: 2011/5/10 16:53
|
|||
|
||||
|
Re: 51Packard's....51 Packard
|
||||
|---|---|---|---|---|
|
Home away from home
|
You just tack the whole length to fill or do you run a bead for some length? I haven't tried a really slow speed yet. Every thing I have read is that my wire speed should be faster to keep the heat down. I'll have to try that too.
Posted on: 2011/5/10 21:22
|
|||
|
[url=h
|
||||
|
||||
|
Re: 51Packard's....51 Packard
|
||||
|---|---|---|---|---|
|
Home away from home

|
Hi Packard 51,
I've been following your blog with interest. Firstly I take my hat off to you for tackling such an immense task. Let's see if we can help with some of your welding mysteries. Firstly you should be using the smallest wire that you can get say 0.6mm or american equivalent. Check that your inner nozzle and drive rollers match the size of wire. Make sure that you have a good earth(sorry ground)m.i.g welding does not like dirty connections. Apart from the on/off switch you should have 2 major controls Voltage setting (usually 4 positions) and wire speed, dial type control which alters the amperage. Set the voltage to position 1 and turn the wire speed control. At this point you will need to try out on a piece of scrap metal Try the control until you get the desired weld. If no success at this point change the voltage switch to the next position and repeat until your happy with the weld result. When tacking and welding the rule is TO MAKE HASTE SLOWLY do not try to weld in one hit. When tacking hold the torch at an angle of approx 45 degrees and rest the outer nozzle onto the work and pull the trigger on the gun intil a tack takes place. Move on a short distance and repeat. When you get the hang of this you canuse what we call "triggering" and produce lots of tacks over the distance that you want. Finally make all the tacks into the length of weld that you want. I hope this helps you a bit more. Regards Terry
Posted on: 2011/5/11 2:07
|
|||
|
||||
|
Re: 51Packard's....51 Packard
|
||||
|---|---|---|---|---|
|
Home away from home
|
Hi 51, Yet some more welding info. I was worried about timing out on the site.
The voltage control sets your depth of penertration and the wire speed your amperage. Try to imagine them like a carburettor, gas and air, and each has to be set one at a time until you obtain the balance to allow smooth running. When setting the wire speed, if the wire comes out and hammers onto the work its set too fast. If the wire just droops out onto the work its set too slow. Somewhere in between is where you want. Flux cored wire is not as neat as using co2 but will still do the job. Let me know how you get on. Regards Terry
Posted on: 2011/5/11 2:21
|
|||
|
||||
|
Re: 51Packard's....51 Packard
|
||||
|---|---|---|---|---|
|
Just can't stay away
|
51,
Just about all the welding I have done is on the fenders. I filled in the tacks so they were about 1" apart. The trick is to avoid building up too much heat. The slab sided of the 51 will warp very easily if they get too hot.
Posted on: 2011/5/11 18:24
|
|||
|
||||


