|
Re: Don’s 1937 (120) 138CD Deluxe Touring Limo
|
||||
|---|---|---|---|---|
|
Webmaster

|
Where the fenders bolt to the cowl, they go into caged nuts that are part of a floating panel section that does not penetrate into the kick panel area.
Posted on: 4/29 9:36
|
|||
|
-BigKev
1954 Packard Clipper Deluxe Touring Sedan -> Registry | Project Blog 1937 Packard 115-C Convertible Coupe -> Registry | Project Blog |
||||
|
||||
|
Re: Newest Articles
|
||||
|---|---|---|---|---|
|
Webmaster
|
Now Online!
Service Letter Vol 4, No 1 Service Letter Vol 4, No 10 Service Letter Vol 4, No 24 Service Letter Vol 5, No 7 Service Letter Vol 6, No 11 Service Letter Vol 6, No 20 Service Letter Vol 6, No 22 Service Letter Vol 6, No 23 Service Letter Vol 11, No 19 Also, thanks to Brian DeBoeck, we now have a complete Service Counselor Vol 24, No 7.
Posted on: 4/29 9:01
|
|||
|
-BigKev
1954 Packard Clipper Deluxe Touring Sedan -> Registry | Project Blog 1937 Packard 115-C Convertible Coupe -> Registry | Project Blog |
||||
|
||||
|
Re: Don’s 1937 (120) 138CD Deluxe Touring Limo
|
||||
|---|---|---|---|---|
|
Home away from home

|
The cowl bolt nuts may be accessible by removing the kick panels. If you've gotten past the undercoating, that's a big plus. Make a note or take pictures of any shim stacks, etc, that you may encounter. You may need some fender welting or rubber items for the joints around the radiator shell, headlight pedestals, and so forth.
Posted on: 4/29 8:01
|
|||
|
||||
|
Re: Help identifying poster
|
||||
|---|---|---|---|---|
|
Home away from home

|
I'm with Mal on this. Just off the top of my head, a Stearns-Knight came to mind for the radiator shape, and a quick search for a 2 door Stearns Knight sedan revealed that a 1929 actually looks like a very close match.
https://acdamstore.com/products/1929-stearns-knight-coupe
Posted on: 4/29 5:01
|
|||
|
'55 400. Needs aesthetic parts put back on, and electrical system sorted.
'55 Clipper Deluxe. Engine is stuck-ish. |
||||
|
||||
|
Re: 1924 Sport 136
|
||||
|---|---|---|---|---|
|
Home away from home
|
Karl, If anyone is going to get those rims on without damaging the paint on the wheels, then it will be you!! I look forward to seeing the result.
Posted on: 4/29 3:40
|
|||
|
||||
|
Re: Resurrecting my 56’ Patrician
|
||||
|---|---|---|---|---|
|
Home away from home
|
Bendix power steering.
The lower A arm. Make a tool to hold the A arm ends They are a pain to get off.
Posted on: 4/28 23:08
|
|||
|
Riki
|
||||
|
||||
|
Re: Upholstery Refresh
|
||||
|---|---|---|---|---|
|
Home away from home
|
Started my carpet today. I went a little further under the back seat and cut slits for the tabs that hold the back seat in place. This should help keep the carpet in just the right position.
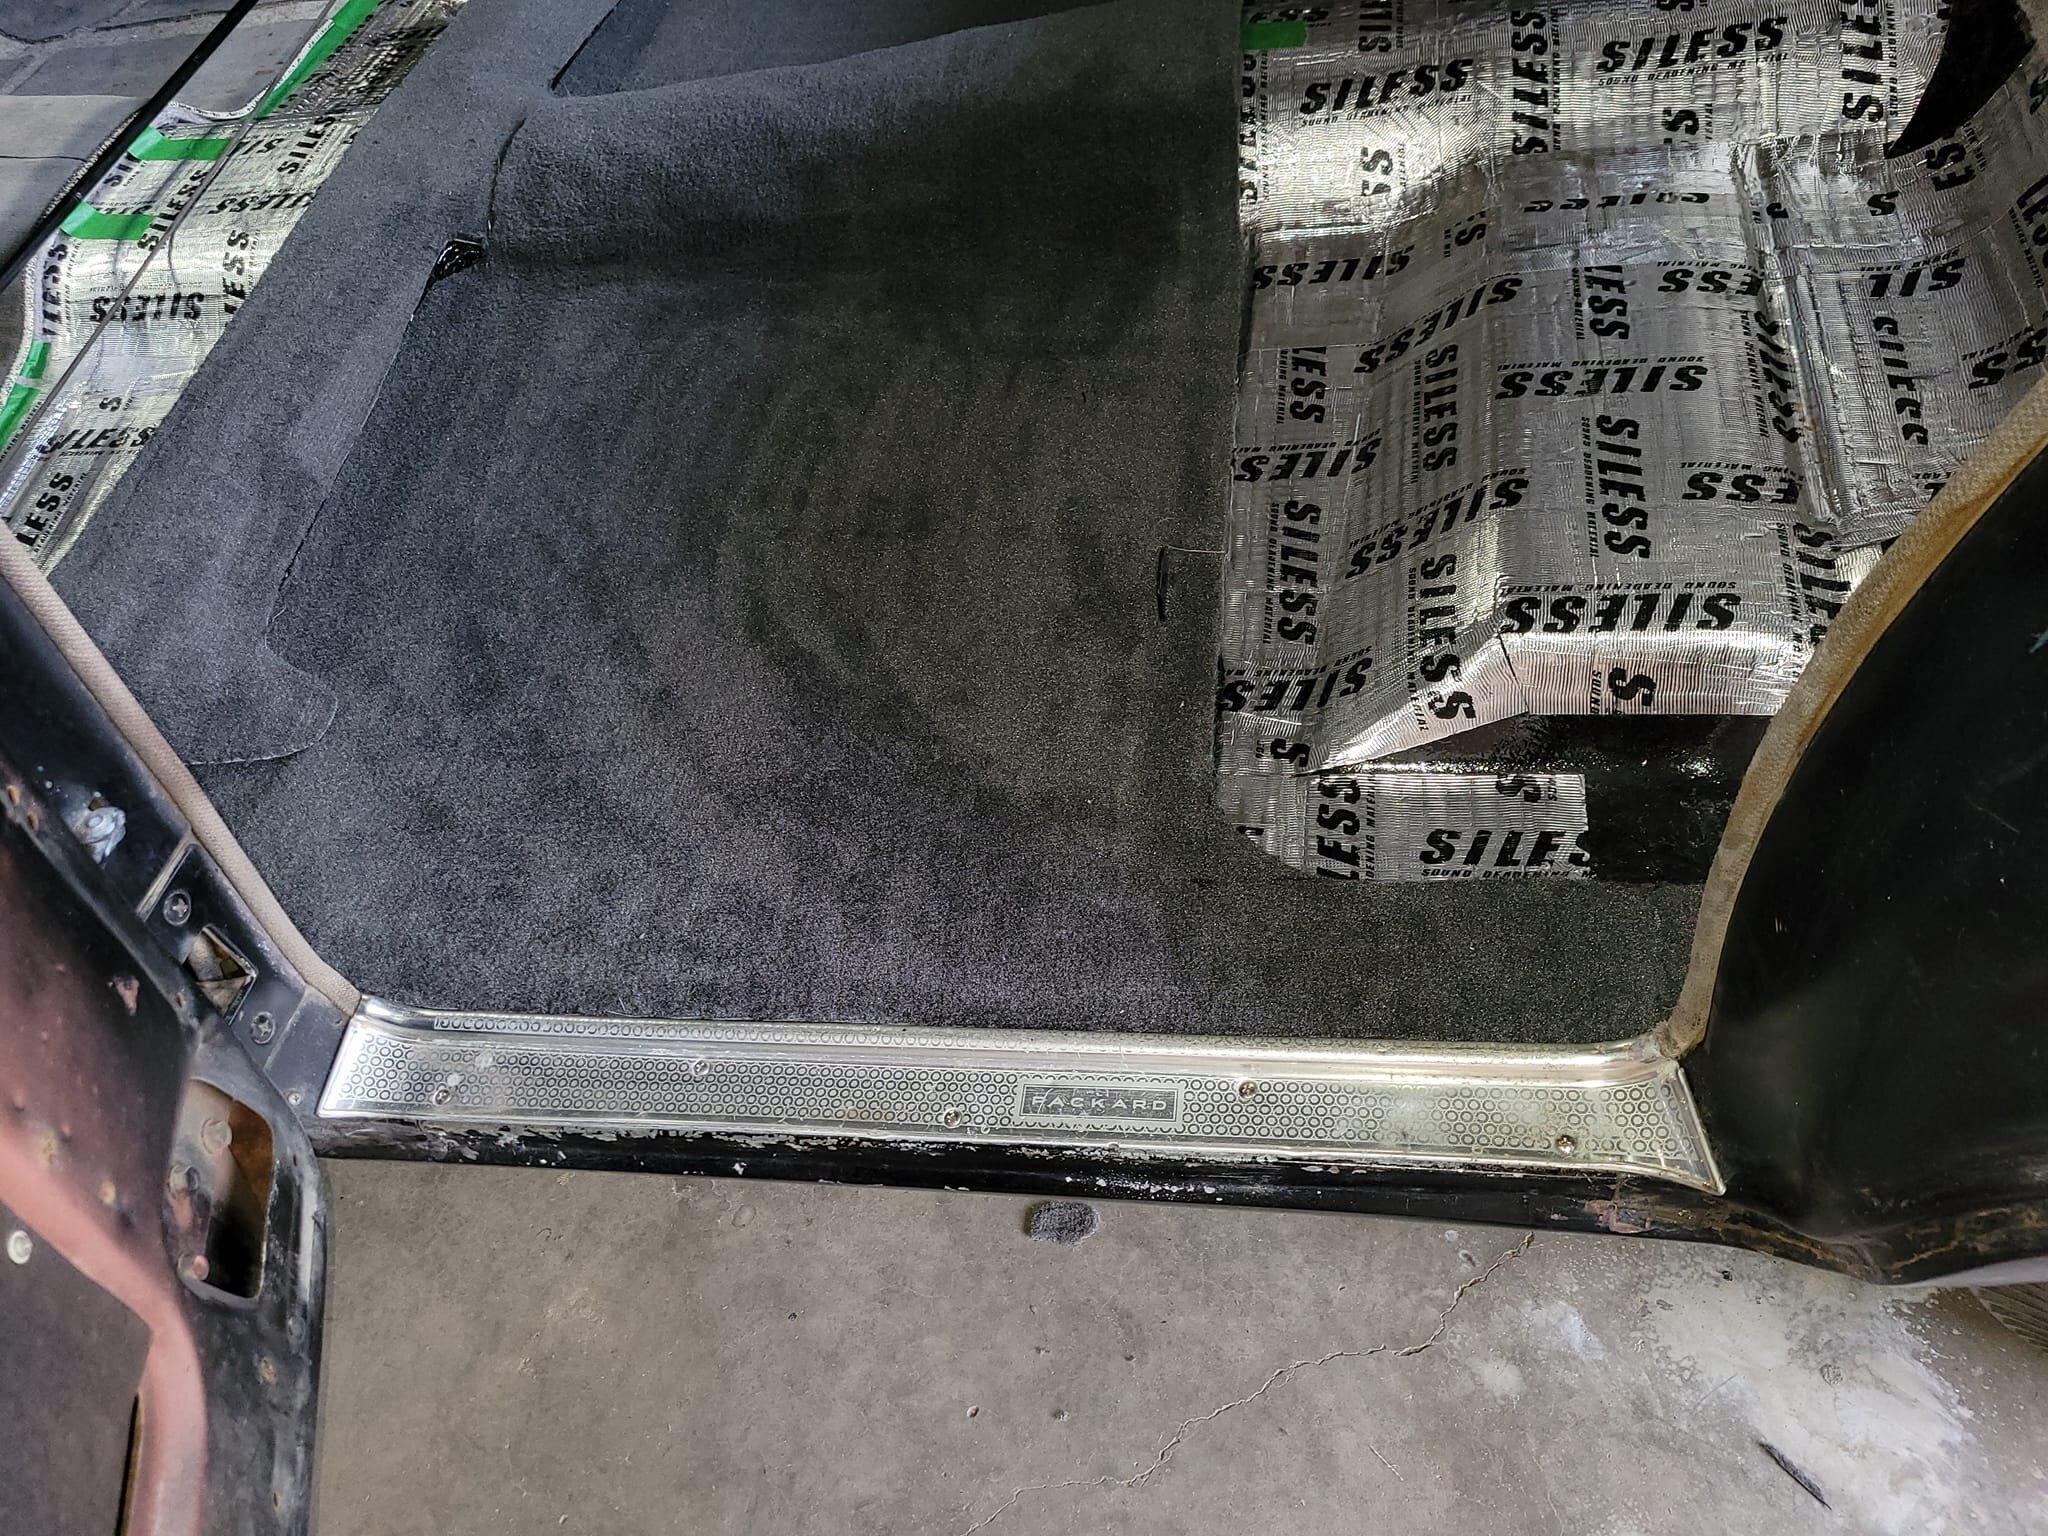 It would be much easier to tuck the carpet under the sill plates, but binding the edges and resting them next to the sill plates is what Packard did, so that's what I'm going to do. I'll attach Velcro to the edges to keep them in place. 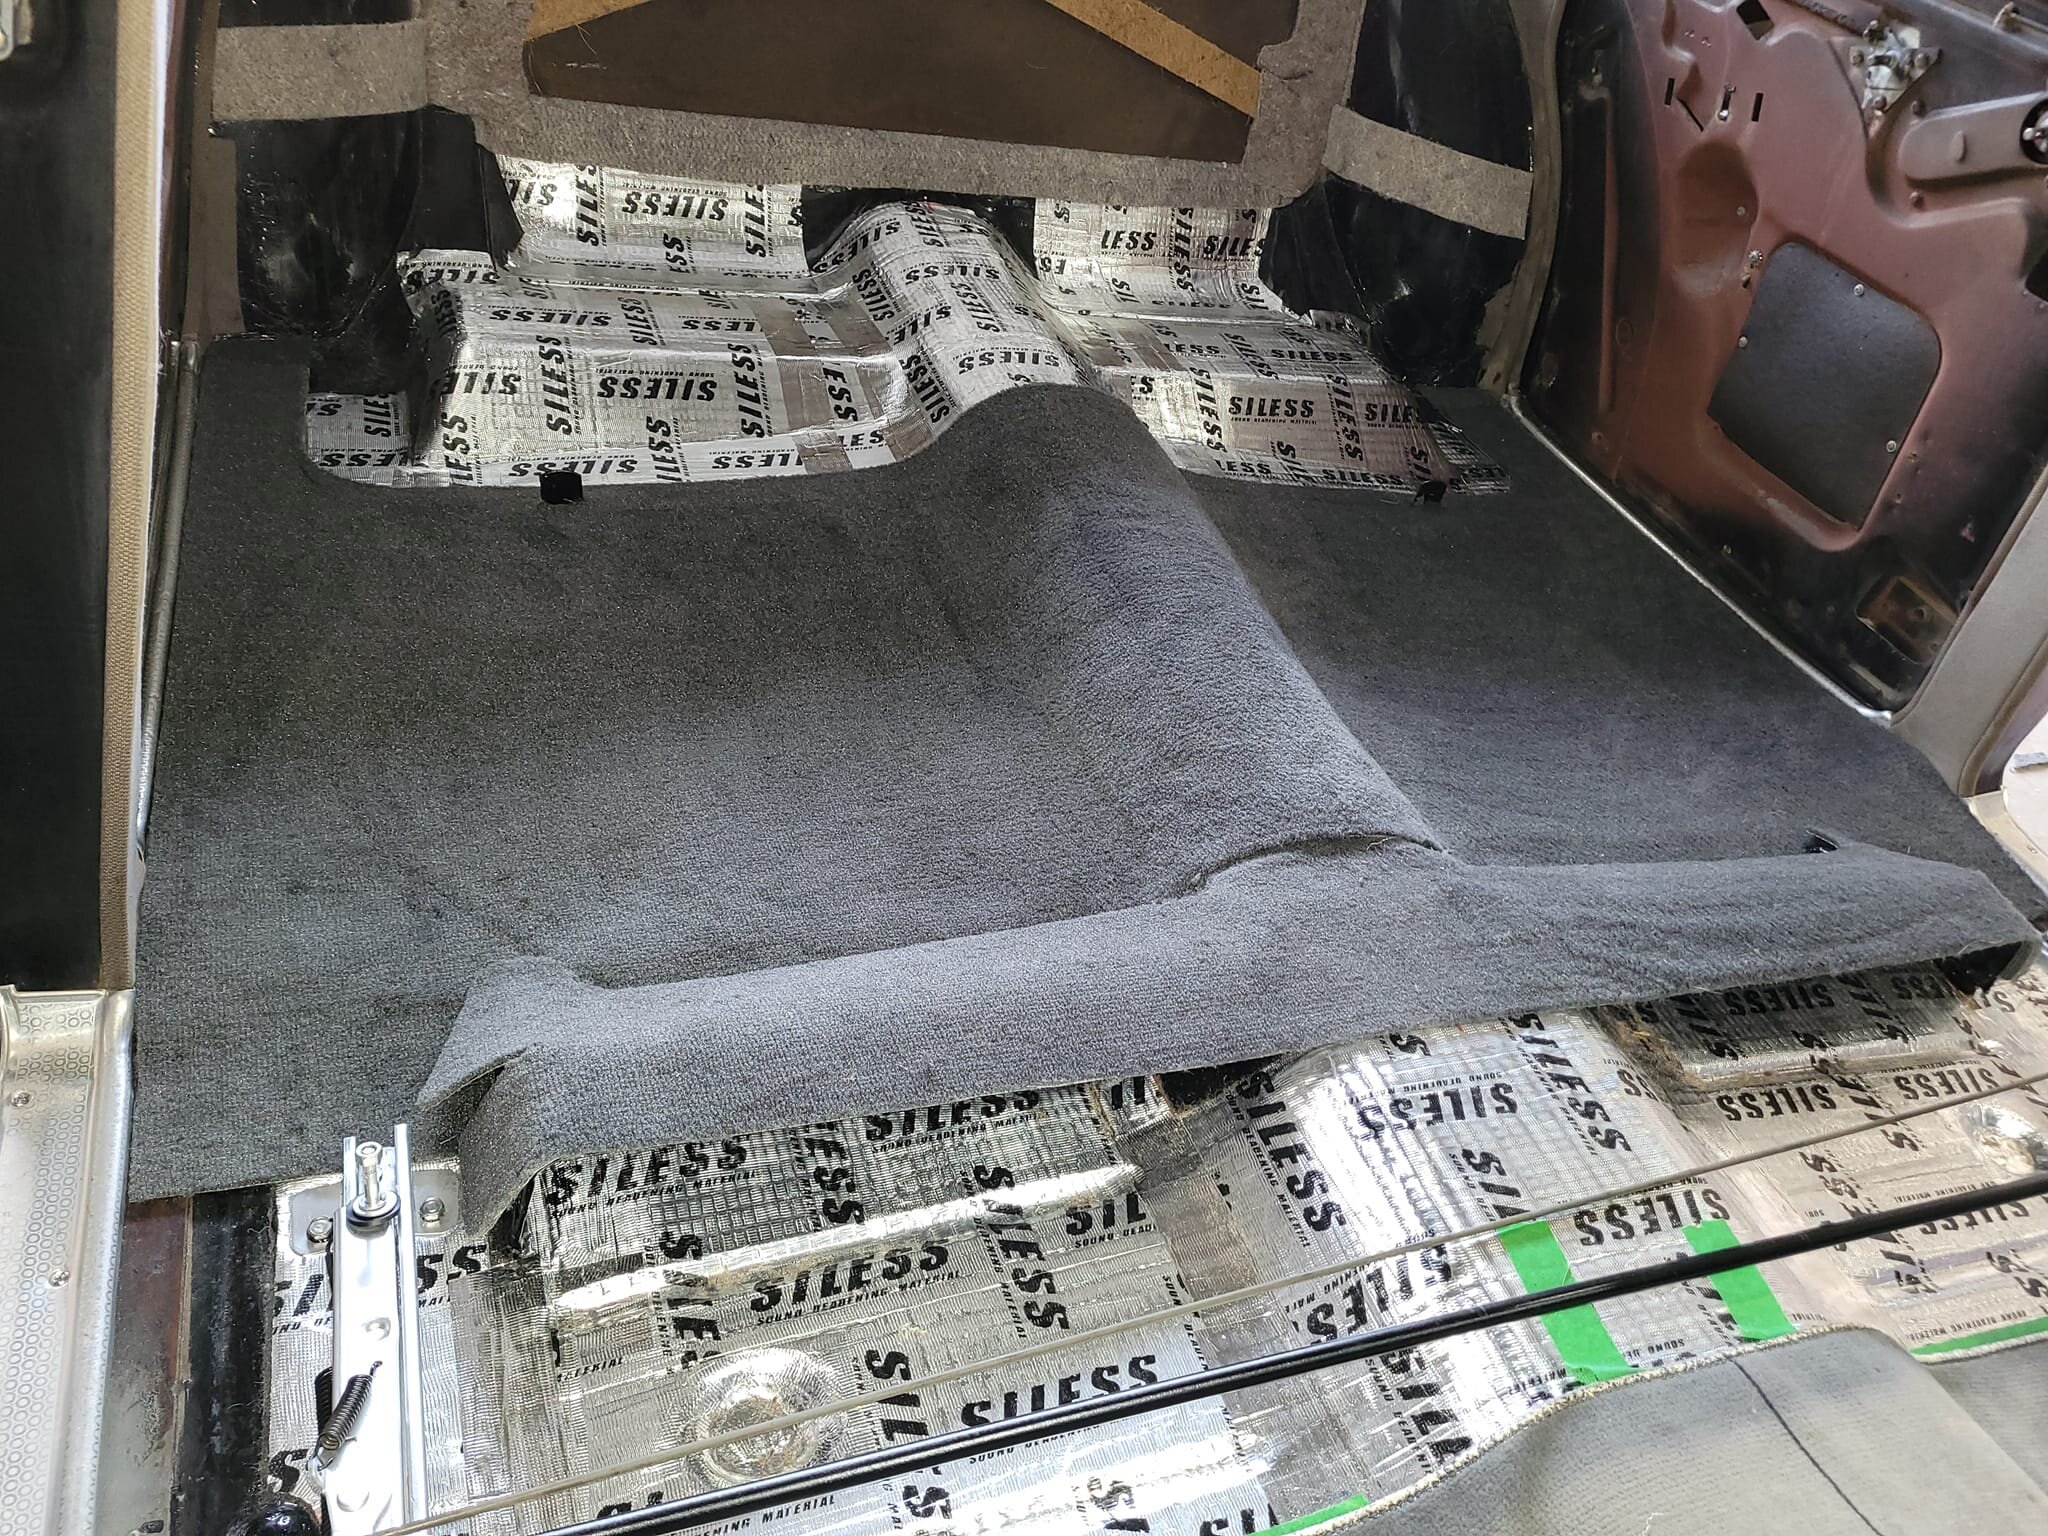 Back seat sits nicely over the tunnel. 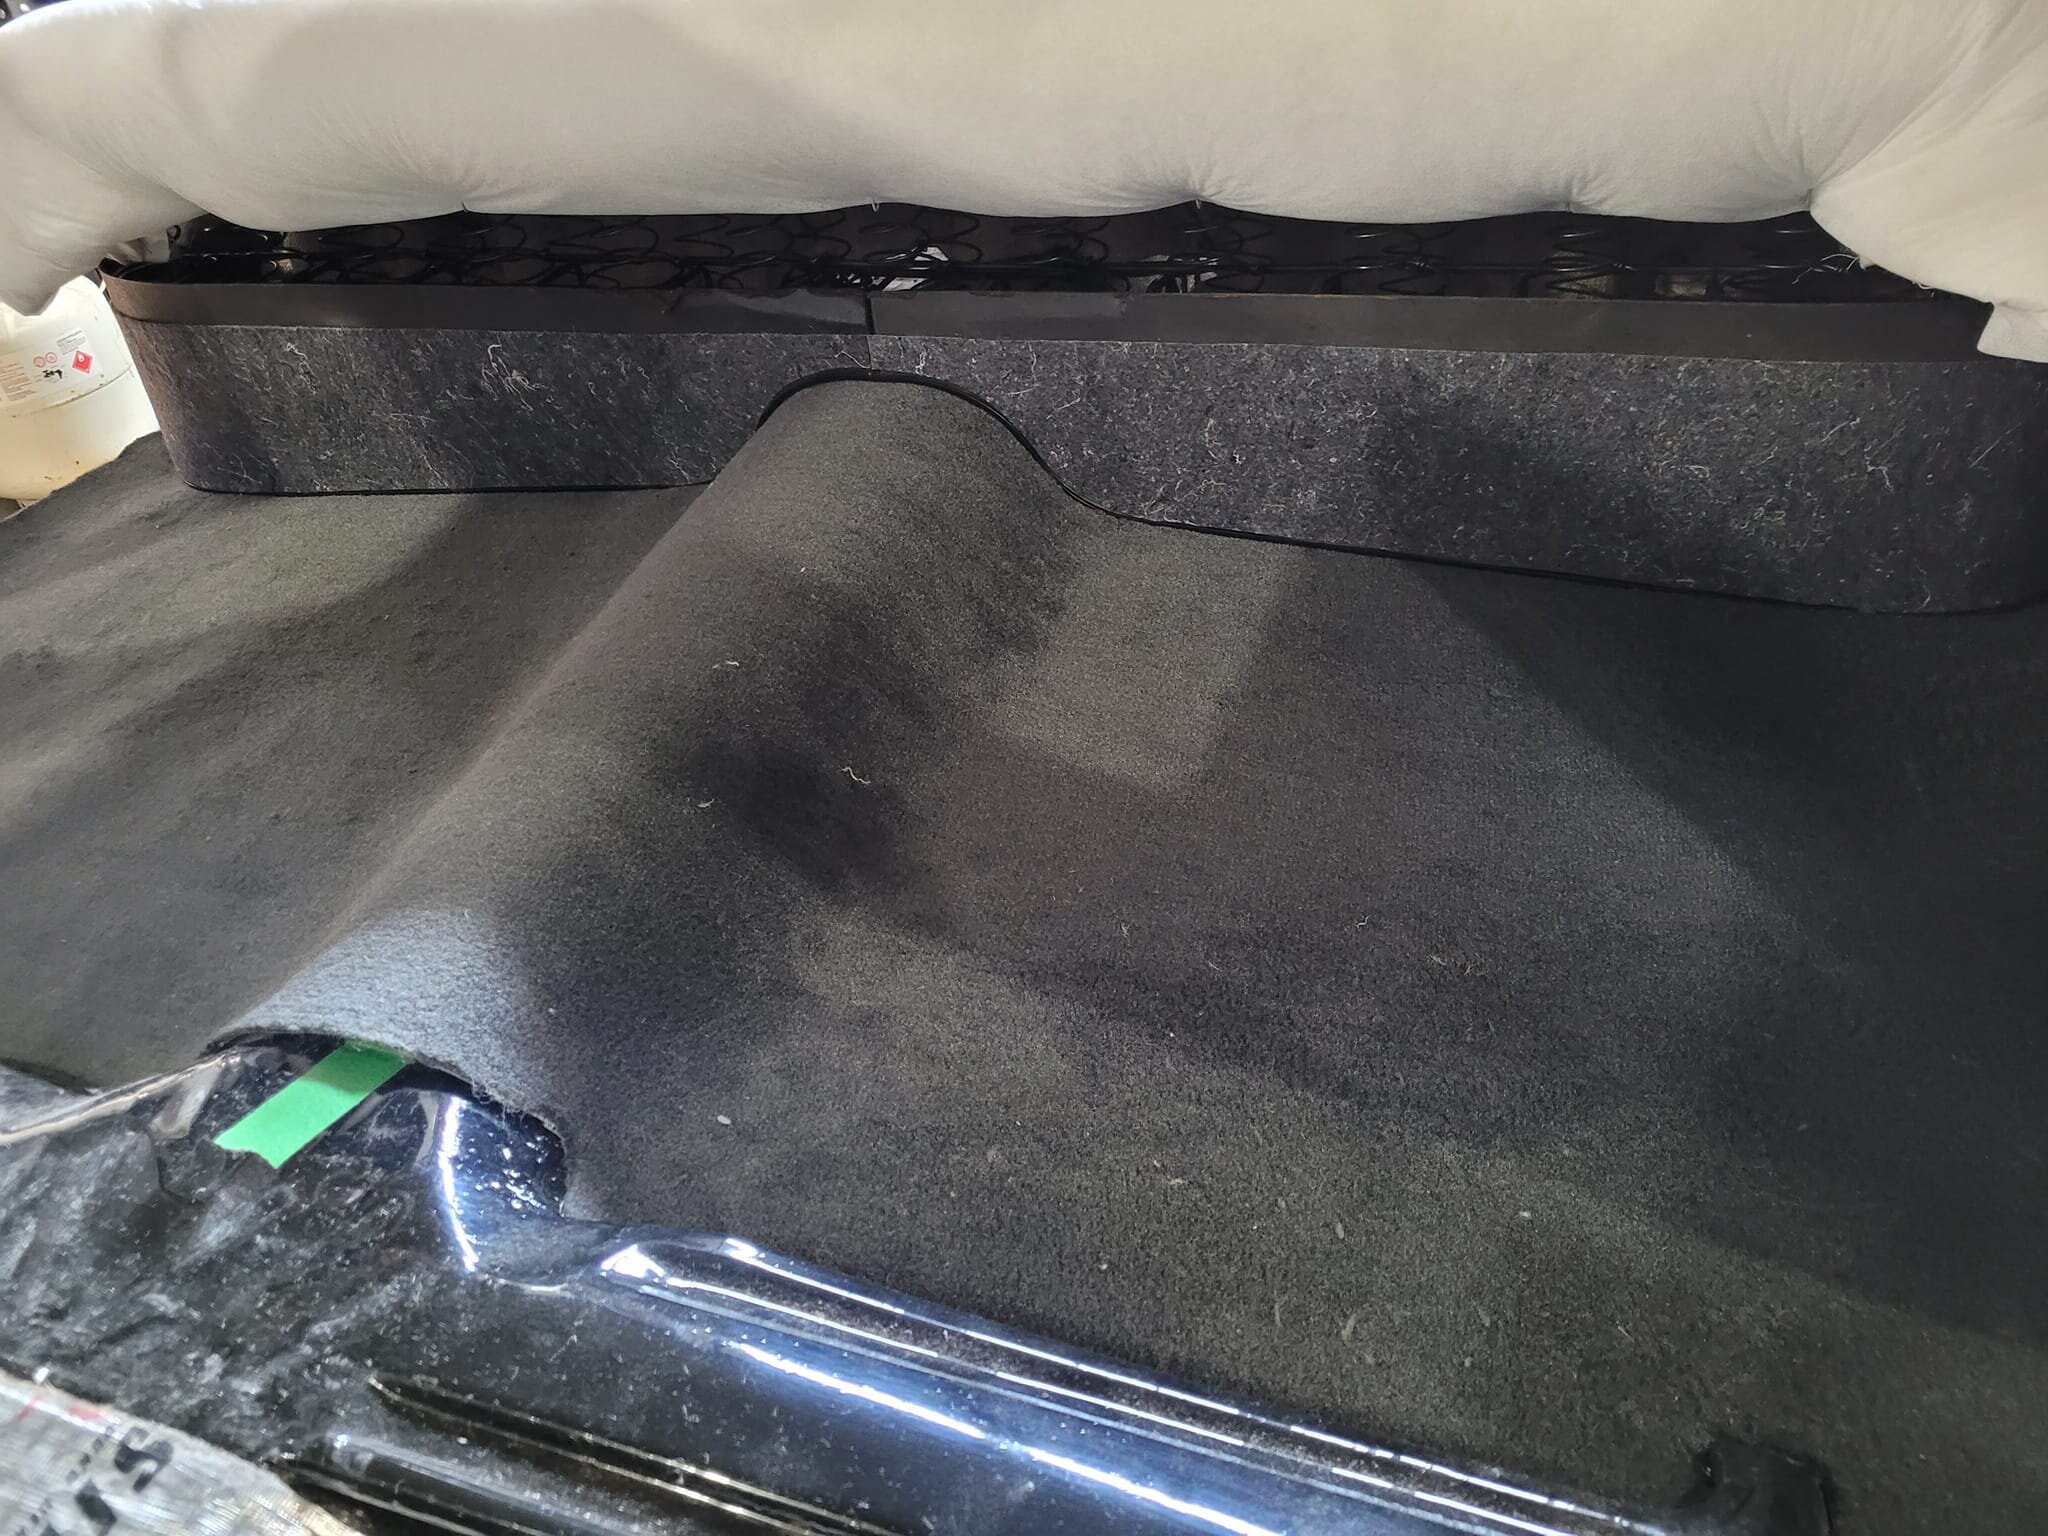 Cut up the originals to patterns for the new.  My brother sometimes accuses me of being to meticulous. I don't know what he's talking about!  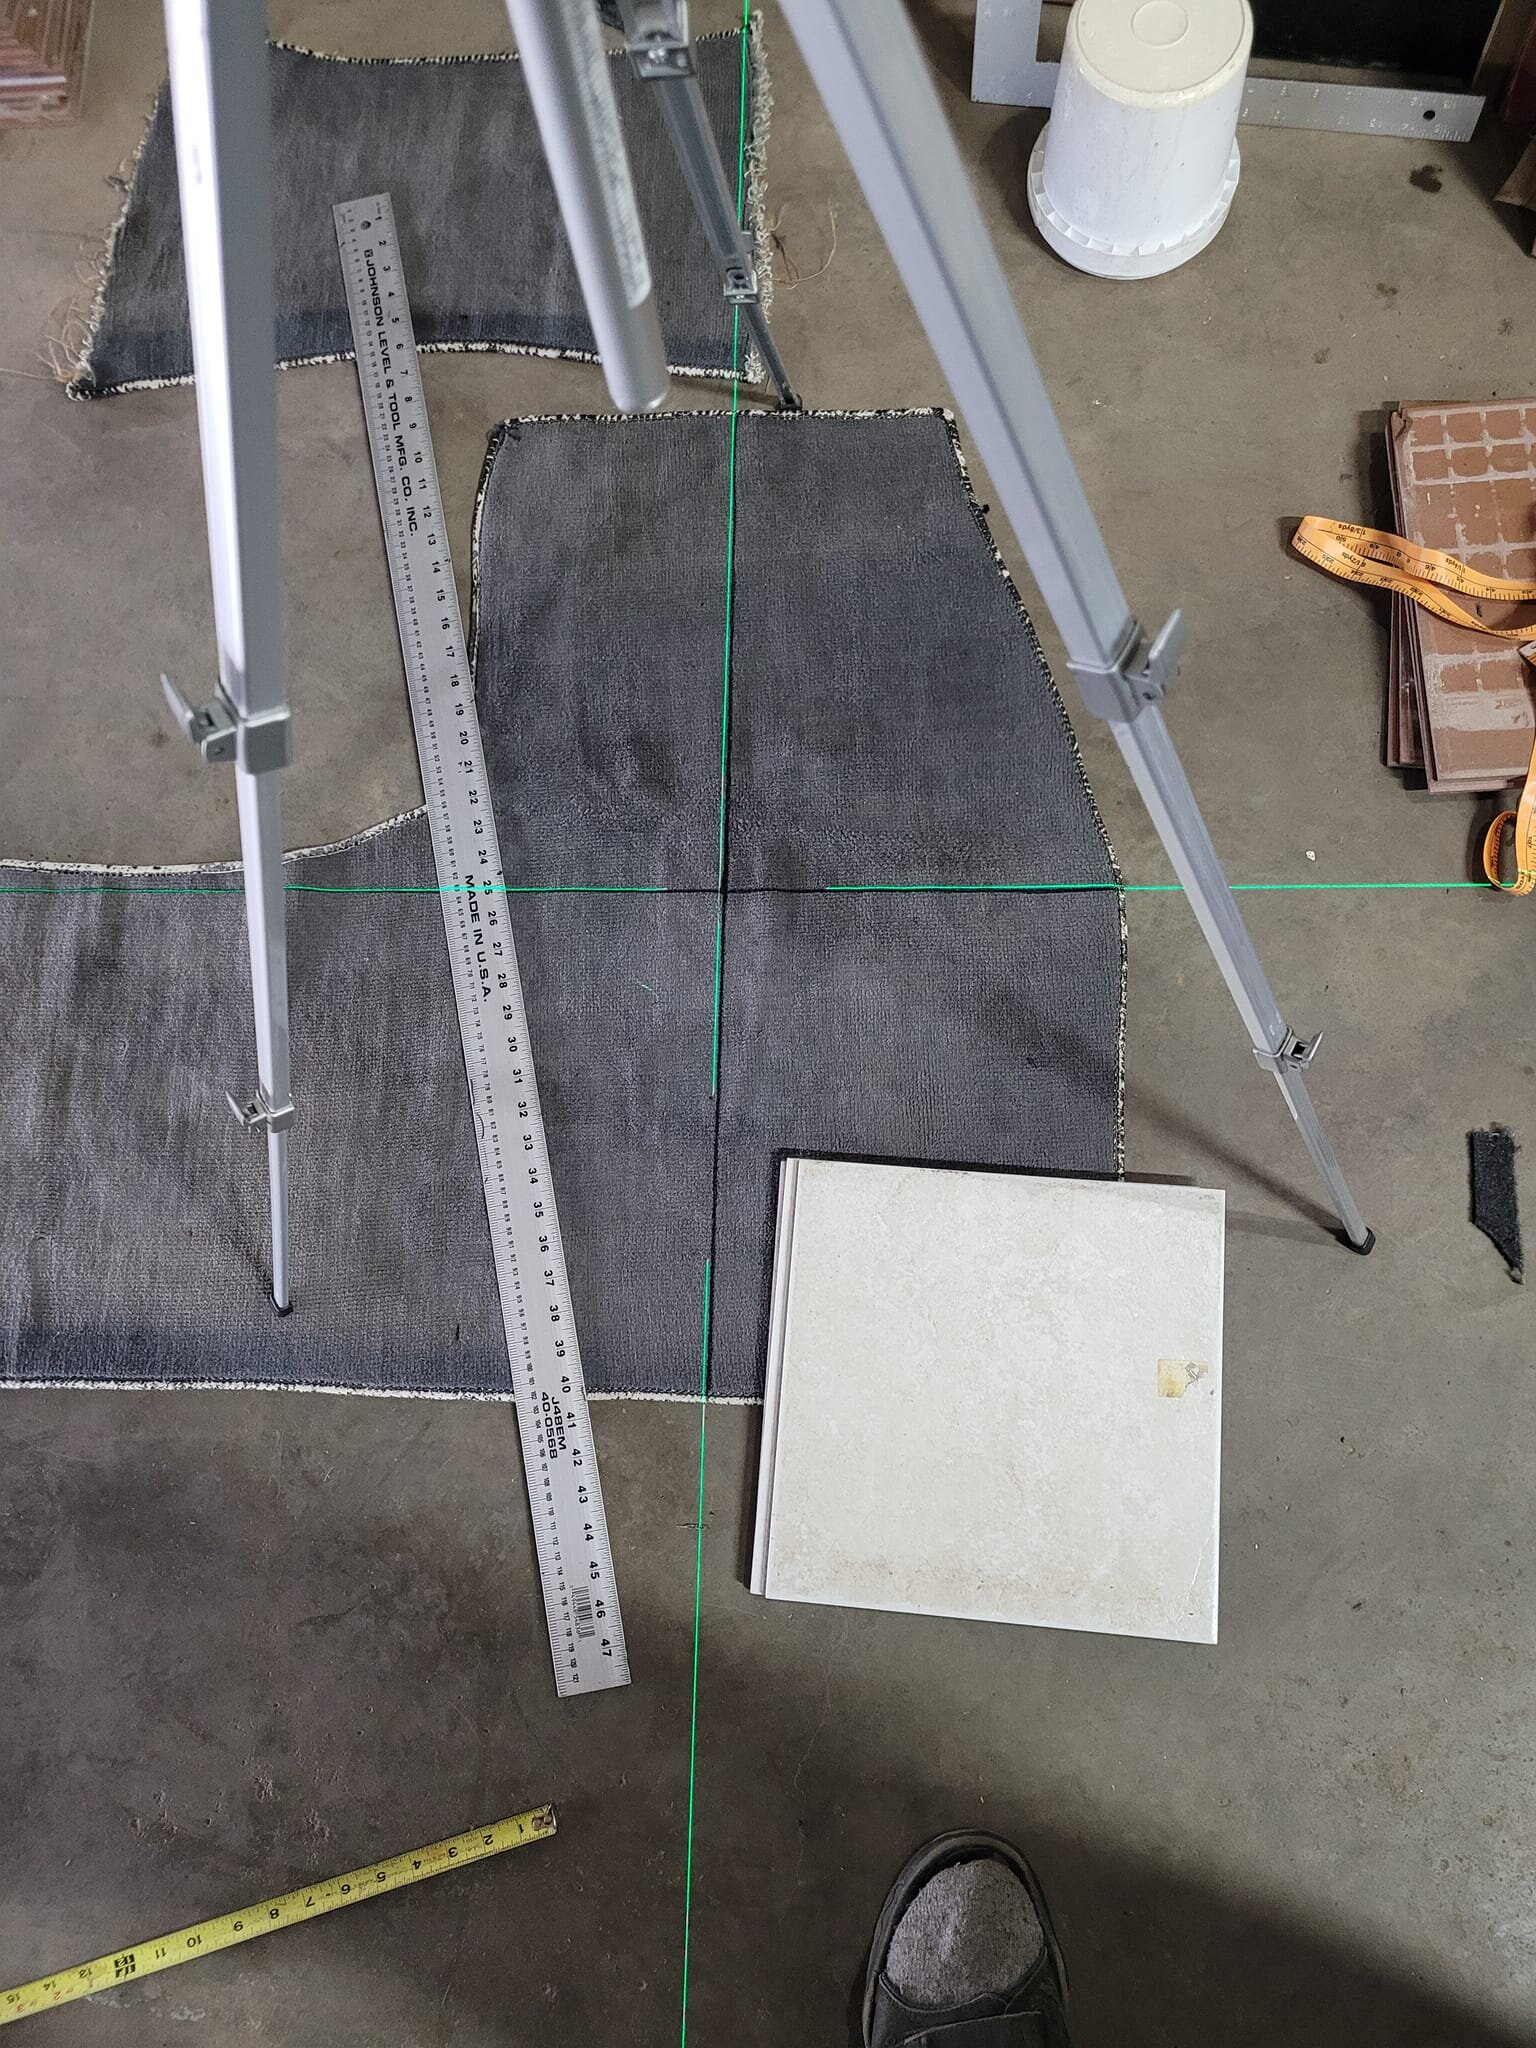 Front carpet is next. 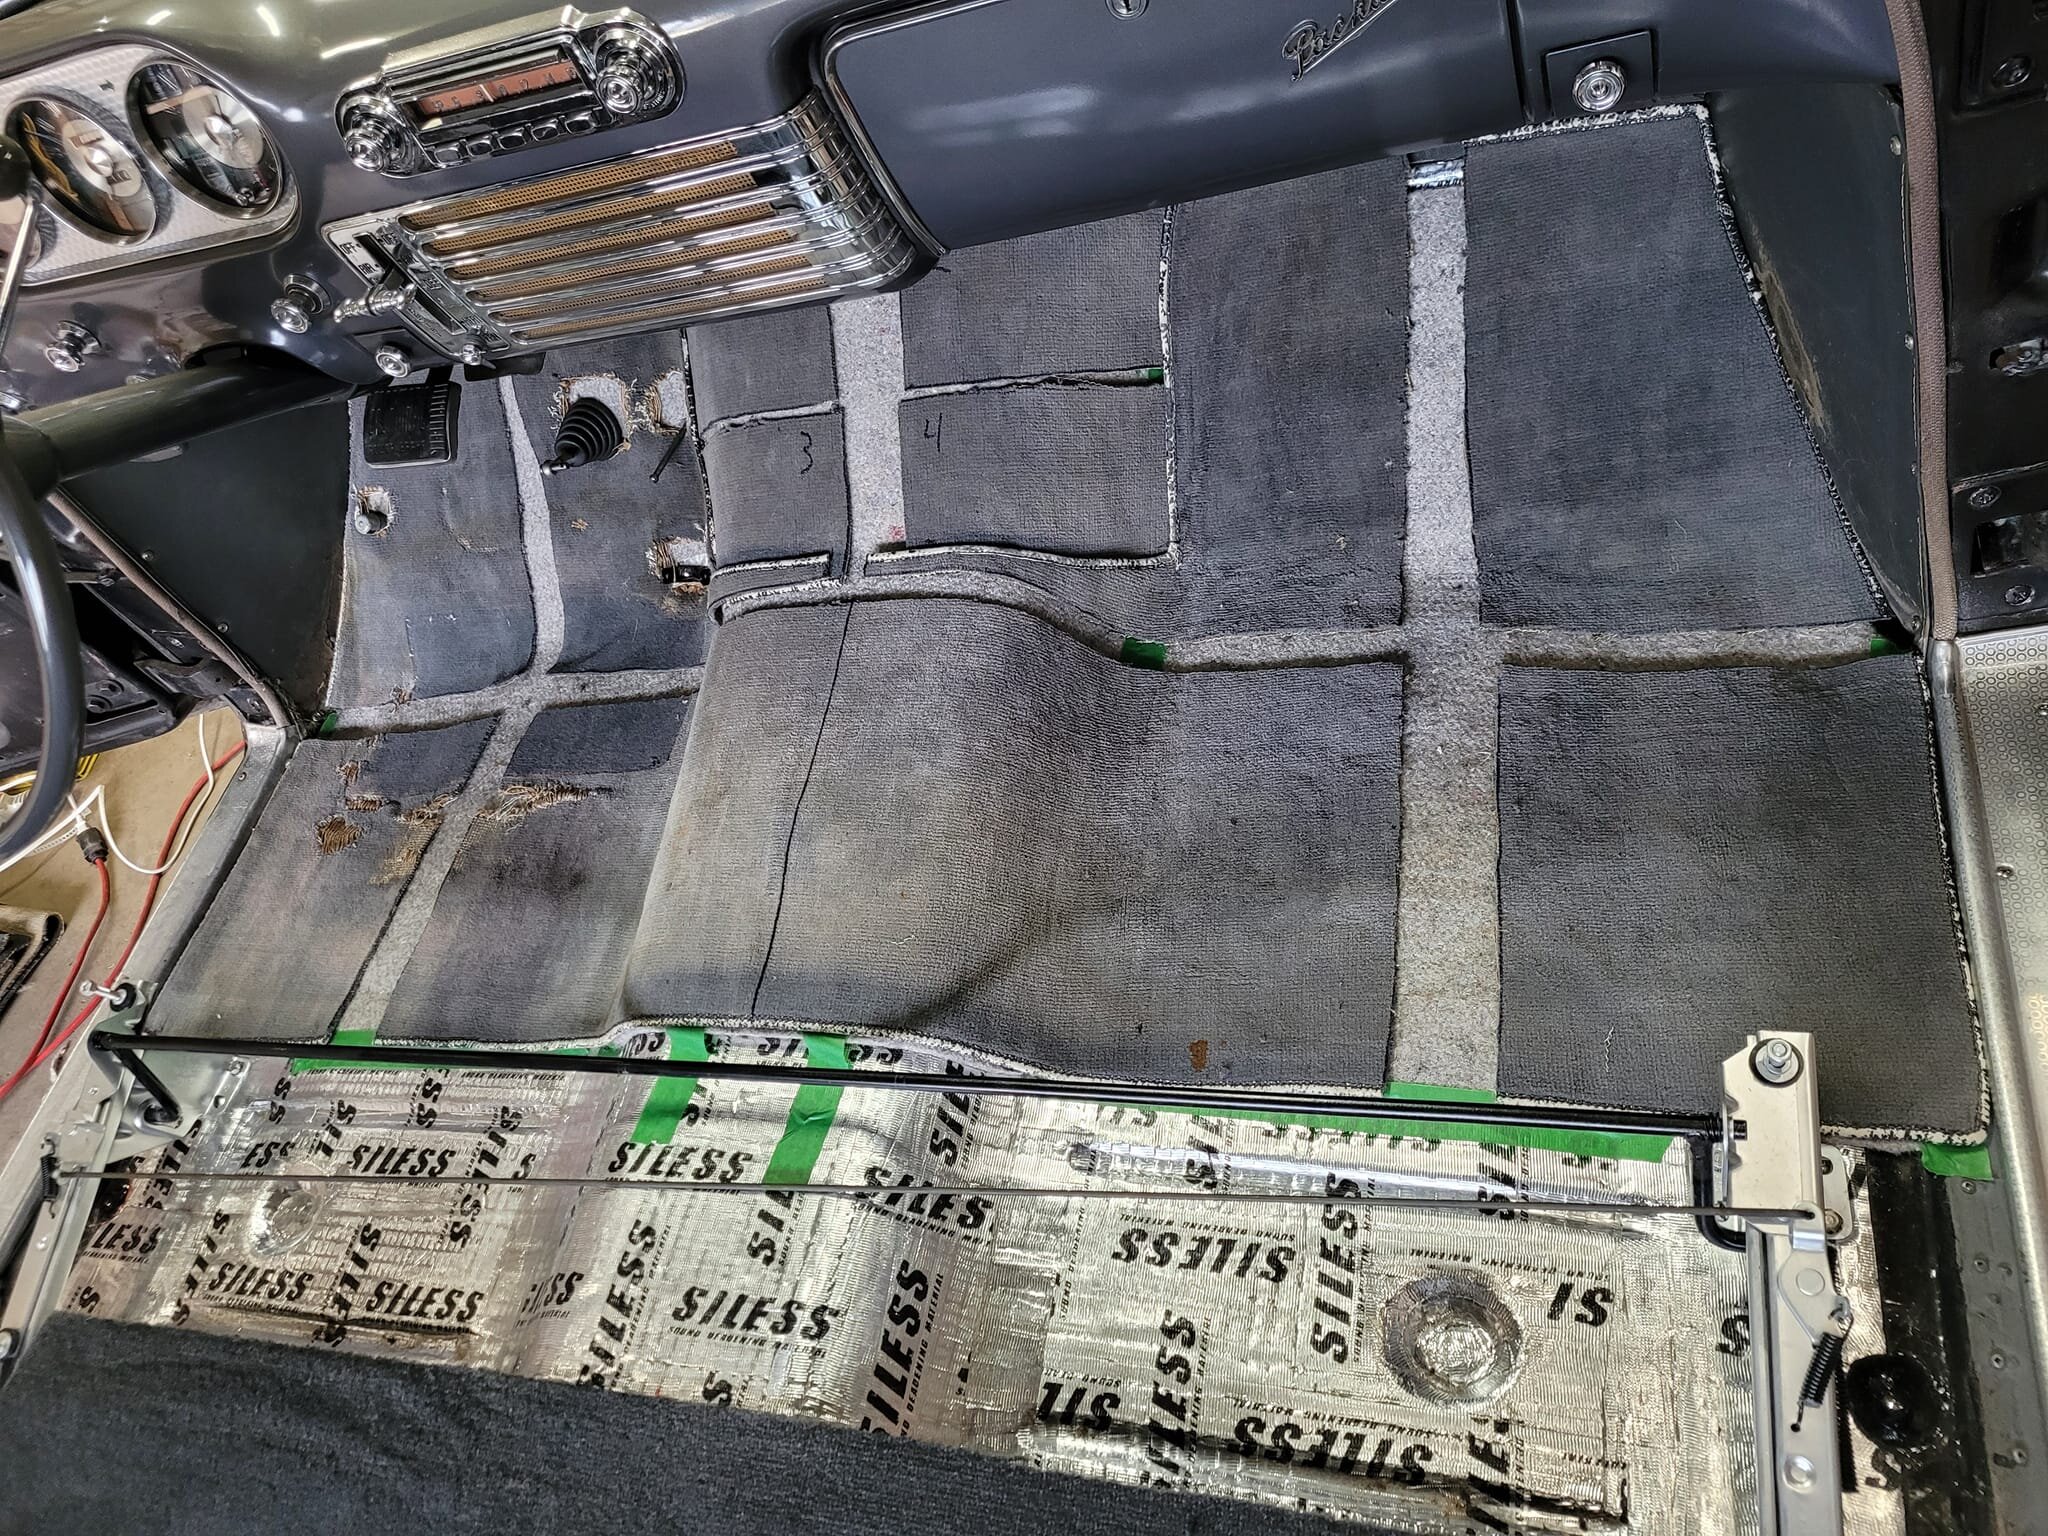
Posted on: 4/28 23:04
|
|||
|
||||
|
Re: Help identifying poster
|
||||
|---|---|---|---|---|
|
Forum Ambassador

|
Nothing to add concerning the identity of the poster itself, way out of my area of understanding. Instead I question the identity of the car, is it a Packard?
For one, I don't think Packard made a two door sedan in that time period. For another, it doesn't appear to have red hexagon hubcaps. Lastly, the upper radiator shell shape and the bonnet(hood) don't appear to be the right shape. Apologies in advance if it is a Packard.  My Packard recognition skills need work. My Packard recognition skills need work.
Posted on: 4/28 22:13
|
|||
|
Mal
/o[]o\ ====  Bowral, Southern Highlands of NSW, Australia "Out of chaos comes order" - Nietzsche. 1938 Eight Touring Sedan - SOLD 1941 One-Twenty Club Coupe - SOLD 1948 Super Eight Limo, chassis RHD - SOLD 1950 Eight Touring Sedan - SOLD What's this?  Put your Packard in the Packard Vehicle Registry! Here's how! Any questions - PM or email me at ozstatman@gmail.com |
||||
|
||||
|
Re: Don’s 1937 (120) 138CD Deluxe Touring Limo
|
||||
|---|---|---|---|---|
|
Home away from home
|
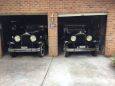
Well, I ddn’t make a lot of progress today, but I did make some progress. I decided that I’m going to attempt to get things loose and remove the front clip as one piece. I’ll recruit three of my younger neighbors to help. I refer to them as the Three Hooligans!. I decided to go this route since everything will have to come off eventually to get the work done that I want (body and paint), so I may as well get set up for that now. Plus, it will let me do a number of things that likely need attention….coolant distribution tube and center steering bearing, for example.
I got the front bumper off and the running board trim. I believe I have the heads of all the necessary nuts and bolts freed from the undercoating. I was able to get the fender support bars removed and got them completely stripped of the undercoating and all loose rust removed. I’ll get them coated with rust encapsulator soon, along with the bumper brackets. I also got those cleaned up. I was also able to get the top sidemount support nuts loosened on each side. That’s good, because those aren’t easy to get to. I need to get a 1-5/16 impact socket for the lower nuts on the sidemount supports. I’ll have that tomorrow, and I’m pretty optimistic that those will come off pretty easily. The center bolt under the radiator will be pretty easy since Allen replaced that when he was working on the car. I also went ahead and got the wiring harness out of the way. That was easy since it’s only the wires going to the right headlight bucket and they are connectorized. That just leaves three bolts to the running boards and three bolts to the cowl on each side. I’m not too worried about the bolts to the running board, but I’m a little worried about the bolts to the cowl. They look like they are going to be the most difficult as they’re a bit harder to get to. One is a little loose. I’m concerned that it could be rusted out at the nut plate which could be challenging. I’m pretty nervous about this whole process given my lack of experience. But I keep reminding myself that you get experience from doing. There will likely be some failures/struggles along the way, but that’s been the case with everything in life. New adventure. Plus, I know I have the benefit of a lot of support, tips, and knowledge with this group. If (really when) I get to a point where I’m not sure what to do next, I’ll stop and ask.
Posted on: 4/28 22:03
|
|||
|
||||
|
Options on exhaust block off, '40 110
|
||||
|---|---|---|---|---|
|
Home away from home

|
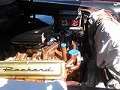
An odd question of course, as the standard '40 110 came with a single exhaust port...but someone in the storied past of my '40 sedan decided to burn a hole in the exhaust manifold and welded on a second exhaust port, so the little 245 six had dual exhausts.
I'm going back to 'stock-ish' in the renovation (which is not a restoration) of the '40. The manifold came off of my 110, the 245 in question is out of a '47 Clipper donor car. I have this non-Packard, bastardized exhaust manifold to deal with; the '47 manifold was cracked and I elected not to put it on the car. I'm thinking a simple steel plate to match the pattern of the outlet with a gasket to fit. Ideas appreciated.
Posted on: 4/28 21:54
|
|||
|
||||


