|
Re: 1940 Super 8 160 Model 1803 Project
|
||||
|---|---|---|---|---|
|
Forum Ambassador
|
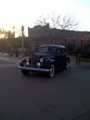
Final work on car today prior to leaving for Laughlin this evening. Installed vertical air deflectors in the front grill. Finally getting to the point of doing little things I've wanted to get to, but haven't had time lately.
Plugs cleaned, oil & filter changed, greased, points cam lubricated, ready to go! Attach file:  (91.61 KB) (91.61 KB)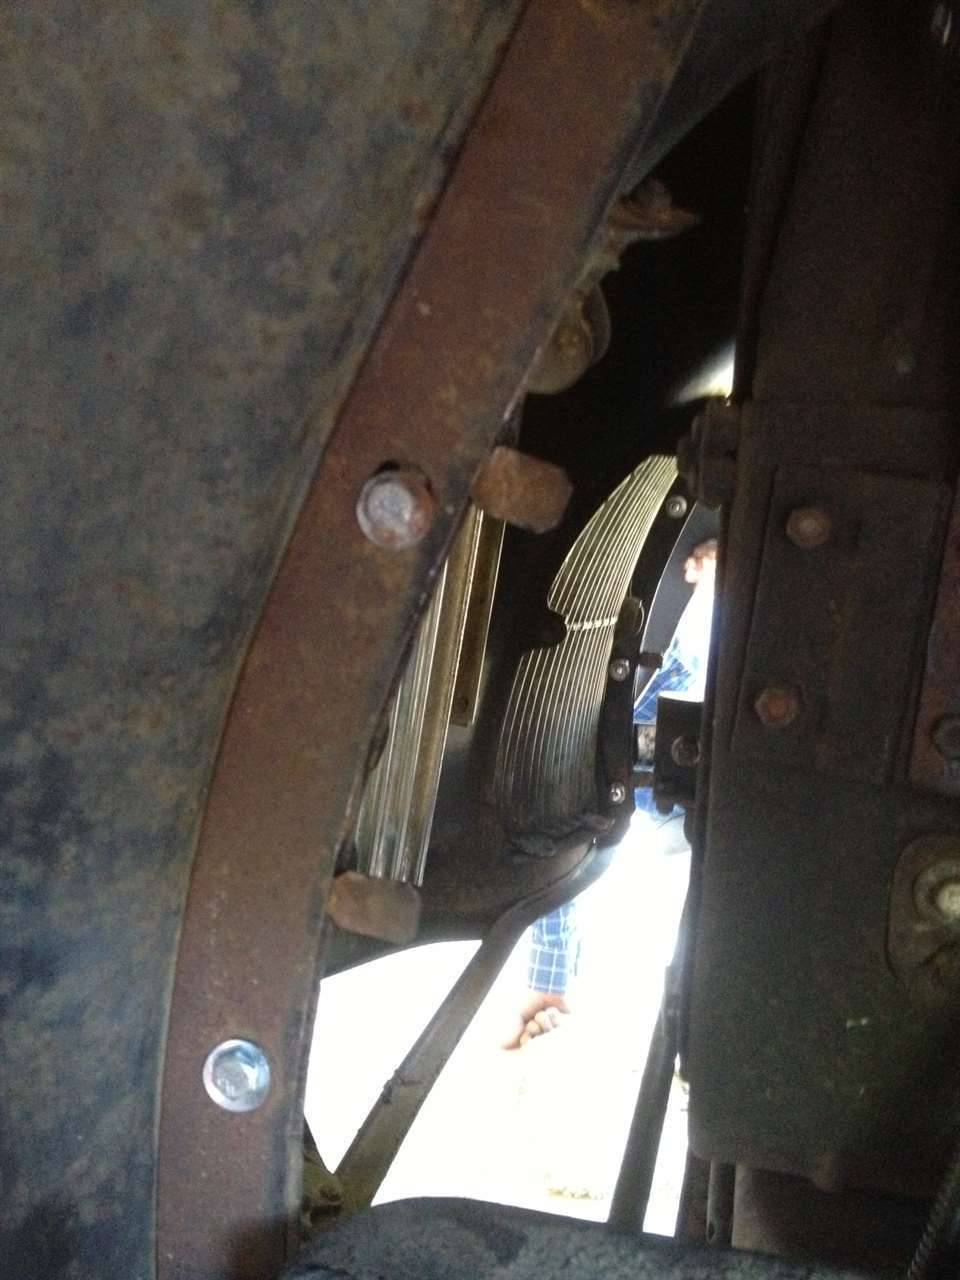 (81.48 KB) (81.48 KB)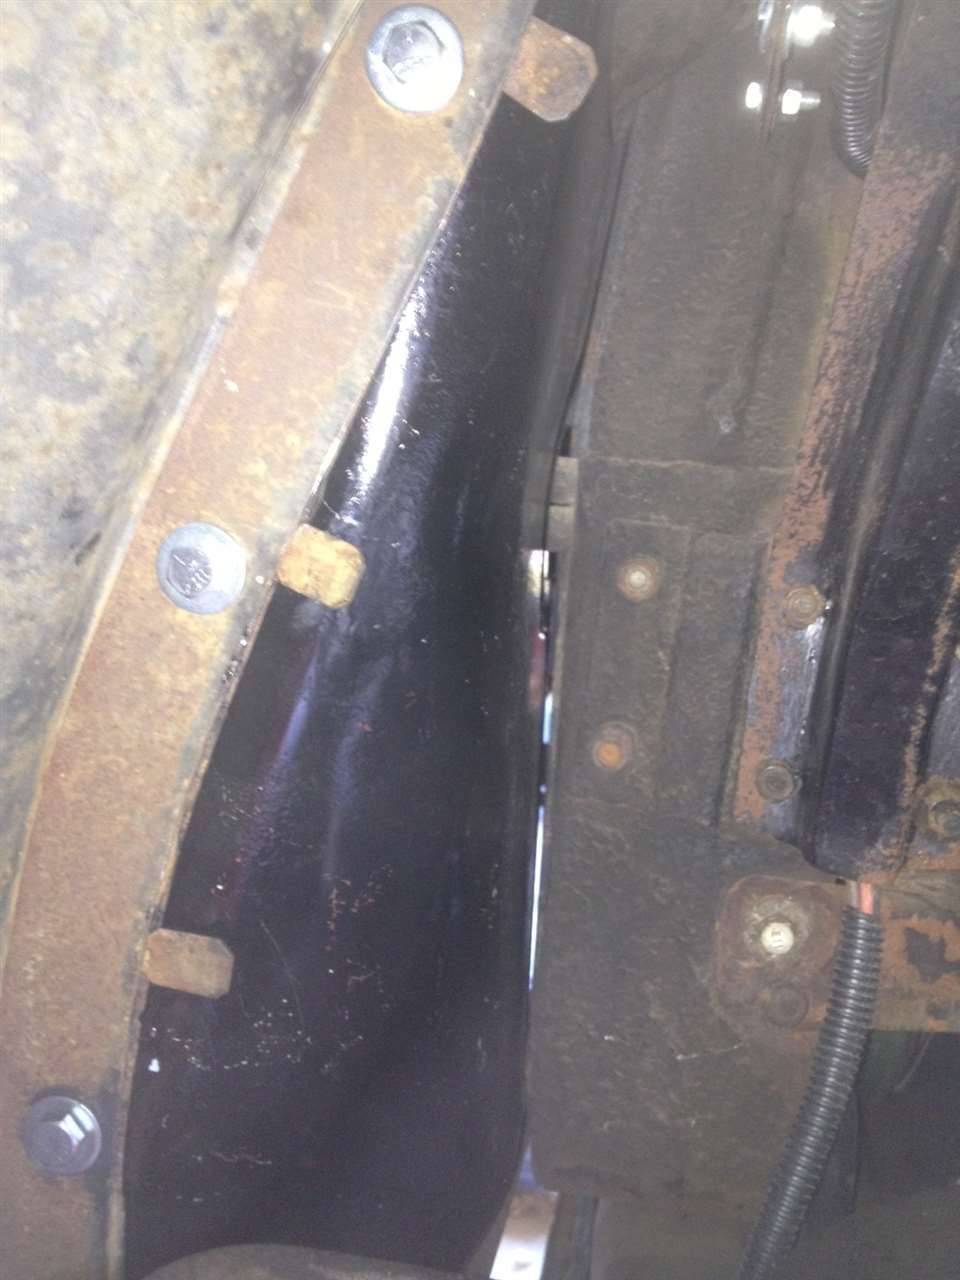
Posted on: 2012/11/7 19:32
|
|||
|
||||
|
Re: Fun run parts exchange
|
||||
|---|---|---|---|---|
|
Forum Ambassador
|
Great idea about this thread, Craig!
WTB For a 1940 model I am looking for a particular pan that goes in the front grill shell and is a removable filler piece. The pan fits between the bottom of the radiator and a panel that bolts to the nose of the grill. I hope the image provides a better idea of what part I'm looking for. Please bring with if you have a spare! Thanks, Jim Attach file: (88.11 KB)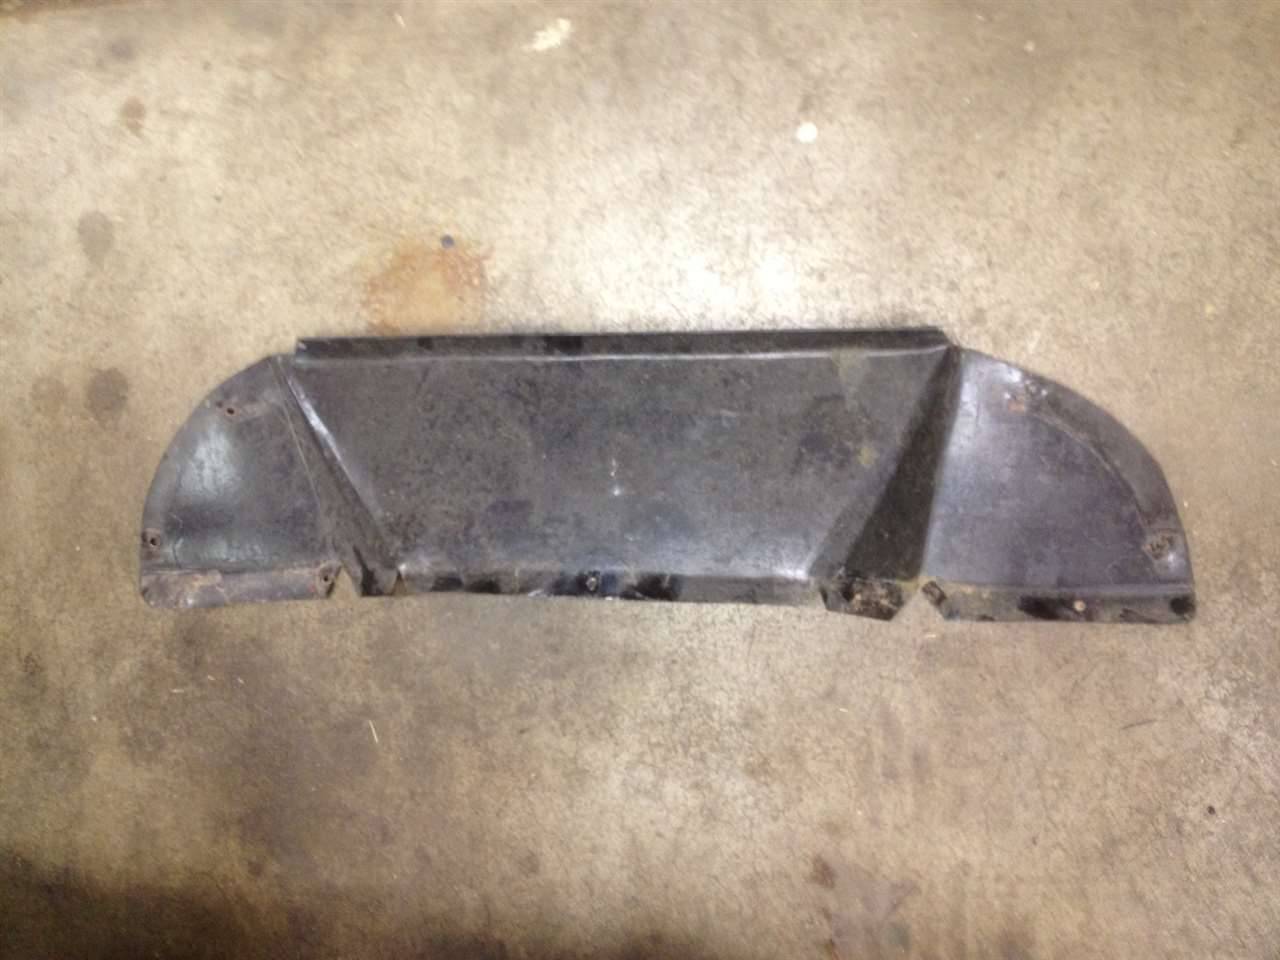
Posted on: 2012/11/7 11:47
|
|||
|
||||
|
Re: 1940 Super 8 160 Model 1803 Project
|
||||
|---|---|---|---|---|
|
Forum Ambassador
|
For a 1940 model
I am looking for a particular pan that goes in the front grill shell and is a removable filler piece. The pan fits between the bottom of the radiator and a panel that bolts to the nose of the grill. I hope the image provides a better idea of what part I'm looking for. Thanks, Attach file: (88.11 KB)
Posted on: 2012/11/7 11:43
|
|||
|
||||
|
Re: 1940 Super 8 160 Model 1803 Project
|
||||
|---|---|---|---|---|
|
Forum Ambassador
|
Hi Joe, this is the pan that goes between the frame rail and engine. Keeps rocks and kittens out of the engine bay. In reality, it just keeps us from having good access from the bottom of the car up. Anyway, I apologize for the confusion and took a couple shots to show where the pipe goes between the pan and the upper support bar.
Looking at your posts in the link you provided really gives a deep appreciation for the level of detail and quality work on your car. It's simply magnificent Joe! Hat's off to you! Attach file: (55.07 KB) (75.71 KB) (75.71 KB)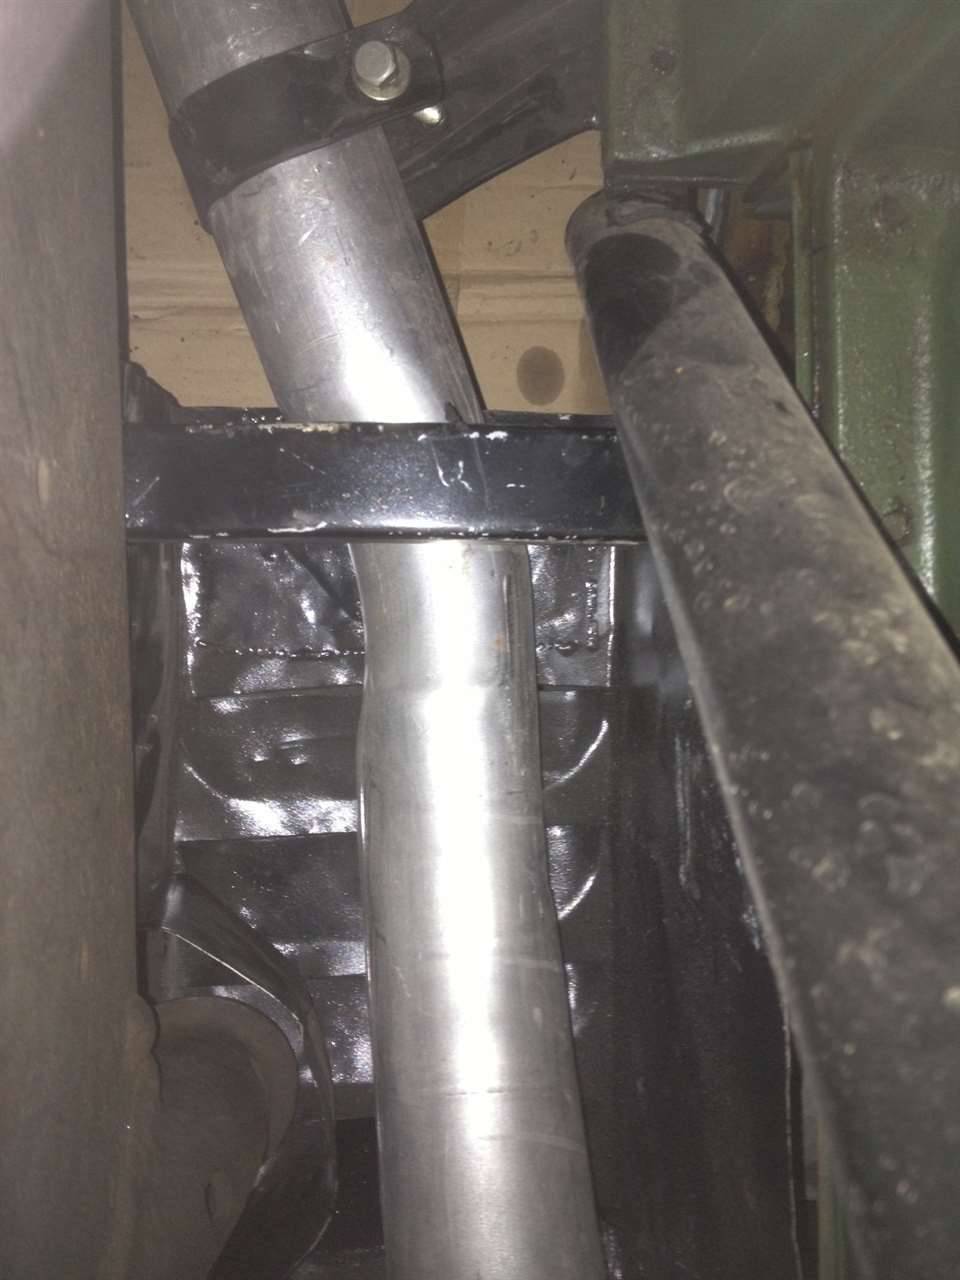
Posted on: 2012/11/7 11:36
|
|||
|
||||
|
Re: 1940 Super 8 160 Model 1803 Project
|
||||
|---|---|---|---|---|
|
Forum Ambassador
|
Did a little work on the car, further refreshing the shift linkage in hopes of making it a bit less of a wobble stick. This time the ends of the short turnbuckle links had worn ends. The solution was to weld them up and file back, hand fitting each end to each lever for the best possible fit. It was slow, but worth the effort for sure. Now just 20 other little lose points to deal with. That said, it's never hung between shifts, just a pet peeve.
When David, Peter, and Noel visited week before last, they were inspecting the car and were delighted to find the passenger side splash pan not installed so they could look at some details. It reminded me that I have that pan, why not install it. Oh yea, the exhaust pipe runs through it. Oh well... pulled the muffler away from the head pipe and installed the pan. Glad I did, one more part off the shelf and back where it belongs. Really enjoyed the visit with the fellows and better halves. That's all for now, and West... yea I honestly will make your heater tube support bracket. I think about it every time I get near the car. Perhaps a Christmas surprise! Attach file: (73.58 KB)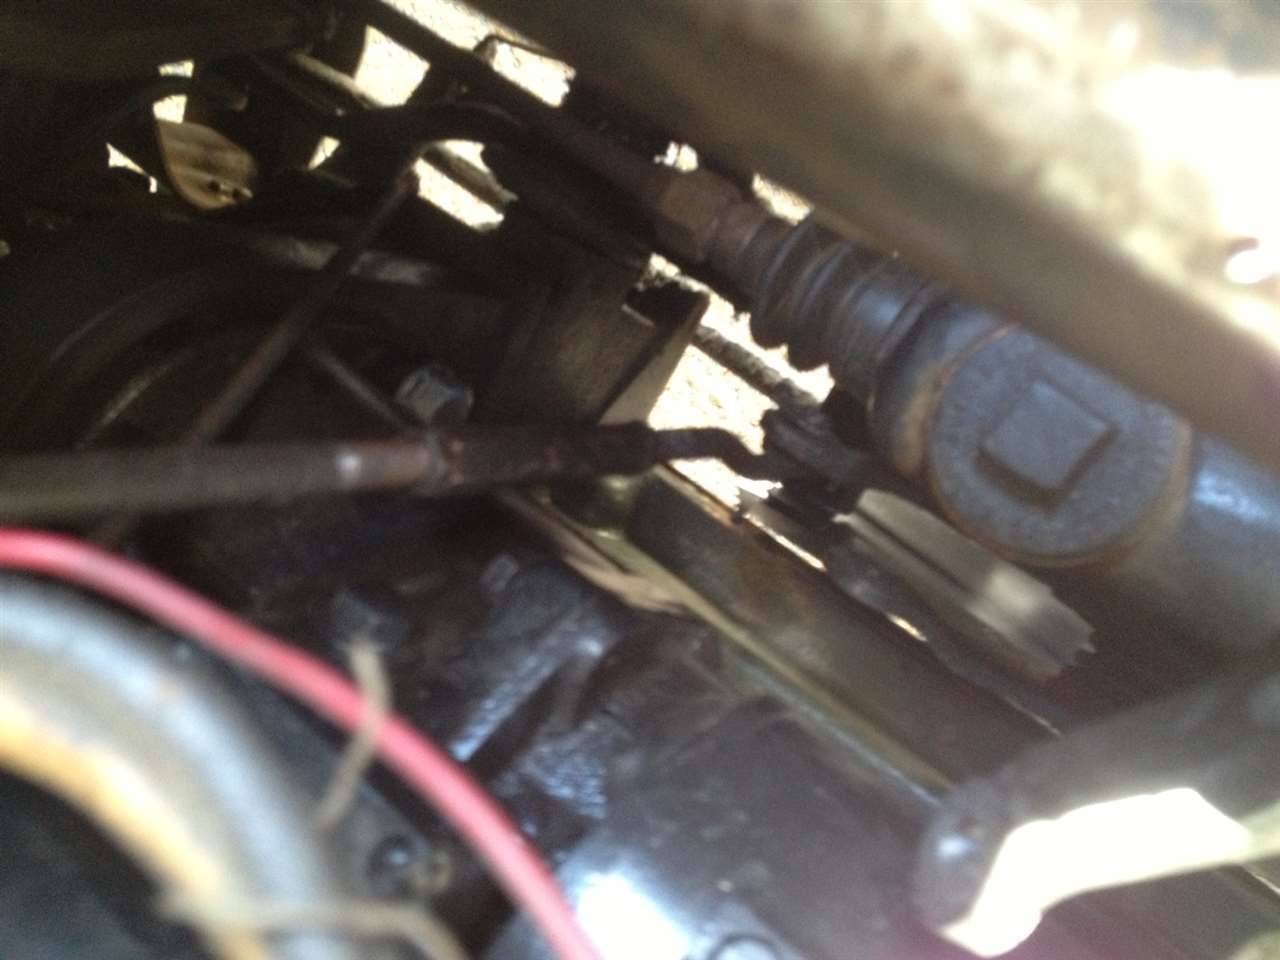 (59.19 KB) (59.19 KB)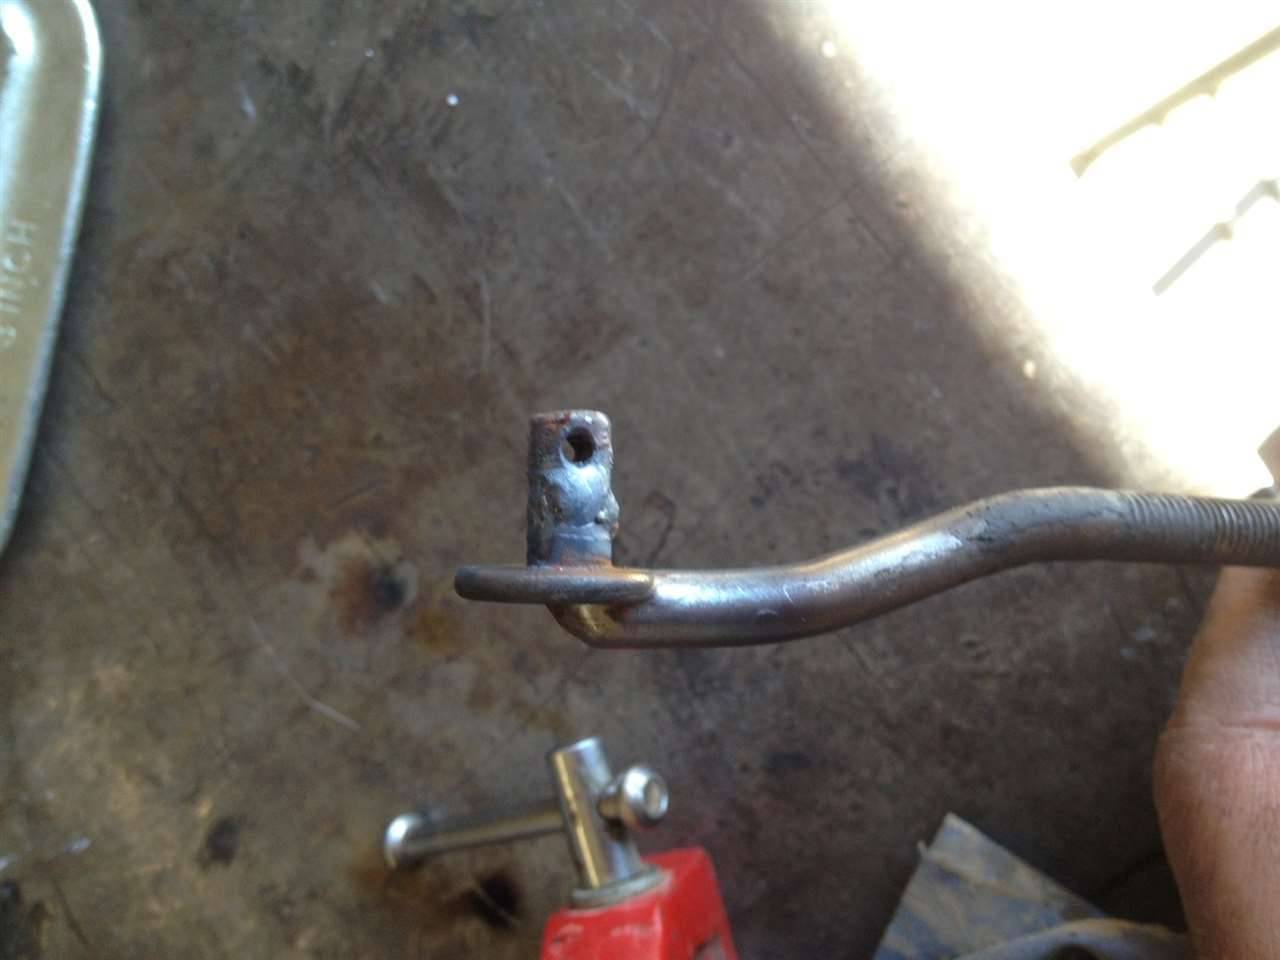 (54.66 KB) (54.66 KB)
Posted on: 2012/11/7 1:45
|
|||
|
||||
|
Re: 2nd Annual PackardInfo.com River Fun Run in Laughlin, NV
|
||||
|---|---|---|---|---|
|
Forum Ambassador
|
How fun! So glad to find we'll have so many folks making this a great event! Just putting the finishing touches on getting the car serviced and ready to go. What a fun reason to get motivated and meet up with everyone!
See you all there sometime Thursday late morning early afternoon. Jim
Posted on: 2012/11/7 1:25
|
|||
|
||||
|
Re: 1940 Super 8 160 Model 1803 Project
|
||||
|---|---|---|---|---|
|
Forum Ambassador
|
Early this summer I went to store the car away. When backing out the driveway, the steering abruptly locked and became totally wedged. I put the car away and decided to tackle when it cooled off a bit. It did, and I realized our Packard Info. Laughlin river Fun Run is in reality, just around the corner. With that, I tore into the steering box.
I found a few of the 1/4 inch ball bearings had sheared in half, causing the rest to spill out. As they spilled out, they ruined the roller and damaged the cross shaft. I thought "Hmm... what an unusual failure." Umm... not true, I've learned it is a rather common failure. Before someone replies "did you have grease / oil in the steering box?" Don't, because I did. Armed with a serviceable cross shaft, I went about installation. The roller pin in the acquired cross shaft was loose. I re-swaged the pin, taking up some play in the assembly by bringing the bearing races closer together. Next was shimming the cross shaft so the roller had the correct contact with the worm. I cut a donor cover in half to allow adjustment of the cross shaft jam nut yet allow me to see and feel work and roller contact. There is a procedure in the shop manual that describes pull at the steering wheel rim. That is well and good with brand new no mile parts, not as good with 72 year old parts that have miles and wear. The modern seals were found to be of thinner width than the old leather seal, so I doubled the seals. Also installed the cross shaft first, and taped the splines to prevent seal damage as they were slid over the cross shaft. Installation was routine. How nice that the steering box will be oil tight. At the same time, I took the opportunity to replace a couple of shift linkage pins that were fairly worn. Will weld up and re-machine other components another day to tighten up the wobble stick. Once finished, the steering was tight, with no detectable play in the steering wheel to pitman movement and detectable resistance when on the high spot of the worm. Drove out nicely, with the steering now centered on the high spot and wheel straight up & down. I believe this failure may have been underway for many, many years given the characteristic prior to repair. Bottom line, be nice to your steering box. Avoid crashing the steering stops. While I'm not totally sure how or why this one failed, I know much more about the function and nature of this box. Attach file: (60.39 KB)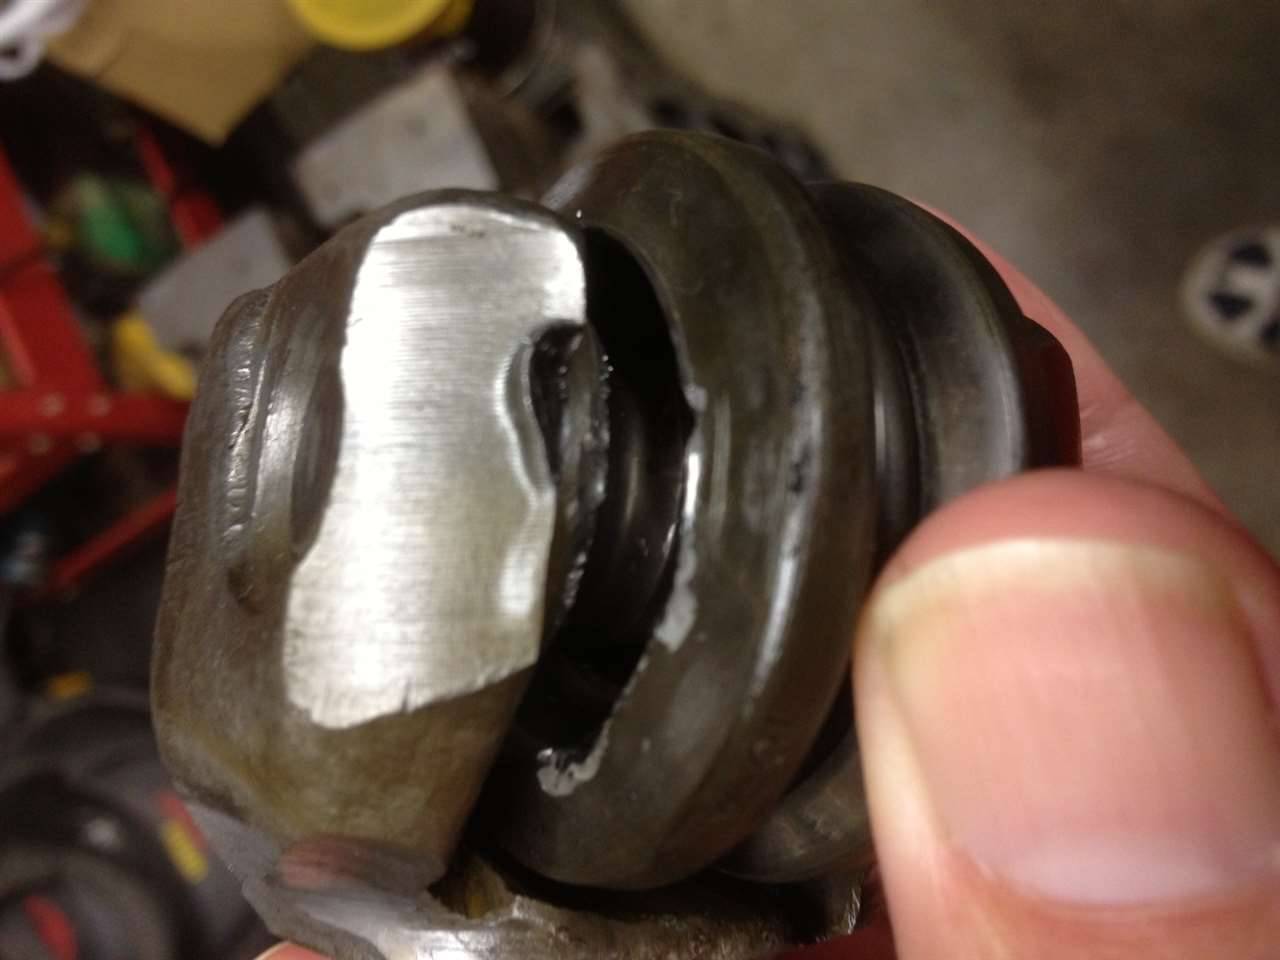 (85.56 KB) (85.56 KB) (80.59 KB) (80.59 KB)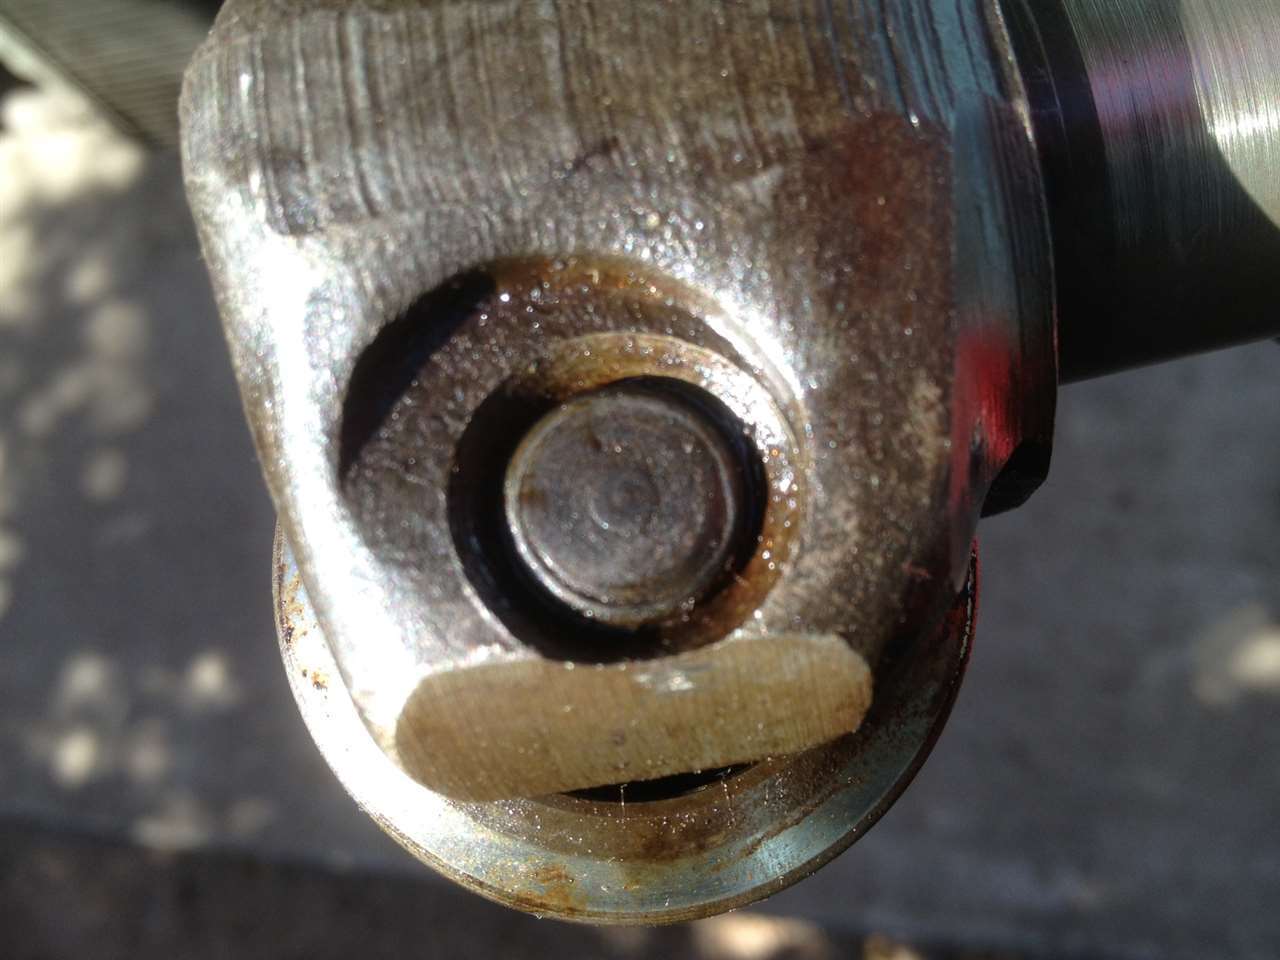 (110.09 KB) (110.09 KB)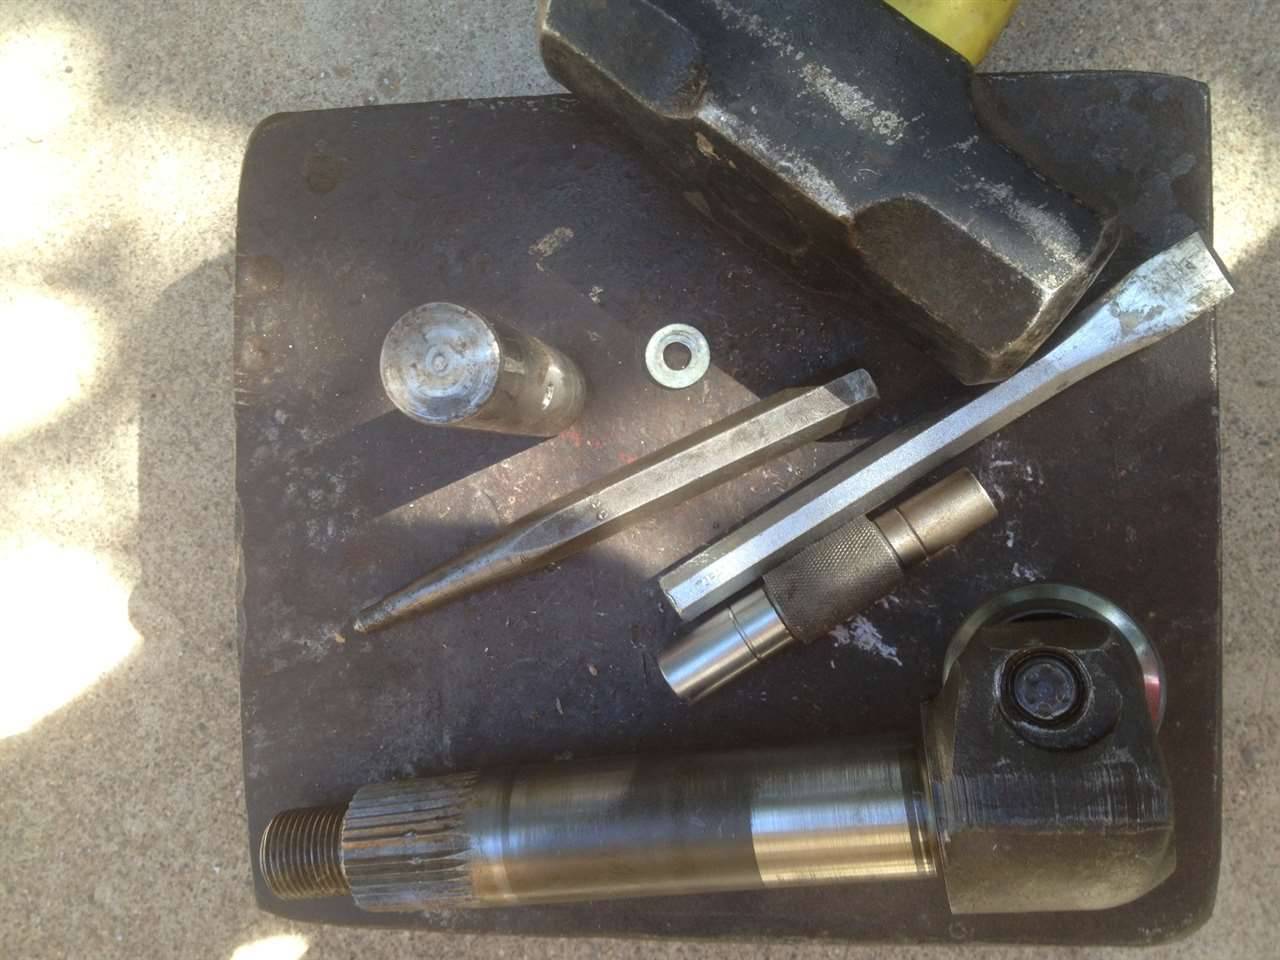 (90.41 KB) (90.41 KB) (63.34 KB) (63.34 KB)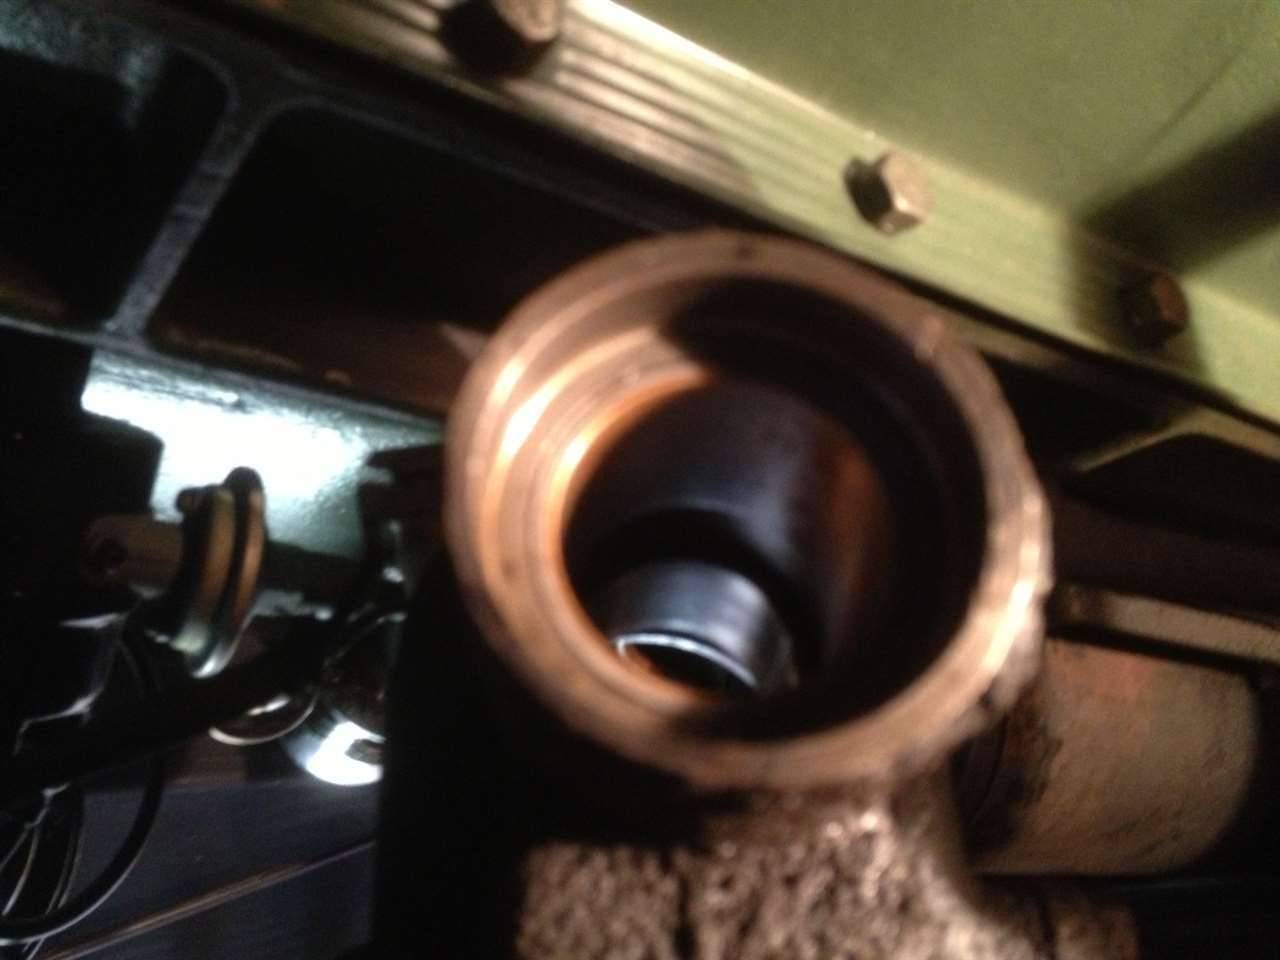 (85.37 KB) (85.37 KB) (75.12 KB) (75.12 KB)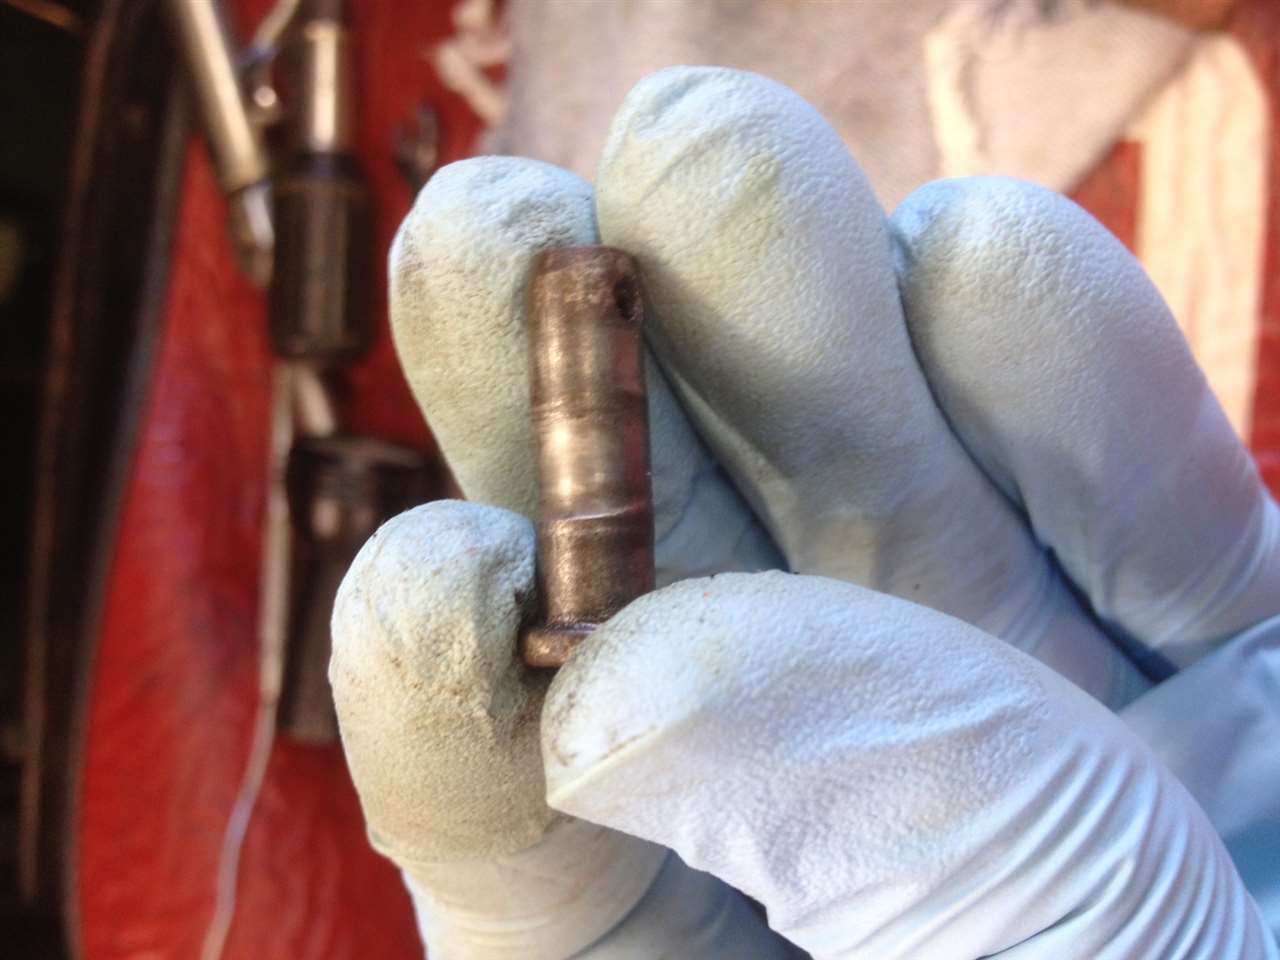
Posted on: 2012/10/14 20:28
|
|||
|
||||
|
Re: 2nd Annual PackardInfo.com River Fun Run in Laughlin, NV
|
||||
|---|---|---|---|---|
|
Forum Ambassador
|
Hi Everyone, I can't believe how fast Laughlin is approaching. Please note there will be a BBQ event in Laughlin that draws in a big crowd, should make our event that much more enjoyable, but might make it prudent to reserve your room at the Riverside Hotel a good idea sooner than latter. Please remember to use the Packard Info reservation code to ensure we cover the venue.
Been getting the '40 ready, lots to do. Hope to see lots of folks again this year! We all had so much fun last year. Jim
Posted on: 2012/10/13 0:21
|
|||
|
||||
|
Re: 1940 Super 8 160 Model 1803 Project
|
||||
|---|---|---|---|---|
|
Forum Ambassador
|
So it's been a very long while since my last visit here. Very busy with work and other special interest vehicles. To get caught up, I'll post this project from last spring.
For those who followed the initial sale of the car, and my assessment, you'll remember it was received with no drivers side fender mounted spare, but determined was originally equipped with such. Also noted was all the specific hardware missing for the passenger assembly. Imagine a convertible sedan being used as a parts car. Kind of funny in a strange way, as there were a few other key pieces that had been acquired from the car many years ago from the looks of overall patina. The process of acquiring all pieces began the moment the deal was struck and car spoken for. It was a very slow process. Some pieces came from Santa Maria & the Bay area in CA. Some from Dallas, and others from EBay. Yet other pieces came from Oregon. Fenders hardware and sundry items were all finally obtained with the exception of being short one firewall bracket. Big Kev actually stuffed two side mount fenders and miscellaneous hardware into his Kia, plus his swap stuff and hauled to our meet in Laughlin last year after picking up from our other friend Joe in the San Fernando Valley who took delivery from the fellow in Santa Maria. Anyone smell the work of the Flackmaster in this puzzle? My good friend John volunteered to make the firewall bracket(s). He did, and as usual, they were perfect. My Buddy Mack did a beautiful repair weld on a crack in the rolled fender lip. I enjoy the fact there are folks who love the art of repair and creation. Makes it fun. Serviced two wheel assemblies. Changed the 60 year old Firestone snow tire off and mounted a pair of Lesters. What a perfect place for a pair of Lesters, under the side mount covers. My buddy Bob and I installed the fender and sundry hardware. It all went really well. One thing that really struck me after driving the car was how having all the hardware that tied the firewall into the side mounts is how much reduction in cowl shake I noted. Very pronounced and pleasing. The car really looks great with the return of it's drivers side fender mounted spare. It was a fun project that concluded my work on the car last spring as the oppressive Phoenix heat was just around the corner. Attach file: (142.53 KB)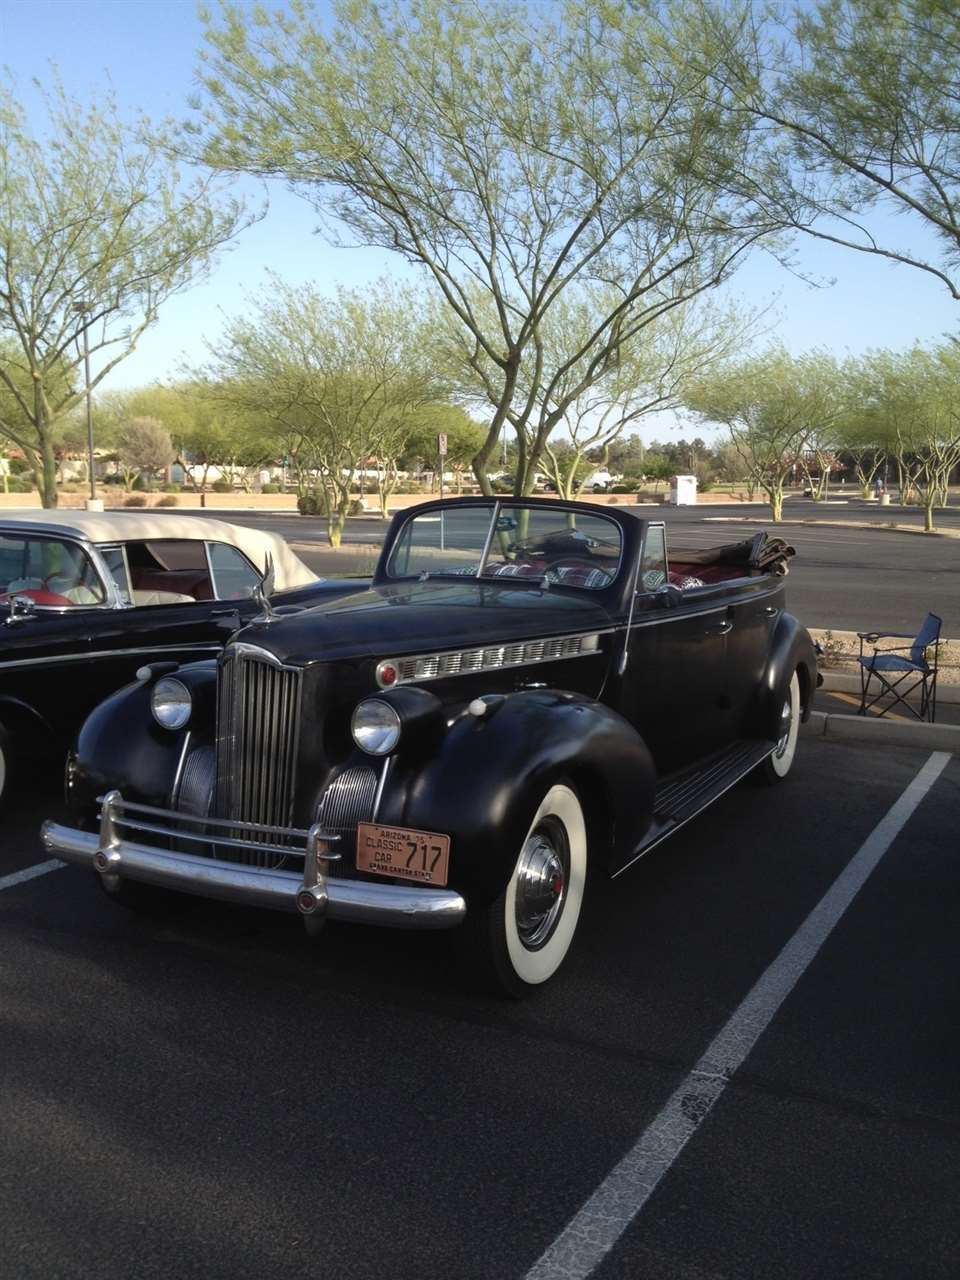 (84.50 KB) (84.50 KB)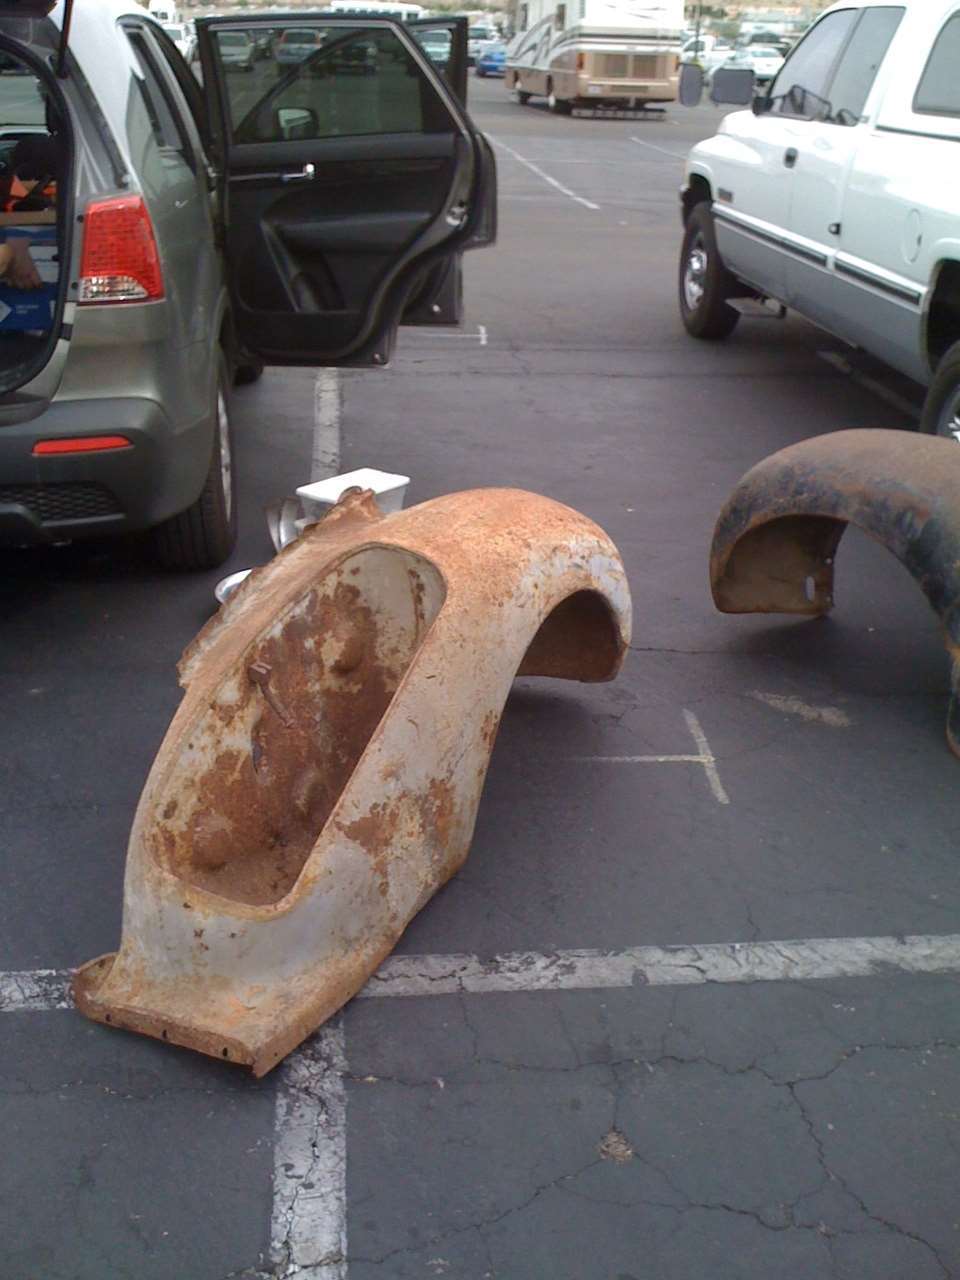 (76.45 KB) (76.45 KB)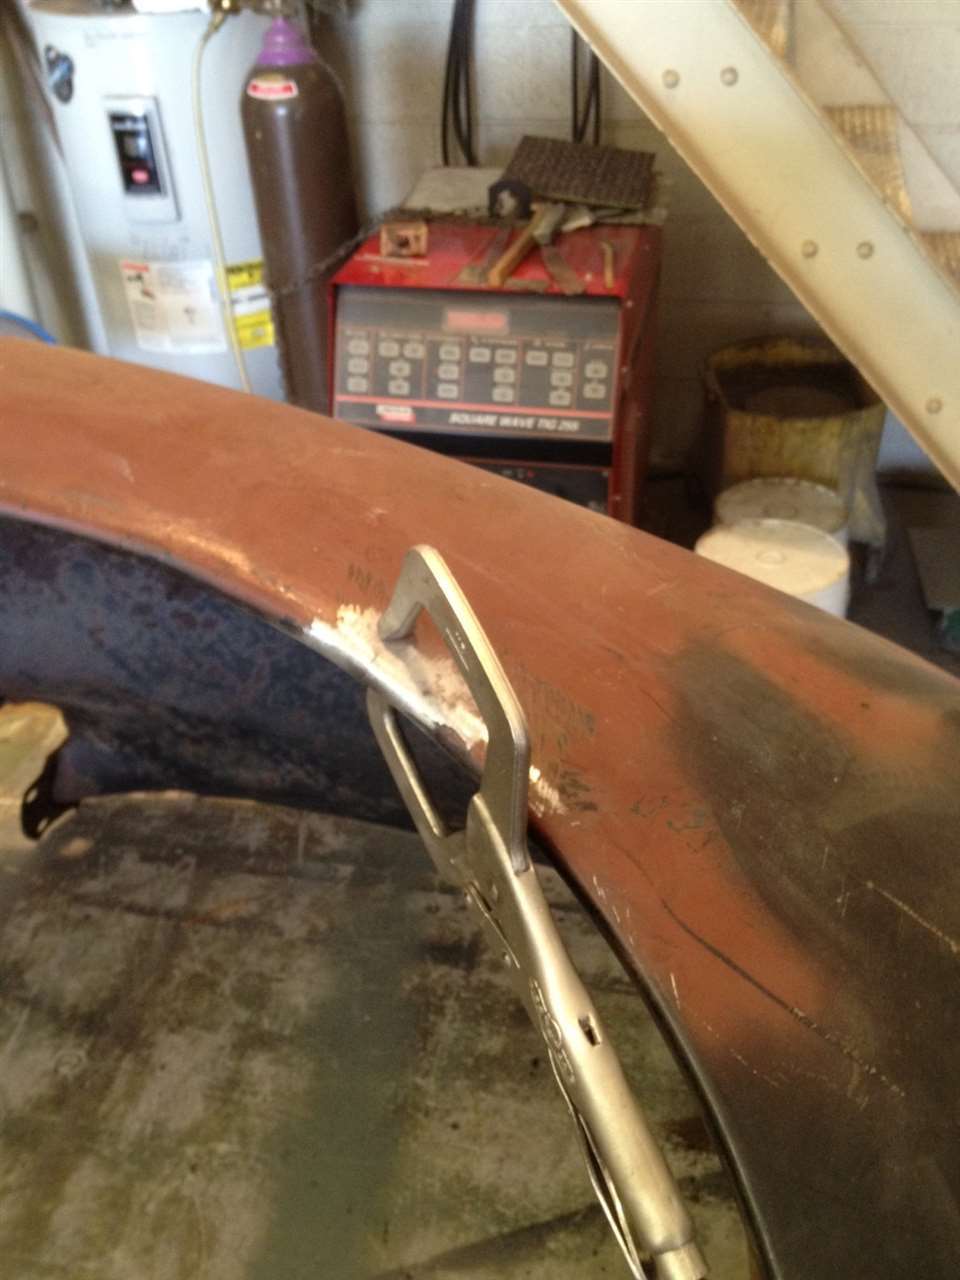 (82.04 KB) (82.04 KB)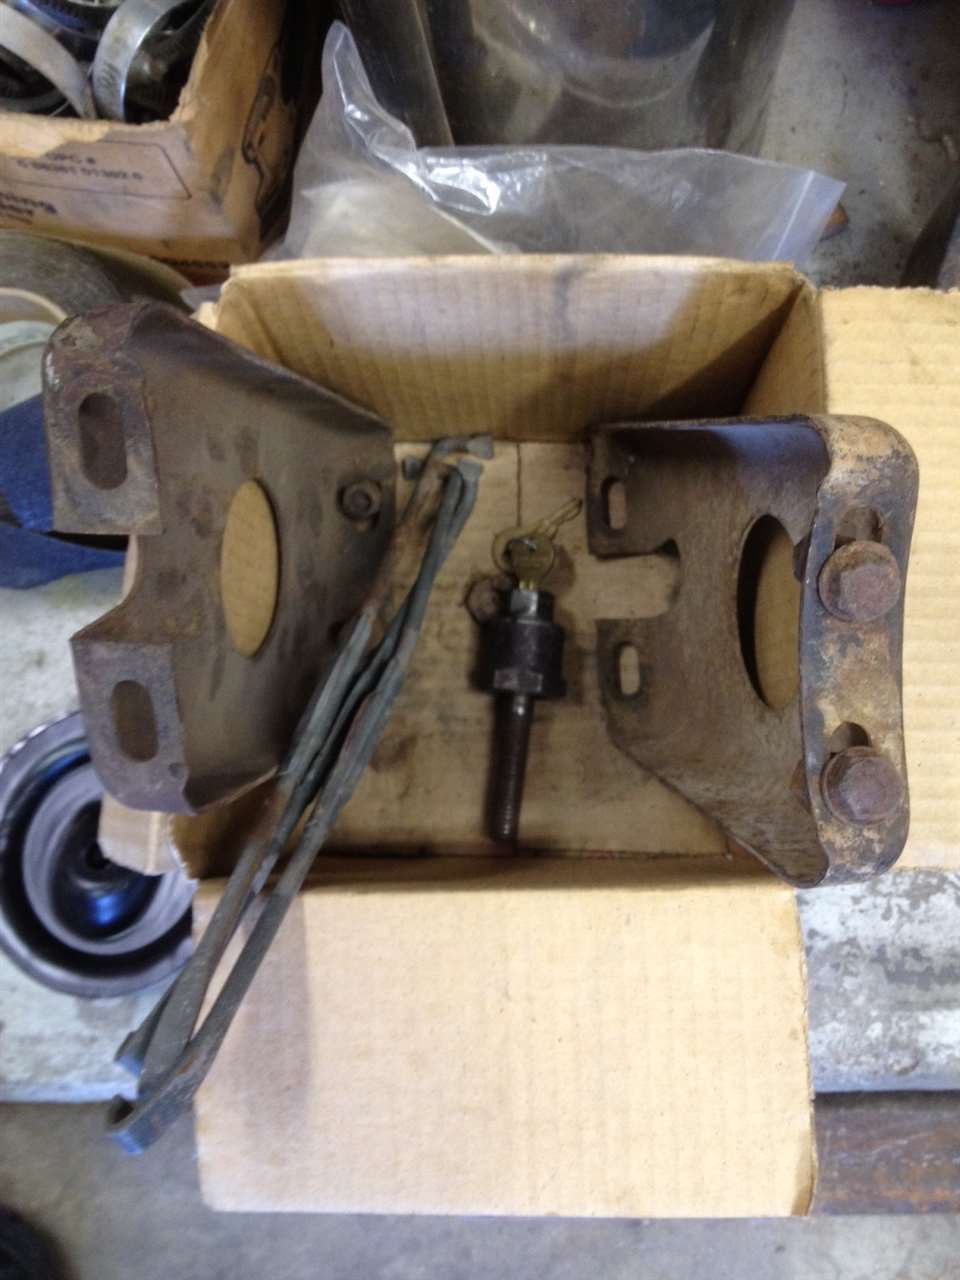 (97.53 KB) (97.53 KB)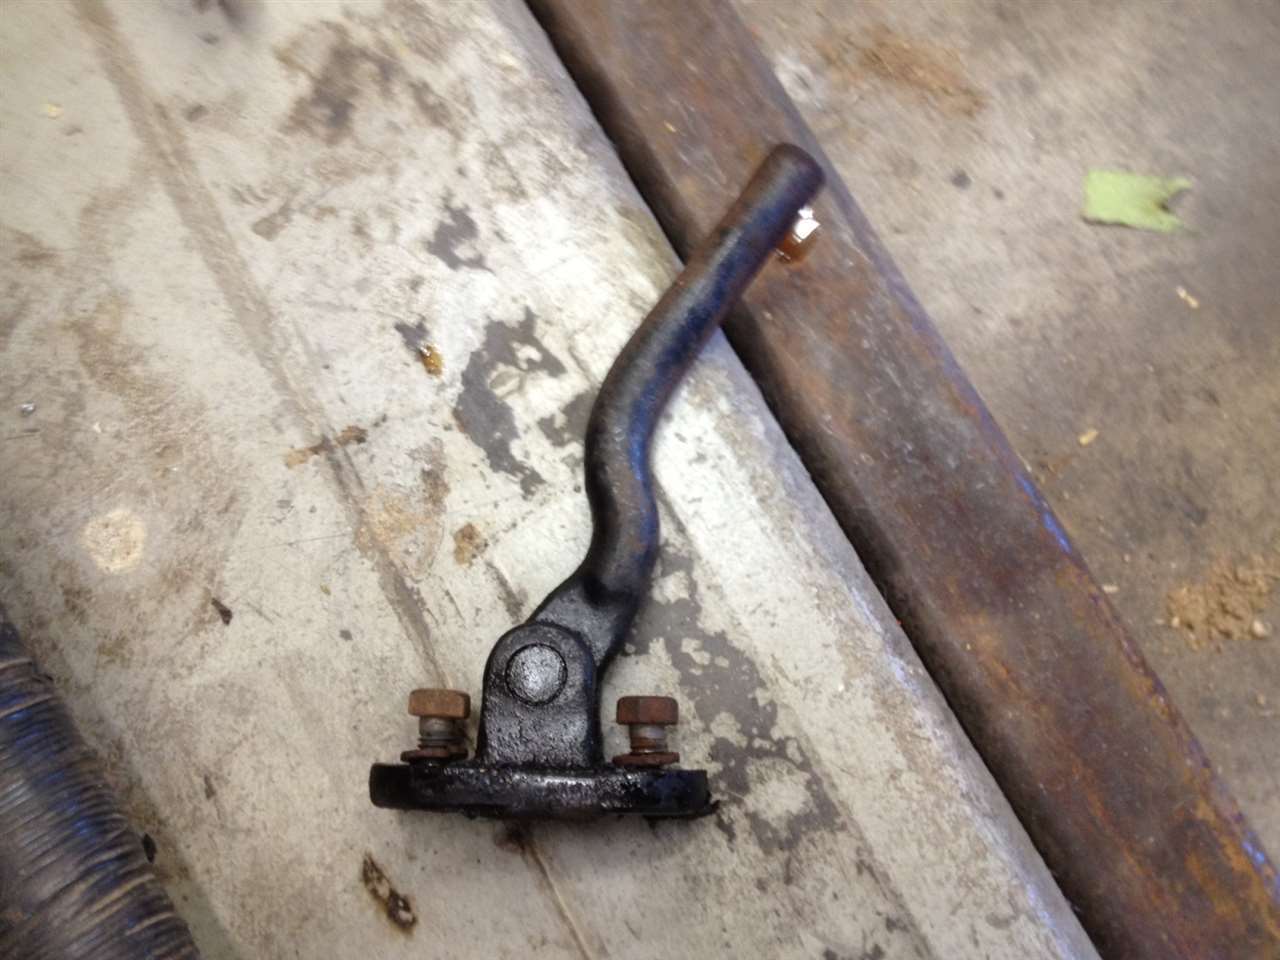 (109.74 KB) (109.74 KB)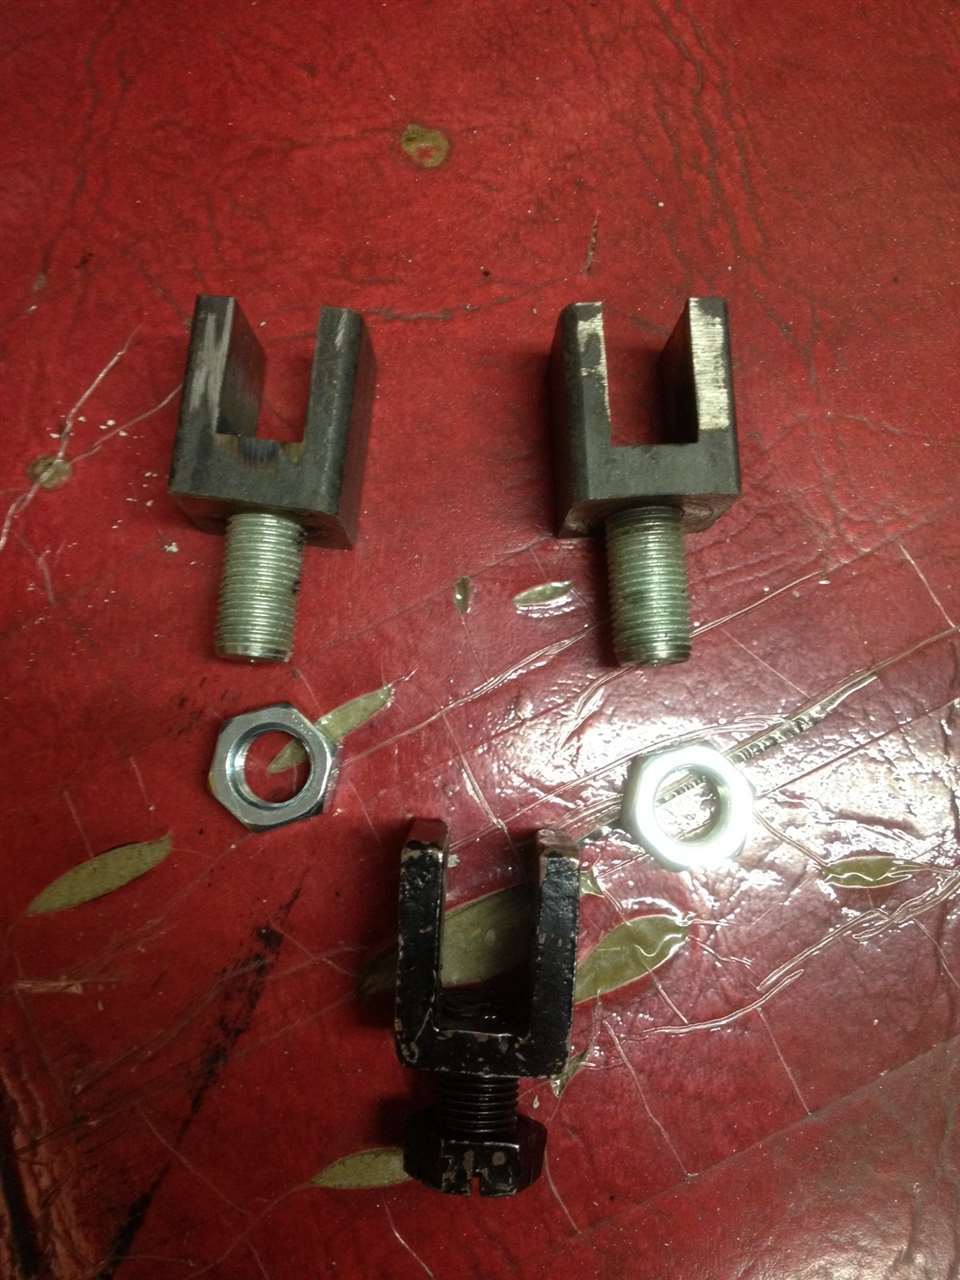 (113.47 KB) (113.47 KB)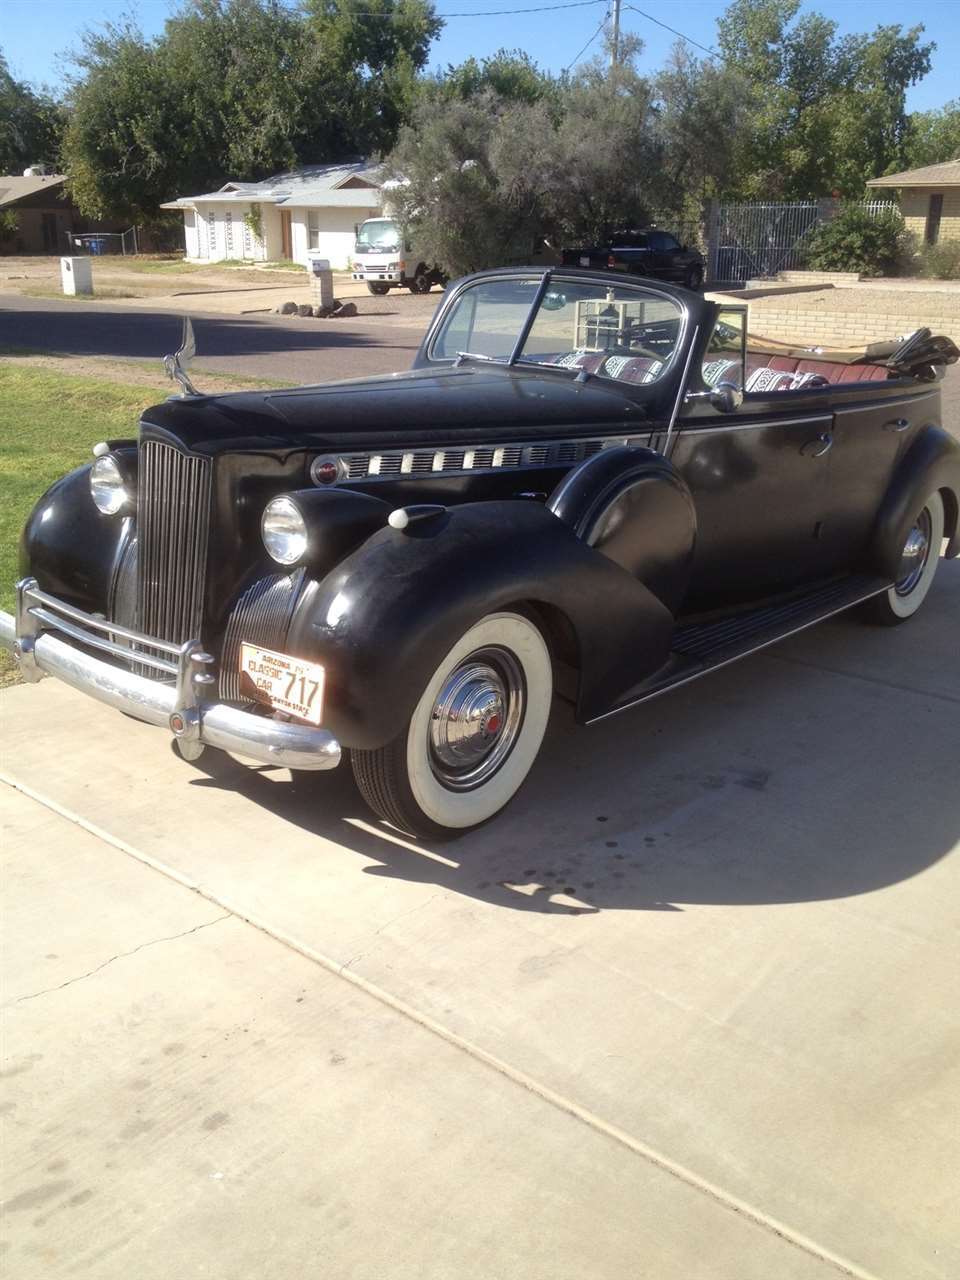
Posted on: 2012/10/13 0:02
|
|||
|
||||
|
Re: How are folks doing?
|
||||
|---|---|---|---|---|
|
Forum Ambassador
|
Hi Howard, thanks for asking. The wildfires are far from the metro-Phoenix area, so we are not affected in that way. The winds haven't been to bad, though we were caught out in the '40 Saturday evening before last when a dust storm blew across the city. That wasn't very fun. Its been as hot as 112f and will get warmer as summer continues.
Far as Packard work, I managed to add the drivers side mount fender / and all related hardware on both sides. Really other than that, just enjoying the ride! I hope everyone here is safe and able to get through some of natures curveballs this year. Jim
Posted on: 2012/6/30 7:21
|
|||
|
||||


