|
Re: Henry's 55 Constellation
|
||||
|---|---|---|---|---|
|
Forum Ambassador

|
body mounts worked out fine. I have not checked with anyone and may try to repair the one I have. stay tuned for that.
here is a video of us using man power to put the body back on. the front is the heaviest, fyi. sorry the camera angle sucks and the light didn't turn on. but oh well, its better then nothing and my wife was nice enough to video it for us. here is a pic of the 55 belair body mounts after I enlarged the frame holes. the kit is an Energy Suspension 3.4120G for those that care. available at autozone for 79 or various other vendors. <iframe width="420" height="315" src="//www.youtube.com/embed/pDRFnQ2okoY" frameborder="0" allowfullscreen></iframe> Hank Attach file:  (48.61 KB) (48.61 KB)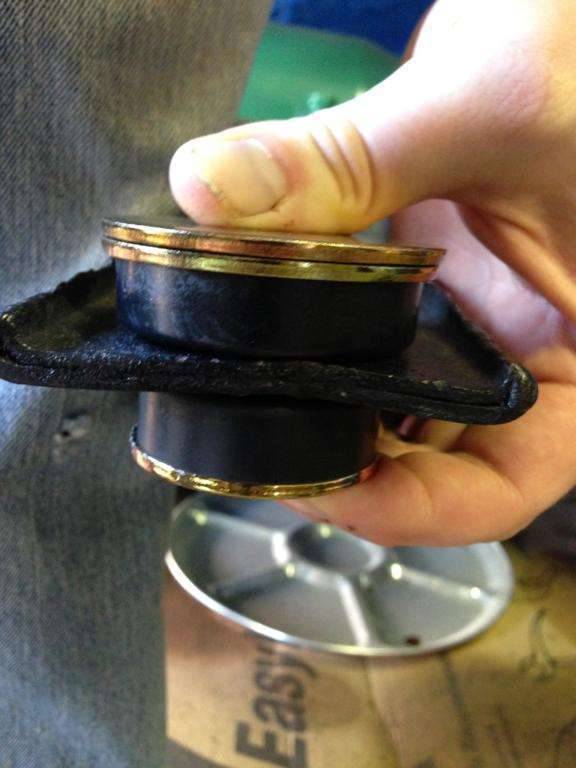
Posted on: 2013/10/2 22:46
|
|||
|
1937 Packard 138-CD Deluxe Touring Limousine
Maroon/Black 1090-1021 [url=https://packardinfo.com/xoops/html/modules/registry/View.php?ID=232]1955 Packard |
||||
|
||||
|
Re: Henry's 55 Constellation
|
||||
|---|---|---|---|---|
|
Forum Ambassador
|
had to order another kit from autozone. ran out of small washers and bushings to finish the car.
had to make a trip to lowes 2 times, the bolts i bought the first time were to long. i found some rubber washers at lowes that made a good replacement for the small one at the number one body mount outside location. original was some type of fiber board. i went ahead and put one on the inside of body mount one as well even thought there wasn't one there originally. i didn't like metal on metal. the stud on the inside of body mount 1 broke, so i had to drill it out and retap. i just used a bolt instead of a stud....was easier. I'm going bonkers thinking about all the stuff i have to go over. been reading Big Kev's blog when he started putting on the trim and the windows and seals. i still have to paint the rest of the body parts as well. looking over steele rubber's website, i just realized there is a seal between the roof and the roof emblem....so that gets to come back off. hopefully without breaking. i like the herculiner with the undercarriage. looks clean, minus the dust. Sprayed some "great stuff" in the front kick panel area on both sides. keep the water out and replace the rubber that came out with i replaced the damamge to the rocker on the passenger's side. its that stuff that you spray in and it expands when it hardens. Hank Attach file: (41.76 KB) (29.55 KB) (29.55 KB)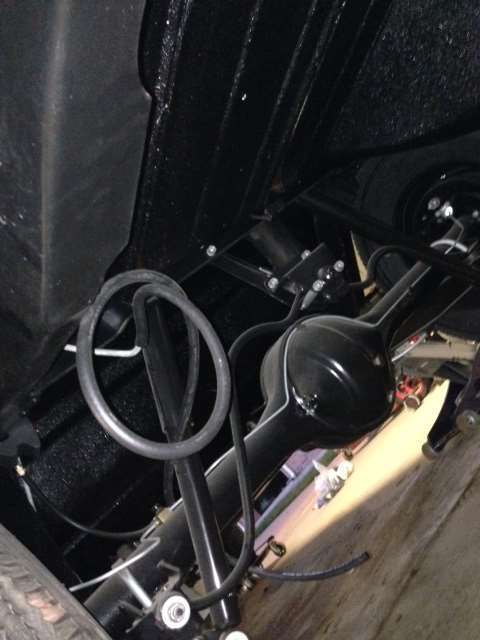 (27.70 KB) (27.70 KB)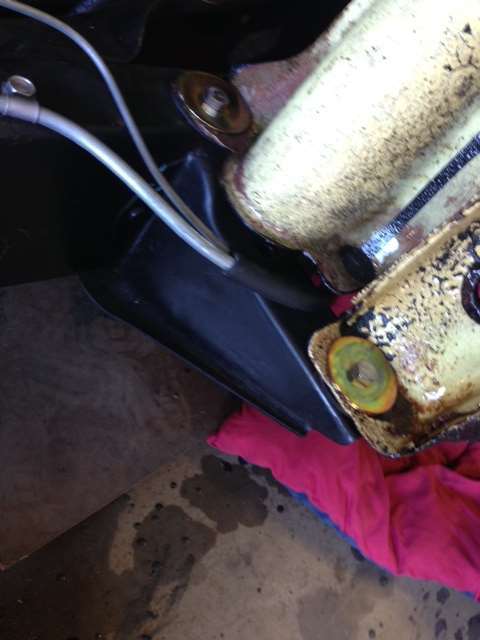 (54.72 KB) (54.72 KB)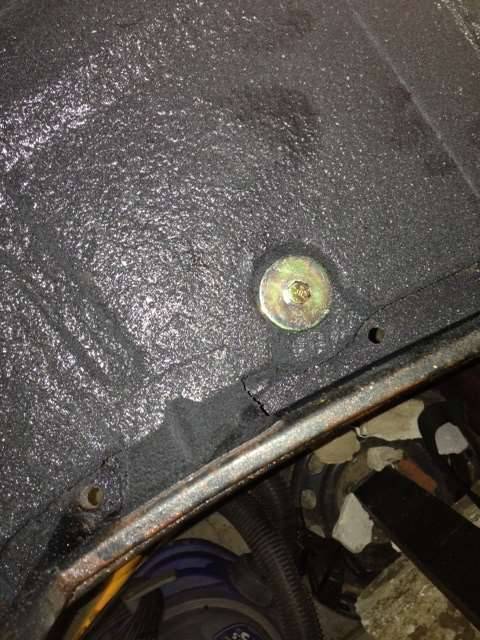 (35.86 KB) (35.86 KB)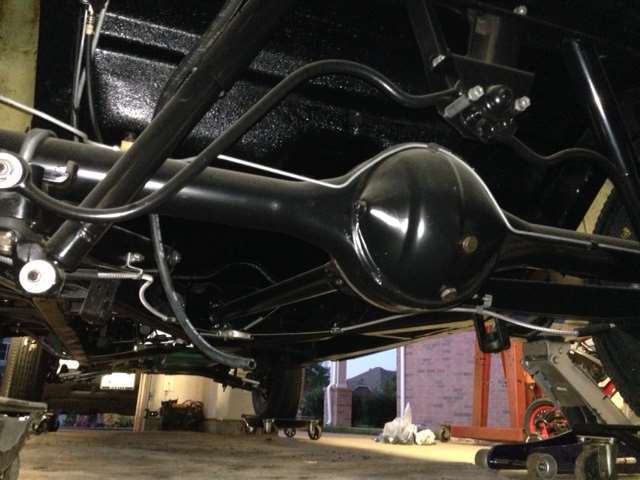 (33.92 KB) (33.92 KB)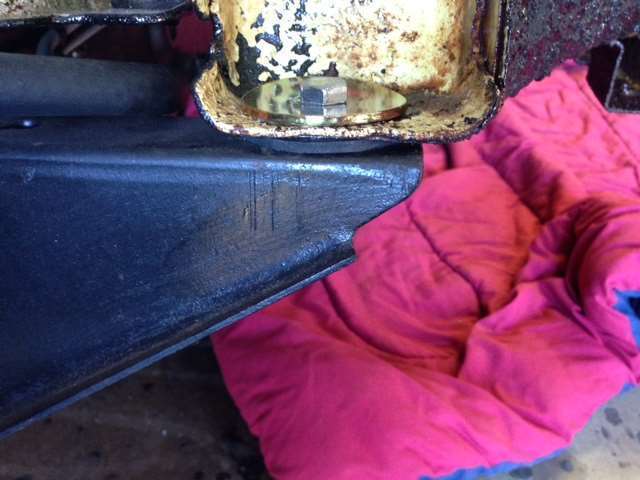 (40.00 KB) (40.00 KB)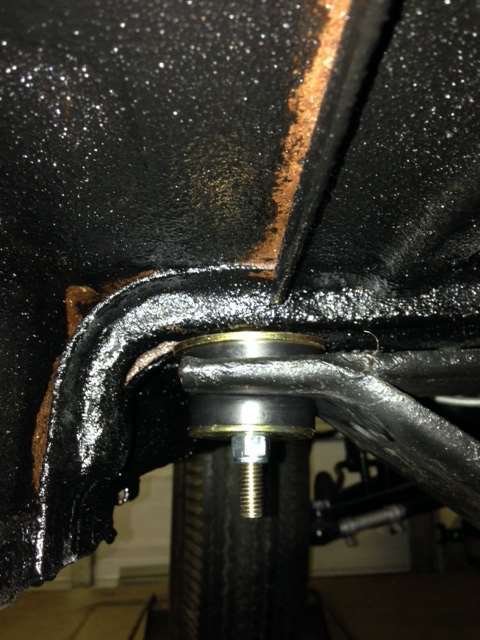 (26.43 KB) (26.43 KB)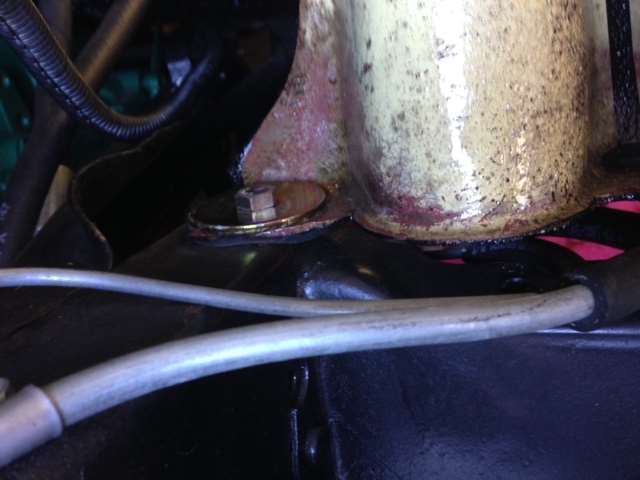 (30.23 KB) (30.23 KB)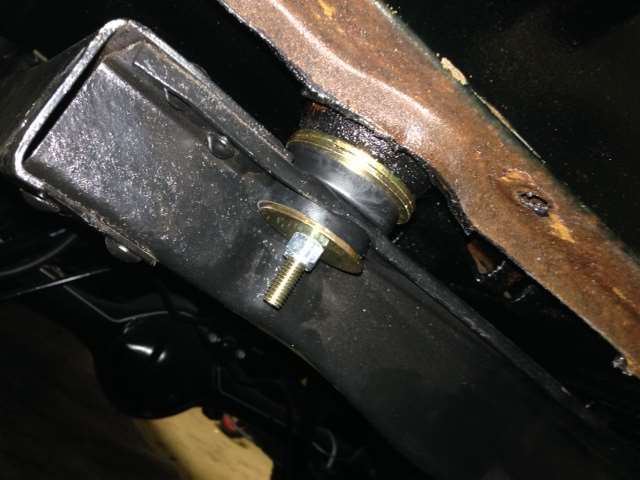 (35.65 KB) (35.65 KB)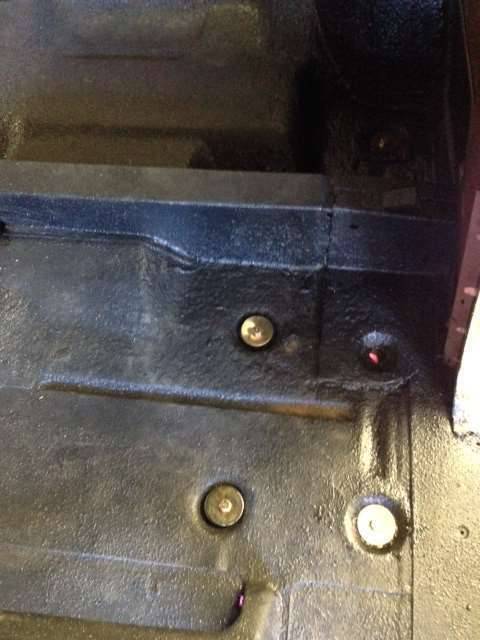 (58.10 KB) (58.10 KB)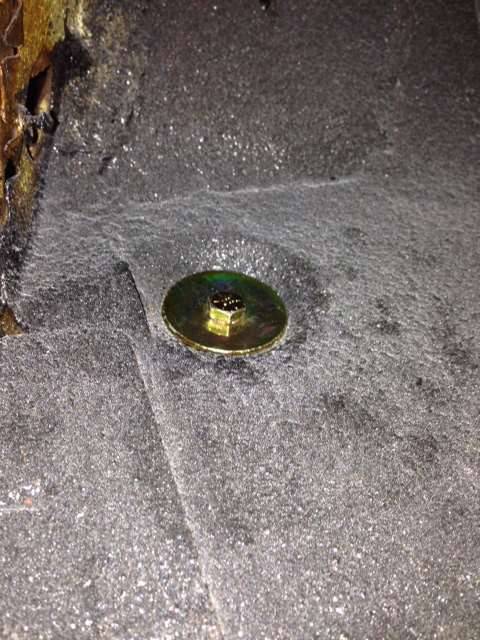 (57.55 KB) (57.55 KB)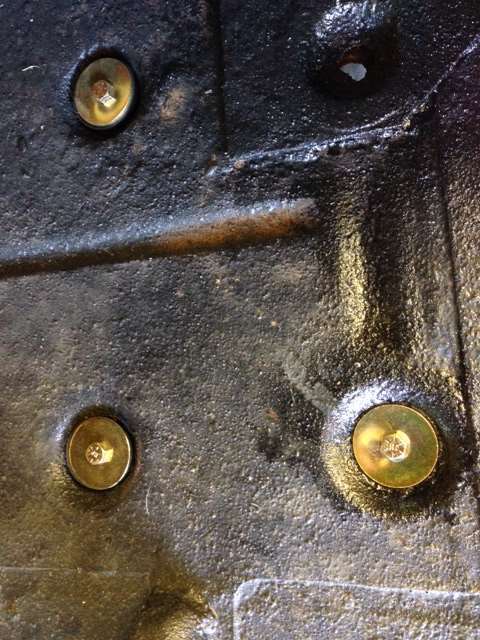 (44.02 KB) (44.02 KB)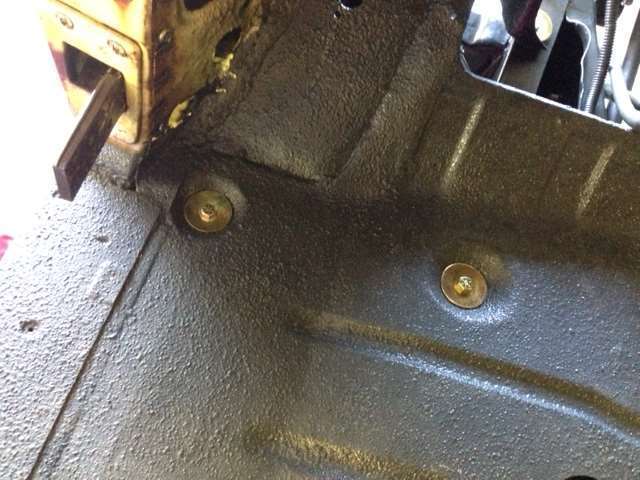
Posted on: 2013/10/7 11:23
|
|||
|
1937 Packard 138-CD Deluxe Touring Limousine
Maroon/Black 1090-1021 [url=https://packardinfo.com/xoops/html/modules/registry/View.php?ID=232]1955 Packard |
||||
|
||||
|
Re: Henry's 55 Constellation
|
||||
|---|---|---|---|---|
|
Forum Ambassador
|
door on
Attach file: (30.55 KB)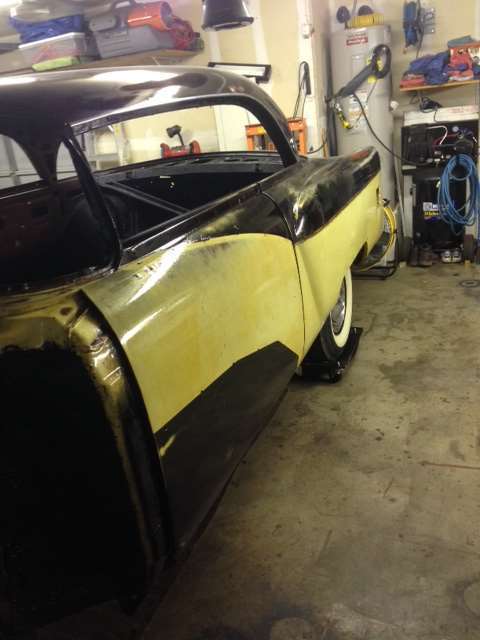 (27.83 KB) (27.83 KB)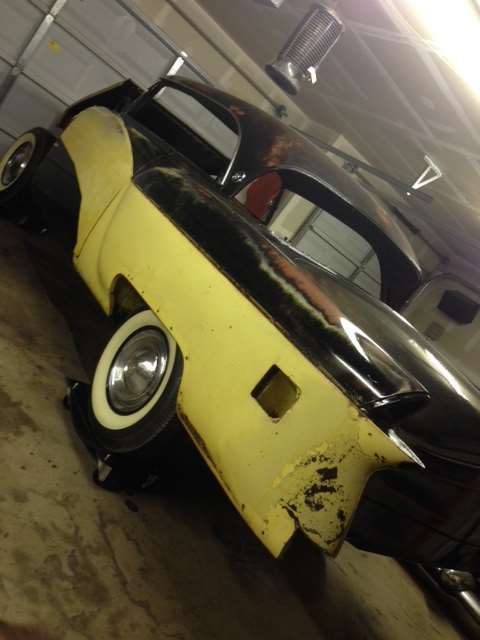 (28.68 KB) (28.68 KB)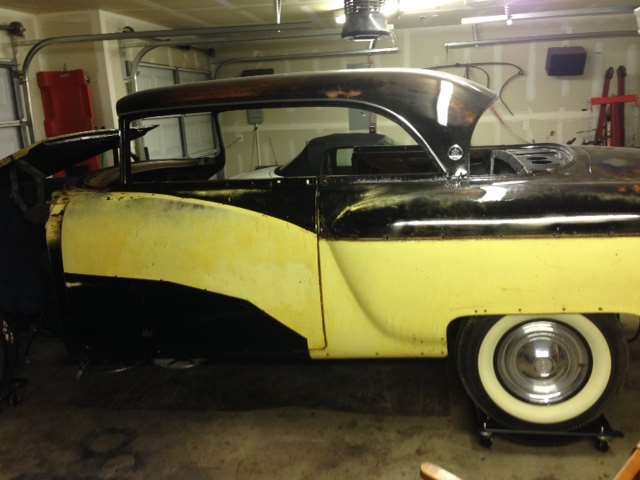
Posted on: 2013/10/14 8:29
|
|||
|
1937 Packard 138-CD Deluxe Touring Limousine
Maroon/Black 1090-1021 [url=https://packardinfo.com/xoops/html/modules/registry/View.php?ID=232]1955 Packard |
||||
|
||||
|
Re: Henry's 55 Constellation
|
||||
|---|---|---|---|---|
|
Home away from home

|
Lookin' good!!!
Posted on: 2013/10/14 18:52
|
|||
|
[url=h
|
||||
|
||||
|
Re: Henry's 55 Constellation
|
||||
|---|---|---|---|---|
|
Home away from home

|
Love the shine! One way to sort out the runs and sags is using a 'Gem' blade (- like a one-sided razor blade, the type used by hobbyists). You carefully scrape the blade over the high spots keeping the blade at 90degrees to the panel. It sort of 'planes' the top off the run. Might have to scrape a few dozen times to get it level. Once you have it about right give it a polish with buffing compound.
Another way is masking around the run and using a really hard block with 240 then 400 grit W&D to remove the clearcoat. I prefer the razor method, it works well.
Posted on: 2013/10/15 5:16
|
|||
|
1951 Packard Club Sedan | [url=ht
|
||||
|
||||
|
Re: Henry's 55 Constellation
|
||||
|---|---|---|---|---|
|
Forum Ambassador
|
yeah i plan on getting to those sags, probably try the razor blade first as i have a hug pile of those.
then i plan to wet sand the whole car. since i didn't plastic things up, it has a bit of trash in the paint all over. just bumpy, not smooth. some really fine 1500 and 2000 grit wet sanding and then polishing should take care of that. put the hood on last night just to secure it. also made a new inspection plate cover for the driver's floor. i kept the hole so i could feed my TU test gauges through it when i needed to test for whatever reason. i'll seal it with some black silicone to keep water out. is it just me or is the hood one flemsy piece. i push it up and you can almost just bend it right off the bracing. i was kinda suprised. almost like the front side of the bracing should have been welded to the hood. i realize this project has taken a total different direction from when i started, but i really like the clear on the original paint. i like knowing the original paint is under all that protective layer. if i had to do it all over again, i would have just wiped on the linseed oile where the paint was still on there. it has yellow and turned and you can see runs in the linseed. but oh well. what is done is done. live and learn and make the next one better. i wont put on the fenders until i have the firewall stuff all mounted on. make it easier to get to. i'm still looking for a b-pillar trim ring for the clipper emblem. has to have the three pegs and the three clips that go on the prongs. no pits....scratches okay. non Packard: we also adopted to new boxer dogs (one is deaf with one blue eye, poor girl) to give companionship to our remaing adult boxer (she has been depressed and destroying my house when we leave) after we had to put down our family friend last month. RIP Macy. we love you! Attach file: (26.13 KB)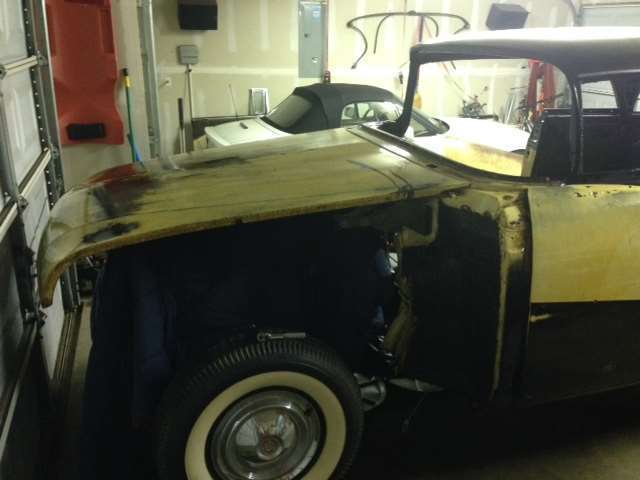 (55.27 KB) (55.27 KB)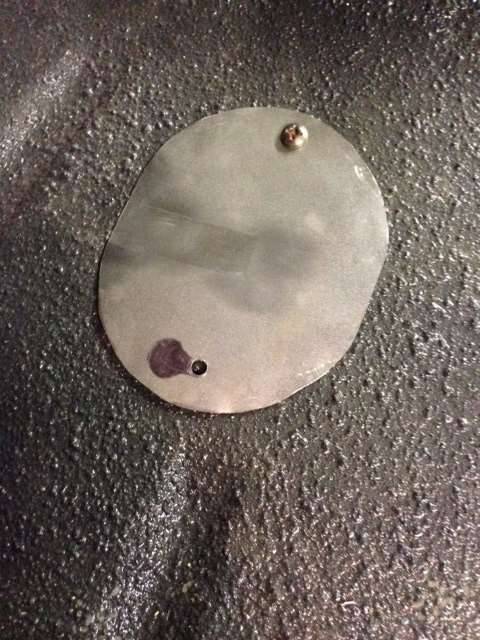 (28.95 KB) (28.95 KB)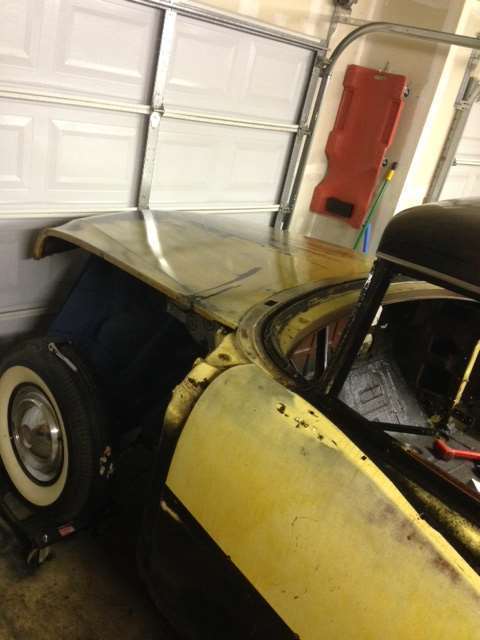 (28.64 KB) (28.64 KB)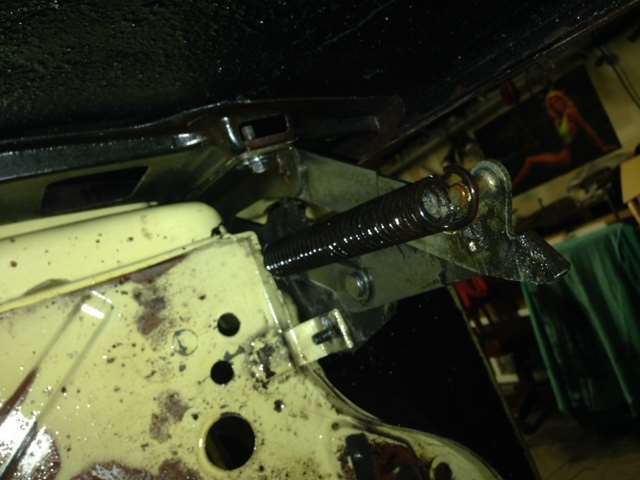 (29.24 KB) (29.24 KB)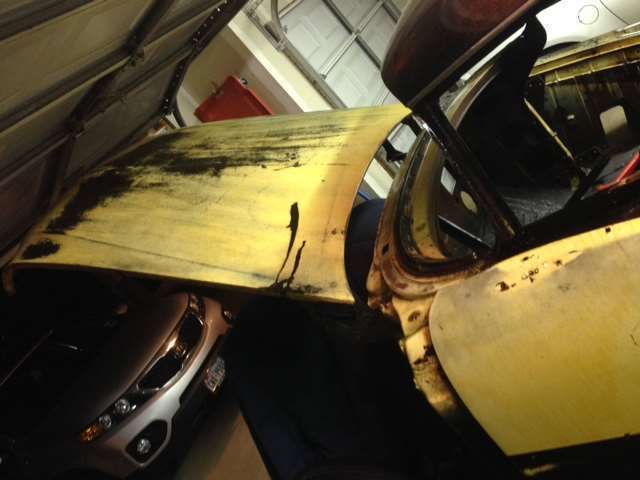 (23.91 KB) (23.91 KB)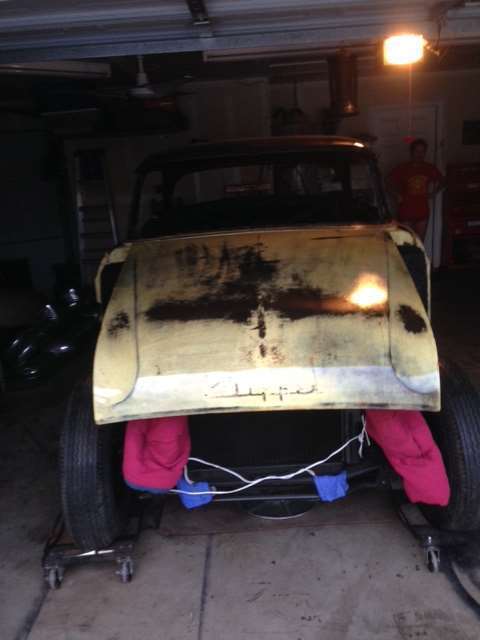 (35.48 KB) (35.48 KB) (32.49 KB) (32.49 KB)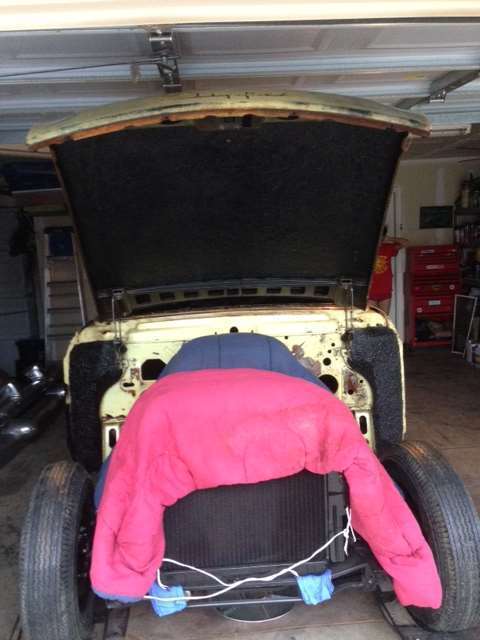 (19.09 KB) (19.09 KB)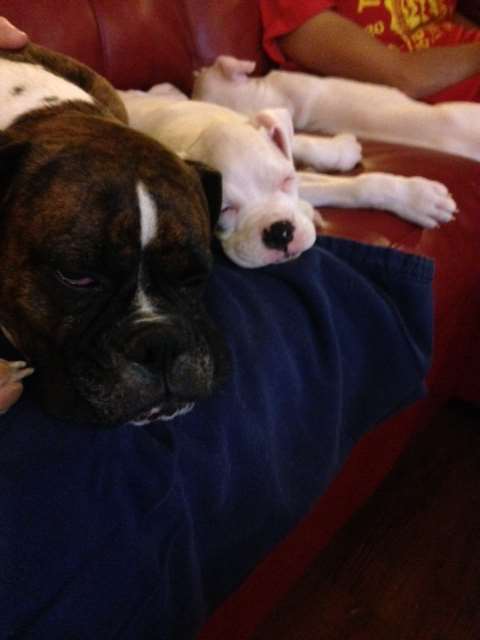 (23.69 KB) (23.69 KB) (11.58 KB) (11.58 KB)
Posted on: 2013/10/15 9:16
|
|||
|
1937 Packard 138-CD Deluxe Touring Limousine
Maroon/Black 1090-1021 [url=https://packardinfo.com/xoops/html/modules/registry/View.php?ID=232]1955 Packard |
||||
|
||||
|
Re: Henry's 55 Constellation
|
||||
|---|---|---|---|---|
|
Forum Ambassador
|
took the passenger's side door apart to get ready for linseed and painting.
took tons of photos and i'm only posting them here incase anyone is trying to put back togther the bits on their door. or want to see how to take it apart. i could not get the vent window to open any further...is that as far as it goes?? Attach file: (58.60 KB)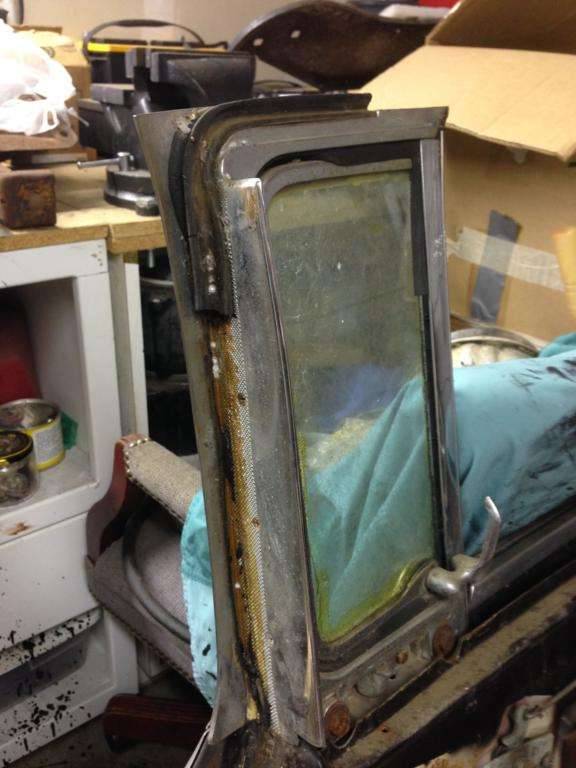 (63.86 KB) (63.86 KB)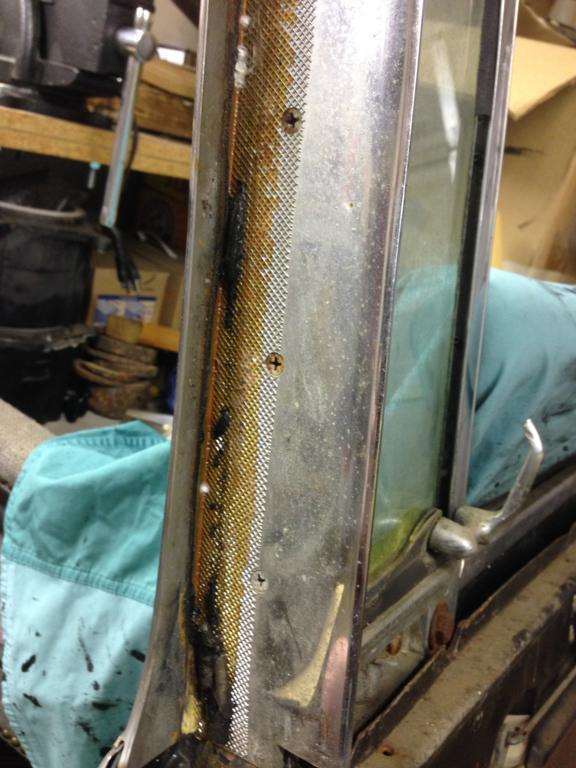 (105.35 KB) (105.35 KB)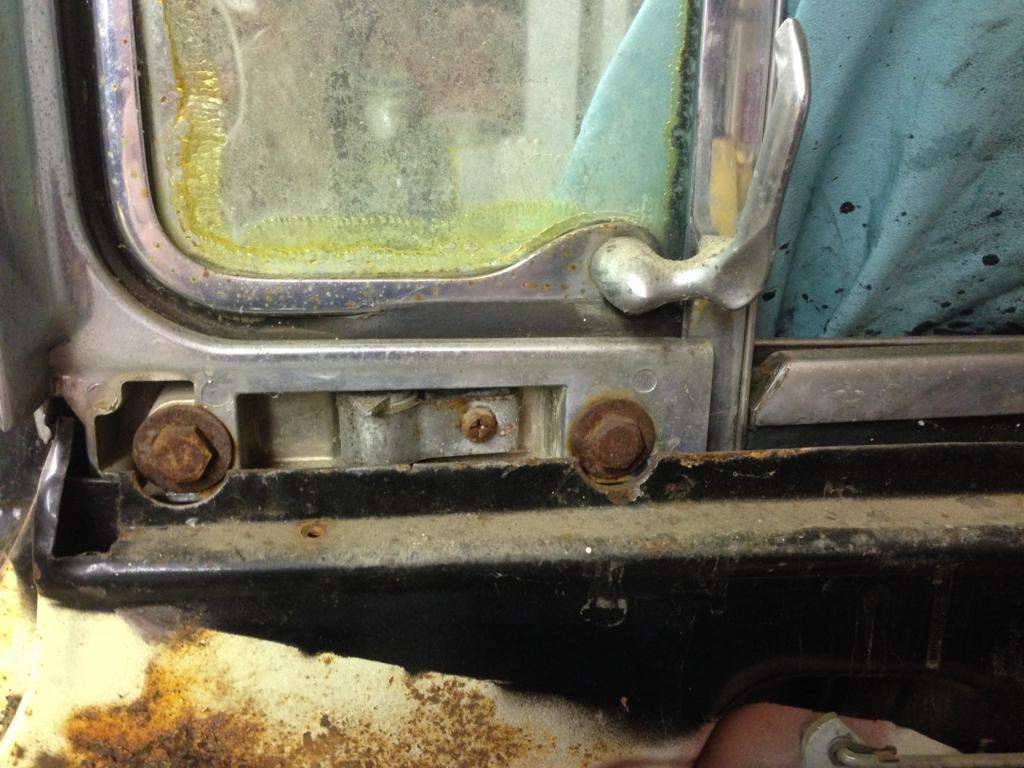 (55.10 KB) (55.10 KB)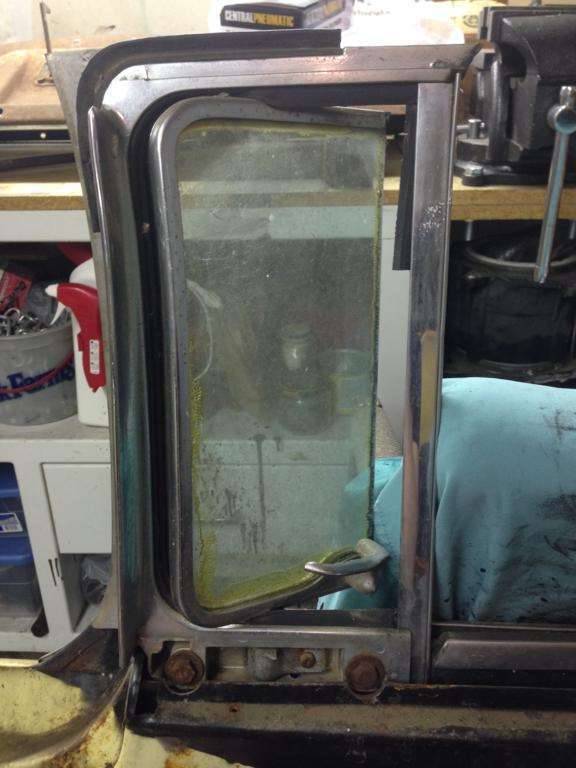 (77.64 KB) (77.64 KB)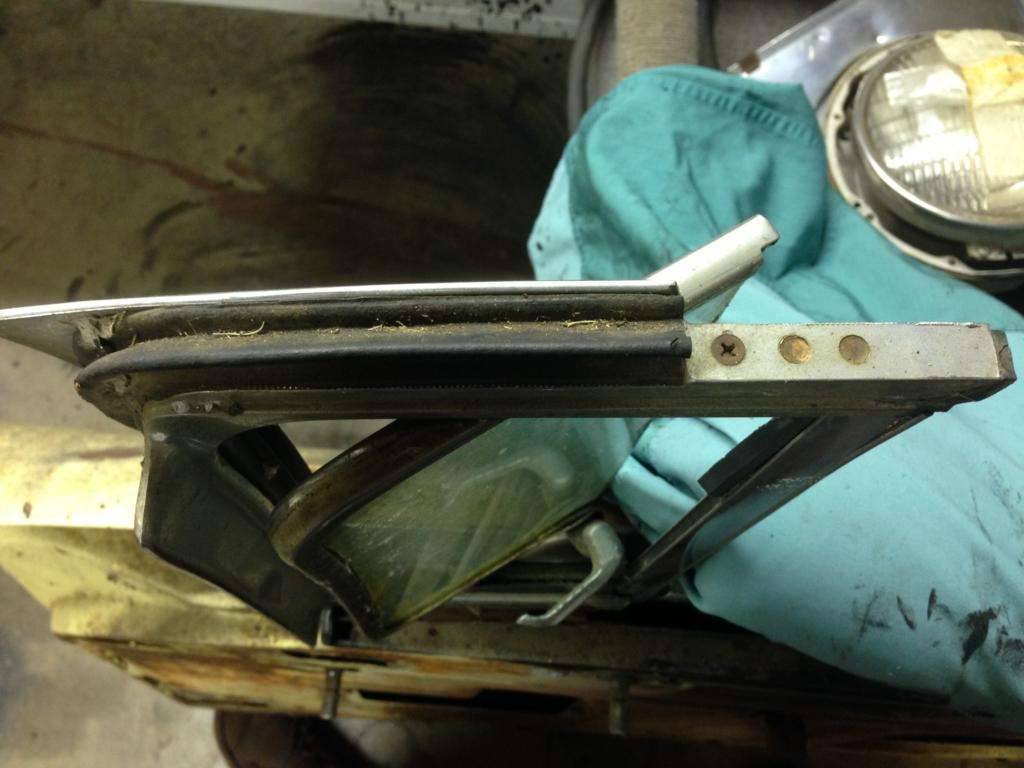 (107.90 KB) (107.90 KB)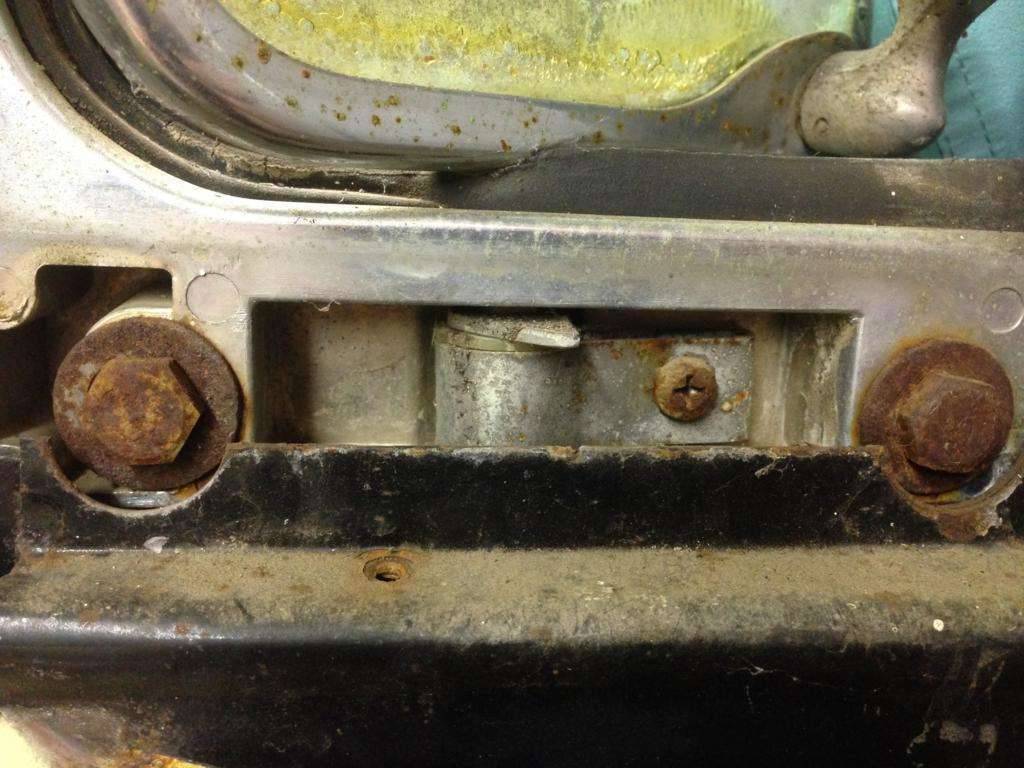 (98.62 KB) (98.62 KB)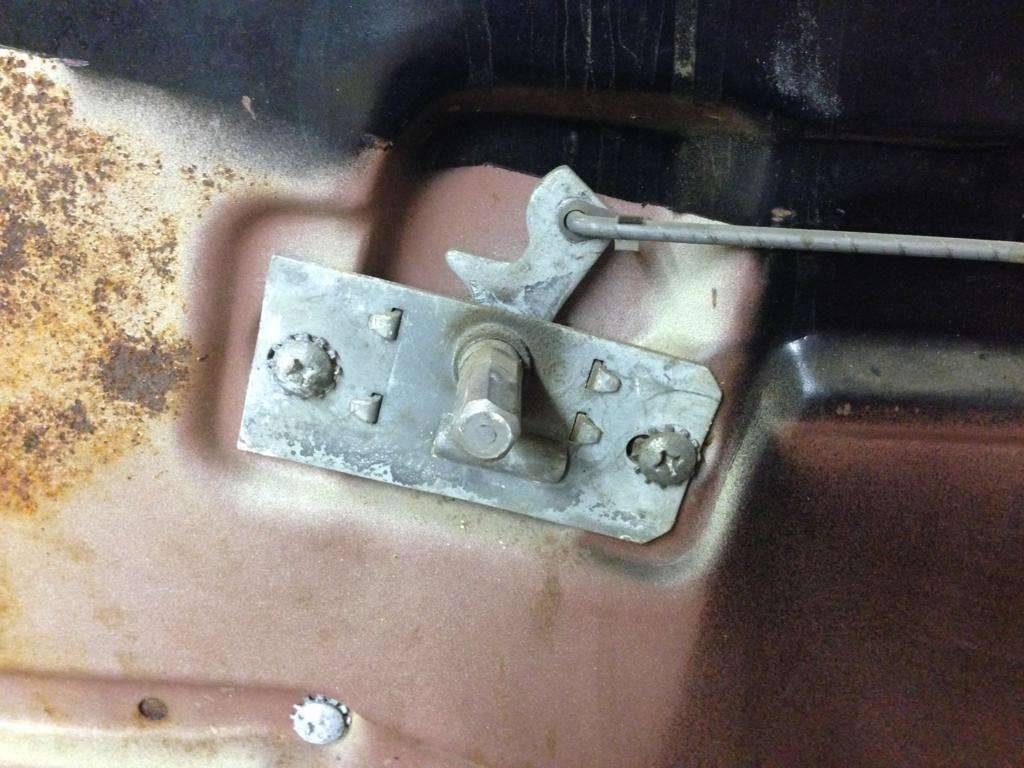 (99.31 KB) (99.31 KB)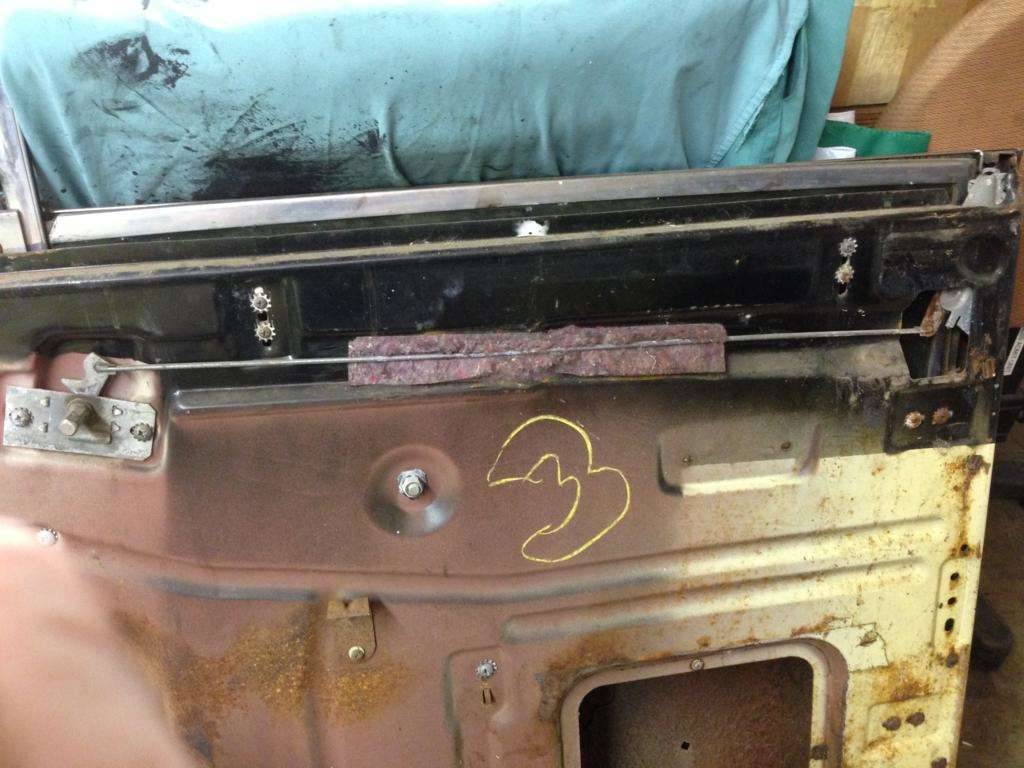 (52.33 KB) (52.33 KB)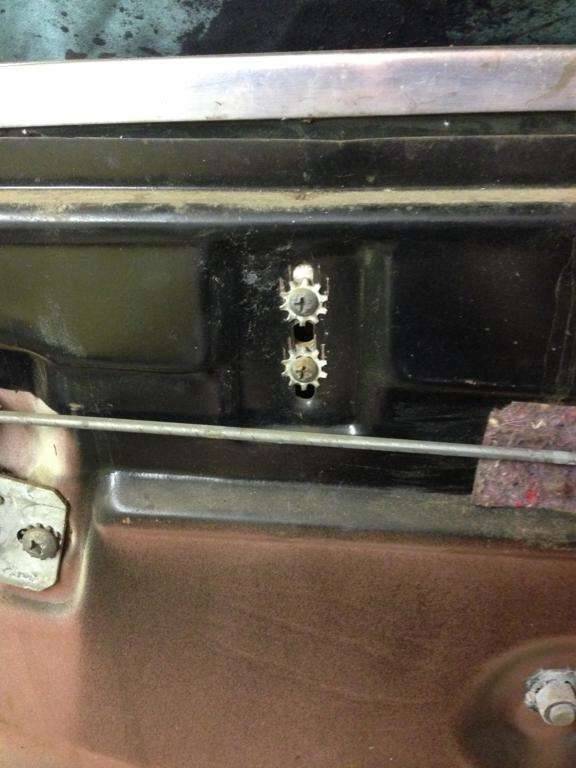 (93.82 KB) (93.82 KB)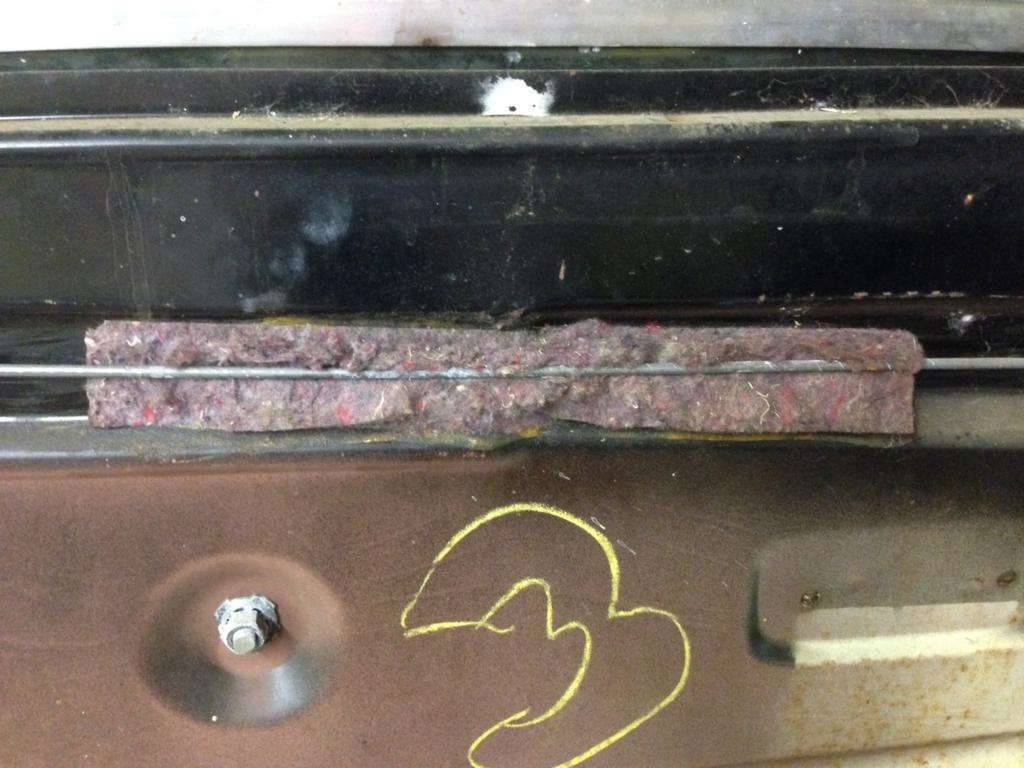 (108.00 KB) (108.00 KB)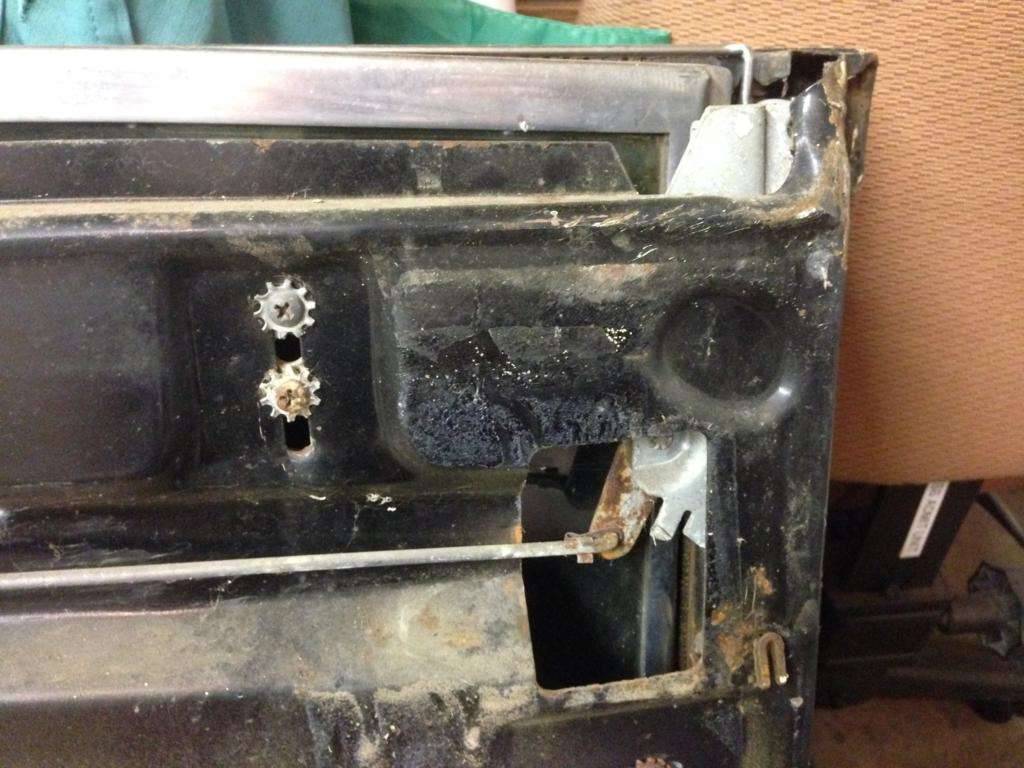 (64.30 KB) (64.30 KB)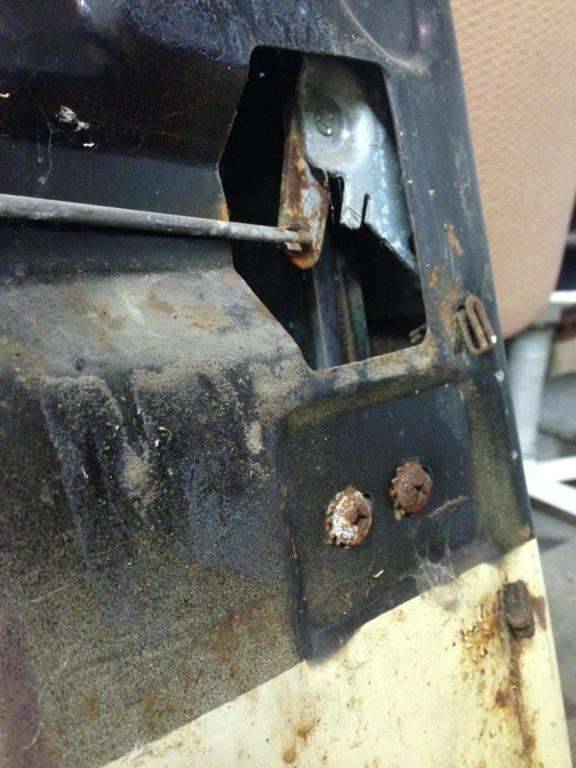 (63.67 KB) (63.67 KB)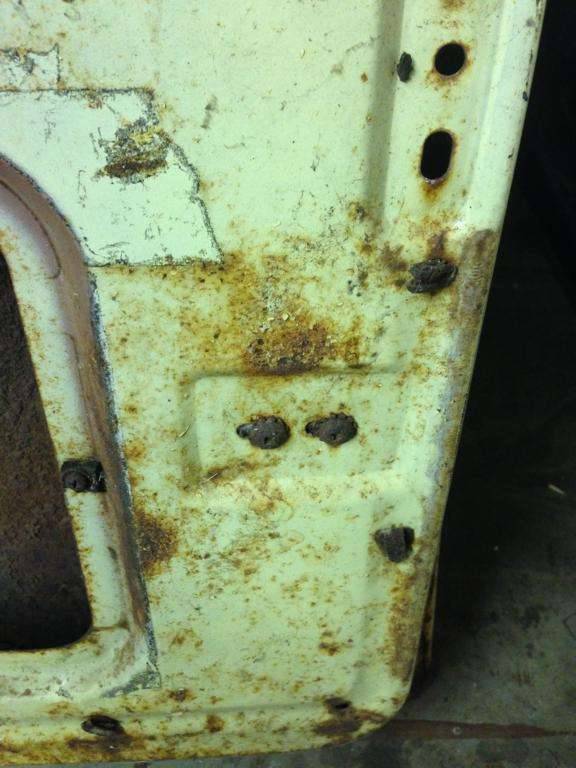 (56.22 KB) (56.22 KB)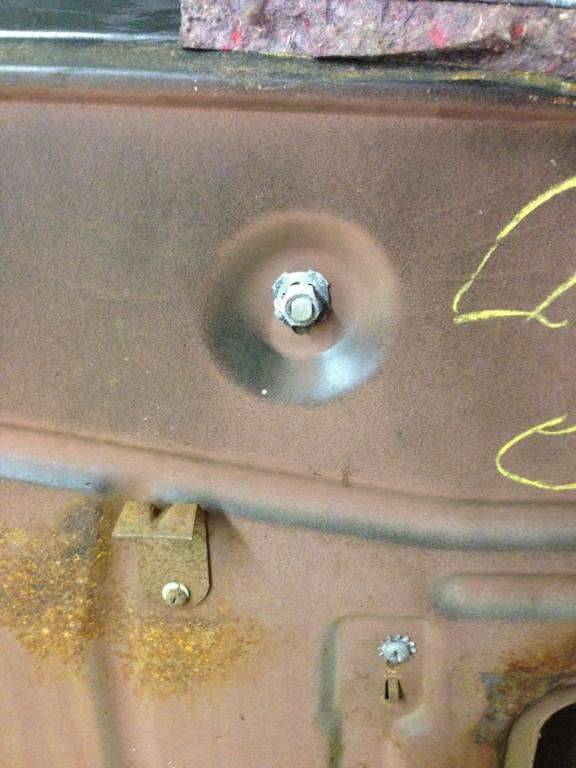 (66.19 KB) (66.19 KB)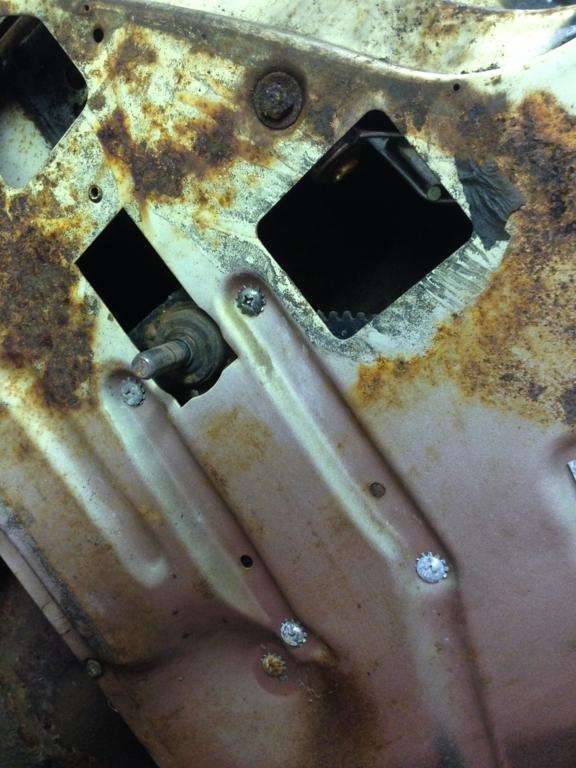 (51.72 KB) (51.72 KB)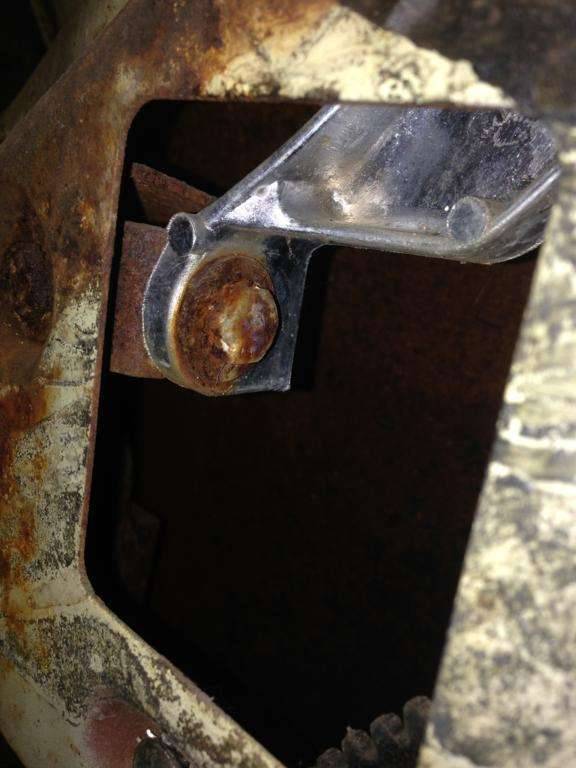 (62.08 KB) (62.08 KB)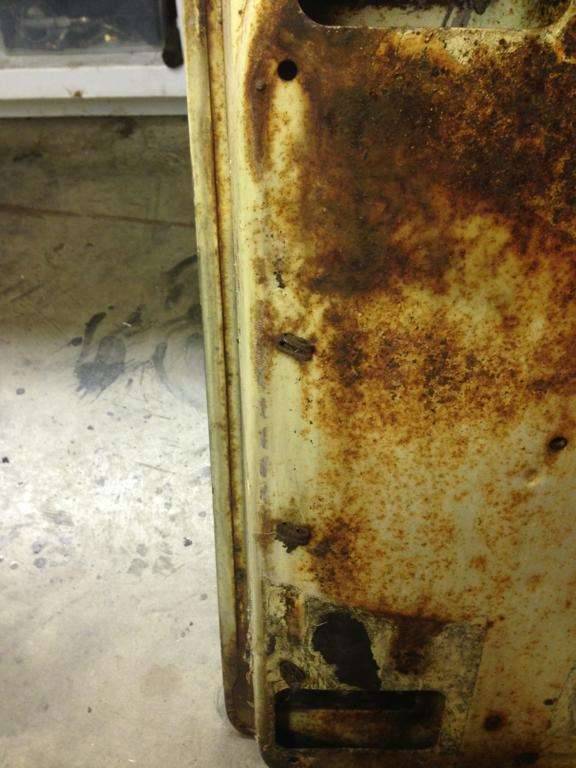 (56.00 KB) (56.00 KB)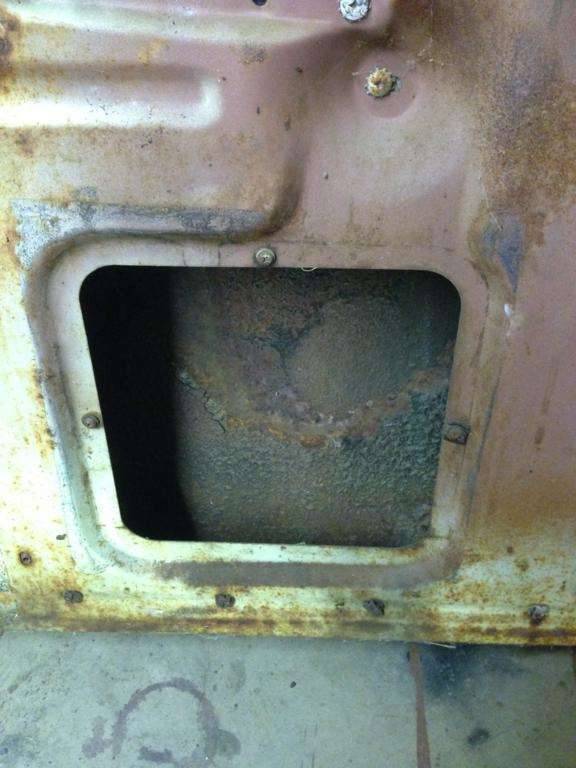 (98.83 KB) (98.83 KB)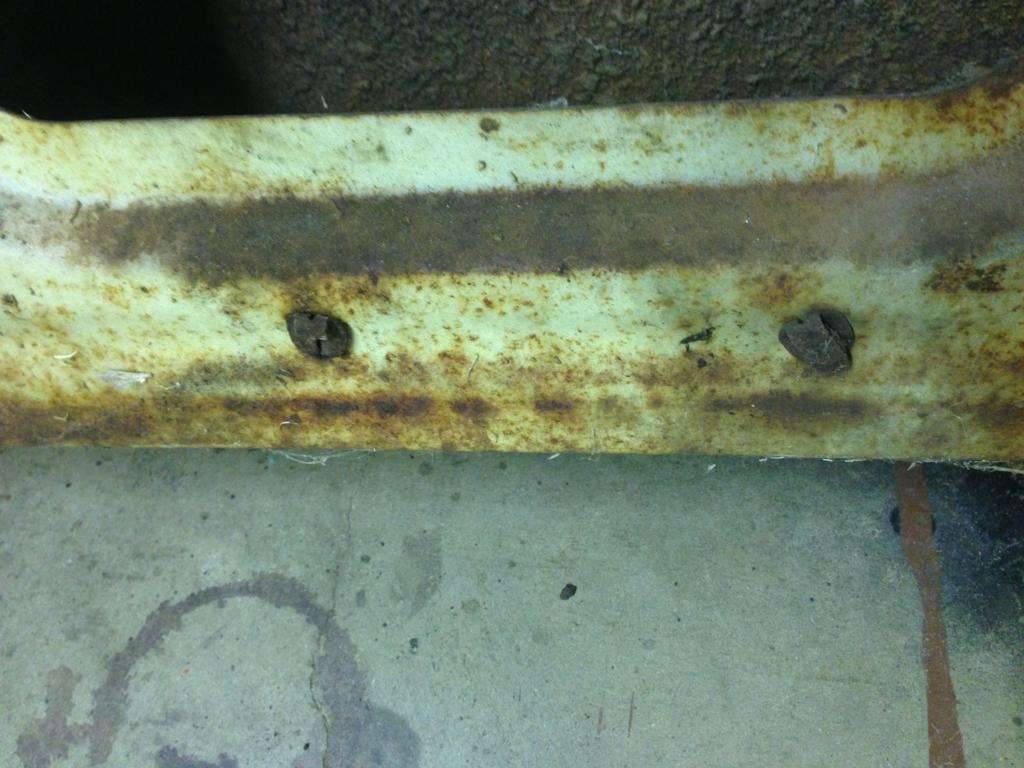 (61.02 KB) (61.02 KB)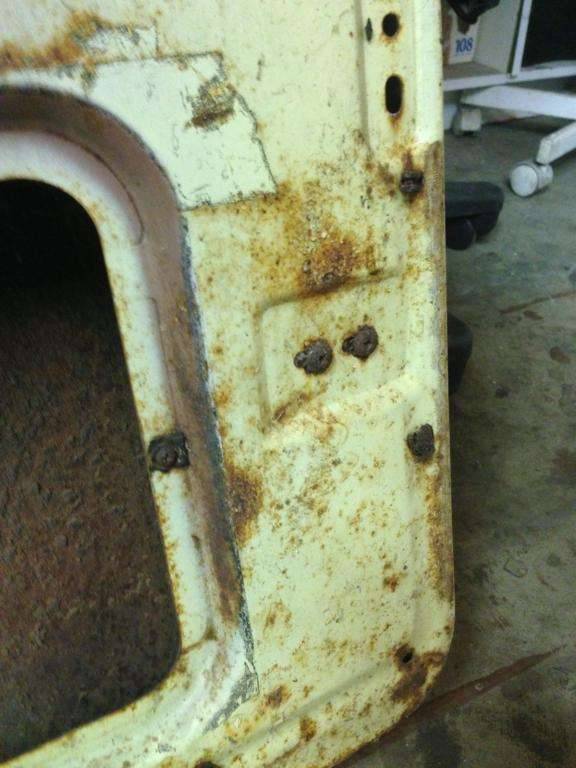 (63.75 KB) (63.75 KB)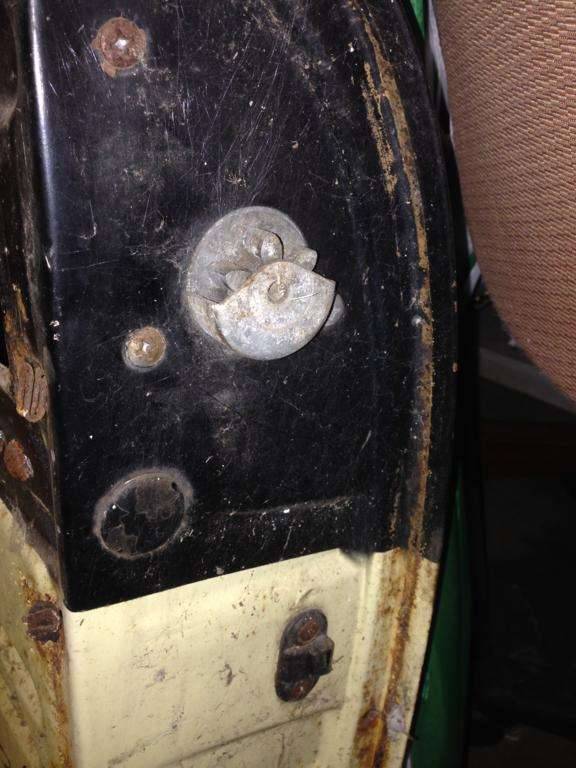 (50.22 KB) (50.22 KB)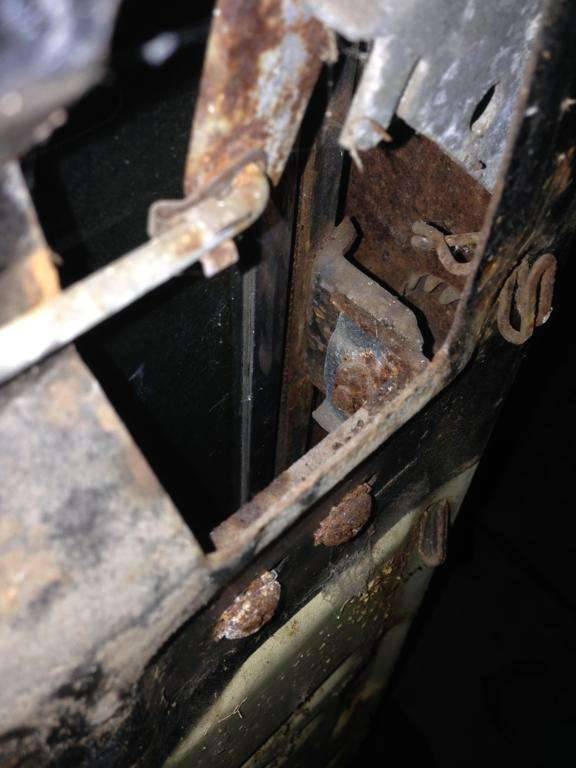 (59.83 KB) (59.83 KB) (79.89 KB) (79.89 KB)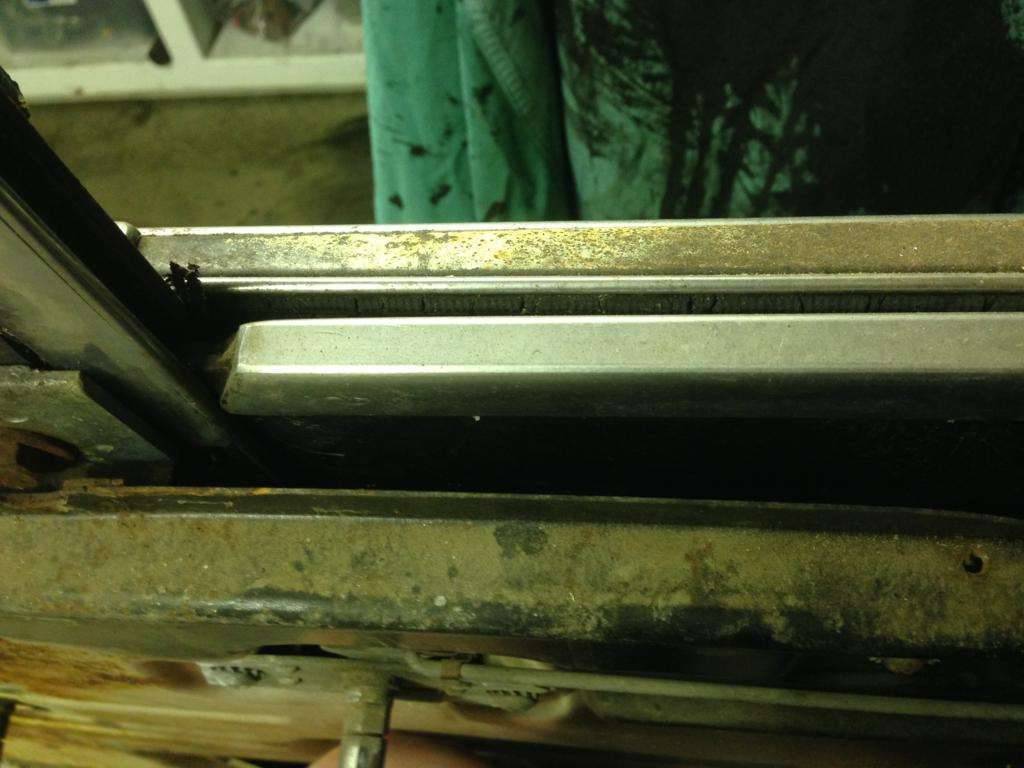 (81.70 KB) (81.70 KB)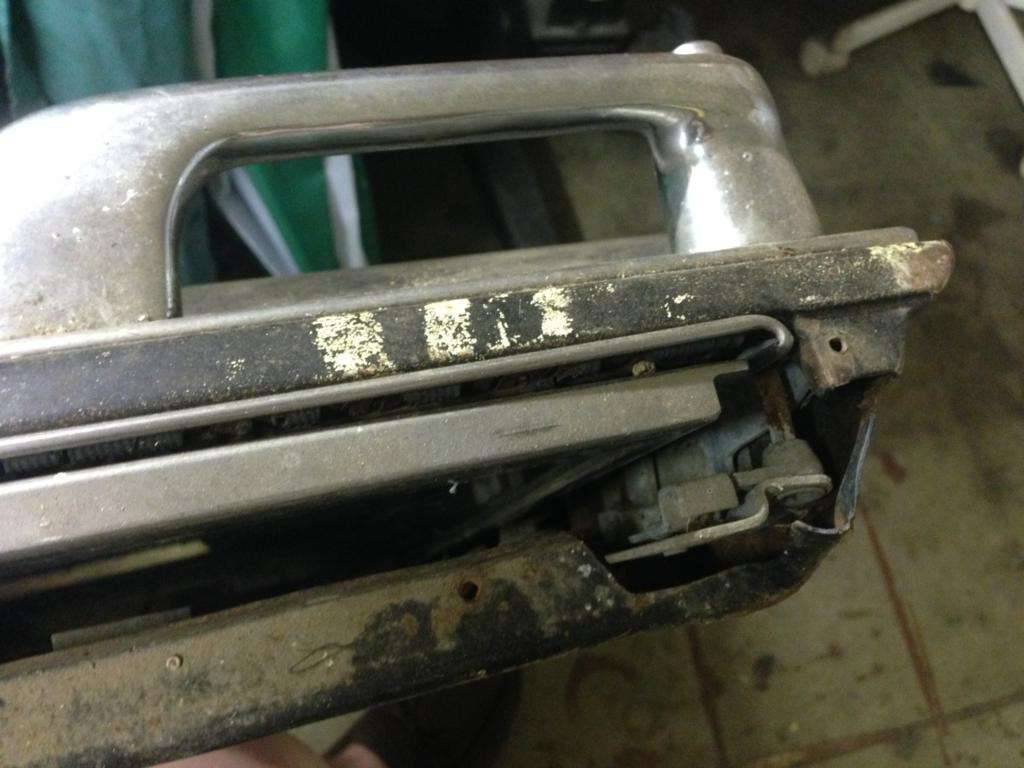 (59.11 KB) (59.11 KB)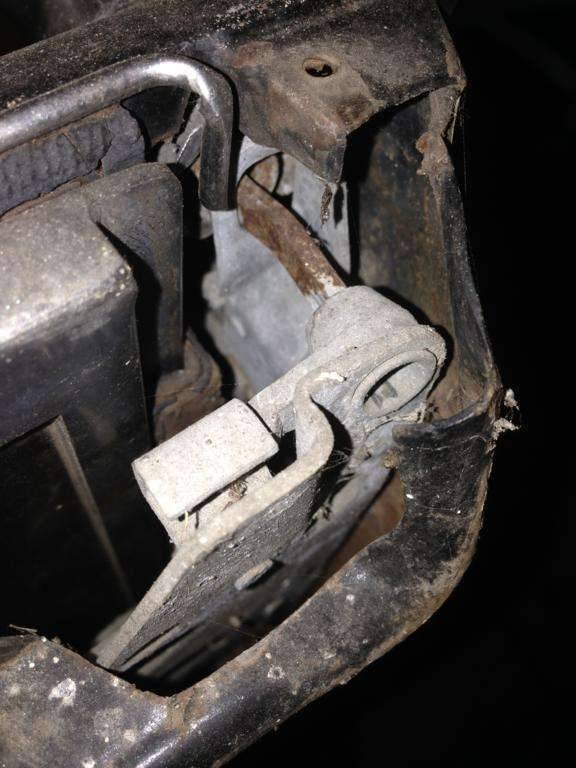 (43.92 KB) (43.92 KB)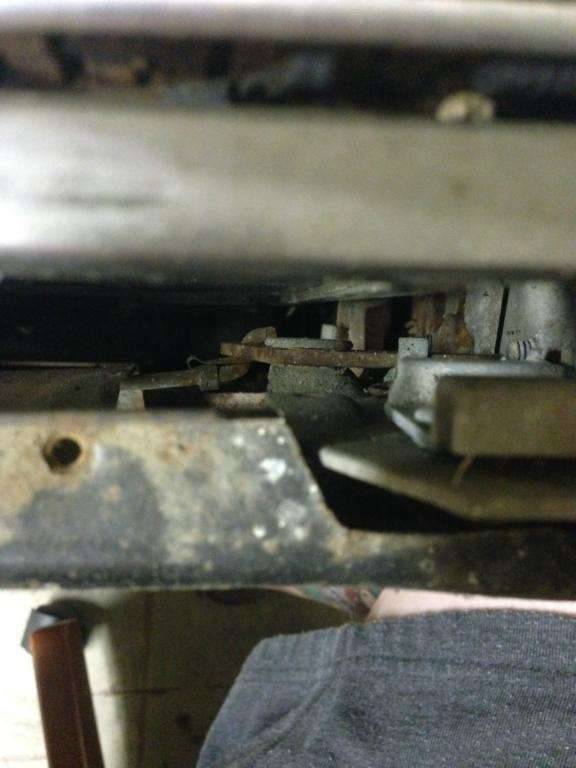 (61.95 KB) (61.95 KB)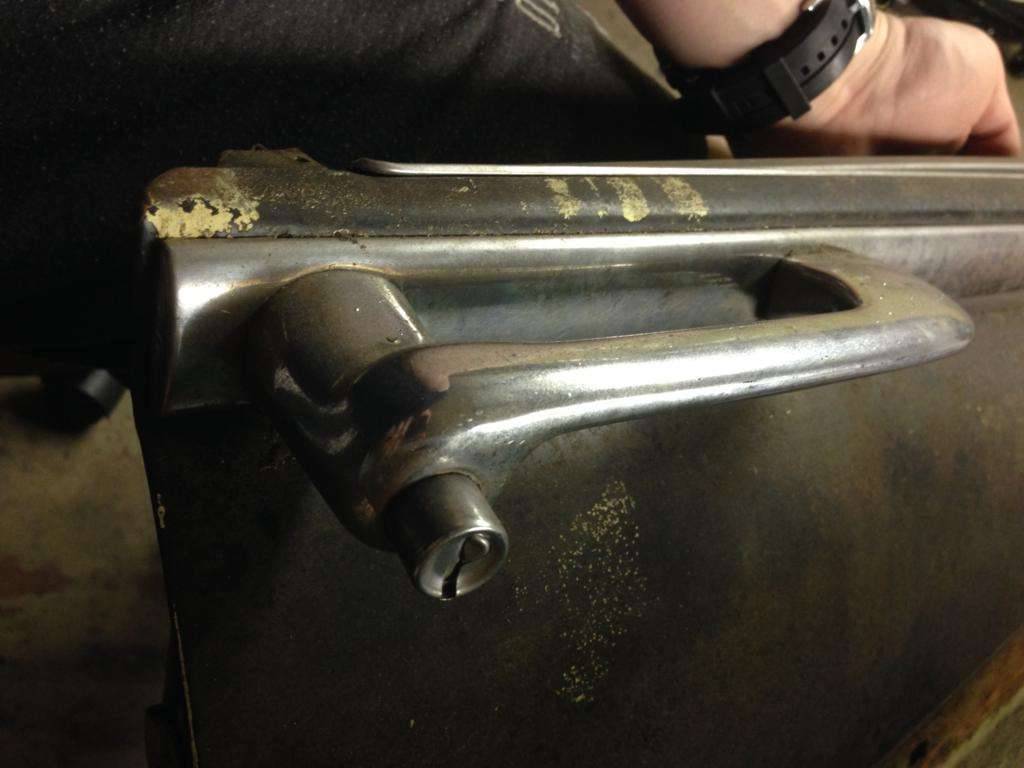 (54.09 KB) (54.09 KB)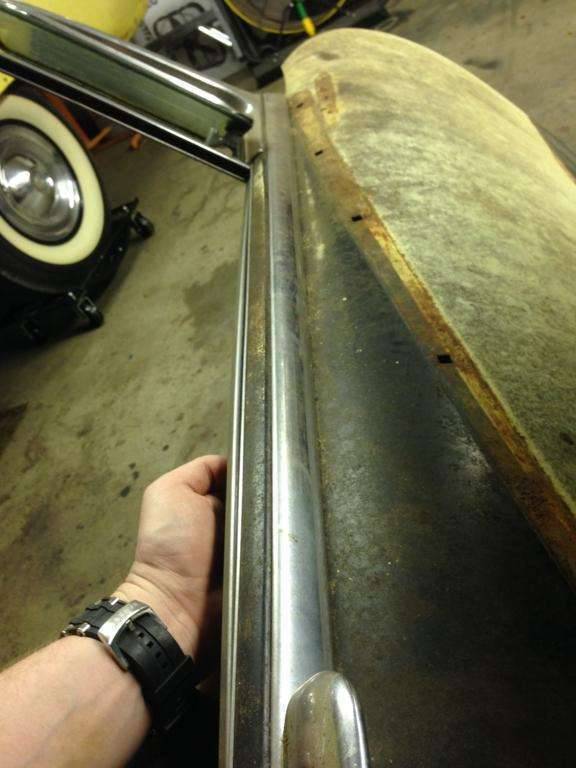 (53.19 KB) (53.19 KB)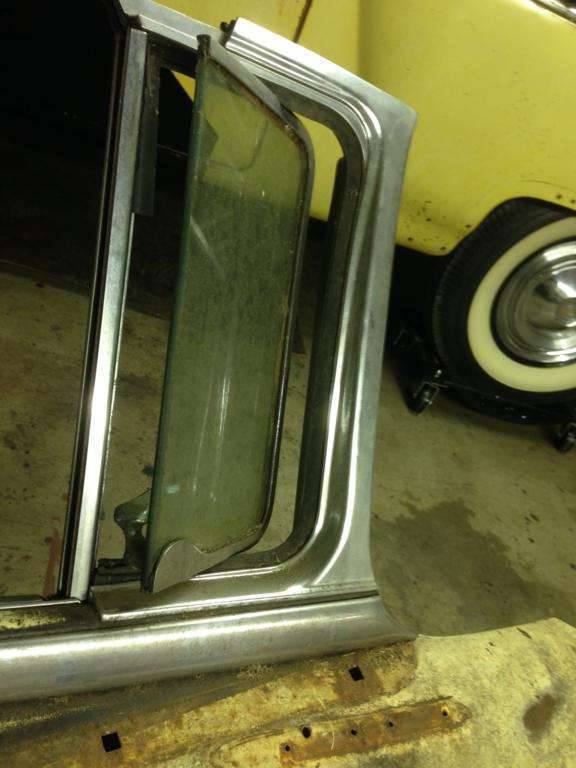 (44.93 KB) (44.93 KB)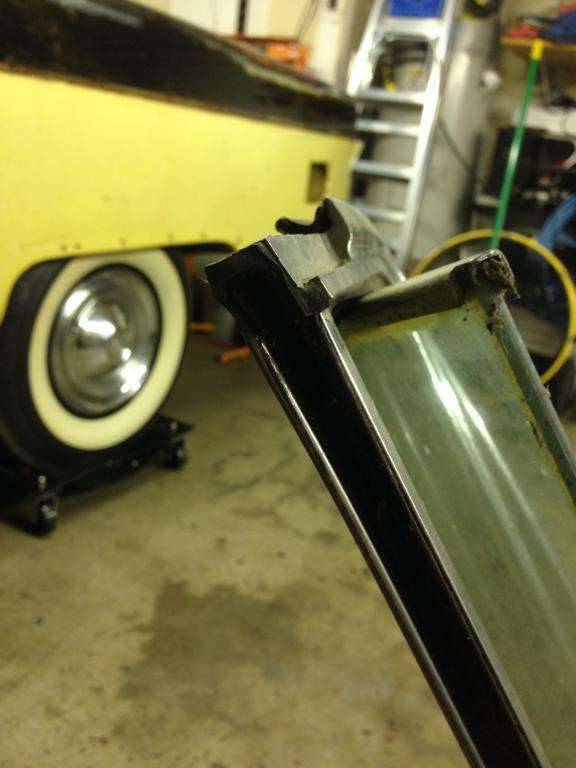 (56.98 KB) (56.98 KB)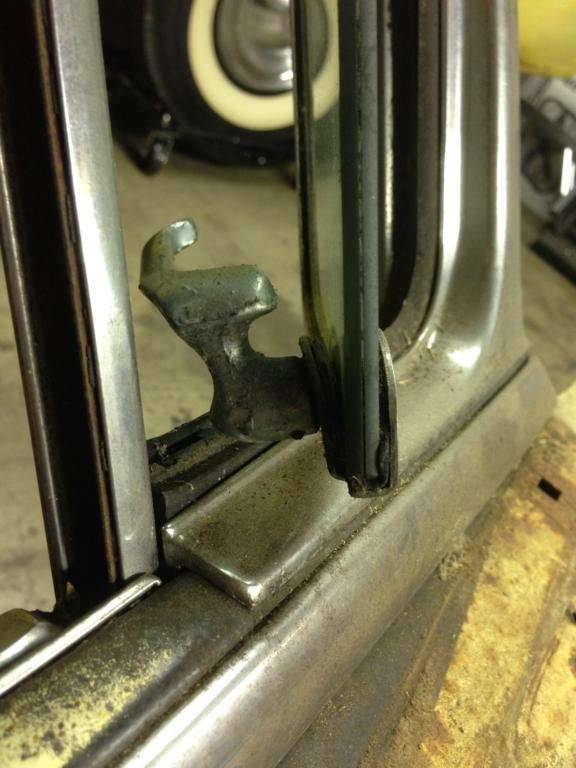 (46.50 KB) (46.50 KB)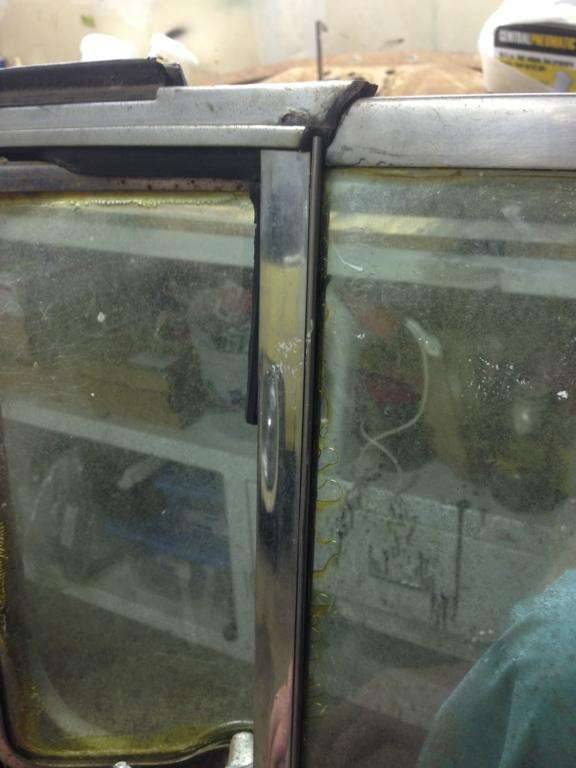 (58.02 KB) (58.02 KB)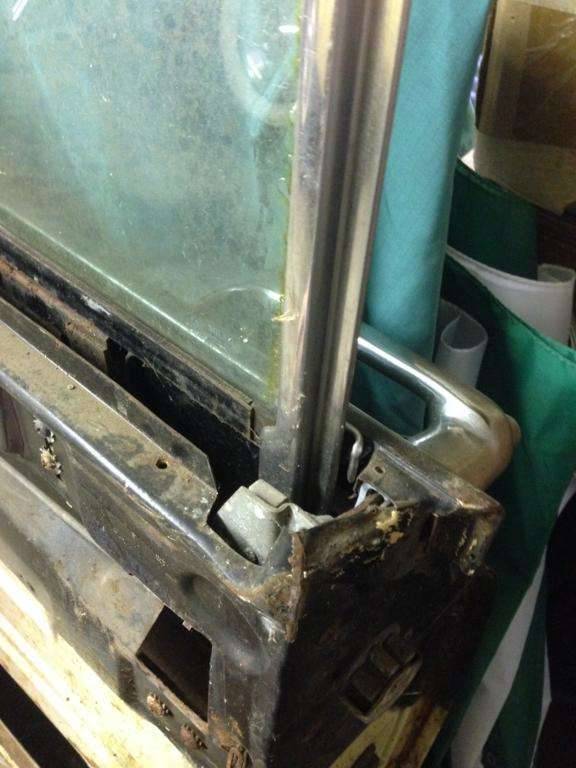 (54.71 KB) (54.71 KB)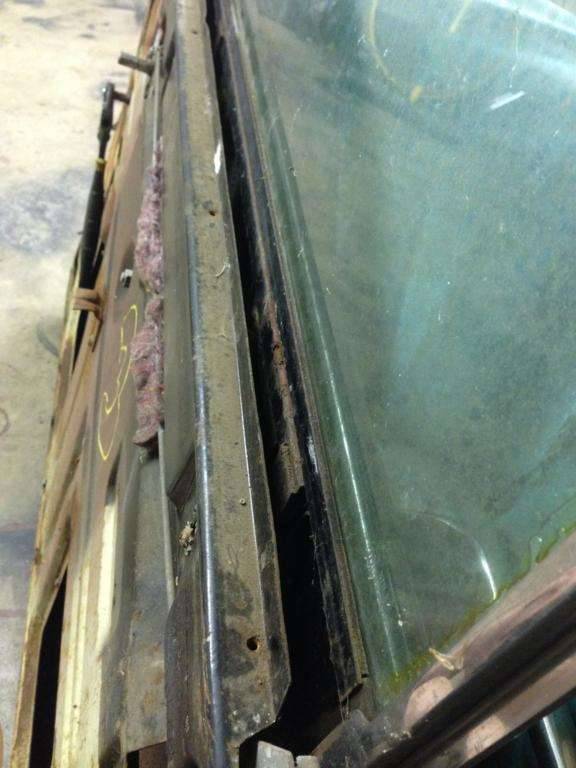 (59.92 KB) (59.92 KB)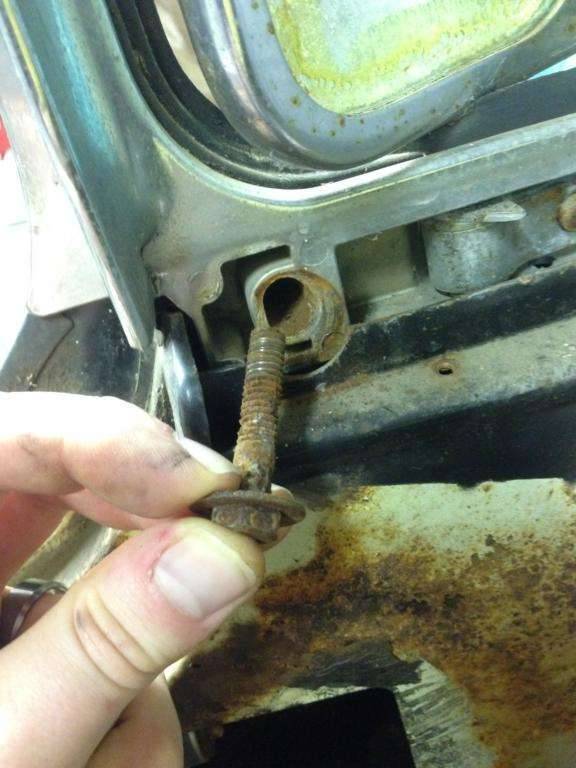 (51.90 KB) (51.90 KB)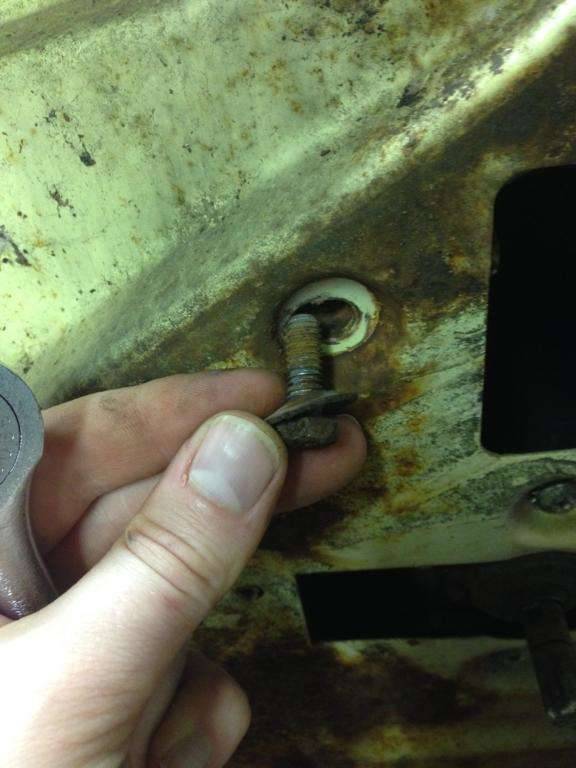 (52.10 KB) (52.10 KB)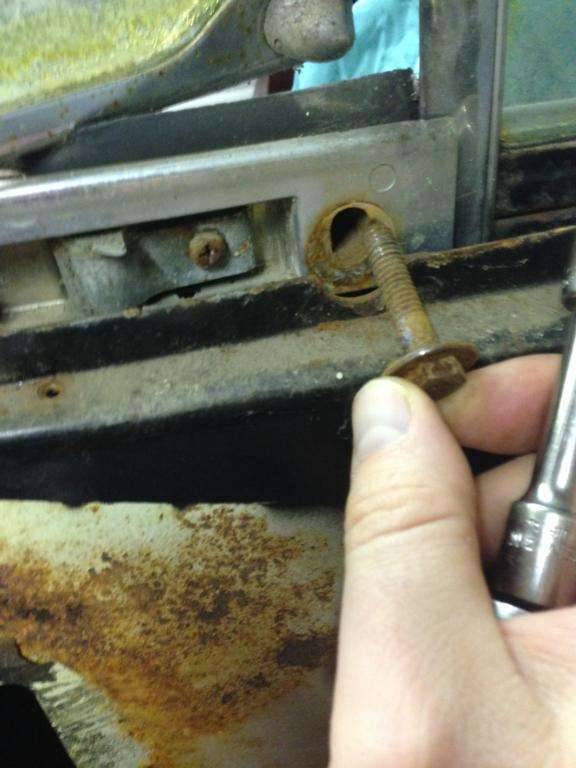 (46.14 KB) (46.14 KB)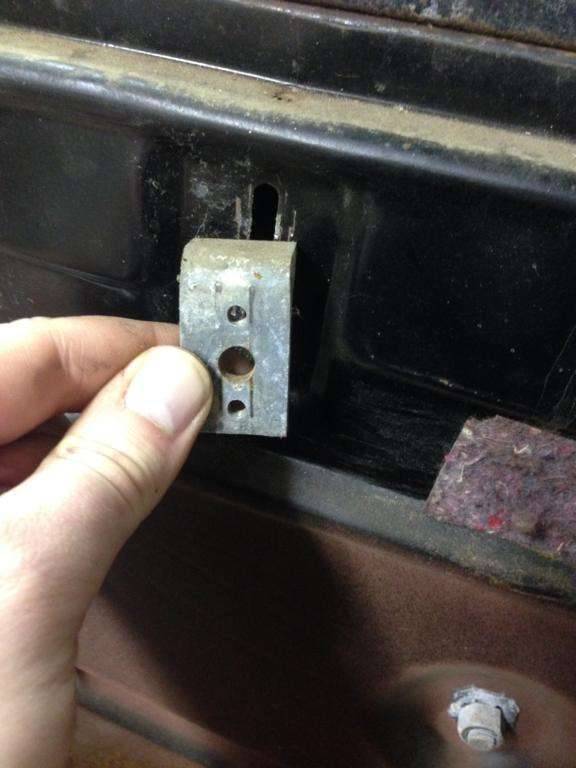 (50.85 KB) (50.85 KB)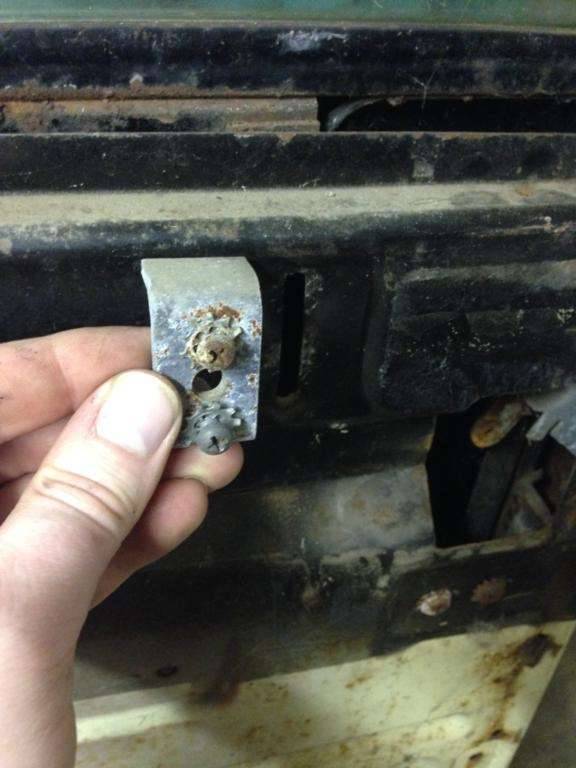 (51.75 KB) (51.75 KB)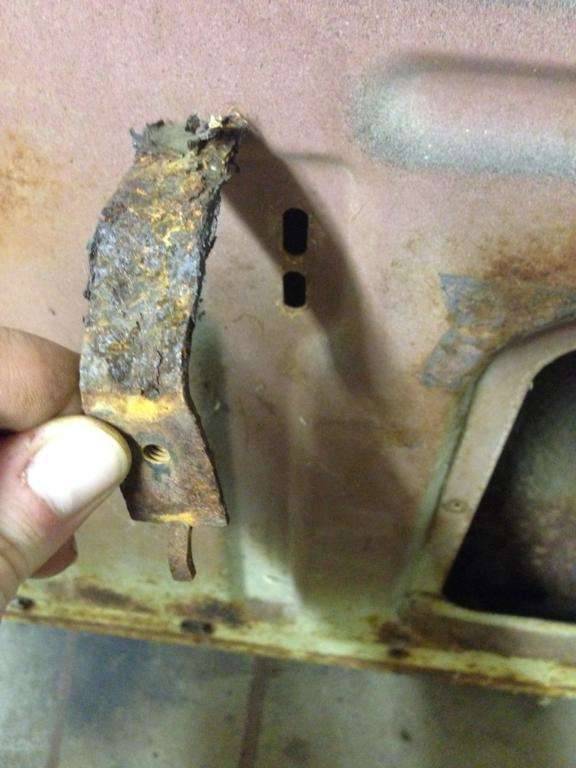 (89.22 KB) (89.22 KB)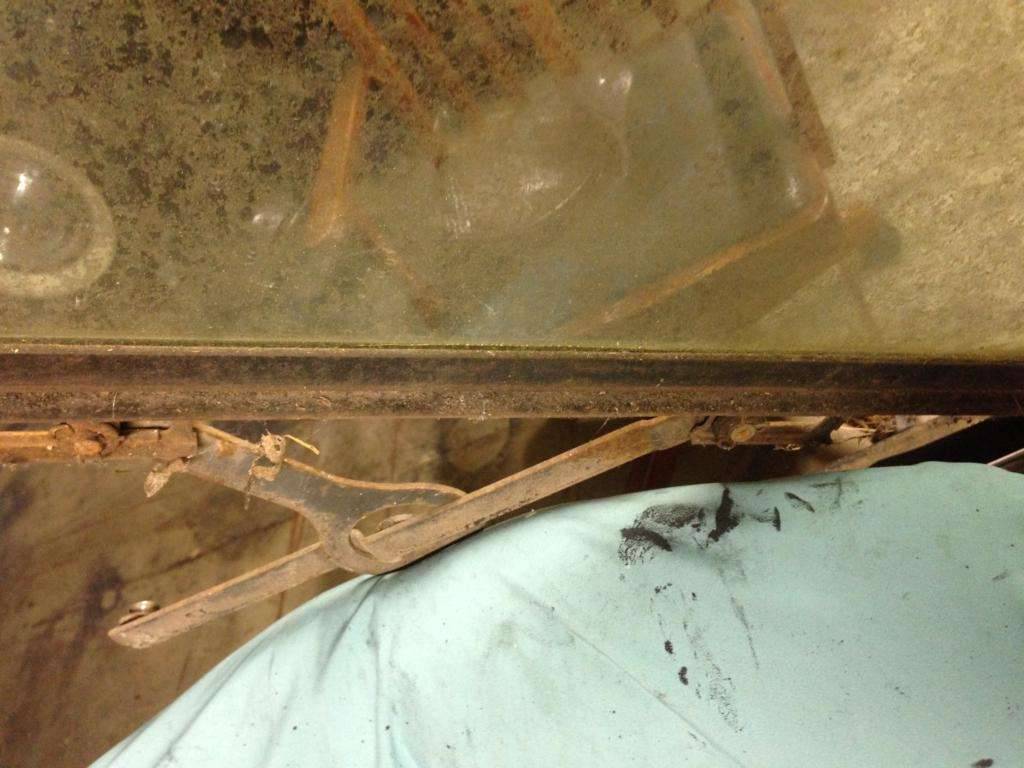 (93.77 KB) (93.77 KB)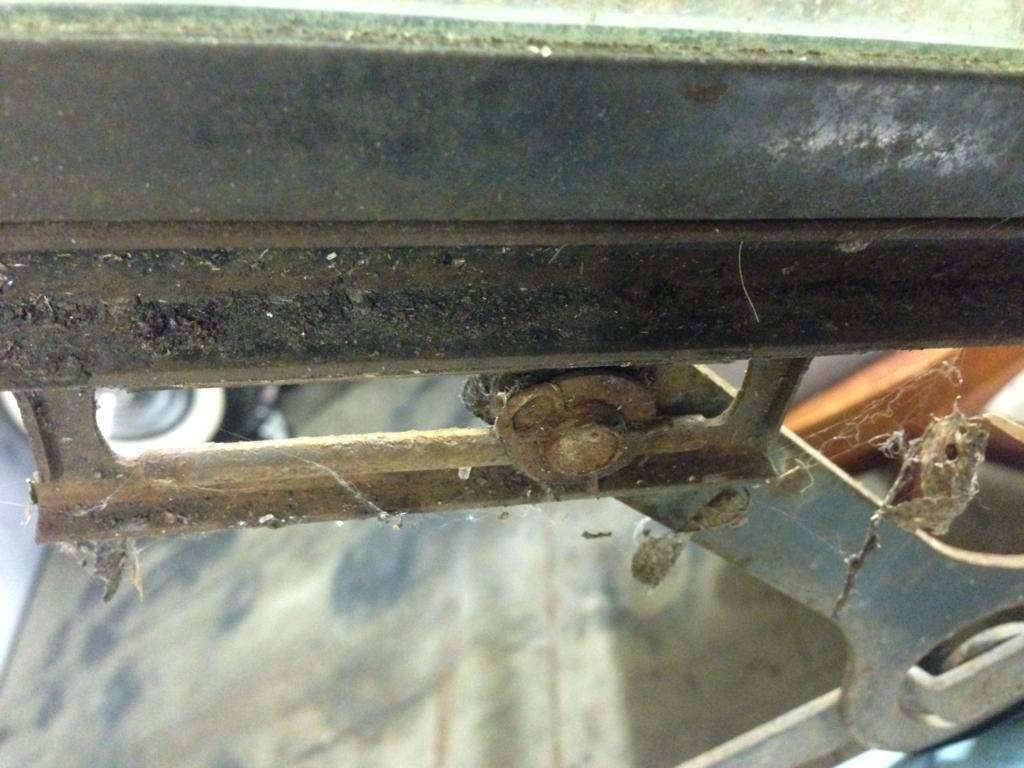 (87.88 KB) (87.88 KB)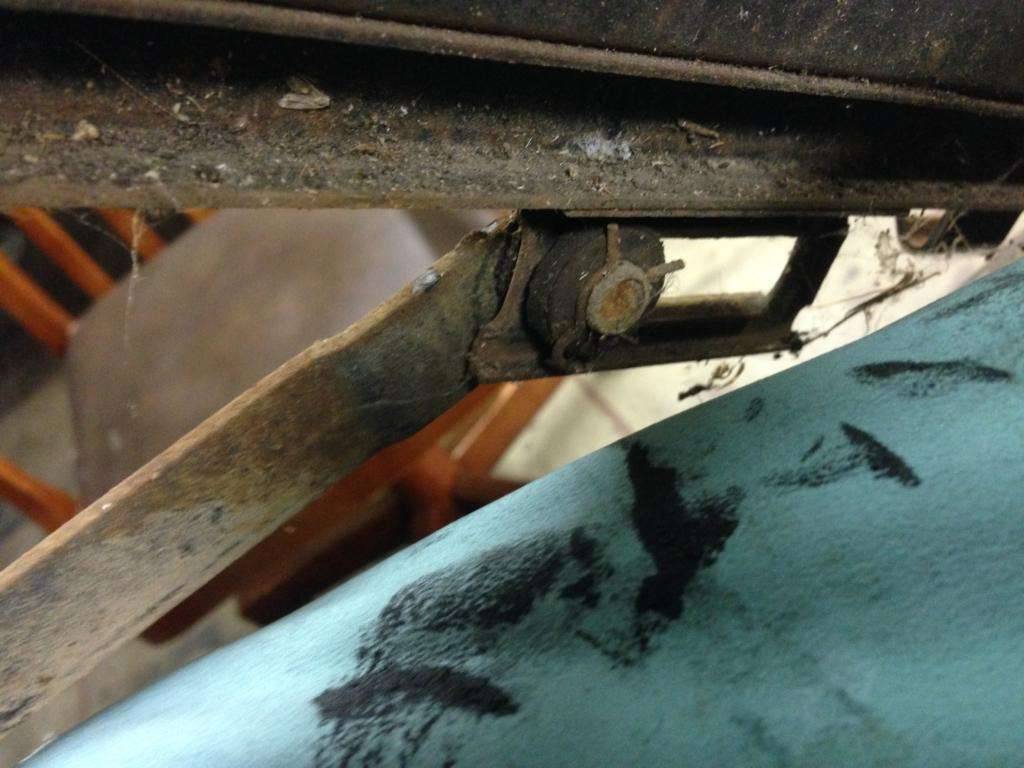 (114.03 KB) (114.03 KB)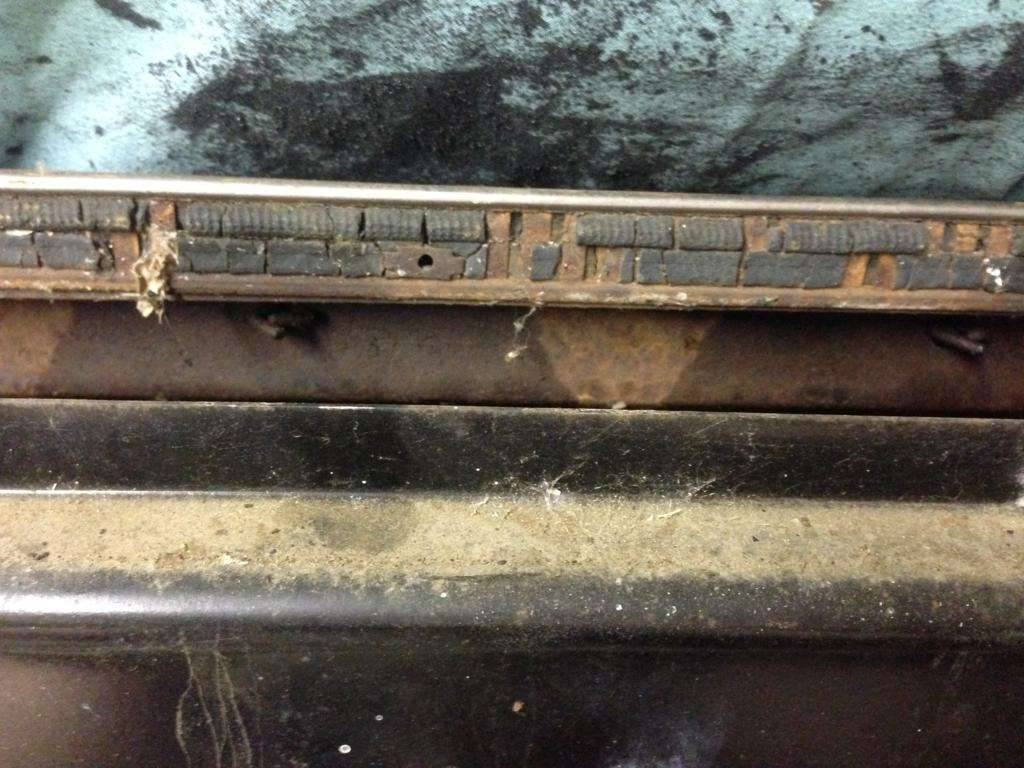 (114.55 KB) (114.55 KB)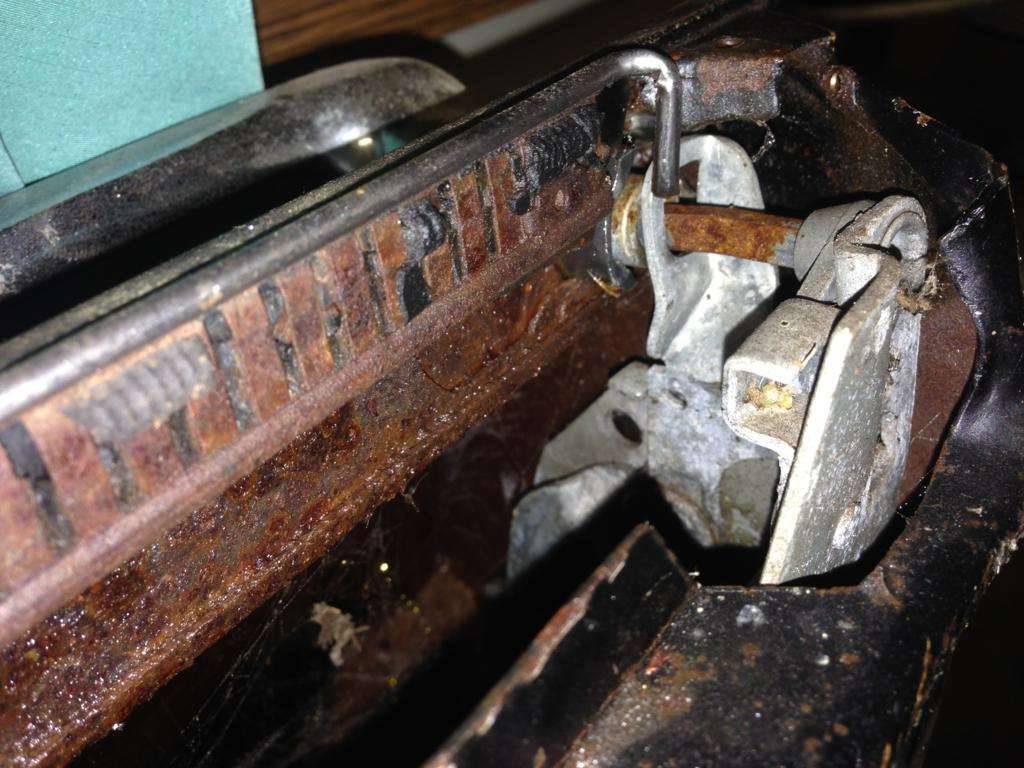 (82.27 KB) (82.27 KB)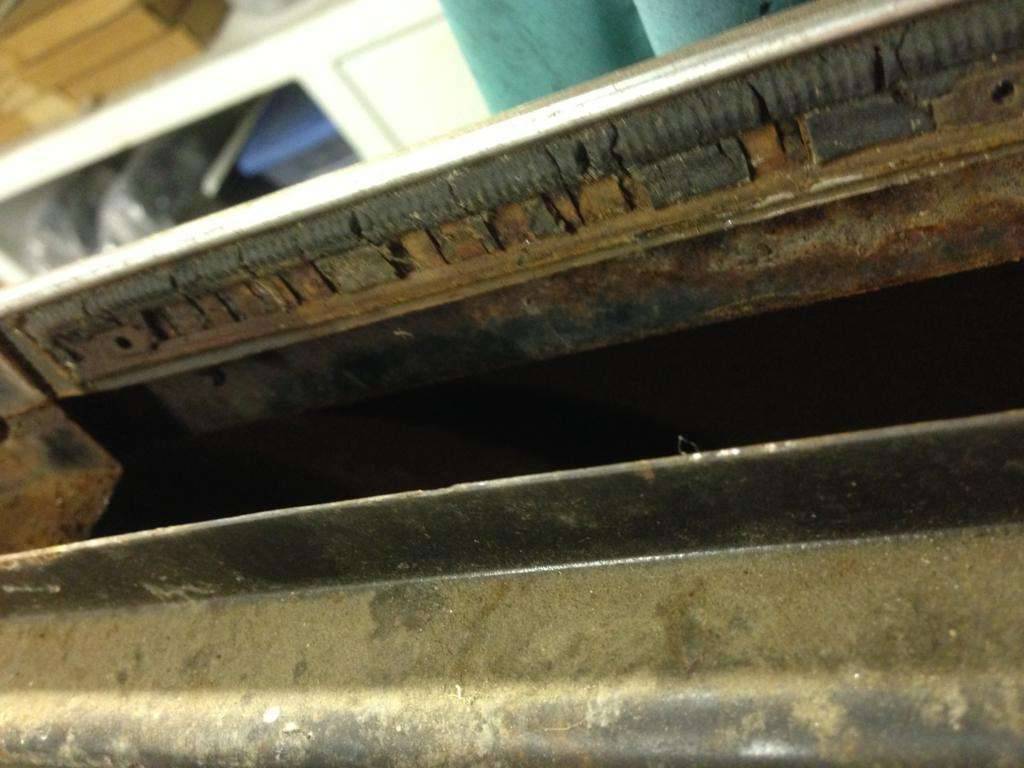 (120.17 KB) (120.17 KB)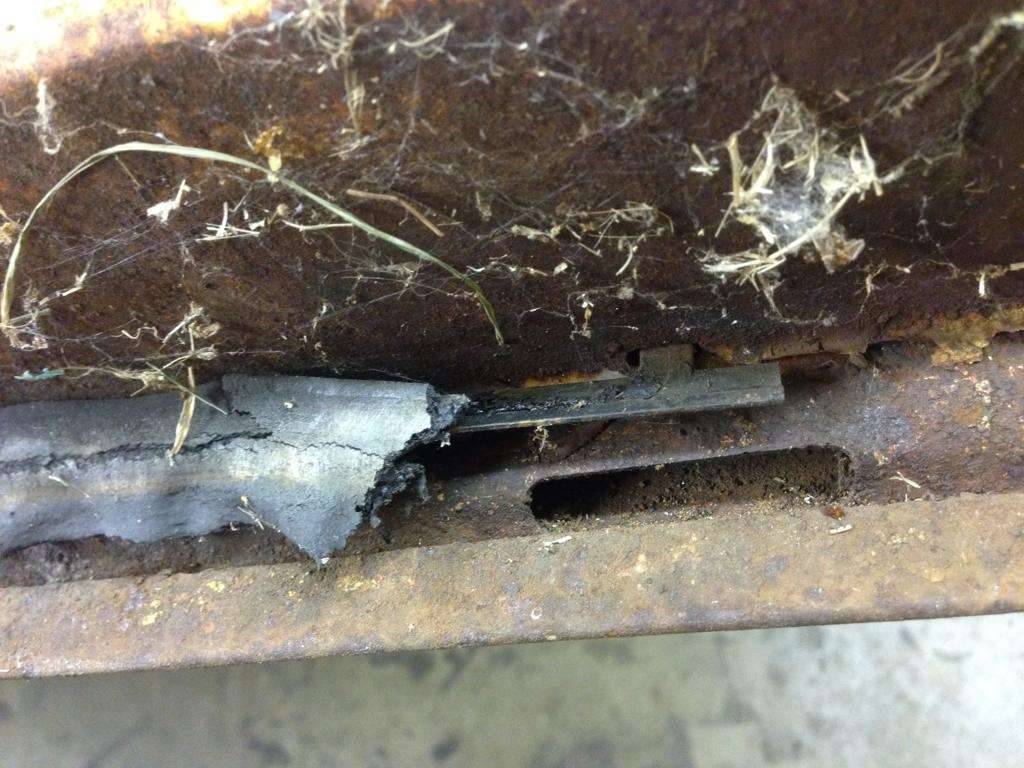 (88.47 KB) (88.47 KB)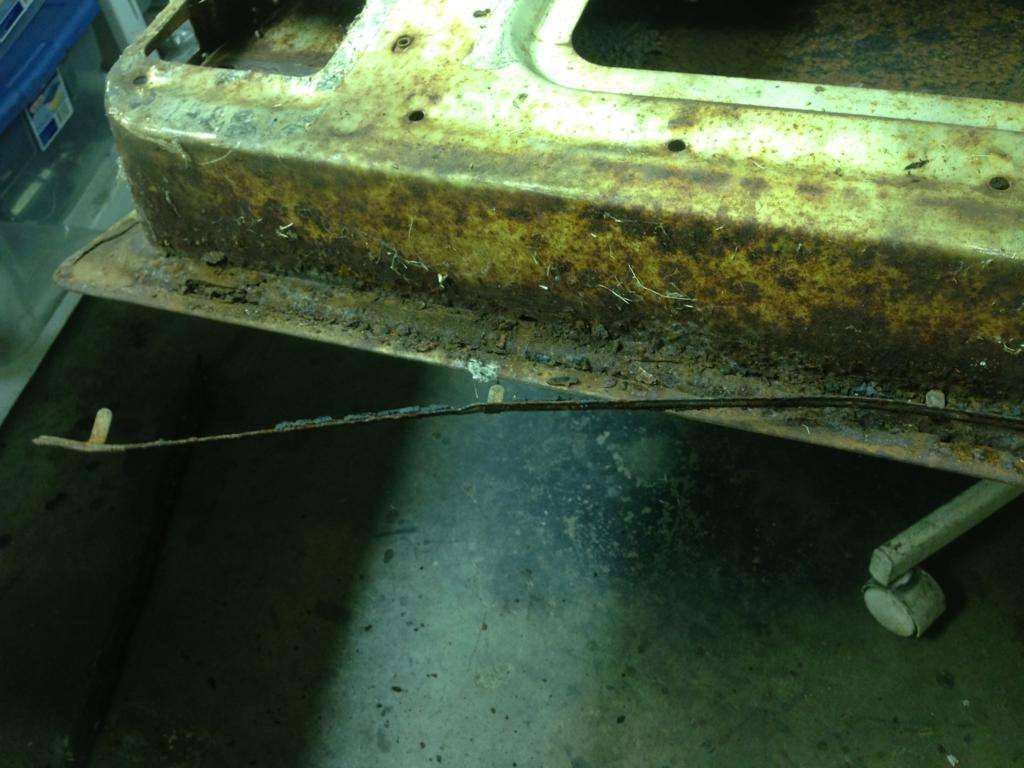 (56.67 KB) (56.67 KB)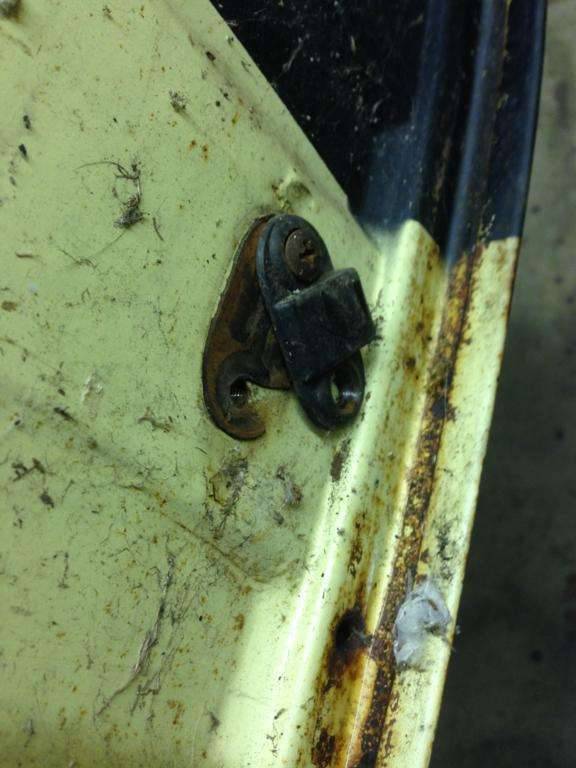
Posted on: 2013/10/25 13:38
|
|||
|
1937 Packard 138-CD Deluxe Touring Limousine
Maroon/Black 1090-1021 [url=https://packardinfo.com/xoops/html/modules/registry/View.php?ID=232]1955 Packard |
||||
|
||||
|
Re: Henry's 55 Constellation
|
||||
|---|---|---|---|---|
|
Forum Ambassador
|
once i got the door stripped down i could tell the bottom was pretty bad. apparently the etire pasengers side of my car was not sealed well when it was sitting.
so i cut out all the rot and started forming up new metal. luckily i didn't use the new inner rocker panel on the passenger's side and the tip of that fit just right so i cut it off and used it as it had that bend in it already. but when i cut it off.....it curved a bit....so that is why i split it into section and welded it on straight. its not perfect and it will look better when i'm done. it should be functional is all that matters. Attach file: (88.22 KB)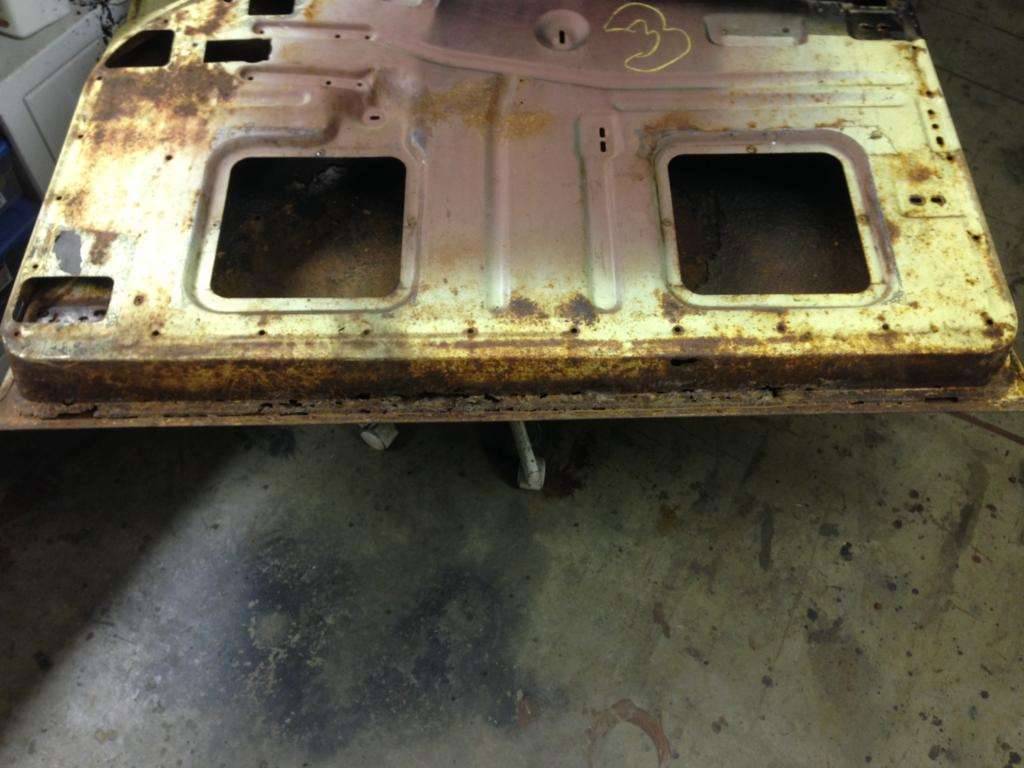 (101.79 KB) (101.79 KB)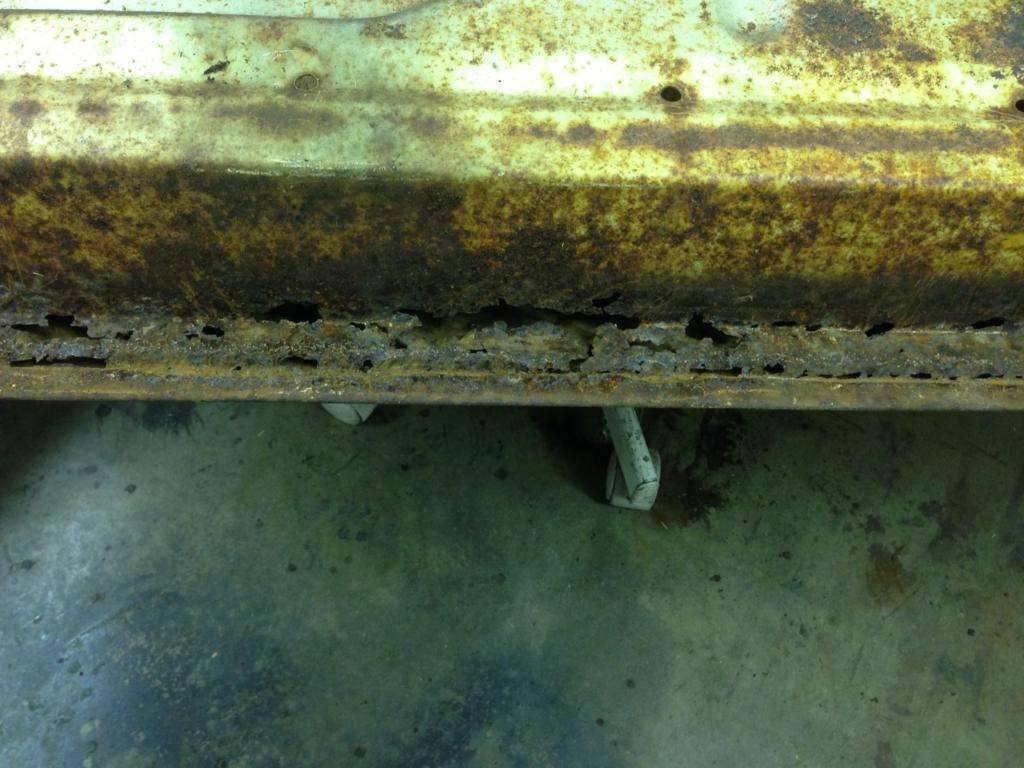 (84.87 KB) (84.87 KB)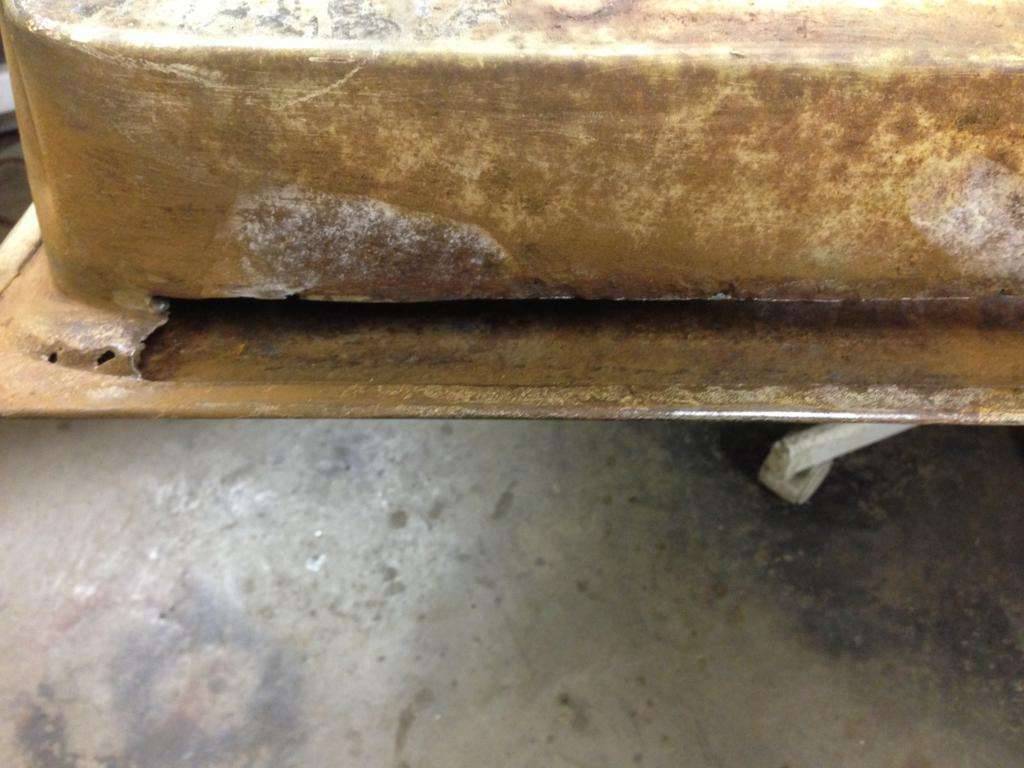 (84.66 KB) (84.66 KB)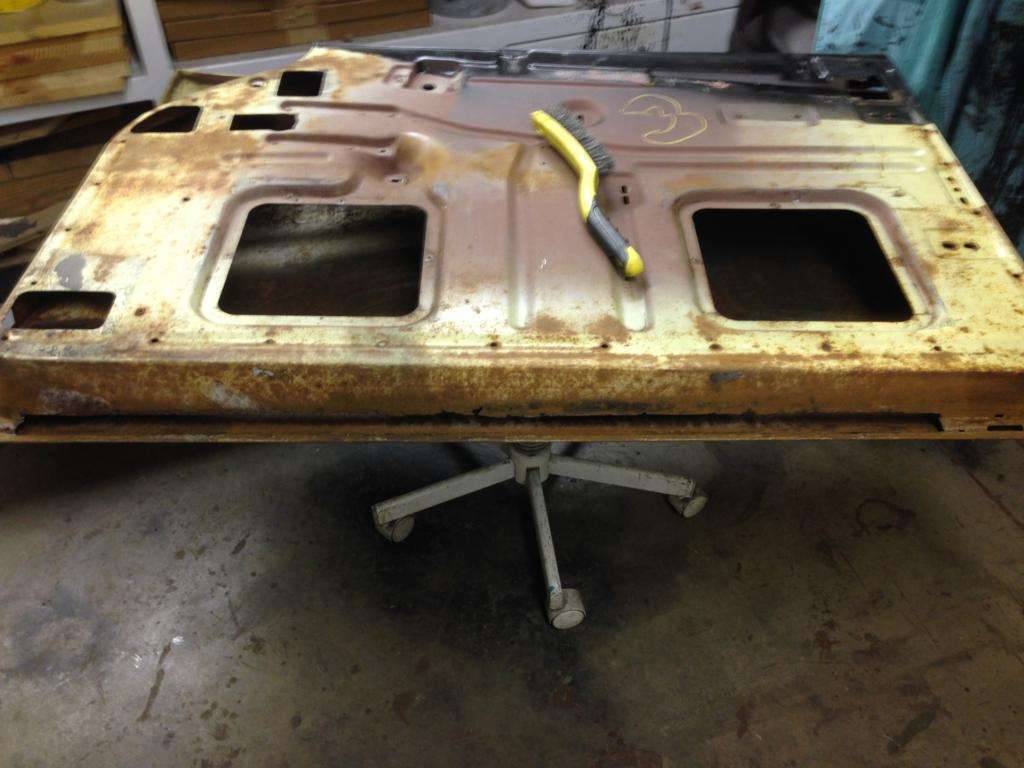 (86.92 KB) (86.92 KB)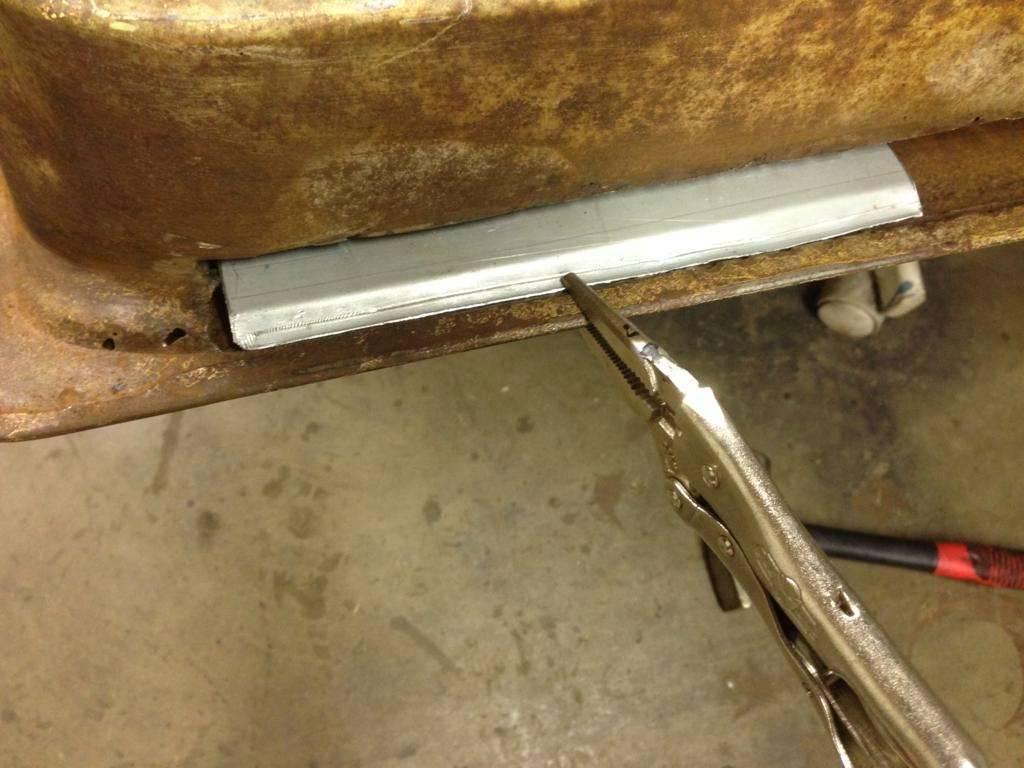 (100.43 KB) (100.43 KB) (78.85 KB) (78.85 KB) (107.65 KB) (107.65 KB)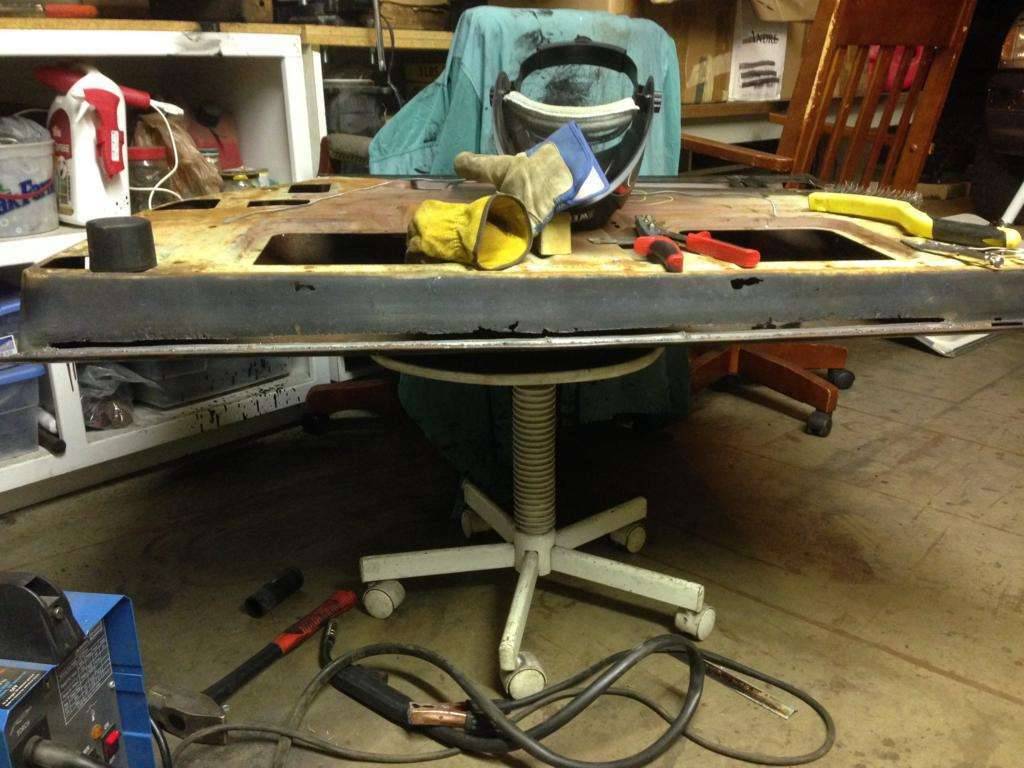 (83.56 KB) (83.56 KB)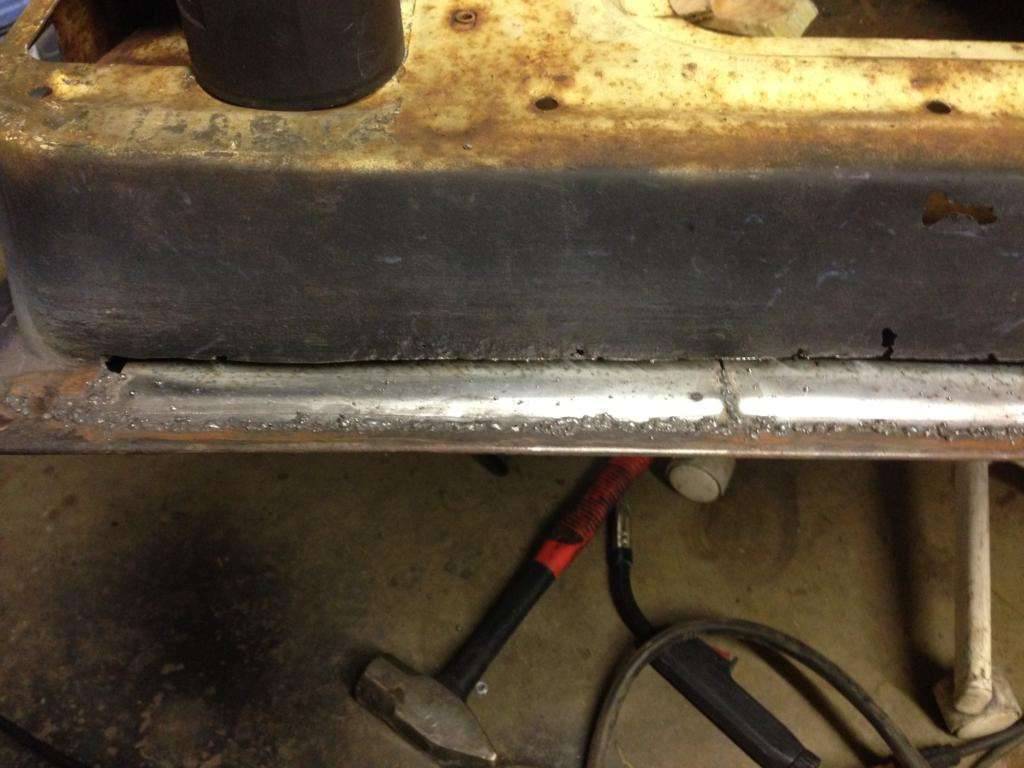 (86.01 KB) (86.01 KB)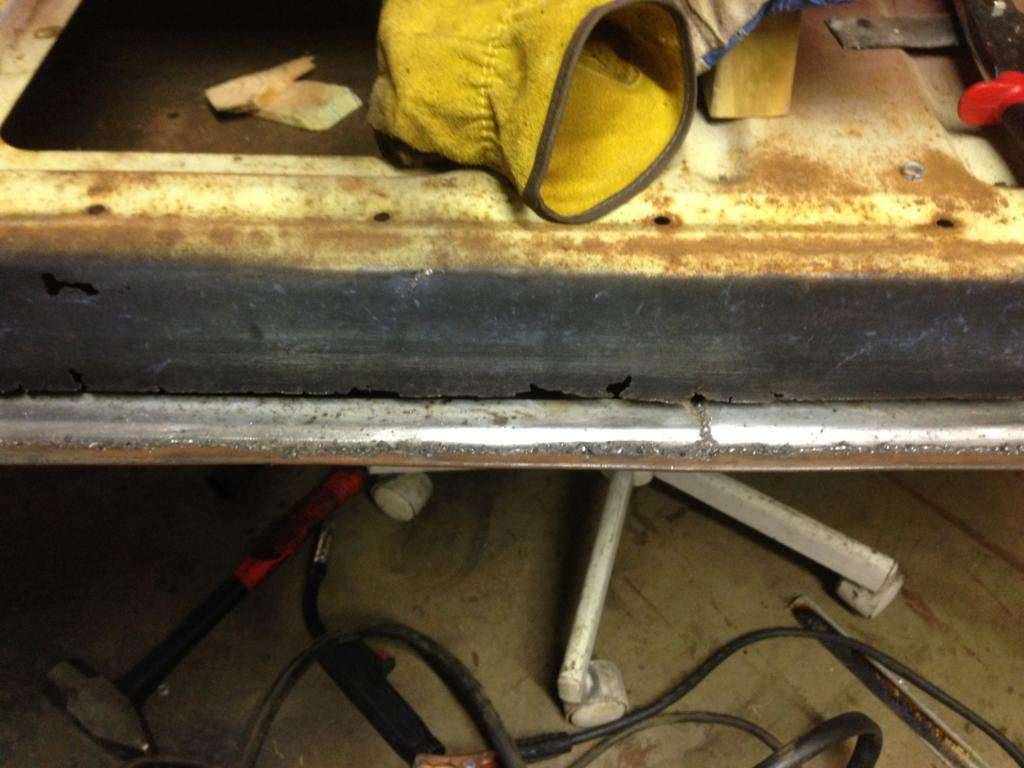 (87.55 KB) (87.55 KB)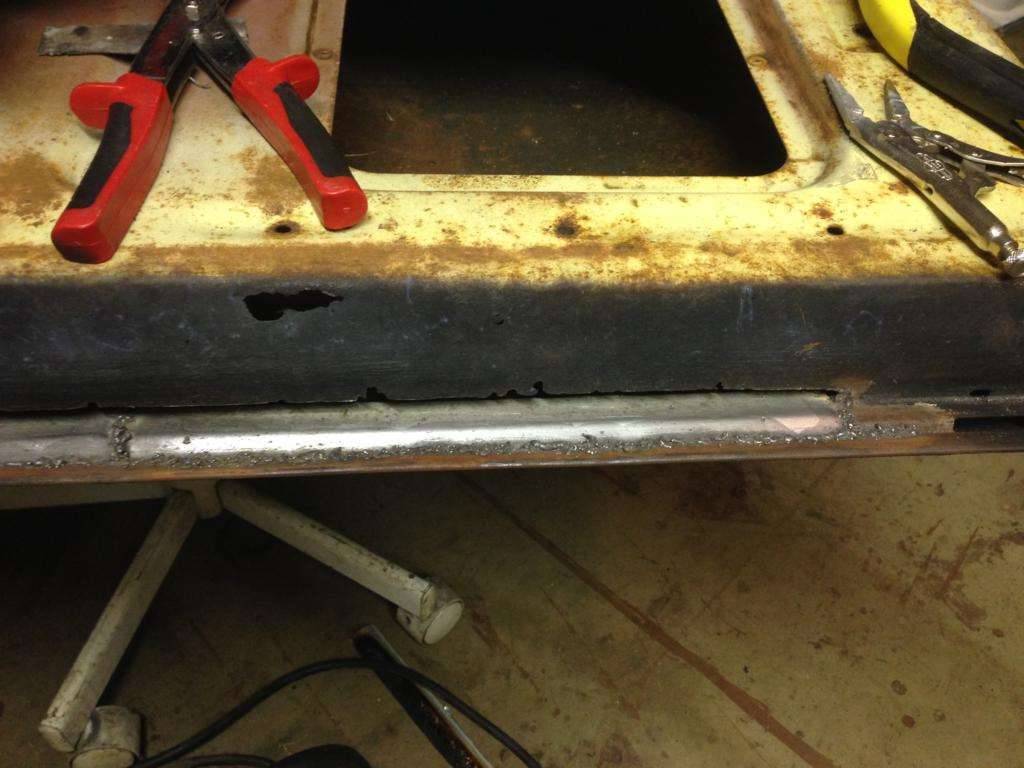
Posted on: 2013/10/25 13:44
|
|||
|
1937 Packard 138-CD Deluxe Touring Limousine
Maroon/Black 1090-1021 [url=https://packardinfo.com/xoops/html/modules/registry/View.php?ID=232]1955 Packard |
||||
|
||||

|
Re: Henry's 55 Constellation
|
||||
|---|---|---|---|---|
|
Forum Ambassador
|
only normal amount of dirt inside. holes were not plugged. must just be from years and years of sitting in the elements with water leaking into the inside.
i plan to put back the slot for drainage. you can see the original one i left. i also have to drill out the slots for the weatherstripping to plug into. the driver's side door was perfectly fine. no rot or rust at all. the passenger's side on this car did not fair well. also if anyone asks. i have no idea what the 3 is for.
Posted on: 2013/10/25 14:43
|
|||
|
1937 Packard 138-CD Deluxe Touring Limousine
Maroon/Black 1090-1021 [url=https://packardinfo.com/xoops/html/modules/registry/View.php?ID=232]1955 Packard |
||||
|
||||


