|
Re: Ken's 1937 115C Touring Sedan
|
||||
|---|---|---|---|---|
|
Home away from home
|
More work done, but as is usual, it is two steps forward and one step back.
I was installing new valve guides. I have two tools- one that goes in an air hammer, and one that you drive in manually. The shop was only about 20F today, so I didn't buy any dry ice. I did put the guides in the freezer last night. Used a wire wheel to clean off the new guide, applied some anti-seize, and hit it with the air hammer. Exhaust- slid right in. A couple I had to finish off with the hand tools, but for the most part, they went in pretty easily. Intake, not so much. It would only just start with the air hammer. Once I switched to hand tools, they initially went ok, but with about half an inch to go, each guide bound up. You could hear the tone of the hammer change and everything. I broke three before I gave it up as a bad job. I will try dry ice once I get some new valve guides and a new driver. The head studs that are I broke off are also stuck. I haven't broke an EZ out off in the stud yet, but it's been close. I've tried heat, oil, wax, all with no joy. My machine shop can get them out. I'm not excited about giving up, but that may be the route I take.
Posted on: 2014/12/30 22:41
|
|||
|
1937 120 1092 - Original survivor for driving and continued preservation.
https://packardinfo.com/xoops/html/modules/newbb/viewtopic.php?topic_id=16514&forum=10 1937 115 1082 - Total basket case, partial restoration, sold Hershey 2015 https://packardinfo.com/xoops/html/modules/newbb/viewtopic.php?start=0&topic_id=6550&order=ASC&status=&mode=0 |
||||
|
||||
|
Re: Ken's 1937 115C Touring Sedan
|
||||
|---|---|---|---|---|
|
Home away from home
|
I fixed the crack in the block today, using stitch pins from Lock-N-Stitch. It went very well- I laid out all of my tools ahead of time and was able to fix a 4.5" crack in 2.5 hours, including time for shop clean up. I used 31 pins.
A few lessons learned- doing the production line technique is the way to go. I didn't feel like springing $130 for the precision drill guide, so I made a series of overlapping holes by outlining holes using a drill sizer (7/32" diameter for the pins I was using) and then center punched and drilled every third hole. Then I spot faced \the holes, tapped them, installed the pins, and ground them flat. I initially used a grinding wheel in my angle grinder, but this was too easy to chew up the block with, so I switched to a flap wheel. After the first series was done, I went back and did the whole process 2 more times. It is key to only drill into one side of an installed pin, hence the three part series instead of two. The instructions also said to leave a little material from each pin above the parent metal until the very end to be able to locate each pin, but I blended immediately so the drill stop on my spot facer did not need to be continually re-adjusted. I found the pins and cast iron to be different enough that I could still see each pin. I used a cordless drill for the spot facer. Its max RPM in low range is 300 RPM, which was just right for the spot facer. Finished off with the needle scaler, and it's done! The repaired spot is slightly concave- I'm not sure if I hammered the crack back together too hard prior to repairing, or if the needle scaler pushed it in slightly. I threw a quick thin layer of paint on, just to see how it would look. I do have some more needle scaling to do, as the repaired area is still smoother than the rest of the casting, but it is repaired. Once I get the new valve guides installed and the cylinders honed, it is off to the machine shop. Attach file:  (68.00 KB) (68.00 KB)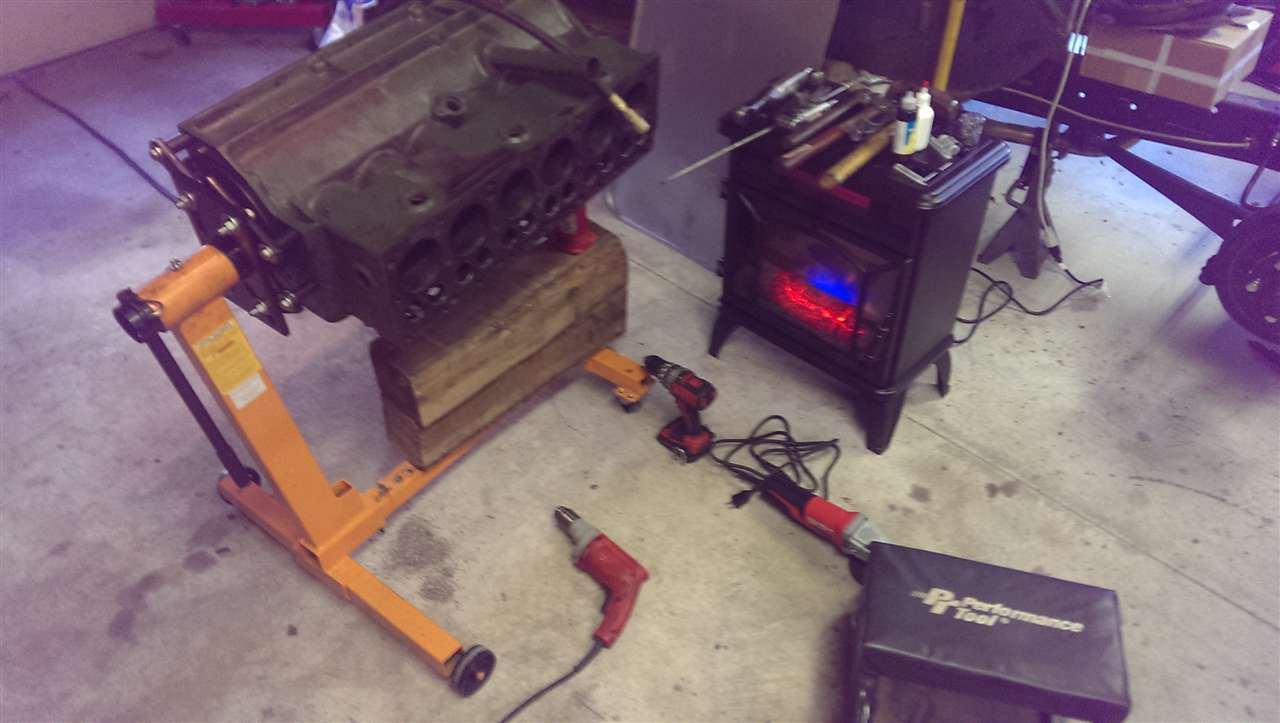 (56.49 KB) (56.49 KB)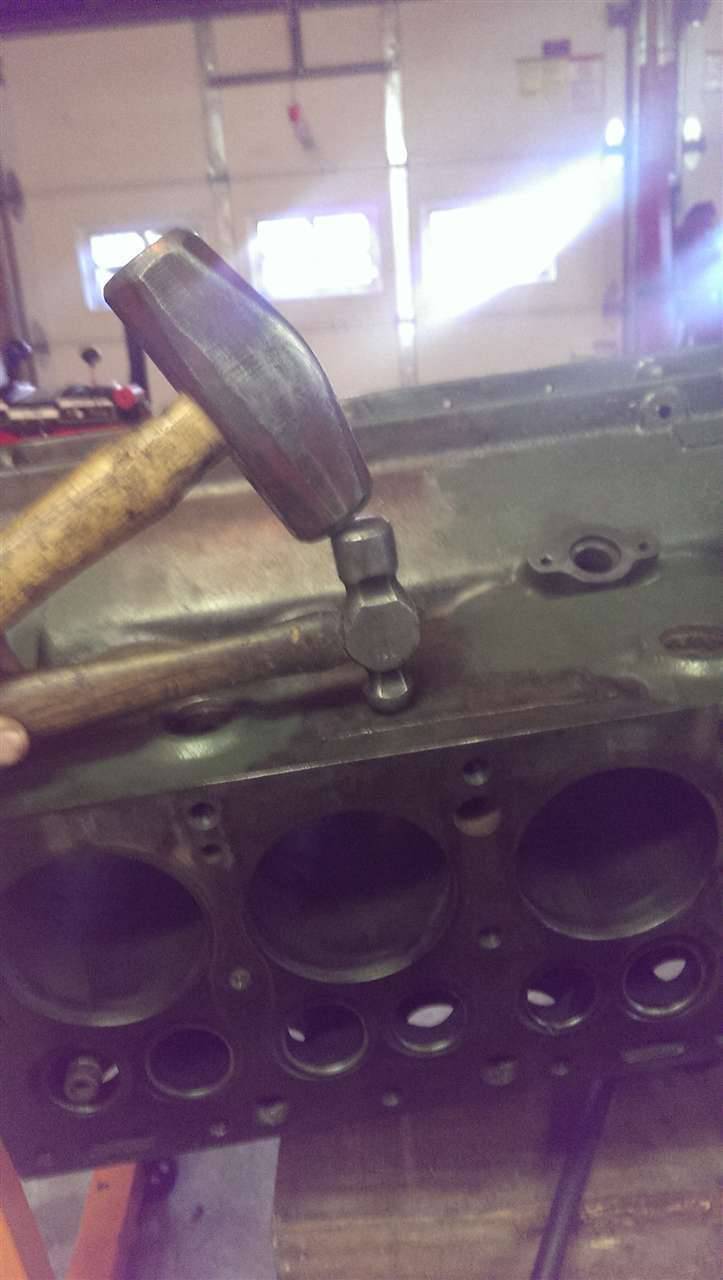 (67.17 KB) (67.17 KB)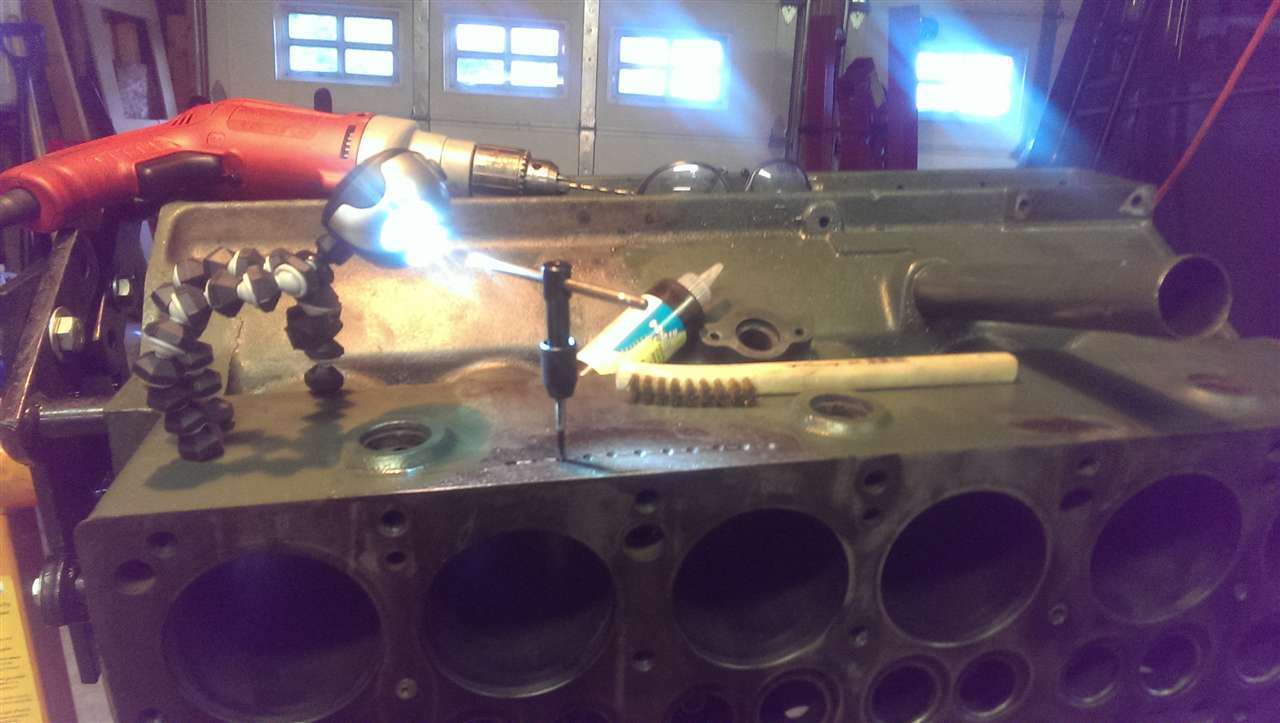 (52.83 KB) (52.83 KB)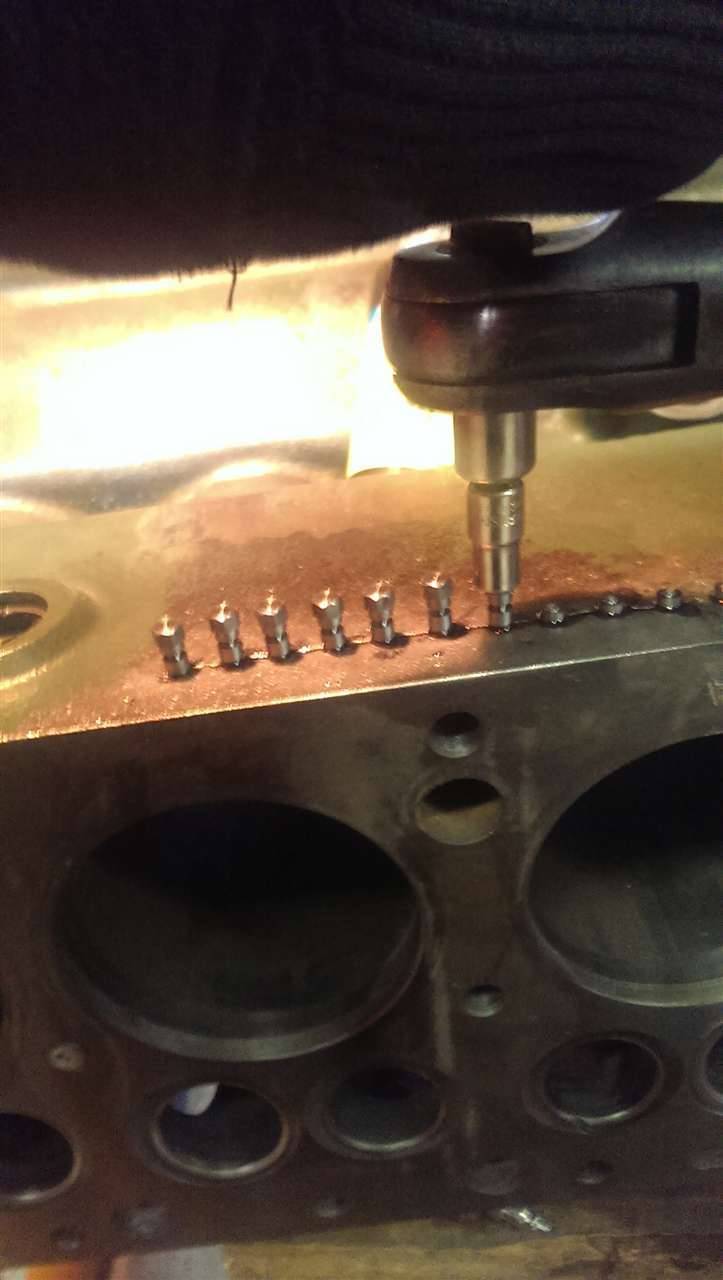 (62.04 KB) (62.04 KB)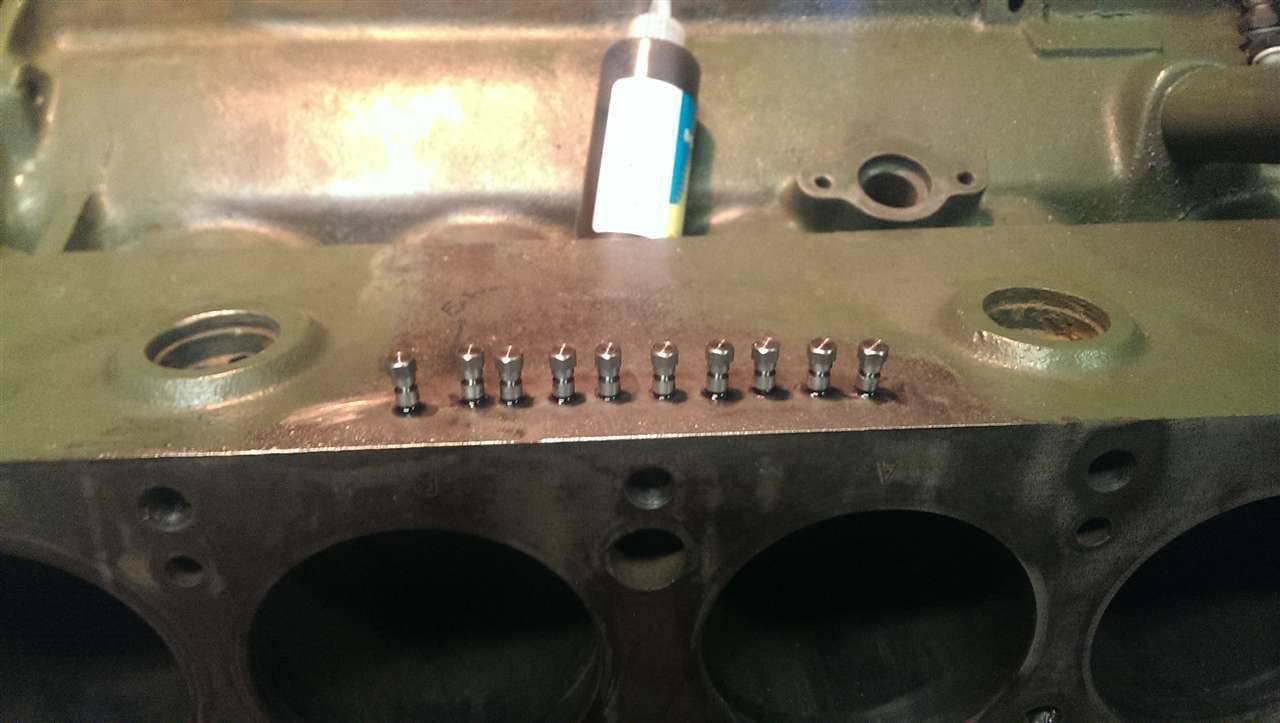 (70.64 KB) (70.64 KB)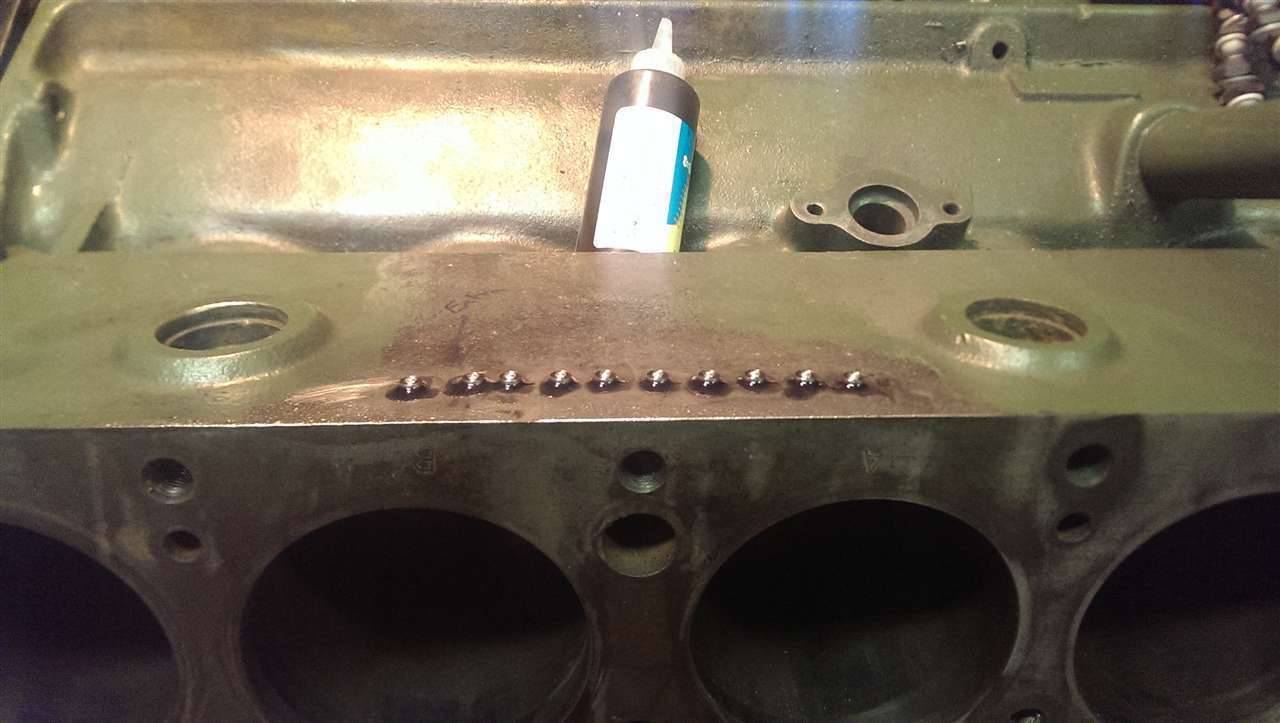 (62.38 KB) (62.38 KB) (55.11 KB) (55.11 KB)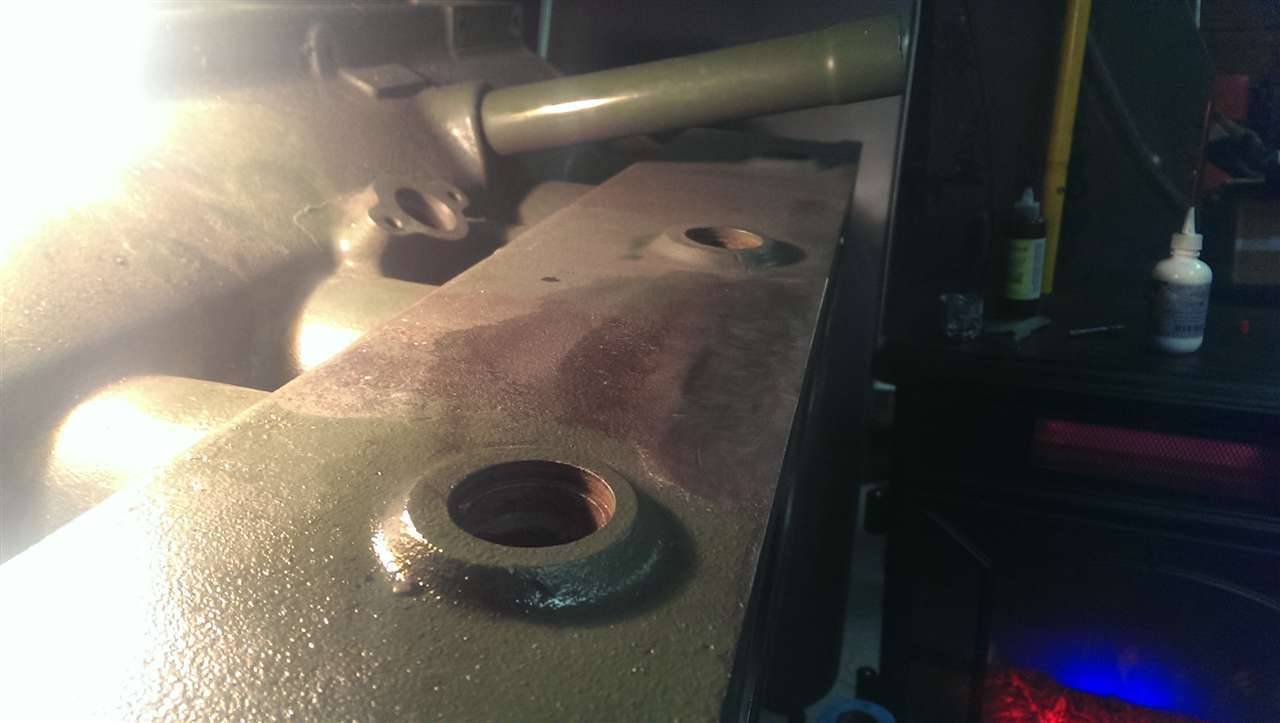 (55.70 KB) (55.70 KB)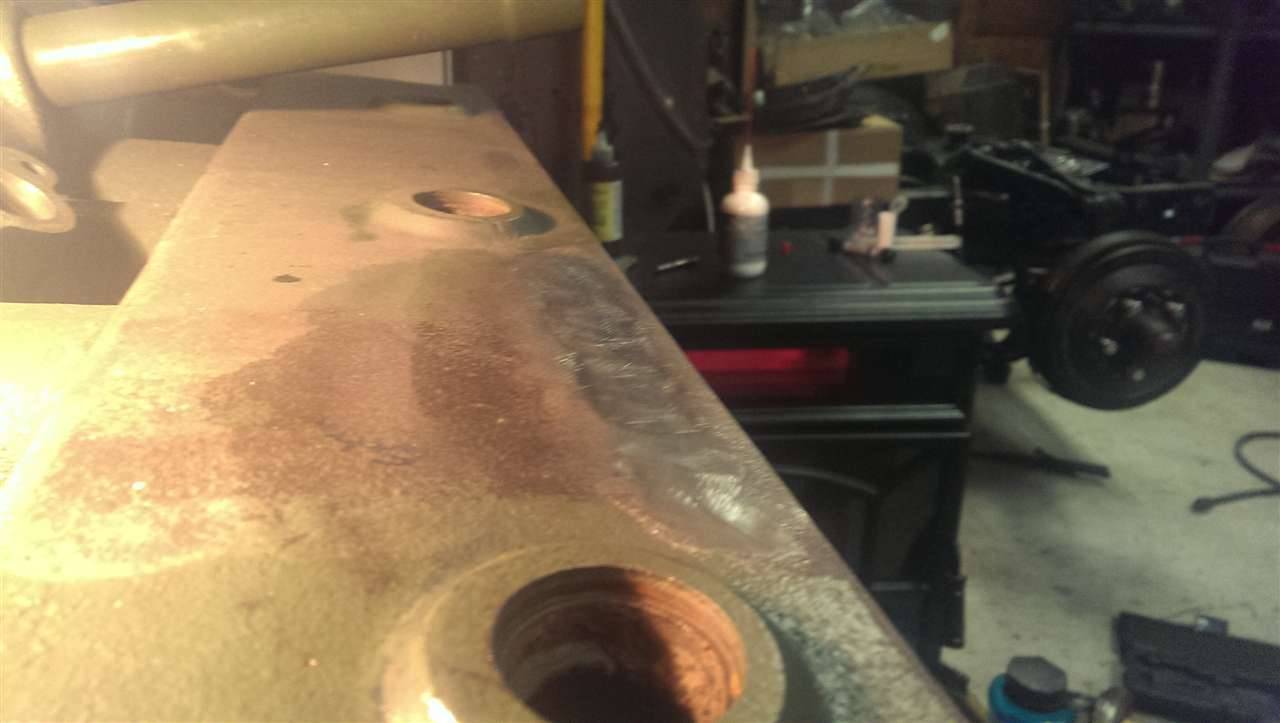 (76.47 KB) (76.47 KB)
Posted on: 2014/12/31 20:40
|
|||
|
1937 120 1092 - Original survivor for driving and continued preservation.
https://packardinfo.com/xoops/html/modules/newbb/viewtopic.php?topic_id=16514&forum=10 1937 115 1082 - Total basket case, partial restoration, sold Hershey 2015 https://packardinfo.com/xoops/html/modules/newbb/viewtopic.php?start=0&topic_id=6550&order=ASC&status=&mode=0 |
||||
|
||||
|
Re: Ken's 1937 115C Touring Sedan
|
||||
|---|---|---|---|---|
|
Home away from home
|
Finally tracked down some dry ice, and attempted to install my intake valve guides. After being packed in dry ice for a few hours, I attempted to install the guides. No joy. They wouldn't even start into the hole. So, I took an inside micrometer and measured the hole- 0.625" plus or minus a few thousandths. All but one of my valve guides measured out at 0.650-0.653. I had one that measured about 0.626 after sitting in dry ice. A little anti-seize to prevent galling and it slid right in.
Maybe I have senior valve guides, because it looks like all of the junior Packard engines of that era take the same valve guide, according to the parts book (same number for all junior models, different number for senior). Does anyone have the outside diameter of intake valve guides for the junior vs. the senior engines from around 1937?
Posted on: 2015/1/22 21:25
|
|||
|
1937 120 1092 - Original survivor for driving and continued preservation.
https://packardinfo.com/xoops/html/modules/newbb/viewtopic.php?topic_id=16514&forum=10 1937 115 1082 - Total basket case, partial restoration, sold Hershey 2015 https://packardinfo.com/xoops/html/modules/newbb/viewtopic.php?start=0&topic_id=6550&order=ASC&status=&mode=0 |
||||
|
||||
|
Re: Ken's 1937 115C Touring Sedan
|
||||
|---|---|---|---|---|
|
Home away from home
|
Got the right valve guides, a little dry ice, and they slid right in. So, I think 5-ish months after starting my "simple" ring and valve job, the block, crank, and flywheel are at the machine shop. Re-assembly to start in a few weeks, or when I can feel my fingers in the garage, whichever comes later. Based on the 16" of snow we got today, I suspect it may be the latter!
Any preferences out there on assembly lube when putting bearings in? I was planning on using Permatex Ultra Slick, because I've never had bad luck with one of their products, but I thought I would ask. I also got my gas tank back today after having it Renu-ed. Wow! Looks incredible, and has a lifetime warranty. I dropped off my radiator to be boiled out. The shop is very experienced with antique radiators, and I told them about 37 times not to pressurize, so we'll see how it goes. They did do a great job on my gas tank. North Country Radiator in Queensbury, NY, if anyone in upstate New York is looking for radiator work. EDIT: I went back and looked at the archives, and it has only been a little over 4 months since I dove into this project. Definitely looking forward to warmer weather though!
Posted on: 2015/2/2 22:23
|
|||
|
1937 120 1092 - Original survivor for driving and continued preservation.
https://packardinfo.com/xoops/html/modules/newbb/viewtopic.php?topic_id=16514&forum=10 1937 115 1082 - Total basket case, partial restoration, sold Hershey 2015 https://packardinfo.com/xoops/html/modules/newbb/viewtopic.php?start=0&topic_id=6550&order=ASC&status=&mode=0 |
||||
|
||||
|
Re: Ken's 1937 115C Touring Sedan
|
||||
|---|---|---|---|---|
|
Home away from home
|
Looks like you did an excellent job.
Wes
Posted on: 2015/2/9 1:54
|
|||
|
||||
|
Re: Ken's 1937 115C Touring Sedan
|
||||
|---|---|---|---|---|
|
Home away from home
|
Wesley, thanks! I was really surprised how easy it was. The tooling wasn't cheap, but it was durable, and cast iron is easy, easy, easy to work.
The engine will be back from the machine shop in a few days, and then I'll start re-assembly, limited by temperature. It's been cold the last few weeks.
Posted on: 2015/2/17 22:16
|
|||
|
1937 120 1092 - Original survivor for driving and continued preservation.
https://packardinfo.com/xoops/html/modules/newbb/viewtopic.php?topic_id=16514&forum=10 1937 115 1082 - Total basket case, partial restoration, sold Hershey 2015 https://packardinfo.com/xoops/html/modules/newbb/viewtopic.php?start=0&topic_id=6550&order=ASC&status=&mode=0 |
||||
|
||||
|
Re: Ken's 1937 115C Touring Sedan
|
||||
|---|---|---|---|---|
|
Home away from home
|
Well, the machine work took a little longer than expected, but it should all go back together pretty nicely, once it warms up a bit.
After I repaired the crack and honed the cylinders, the machine shop installed hardened valve seats, ground the valves, decked the block (about 0.001 removed), and polished the crank. After cleaning and magna-fluxing the block, the machinist found two more smaller freeze cracks. Neither of them leaked before the block was cleaned, so I am on the fence about fully fixing them. The stitching pins I used before have unique spiral threads that pull the surrounding metal together instead of pushing the parent material apart, so I am thinking I could put one pin in each end to stop the crack from spreading and call it a day. Any experts on piston knurling out there? I would like to knurl the skirts on mine, but I understand it's more of an art than a science, so I'm not really interested in trying it myself after spending money on the machine work.
Posted on: 2015/3/1 17:13
|
|||
|
1937 120 1092 - Original survivor for driving and continued preservation.
https://packardinfo.com/xoops/html/modules/newbb/viewtopic.php?topic_id=16514&forum=10 1937 115 1082 - Total basket case, partial restoration, sold Hershey 2015 https://packardinfo.com/xoops/html/modules/newbb/viewtopic.php?start=0&topic_id=6550&order=ASC&status=&mode=0 |
||||
|
||||

|
Re: Ken's 1937 115C Touring Sedan
|
||||
|---|---|---|---|---|
|
Home away from home
|
Long time since I've posted here, but for those that have seen my other posts, some work has happened. My crankshaft will need to be ground and oversized rod and main bearings fitted- looking for bearings before I go back to the machine shop. Valve train has been installed, not adjusted. The radiator and fuel tank have been re-cored and re-nu'd, respectively. Rebuilt distributor is shipping.
Once I get the crank situation resolved and decide whether or not to fit new pistons (since my ring and valve job has turned into a de facto rebuild), I should finally be able to start re-assembly. My goal is mechanical completeness and drive the car enough to break in the engine before the fall hits. Anyone have a good tire size to fit for some temporary radial rollers? My plan is to find some cheap steel wheels and skinny radial tires for my temporary running this summer, and then I can refinsh the stock wheels, add hub caps, and bias ply (or radial) white walls once the body work is done. I promised my wife WWWs but I don't want to buy them until the car is more or less done. I also don't want to put 500 miles on my current dry-rotted rollers. 215/85R16s is the closest estimate I have been able to come up with.
Posted on: 2015/4/28 21:41
|
|||
|
1937 120 1092 - Original survivor for driving and continued preservation.
https://packardinfo.com/xoops/html/modules/newbb/viewtopic.php?topic_id=16514&forum=10 1937 115 1082 - Total basket case, partial restoration, sold Hershey 2015 https://packardinfo.com/xoops/html/modules/newbb/viewtopic.php?start=0&topic_id=6550&order=ASC&status=&mode=0 |
||||
|
||||
|
Re: Ken's 1937 115C Touring Sedan
|
||||
|---|---|---|---|---|
|
Forum Ambassador

|
More likely than not, the 215/85 will be too tall for the front. I will double check, but I believe I am running 225/75 on the front, and the /85's on the rear of my 115c. Best to make friends with the guys at the local tire shops, you might score some take-offs with decent tread for cheap, especially two at a time.
Posted on: 2015/4/28 22:32
|
|||
|
||||


