|
Re: Tom's '31 Restoration (WD40 mess)
|
||||
|---|---|---|---|---|
|
Home away from home

|
Not sure if I mention this but back in December when I received the car back from the body shop it was bare steel so it was recommended that I should spray the car down with WD40. O what a bad idea it still flashed rusted in spots and boy what a pain it was to get off. So here is a tip I received from a paint forum I frequent.
Tip for removal of WD40 Try cup of water Cup of alcohol 1/4 cup of ammonia (optional if you have) Wipe on and whip off with a different rag. I could not find any alcohol at Menard's yesterday but they did have ammonia. So yesterday I spent a good portion of the day with bucket of very hot water and a few cups of the ammonia, wash met and some old rags for drying. It sure was a workout but it worked out really well. Today I pulled out the DA and went to town sanding a panel at a time and then did each panel with metal ready because it was flash rusting on me. I know before I do any epoxy priming I will need to DA each panel again wipe it down with some lacquer thinner and then some wax/grease remover. Tack it and I should be good to go spraying the epoxy. RIGHT?????
Posted on: 2007/4/1 21:50
|
|||
|
||||
|
Re: Need info on 55 Clipper
|
||||
|---|---|---|---|---|
|
Not too shy to talk
|
Just a quick update: after waiting months I got me Packard home. I stopped on the way home at a car wash and cleaned the 20+ years of dirt off her. I cleaned out the inside two bags of trash. When I cleaned outthe trunk I found a set of fender skrits. Now I have two sets. I did get it to crank over. I do have some questions for you guys. Could someone explain when to use the drive "D" high and low? Also the +ground my car had a battery in it hooked up +positive. What else should I look for to make sure its changed over from +ground?
Attach file:  (24.24 KB) (24.24 KB)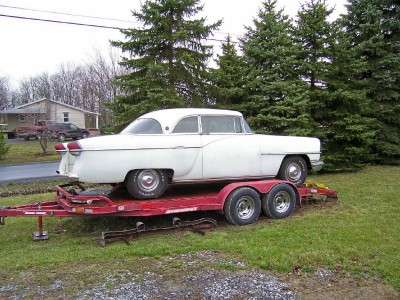
Posted on: 2007/4/1 21:40
|
|||
|
||||
|
Re: NEW 2007 PACKARD
|
||||
|---|---|---|---|---|
|
Forum Ambassador

|
Sirrah!
You have obviously stolen your concept for these new Packards from the one and only example of the 1956 Patrician Twelve Prototype (attached) that was kept under wraps during the last days in the bunker at East Grand, but has secretly been in my possession for some time now. I demand you surrender these cheap knock-offs to me at once - and then say that your sorry, with sugar on it, and pinkie swear that this will never happen again! Attach file: (14.37 KB)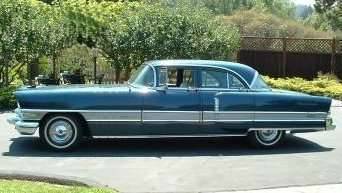
Posted on: 2007/4/1 20:52
|
|||
|
||||
|
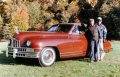
Re: NEW 2007 PACKARD
|
||||
|---|---|---|---|---|
|
Home away from home
|
Conn; here is antoher of pic of the 2007 Packard Caribbean
sitting in my garage along with some some Studebaker prototyes that I am on working for 2008 release. John F. Shireman Attach file: (26.11 KB)
Posted on: 2007/4/1 20:20
|
|||
|
||||
|
Re: Left Rear Sway Bar Support Bolt Broken Off (55 Packard 400)
|
||||
|---|---|---|---|---|
|
Home away from home

|
Keith....it snapped off because I didn't give full regard to the (52) years of rust etc. underneath and simply rushed things by not using PB blaster. I used a bigger wrench (wrong idea in retrospect), with a longer reach and learned a valuable lesson along the way!
I plan on removing the support arm from my 55 parts Patrician and doing a swap out. Today, I crawled under the parts Patrician and soaked nuts with PB Blaster and went to town using a wire brush. No mishaps thus far. I got the sway bar bushing and nut off this time without snapping things. I also loosen the 'U' bolts from the axle. I'll be replacing all bushings with a call to Steele tomorrow. Attached are some more pictures of the situation underneath my 400. Kevin Tucson Attach file: (49.43 KB)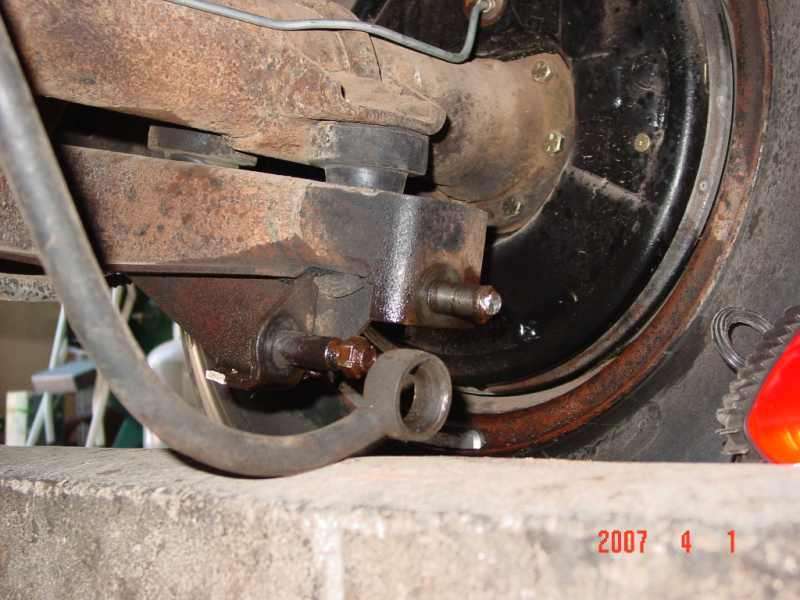 (34.12 KB) (34.12 KB) (34.55 KB) (34.55 KB)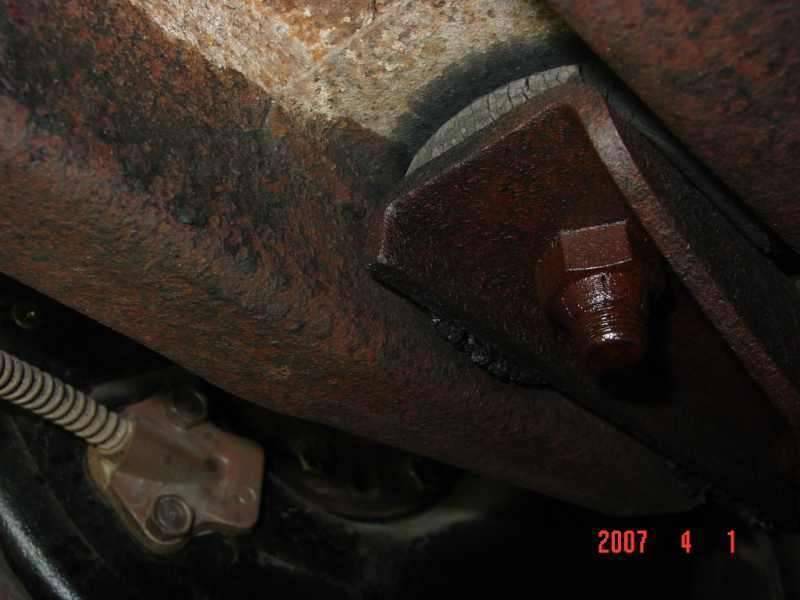 (36.99 KB) (36.99 KB)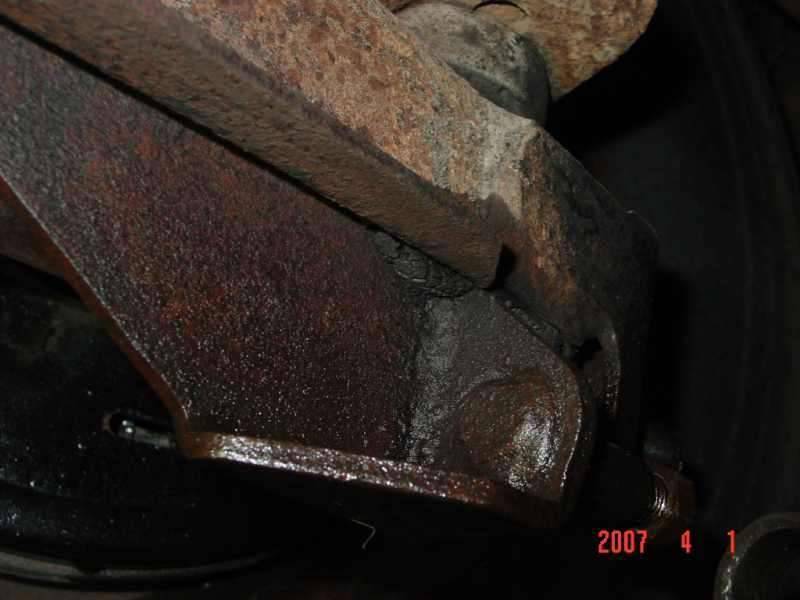 (27.49 KB) (27.49 KB)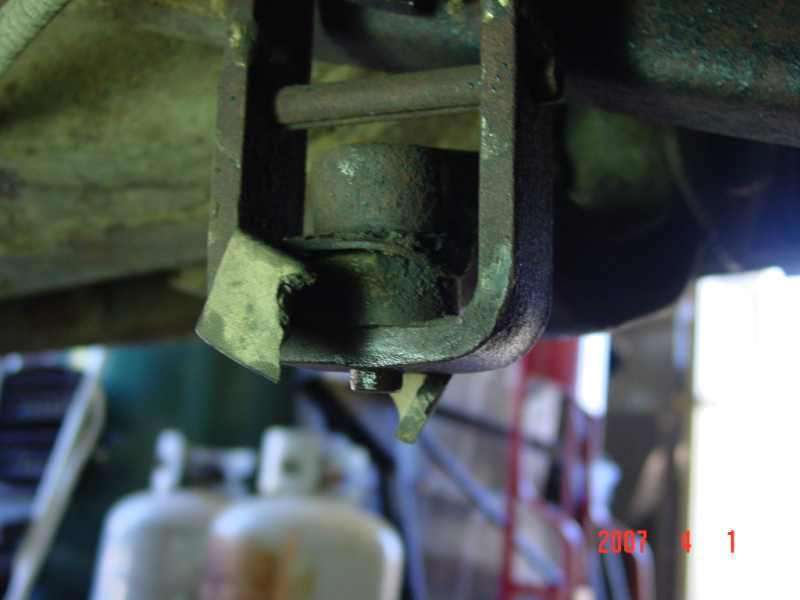 (40.72 KB) (40.72 KB)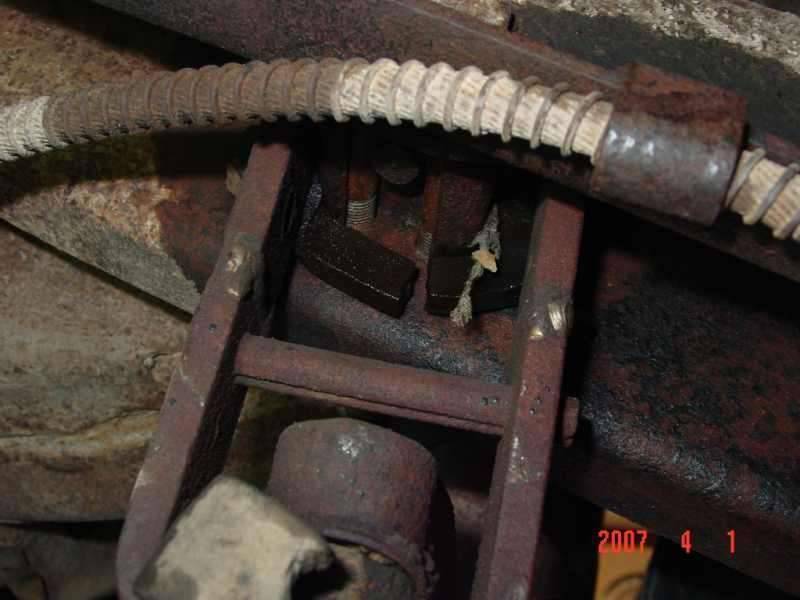 (26.44 KB) (26.44 KB)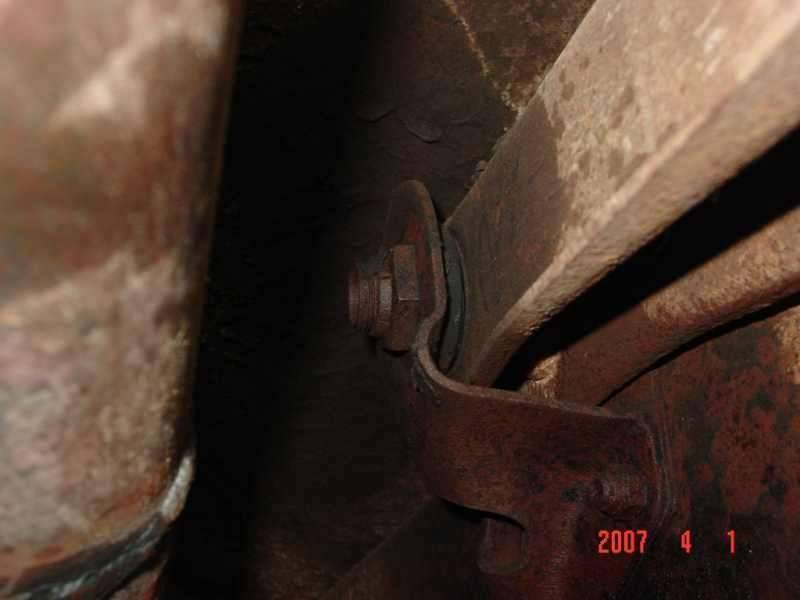
Posted on: 2007/4/1 19:45
|
|||
|
||||
|
Re: NEW 2007 PACKARD
|
||||
|---|---|---|---|---|
|
Not too shy to talk

|
HA HA It's amazing what you can do with a computer on April Fool's Day.
 My dad think's it's a British car (the license plate). am I right? My dad think's it's a British car (the license plate). am I right? 
Posted on: 2007/4/1 19:09
|
|||
|
1940 Packard 110 Touring Sedan
|
||||
|
||||
|
NEW 2007 PACKARD
|
||||
|---|---|---|---|---|
|
Home away from home
|
INTRODUCING THE NEW 2007 PACKARD
Picture number one side view taken in front on my house Picture nunber two taken at local mall, while wife was shopping. Attach file: (23.01 KB) (45.93 KB) (45.93 KB)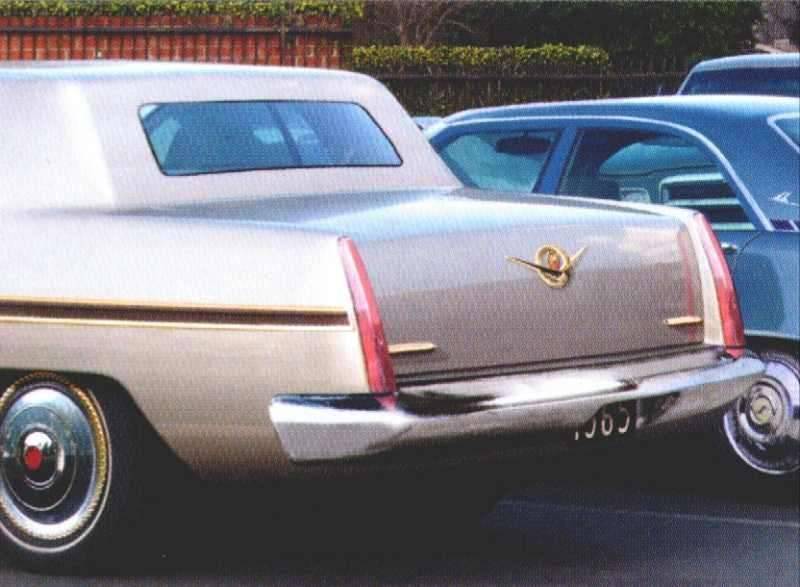
Posted on: 2007/4/1 14:55
|
|||
|
||||
|
Re: Dash bezel removal
|
||||
|---|---|---|---|---|
|
Home away from home

|
U really need the tool that Mr PB indicates. However, in liue of the tool i have used 2wo SMALL flat blade screw drivers slipped into the hex opposite of each other and turned the hex nut that way. It is a bit tedious to do so but it works.
Posted on: 2007/3/31 19:34
|
|||
|
||||
|
Re: Dash bezel removal
|
||||
|---|---|---|---|---|
|
Forum Ambassador
|
those bezels thread on to the threads on the front-pilot of the individual switch assemblies. There is a special tool required, but you can make one yourself easily. Take the knob off of the shaft of the switches you wish to remove. You will see a hexagonal shape around the shaft on the bezel. That is the "drive" for the nut holding the bezel on. Buy a 1/4" wide x1" long aluminum (hexagonal) electrical circuit board stand-off from radio shack or other electronics supplier. Drill through the length of stand-off (starting with the smaller diameter female threaded end) with a drill bit larger than the diameter of the shaft of the switch. That in essence is the tool, you can mount it in a wooden handle like a nut driver, or simply use a 1/4" wrench to turn it.
Posted on: 2007/3/31 16:13
|
|||
|
||||
|
Dash bezel removal
|
||||
|---|---|---|---|---|
|
Just popping in
|
I have a 56 Clipper and am trying to remove the bezels from around the antenna and headlight switches without scratching the chrome.
They are being stubborn. Any suggestions? Thanks, Ron
Posted on: 2007/3/31 10:31
|
|||
|
||||


