|
Re: Determine if Engine has been Rebuilt
|
||||
|---|---|---|---|---|
|
Home away from home

|
I'm assuming that you posed the question because you want to know if you should rebuild the engine. I would suggest that you could perform a compression check (both dry & oil wet). If everything looks good pressure wise then use Plastiguage to measure the clearance of the rod and main bearings. While this would not answer your question, I would provide a measure of the soundness of the engine. That is not to say that all the other components are sound or not.
Posted on: 2015/11/17 20:17
|
|||
|
||||
|
Re: FRONT WHEEL BEARING AND NUTS ON A '32 901
|
||||
|---|---|---|---|---|
|
Home away from home
|
I want to thank to everyone for responding and especially Dave for his great write up and explanation. It was pretty much what I thought, but I wasn't sure about the purpose of the hole in the outer nut and wanted to make sure that I didn't miss something.
I repaired the tab on the washer. When I put everything back together I bent the ends of the cotter pin inwards to minimize the amount of travel the out nut could back off if it loosen up. Maybe all the nuts were all made with holes and then pins were inserted on those that were on the inside. Attach file:  (29.72 KB) (29.72 KB)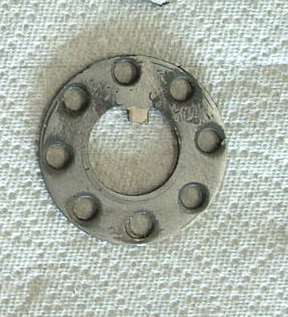 (54.29 KB) (54.29 KB)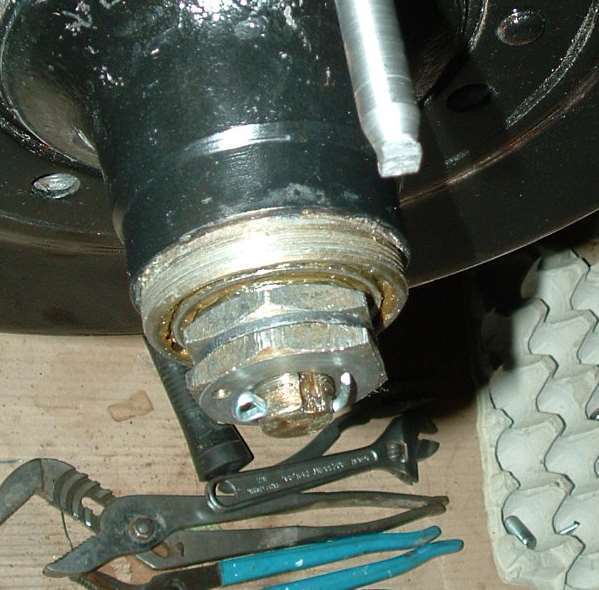
Posted on: 2015/11/5 11:14
|
|||
|
||||
|
FRONT WHEEL BEARING AND NUTS ON A '32 901
|
||||
|---|---|---|---|---|
|
Home away from home
|
Examining the nuts & washer on the front axle has me puzzling over what keeps things from becoming loose. When a cotter pin is in place, there is about 1/8" between the pin and the outside nut. Won't the washer vibrate loose and then allow the inside nut to loosen?
On Packard Paddock's site, I see there is a gap between the pin and the outside nut Attach file: (79.12 KB)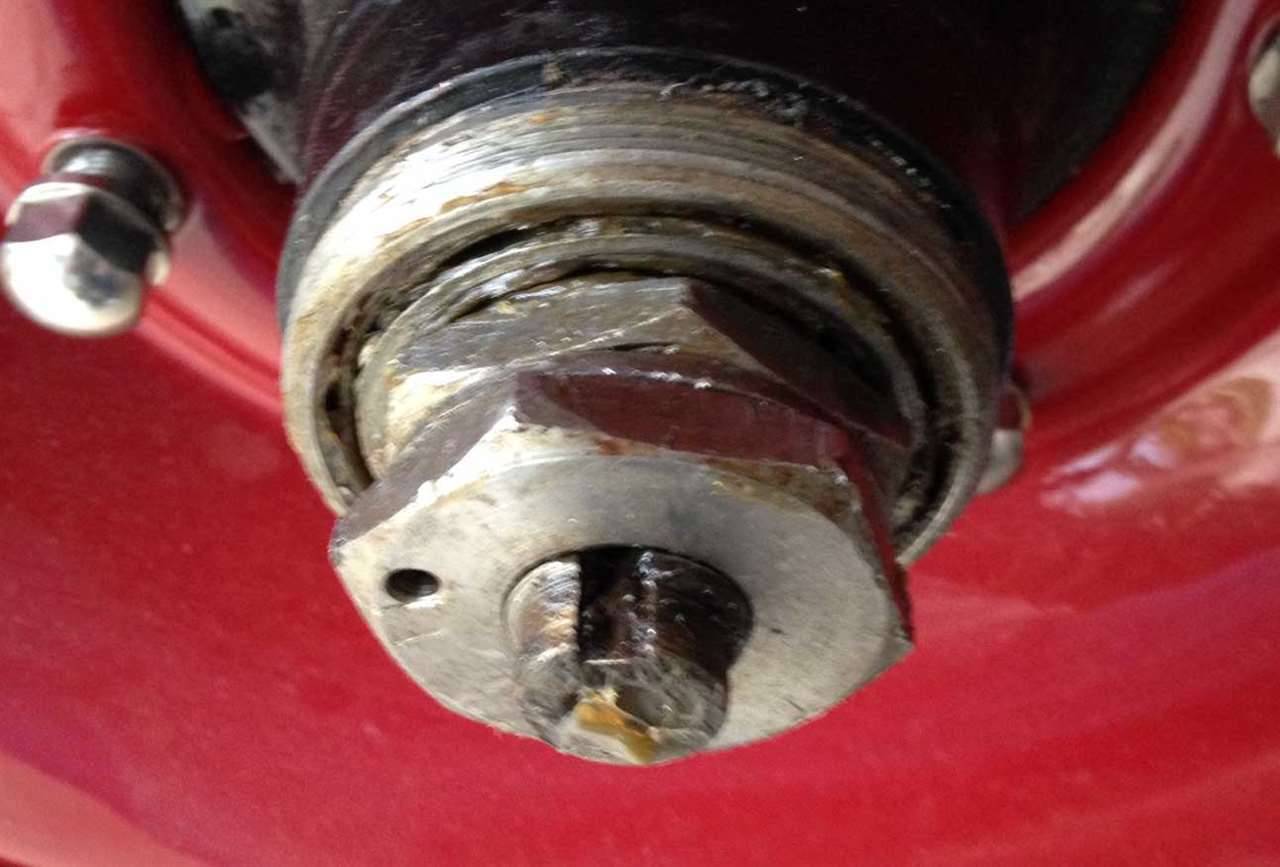 (61.32 KB) (61.32 KB)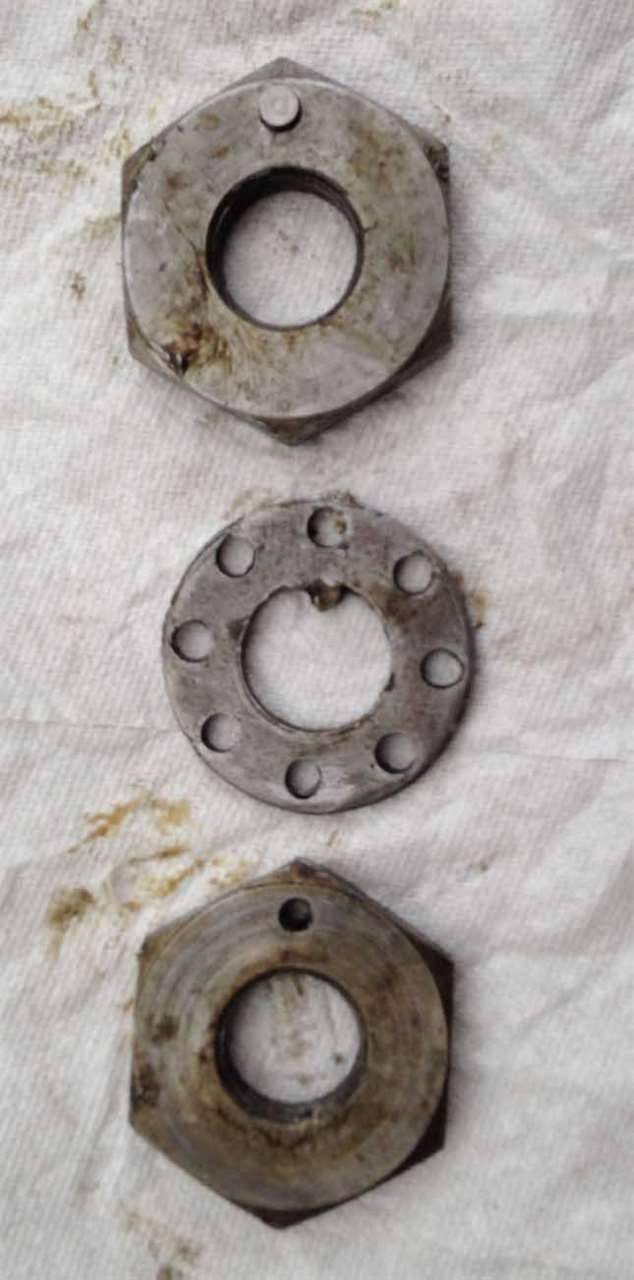
Posted on: 2015/11/2 20:04
|
|||
|
||||
|
Home away from home
|
Ross,
Do you have any pictures? Thanks
Posted on: 2015/10/27 20:40
|
|||
|
||||
|
Home away from home
|
Howard,
Loved your explanation & logic. I've replaced both rivets with the required play and just finished driving the car around the block. Once again all is well with the '51 Packard and I can continue with the '32. Thanks for the QUICK and EXPERT advice.
Posted on: 2015/10/27 16:37
|
|||
|
||||
|
Home away from home
|
One of the rivets on the throttle linkage broke. So I pulled it off thinking that all I needed to do was to put in a new rivet. To my surprise, I found the holes on the bracket that bolts to the firewall was 1/4" and the on the cross bar between the bracket and the carburetor and the small metal piece are 1/8". To help clarify the situation, the hole size on both outside pieces is 1/8" and the interior hole is 1/4". I did not find any bushing that goes in the larger hole so this would seem to indicate that the cross bar could rock up and down on the bracket. Is this what is really happening by design or am I missing something?
Attach file: (59.48 KB) (50.64 KB) (50.64 KB)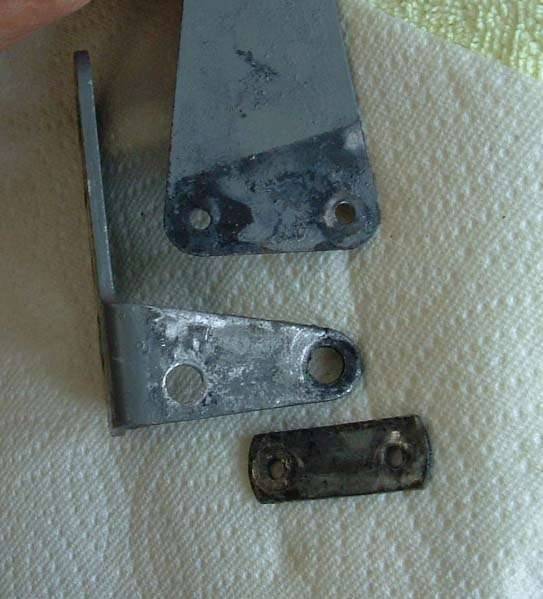
Posted on: 2015/10/27 14:22
|
|||
|
||||
|
Re: 1937 Packard 12 still not running right
|
||||
|---|---|---|---|---|
|
Home away from home
|
Great to hear that the issue is solved.
Posted on: 2015/10/19 10:04
|
|||
|
||||
|
Re: 1937 Packard 12 still not running right
|
||||
|---|---|---|---|---|
|
Home away from home
|
I remember when I had to replace the fuel pump on a '49 Chevy about 50 years go. I bought a new and installed it. Everything seemed OK except when I would get going about 50 mph it would be fuel starved. The condition started occurring at lower speeds. I then replace the pump with another new and the condition was fixed.
I think if I were try to fix the problem I would; 1) disconnect the fuel lines from the pumps & carburetor, 2) fill them with carburetor cleaner & let sit for and hours so hen flush with solvent, 3) replace any filters with new ones, 4) reconnect all of the lines except at the carburetor, 5) turn on electric pump long enough to fill and purge the lines, 6) connect a pressure gauge & measure just before the carburetor to ensure that you at least 3 psi, and 7) measure the volume pumped (refer to specs for the electric pump). If all is well then the last links in question would be the carburetor or a breakdown in the spark side of the issue. Several notes about electric pumps; 1) place close to the tank as they are designed to push not suck, 2) ensure they have a great ground, 3) place a large filter between tank and pump, & 4) don't skimp on wire size use at least 10 gauge. Good luck on solving it.
Posted on: 2015/10/18 15:05
|
|||
|
||||
|
Re: Sources for EE23 Carb bowls
|
||||
|---|---|---|---|---|
|
Home away from home
|
I don't know for sure, but zinc plating for the home enthusiast is fairly easy and does not take much of an investment.
A 6 volt battery charge for a power source. There are recipes for the solution and process on-line along with lots of information. I have a kit from Eastwood's that I have used with success. I need to add that in order to get a real shinny zinc finish is difficult, but can be achieved at home.
Posted on: 2015/10/10 9:00
|
|||
|
||||
|
Re: 33-34 bonnet door rivers
|
||||
|---|---|---|---|---|
|
Home away from home
|
Dell,
I made mine drilled. I had problems with the stub end splitting even with annealing them. Therefore after putting them I place a washer on the stub. I then put a small bead of solder the stub end to hold the washer on.
Posted on: 2015/10/8 9:14
|
|||
|
||||


