|
Re: Non-Packard Car Identification
|
||||
|---|---|---|---|---|
|
Home away from home
|
I don't think that's even a real picture. My guess is that it's just an image randomly generated by a computer using artificial intelligence.
Posted on: 7/1 0:40
|
|||
|
||||
|
Twin Ultra Drain and Refill Question
|
||||
|---|---|---|---|---|
|
Home away from home
|
According to its previous owner, my '55 Twin Ultramatic was rebuilt sometime in the past and thankfully, it operates like a well rebuilt unit. Unfortunately, I don't have access to any of the specifics of the rebuild and now that the time to refresh the fluid and clean the screen/pan has arrived I'm not sure what trans fluid to use. I'm inclined to try TrickShift Type F to attempt to quell the lock-up groaning that occurs when it's still cold but I'm concerned that it may not play nice if the friction material used in the rebuild is of a more modern material. If any of you have any thoughts, I'd love to hear them. Like I said, the tranny behaves nicely (at least as far as TwinUltras are concerned) and I'd like to keep it that way.
Also, the manual says to re-fill 11qts. of fluid and then top off using the dipstick as a gauge. For those that have done this service, how much total fluid will I need? I'm guessing that 3 gallons should do it but would rather avoid a surprise in the middle of the job. Thanks SG
Posted on: 5/2 17:40
|
|||
|
||||
|
Re: The "Packard Premium"
|
||||
|---|---|---|---|---|
|
Home away from home
|
Interesting thought as I've felt the same way at times. But I think the reality is just the result of supply and demand.
Between April 1964 and the end of the model year 1970, Ford produced over 2.5 million Mustangs. For those keeping score, that's 2.5 million cars in just six years and more than Packard produced in total. On top of that, the Mustang also shared many parts with the Falcon, Fairlane and Torino as well as their Mercury cousins. Add in all of the trucks and standard Fords and Mercs that shared powertrain components and the numbers increase exponentially. For that matter, numerous first-generation Mustang parts interchanged with Ford products all the way into the late 70's. Simply put, you have total parts production figures that simply dwarf what all of the independents produced in total. Also, having worked extensively on a '68 Mustang, I can tell you first-hand that there is a huge variation in the quality of aftermarket parts for these cars. Can you get a $30 oil pump for your small Ford? You bet. Would you want to use it in your recently rebuilt 289? Likely not. Thus far, I have yet to experience that with Packard parts. While I'm sure there are some less than stellar products floating around, I've generally felt that I've received fair quality relative to the cost paid. Since you're discussing parts for your '55, I would think that a better comparison would be with parts for a contemporary Studebaker or even Mopars of similar vintage. Their numbers were certainly greater than Packard's but neither cranked out the numbers that Ford or GM did at the time.
Posted on: 4/30 0:09
|
|||
|
||||
|
Re: 55-56 Parts not for my car
|
||||
|---|---|---|---|---|
|
Home away from home
|
Sent a PM. Thanks, Scott
Posted on: 4/13 16:20
|
|||
|
||||
|
Re: LED brake light/turn signal bar
|
||||
|---|---|---|---|---|
|
Home away from home
|
Quote:
The youtube short posted by Joe has a caption that indicates his parts came from a place called LEDlights.com. A quick trip around their site shows that both lights and 6V+ flashers are available.
Posted on: 4/11 22:24
|
|||
|
||||
|
Re: Rear axle help (54-56)
|
||||
|---|---|---|---|---|
|
Home away from home
|
I'm not sure that Autozone will have what you need. You want to find something heavy duty to remove those drums from the tapered axle shafts without damage. I used an old Blue Point puller like this:
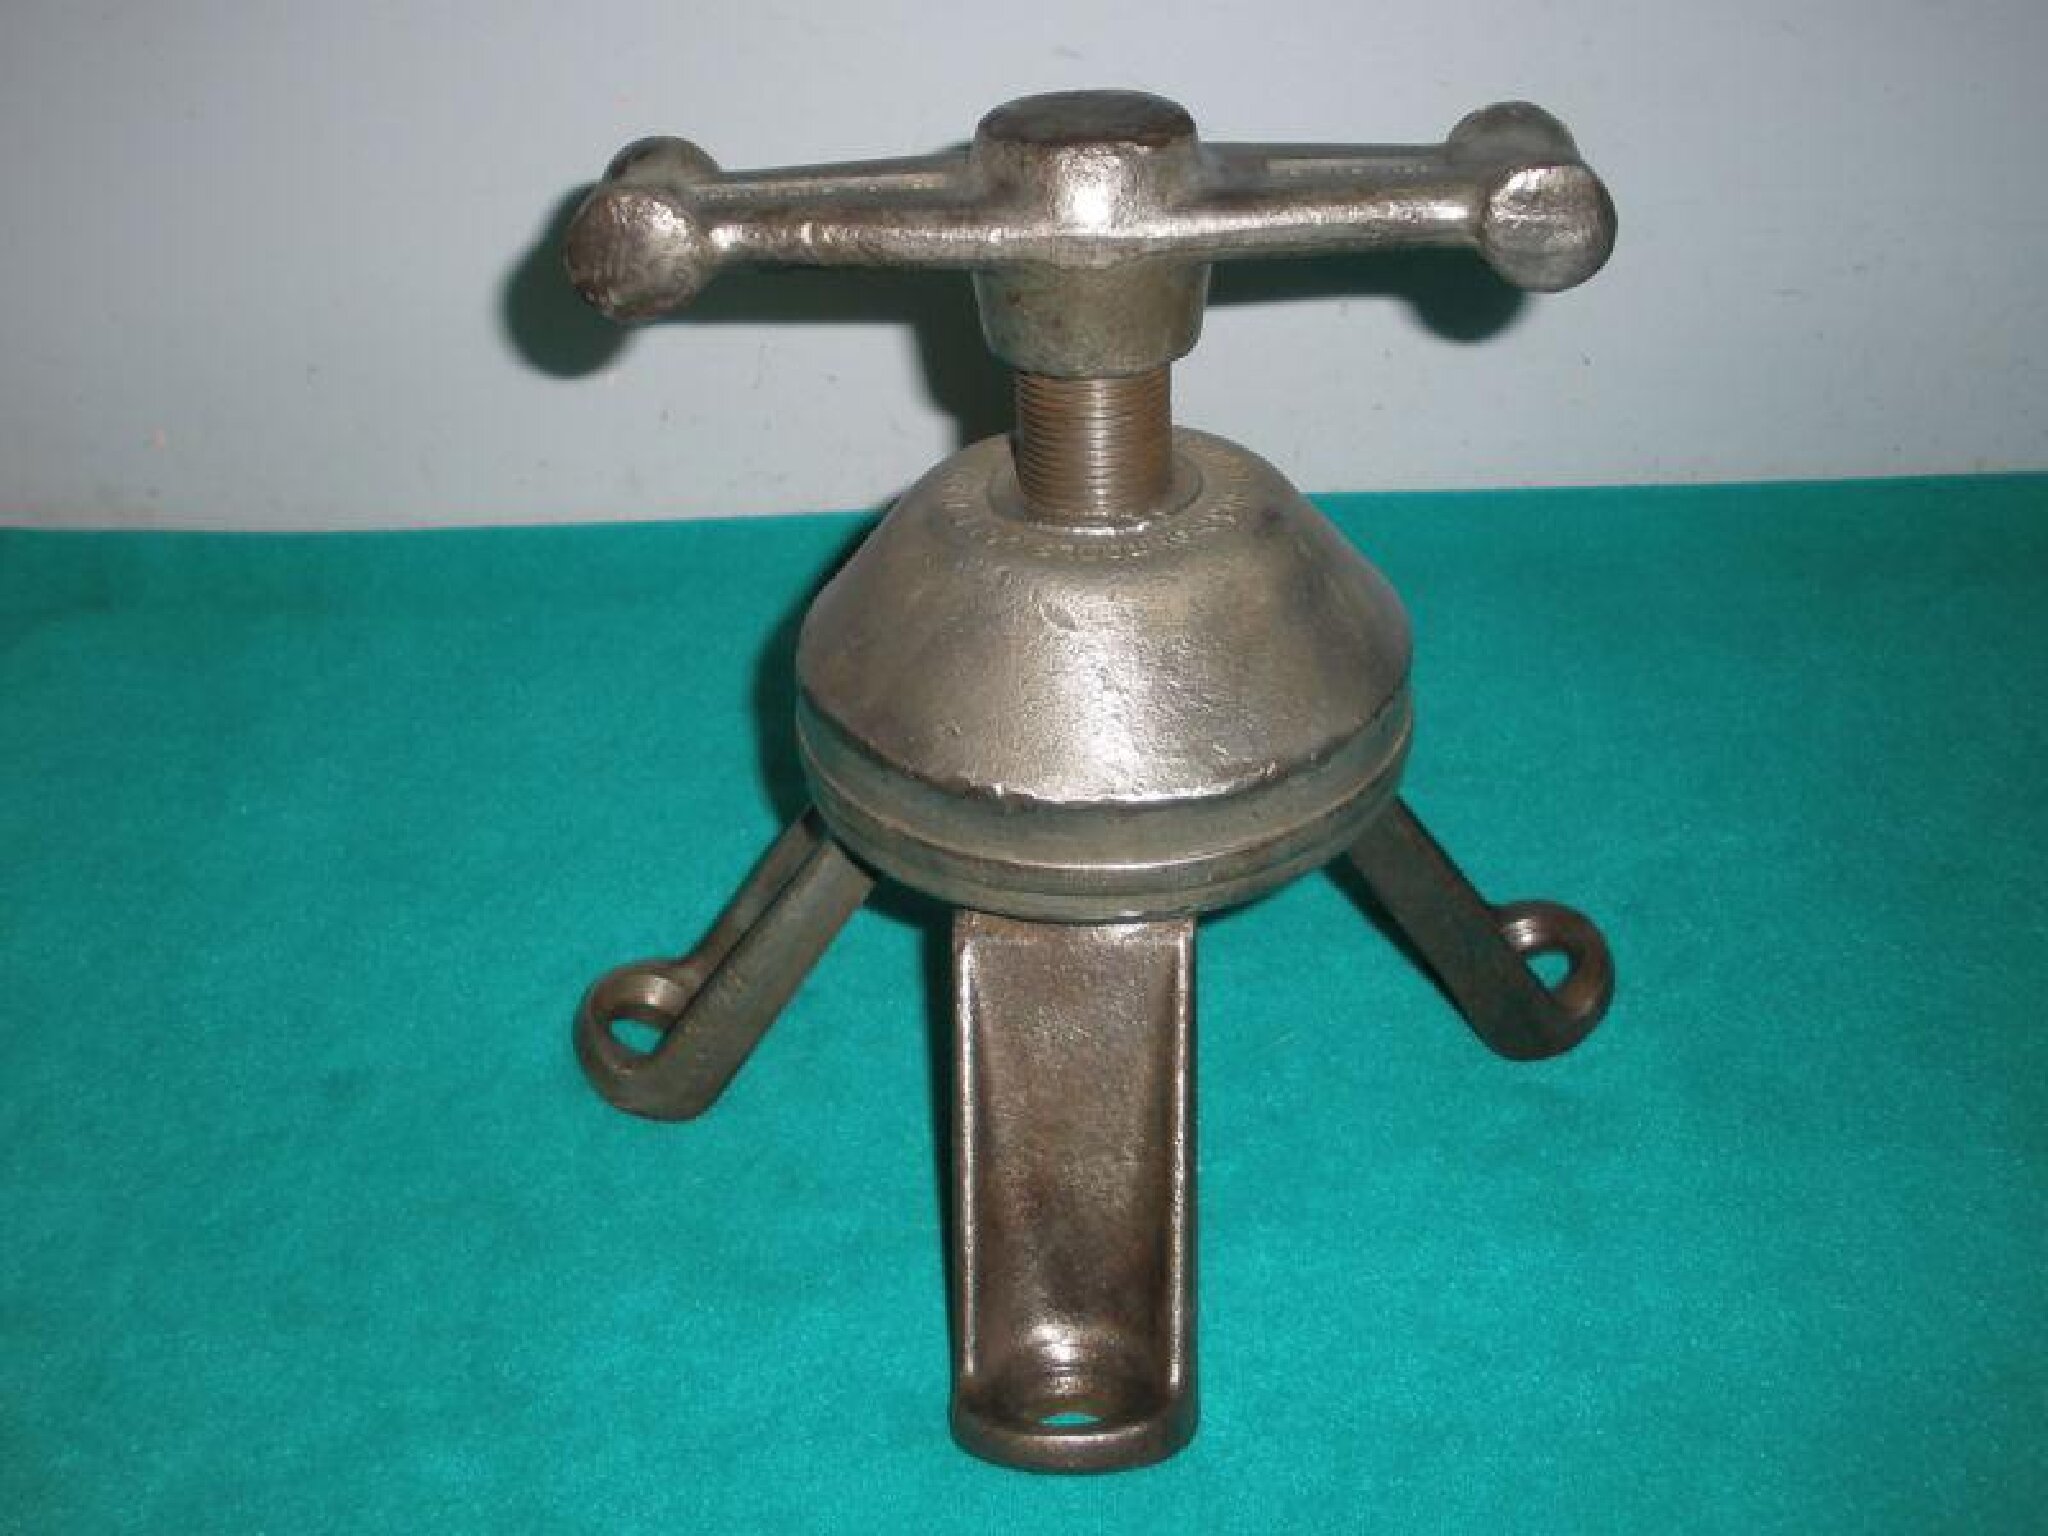 Even with the right tool it's a bear. You'll have to beat it like it owes you money. If you run into trouble (or just get tired of pounding), keep the axle nut loosely engaged on the axle threads and leave the puller under tension overnight. It will eventually let go usually with a (literal) bang. As for the centering block in the differential: if you do the job right and service only one side at a time, you'll not need to learn anything about it. If you pull both axles simultaneously it can rotate out of position and you'll learn more about it than you probably want to know. Lastly, just for future forum users, you might consider editing your thread title. The 1954-55 axles are similar in their use of tapered axles and shims. The 1956 axles are of a more contemporary design that share nothing in common with the older units and they do not require the service you are about to perform. -SG
Posted on: 3/30 20:46
|
|||
|
||||
|
Re: Rear axle help (54-56)
|
||||
|---|---|---|---|---|
|
Home away from home
|
I replaced the rear seals and bearings on my '55 last spring and didn't require anything special other than a brake drum puller. Although I didn't need a slide hammer I could see how a car that has seen limited maintenance over the years could use the extra "bump."
The only special tool needed for inspection is used to determine the bearing end play. There are a number of threads on here that demonstrate how to build one of these tools at home. I chose to use a dial indicator instead. Either way, it's not much of an obstacle to overcome. I seem to recall the manual has a pretty good explanation of this service. Just remember to only pull one axle at a time so that the centering block in the differential stays put. Also, keep track of your shims as you go if you're keeping the existing roller bearings. If you're replacing them, you'll likely be starting from scratch in regards to end play so which side they came from isn't important. -SG Edit: You can find forum member JWL's inspection tool in this thread. Also, if you find yourself needing to add shims, know that making your own is relatively easy. Just ask.
Posted on: 3/30 19:13
|
|||
|
||||
|
Re: 55-56 Parts not for my car
|
||||
|---|---|---|---|---|
|
Home away from home
|
Sent you a PM.
Thanks, Scott
Posted on: 3/29 18:54
|
|||
|
||||
|
Re: V8 Radio Removal Instructions
|
||||
|---|---|---|---|---|
|
Home away from home
|
Radio tuner light only illuminates when the radio is turned on.
Posted on: 2/25 19:30
|
|||
|
||||
|
Re: 1941 Clipper paint
|
||||
|---|---|---|---|---|
|
Home away from home
|
I just looked at the copy of Packard's "Information on 1941 Cars" brochure in the Literature Archives and it does not indicate that there were any colors unique to the Clipper.
Your best bet is to find the production sheet that is often stuffed in between your gas tank filler tube and the vent tube. That paper build sheet should include the factory paint code. My '47 Clipper, which was in much worse shape than yours, still had its completely intact. If you can locate yours, use extreme caution removing it as the paper was jammed tight in between the two tubes. I successfully removed the very brittle sheet by gently prying the tubes apart and slipping it out. Had I tried to pull it straight out it would have disintegrated for sure. Good luck.
Posted on: 12/12 0:04
|
|||
|
||||


