|
Re: 526 light switch removal
|
||||
|---|---|---|---|---|
|
Not too shy to talk

|
Here are a couple more after things are apart, could be dirty contacts, a lot of oil over time can leak down
out of the steering box and make a mess of the sliding contacts Attach file:  IMG_0707.JPG (4,739.07 KB) IMG_0707.JPG (4,739.07 KB)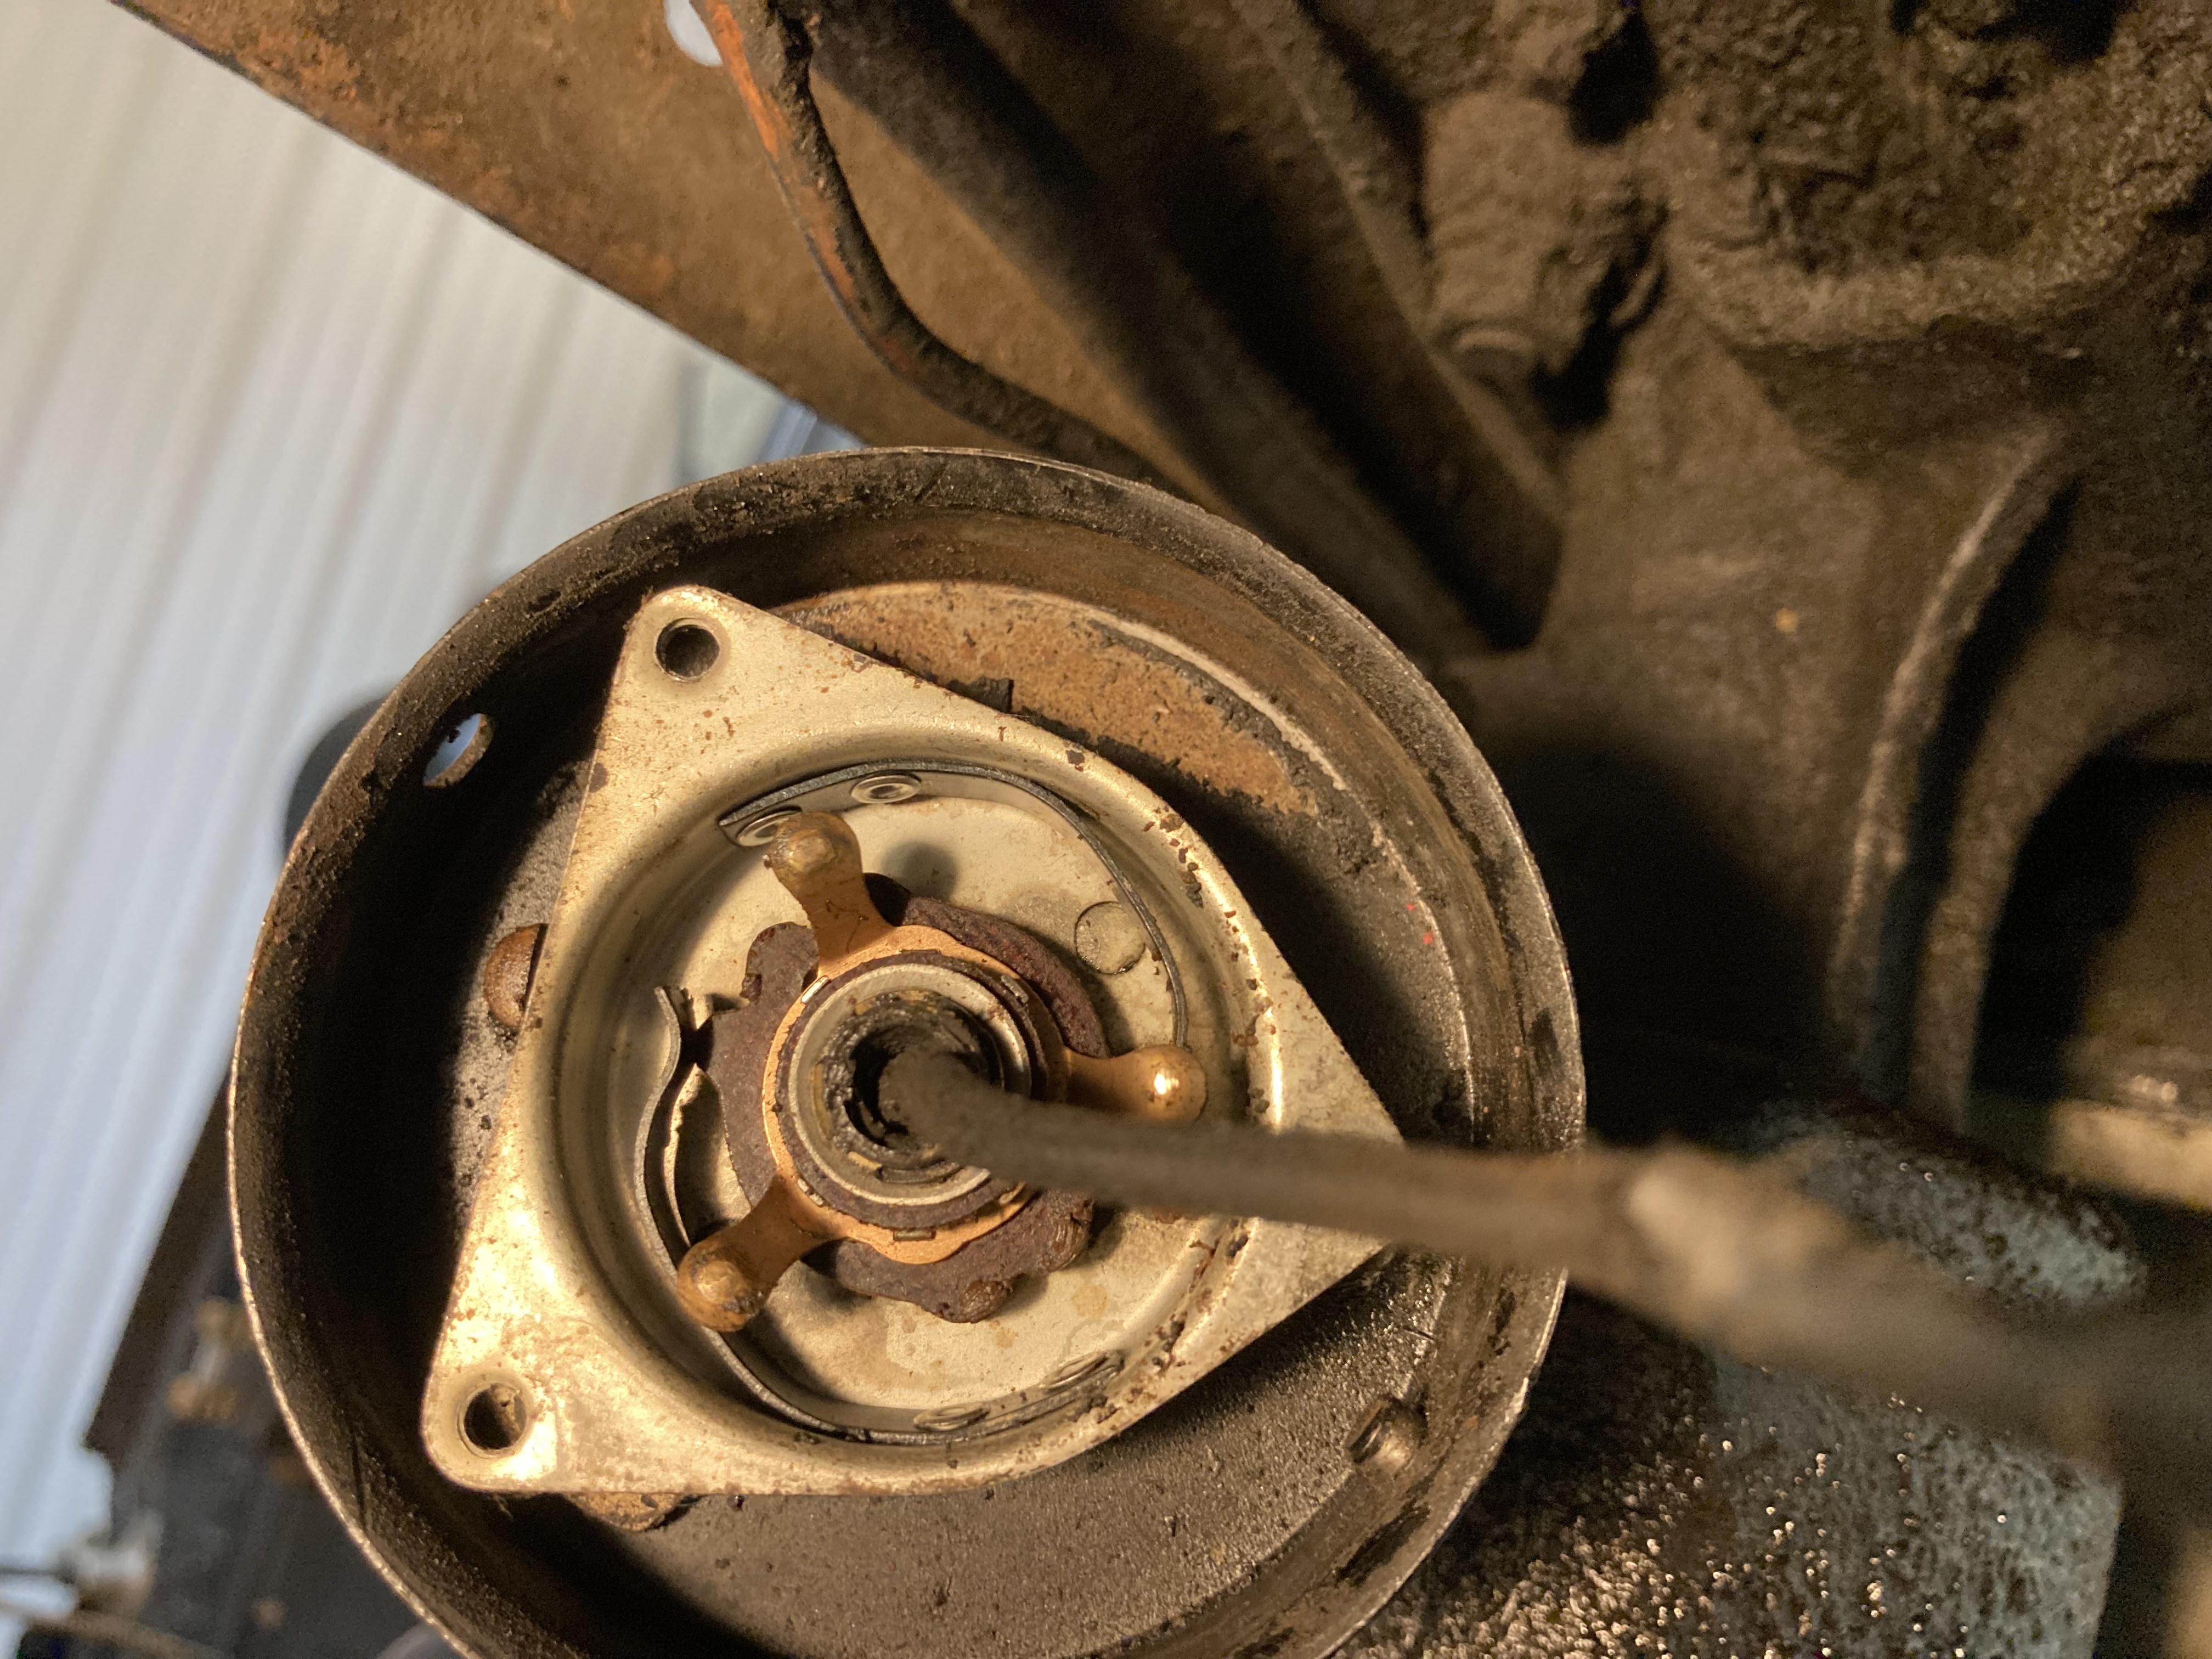 IMG_0714.JPG (4,656.88 KB) IMG_0714.JPG (4,656.88 KB)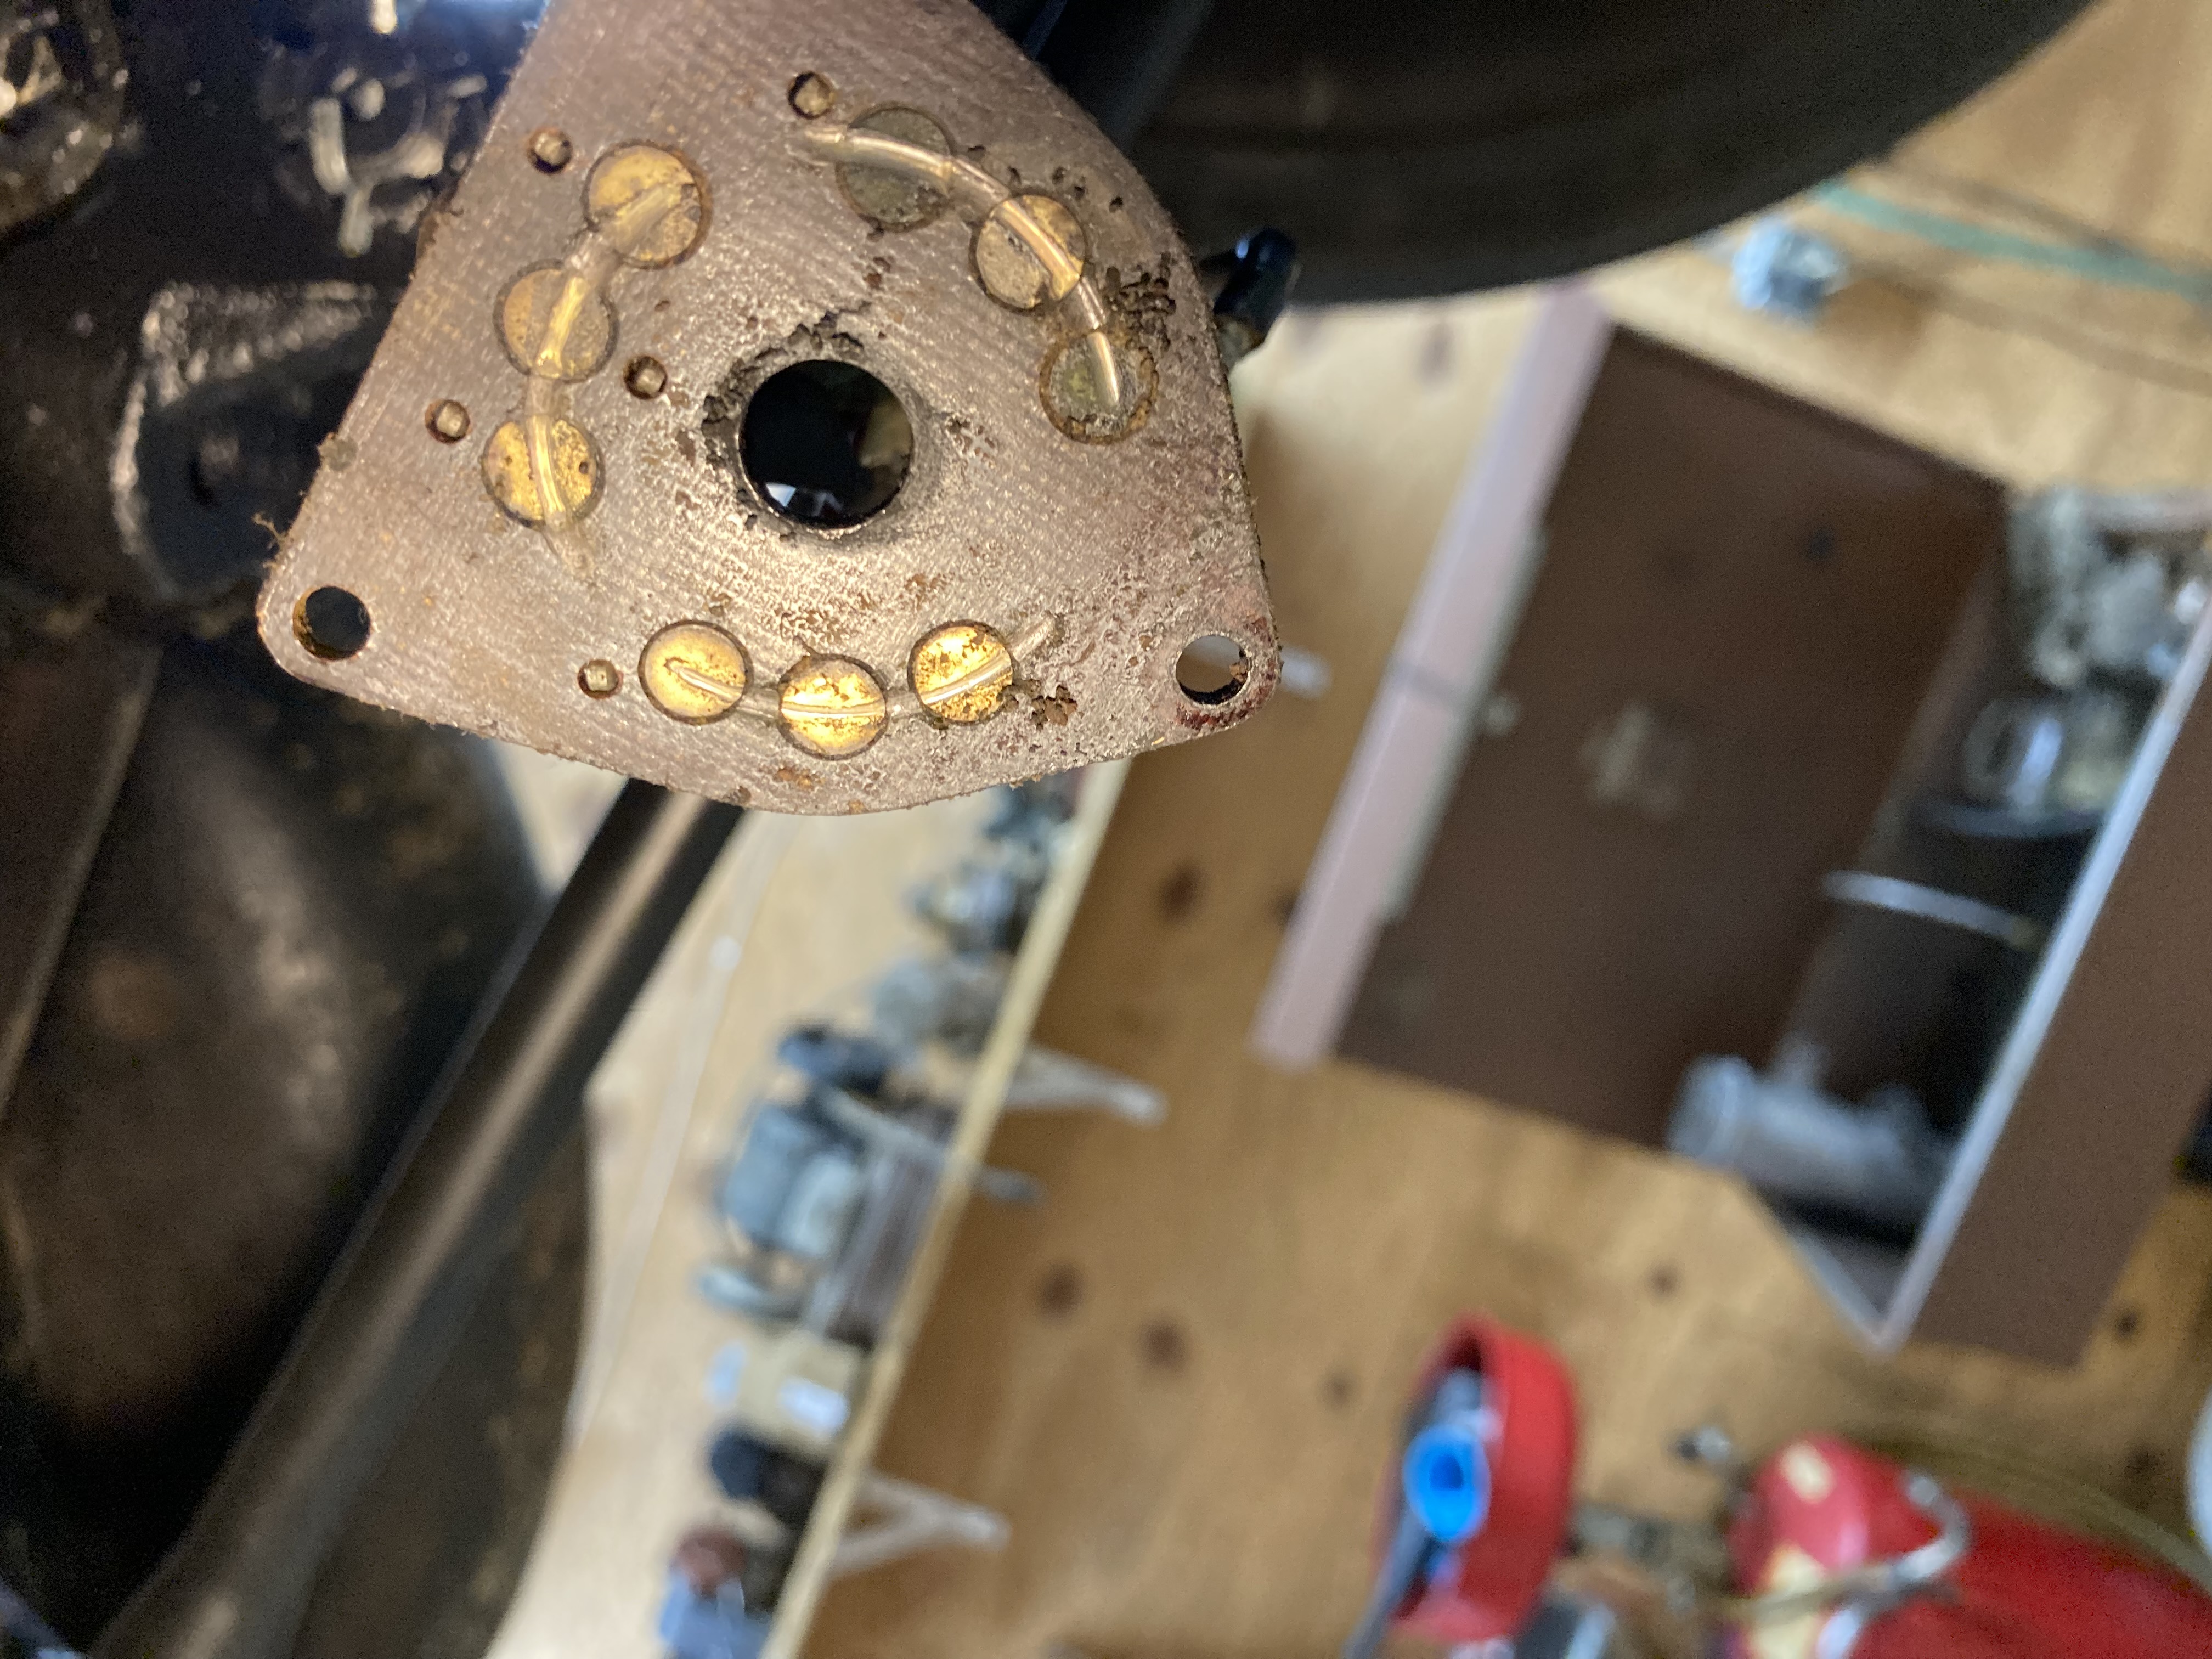
Posted on: 1/16 14:05
|
|||
|
||||
|
Re: 526 light switch removal
|
||||
|---|---|---|---|---|
|
Not too shy to talk
|
Looks a lot like the 7 series, I will tell what I did to get mine apart.
There should be three filister head screws holding the fiber switch board which need to be removed. Then remove the bolt on the back and the cup shaped piece with the switch spider should slide off the end of tube. I can't remember but in may be important to pay attention to the relationship on the switch to the groove in the tube. The pics I attached may be out of sequence, but you can see the relevant things. I also took the opportunity to replace the frayed end of the horn wire. Attach file: IMG_0706.JPG (4,452.45 KB)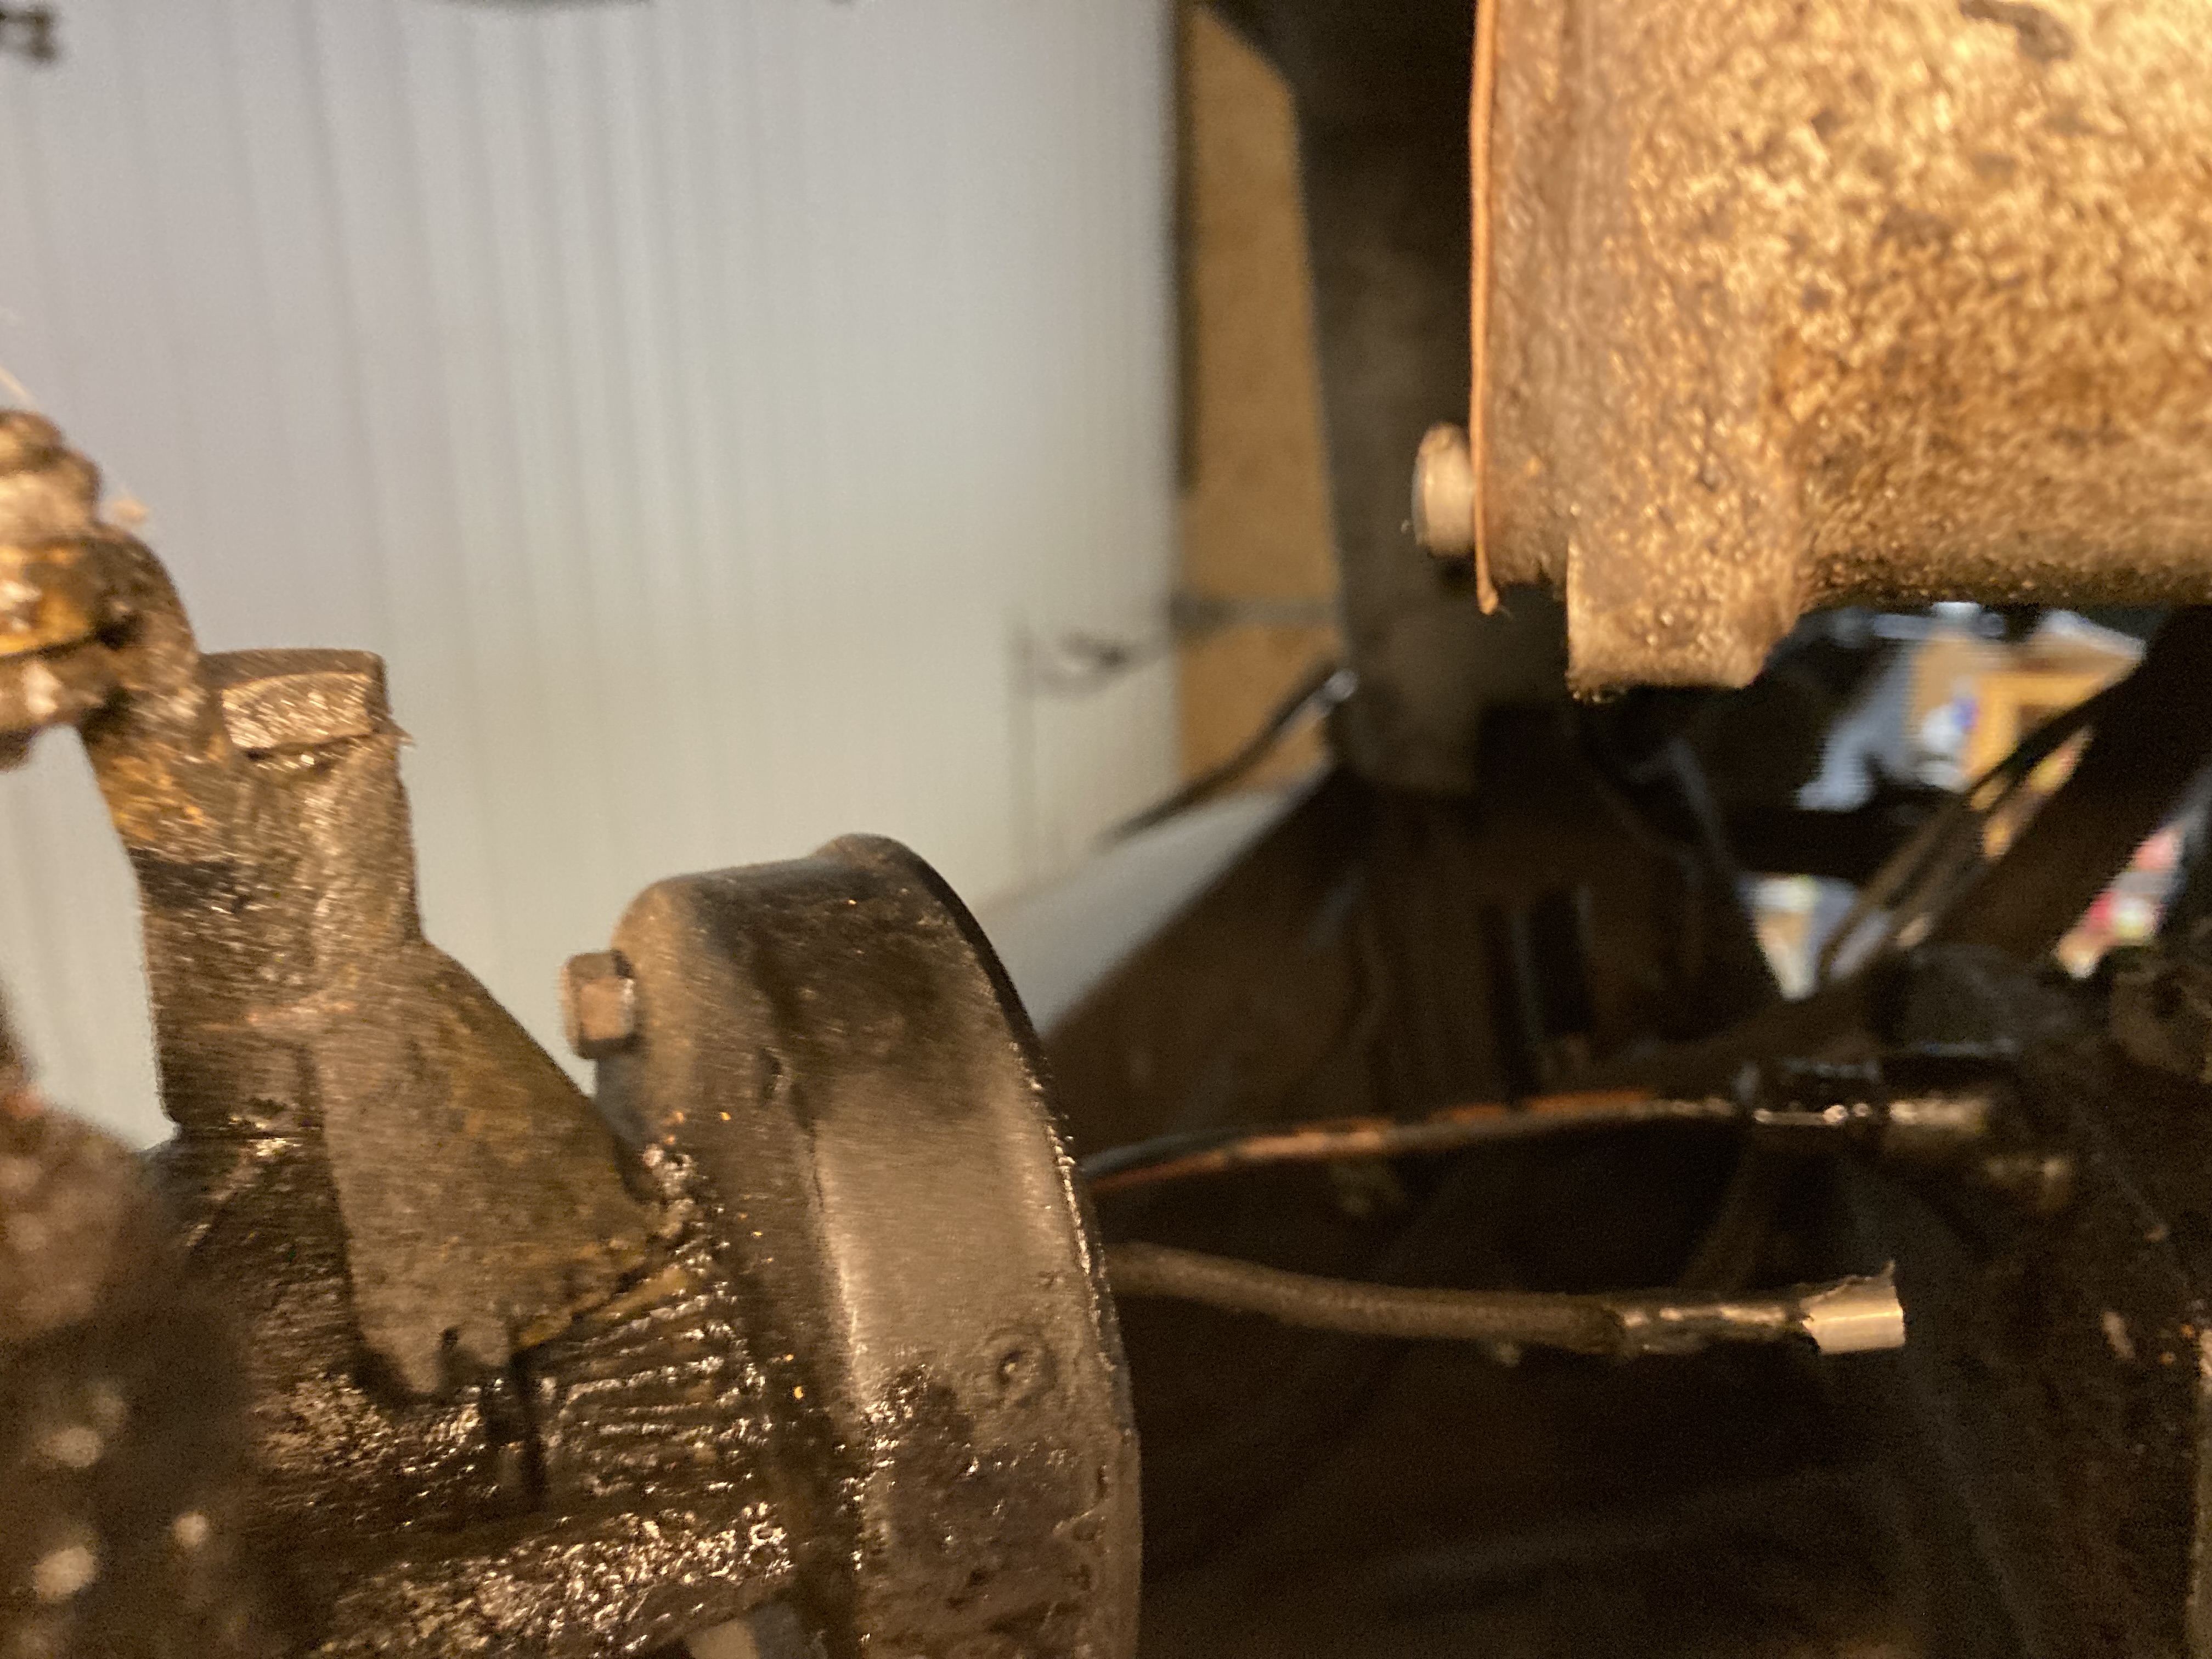 IMG_0700.JPG (5,387.94 KB) IMG_0700.JPG (5,387.94 KB)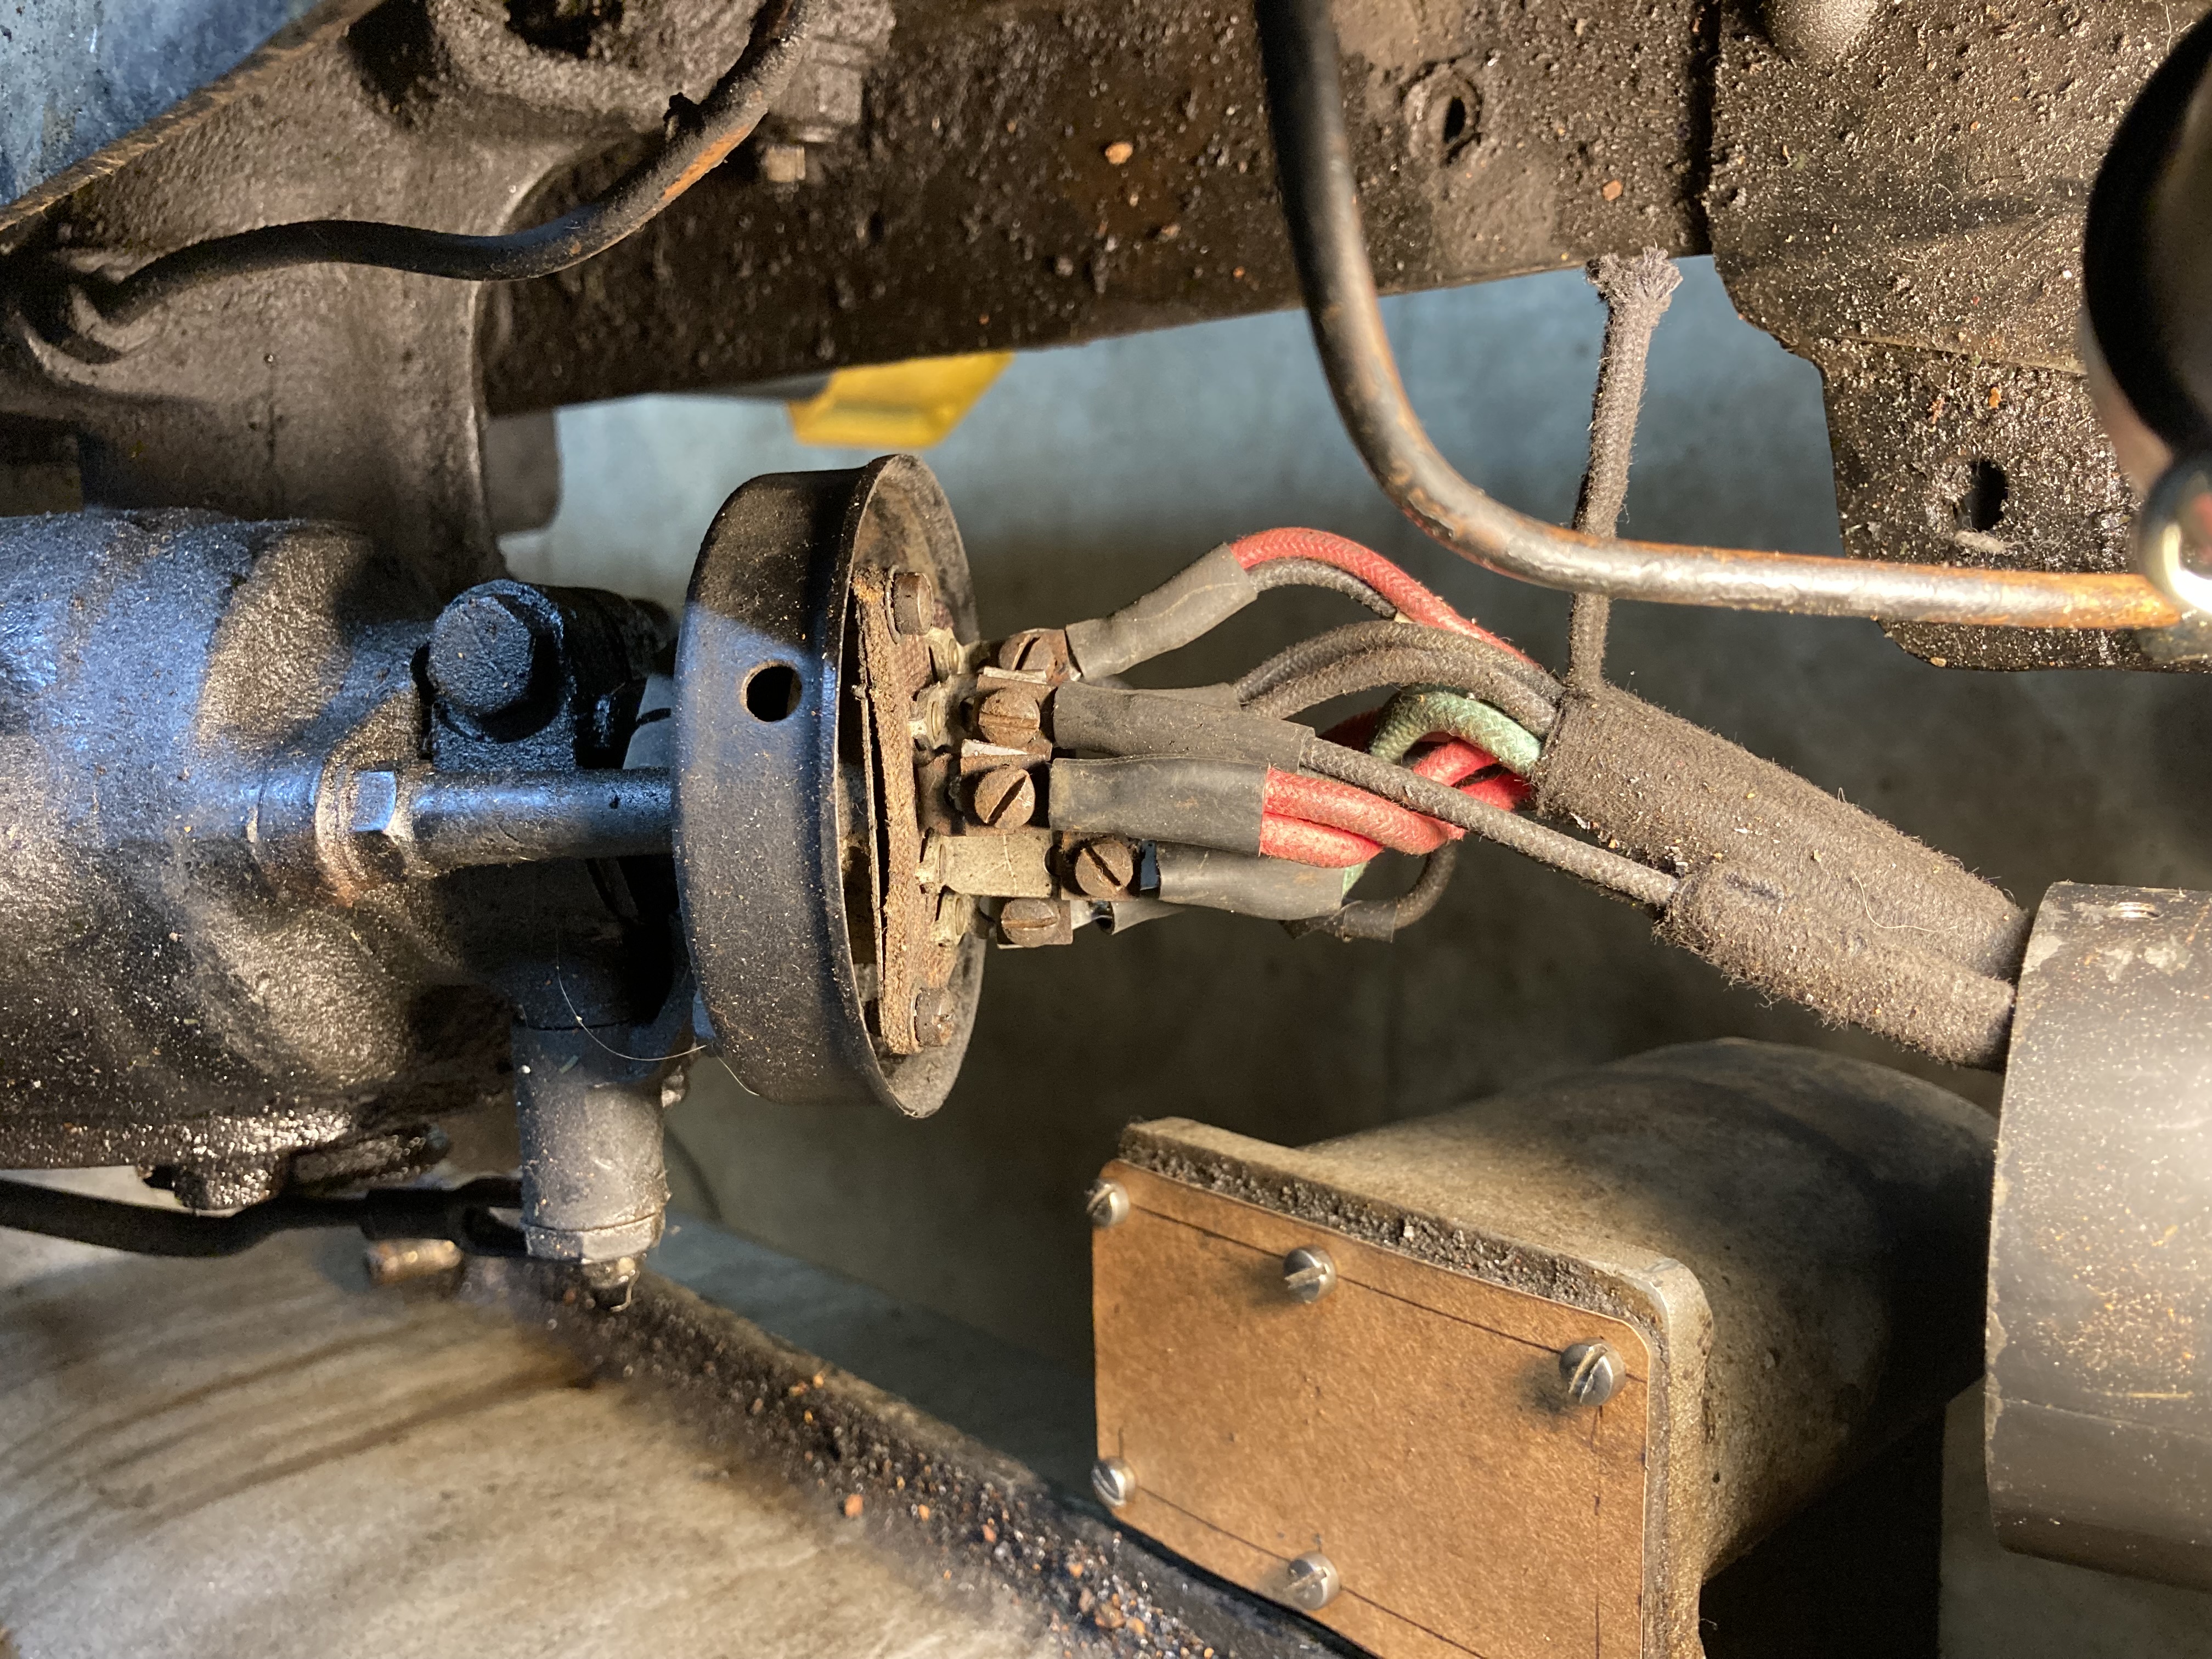 IMG_0709.JPG (4,407.80 KB) IMG_0709.JPG (4,407.80 KB)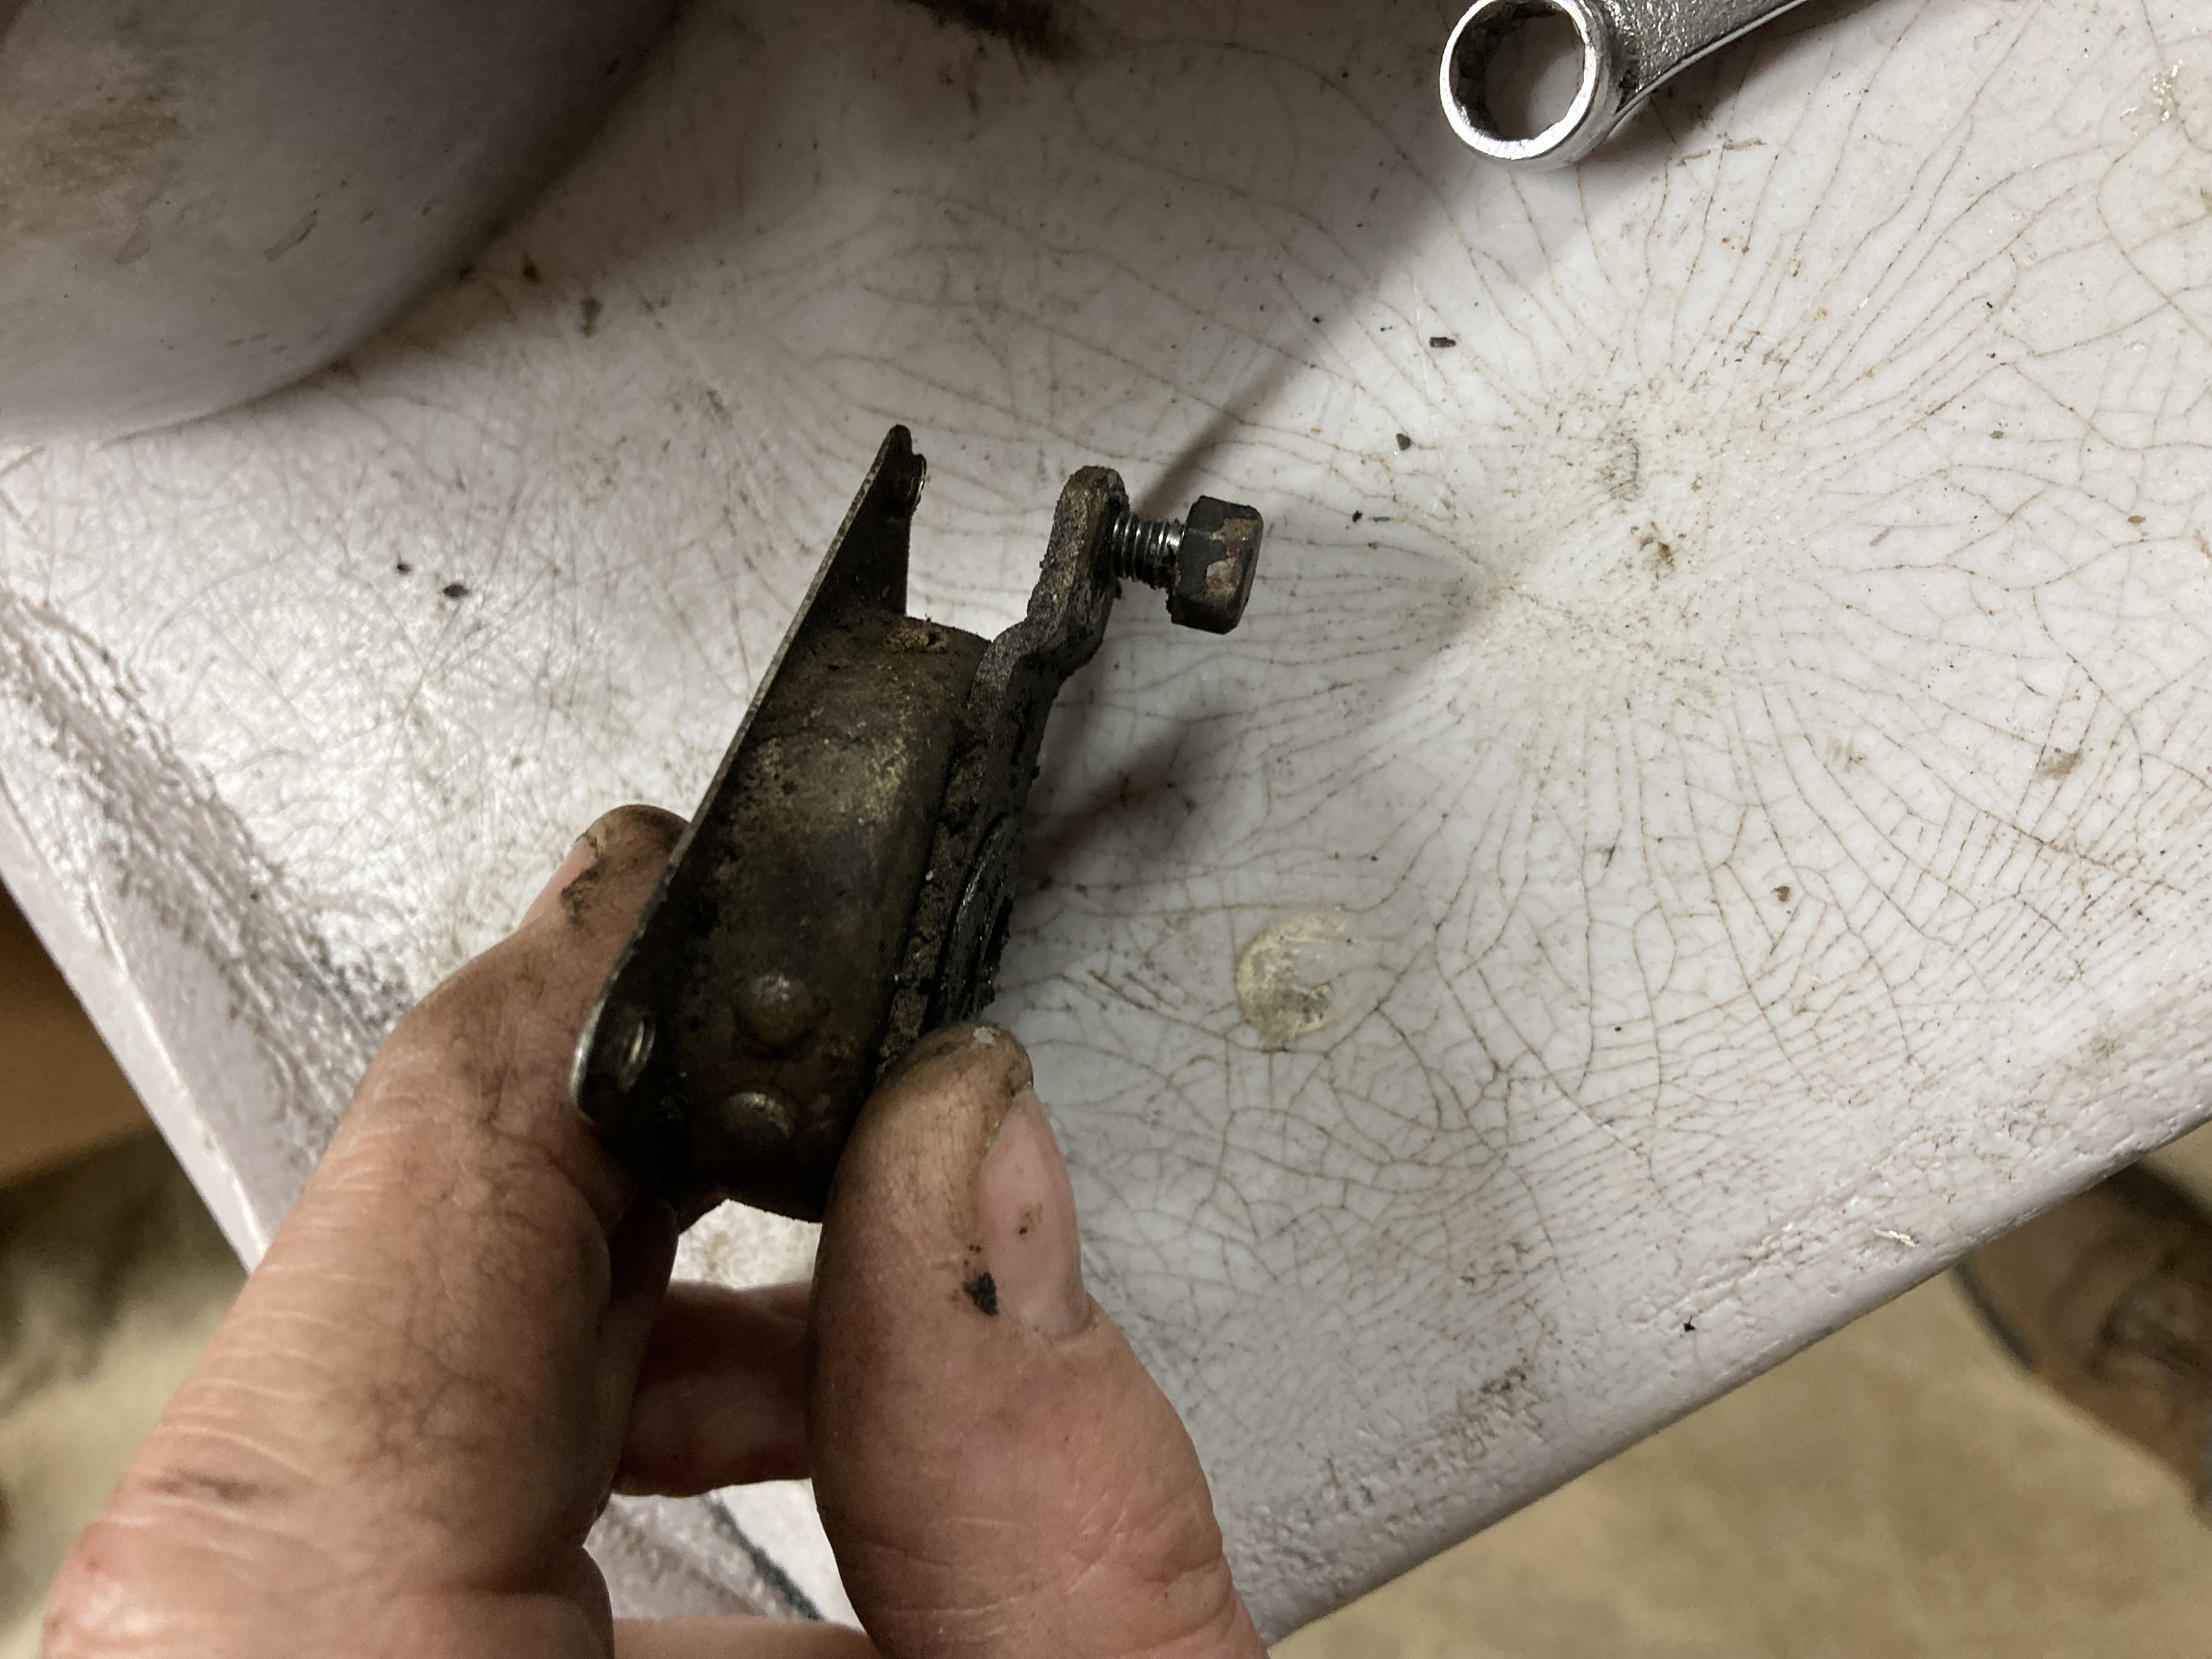 IMG_0710.JPG (4,595.79 KB) IMG_0710.JPG (4,595.79 KB)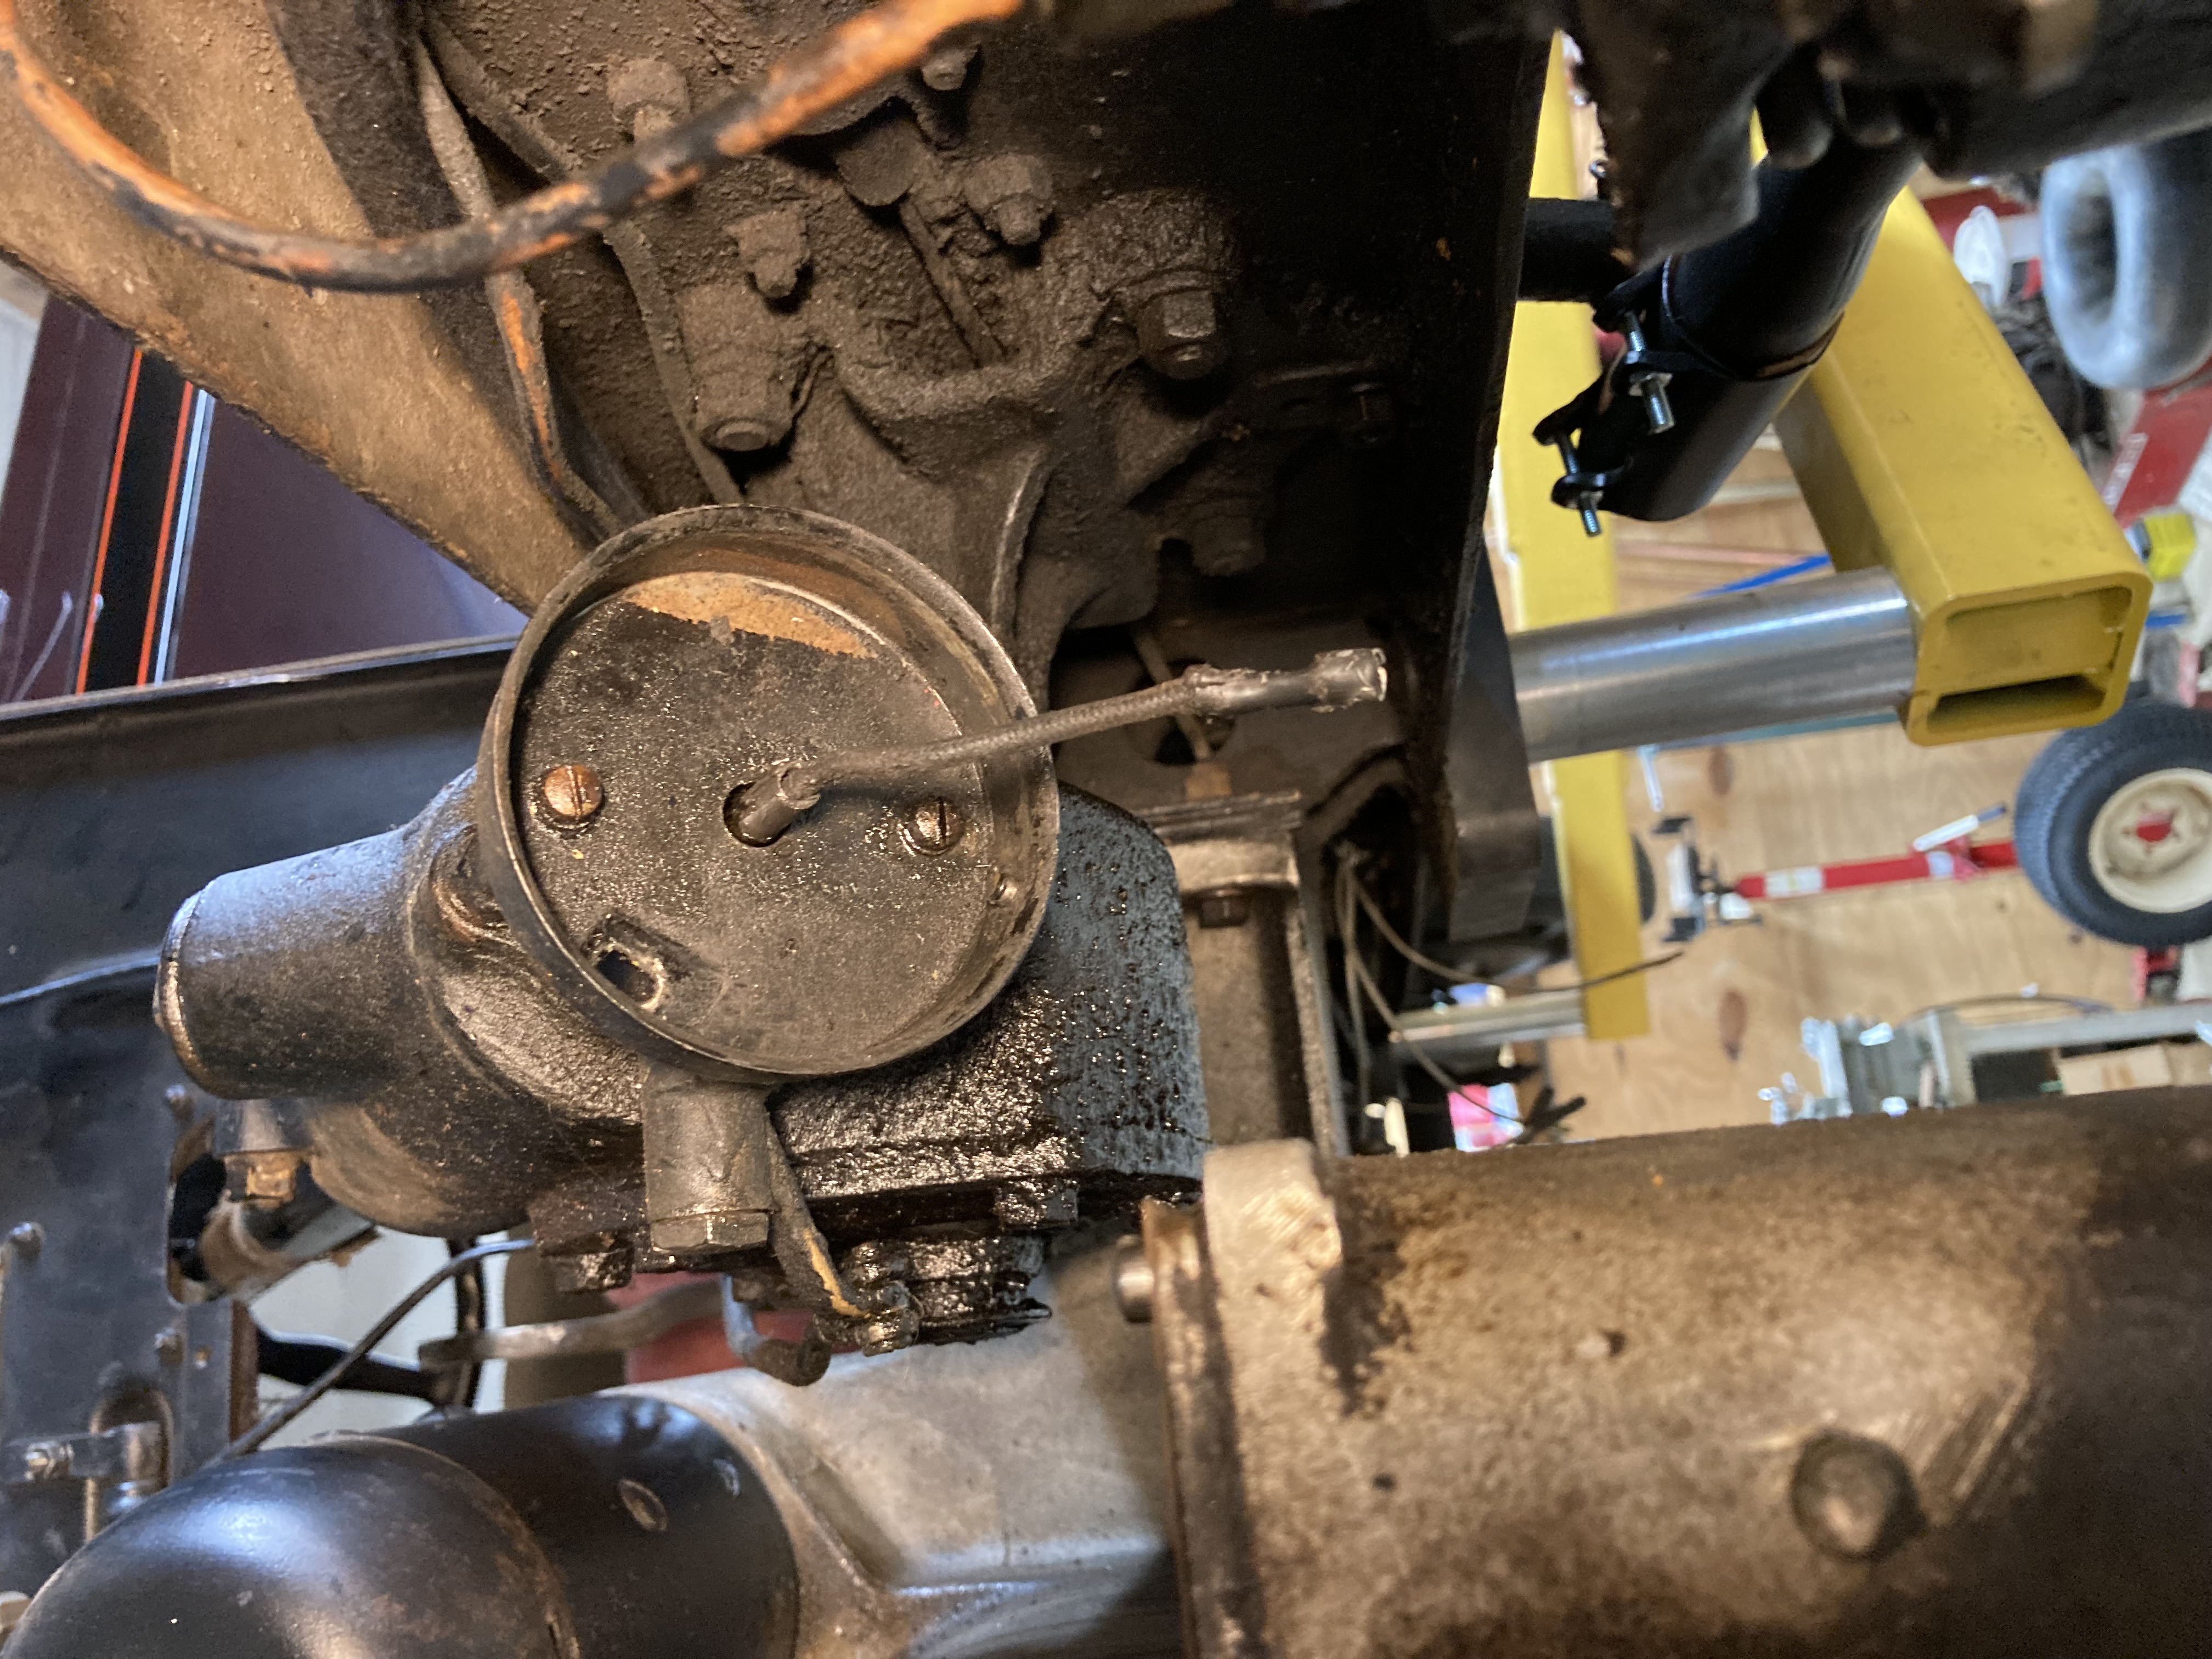
Posted on: 1/16 13:57
|
|||
|
||||
|
Re: Hobson or King Seely Fuel gauge in the 733
|
||||
|---|---|---|---|---|
|
Not too shy to talk
|
Wasn't trying to mention any names, but that's where I got the ones I've tried. Gotten many other things from them over the years back into Classic and Exotic days and have always been happy. I must also add that they have been understanding and helpful.
Posted on: 12/6 13:20
|
|||
|
||||
|
Hobson or King Seely Fuel gauge in the 733
|
||||
|---|---|---|---|---|
|
Not too shy to talk
|
Has anyone had any luck sealing or how to seal the little copper tube to the glass sight tube in the gauge? I've been through three so far and all leaked fairly quickly, which peels the paint off the inside of the instrument cluster and runs down the back of the ammeter which will lead to corrosion of the pot metal. Other than that issue the system works just fine. If anyone out there has had success with making their own let me know the secret.
Posted on: 12/6 10:13
|
|||
|
||||
|
Re: 1930 Reverse light
|
||||
|---|---|---|---|---|
|
Not too shy to talk
|
Thanks for putting my mind at rest!
Posted on: 2023/11/25 11:34
|
|||
|
||||
|
1930 Reverse light
|
||||
|---|---|---|---|---|
|
Not too shy to talk
|
My question is about the operation of the reverse light, not how it turns on or off with the transmission switch (that works fine) ,but when it works. As you can see by the wiring diagram the tail light, reverse light and the dash lights all tie to position 4 on the light switch. This position is not energized until the main light switch is in the parking light position or either of the headlight positions, so if the lights are off, the reverse light is not operational. Is this correct?
Attach file: Wiring.JPG (0.00 KB)
Posted on: 2023/11/25 8:55
|
|||
|
||||
|
Re: Side-mount Mirrors
|
||||
|---|---|---|---|---|
|
Not too shy to talk
|
Here is my 30 with the mirrors, they attach with a screw from the inside of the cover into the bottom of the post.
Attach file: 4-4 017.jpg (645.38 KB)
Posted on: 2023/11/4 7:55
|
|||
|
||||
|
Re: 1930 std 8 valve cover
|
||||
|---|---|---|---|---|
|
Not too shy to talk
|
The piece with the raised center is like a big hollow rivet tool made out of 1" round stock and the other piece shows both sides both for supporting the spacer piece while pressing. I am sure the factory stamped inside and out in one operation but I attached the inside first supporting the spacer on its heavier shoulder with the hollowed end, then put the cork in place clamped things together squeezing the cork a little so the spacer protruded on the outside, then supported it by flipping the piece over inserted in the spacer to support it while pressing the outside.ggsvh@aol.com
message me and I will give you my phone number, it's easier to talk about it. I cut holes in the cork with a 1" leather hollow punch using the shop press, worked like a charm. Attach file: IMG_1982.JPG (183.59 KB)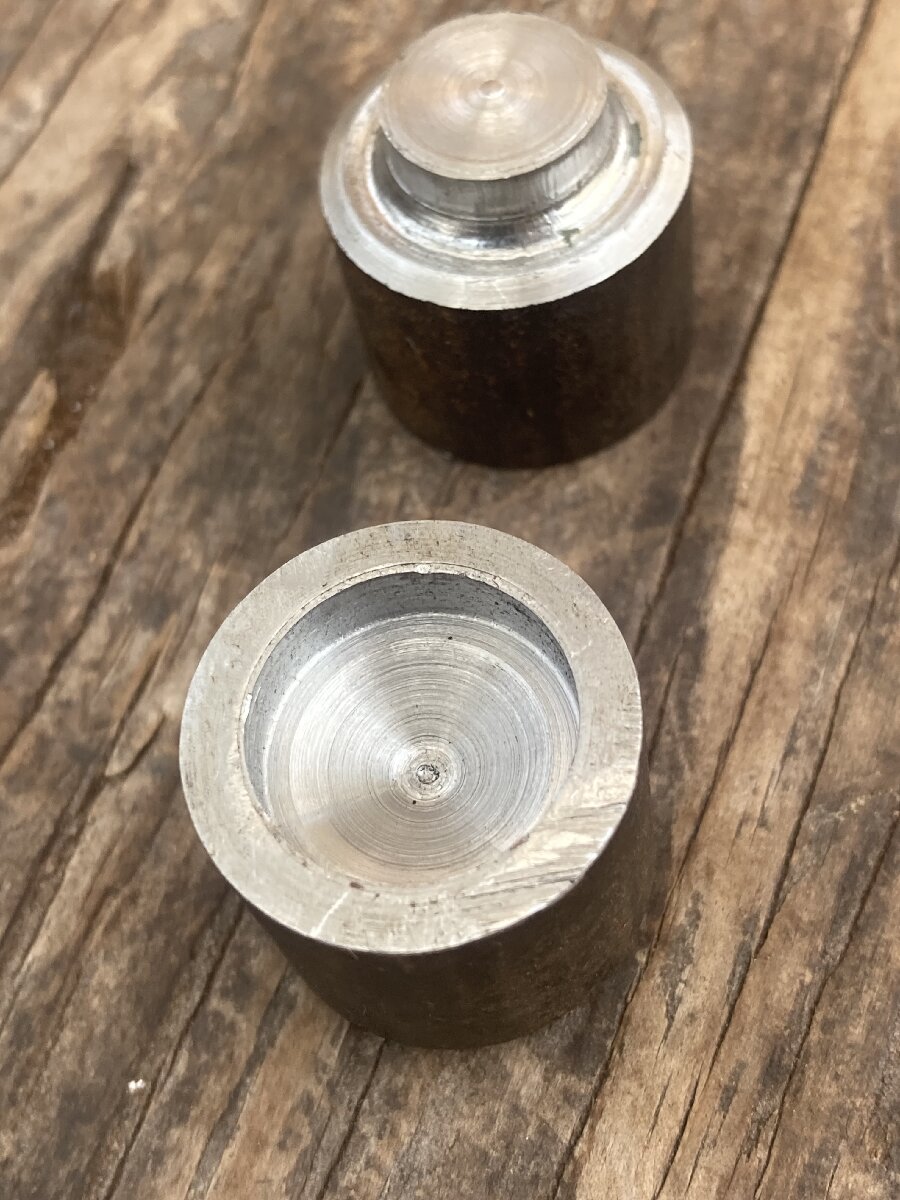 IMG_1983.JPG (215.46 KB) IMG_1983.JPG (215.46 KB)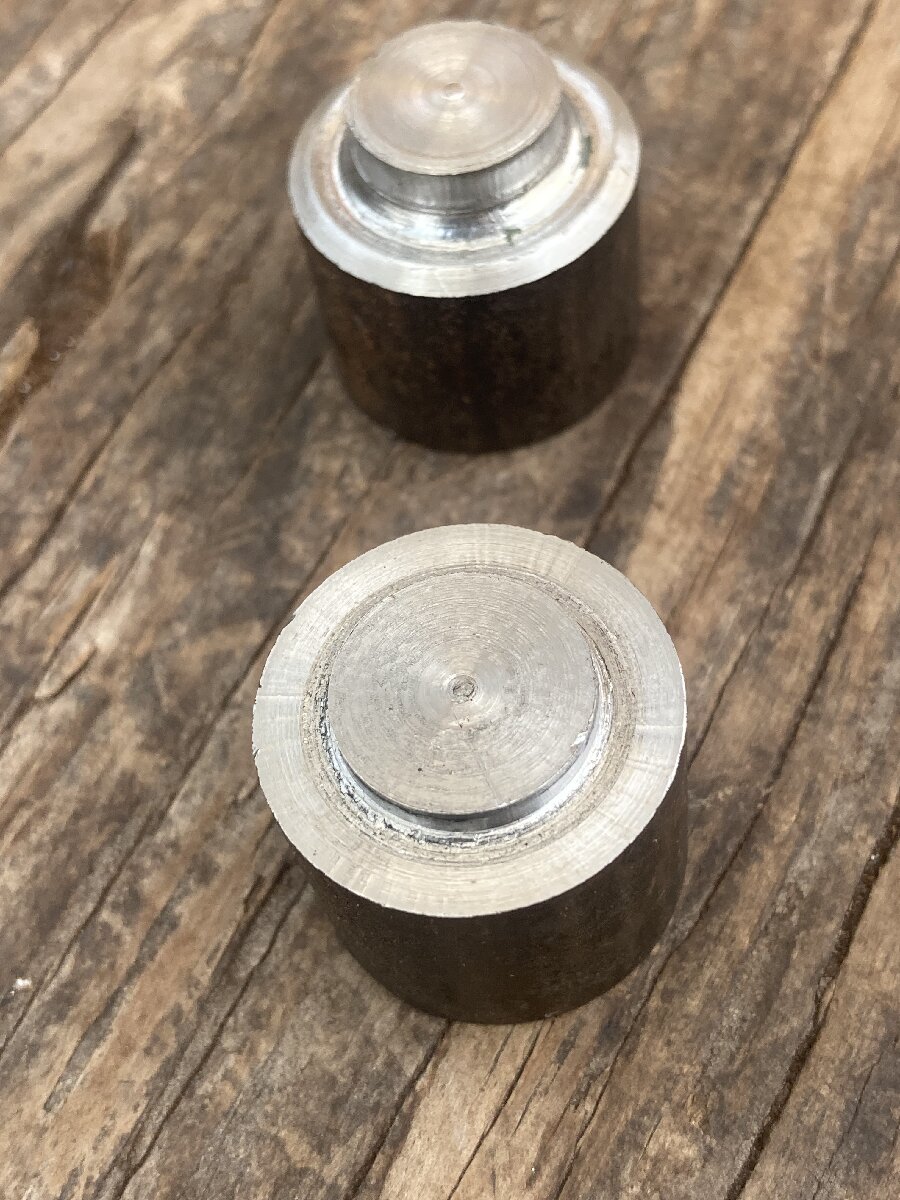
Posted on: 2023/10/28 11:39
|
|||
|
||||
|
Re: 1930 std 8 valve cover
|
||||
|---|---|---|---|---|
|
Not too shy to talk
|
Olson's has 1/2" cork, the hard part was getting things apart. With some gentle prying and working things came apart, I had to cut the shoulders down on both sides of the spacers , punch 1" holes in the cork and make a die to re-press it all back together. Maybe too much work, but I obsess about these kinds of things.I know the pic of the inside the spacers look a little rough but that's the picture, they turned out as nice as the outside.
Attach file: IMG_1978.JPG (328.90 KB)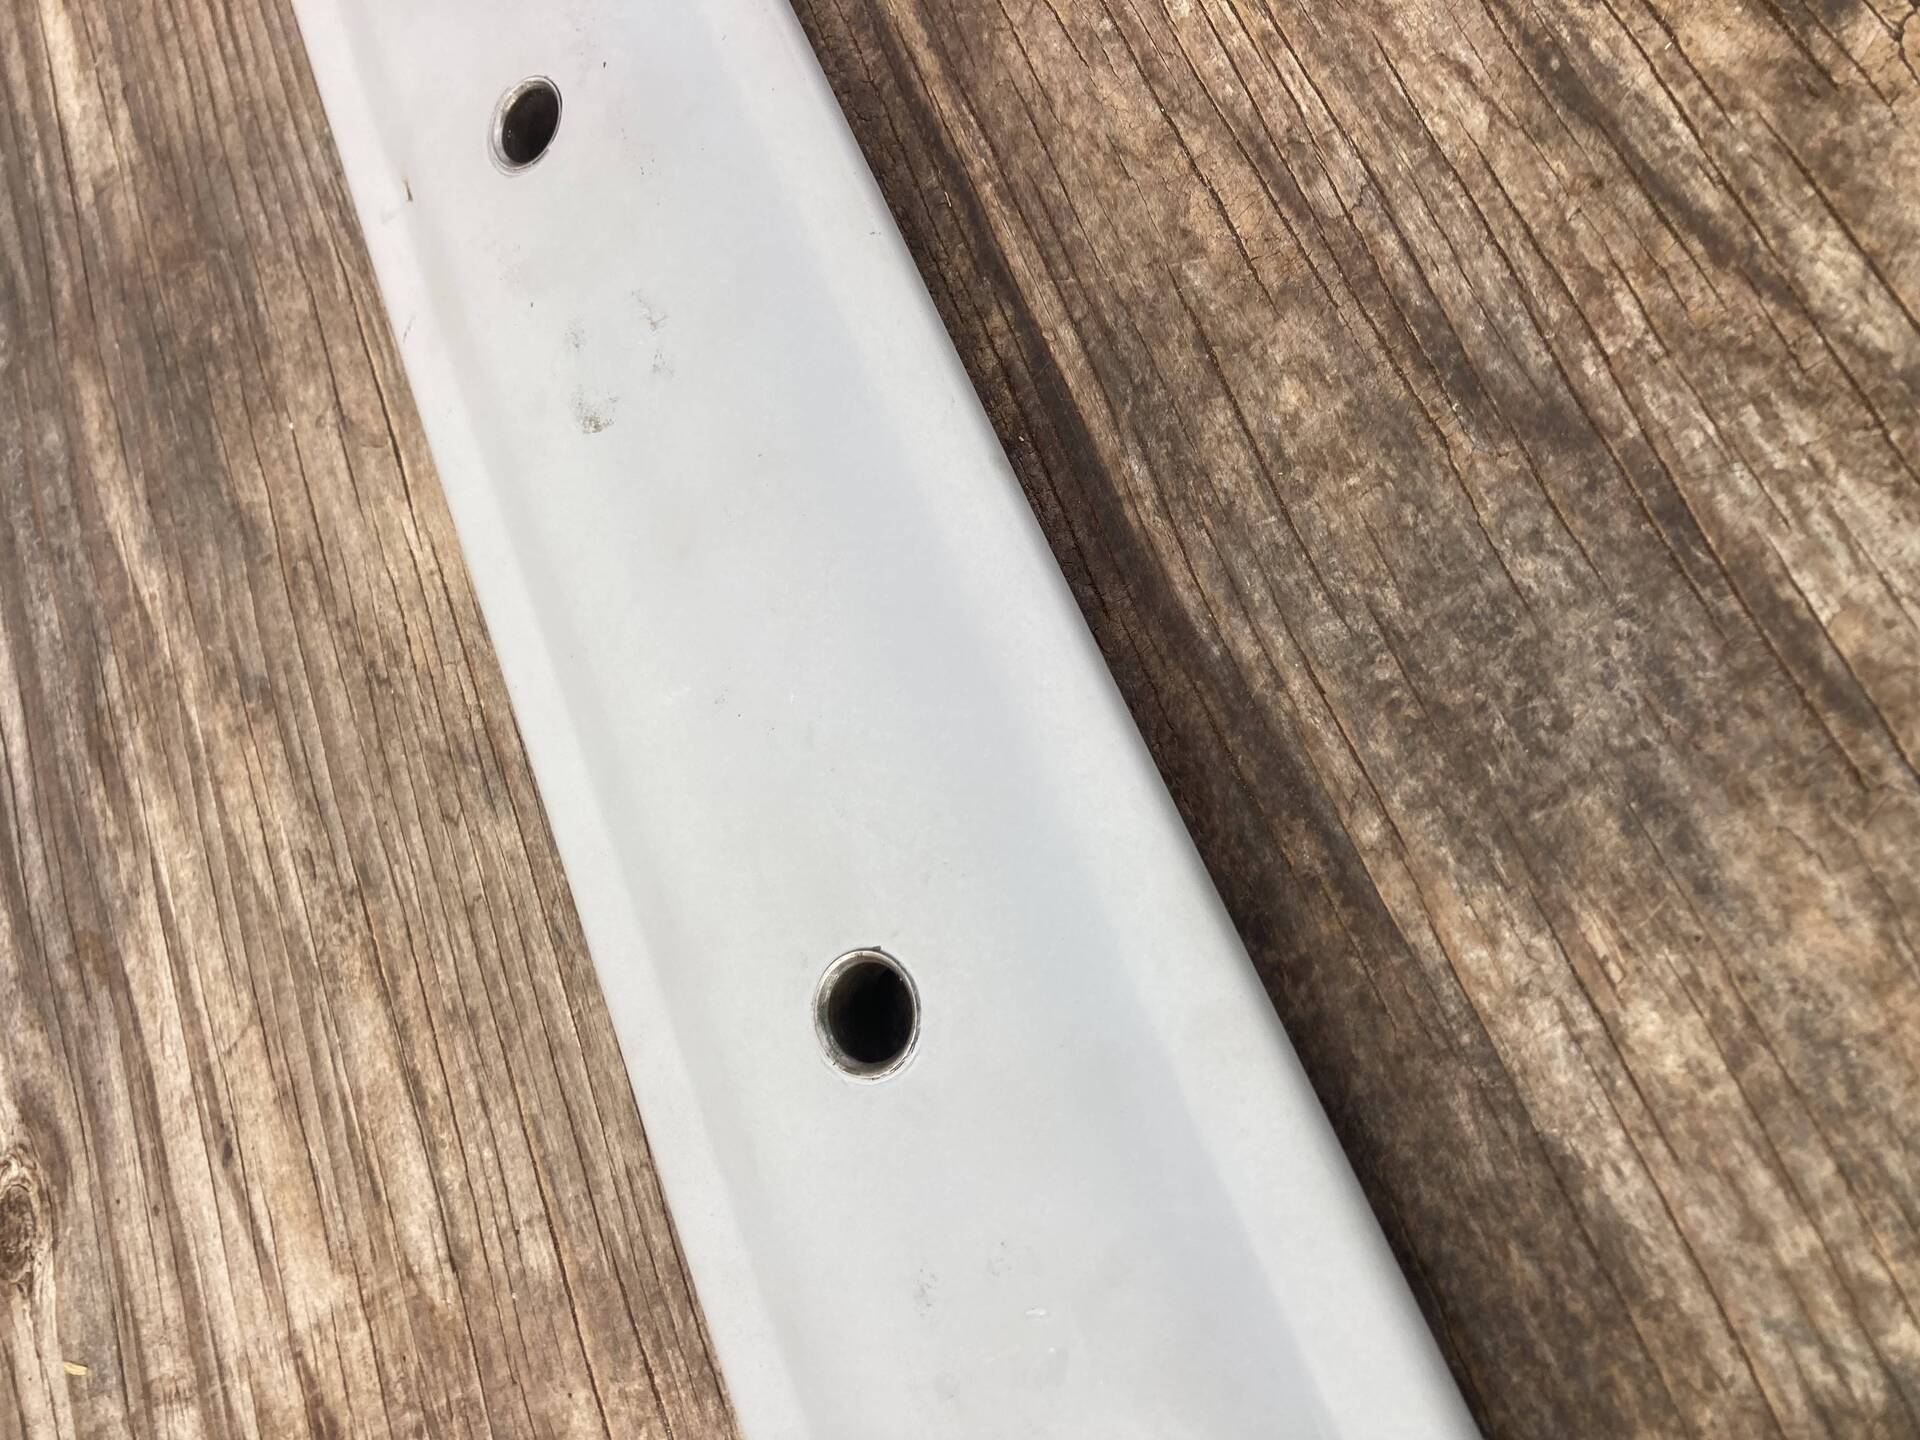 IMG_1979.JPG (554.73 KB) IMG_1979.JPG (554.73 KB)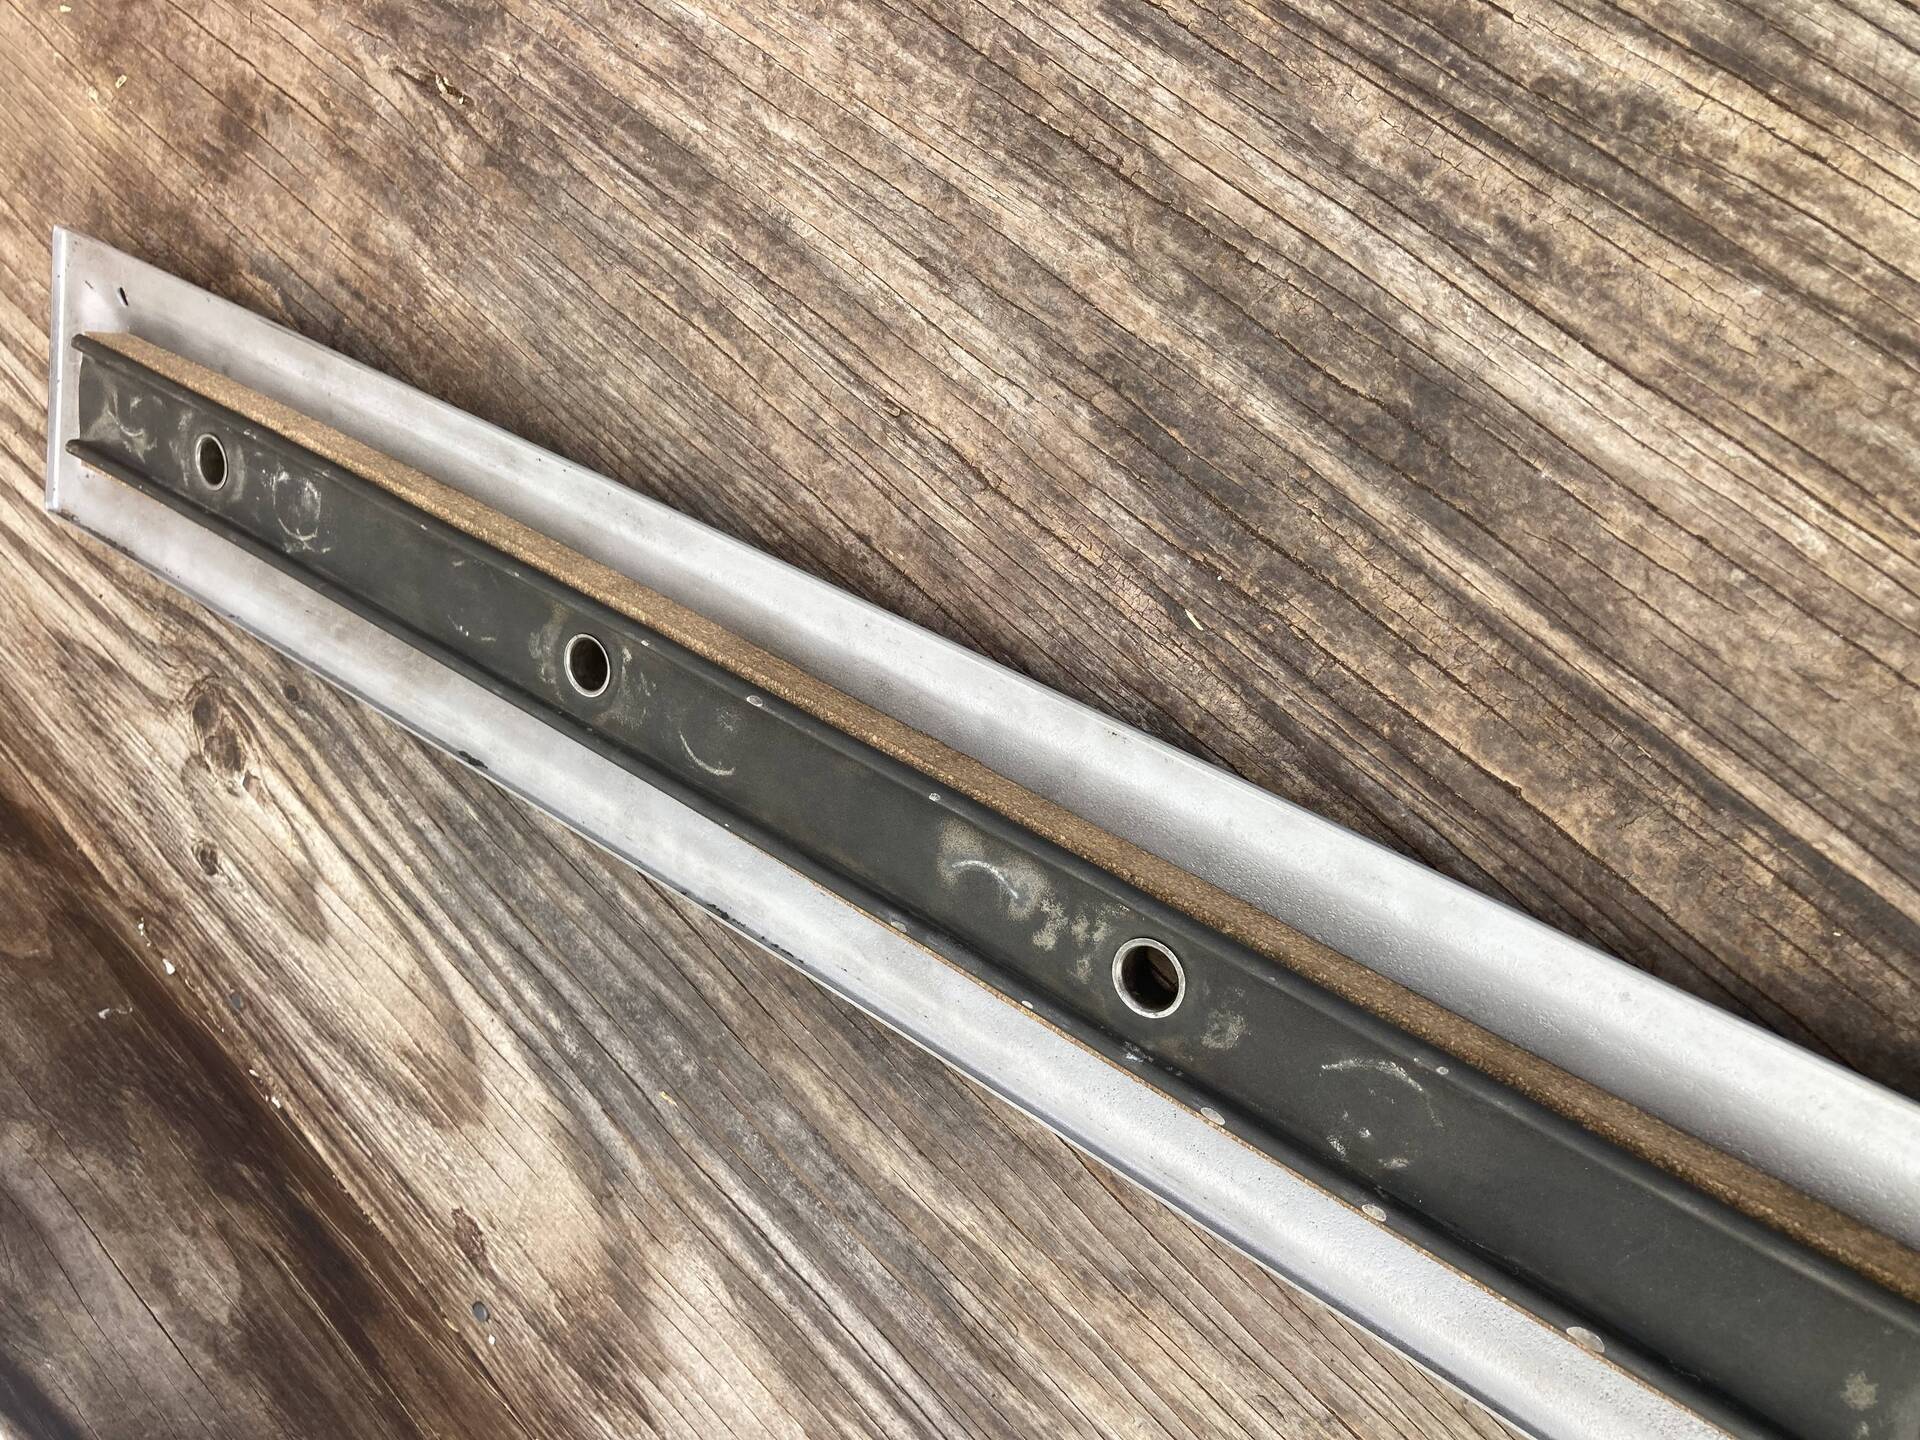
Posted on: 2023/10/26 9:07
|
|||
|
||||
|
Re: 1930 std 8 valve cover
|
||||
|---|---|---|---|---|
|
Not too shy to talk
|
Olson's gaskets had never heard of this either but they put me in touch with Barry Lowe at Gatsby Auto Works and he had the same thoughts. Several of his cars have the same cork in the valve cover. I will re-assemble with a new piece in place.
Posted on: 2023/10/24 7:33
|
|||
|
||||


