|
Re: 1954 Patty valve job
|
||||
|---|---|---|---|---|
|
Home away from home
|
Intake = 30 deg
Exhaust = 45 deg
Posted on: 2015/2/8 9:20
|
|||
|
[url=https://packardinfo.com/xoops/html/modules/
|
||||
|
||||
|
Re: 1954 Patty valve job
|
||||
|---|---|---|---|---|
|
Forum Ambassador

|
Check the guides for excessive wear, especially the exhaust guides. Measure the guide depth from the block deck before removing! Keep the seats narrow. If both the valve and seat surfaces are power-surfaced, resist the temptation to hand-lap, it just degrades the surface. After the surfaces are refaced, use a soft pencil (or Prussian Blue or Dychem) and make a series of radial lines across the valve face - then rotate the valve by hand to check for contact. Don't forget to check and adjust if necessary the hydraulic take up reserve clearance, a special tool is required for that and is available. Access the valve keepers by removing the front right wheel and going in thru the inner fender, easy enough though it's tight quarters for the valves just behind the manifold junction; removing the manifolds not necessary but does make it easier.
Posted on: 2015/2/8 9:26
|
|||
|
||||
|
Re: 1954 Patty valve job
|
||||
|---|---|---|---|---|
|
Home away from home

|
Seat angle:
Be advidsed that u are dealing with 60 year old engine. REGARDLESS ofOEM spec it is possible that at some point in history the valves and or seatsss could very likely have been ground to 45 degrees.
Posted on: 2015/2/8 11:01
|
|||
|
VAPOR LOCK demystified: See paragraph SEVEN of PMCC documentaion as listed in post #11 of the following thread:f
packardinfo.com/xoops/html/modules/newbb/viewtopic.php?topic_id=7245 |
||||
|
||||
|
Re: 1954 Patty valve job
|
||||
|---|---|---|---|---|
|
Quite a regular

|
Owen, where can I get the tool for the reserve clearance?? And, how can i tell degree of intake to make sure it is 30 degrees?? What am I measuring from the block deck? Thanks, Brian.
Posted on: 2015/2/8 11:18
|
|||
|
||||
|
Re: 1954 Patty valve job
|
||||
|---|---|---|---|---|
|
Forum Ambassador

|
First of all, if you've not done valve jobs on similar engines before, I very strongly suggest you find someone locally who has that experience to guide you thru the process!! I've done more valve jobs on Packard in-line engines than I care to remember and would be glad to give further advice but it's tedious this way, if you want to chat about it by phone PM me with your phone# and a good time to call.
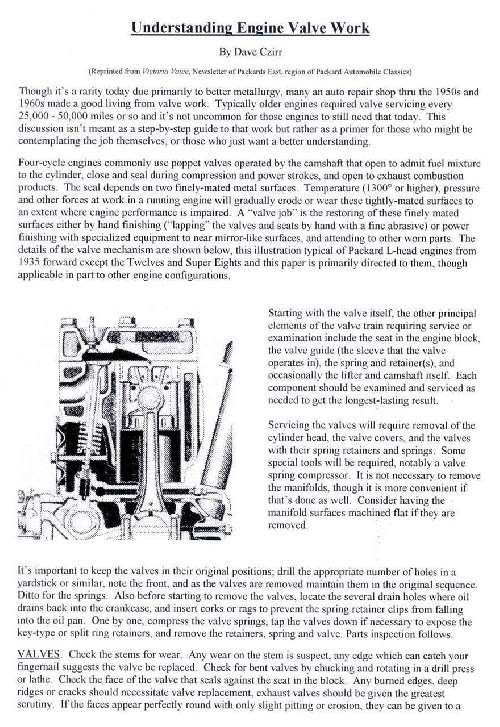
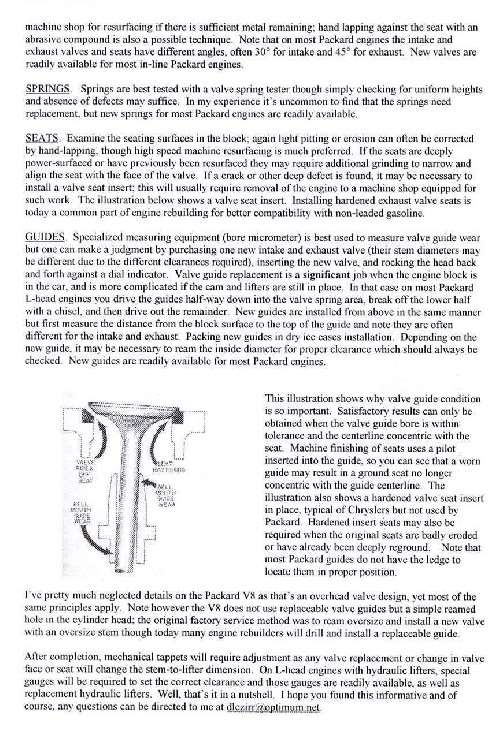
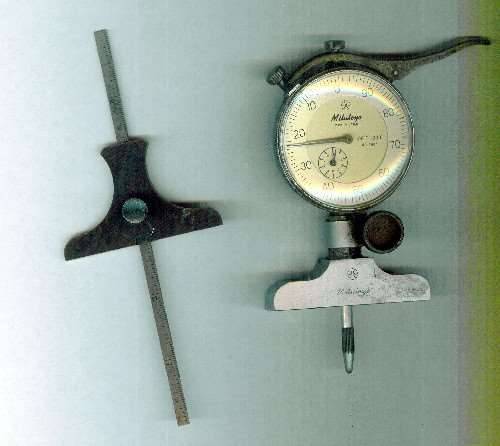
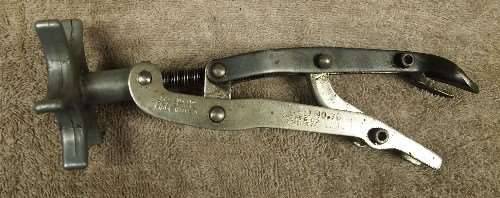
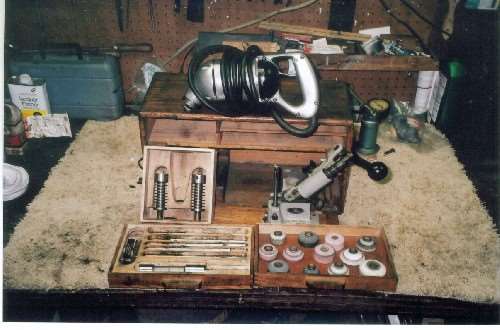
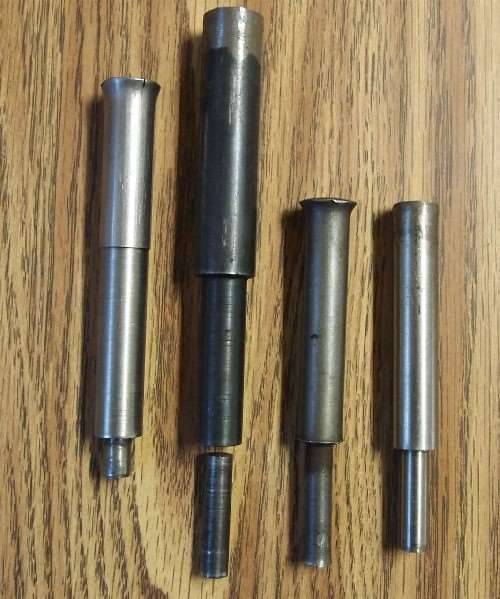
Measure the installed depth of the guide from the top of the deck to the highest point on the guide (remember, they are NOT perpendicular to the deck), accuracy with a simple depth measure (the one on the left in the photo) is typically quite adequate and with valve stems without a wear step, a small difference is not a problem. If you're in doubt about the current angle of the seat, install the pilot from a power valve grind set and just hand-turn the proper angle stone over the existing seat - full contact indicates the angle matches that of the stone. For many years I sold the tappet reserve take-up gauge and then more recently I've simply loaned them to folks; unfortunately most of these folks never returned them so I no longer loan them. But I believe P.N.R, sells them, and also Rob (or is in Ron?) Carpenter used to offer them. Make sure you get the one for the 327/359 engines, the one for the 356 engine is quite different. After you remove and examine the valves, take them to a good automotive machine shop for refacing, they will help you determine which can be refaced and which should be replaced. Borrow a power valve-seat refacer, almost certainly someone in your area who has grease under the fingernails has one or knows someone who does. Picture of mine enclosed. You'll need a good valve spring compressor, picture of my preferred type also enclosed. There are special tools for installing the keepers but I've found they are more trouble than they are worth, just a dab of grease on the keepers will hold them in place while the spring and retainer is dropped. If you need to change any guides, a good guide driving drift will be essential (pictures of some also enclosed). Lastly, before you start to compress the springs to remove the keepers, plug the oil return holes to the crankcase with corks or similar; otherwise you'll be very unhappy when one of keepers pops off and falls thru the hole into the oil pan.
Posted on: 2015/2/8 11:56
|
|||
|
||||

 (195.87 KB)