|
Re: Larry's 1951 Club Sedan Project
|
||||
|---|---|---|---|---|
|
Webmaster

|
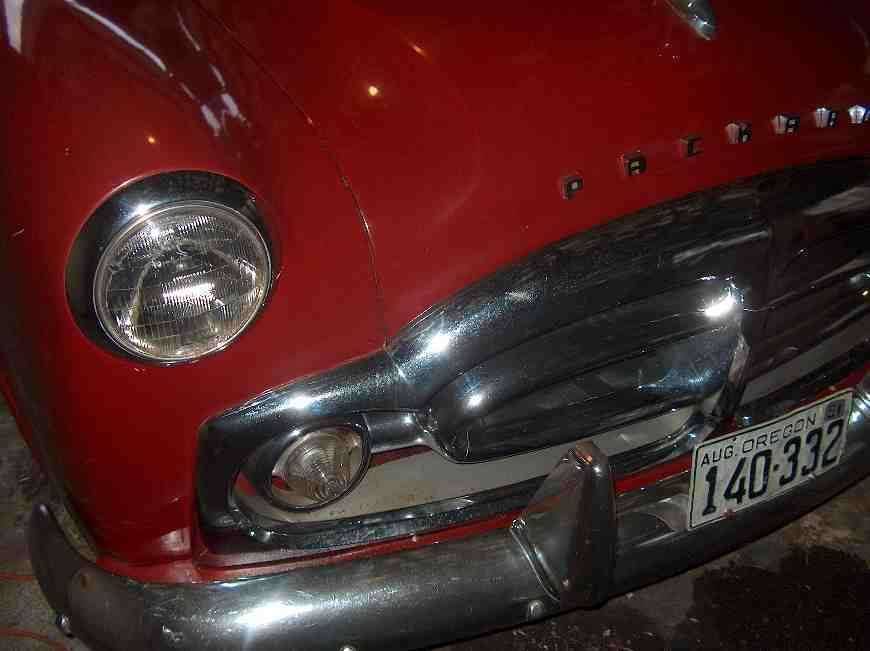
Interesting Ross. That panel came off of my car originally and was silver when I got it. So i assume it was the same as the bumpertte cross bar filler panel which is silver.
Posted on: 2012/5/23 14:35
|
|||
|
-BigKev
1954 Packard Clipper Deluxe Touring Sedan -> Registry | Project Blog 1937 Packard 115-C Convertible Coupe -> Registry | Project Blog |
||||
|
||||
|
Re: Larry's 1951 Club Sedan Project
|
||||
|---|---|---|---|---|
|
Home away from home

|
Thanks BigKev for the pics. On my car the bumper infill panels were the same as car, and (thinking back) so were the grille inner panels. But my car had been resprayed (including those grille panels - there was paint everywhere on rear of the grille!) and a few other areas were different to standard.
As I mentioned some posts ago (regarding trunk finish) maybe there was a slight difference in the Australian cars, but that seems unlikely. For that era weren't they all assembled in the US? If this silver looks same as the grille inner panels colour I'll go with that one pending any further info. Will post Matador colour later for Ross. Thanks for fast response!
Posted on: 2012/5/23 19:25
|
|||
|
1951 Packard Club Sedan | [url=ht
|
||||
|
||||
 (38.16 KB)
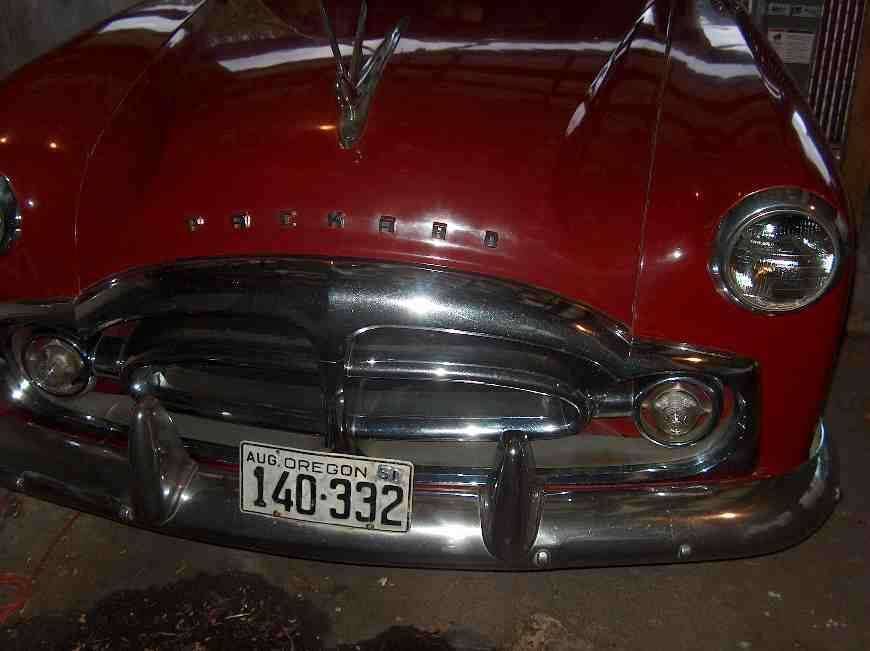

|
Re: Larry's 1951 Club Sedan Project
|
||||
|---|---|---|---|---|
|
Home away from home
|
Thanks Jim, I think I can get a close enough match from the pics that you and BigKev have provided of the silver. I'm just about to PM you the paint formula for the Matador Maroon Metallic. (Bit unsure about sending formulas 'publicly' so I'll do it that way).
For interest's sake (when you get time) it would be nice to know if what you see under your trunk lid is much the same as the Maroon I posted a pic of (above). I think it darkens over the years so some Maroon on an area protected from the weather would give a good notion of the effect of sun on the original. The colour card on this site is very dark - looks more like a very dark brown so not very helpful.
Posted on: 2012/5/24 8:15
|
|||
|
1951 Packard Club Sedan | [url=ht
|
||||
|
||||
|
Re: Larry's 1951 Club Sedan Project
|
||||
|---|---|---|---|---|
|
Home away from home

|
Larry,
Please PM me the formula as well. Thanks!
Posted on: 2012/5/24 10:41
|
|||
|
[url=h
|
||||
|
||||
|
Re: Larry's 1951 Club Sedan Project
|
||||
|---|---|---|---|---|
|
Home away from home
|
It's on its way.
Posted on: 2012/5/24 18:20
|
|||
|
1951 Packard Club Sedan | [url=ht
|
||||
|
||||
|
Re: Larry's 1951 Club Sedan Project
|
||||
|---|---|---|---|---|
|
Home away from home
|
Hi Larry,
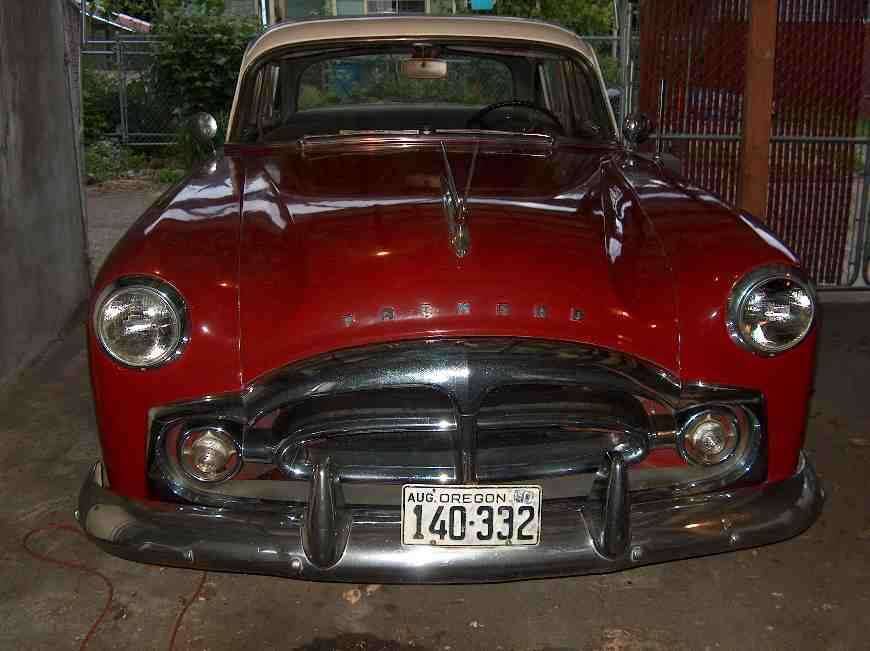
Thank you very much for the paint formula for Matador Maroon. I agree that sending it PM is probably the safest. It is difficult to state positively that the Matador Maroon you show in your first picture if the same as what I see under the trunk lid due to set-up of monitors, etc. That said, it looks very, very close if not spot on. I agree about the color card - it definitely is NOT that dark. Let me know if I can help with anything else. Thanks again for the formula. Jim PS: I can't believe how dirty my '51s chrome looks in the pictures I posted! It looks better in person. Still, I think part of the holiday will be spent polishing chrome.
Posted on: 2012/5/24 18:39
|
|||
|
1951 200 Deluxe Touring Sedan
1951 200 Deluxe Touring Sedan (parts ?) 1951 Patrician Touring Sedan 1955 Patrician Touring Sedan |
||||
|
||||
|
Re: Larry's 1951 Club Sedan Project
|
||||
|---|---|---|---|---|
|
Home away from home
|
It's a pleasure Jim. Quite reassuring to know there's a good likeness with the Maroon on your car, appreciate you checking that aspect. Happy polishing!
Posted on: 2012/5/26 23:42
|
|||
|
1951 Packard Club Sedan | [url=ht
|
||||
|
||||
|
Re: Larry's 1951 Club Sedan Project
|
||||
|---|---|---|---|---|
|
Home away from home
|
Painting the Bonnet
A few months back I cleaned up the bonnet and primed it, ready for finishing and painting. Recently I got it out of 'storage' and began prepping it for painting.Always look forward to shooting a bit of colour onto the car. When I bought the car the bonnet had been stripped and primed, and because that was over 30 years ago, I found some light metal oxidation had formed under that old primer. There was no rust apart from a small patch of surface rust on the rear underside. Ground that off with a die grinder and 80-grit flapper then treated the whole bonnet with phosphoric acid before re-priming with etch primer. Have worn out one angle grinder already . . . here is the new one getting a workout. Using stripper discs I cleaned a small area at a time so as there is no chance of warping the metal.  Some of the very old pitting (although very minor) needed a few passes with the stripper disc to get the area really clean   Only one small area with surface rust    Treated with MetalReady  There were some very minor dents leading to highs and rather than shrink these and risk any warping due to the heat I used a slapper to minimize them. After etch-priming both top and underside of the bonnet, and filling one small nick with stop putty, 4 coats of 2-pak primer-filler were applied. Then the bonnet was wet sanded with 320 followed by 600 and finally 800.  Blocking was a lengthy job, taking around 4 hours . . .  I set up outside and sprayed the underside first, as a test of whether I would end up having too many inclusions (- dust and bugs) to achieve a good finish. Sure enough, it must have been a 'Bug's day out', and several small ones landed on my paint job during the spraying of the underside. It was a still, cool but sunny day and being the middle of winter I had thought there would be very few bugs around. So it was going to be necessary to spray the upper surface inside the workshop to eliminate bugs. The bonnet was moved inside, lights set up, doors closed and thankfully a very good result was achieved, with no bugs and minimal dust. A few views of the Packard Maroon Metallic. Yet to be buffed but gloss is good    At a later stage the job will be lightly hand-sanded with 2000 grit and re-coated with several additional coats of clear, to give additional depth and smoothness to the final finish. It has already had four coats of clear over the colour.
Posted on: 2012/7/1 4:13
|
|||
|
1951 Packard Club Sedan | [url=ht
|
||||
|
||||
|
Re: Larry's 1951 Club Sedan Project
|
||||
|---|---|---|---|---|
|
Home away from home
|
Beautiful work Larry! All the hard work is paying off! Congrats!
Posted on: 2012/7/1 8:15
|
|||
|
||||


