|
Re: KPack
|
||||
|---|---|---|---|---|
|
Webmaster
|
I'm not sure about that size. The stapler I have is like 10 years old and is not a current model. So you'd have to check the specs on the ones they currently have.
Posted on: 2023/2/24 14:39
|
|||
|
-BigKev
1954 Packard Clipper Deluxe Touring Sedan -> Registry | Project Blog 1937 Packard 115-C Convertible Coupe -> Registry | Project Blog |
||||
|
||||
|
Re: KPack
|
||||
|---|---|---|---|---|
|
Webmaster
|
It's coming along!
Posted on: 2023/2/27 21:57
|
|||
|
-BigKev
1954 Packard Clipper Deluxe Touring Sedan -> Registry | Project Blog 1937 Packard 115-C Convertible Coupe -> Registry | Project Blog |
||||
|
||||
|
Re: KPack
|
||||
|---|---|---|---|---|
|
Home away from home

|
Thanks Kev! Slowly but surely getting there.
I had some window run channel samples come in from Rubber the Right Way today. It looks like the piece they have for the front channel (behind the vent window) will work. It has stainless beads, whereas the original does not. But the size is right and should drop right once I remove the original channel. Just not sure about the bead or not. The sample for the rear channel does not fit in the metal frame. It is too wide. But the inside dimension is correct for the rear of the window frame....it's 1/8", which is enough or the stainless window frame to glide in. I tried a generic channel out of curiosity. It doesn't fit that well, but technically it does work. But I'd like to have it close to original if possible. Does anyone have a part number they used for run channel from Restoration Specialities? -Kevin Attach file:  Beaded run channel.jpg (87.84 KB) Beaded run channel.jpg (87.84 KB)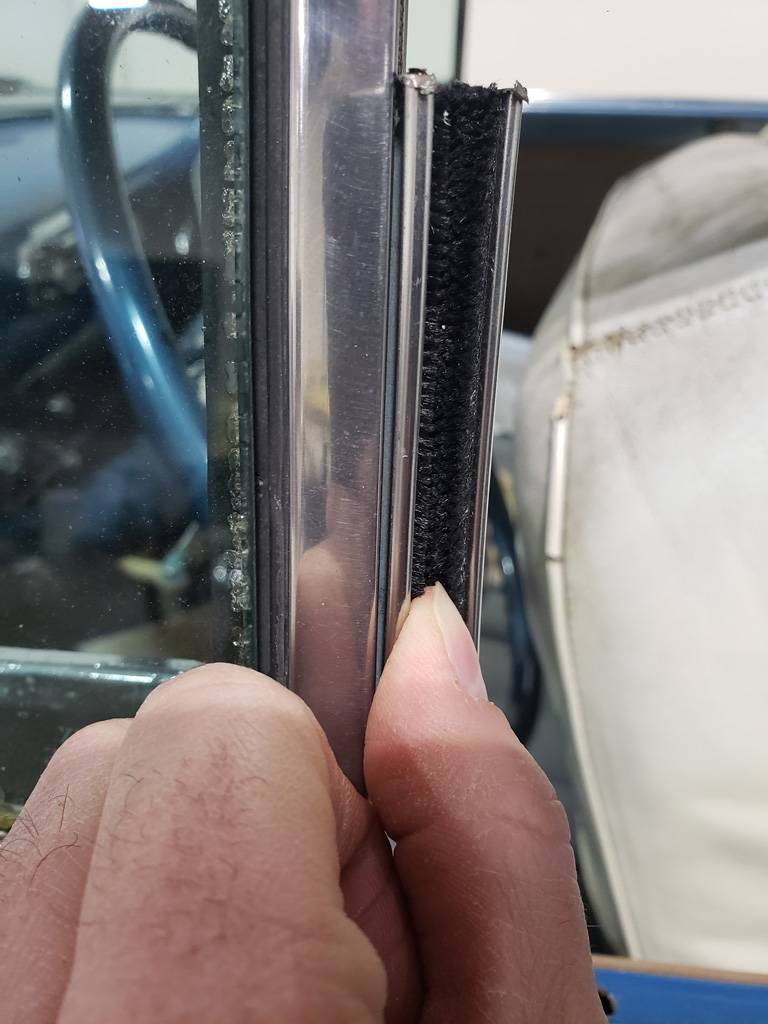  Beaded run channel 2.jpg (81.84 KB) Beaded run channel 2.jpg (81.84 KB)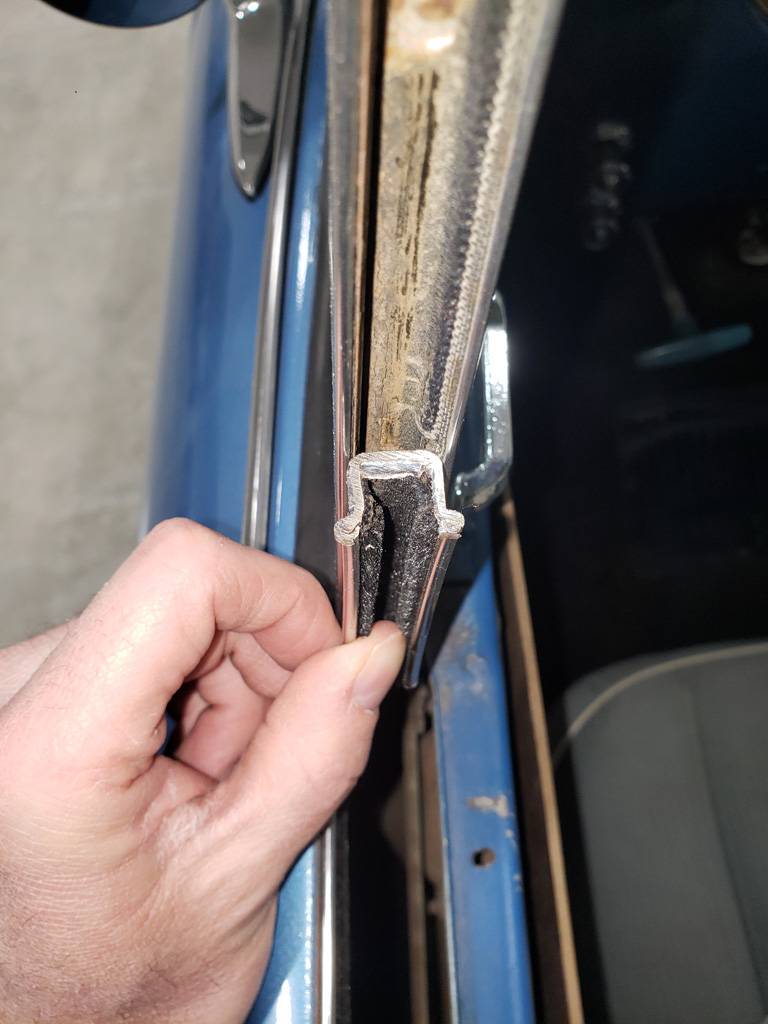  Rear run channel incorrect size.jpg (76.97 KB) Rear run channel incorrect size.jpg (76.97 KB)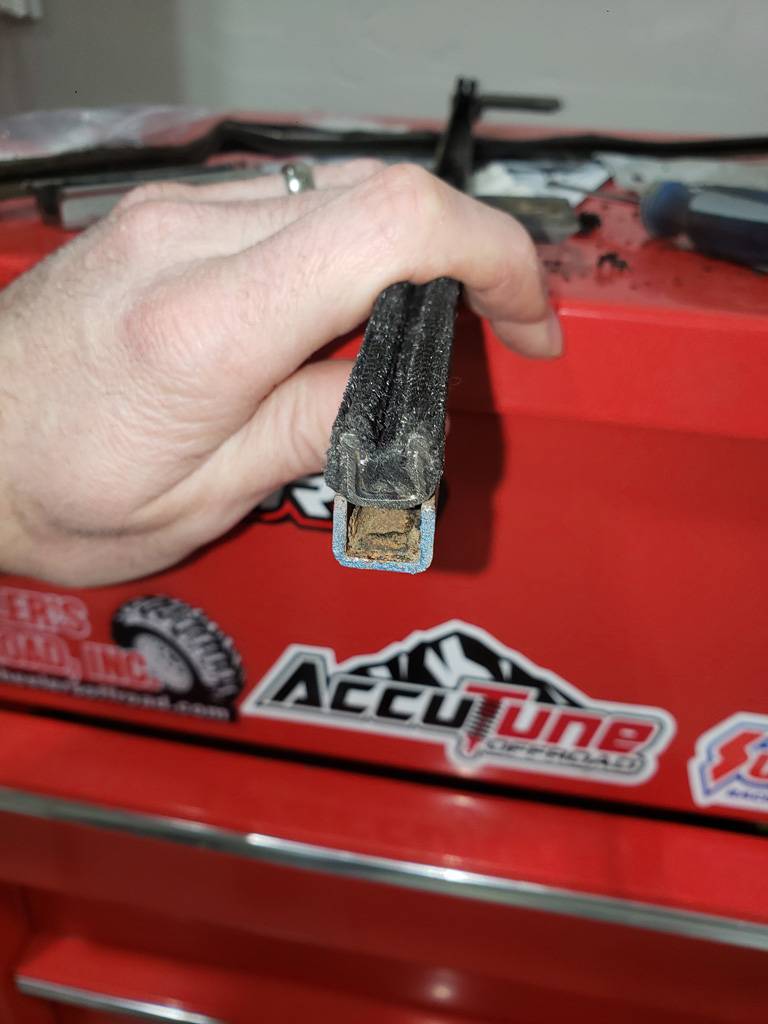  Rear channel possible solution.jpg (89.07 KB) Rear channel possible solution.jpg (89.07 KB)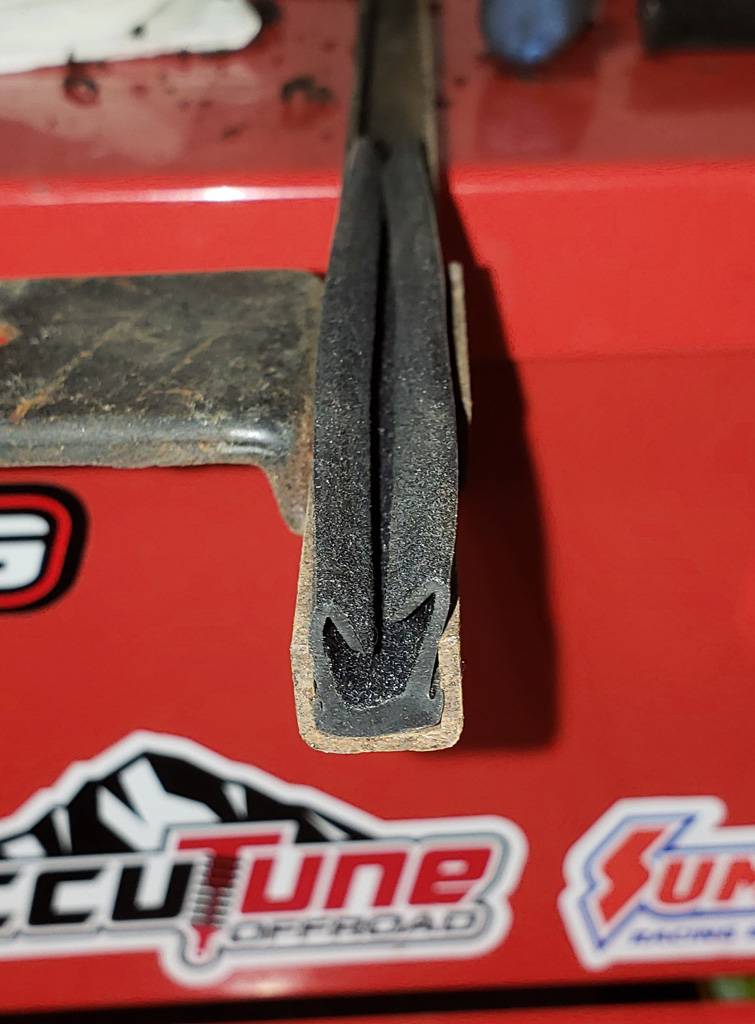
Posted on: 2023/2/28 0:53
|
|||
|
||||
|
Re: KPack
|
||||
|---|---|---|---|---|
|
Webmaster
|
This is what I used, but not sure if it matches what you originally had.
This was for restoration specialities. This is rubberized on the backside and is bendable. But when glued into the channel works perfectly. So not rigid channel.
Posted on: 2023/2/28 8:26
|
|||
|
-BigKev
1954 Packard Clipper Deluxe Touring Sedan -> Registry | Project Blog 1937 Packard 115-C Convertible Coupe -> Registry | Project Blog |
||||
|
||||
|
Re: KPack
|
||||
|---|---|---|---|---|
|
Webmaster
|
I think Y526 was the part number. There catalog is confusing as they have parts listed under Stainless Steel Beaded Channels which are not stainless beaded. So look at the illustrations closely and call and ask them questions to confirm before ordering. Also you can have them cut a 60" piece in half to save on shipping.
But check the dimensions on your channel.
Posted on: 2023/2/28 8:37
|
|||
|
-BigKev
1954 Packard Clipper Deluxe Touring Sedan -> Registry | Project Blog 1937 Packard 115-C Convertible Coupe -> Registry | Project Blog |
||||
|
||||
|
Re: KPack
|
||||
|---|---|---|---|---|
|
Home away from home

|
Quote:
Thanks Kev. I ended up calling Rubber the Right Way and talked to one of their guys at length. I think we found some solutions for both the front and the rear. I have some getting shipped out today, so hopefully by next week I can get it installed. Nice guys to work with over there. -Kevin
Posted on: 2023/3/3 11:03
|
|||
|
||||
|
Re: KPack
|
||||
|---|---|---|---|---|
|
Home away from home

|
I did some practice and testing on some scrap pieces today. I had ordered a staple gun and 1/4" staples (Arrow PT50. The gun was only $30 and it feels great. Well made, and so far seems like it will work well.
I wanted to test how the staples would do with the hardboard, how the 1/4" scrim foam would look, how the staples would work under the stainless trim, and how the stainless would fit against the 1/4" foam. The original padding was very minimal....maybe 1/8" at the very most. It was almost non-existent. The 1/4" foam is definitely thicker and I was worried how it would look. I did a quick mock up to check, and it looks better than I thought. Definitely thicker and puffier than original, but I don't know that it's easily noticed. If I don't put any foam where the stainless is supposed to go, it fits fine. The only issue I'm seeing right now is the 1/4" staples stick out the back of the hardboard when it's just vinyl and hardboard. It's not totally critical, but I may need to grind off the tips after I staple. I need to order a gallon of the good glue (Weldwood Landau Top and Trim adhesive). I also really need to practice wrapping corners. Mine are ugly. -Kevin Attach file:  Mockup.jpg (59.84 KB) Mockup.jpg (59.84 KB)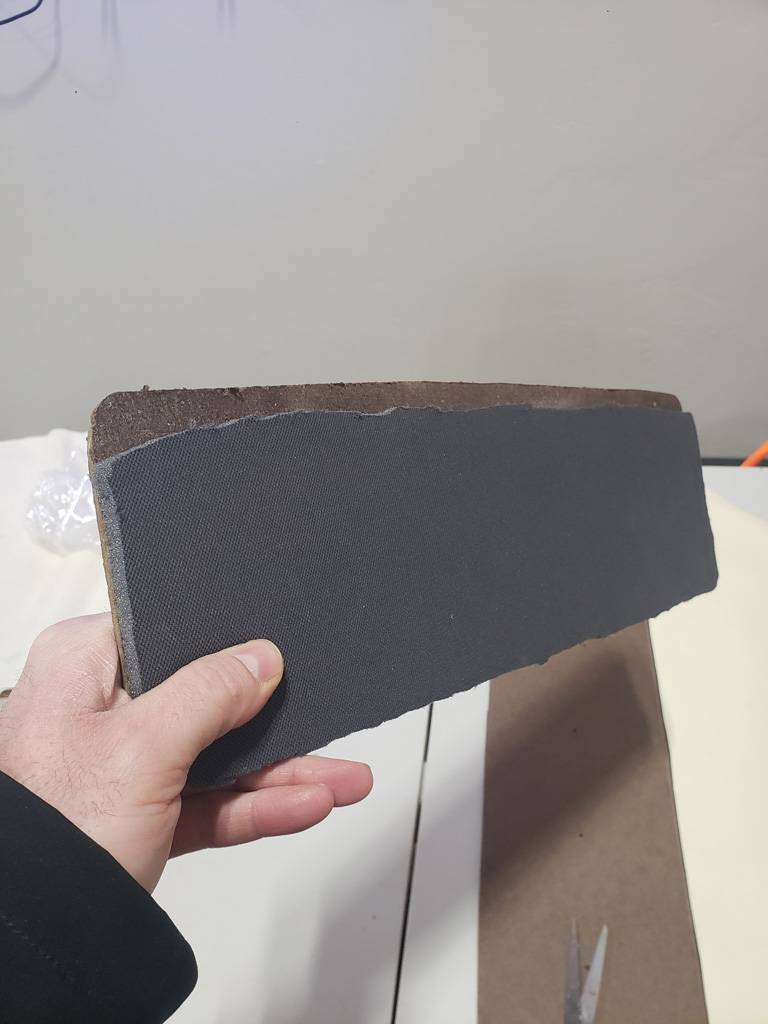  Stapled on top.jpg (50.63 KB) Stapled on top.jpg (50.63 KB)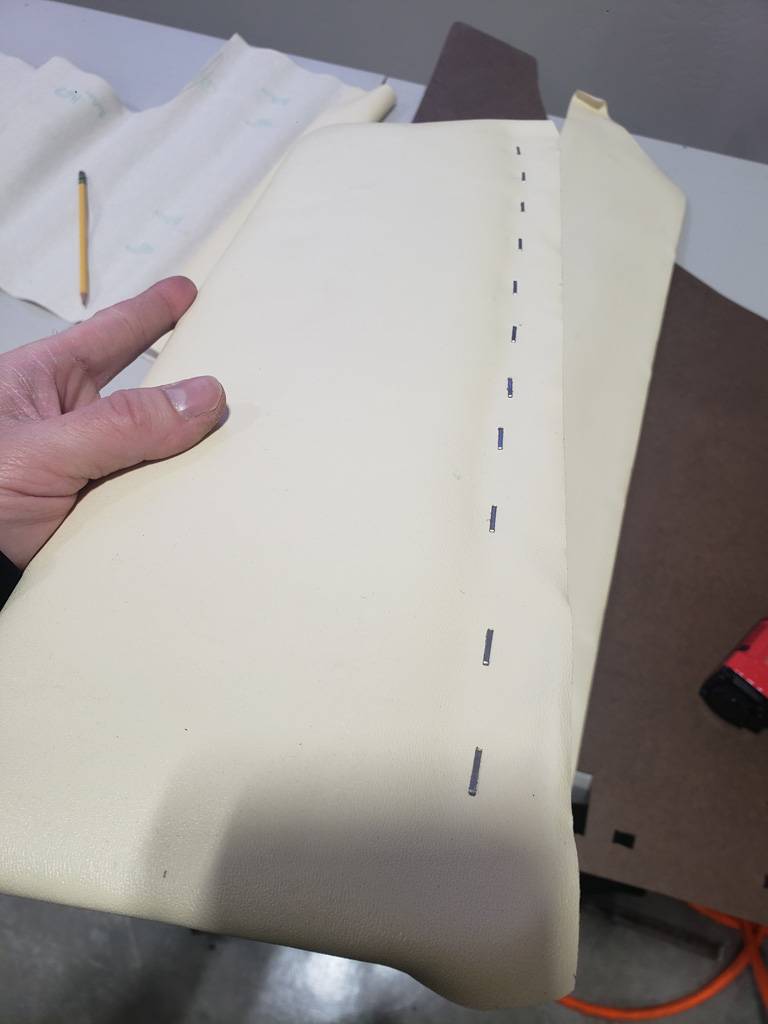  Stapled behind.jpg (95.41 KB) Stapled behind.jpg (95.41 KB)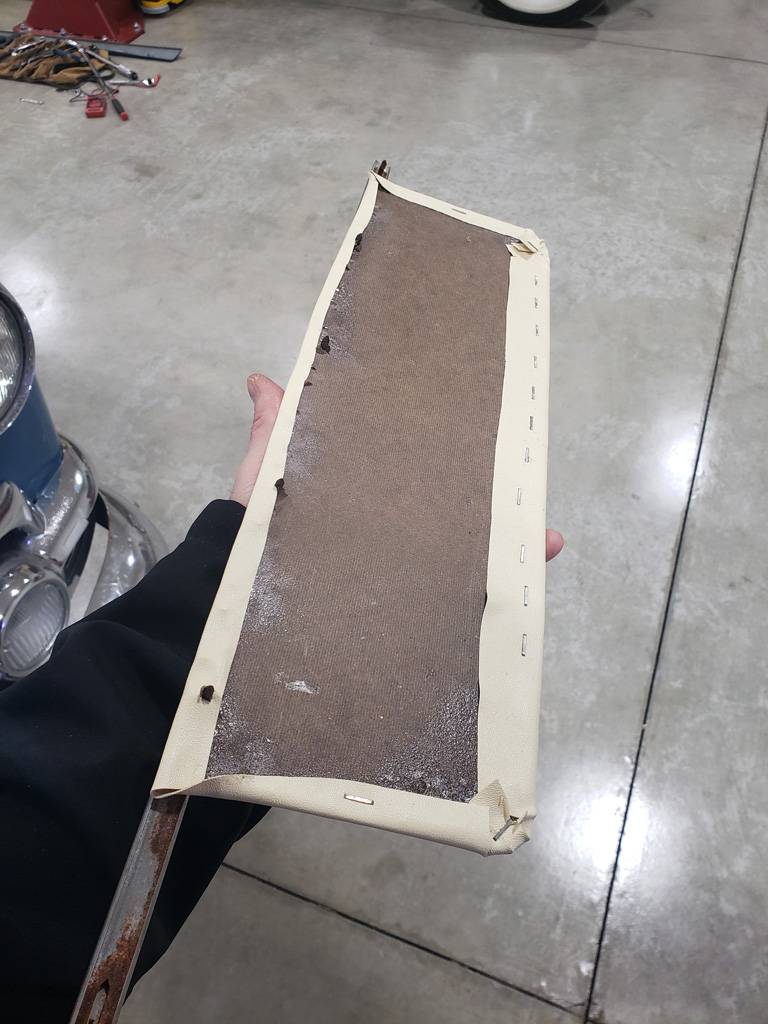  Test piece.jpg (75.56 KB) Test piece.jpg (75.56 KB)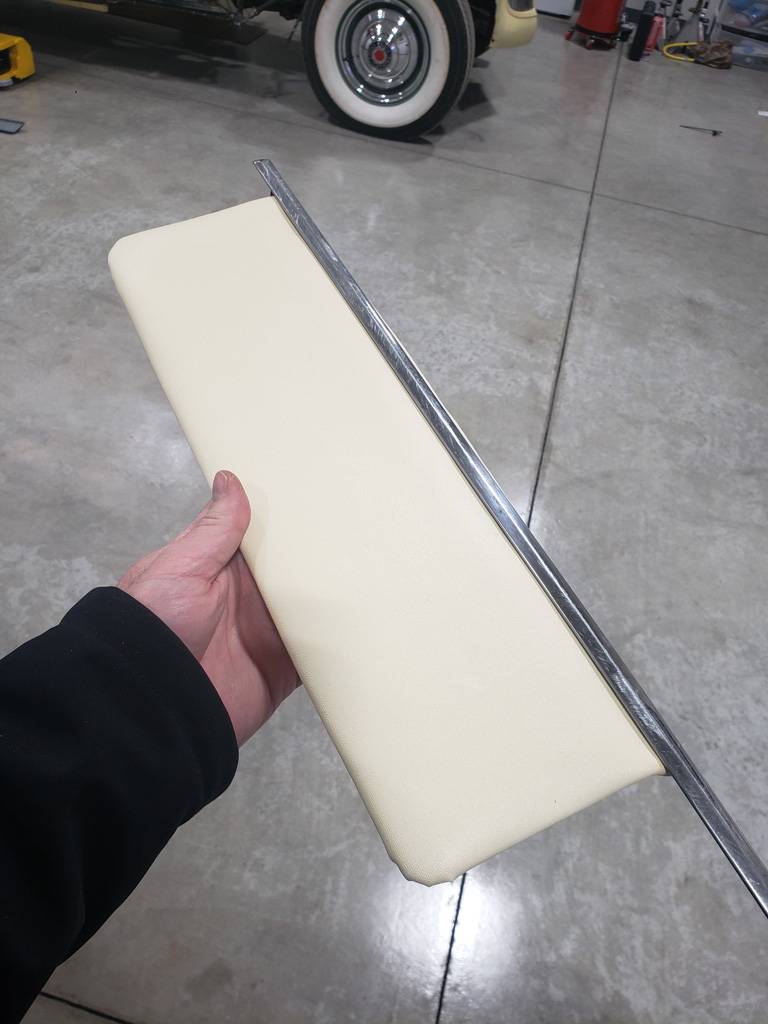
Posted on: 2023/3/5 0:25
|
|||
|
||||
|
Re: KPack
|
||||
|---|---|---|---|---|
|
Webmaster
|
Look great! Let me known when your upholstery shop opens!
Posted on: 2023/3/5 8:35
|
|||
|
-BigKev
1954 Packard Clipper Deluxe Touring Sedan -> Registry | Project Blog 1937 Packard 115-C Convertible Coupe -> Registry | Project Blog |
||||
|
||||
|
Re: KPack
|
||||
|---|---|---|---|---|
|
Home away from home

|
The Panama has been running really rough the past few times I've turned it on. So I started from scratch and reset the timing. Spark plug out (very black, looks like it's been running rich), engine on #1 stroke, put at 7 degrees BTDC. Loosened the distributor, and used a multimeter to set it at right when the points open.
I noted the rotor appears burned, as well as the old cap. I quickly polished the rotor as a temporary fix. New rotor and cap will be coming tomorrow from NAPA. It was still a bit rough when I started the car, so I warmed it up and worked on the timing with a light. It smoothed out eventually. I put some Marvel Mystery Oil in the fuel for good measure. I have a valve that I think may be trying to stick again, so I want to keep the top end lubricated. I threw the Panama on the lift, and checked the trans fluid, then topped it off. Also went around and checked all the brakes. I made some minor adjustments. Also adjusted the idle mixture screws. Took the car on a 5 mile drive (cold, and still don't have windows installed) and everything worked great. Brakes, transmission, no hesitation on acceleration, no stumbling from the engine. Also tried to make one of the pleated panels for the doors. It was moderately successful. I went to an upholsterer here in town and bought some professional glue from him, and we talked about the door panels I'm doing. In the end, he said he'd be happy to sew up the pleats for me and I can assemble the panels myself. $50 for him to do that, and it will look much better than if I do it on my crappy home machine. -Kevin Attach file:  Rich mixture.jpg (56.47 KB) Rich mixture.jpg (56.47 KB)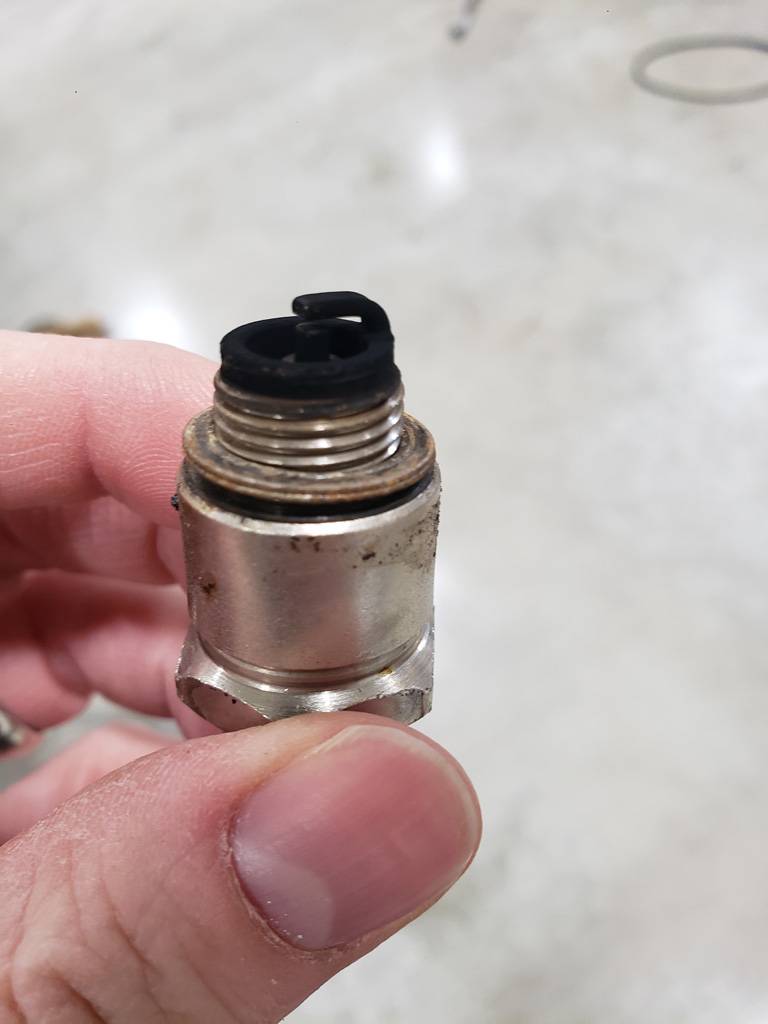  Burned rotor.jpg (72.76 KB) Burned rotor.jpg (72.76 KB)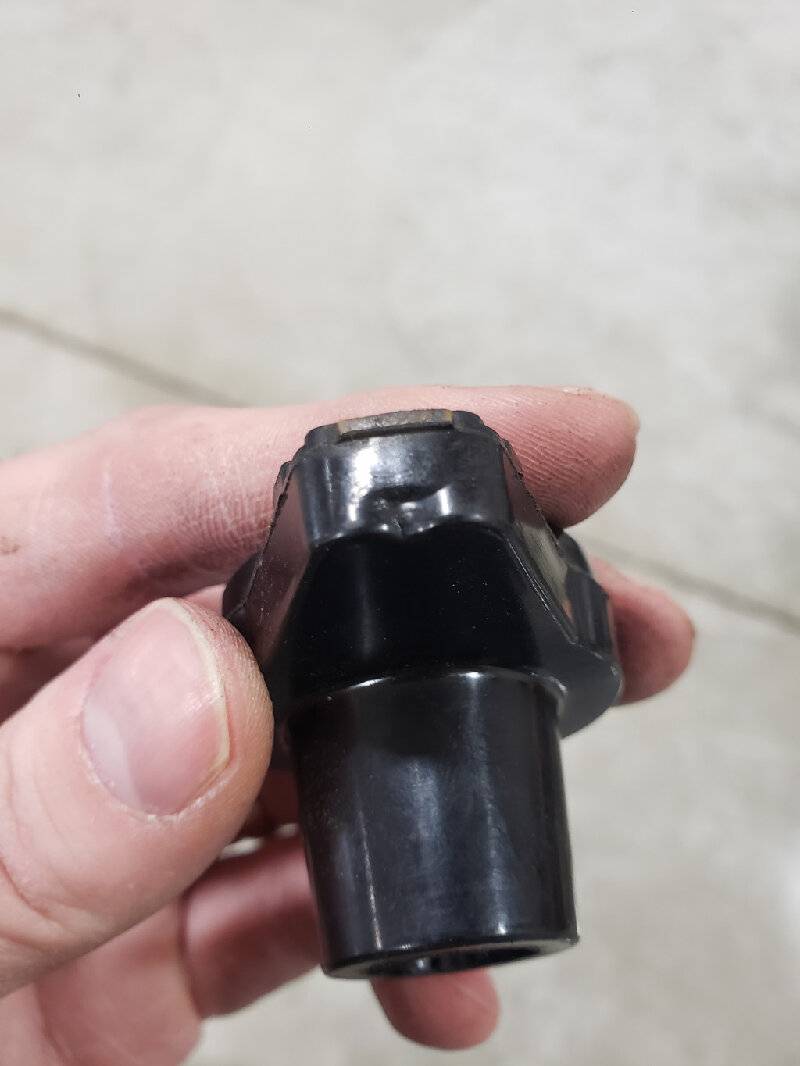  Brake adjustment.jpg (107.40 KB) Brake adjustment.jpg (107.40 KB)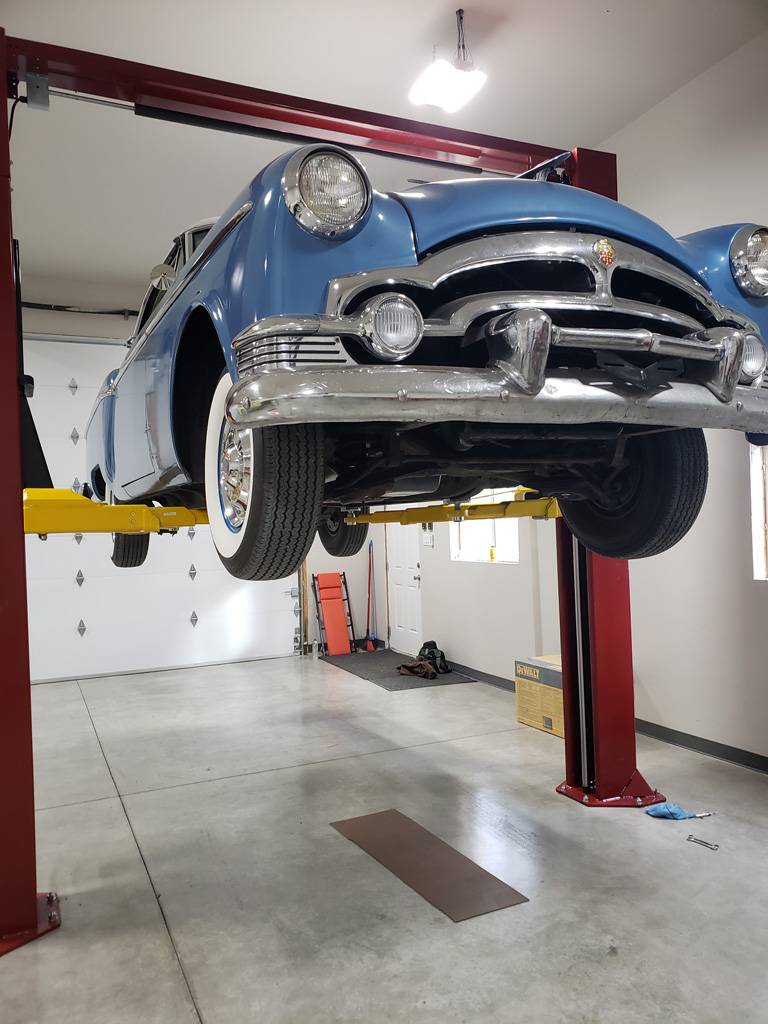  Attempting pleats.jpg (94.64 KB) Attempting pleats.jpg (94.64 KB)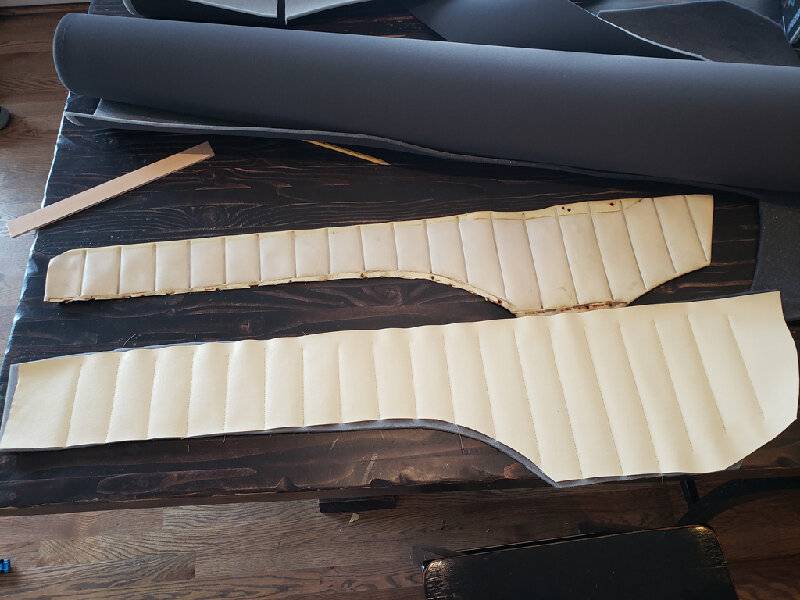
Posted on: 2023/3/6 20:51
|
|||
|
||||

