|
Re: 51Packard's....51 Packard
|
||||
|---|---|---|---|---|
|
Webmaster
|
Alot of parts chassis and steering related parts were painted with a cheapo bulk black paint from the factory, no primer. So after years of dirty, debris, road salt, the only thing left is the muck and rust.
Posted on: 2010/10/20 12:14
|
|||
|
-BigKev
1954 Packard Clipper Deluxe Touring Sedan -> Registry | Project Blog 1937 Packard 115-C Convertible Coupe -> Registry | Project Blog |
||||
|
||||
|
Re: 51Packard's....51 Packard
|
||||
|---|---|---|---|---|
|
Home away from home

|
Ahh...that explains it then. Thanks for clearing that up!
Posted on: 2010/10/20 14:28
|
|||
|
[url=h
|
||||
|
||||
|
Re: 51Packard's....51 Packard
|
||||
|---|---|---|---|---|
|
Webmaster
|
When you see these high dollar show cars with their shiny black, powder coated frames they are way over-restored and don't reflect how the car was actually delivered from the factory. I remember hearing some scuttlebutt that PI was going to start docking points on over-restored cars in Judging for that reason. Not sure if they ever decided to do that or not.
I used semi-glass Chassis Black paint from Eastwood on my chassis and steering parts. But if I was to do it all over again, I would have just bought a 2-part urethane in low-gloss black from the local auto paint store to do it with. Much cheaper in price and longer lasting since it is catalyst cured. That is what I painted the inner fenders with, and it turned out great.
Posted on: 2010/10/20 14:37
|
|||
|
-BigKev
1954 Packard Clipper Deluxe Touring Sedan -> Registry | Project Blog 1937 Packard 115-C Convertible Coupe -> Registry | Project Blog |
||||
|
||||
|
Re: 51Packard's....51 Packard
|
||||
|---|---|---|---|---|
|
Home away from home

|
So I guess my rattle can Rustoleum job won't be over restored! LOL! I didn't think about gloss vs semi gloss. I was about to paint the frame and steering box gloss black (same as I have been using.) I think I should go out and get some semi-gloss. Didn't notice any at the last store I was at. I'll try a different store this time.
I'm not set up to paint with a paint gun yet. I have a Craftsman one, but it is a conventional one and I don't know how well it works (got it at a yard sale). When I go to do the fenders, hopefully I will have an HVLP gun or at least try out the Craftsman. Probably has a lot of overspray though.
Posted on: 2010/10/20 19:27
|
|||
|
[url=h
|
||||
|
||||
|
Re: 51Packard's....51 Packard
|
||||
|---|---|---|---|---|
|
Home away from home

|
10-20-10
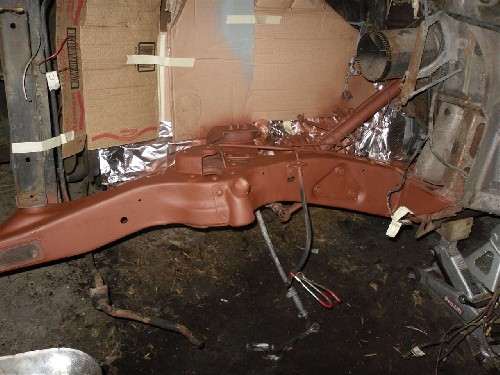
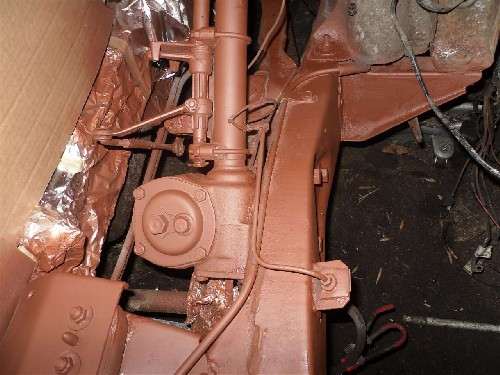
So I got primer on the frame and steering box. So far, so good. The aluminum foil trick works AWESOME! So easy to cover large surfaces quickly. Thanks for that great tip! I didn't bother to mask off the metal lines. I will either replace them, wire brush the paint off with my dremel or paint them silver. I got engine paint on them anyway. I'm probably going to have to replace the metal brake line anyway because I saw a couple of patches of rust on it and it is so small, I think it could be compromised quickly. Will replace the rubber hose too. My shocks and wheel cylinders should be delivered tomorrow. I decided to just buy new wheel cylinders because they are so cheap to replace. I realized that I didn't put phosphoric acid on the lower part of the big frame member (where the lower suspension arm bolts too) so I gave it a wire brushing (found one for my drill) and coated it. I'll put primer on it tomorrow if it is not too cold. I got two coats of primer on everything. Of course, an hour later it started to drizzle! Hopefully it was dry enough where no damage occurred. I'll find out tomorrow.
Posted on: 2010/10/20 19:38
|
|||
|
[url=h
|
||||
|
||||
|
Re: 51Packard's....51 Packard
|
||||
|---|---|---|---|---|
|
Home away from home

|
10-23-10
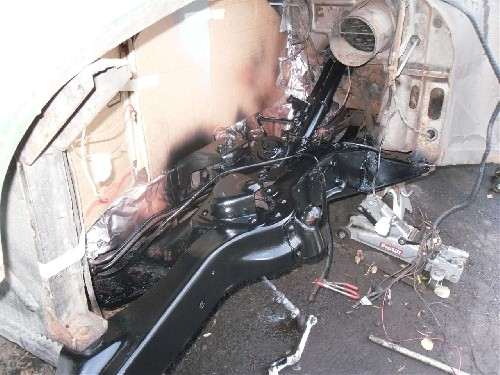
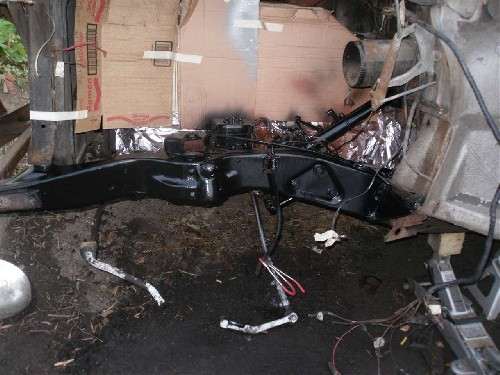
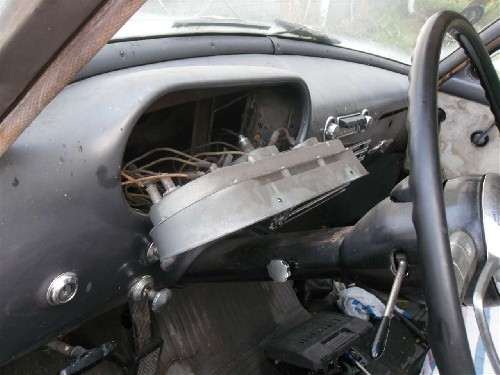
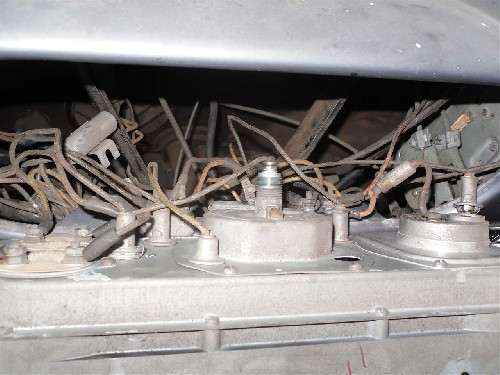
Got the frame and steering painted in semi-gloss black today. Put two coats on it. Once that was dry, I touched up some of the paint on the motor (not pictured) because I decided to remove the generator bracket and a bracket holding some pipes. After that, I wanted to get a start on removing the wire harness so I could make a new one. Whoever designed the way to remove the instrument panel was on crack! And whoever wrote the instructions on how to remove it was his dealer! Talk about a pain in the a@#! Took forever to reach between the wires and get a socket on the studs long enough to loosen the nuts holding the bottom of the cluster to the dash. Now that I have it moved forward, I think I will have to make the wires a little longer so I have more room to work with if I ever have to remove it again. I wish there was a better way to secure the bottom of the cluster, like wing nuts or something.
Posted on: 2010/10/23 20:39
|
|||
|
[url=h
|
||||
|
||||
|
Re: 51Packard's....51 Packard
|
||||
|---|---|---|---|---|
|
Home away from home

|
10-24-10
Rain showers all weekend has hampered my progress. Managed to get a few things done though. I removed all of the wires and bulb sockets from the back of the instrument cluster, labeled them and removed the instruments. I also removed the ignition switch, headlight switch and power antenna switches from the dash, but kept the wires hooked up for now. Too much rain at the time to get them removed and labeled. Also noticed that someone cut the wires for the power antenna! Maybe that is why it wasn't working, but when I took the cover off the motor, it was covered with a white powder junk which makes me think the motor doesn't work. It is also rotted where the nylon tube goes around at the bottom to push the antenna up. I also removed the radio. Took some doing to get it from under the dash because of it's size. It worked when I got the car (lit up and static came out of the speaker but no signal because of the bad antenna) but about 10 years ago, it stopped for some reason. Maybe it blew a fuse. I'll have to check it out. When you guys do your wiring, do you add disconnect plugs to make future removal of items like the dashboard or instruments easier? I'm thinking about doing that. Haven't decided for sure or where the best place to put plugs would be. Also, in the last picture, I'm holding a black plastic item between some wires. Is this some kind of connector? If so, how do you get the wires loose? I gave them a gentle tug, but nothing happened. Attach file:  (94.87 KB) (94.87 KB)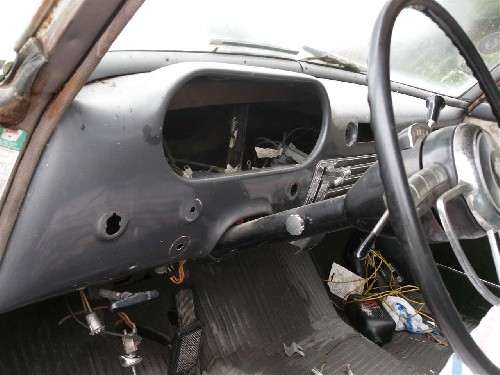  (115.31 KB) (115.31 KB)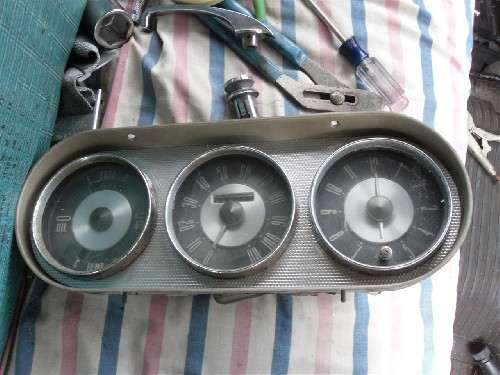  (111.77 KB) (111.77 KB)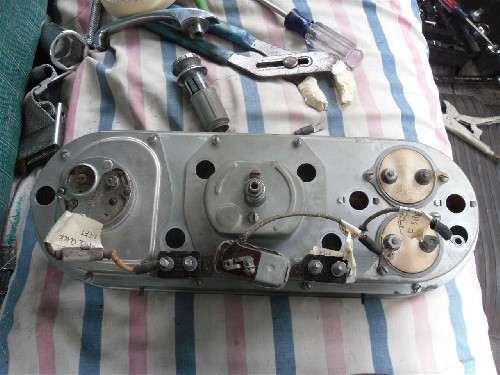  (132.31 KB) (132.31 KB)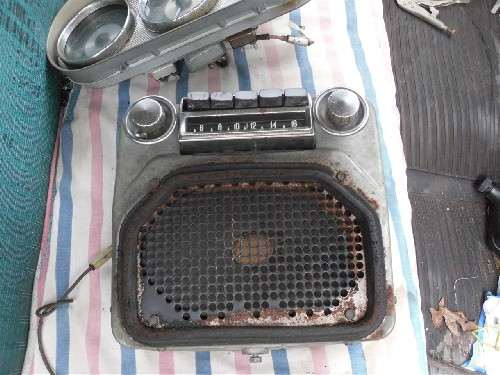  (133.28 KB) (133.28 KB)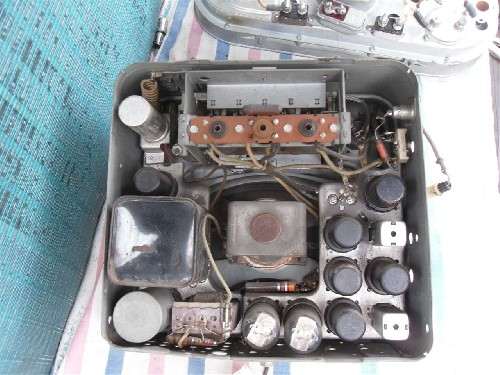  (39.72 KB) (39.72 KB)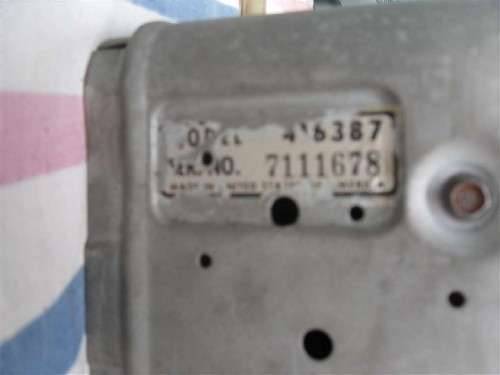  (111.16 KB) (111.16 KB)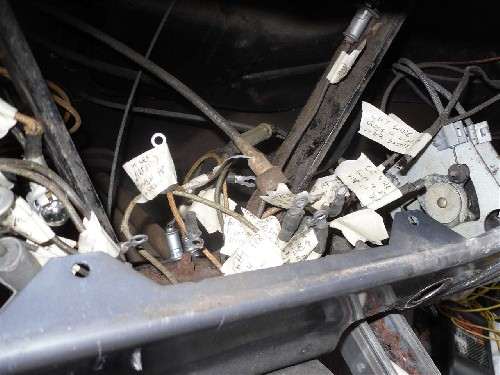  (62.08 KB) (62.08 KB)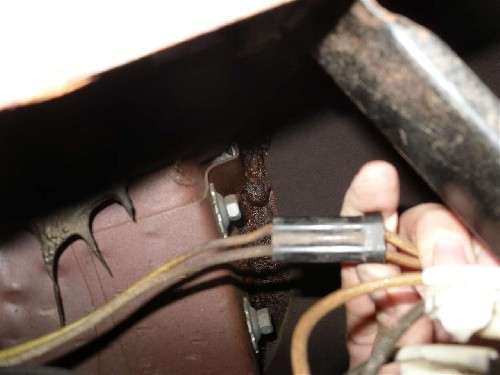
Posted on: 2010/10/24 17:00
|
|||
|
[url=h
|
||||
|
||||
|
Re: 51Packard's....51 Packard
|
||||
|---|---|---|---|---|
|
Home away from home

|
10-24-10 continued...
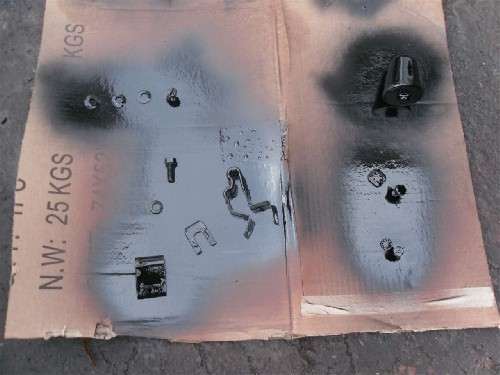
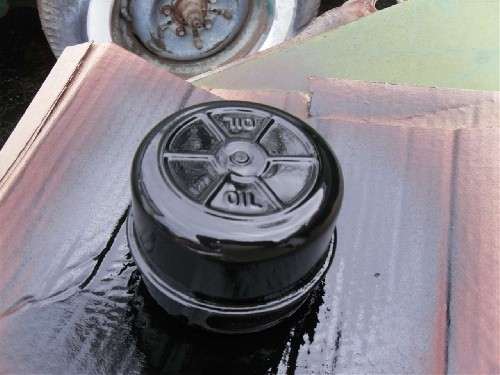
Also did some media blasting. Stopped after a while because the media was clogging up in the siphon tube. Probably because of the rain/humidity. I blasted some bolts, the clip for the suspension stabilizer bar, the hose clip I removed earlier, the oil dip stick handle, the oil filler tube and the oil filler cap. Gave everything a coat of primer, followed by gloss black, except the oil filler tube that I painted the engine gray color.
Posted on: 2010/10/24 17:04
|
|||
|
[url=h
|
||||
|
||||
|
Re: 51Packard's....51 Packard
|
||||
|---|---|---|---|---|
|
Forum Ambassador
|
The black thing is a connector. There are two types. This one looks like the tab type with approx 5/16" wide tabs on the wires. The other type uses round bullet connectors. Those usually pull out but sometimes takes a bit of effort. If this is tabs, approx in the middle of the tab is a small hole which captures a tiny pin or tang which is part of the mating connector contact. I don't remember which side it is on but pushing wire in and opposite the tang may release it, otherwise a tiny screwdriver on one side or the other will push the tab away from the pin. You still may have to push in on the wire slightly while doing it but once released, wire will pull out.
Attach file:  (2.33 KB) (2.33 KB)
Posted on: 2010/10/24 17:11
|
|||
|
||||

