|
Re: 51Packard's....51 Packard
|
||||
|---|---|---|---|---|
|
Home away from home

|
4-9-11
Using HH56's diagram, I took apart my new headlight switch because it was not pulling out easily. Bent the 3 tabs away and removed the brown terminal board. Then I removed the triangular part which had a spring and knob at the bottom. Next came out the square box attached to the shaft. Then I pulled the shaft out. As HH56 suspected, it had hardened grease in it. While examining it, the spring between the main housing and the ceramic piece came out as well as two metal disks. I cleaned everything with contact cleaner and lubed where I thought would be appropriate. What a nightmare it was getting that spring back in with the disks in their correct alignment. Took pics of me taking it apart, but of course I forgot to take some after it was cleaned up. Now the switch works a lot better. I cleaned up all of the knobs and installed it in the car as well as mounting the ignition switch and power antenna switch. I had my horn button removed from earlier when I was going to remove the steering wheel. Took the nut off the center and the circular metal piece behind it. I put the nut back on to protect the threads and installed the steering wheel puller. Once the wheel was removed, I took the screws out and pulled out the turn signal switch. I have been having problems with it not working and flopping around so I will have to address that. I also have to replace the wire going to the light for the gear selector. I removed the pivot screw in the column and removed the top of the gear selector. I moved the bulb to the hole opening and took the metal holding strap off. I pried out the bulb, but should have been more careful because I squished the thin tube cover with the green lens. Later, I will attach a new wire to the bottom of the light and pull it out, hopefully acting like a fish tape and pull the new wire through the column. Attach file:  (67.17 KB) (67.17 KB)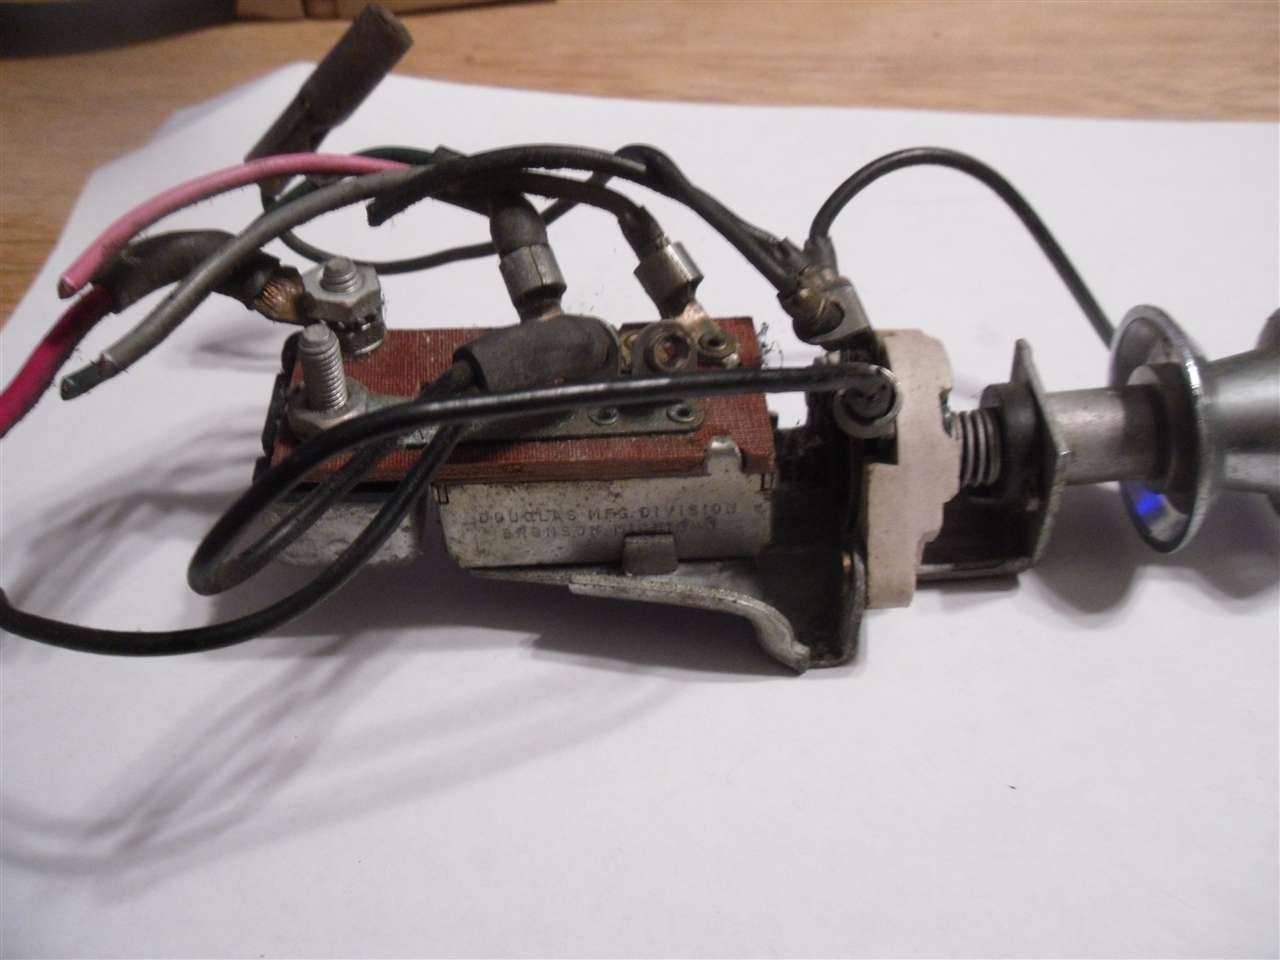 (61.41 KB) (61.41 KB)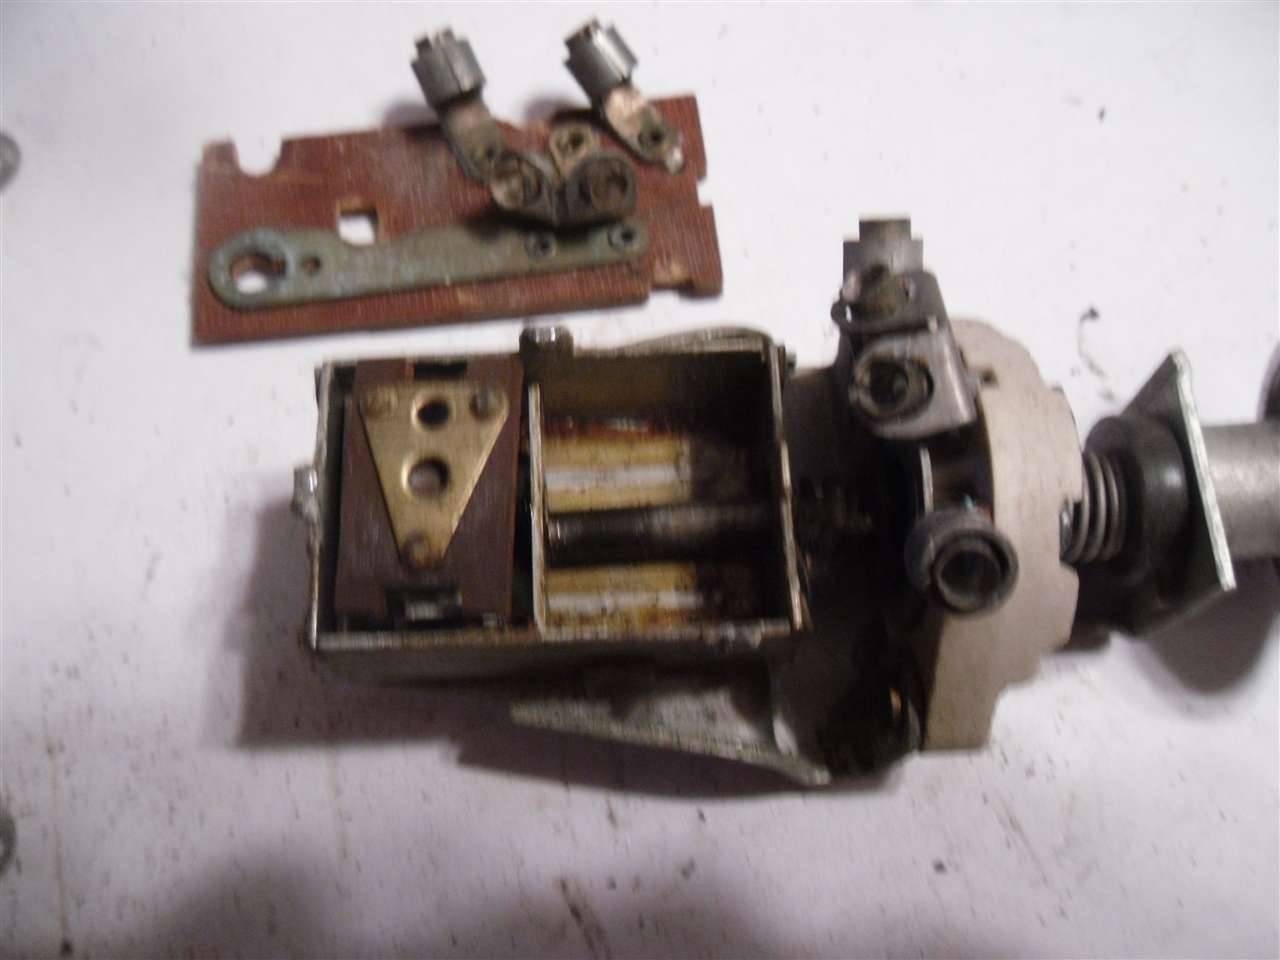 (71.51 KB) (71.51 KB)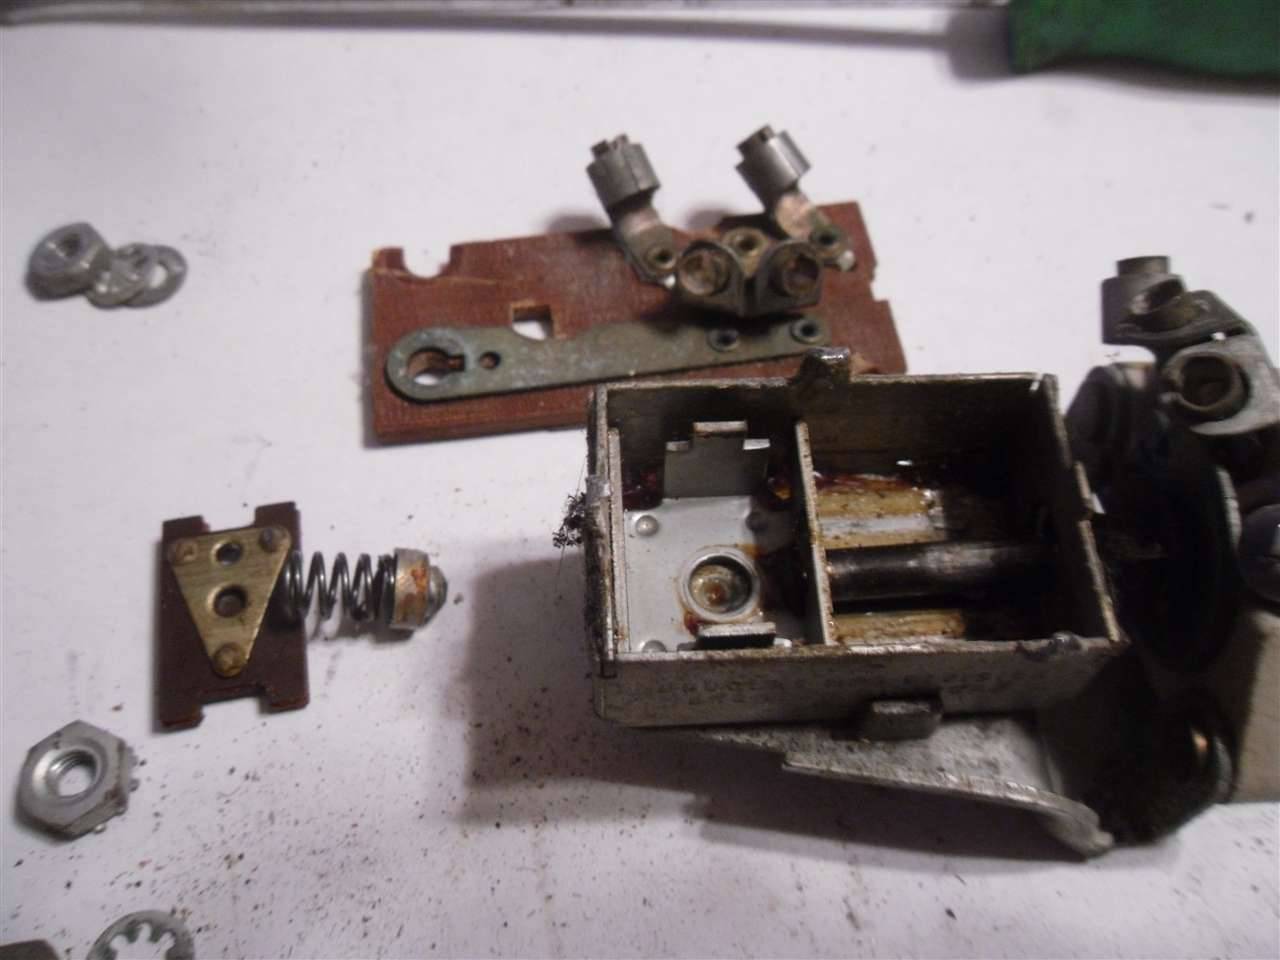 (55.18 KB) (55.18 KB)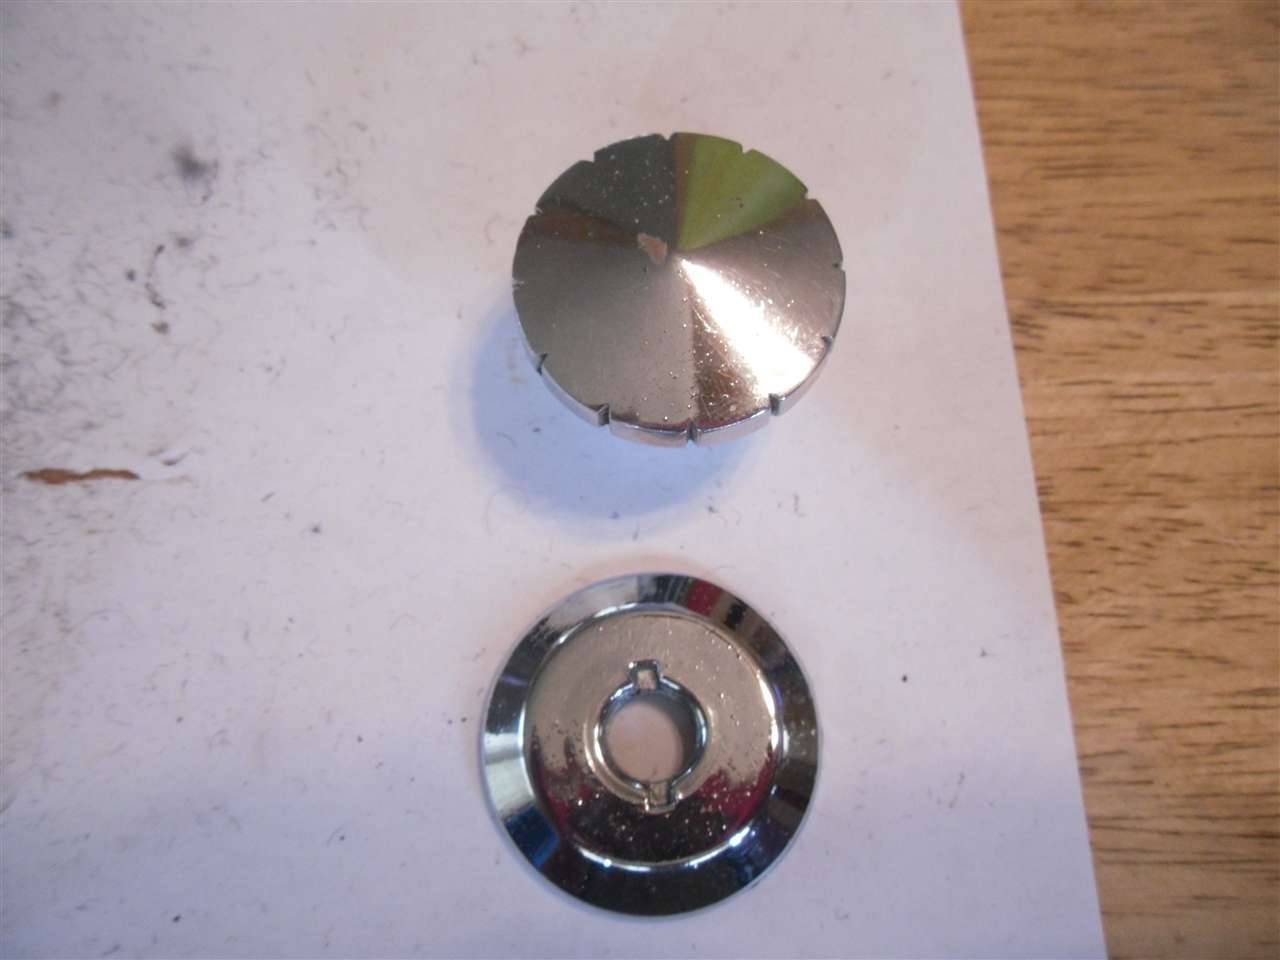 (116.31 KB) (116.31 KB)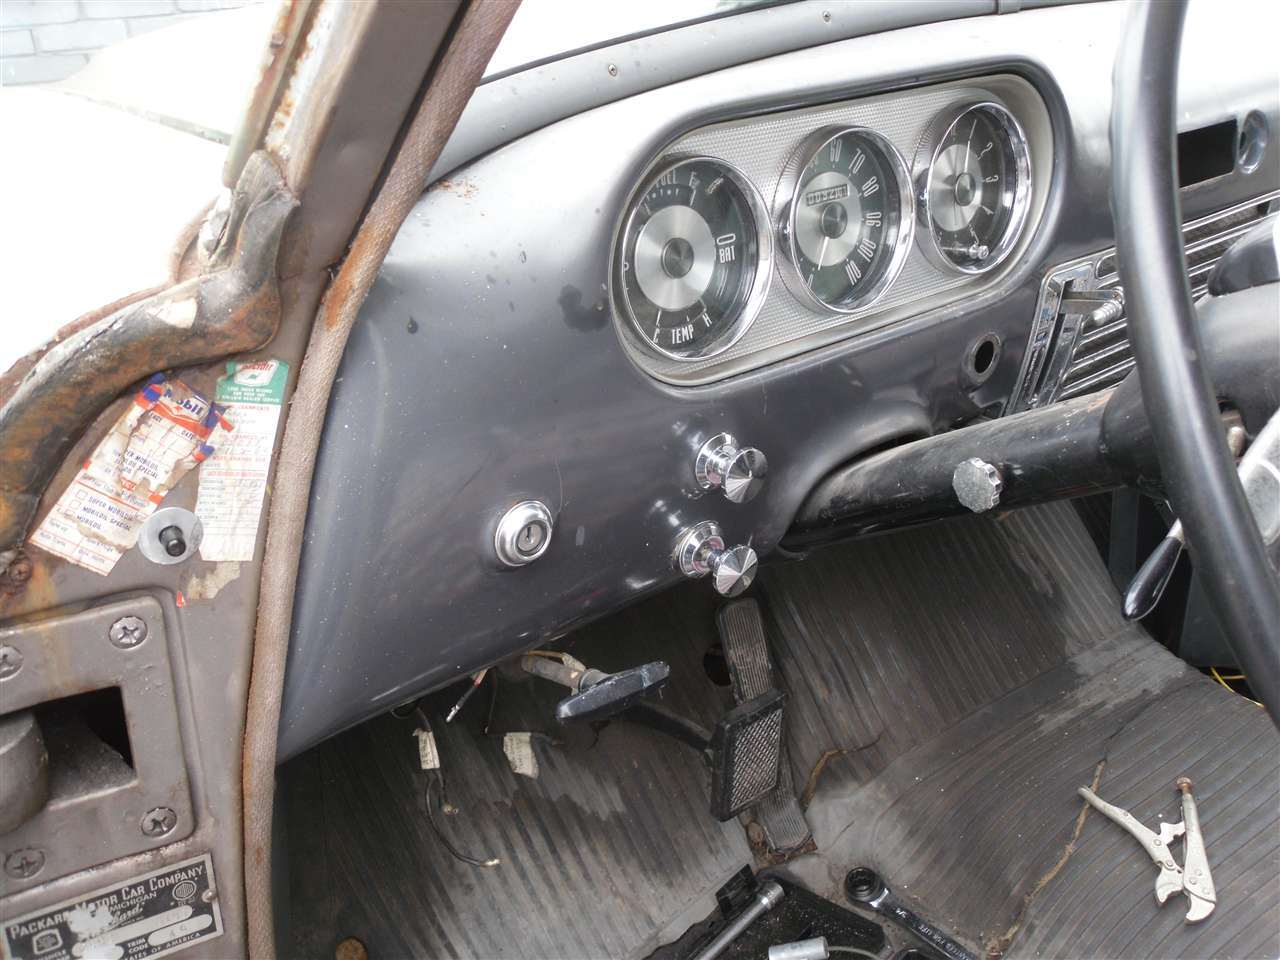 (113.80 KB) (113.80 KB)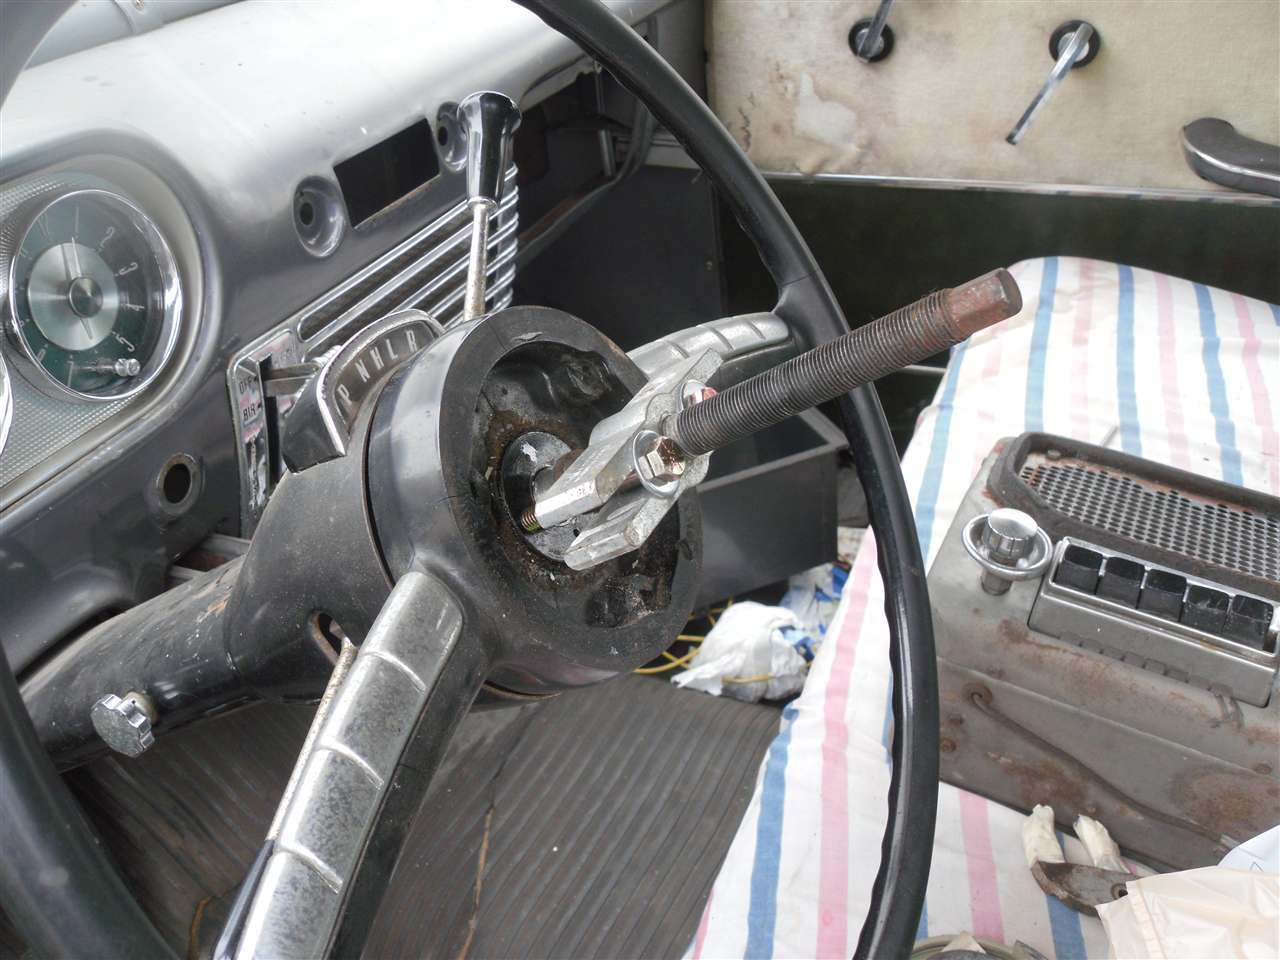 (103.76 KB) (103.76 KB)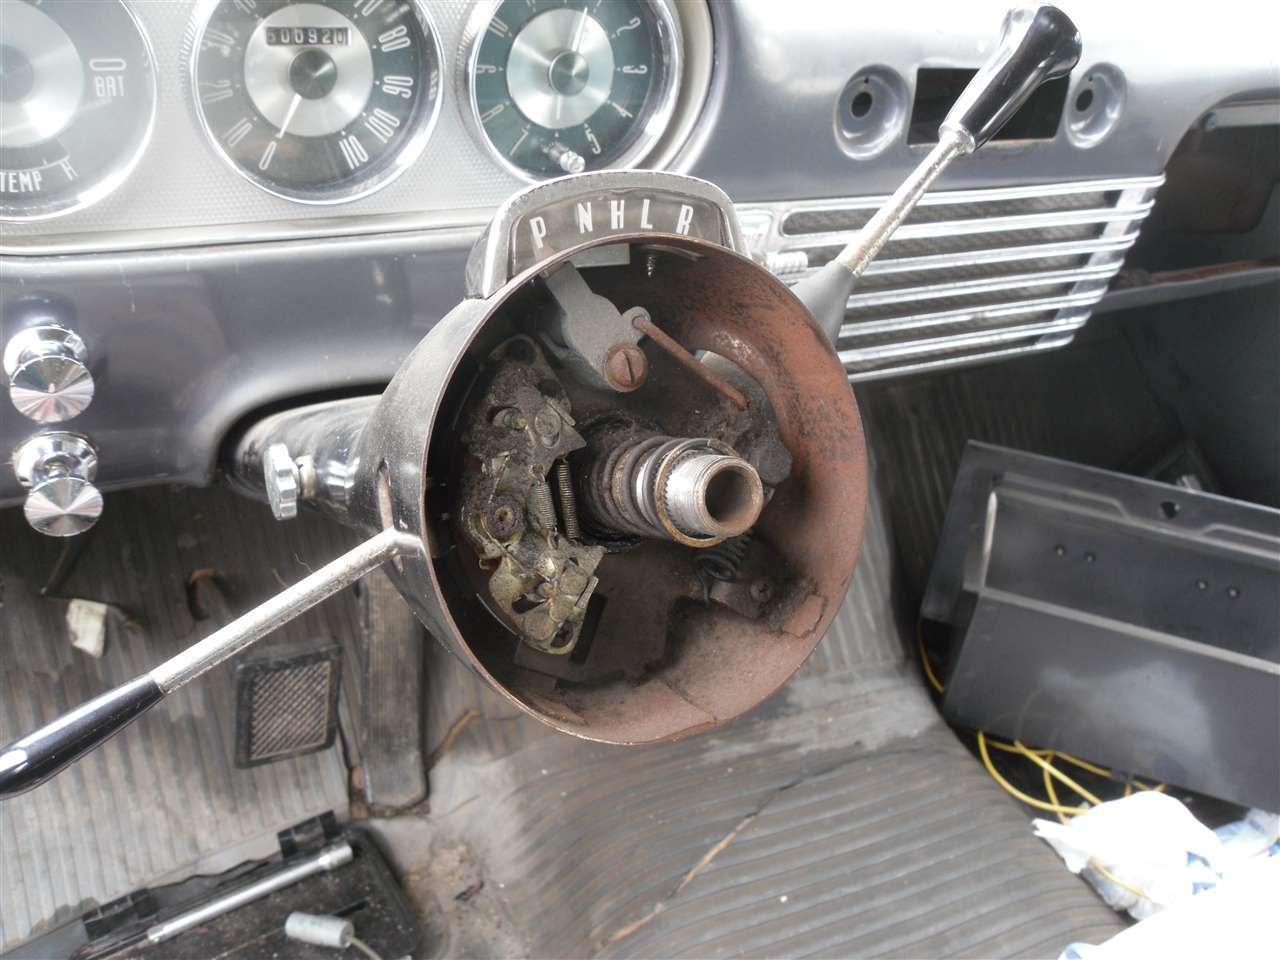 (91.55 KB) (91.55 KB)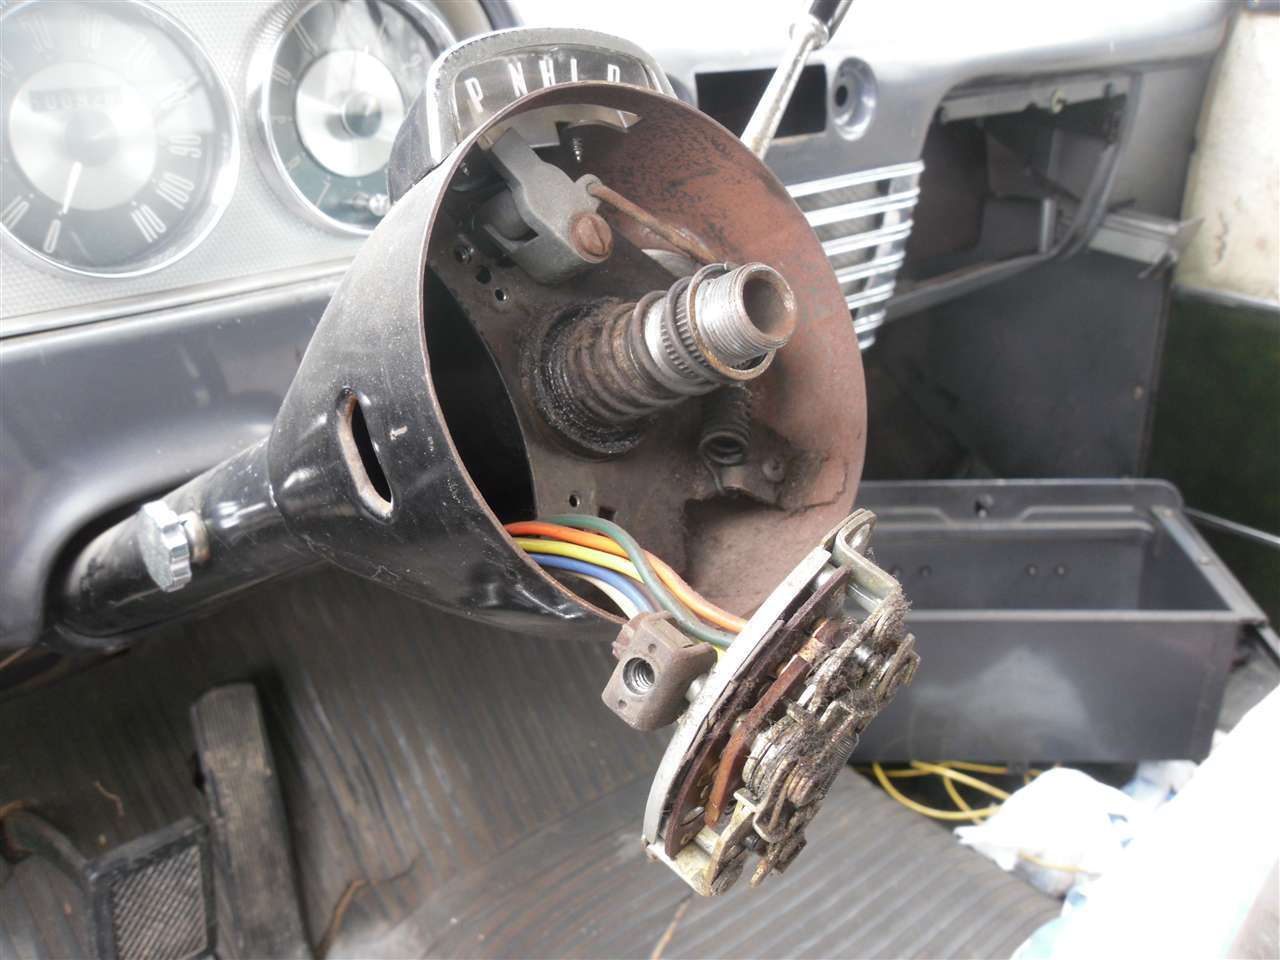 (84.89 KB) (84.89 KB)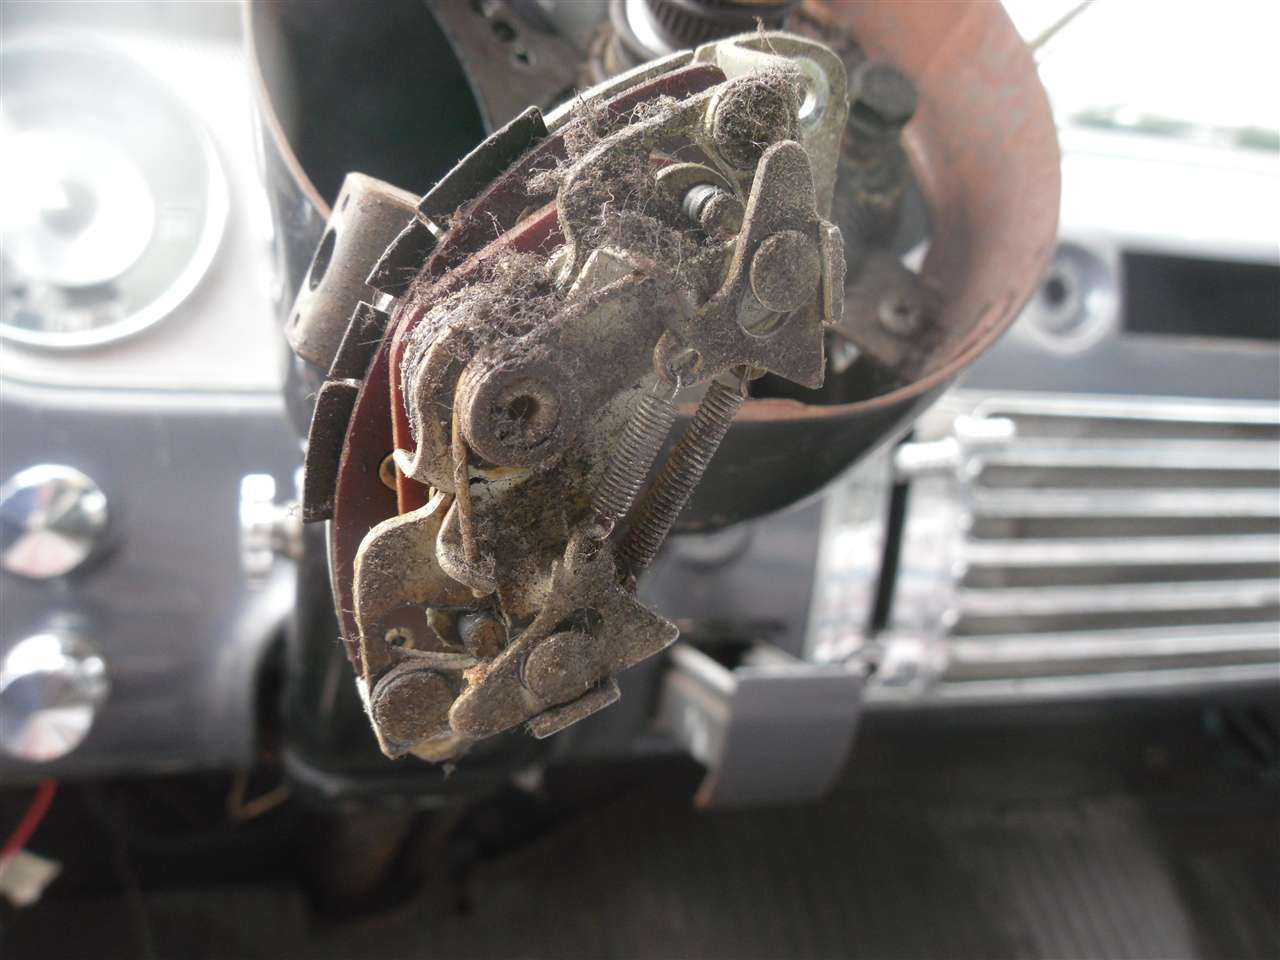 (72.60 KB) (72.60 KB)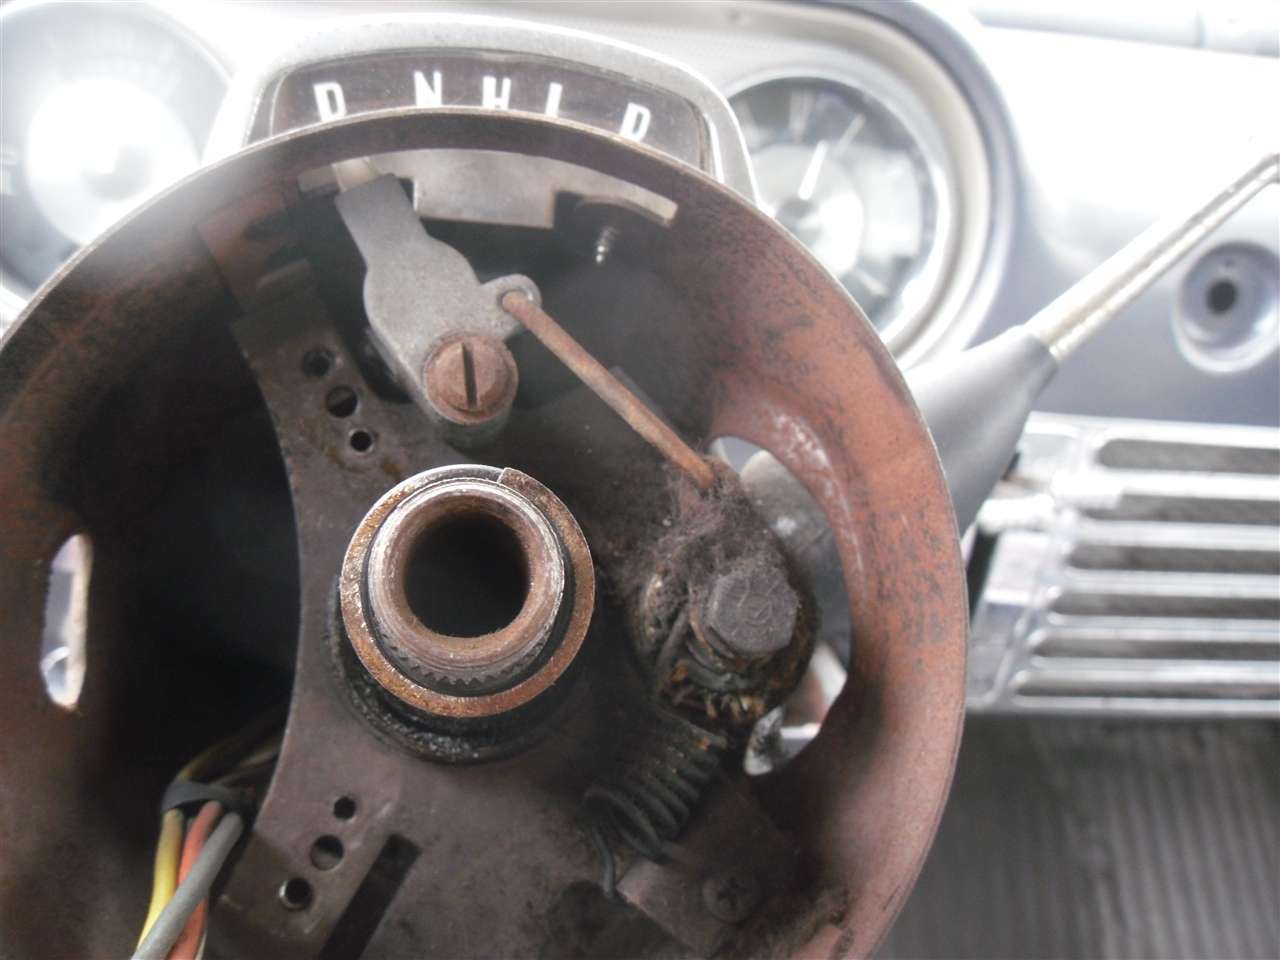 (87.97 KB) (87.97 KB)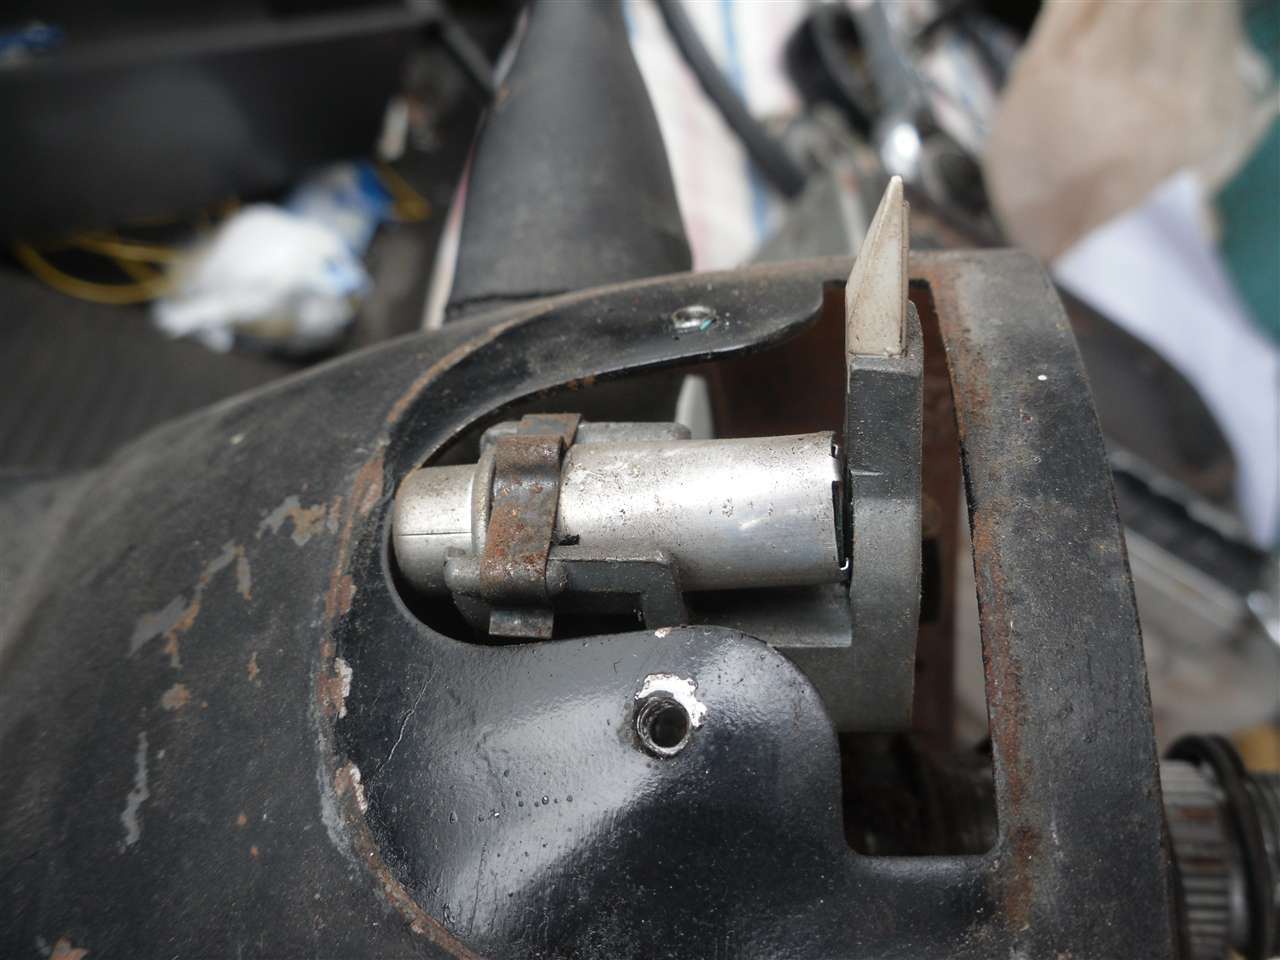 (74.44 KB) (74.44 KB)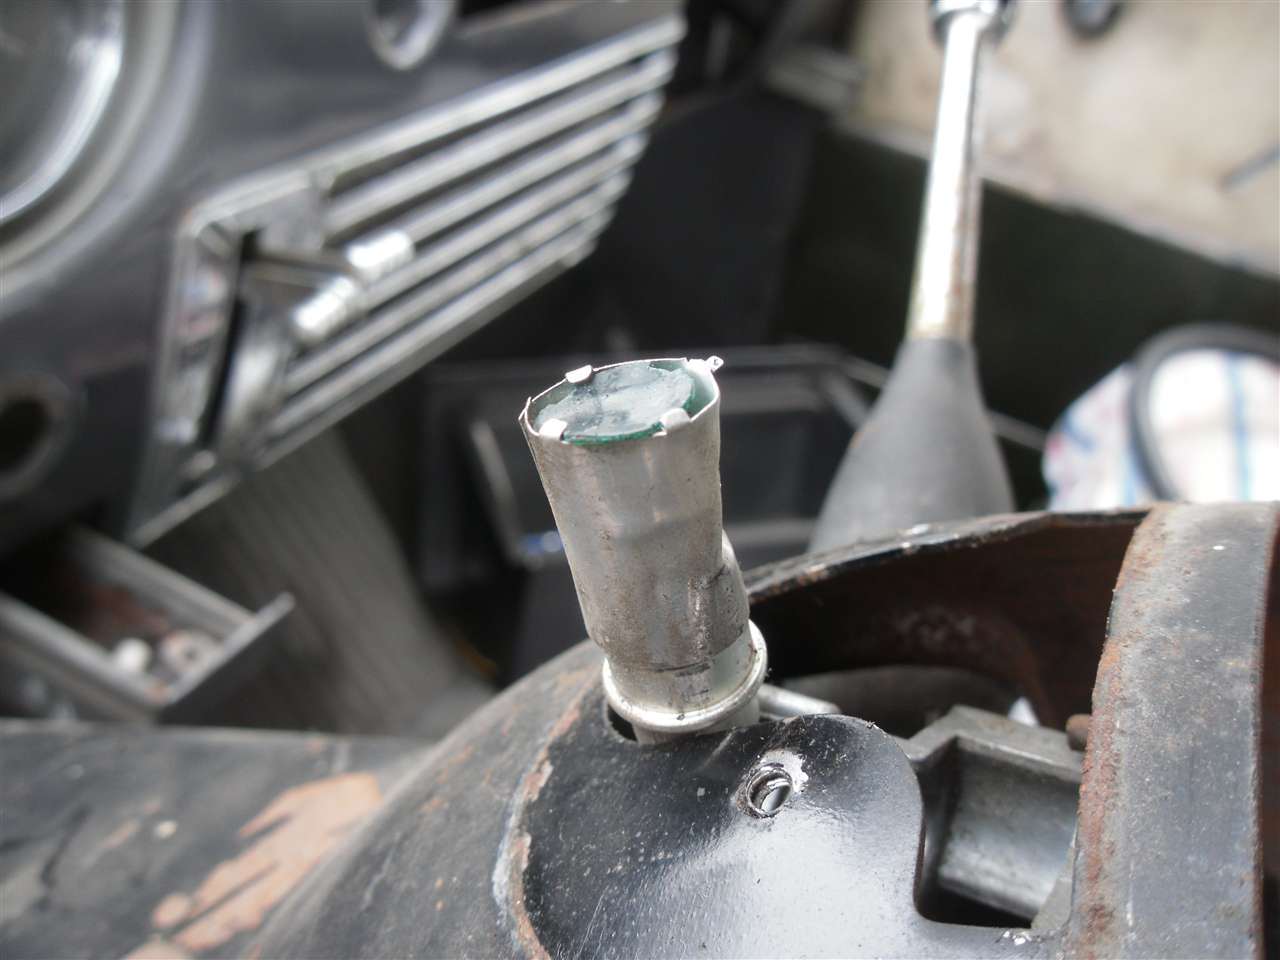 (67.69 KB) (67.69 KB)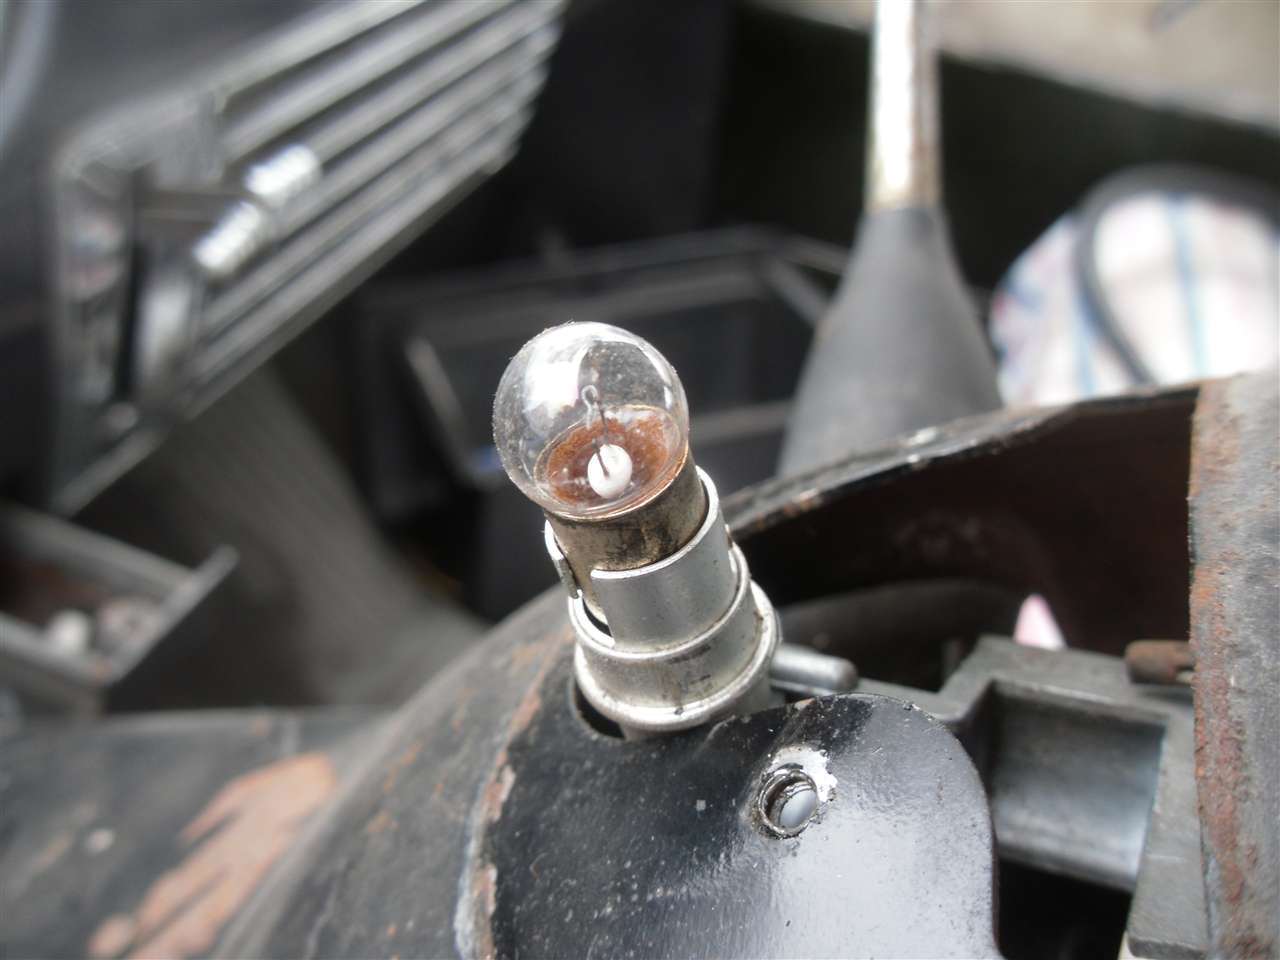
Posted on: 2011/4/9 19:49
|
|||
|
[url=h
|
||||
|
||||
|
Re: 51Packard's....51 Packard
|
||||
|---|---|---|---|---|
|
Home away from home
|
I put a new horn wire and gear selector light wire in mine. I could just feed the selector light wire down, the horn wire i did from the bottom. Both done within ten minutes, it will go as smooth as you're hoping.
Posted on: 2011/4/9 20:54
|
|||
|
||||
|
Re: 51Packard's....51 Packard
|
||||
|---|---|---|---|---|
|
Home away from home
|
Thanks cortcomp. I'm glad to know it should not be much of a problem.
Posted on: 2011/4/9 23:12
|
|||
|
[url=h
|
||||
|
||||
|
Re: 51Packard's....51 Packard
|
||||
|---|---|---|---|---|
|
Home away from home
|
4-10-11
While the frame is exposed, I figured I should clean up what I could reach. Hit it with the wire wheel in my grinder. Then I gave it a treatment of phosphoric acid. When that was dry, I put on a coat of primer. I came up with a way to make the channels in the metal for the trunk floor. I found an old cut off piece of warehouse rack support beam whose opening was almost as wide as the channel in the trunk. I put some wood inside the rack as a type of stop and used a scrap piece of wood to hammer the metal with. The warehouse rack formed the metal into a pretty good looking channel. It is just a little narrower than the one in the car, but I might be able to adjust it a little where I weld it in the car. I also did a trial fit on the patch panel in the hole. Fit is pretty good, but there are some extra gaps that I will have to fill with weld or cut another section out. I didn't realize the trunk floor goes up to an angle along where the frame is. I was originally going to have a much larger panel, but that angle would be too hard for me to create on one panel. I also found a old matchbook from Walgreens in the back of the trunk by the cardboard attached to the back of the seats. Attach file: (108.30 KB)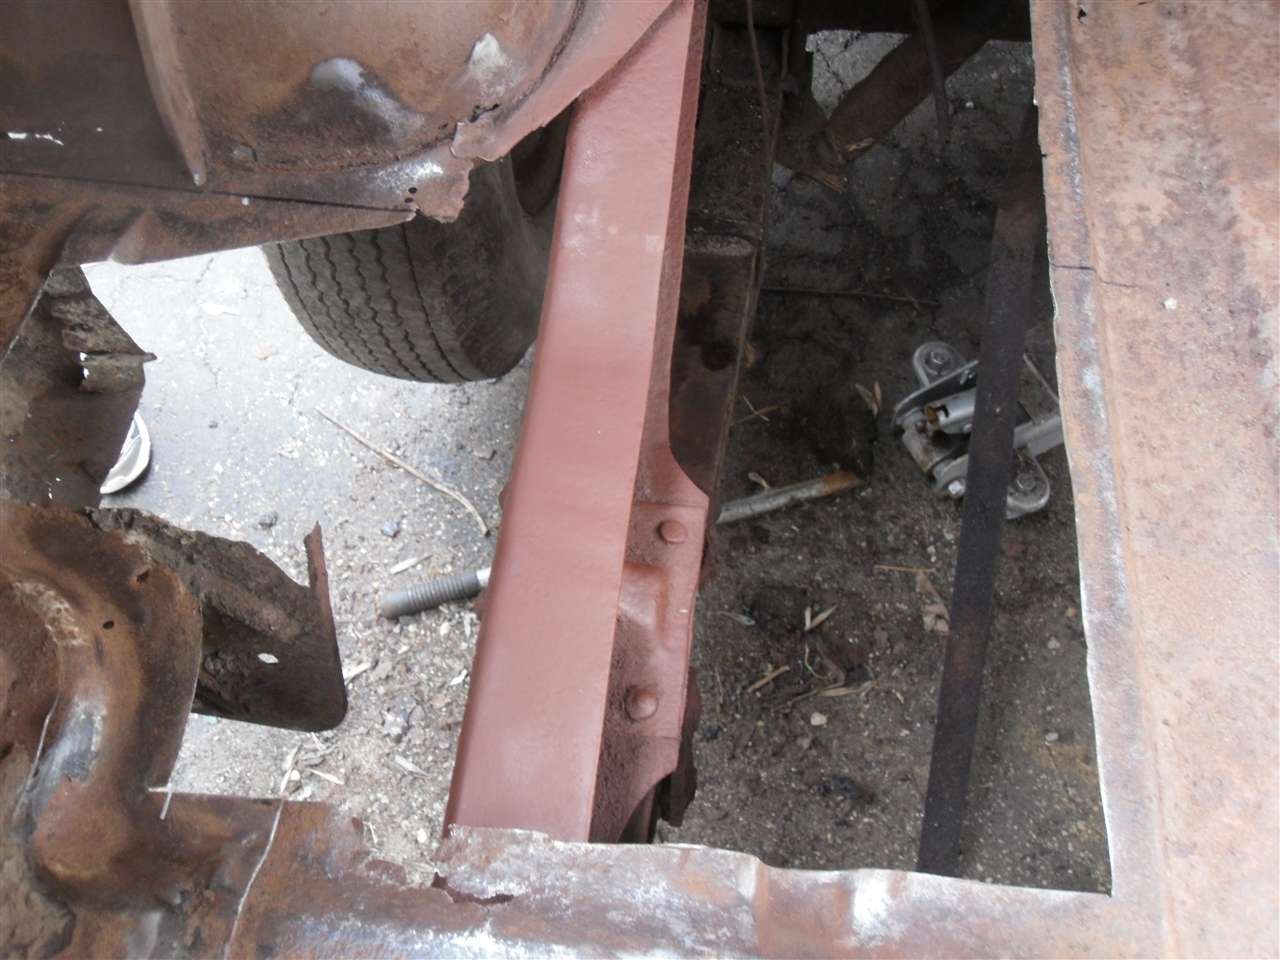 (195.13 KB) (195.13 KB)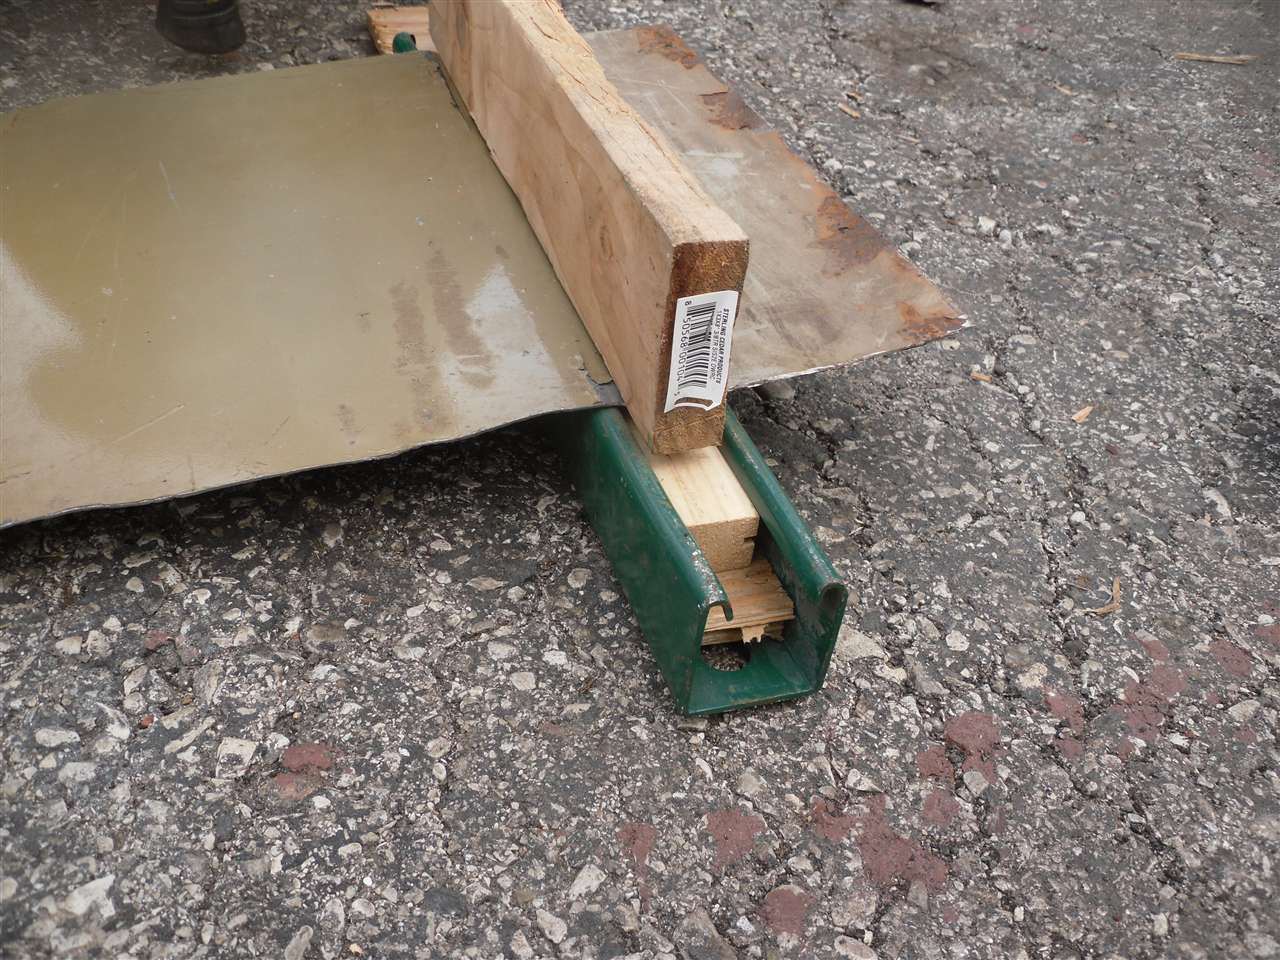 (208.75 KB) (208.75 KB)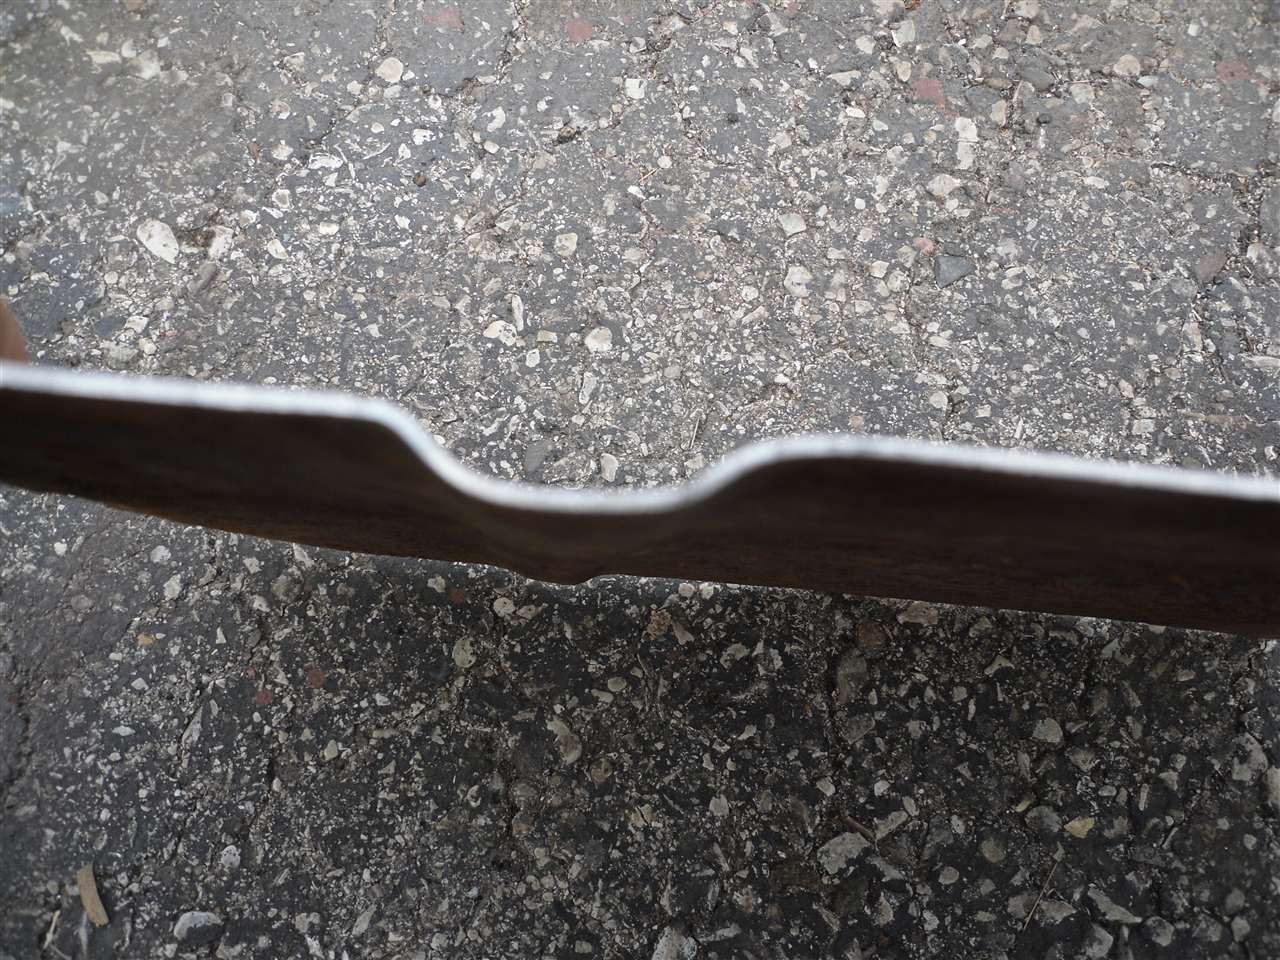 (97.57 KB) (97.57 KB)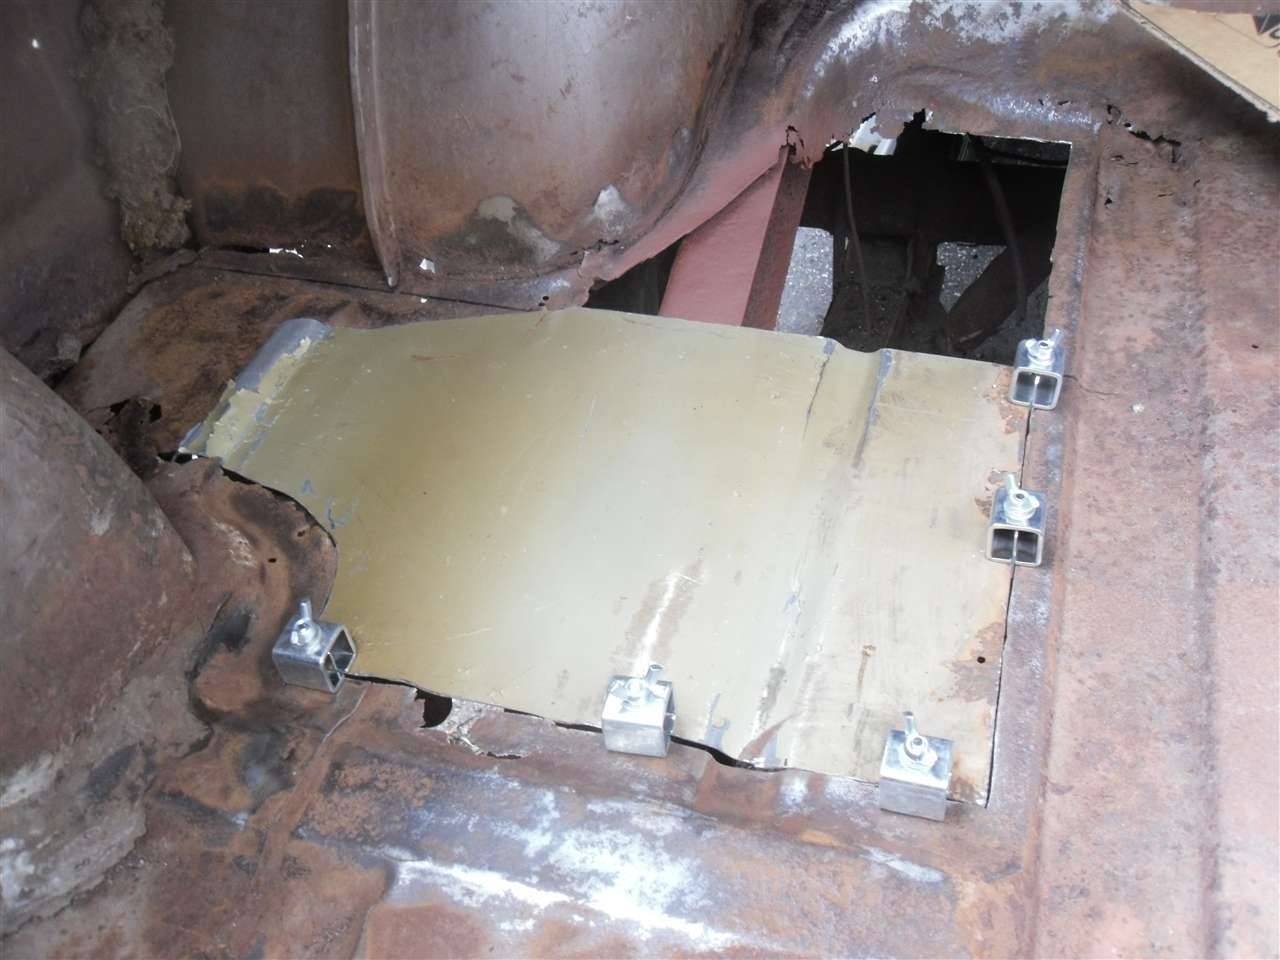 (90.01 KB) (90.01 KB)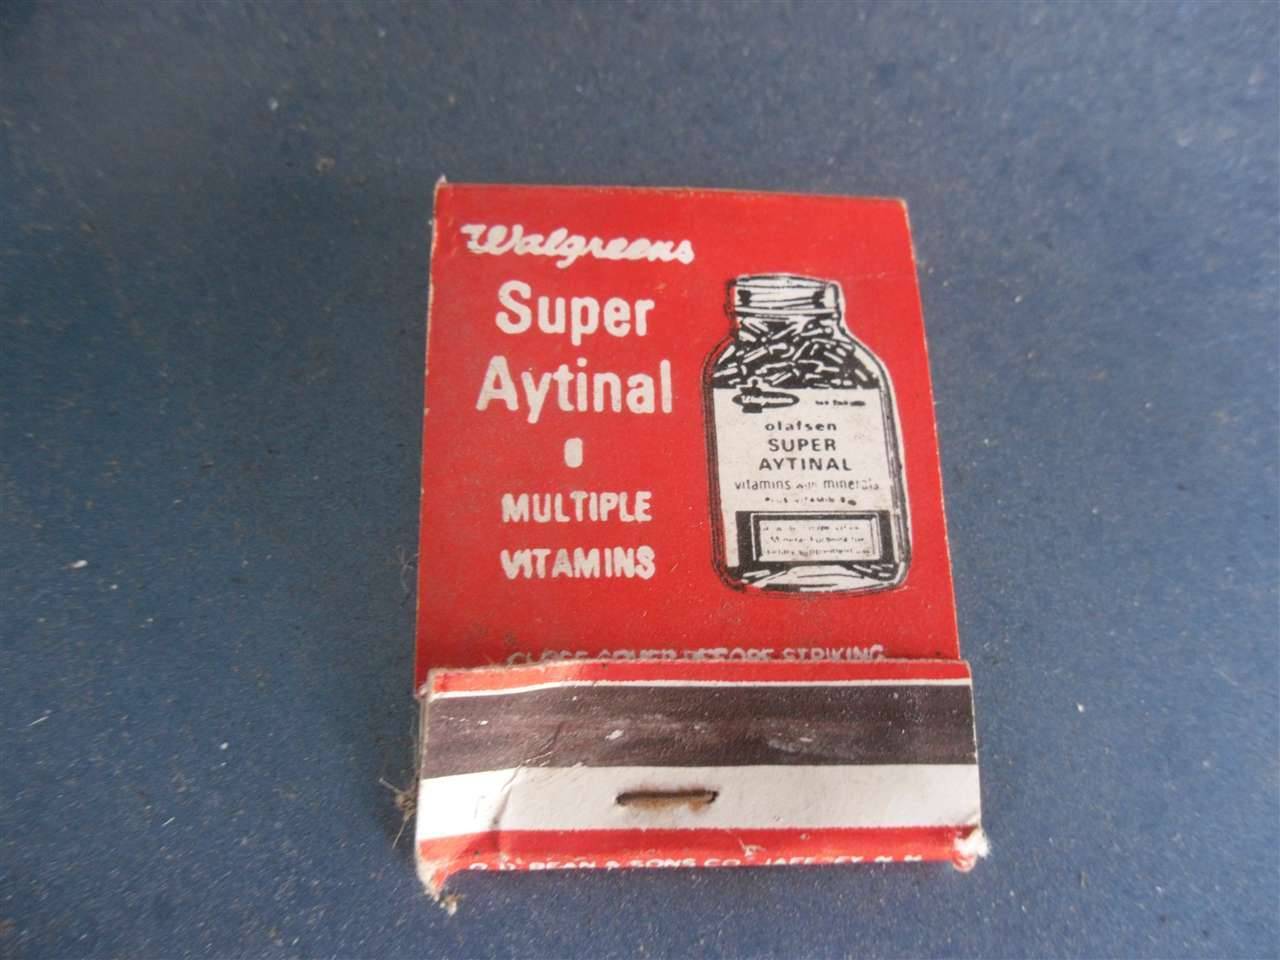 (73.48 KB) (73.48 KB)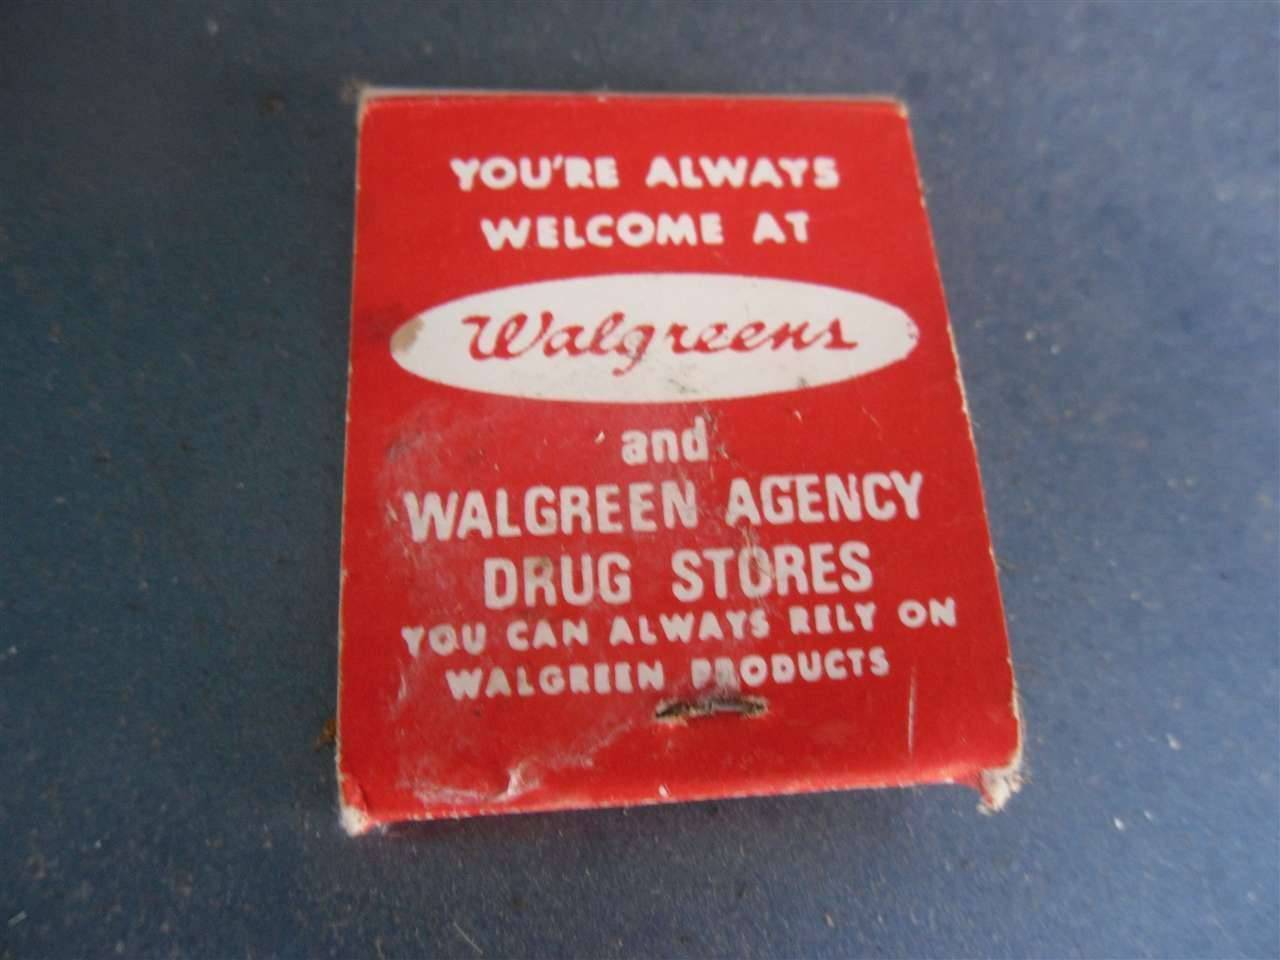
Posted on: 2011/4/10 17:23
|
|||
|
[url=h
|
||||
|
||||
|
Re: 51Packard's....51 Packard
|
||||
|---|---|---|---|---|
|
Home away from home
|
Can't work on the car. Too cold and we just had rain mixed with snow!
Before the storm, I was able to clean off the Ultramatic script I bought from Flackmaster. Came out pretty good. I hated seeing those three holes in my quarter panel. Such an eyesore! No reason to be embarrassed now! LOL! Attach file: (123.07 KB)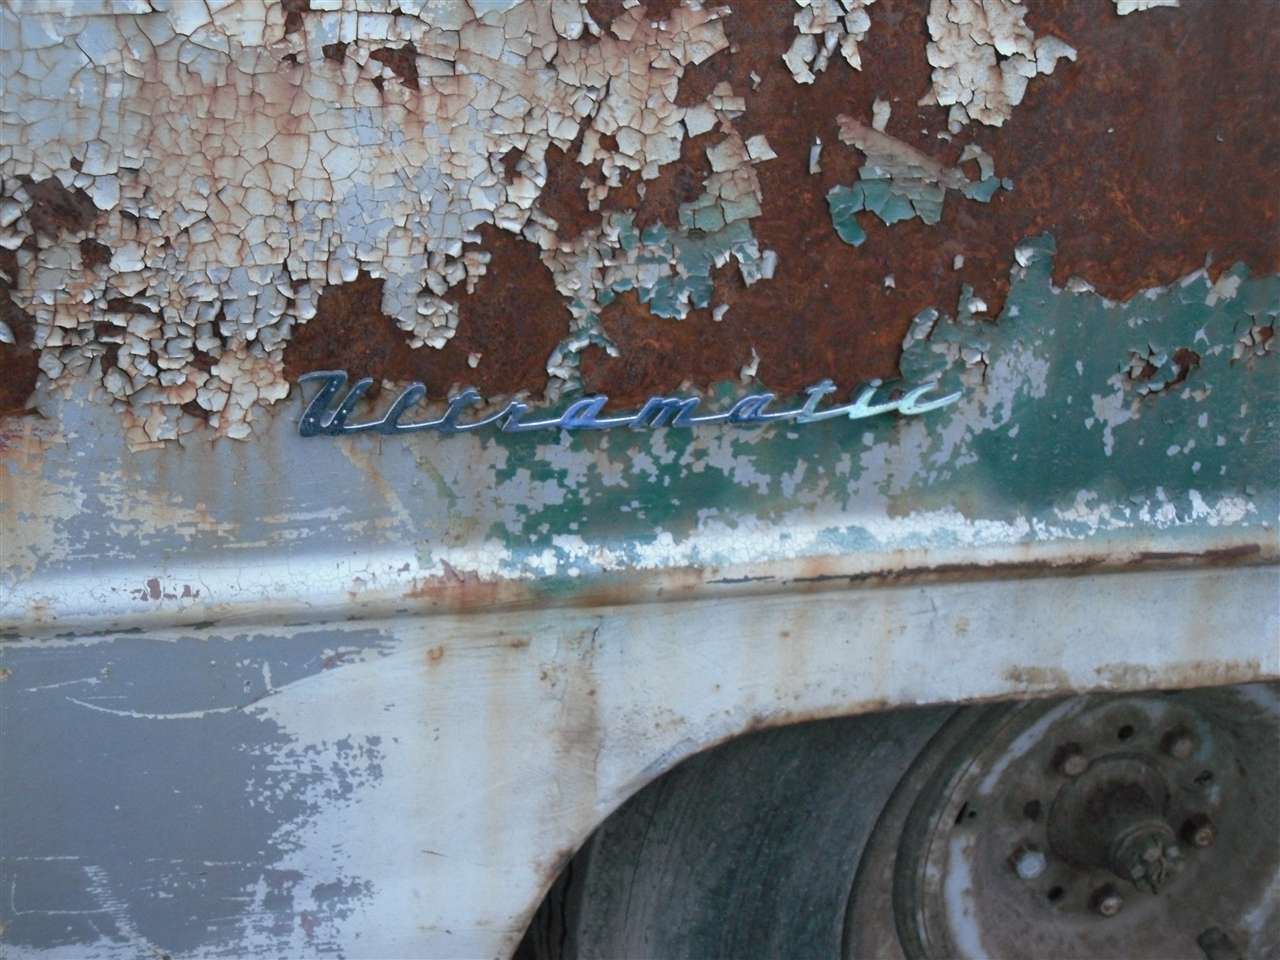
Posted on: 2011/4/16 17:56
|
|||
|
[url=h
|
||||
|
||||
|
Re: 51Packard's....51 Packard
|
||||
|---|---|---|---|---|
|
Home away from home
|
4-17-11
I am not a good welder... Snow yesterday, decent day today. Go figure. I cleaned the paint off of my patch panel and wire brushed the trunk area around where the panel would go. I also cleaned a spot further up for my welding clamp to attach to. Once the panel was back in place, welding began. It certainly did not go like in the videos I watched on the internet! Lots of popping and burn through. I have a 80 amp flux core welder. I started with the wire speed on 4 and the switch on high power. I quickly burned through the metal so I switched to low power. That helped, but I still burned through occasionally. After I ground down the welds, they really looked bad. Lots of holes. I tried to fill in again and it got better, but I still can't get the holes to close all the way. I'm just touching the welding wire to the metal. As soon as it burns, I pull it away and try to touch next to the spot while it is still hot. I tried to use the copper paddle I bought, but that didn't seem to make a difference at all. Final grind still had holes, but not as many. I know I should just tack everything in place first, but I was using this for practice too so that is why I was trying to fill in a whole side of the panel. Got frustrated so I decided to do yard work instead. Looks like I have some more videos to watch... Attach file: (129.88 KB)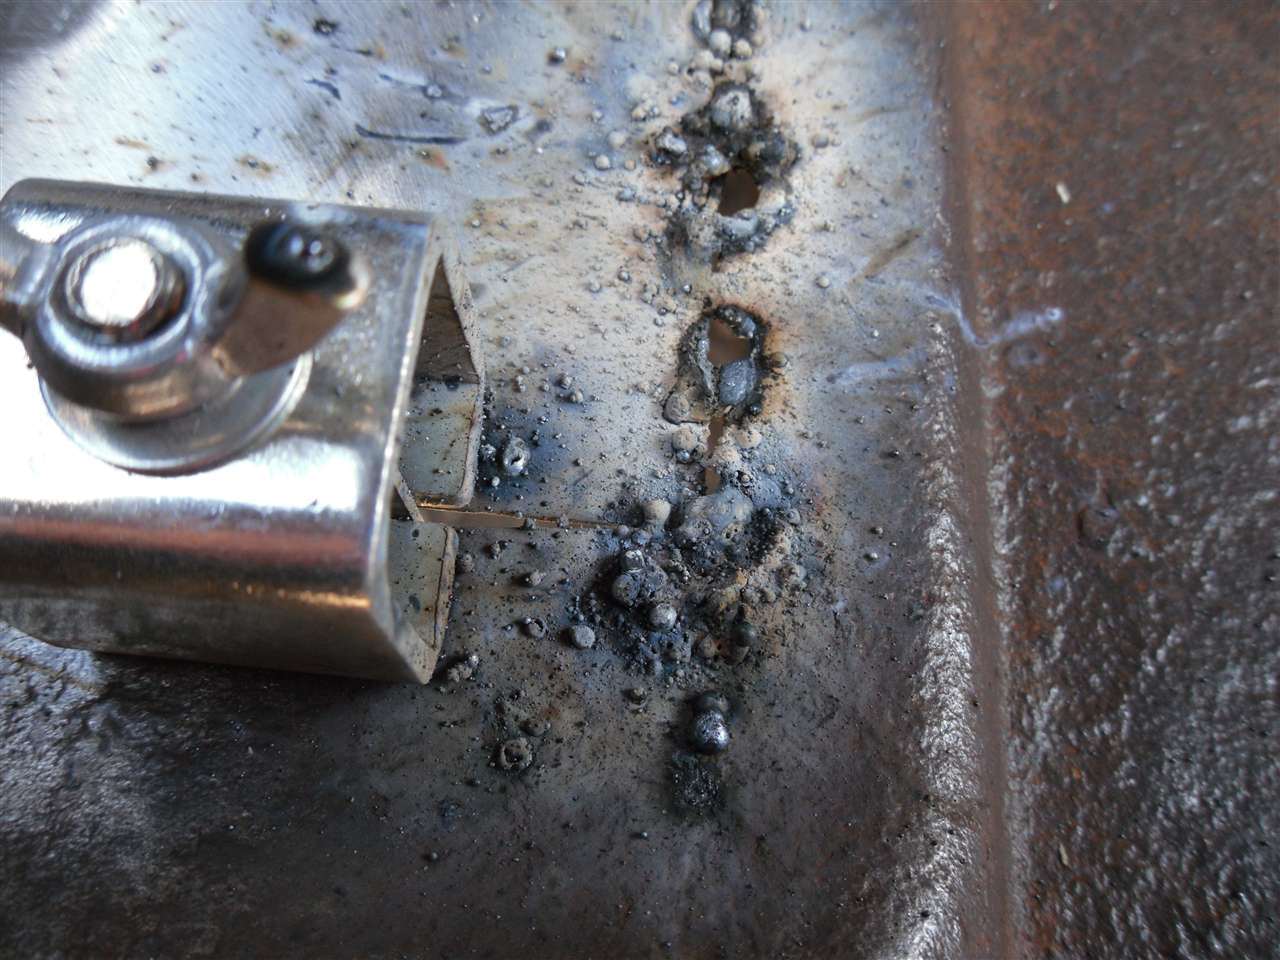 (135.56 KB) (135.56 KB)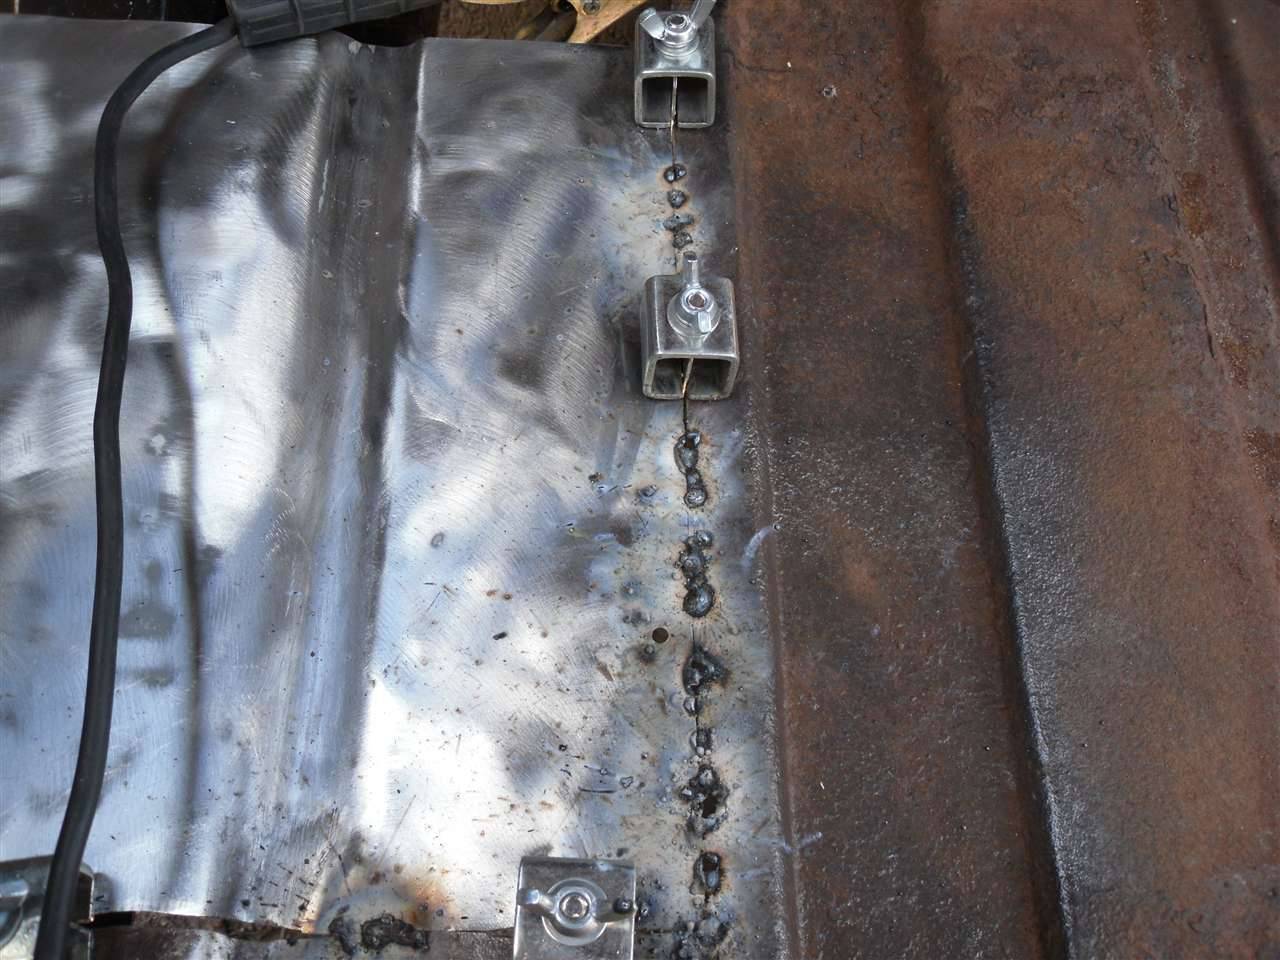 (143.92 KB) (143.92 KB)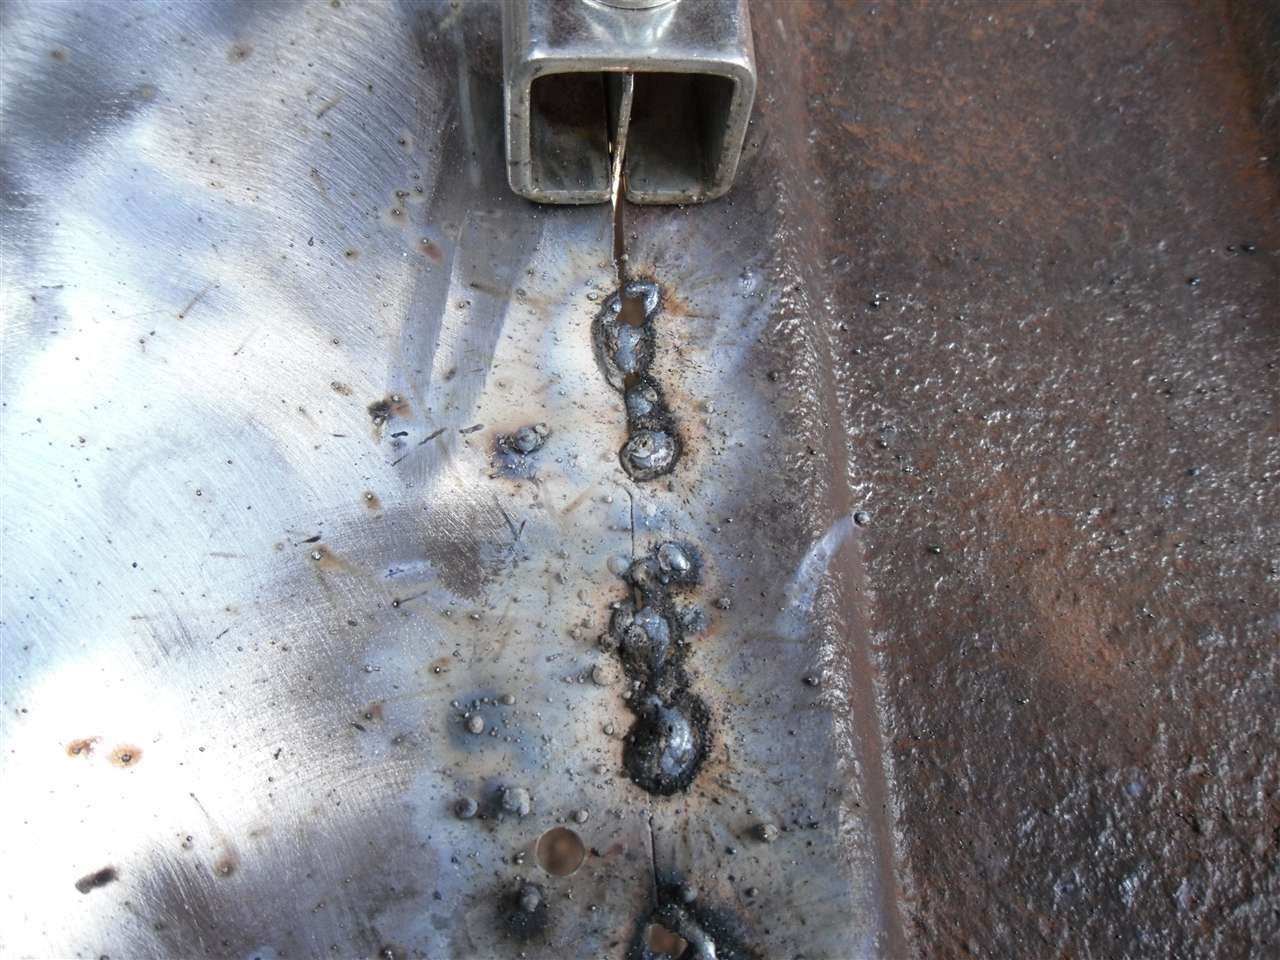 (111.65 KB) (111.65 KB)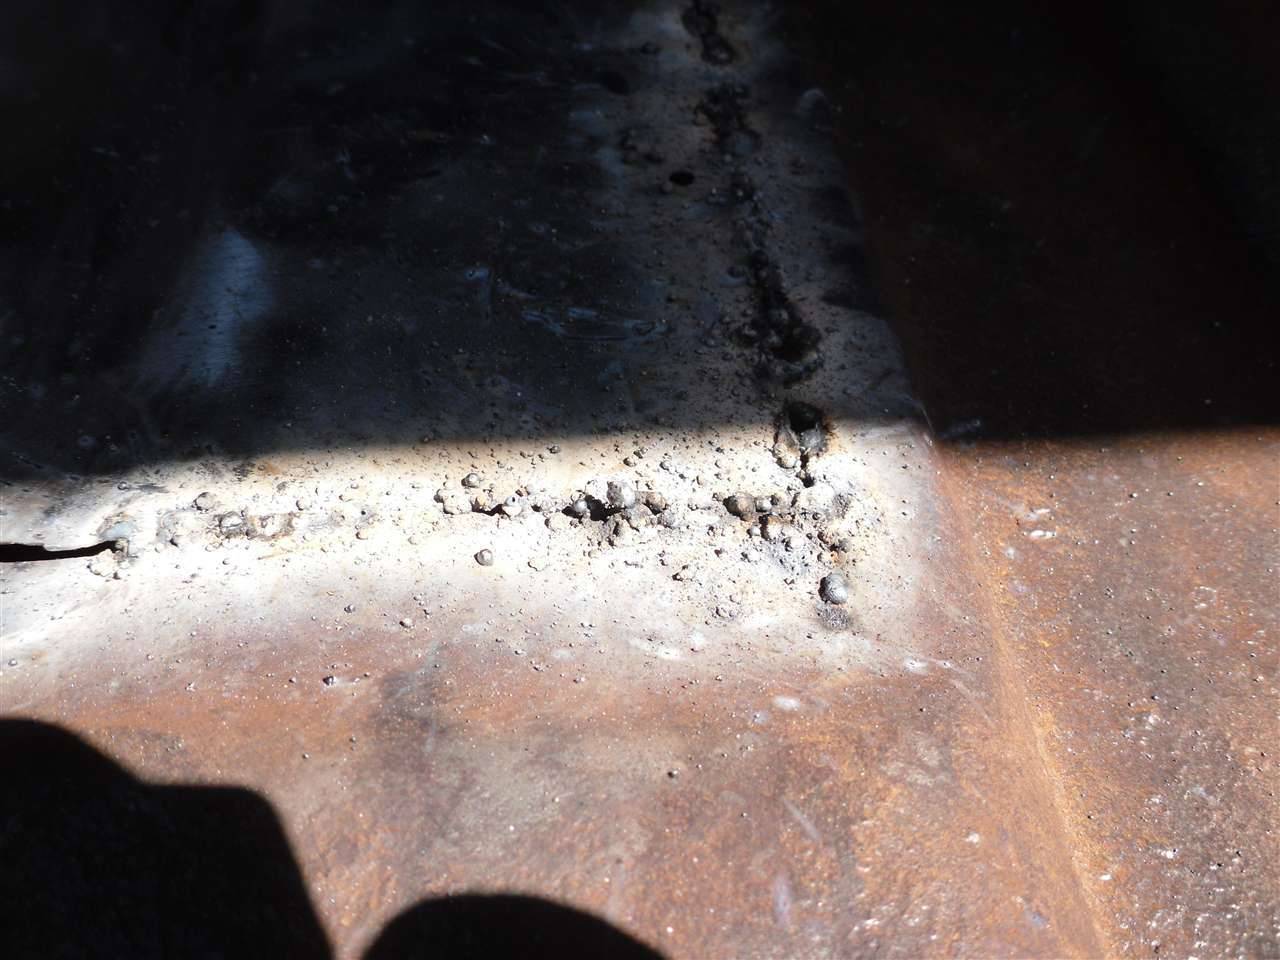 (153.05 KB) (153.05 KB)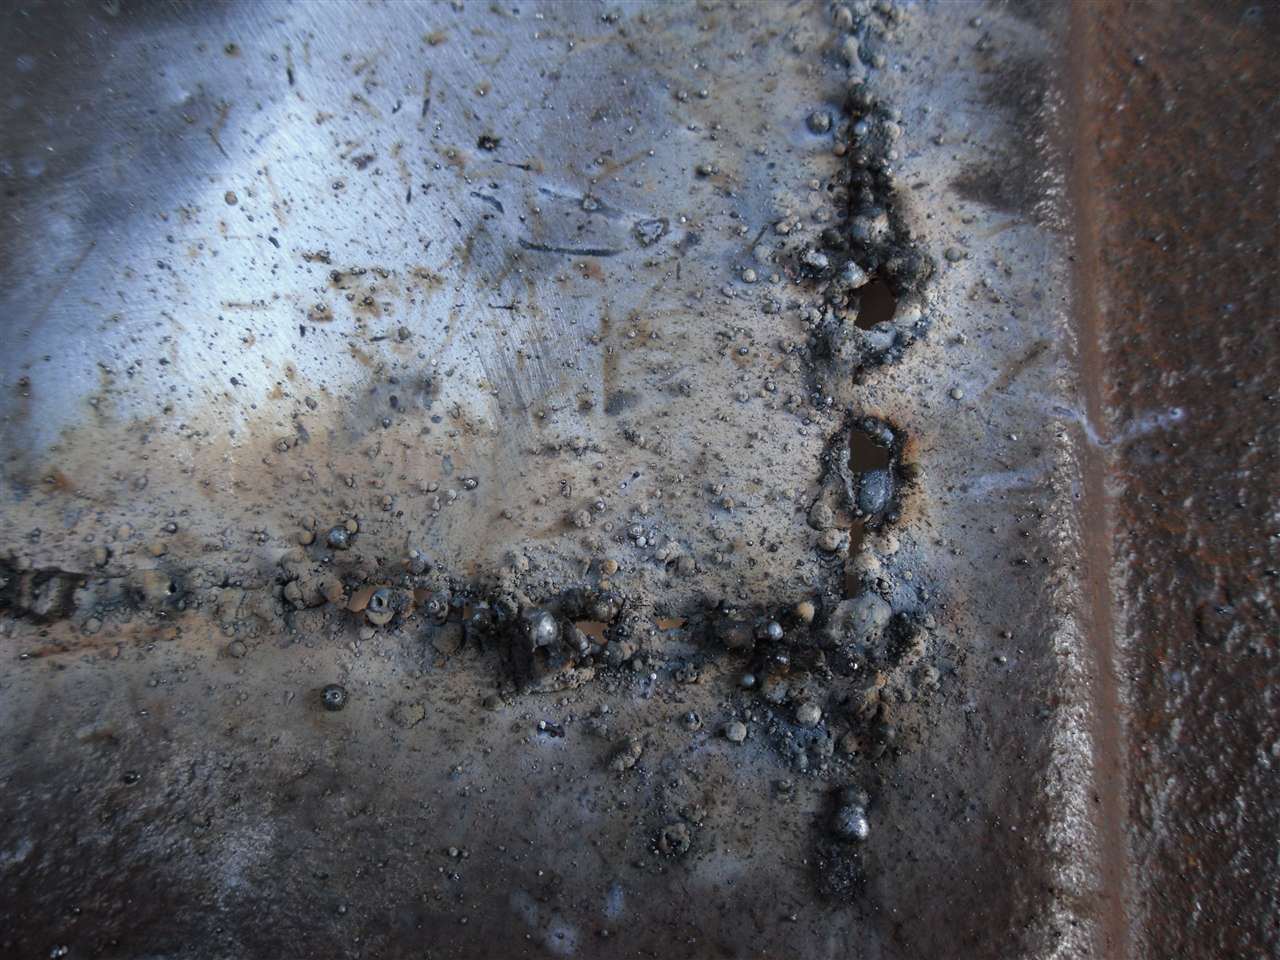 (148.53 KB) (148.53 KB)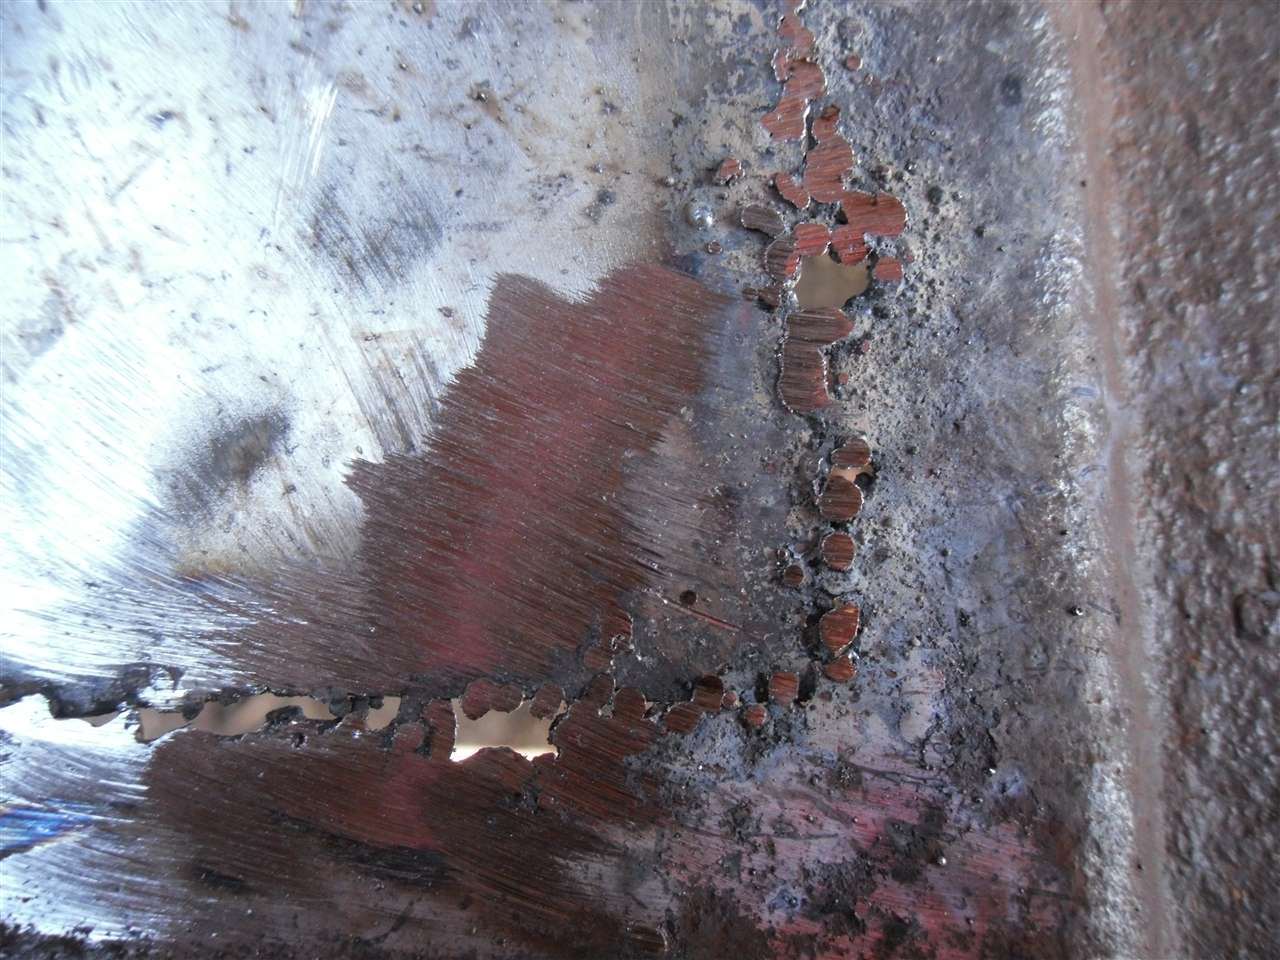 (114.03 KB) (114.03 KB)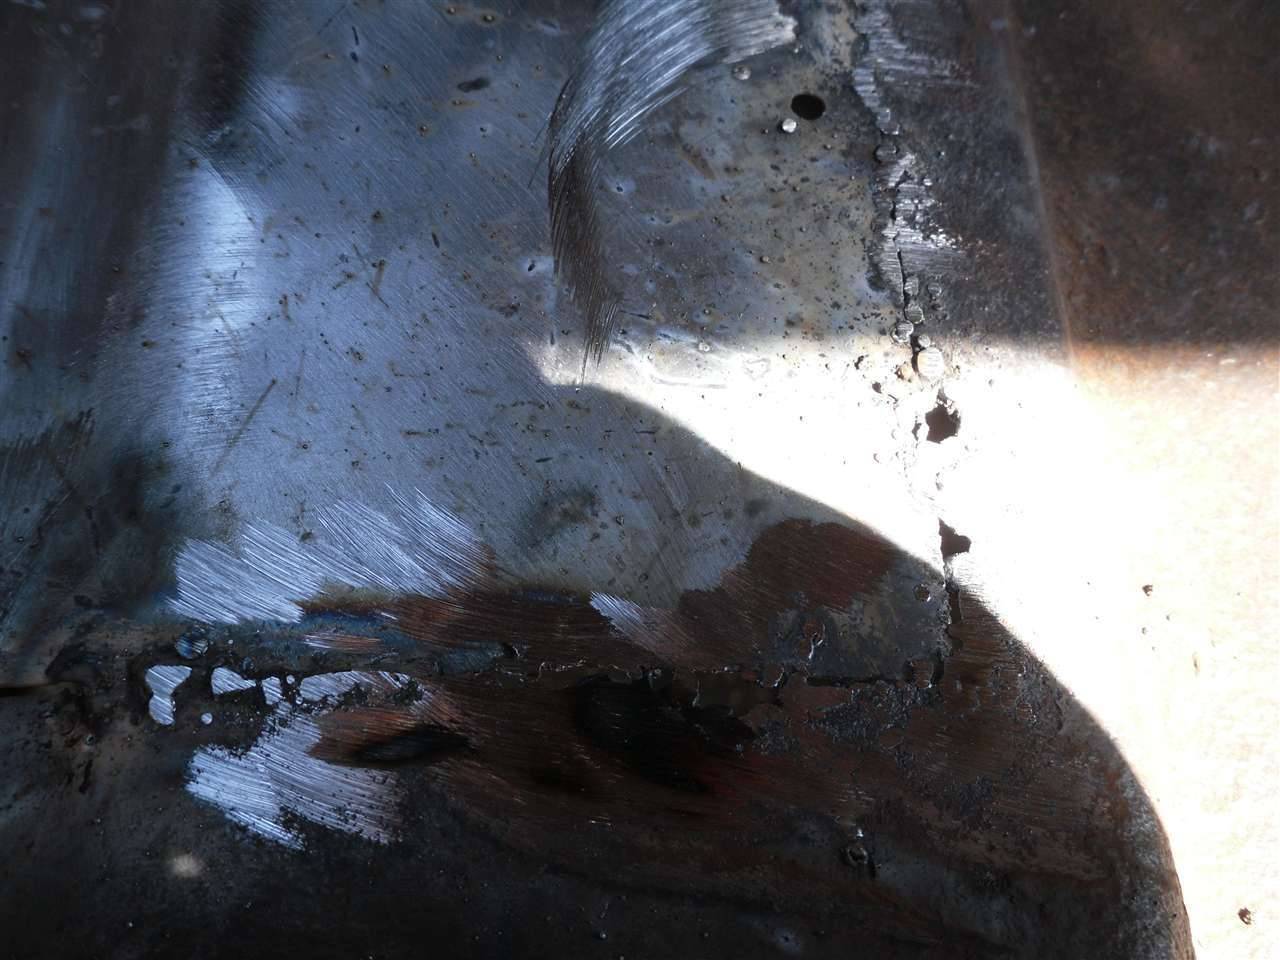 (137.61 KB) (137.61 KB)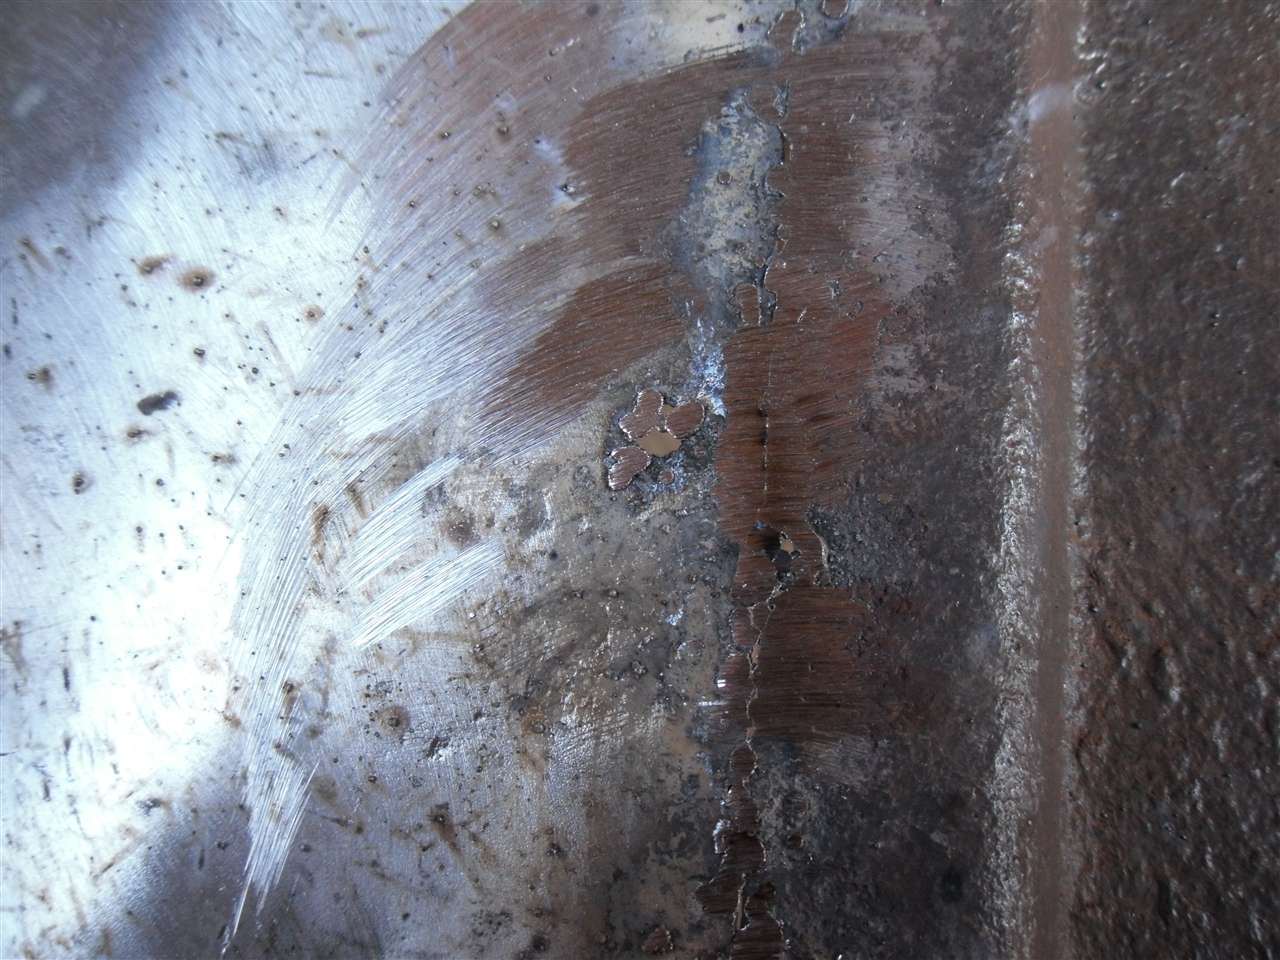
Posted on: 2011/4/17 16:52
|
|||
|
[url=h
|
||||
|
||||
|
Re: 51Packard's....51 Packard
|
||||
|---|---|---|---|---|
|
Forum Ambassador

|
You need to back up the weld area with a copper "spoon". I'm surprised the videos you've watched didn't show this.
In a pinch, you can make a crude, but effective spoon from a length of copper pipe. Just beat one end closed and flat, and then sand/polish one side of the flat until it's shiny. You can then bedn th pipe to fit the working space. You will be amazed at the difference in your welds.
Posted on: 2011/4/17 17:19
|
|||
|
||||
|
Re: 51Packard's....51 Packard
|
||||
|---|---|---|---|---|
|
Home away from home
|
I tried to use the copper spoon, but I didn't see a change. Maybe I didn't hold it on right. It's pretty awkward holding the spoon under the car while trying to weld. Maybe I can put a longer handle on it or something.
Posted on: 2011/4/17 17:34
|
|||
|
[url=h
|
||||
|
||||
|
Re: 51Packard's....51 Packard
|
||||
|---|---|---|---|---|
|
Forum Ambassador
|
Yes, longer handle, but you may need a helper to hold the spoon in position as you weld.
Also, if you find the effectiveness of the spoon diminishing, stop and polish the contact area.
Posted on: 2011/4/17 17:45
|
|||
|
||||


