|
Re: 51Packard's....51 Packard
|
||||
|---|---|---|---|---|
|
Webmaster

|
Sounds like the pump arm is not engaged into the right slot or position on the shaft.
Posted on: 2011/10/10 10:06
|
|||
|
-BigKev
1954 Packard Clipper Deluxe Touring Sedan -> Registry | Project Blog 1937 Packard 115-C Convertible Coupe -> Registry | Project Blog |
||||
|
||||
|
Re: 51Packard's....51 Packard
|
||||
|---|---|---|---|---|
|
Home away from home

|
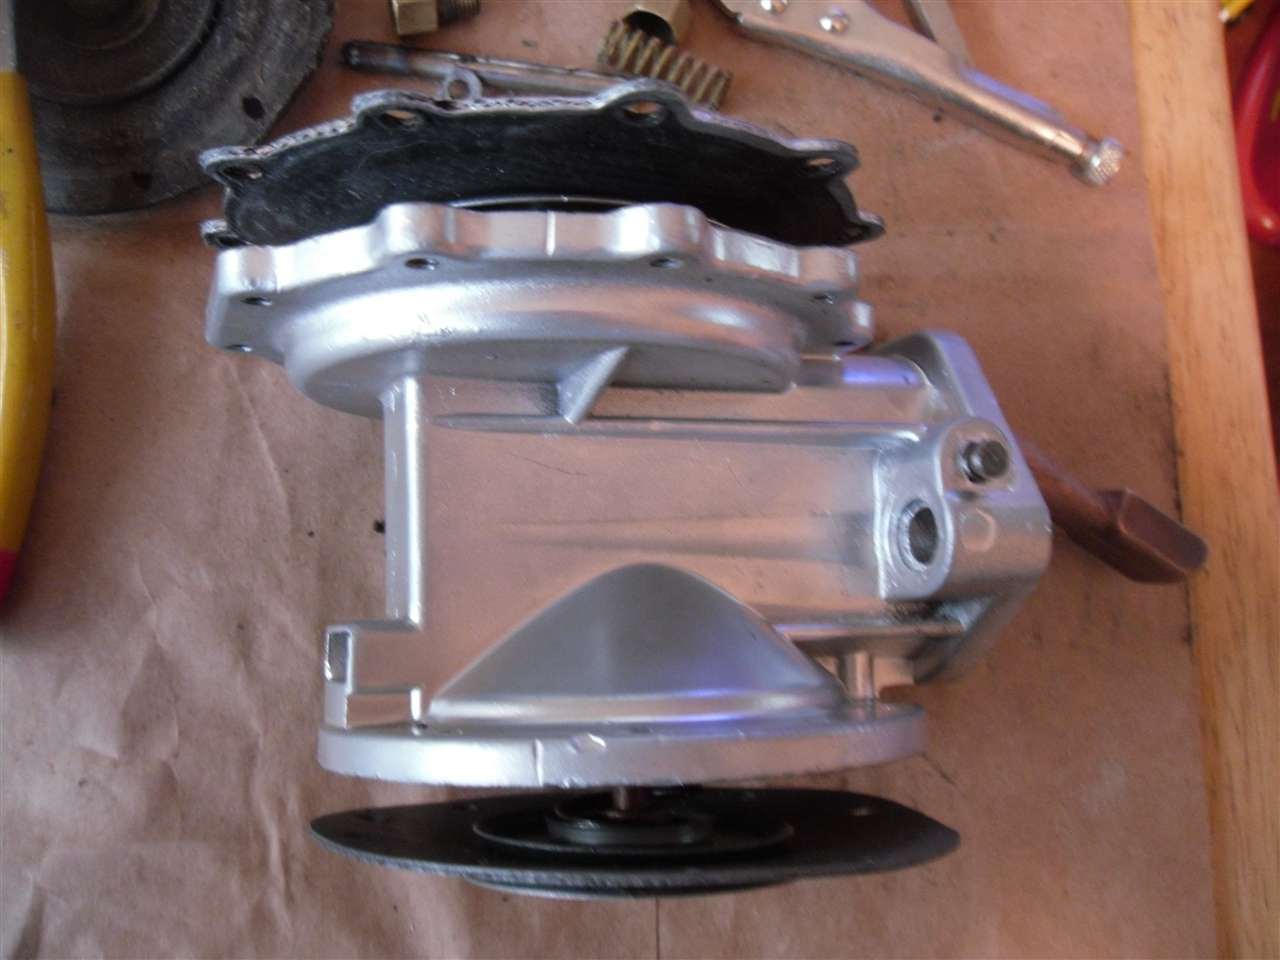
OK guys, I'm going to restart this step by step. First I reassembled the fuel pump arm as shown in the diagram I posted earlier. This assembly will rotate 90 degrees up. Then I assembled the rod to the fuel pump body with the spring. Tested and free movement. Then I attached the fuel pump diaphragm to the inner most arm link. Tested and diaphragm moved. Next I attached the vacuum diaphragm to the outer most arm links. Tested and diaphragm does not move. If I press down on the diaphragm, I feel some pressure outward toward the end of the arms motion.
Anyone see me doing something wrong so far? Please speak up! Attach file:  (96.95 KB) (96.95 KB)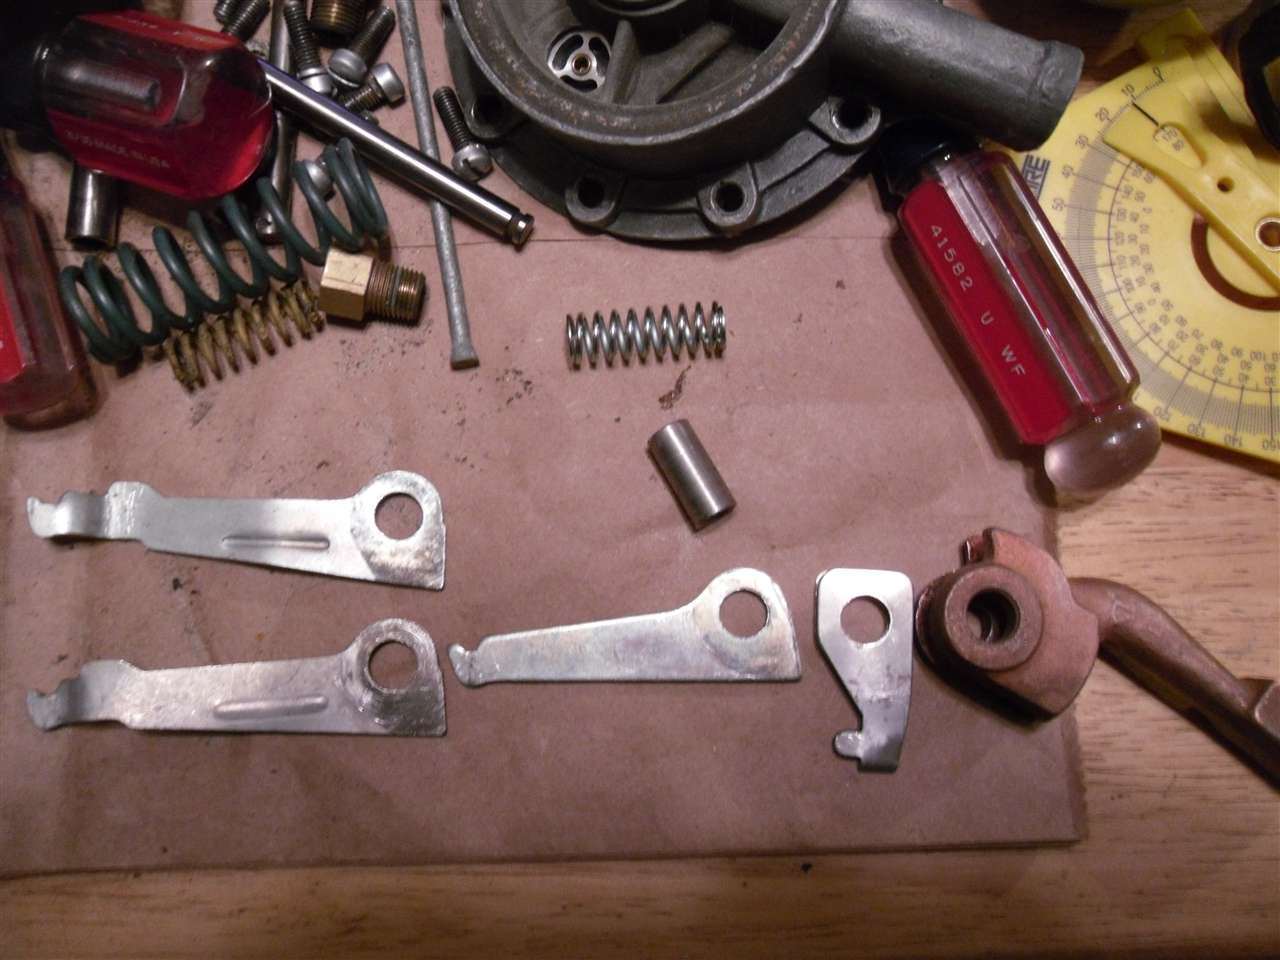 (76.52 KB) (76.52 KB)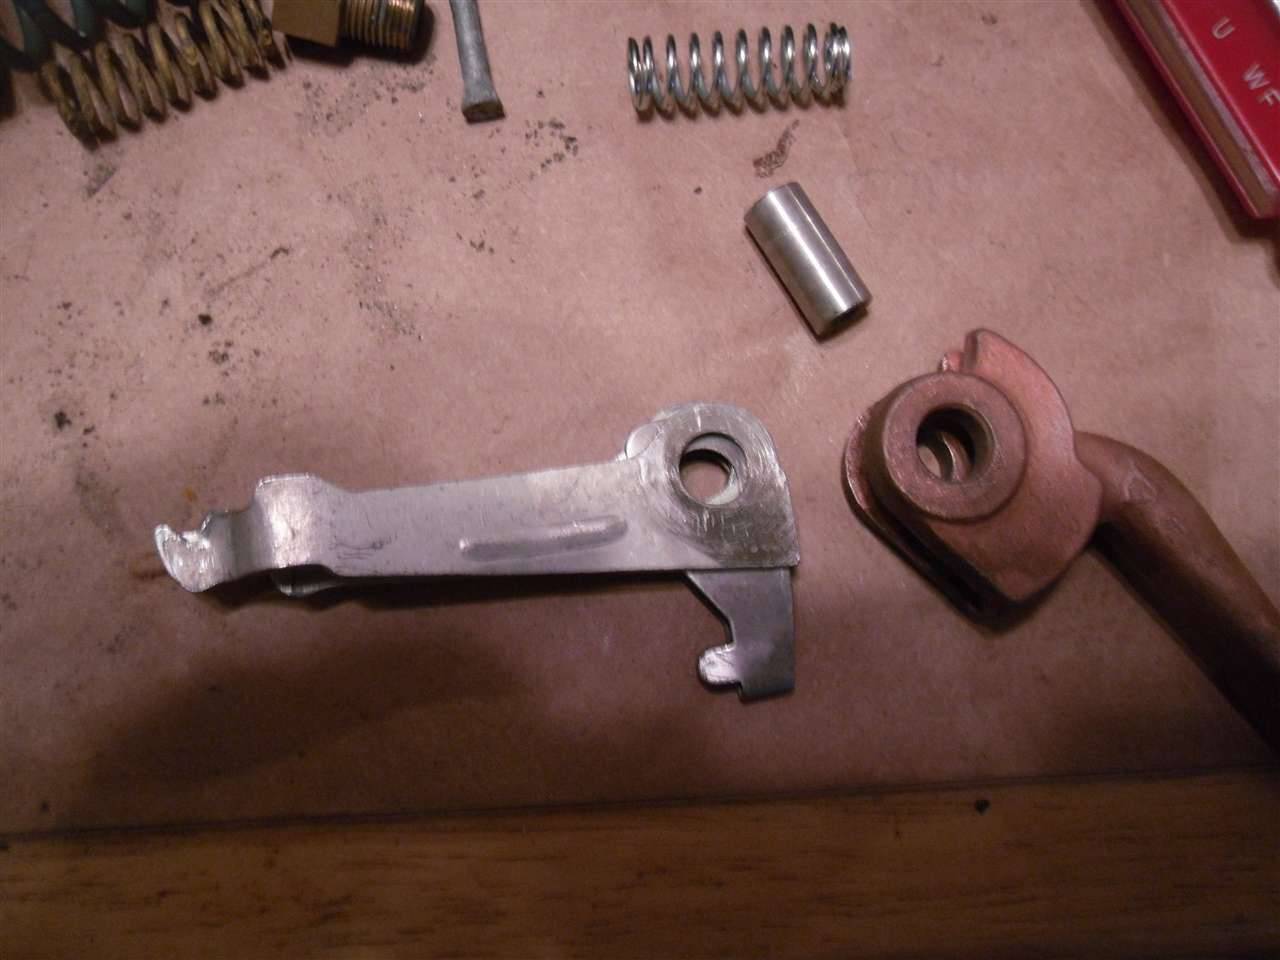 (77.41 KB) (77.41 KB)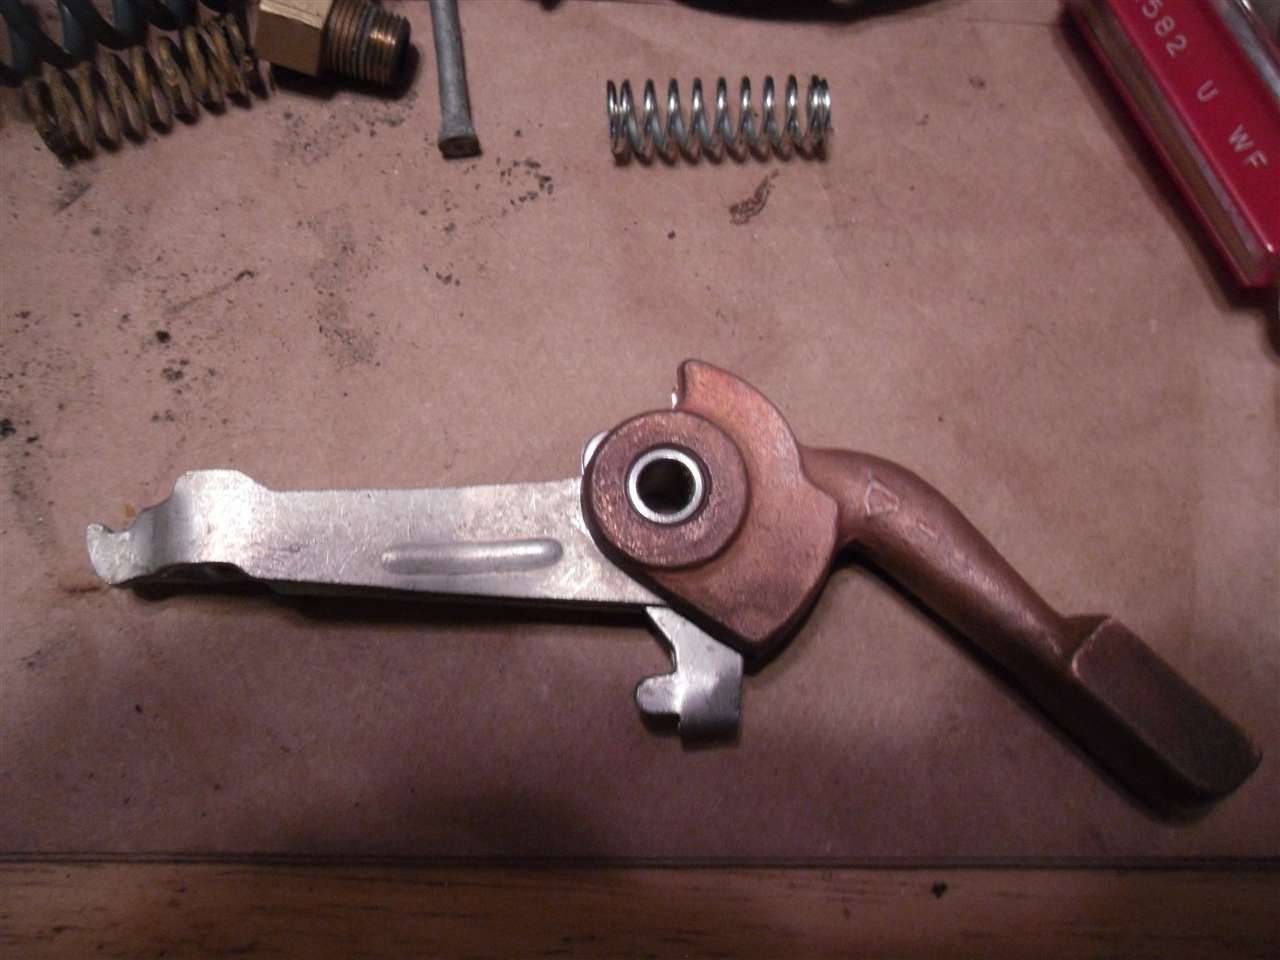 (85.81 KB) (85.81 KB)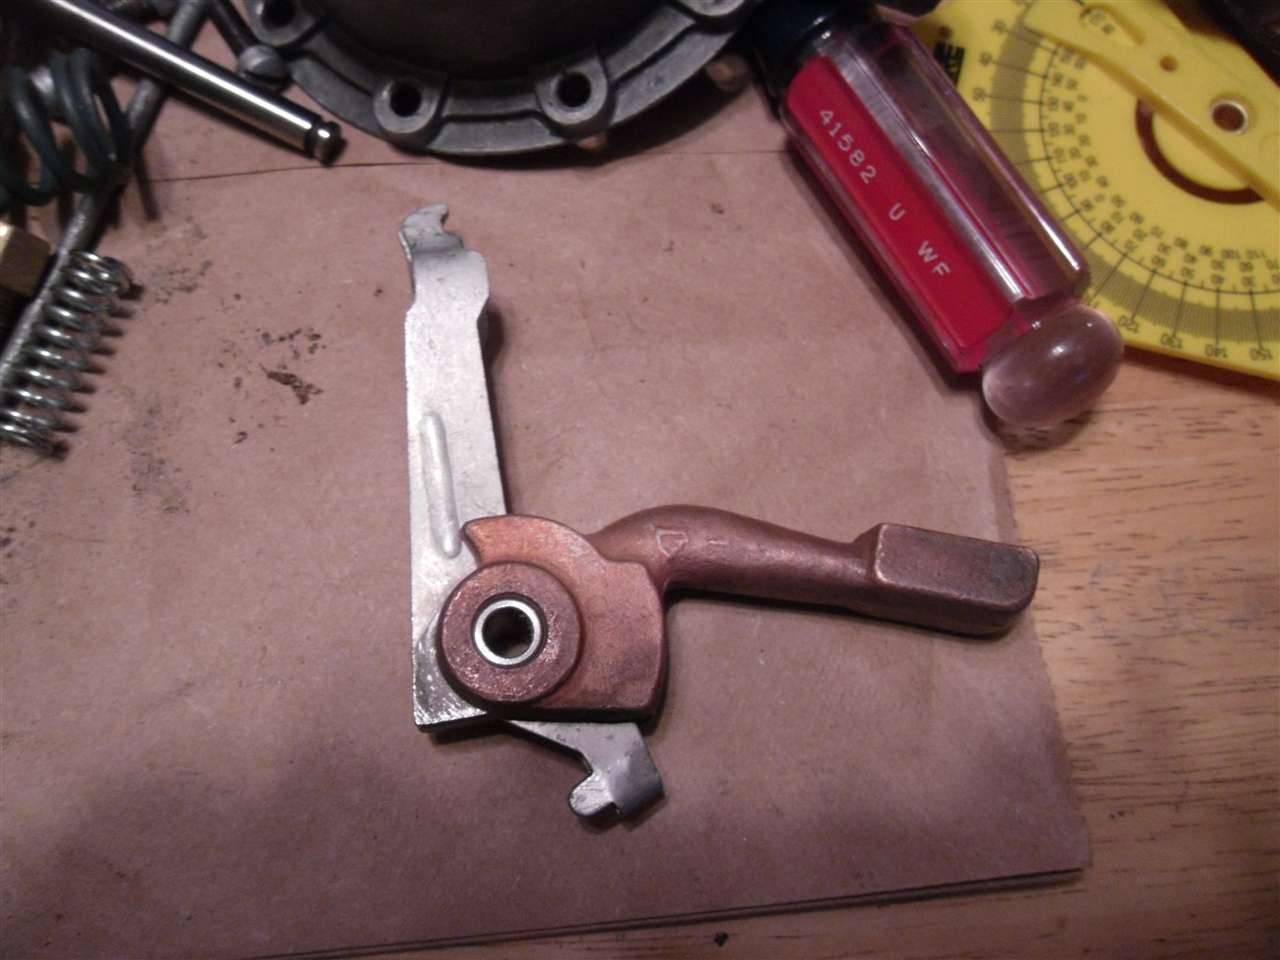 (74.50 KB) (74.50 KB)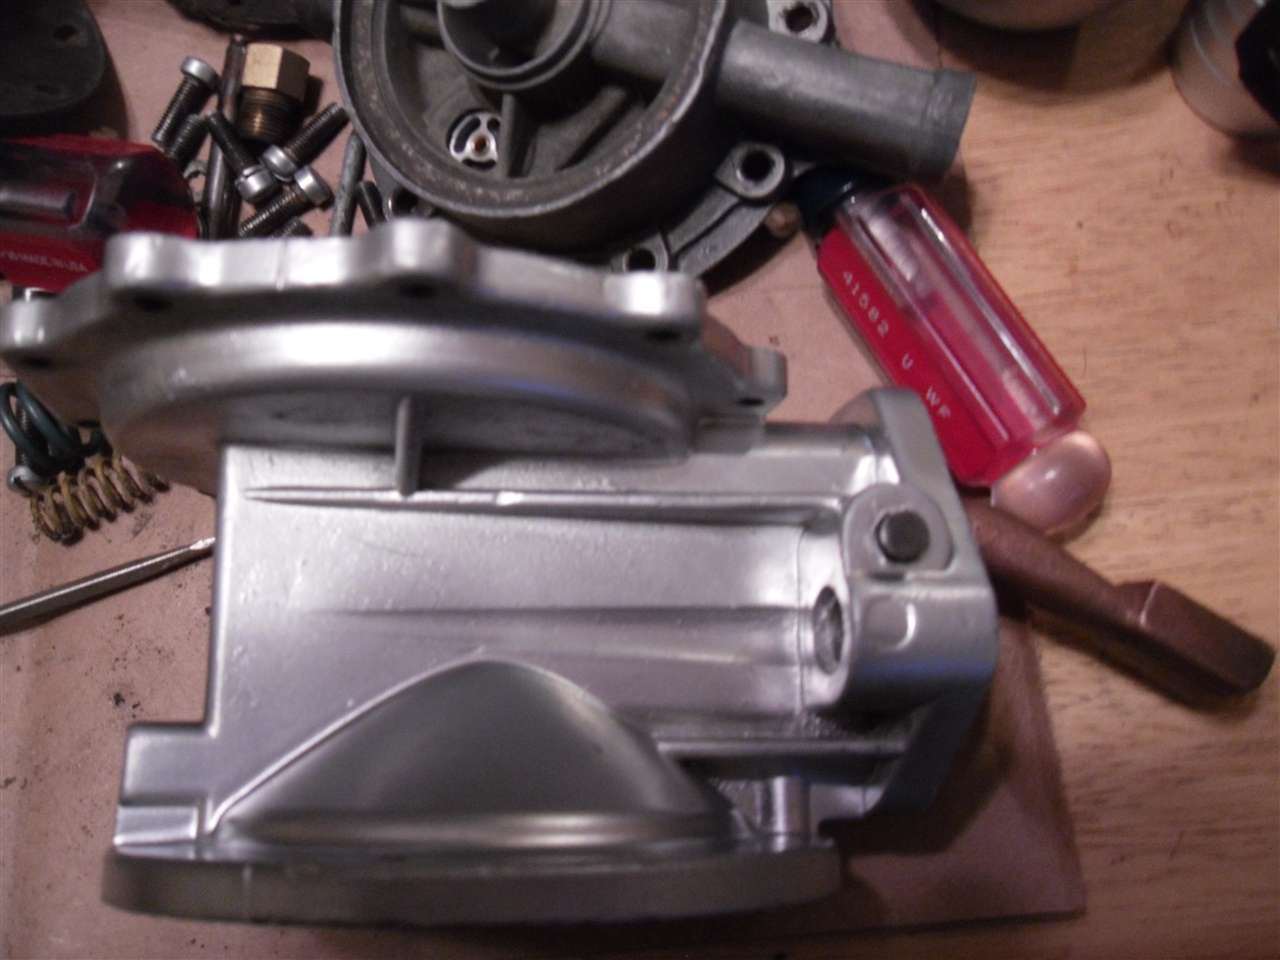 (76.30 KB) (76.30 KB)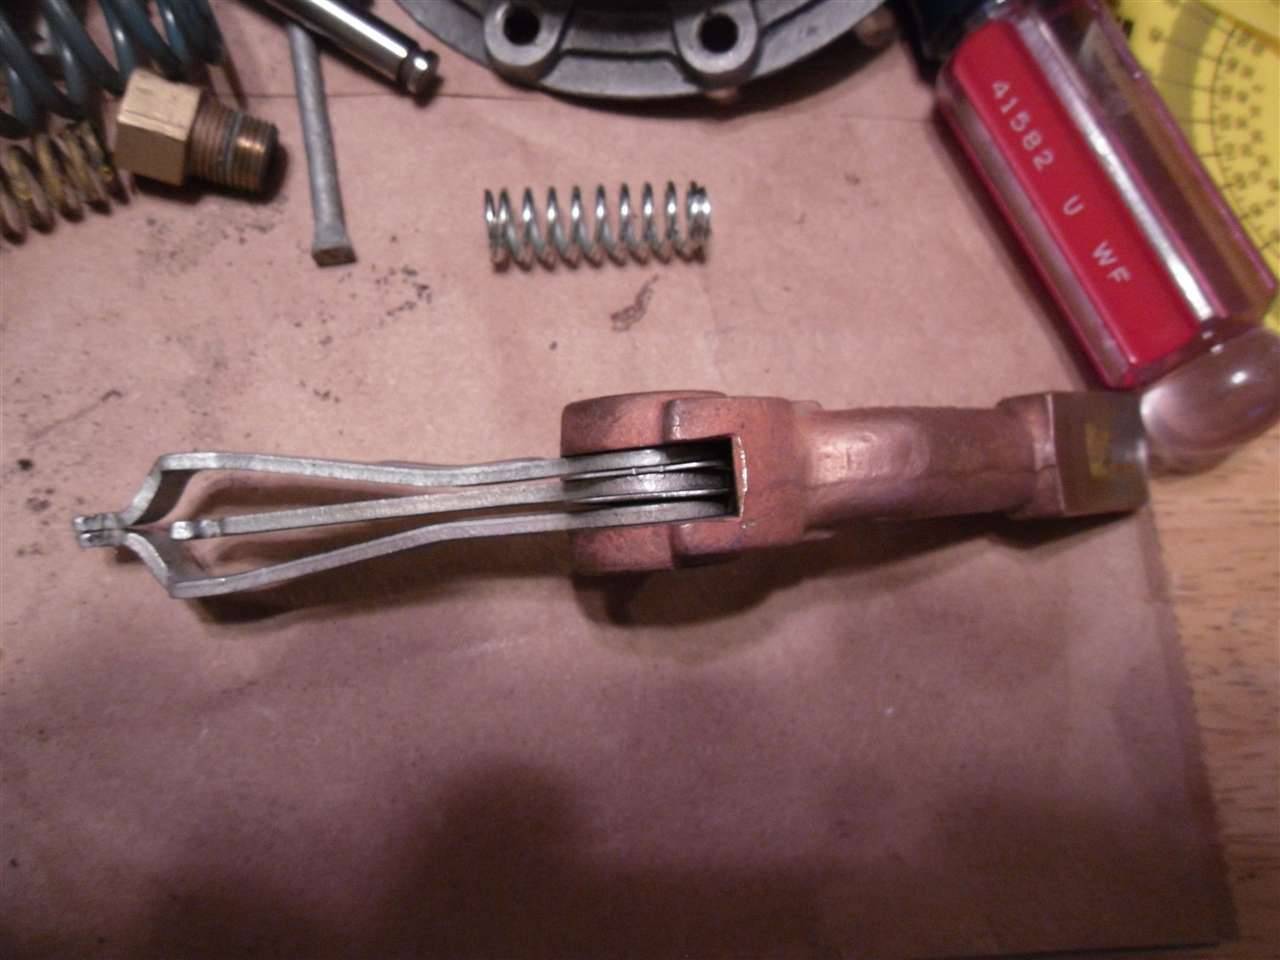 (85.95 KB) (85.95 KB)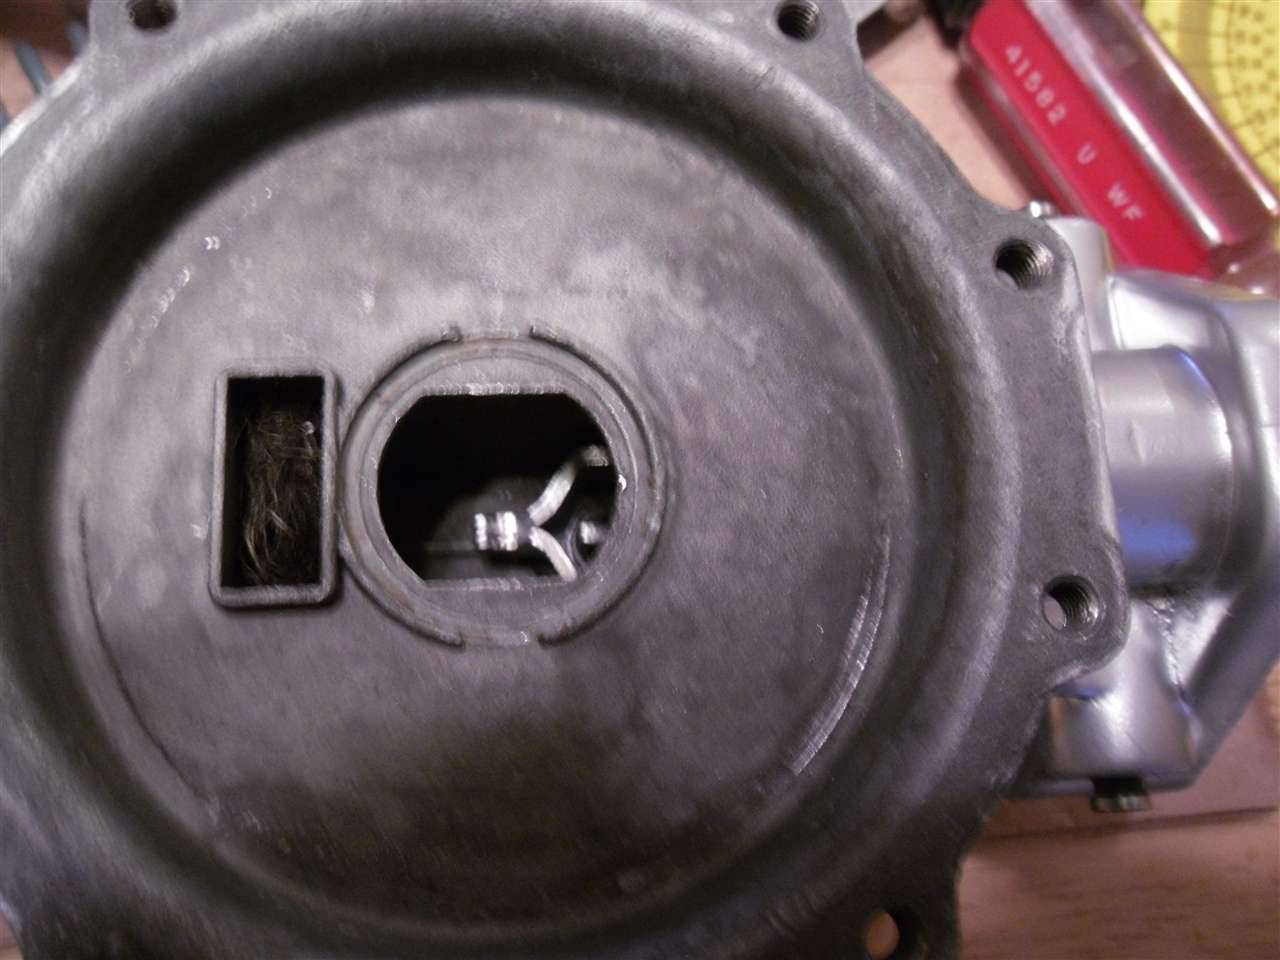 (56.38 KB) (56.38 KB)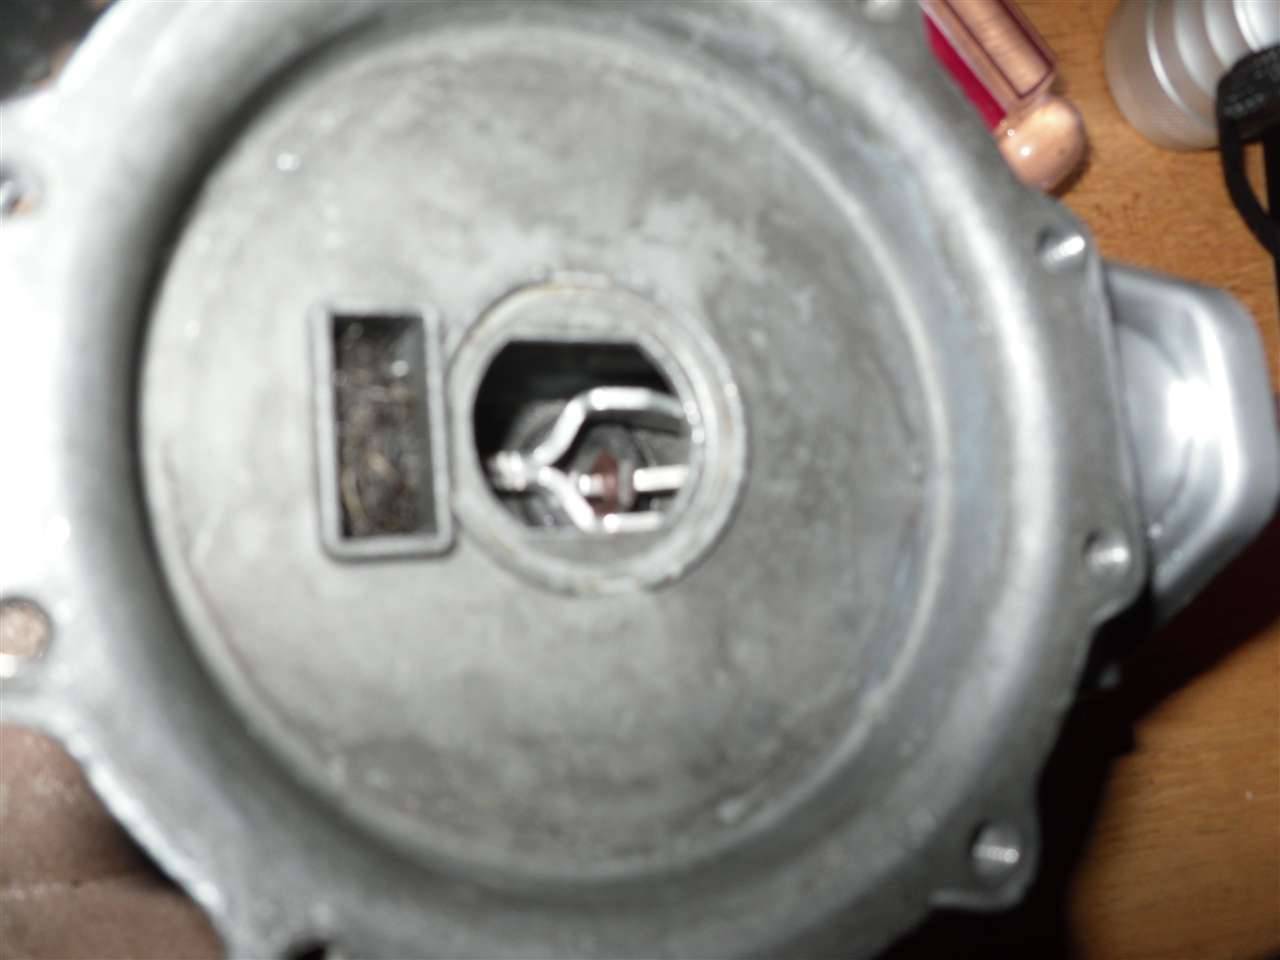 (73.86 KB) (73.86 KB)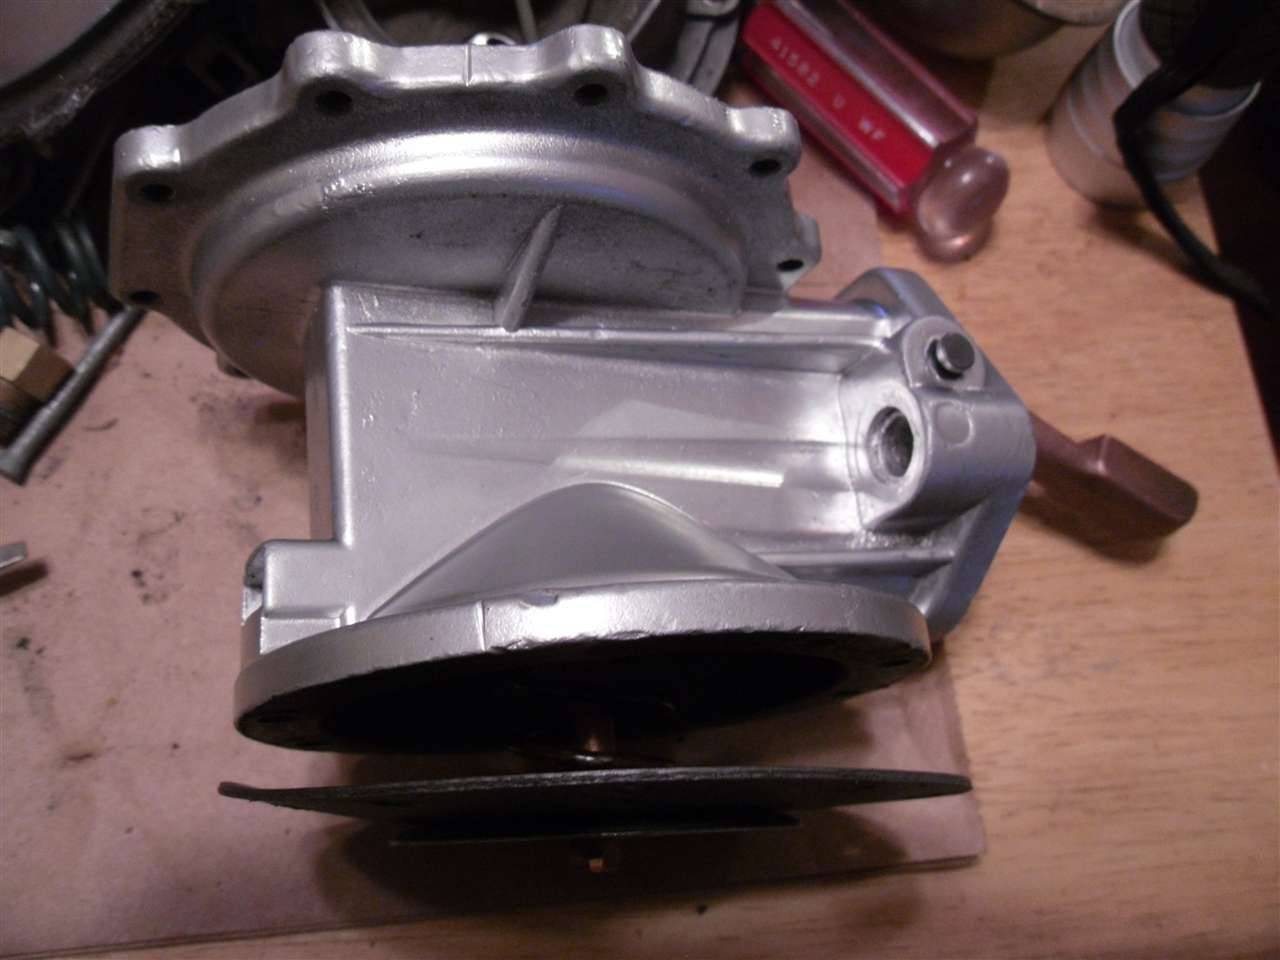 (33.96 KB) (33.96 KB)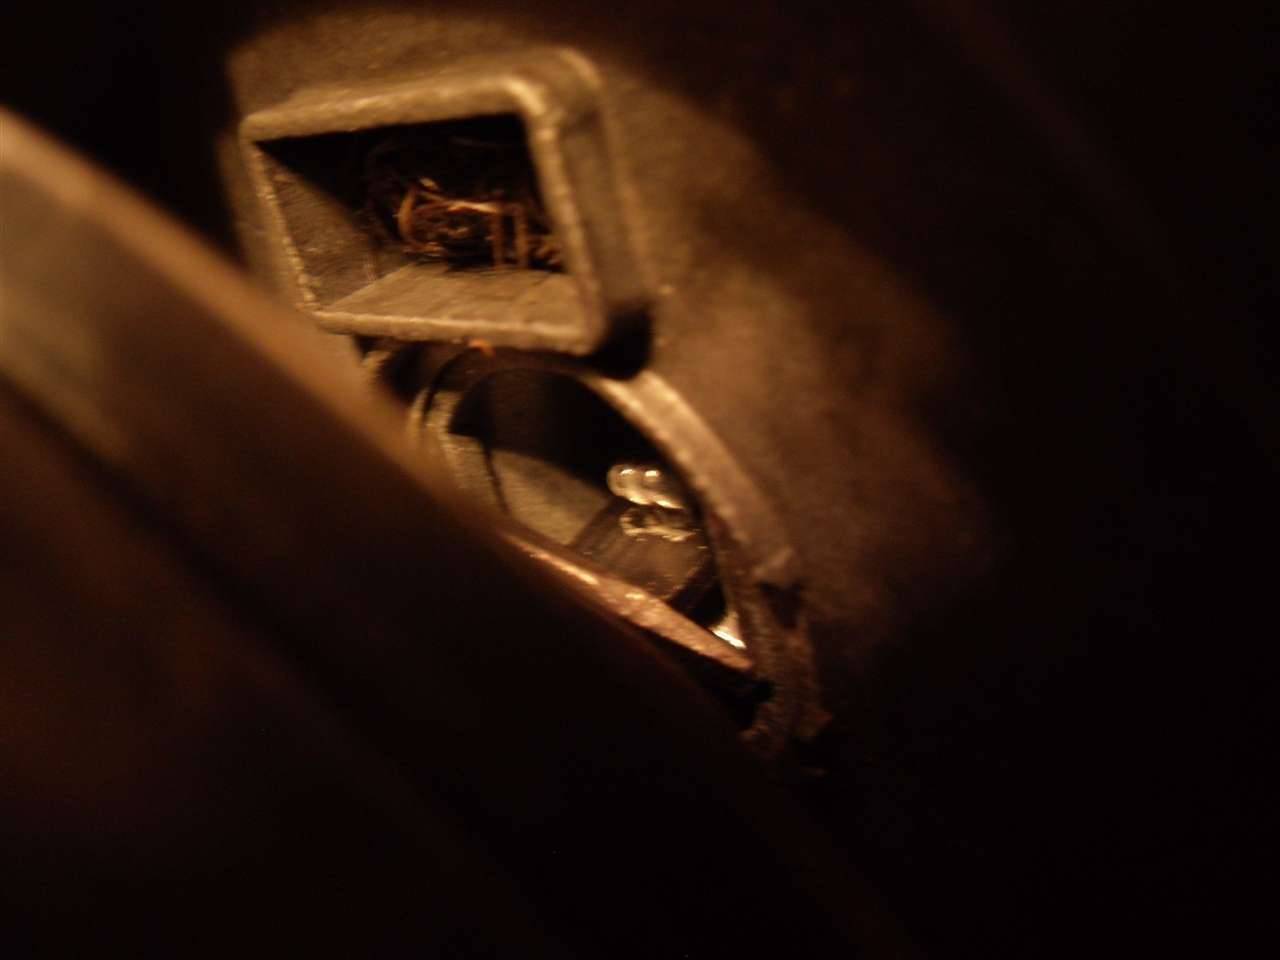 (85.10 KB) (85.10 KB)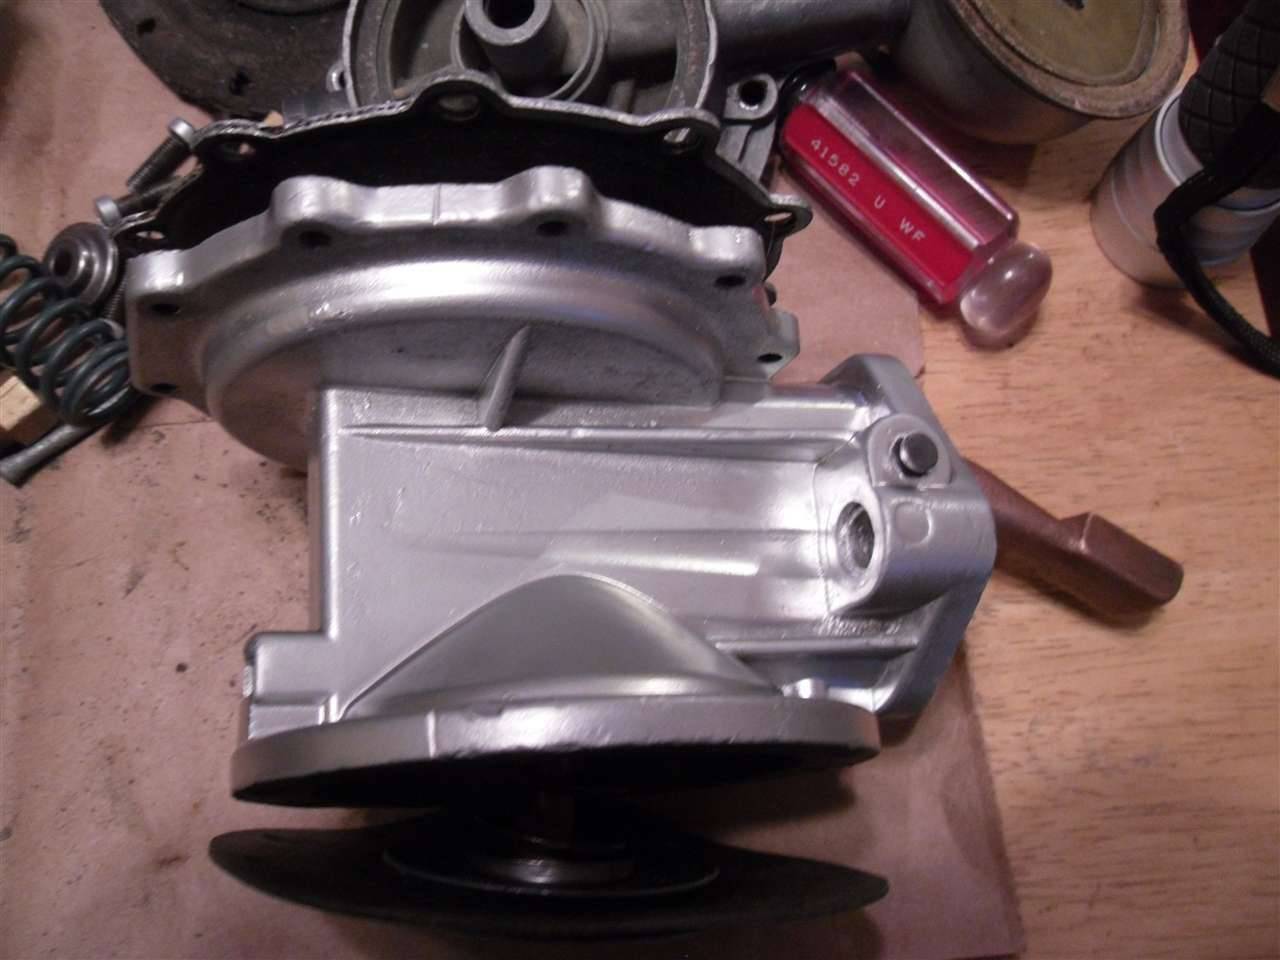
Posted on: 2011/10/11 21:14
|
|||
|
[url=h
|
||||
|
||||
|
Re: 51Packard's....51 Packard
|
||||
|---|---|---|---|---|
|
Forum Ambassador

|
Looks like it is right according to this piece from Motors from another post--Haven't played with one of these but I am wondering why they have the levers appear to have the hooks both pointing in the same direction--unless one of the diaphragms is pushed instead of pulled.
It mentions making sure vacuum diaphragm is level for some reason. The springs are quite stiff when all together--could that be part of the difficulty. Attach file:  Size: 781.16 KB; Hits: 89 Size: 781.16 KB; Hits: 89
Posted on: 2011/10/11 21:41
|
|||
|
Howard
|
||||
|
||||
|
Re: 51Packard's....51 Packard
|
||||
|---|---|---|---|---|
|
Home away from home
|
Thanks Howard. I'm beginning to think the fuel diaphragm is pulled and the vacuum diaphragm is pushed, using the force of the stiff spring to pull it back down. I was confused about the use of the diaphragm leveling tools. I'm going to just hold the arm down with a screwdriver while I reattach the sides. This will level out the fuel diaphragm, but I do not see how I can level the vacuum one if it does not move down. Maybe the tool pushes the vacuum diaphragm up while tightening? Not sure.
Posted on: 2011/10/12 7:11
|
|||
|
[url=h
|
||||
|
||||
|
Re: 51Packard's....51 Packard
|
||||
|---|---|---|---|---|
|
Home away from home
|
OK...this time I think reassembly is a success. I did the fuel side first. Held the arm down to level out the diaphragm and then attached the fuel pump half with the body and put the screws in until they just made contact with the housing. I was able to move the arm and heard a "toot" so it should be working. Tightened the screws.
Next I assembled the vacuum side. I started with the arm forced down, but the pressure on the stiff spring didn't feel right so I assembled it with the arm in it's natural position. I couldn't move the arm with just my hand and my vise is not attached to my bench so I used a screwdriver behind the arm to push it down. It was tough, but I heard the "toot" again so looks like it should work. I am hoping the "toot" noise goes away when the pump is attached to the car.
Posted on: 2011/10/13 7:10
|
|||
|
[url=h
|
||||
|
||||
|
Re: 51Packard's....51 Packard
|
||||
|---|---|---|---|---|
|
Home away from home
|
10-16-11
Hopefully the fuel pump is properly reassembled and will work fine. I gave it another coat of paint to cover scratches from taking it apart again. In between house projects such as installing new windows and hardwood floors, I found some Packard time again. Today I tackled the fuel tank. I have it on a pallet in the yard and need to get it out of there before winter. First step was removing the fuel sender unit. It came out without incident, but I lost the retaining ring when taking the unit out of the tank. I was so interested to see inside the tank that I didn't pay attention to the ring and it slipped off somewhere. Inside the tank looks really good. The bottom is shiny metal so I think I am OK. Next I filled the tank up with water to prevent a fire or explosion while I wire brushed the tank. The top of the tank had surface rust, which came off pretty easy. I noticed a hole drilled in the top of the tank. I have no idea why it is there. Maybe I will put a sheet metal screw in there with a wire for a ground. The bottom of the tank is covered in undercoating. I didn't want to remove it since it was in good condition and might be covering something I don't want to know about. After getting as much rust off as I could, I gave the tank a coat of phosphoric acid. Once the acid dried, I wiped the tank down and applied two coats of cold galvanizing paint. It is a darker, somewhat shiny gray color. Not sure where I saw it, but I read somewhere that it would be the proper coating to put on the tank. While I was at it, I threw the fuel sending unit and gas cap in the media blaster and gave them a coat of silver paint. Attach file: (203.72 KB)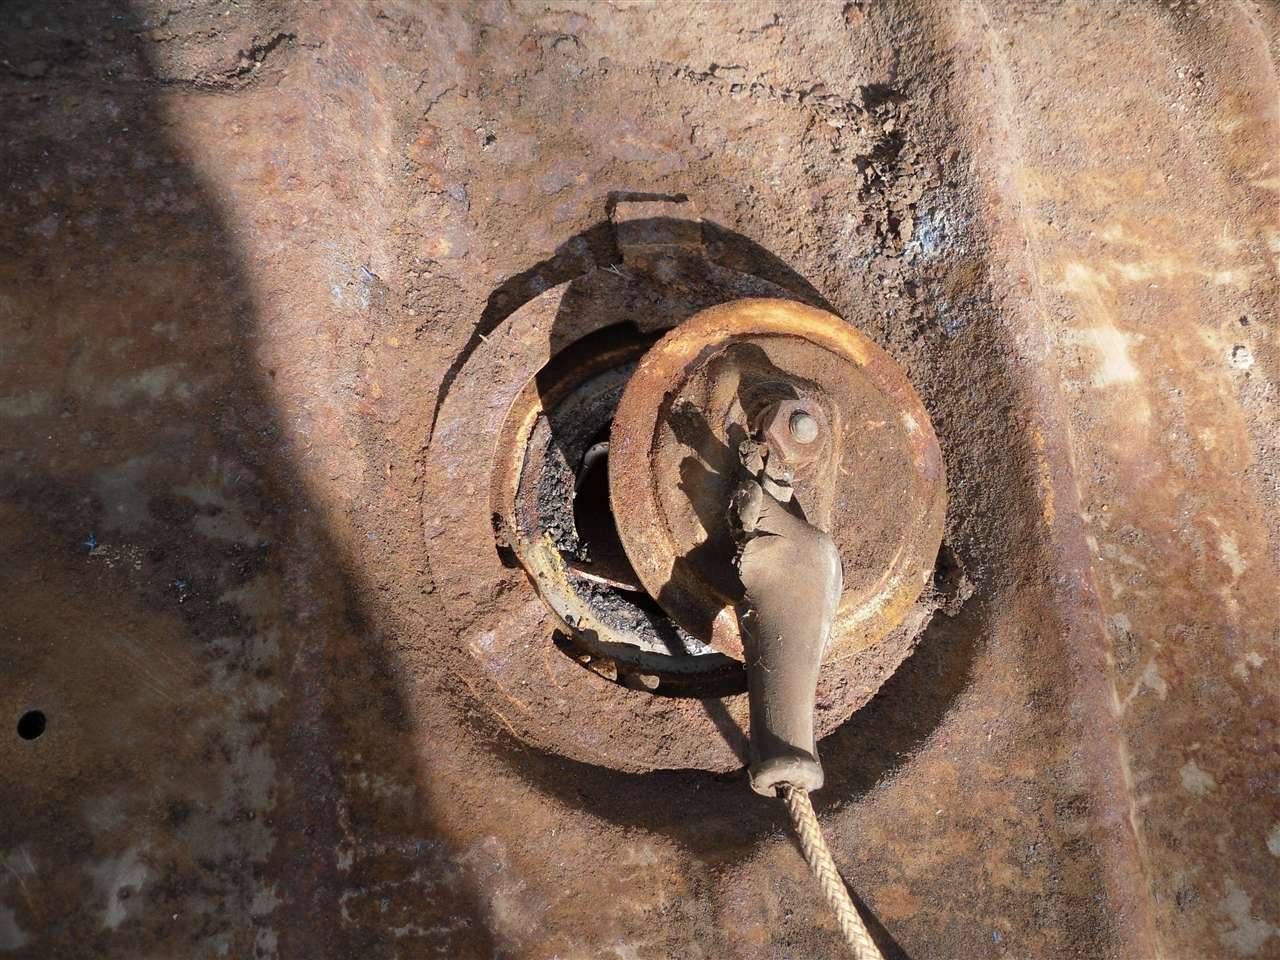 (185.58 KB) (185.58 KB)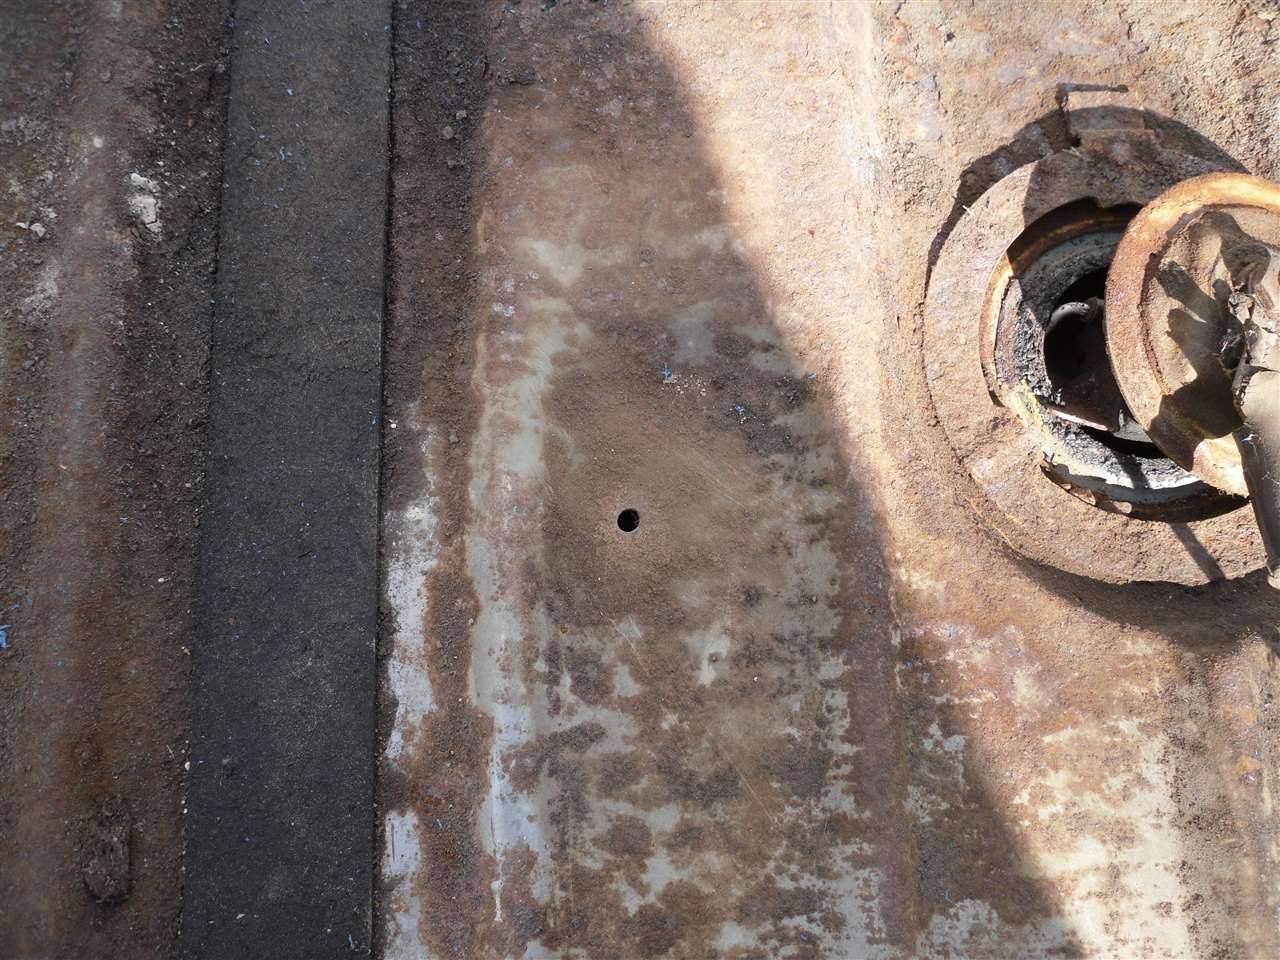 (173.07 KB) (173.07 KB)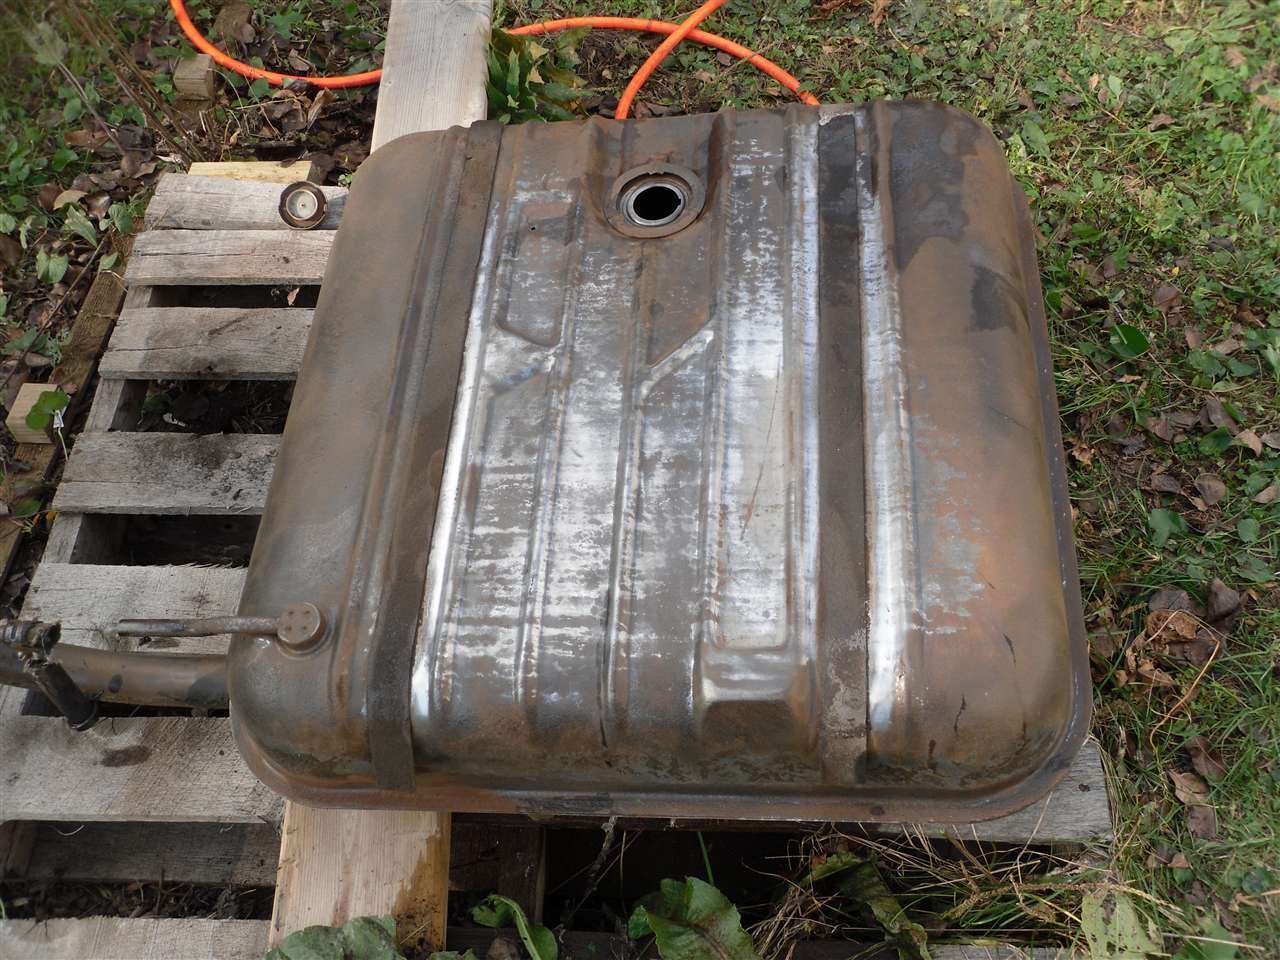 (195.40 KB) (195.40 KB)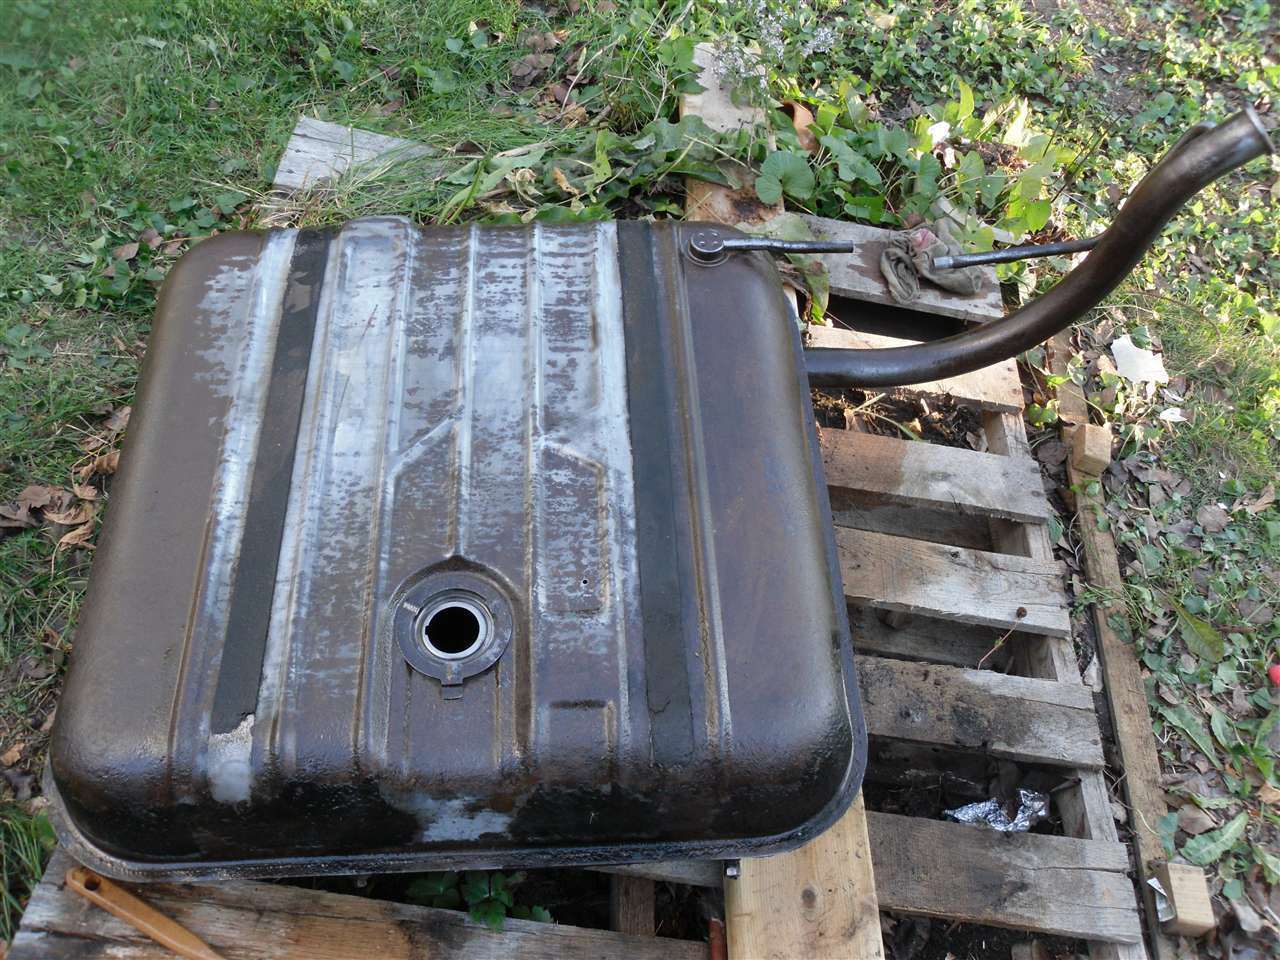 (142.66 KB) (142.66 KB)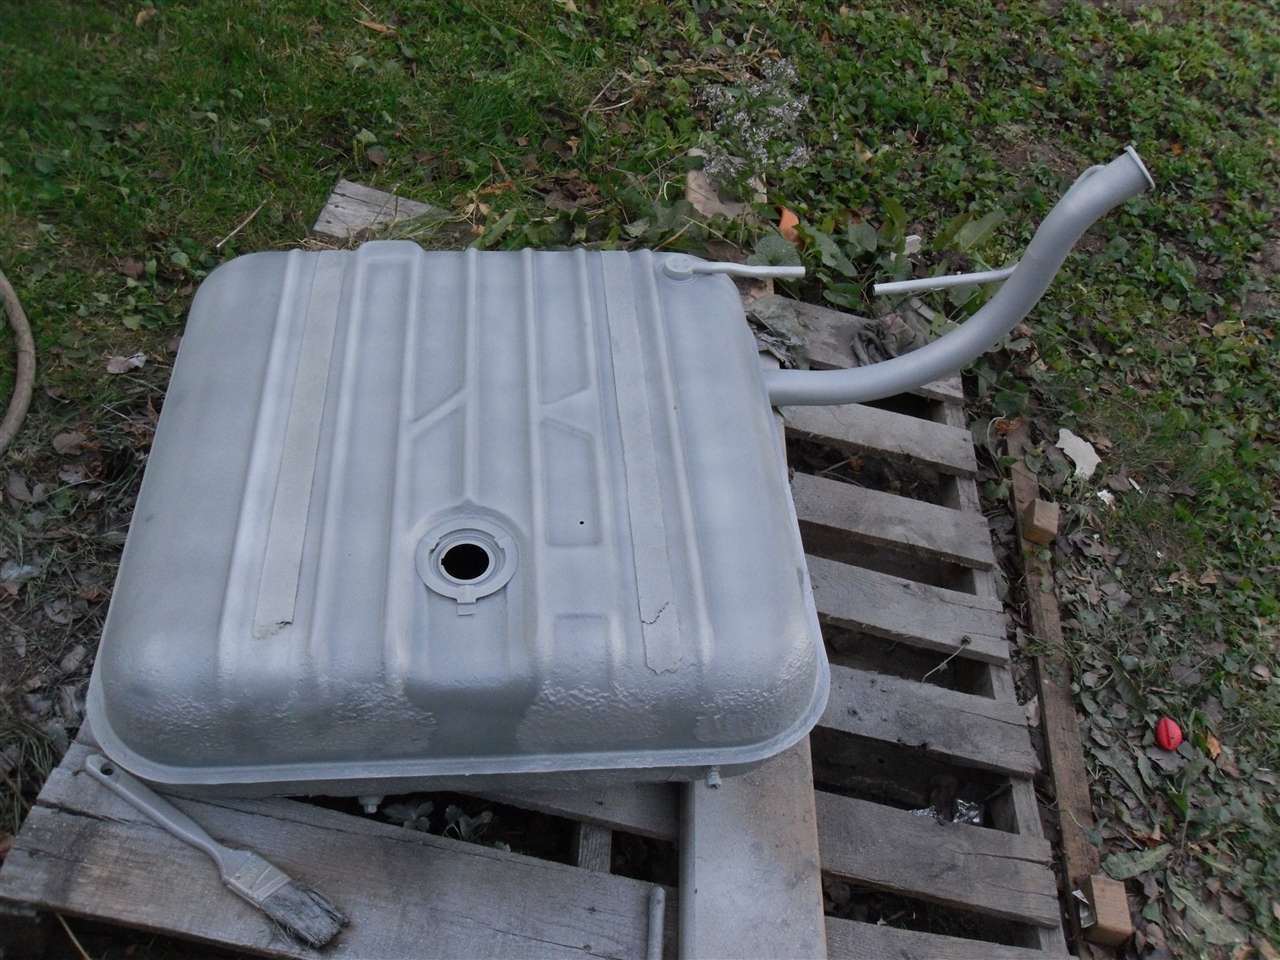 (159.12 KB) (159.12 KB)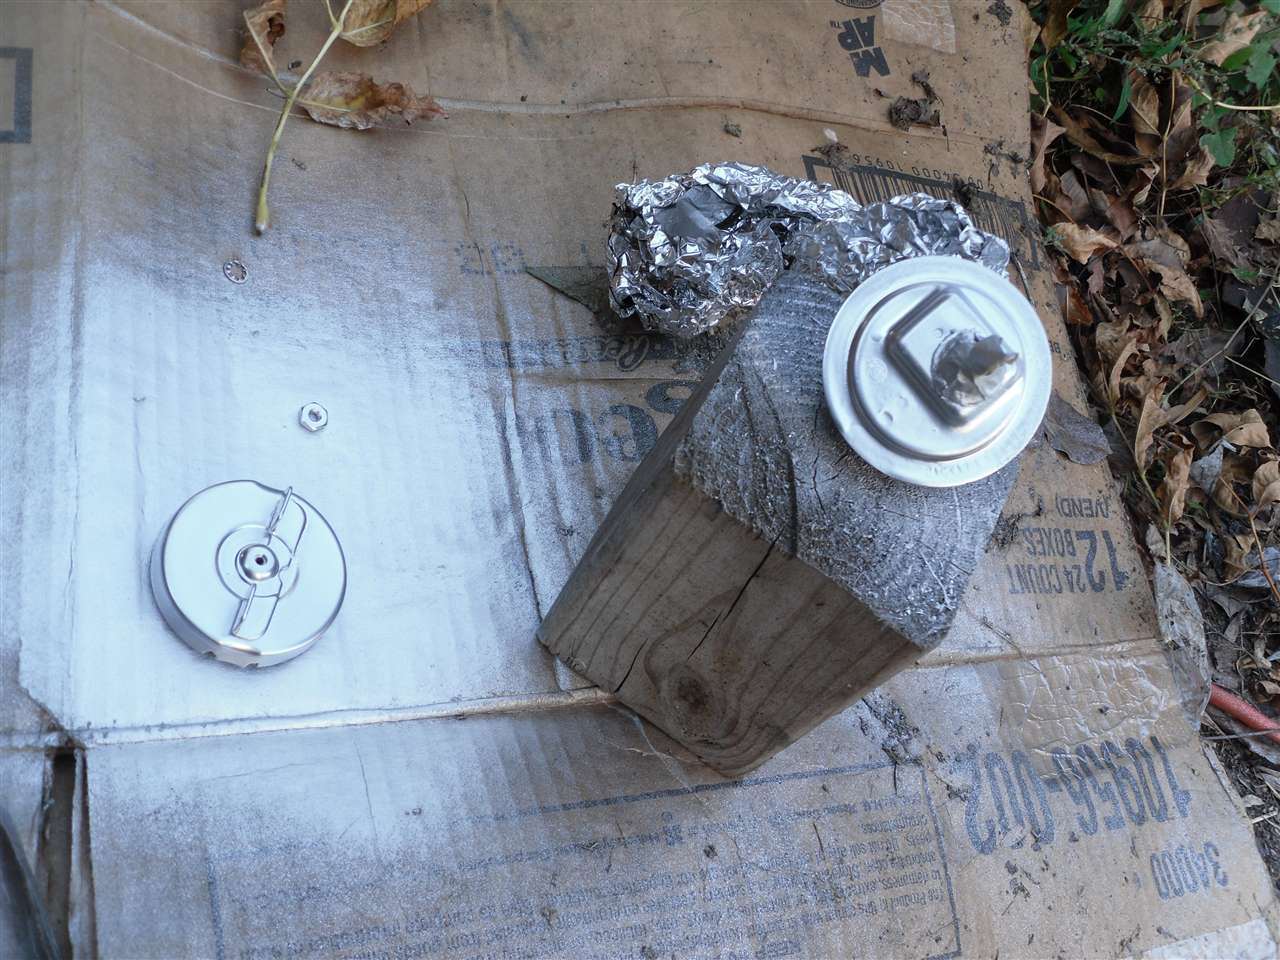
Posted on: 2011/10/16 18:25
|
|||
|
[url=h
|
||||
|
||||
|
Re: 51Packard's....51 Packard
|
||||
|---|---|---|---|---|
|
Forum Ambassador
|
That is a strange hole. Is there a corresponding one in your trunk floor? Maybe it was someone's idea of a vent.
Posted on: 2011/10/16 19:00
|
|||
|
Howard
|
||||
|
||||
|
Re: 51Packard's....51 Packard
|
||||
|---|---|---|---|---|
|
Home away from home
|
Good thinking Howard. I haven't looked yet, but it could have been from the previous owner drilling too deep for the panels he riveted in the trunk.
Posted on: 2011/10/16 19:19
|
|||
|
[url=h
|
||||
|
||||
|
Re: 51Packard's....51 Packard
|
||||
|---|---|---|---|---|
|
Home away from home
|
3-9-12
Although it has been a mild winter, it still has been too cold and snowy for working on the Packard. This weekend is starting some nice Spring weather so it is time to take up the project again. All winter I have been religiously reading the posts on this website getting more and more excited about working on the car again. Today, I set out to start putting parts back on the engine that I did not get to. My excitement level went from 10 to -5 when I lifted the hood and realized I still have a ton of work to do! Especially frustrating is that no matter how careful I am, nuts and heads of bolts start to rust after a couple of months. What is the secret to refastening painted hardware? I try to be as careful as I can and even waited extra days to make sure the paint is dry. I use name brand paint. What gives? Looks like the fenders have to come off again to finish installing the accessories easily and replace the brake lines. Decided my time today would be better spent cleaning the garage and taking inventory of what I need to get done. Looks like I am missing one of the insulating bushing that goes between the bolt and flange on the fuel pump. I did find that missing fuel pump spring that I had to buy last year. I guess it was not missing the whole time after all. Over the winter I wanted to recreate the wire harness that goes across the front of the engine bay. Couldn't find it but did today while cleaning. I guess I will do that on a rainy day. Well, that's all I have to report right now. Hopefully more progress this weekend. Attach file: (55.29 KB)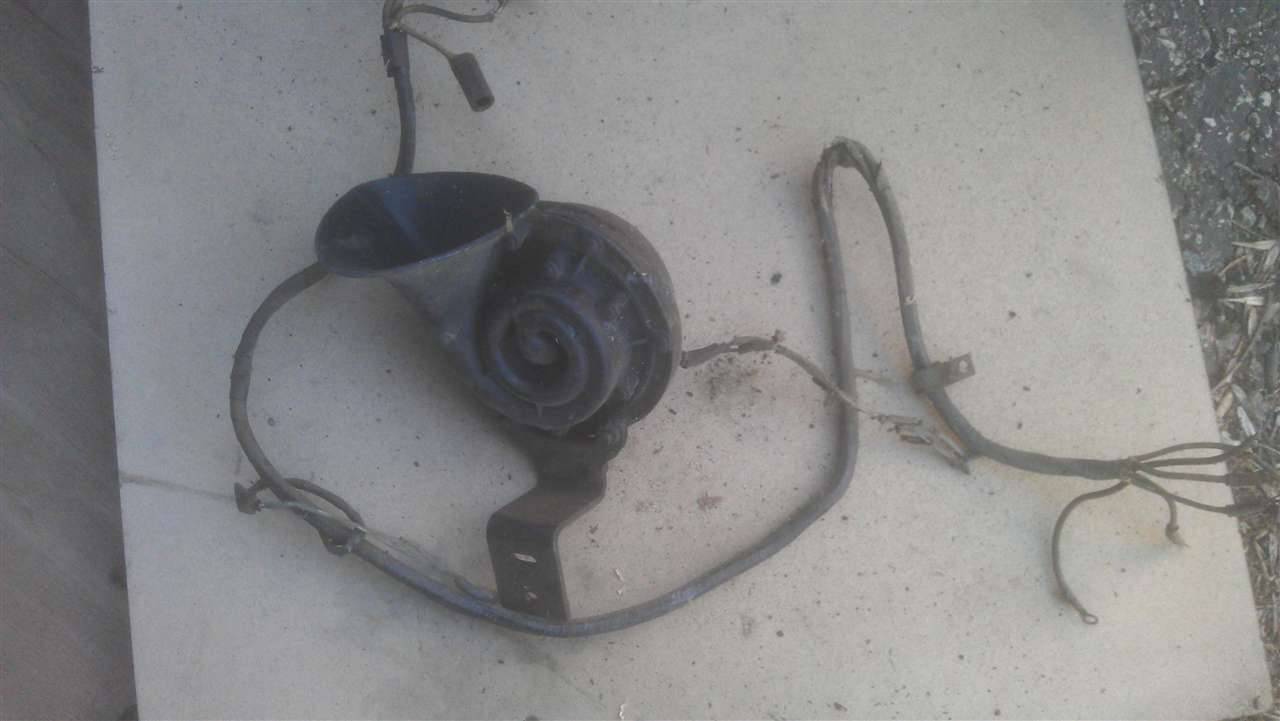
Posted on: 2012/3/9 20:41
|
|||
|
[url=h
|
||||
|
||||


