|
Re: 51Packard's....51 Packard
|
||||
|---|---|---|---|---|
|
Forum Ambassador
|
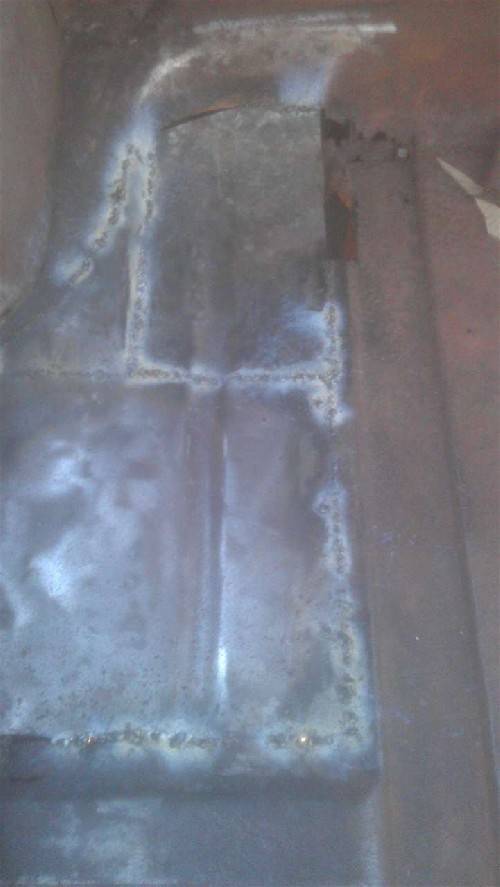
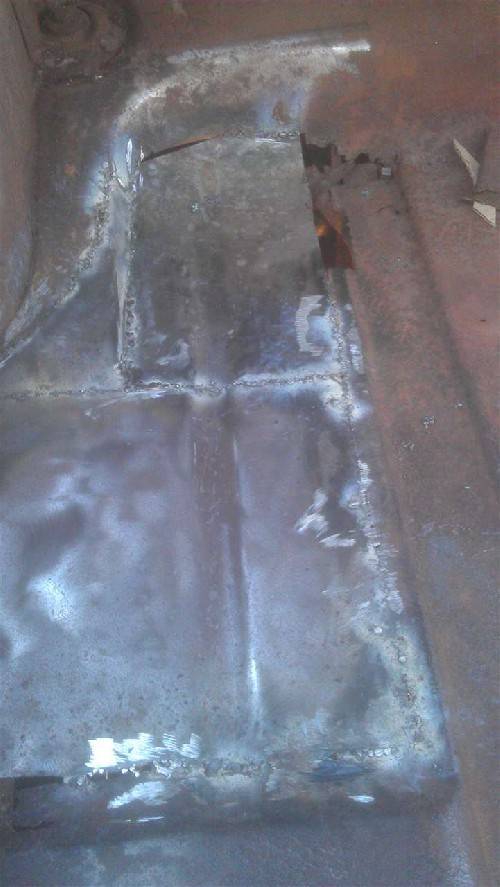
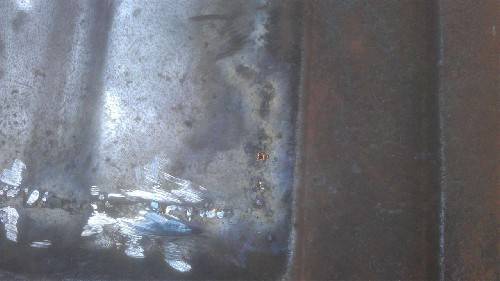
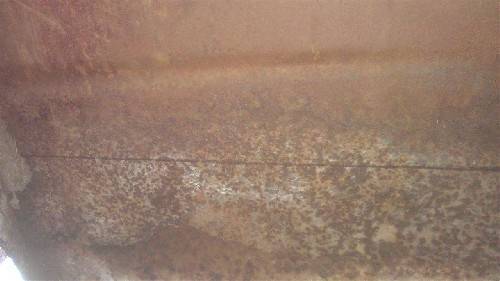
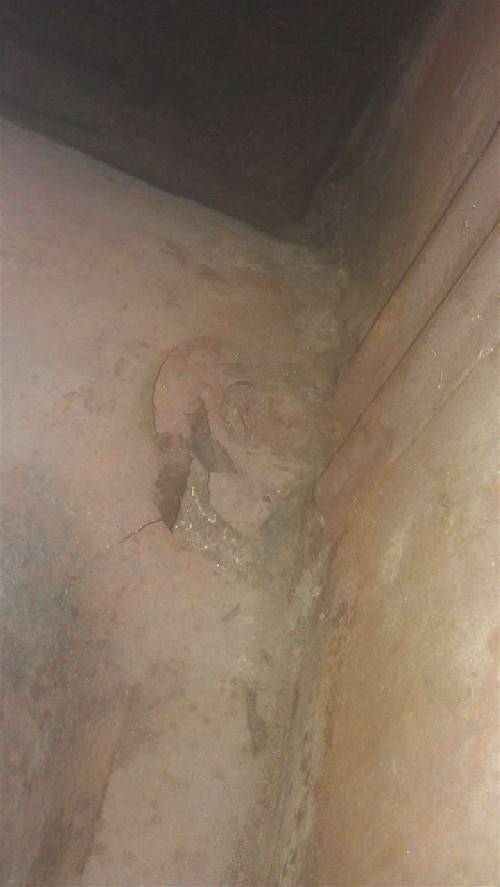
I'm really thinking I will have to resort to seam sealer or a layer of fiberglass over the welds to seal them from water.
A friend who is doing a 52 club sedan used fiberglass on his trunk and also inside some places in the passenger cmpt. His floor had not deteriorated to the point yours did but did have some tiny pinholes in several areas. I believe he also used a rust converter--not sure which one. He is doing a driver car on a budget, not a concours restoration so some liberties were taken. Still a work in progress but when you consider what his car looked like when he got it vs now, I am thinking it's turning out rather well. Floor seems to be solid under the glass--and so far after about 5 years since the process, no signs of rust progressing.
Posted on: 2012/3/13 20:37
|
|||
|
Howard
|
||||
|
||||
|
Re: 51Packard's....51 Packard
|
||||
|---|---|---|---|---|
|
Home away from home

|
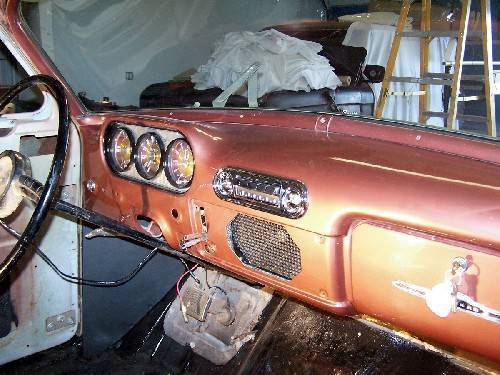
I like the orange metallic/ bronze color in the club sedan. Is that the colors he is going to paint/upholster the rest of the car?
Posted on: 2012/3/14 7:28
|
|||
|
"Do you ever think about the things you do think about?"
Inherit the Wind |
||||
|
||||
|
Re: 51Packard's....51 Packard
|
||||
|---|---|---|---|---|
|
Forum Ambassador
|
It is. It may not technically be one of the correct colors available for a 52 dash, but was painted to match the outside for the flow thru effect. I thought it turned out well. The color scheme he chose for the car is 52's Twilight Taupe Metallic and Sunset Red. Believe that is the Taupe.
As to the upholstery, it will not be a Packard original material but is a patterned wool. I think it is some kind of a plaid originally destined for shirts. Can't find the pictures at the moment but what I saw looks like it will work very nicely with the paint. The car is still a work in progress -- now probably on the 20 year plan. His Marlin arrived and became the attraction and now his wife's TBird restoration has priority over the Packard.
Posted on: 2012/3/14 9:18
|
|||
|
Howard
|
||||
|
||||
|
Re: 51Packard's....51 Packard
|
||||
|---|---|---|---|---|
|
Home away from home

|
Ahhhh. Kind of a western theme going on. I can understand about the 20 year plan, myself. At least he has the car and slowly working on it rather than searching for it for years on end.
I also had a '65 Marlin and it was a neat little car to move around in. Of course nowadays it would be considered a full sized car.
Posted on: 2012/3/14 9:41
|
|||
|
"Do you ever think about the things you do think about?"
Inherit the Wind |
||||
|
||||
|
Re: 51Packard's....51 Packard
|
||||
|---|---|---|---|---|
|
Home away from home

|
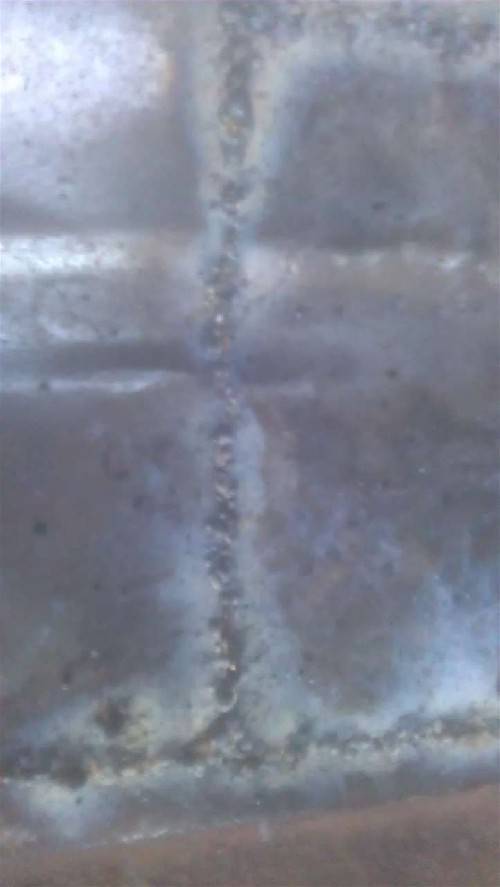
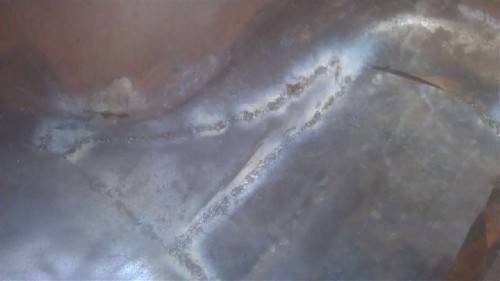
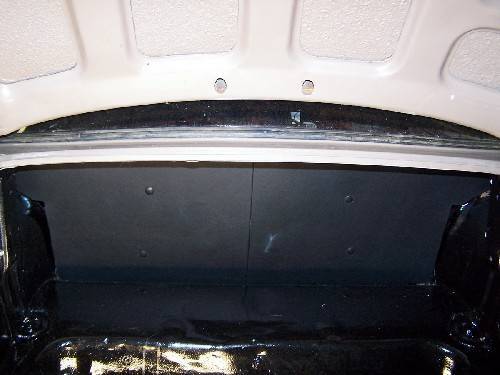
Thanks HH56. Looks like the trunk came out pretty good. My welds suck, but the metal is solidly attached so the fiberglass will only be used to seal up the small pinholes rather than try to fill them with weld, only to make bigger holes. Glad that seems to be a viable option.
I have been hinting and think I can borrow the MIG welder from work. I really want to see if it is my technique or the fact I am using the wrong welder that is making this so difficult. Also, I'm probably going to use a flange tool on the patch for the other side of the trunk. I have heard that that joint will trap moisture and cause rust, but others on this site are using it. As long as I seal it, I hope it will be OK and weld easier than the butt weld. Who knows, the MIG welder may turn out to be the answer to my prayers too. We will see.
Posted on: 2012/3/14 12:47
|
|||
|
[url=h
|
||||
|
||||
|
Re: 51Packard's....51 Packard
|
||||
|---|---|---|---|---|
|
Home away from home
|
3M Heavy Drip-Chek Sealer works pretty well. Part no. 08531.
Posted on: 2012/3/14 13:09
|
|||
|
Joey
(?=#=?) "If chrome got me home, I'd for sure still be stuck somewhere." [url=http://pac |
||||
|
||||
|
Re: 51Packard's....51 Packard
|
||||
|---|---|---|---|---|
|
Webmaster
|
Buy a can of brushable seam sealer. This is what I used on my floors and matches pretty closely what the factory used. If you can't find it locally, Eastwood sells it.
Posted on: 2012/3/14 14:48
|
|||
|
-BigKev
1954 Packard Clipper Deluxe Touring Sedan -> Registry | Project Blog 1937 Packard 115-C Convertible Coupe -> Registry | Project Blog |
||||
|
||||
|
Re: 51Packard's....51 Packard
|
||||
|---|---|---|---|---|
|
Home away from home

|
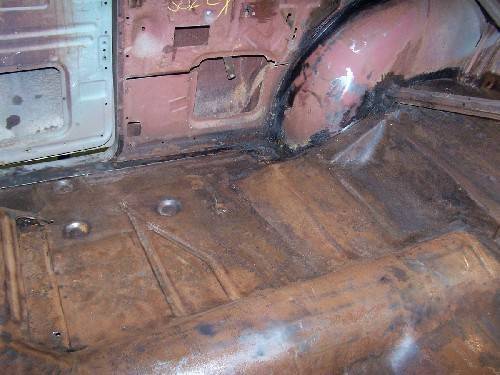
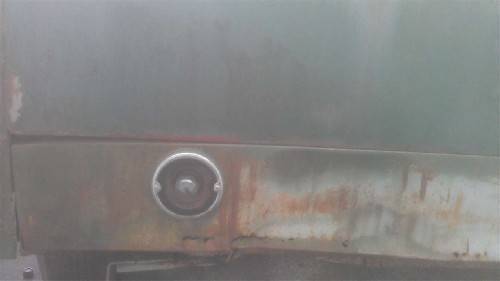
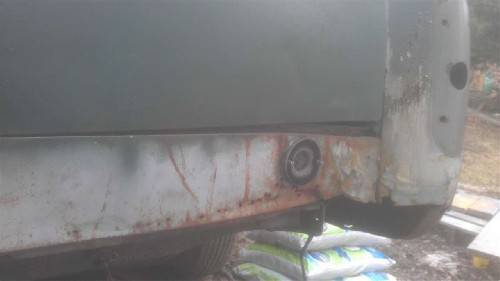
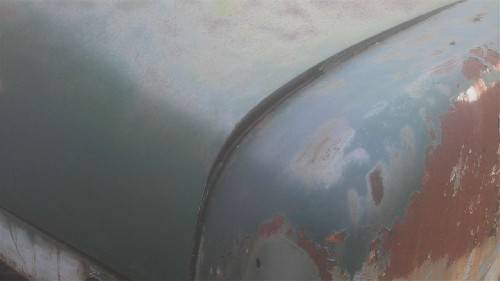
Scored the MIG welder from work! Started to make a template for the whole in the trunk on the other side. I measured from the top of the decorative strip that runs along the quarter panel to the top of the trunk floor on the drivers side. Got 4". Then I measured 4" down on the passenger side and drew a reference line so I know where the trunk floor should meet the rear quarter panel.
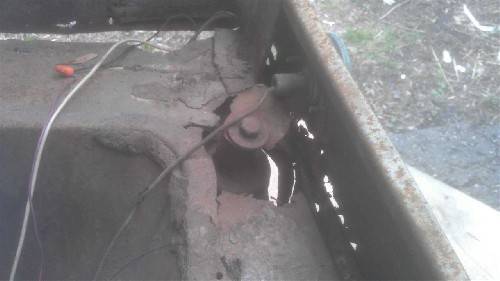
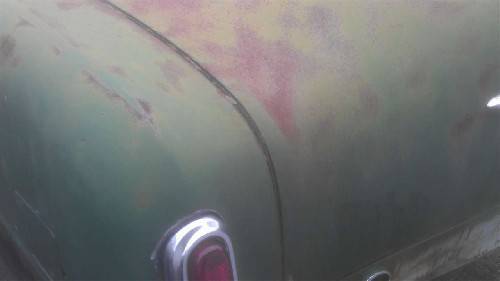
Then I got to thinking. Should I be doing this or try to fix the body mounts first? The mounts on the drivers side are OK (except the one near the back seat looks a little funky), but the passenger side ones are all rusted through. I thought having more trunk floor would make the body stronger for trying to raise it back to it's normal height, but I don't know if that is right or I should try to fix the mounts first? I know my trunk does not fit well against the bottom part of the trunk where the back up lights are. It was hit there at some point too so that does not help with the alignment. I'm hoping getting the trunk back to the proper height will help with the fitting issue. Any thoughts (besides scraping this car and finding one in better shape)?
Posted on: 2012/3/15 21:28
|
|||
|
[url=h
|
||||
|
||||
|
Re: 51Packard's....51 Packard
|
||||
|---|---|---|---|---|
|
Home away from home

|
Don't use fibreglas! it will only cause more rust. Don't over grind the seams, just level off the welds. Use seam sealer as necessary. If you want to be real Felix Unger, finish off with a skim of body filler then paint with Rustoleum or your favorite rustproof paint. If you do POR15 it goes on before the seam sealer and filler.
Done right you will have a permanent good looking floor. Don't forget to seal and paint underneath.
Posted on: 2012/3/15 23:29
|
|||
|
||||

 (44.76 KB)