
|
Re: Disassembling Tail Light Bodies for Re-Chroming
|
||||
|---|---|---|---|---|
|
Forum Ambassador

|
I believe the consensus from a discussion a year or two ago is that the reverse socket shell is crimped and best stays in the housing -- same with front parking lite.
You can remove the socket by using a small pick and screwdriver to carefully pry open the crimp to free it. I've done it but getting it off without damage and then to crimp back tightly and maintain a good ground connection is the challenge. Best way is just cut the wires in a way you can redo them again after plating & remove the guts from the socket. Leave just the shell in the assy. If needed, discuss with the plater whether the shell needs protecting and the best way to do it. If careful in removal, most of the old items can be reused. New buttons, washers and springs are available for some sockets. You might measure your sizes and check the "Supplies", "washers buttons and springs" sections of RI Wiring'sriwire.com/ website. They seem to have the best selection.
Posted on: 2013/5/27 12:38
|
|||
|
Howard
|
||||
|
||||
|
Re: Disassembling Tail Light Bodies for Re-Chroming
|
||||
|---|---|---|---|---|
|
Forum Ambassador
|
I made new gaskets from what is referred to as rainbow rubber which is used in making gaskets for pipes in water wells and perhaps other wells as well. It is close to the right thickness and the new holes can be put in with a punch.
The gasket I refer to is underneath the casting and is a dust seal to the bumper.
Posted on: 2013/5/27 13:19
|
|||
|
||||
|
Re: Disassembling Tail Light Bodies for Re-Chroming
|
||||
|---|---|---|---|---|
|
Home away from home

|
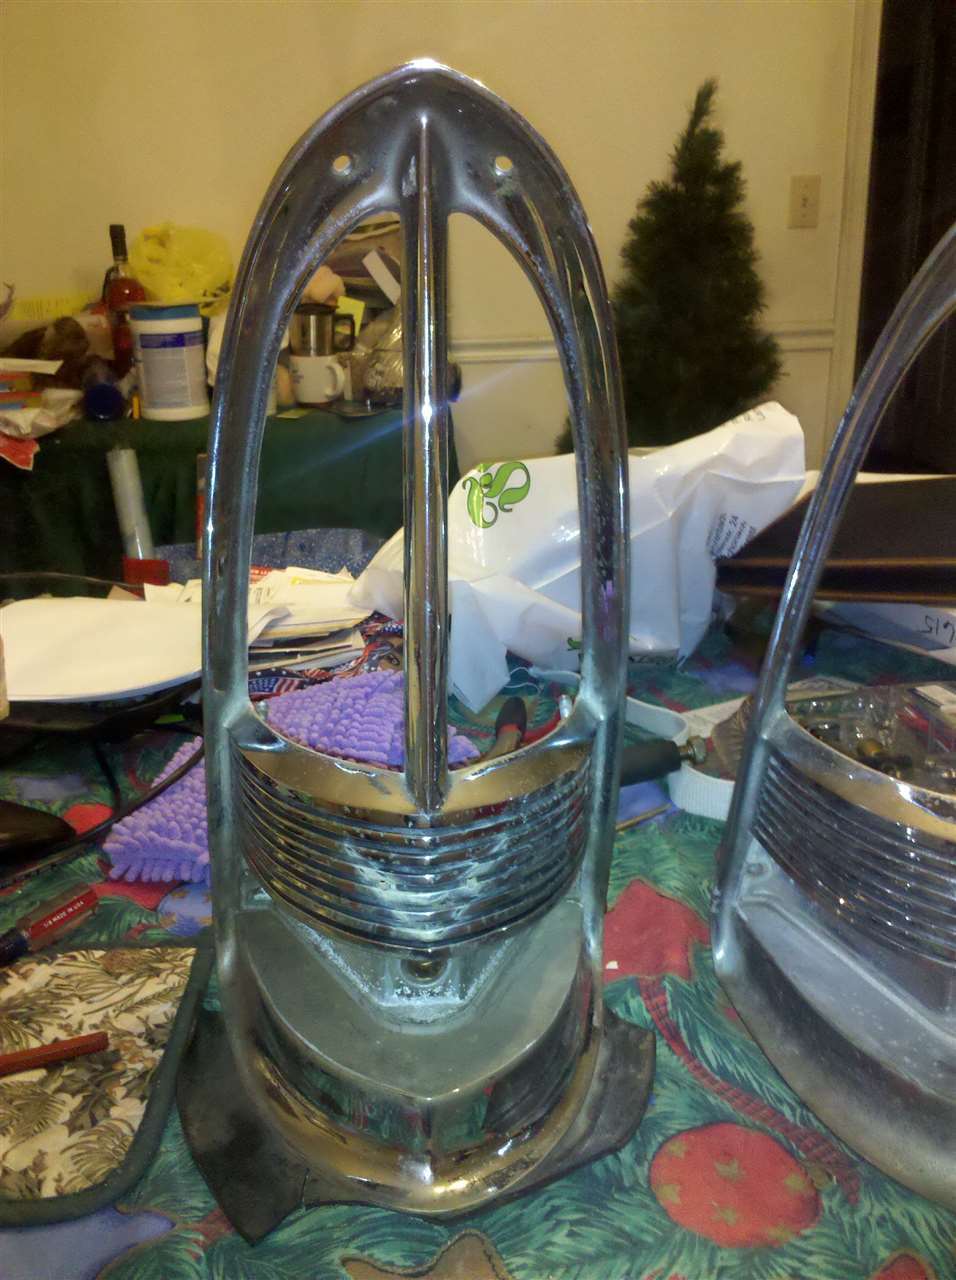
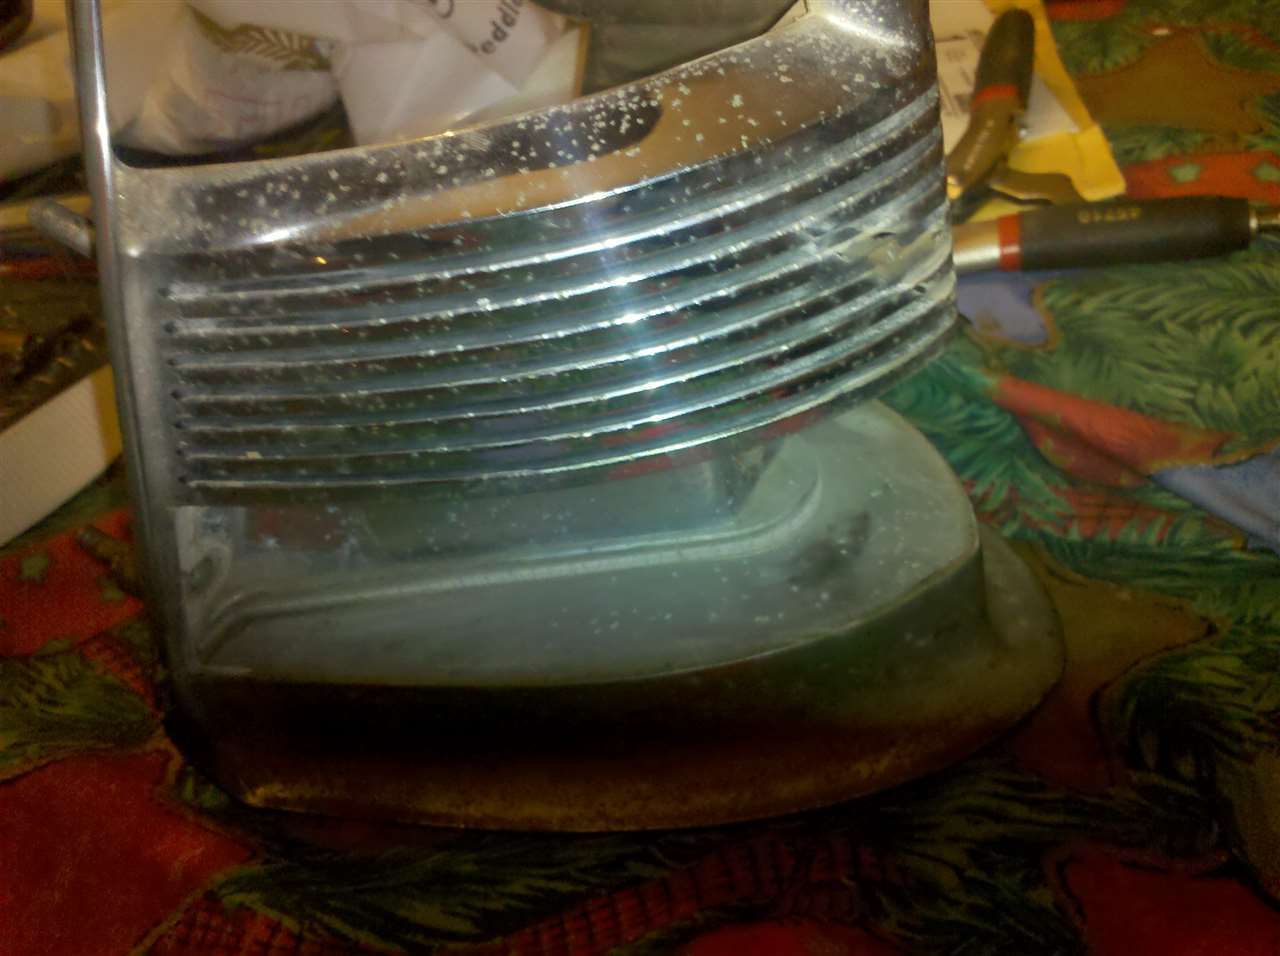
I know that Steele rubber has a kit for the gaskets & rubber.
steelerubber.com/search?make=packard&mod ... e=2#taillight-gasket-kit-70-1513-15 Here is picture of the socket-less taillight. I did not take it out. Attach file:  (70.77 KB) (70.77 KB)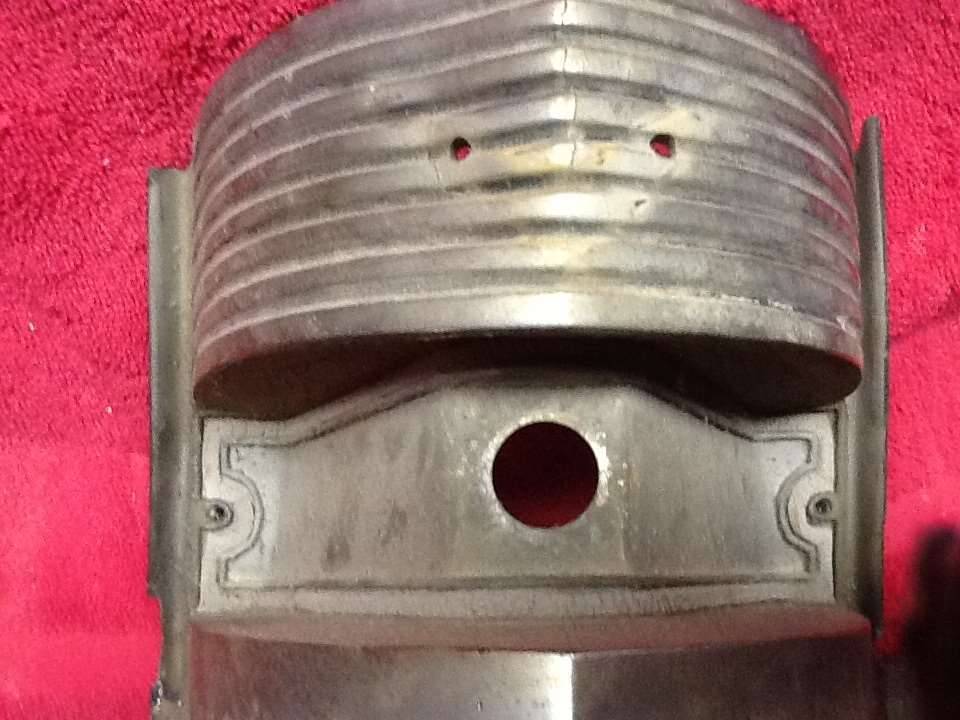 (60.81 KB) (60.81 KB)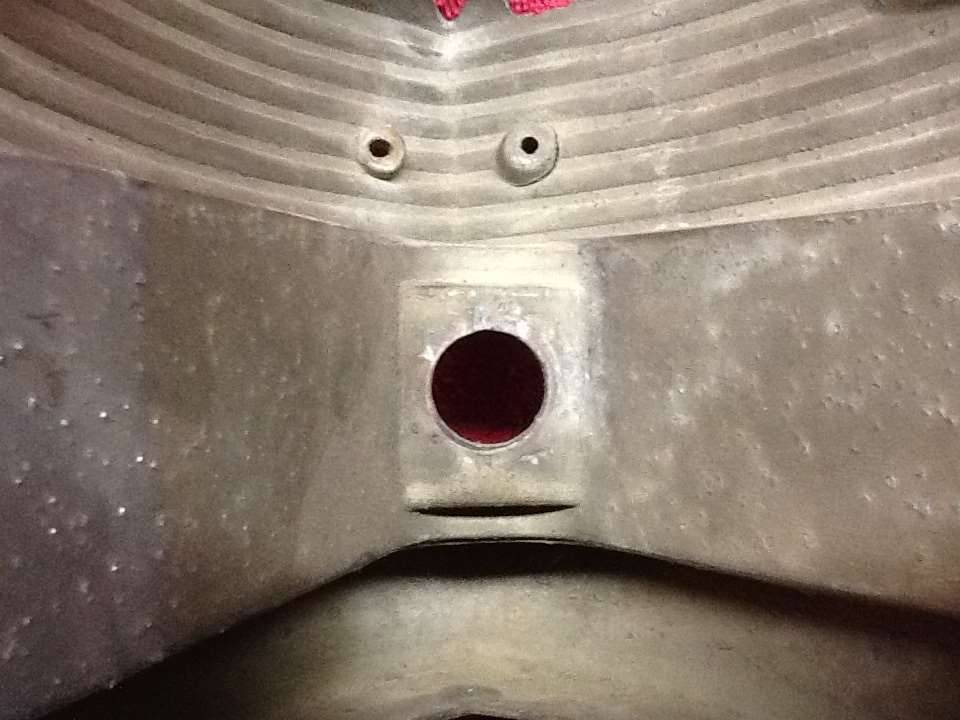 (54.73 KB) (54.73 KB)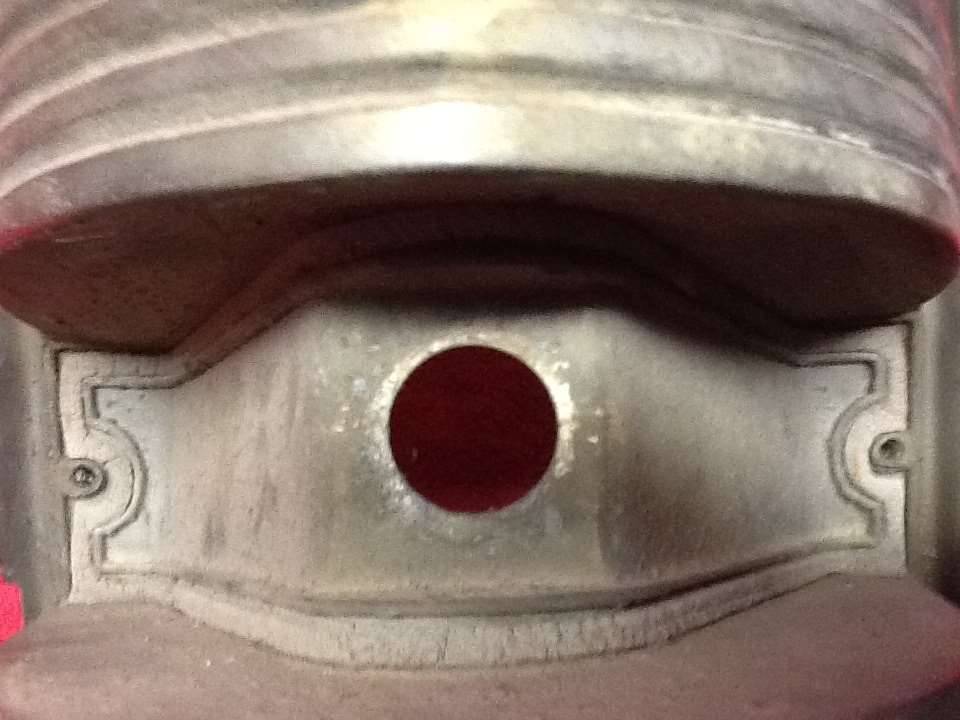
Posted on: 2013/5/27 14:06
|
|||
|
||||


