|
Re: HA's 52 200 Grey Ghost
|
||||
|---|---|---|---|---|
|
Home away from home

|
Great job! Looks fantastic!
Posted on: 2016/7/4 20:35
|
|||
|
[url=h
|
||||
|
||||
|
Re: HA's 52 200 Grey Ghost
|
||||
|---|---|---|---|---|
|
Home away from home
|
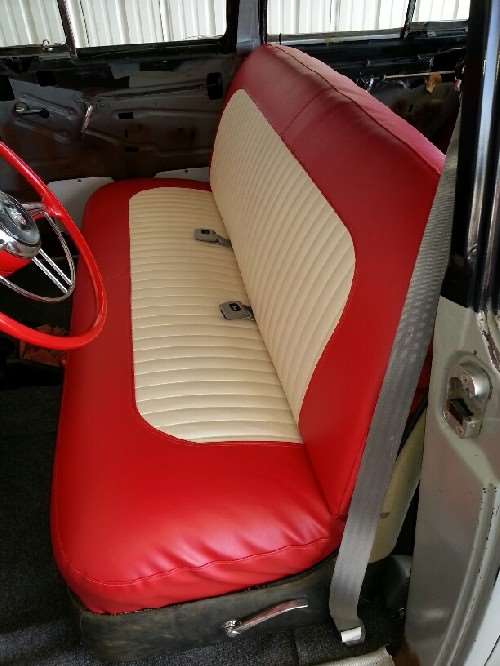
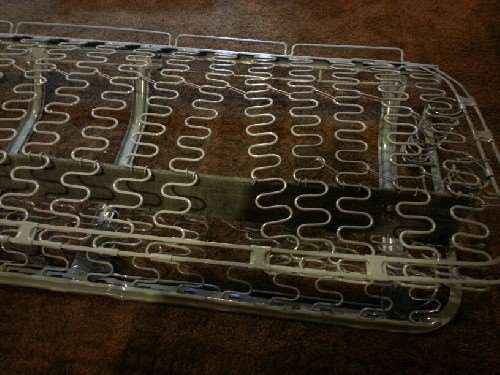
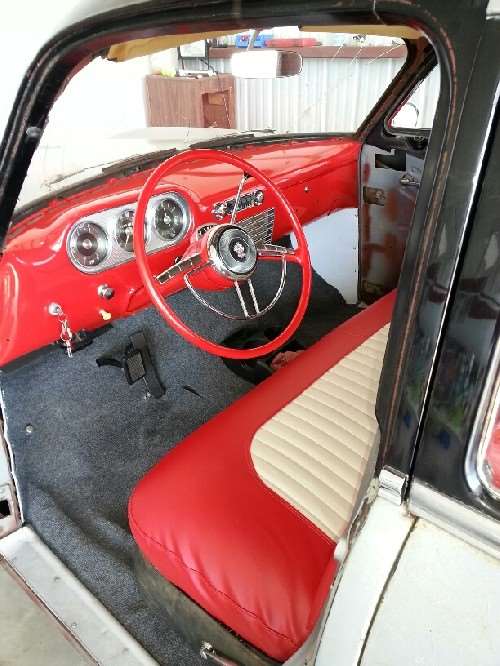
We got the front seat covers sewn up, and I repeated the process to build up the seats with all new materials. The lower front spring unit had some creative spring spacing that looked to be original, which I decided to straighten out. After uncrimping, moving and then recrimping spring clamps it is all symmetrical now.
The seats look pretty good, a couple wrinkles along the sides that I just could not make better but hey we're noobs at this. On to the door panels next!
Posted on: 2016/8/6 20:52
|
|||
|
1952 Model 200 Deluxe Touring Sedan
HA's 52 Grey Ghost "The problem with quotes on the internet is you never know if they're true" - Abraham Lincoln |
||||
|
||||
|
Re: HA's 52 200 Grey Ghost
|
||||
|---|---|---|---|---|
|
Home away from home
|
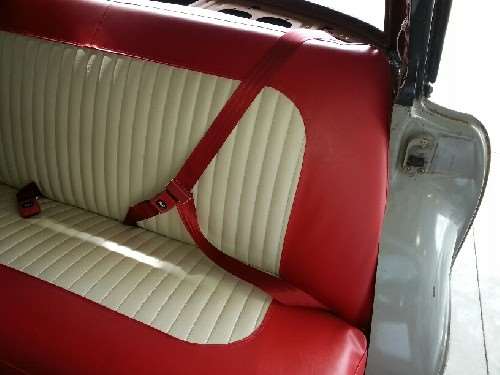
I planned to install lap belts only for the rear seat, but after sitting in the seat and thinking about where somebody's head would go during an impact decided to figure out a way to install shoulder belts instead. That front seatback structure is just a sharp piece of steel, and a little windlace trim isn't going to soften that blow. I took a picture with my assistant demonstrating this.
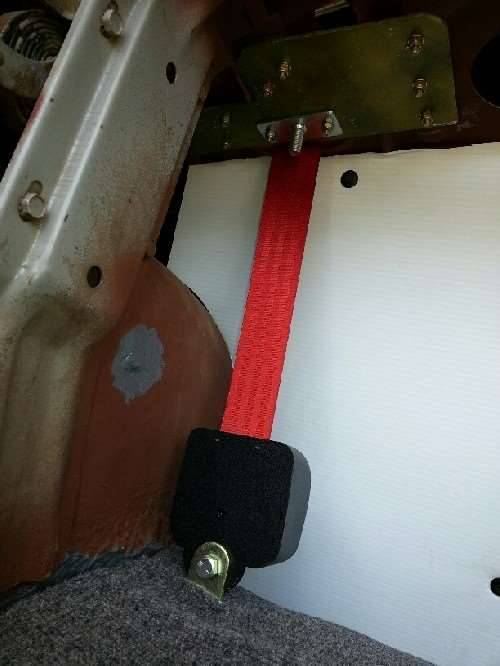
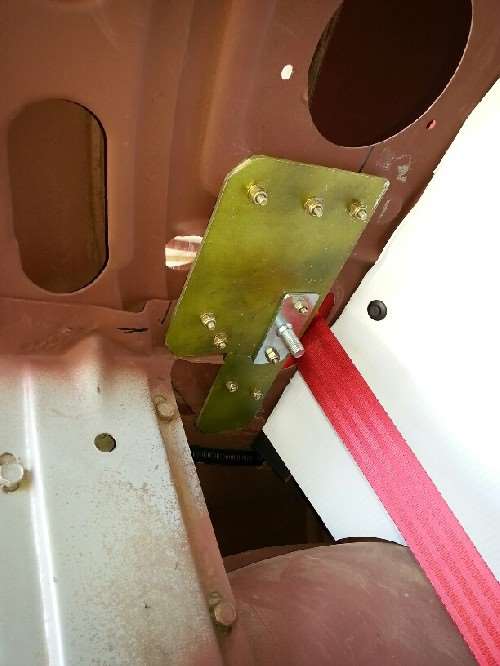
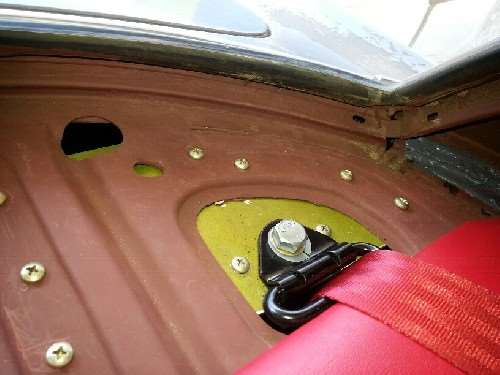
After looking at catalogs and many versions of installation instructions, I decided on some roadster-type shoulder belts with the retractor mounting to the rear hatshelf area. I also ordered new red belts to replace my original grey front ones. When I got my new box of toys, I started mocking up the belt mounts and I didn't think that the hatshelf is really strong enough to take the full load. I experimented with a piece of steel angle as a backup under the shelf, that would cross the entire shelf and pick up both retractor mounts, but I eventually decided that I'd rather mount the retractors to the floor of the trunk and feed the belt up through the hatshelf to a pivot point much like the front belts. I built some doublers for under the shelf to mount the pivots and the geometry worked out well. My doublers are 1/8" aluminum (2024-T3 aircraft alloy) and are each attached with seven aircraft structural screws and nuts. The pivot point is mainly loaded in shear so I am not worried about the strength of the shelf with this doubler taking the load of the nutplate piece. The steel will tear before the aluminum plate will, but there are enough screws to spread that load quite adequately. I'm real happy with how they turned out, so the front and rear belt assemblies are the same now. I have to return the roadster belts and get another set of the other style in red for the fronts now.
Posted on: 2016/8/6 21:20
|
|||
|
1952 Model 200 Deluxe Touring Sedan
HA's 52 Grey Ghost "The problem with quotes on the internet is you never know if they're true" - Abraham Lincoln |
||||
|
||||
|
Re: HA's 52 200 Grey Ghost
|
||||
|---|---|---|---|---|
|
Forum Ambassador
|
That is a very clever idea.
Posted on: 2016/8/6 21:40
|
|||
|
Howard
|
||||
|
||||
|
Re: HA's 52 200 Grey Ghost
|
||||
|---|---|---|---|---|
|
Home away from home
|
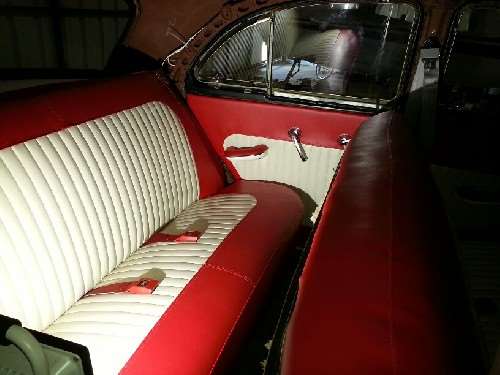
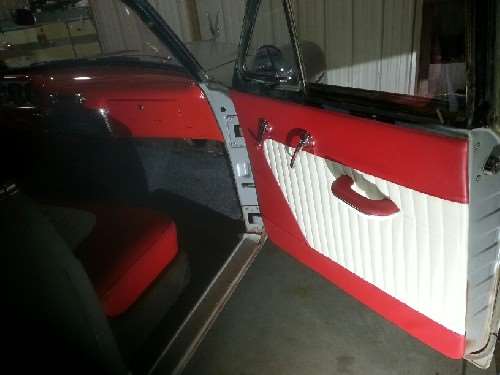
Door panels are now installed. My sewing expert (wife) used the same vinyl materials as the seat covers, we thought up a simple design to make them look nice. I used new backing boards, got them from the local upholstery supply place - kind of a cross between masonite and cardboard. Cut them to match the old panels, glued some 1/4" foam padding to them after marking and punching all the holes for the clips that hold the panels to the doors.
Then installed the covers over the foam, glued to the backside. Had to carefully cut the padding out of the ivory patterned sections where it folds around the board to have clean vinyl to glue. I had made the holes for the door handles and the armrests before I covered the boards, so poked holes through from the back and then carefully widened as needed once clipped to the doors. I painted the door handle bases and window crank knobs red (they were black) and also painted the plastic bases of the armrests ivory white. I used Krylon Fusion paint for the plastic parts. I removed the old black material from the armrest pads, it came right off of the old rubber pads. Stretched and glued red vinyl to those and reassembled, they turned out nicely.
Posted on: 2016/8/24 15:48
|
|||
|
1952 Model 200 Deluxe Touring Sedan
HA's 52 Grey Ghost "The problem with quotes on the internet is you never know if they're true" - Abraham Lincoln |
||||
|
||||
|
Re: HA's 52 200 Grey Ghost
|
||||
|---|---|---|---|---|
|
Home away from home
|
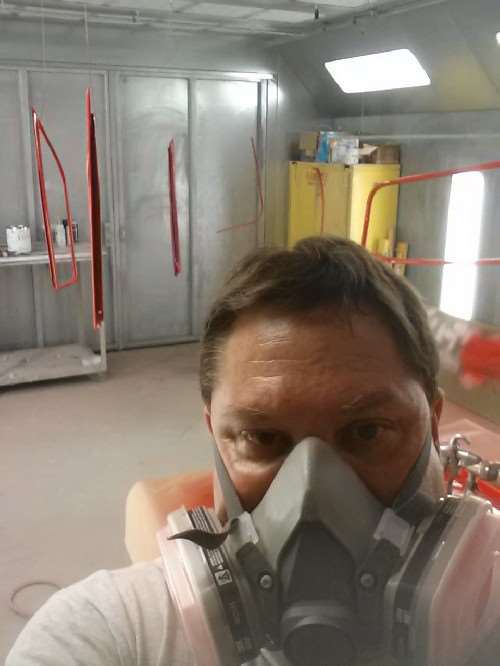
I spent some quality time sanding and painting the interior window trim parts this weekend. We were going to go to a car show on Saturday but big thunderstorms with hail wiped that out, so I did this instead.
Posted on: 2016/8/28 21:38
|
|||
|
1952 Model 200 Deluxe Touring Sedan
HA's 52 Grey Ghost "The problem with quotes on the internet is you never know if they're true" - Abraham Lincoln |
||||
|
||||
|
Re: HA's 52 200 Grey Ghost
|
||||
|---|---|---|---|---|
|
Home away from home
|
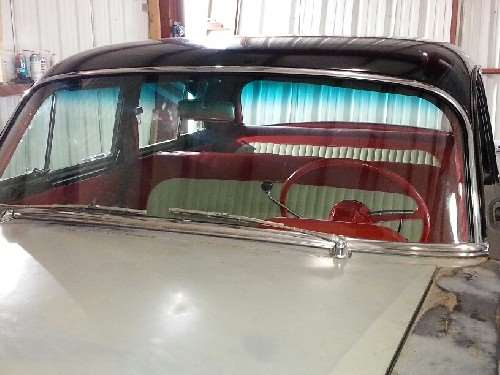
Managed to find time to get the Ghost in to the windshield place to get my NOS windshield installed. I used a guy who was recommended by a couple of the local hot rod shops as someone who did all their old car windshields. I have no experience with doing this job and I figured it's a no brainer to pay for some experienced help, tough to find these windshields so why should I experiment on it.
It took them 4 hours for two guys to get it done, the seal set (Steele) gave them fits because the grooves for the trim weren't deep enough. No rust around the opening which was good news. They charged me $180 which was above the estimate but that's worth it for me. And now no cracks and bullet holes!
Posted on: 2016/9/5 23:14
|
|||
|
1952 Model 200 Deluxe Touring Sedan
HA's 52 Grey Ghost "The problem with quotes on the internet is you never know if they're true" - Abraham Lincoln |
||||
|
||||
|
Re: HA's 52 200 Grey Ghost
|
||||
|---|---|---|---|---|
|
Home away from home
|
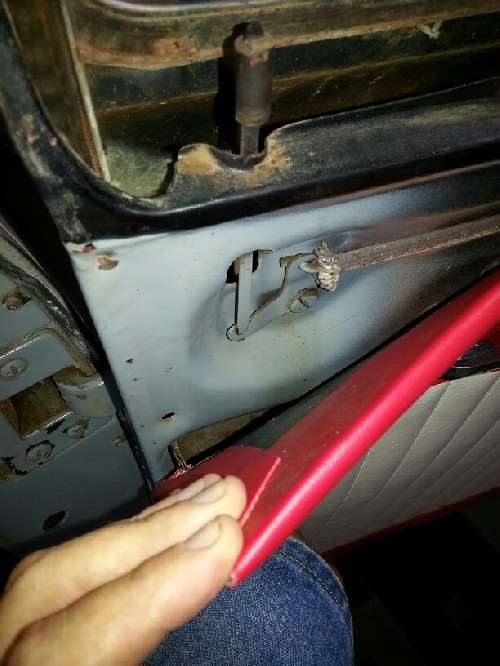
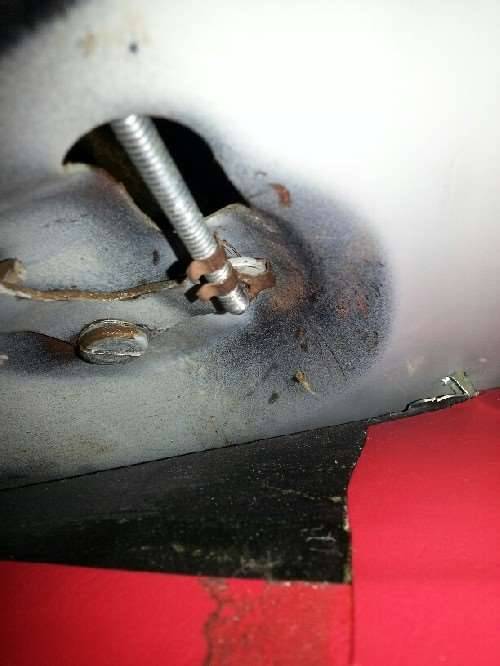
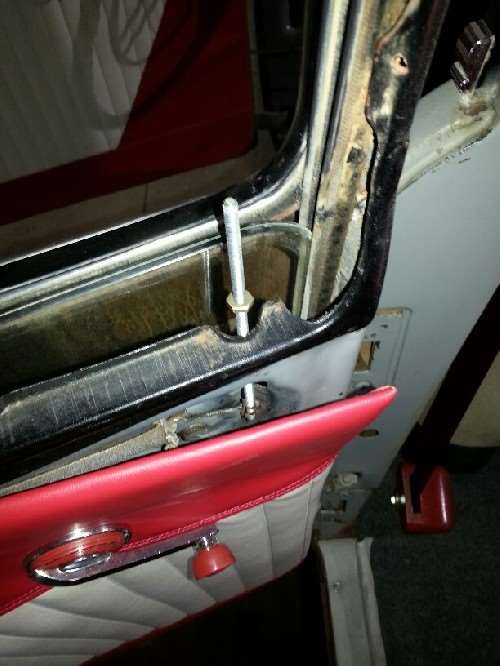
I want to install the interior trim but it will come out again when we get to the bodywork and painting part of our project, so that means things need to be removable. I absolutely hate the door lock buttons that have to press on to the flat steel shafts, then be melted or cut off to remove. So I decided to bring the car up to the level of 1960's technology and put threaded rods in for the knobs to screw onto.
I cut the rear shafts off with a dremel and cutoff wheel, the fronts took some prying since there is not really much access there. I opened up the holes in the levers to 3/16", and cut some threaded rod (10-24) to length for each door. Rears are longer than the fronts. Using a torch I bent the ends of each rod 90 degrees, and then installed each rod in each lever using those little carburetor end clips (2 left, 2 right) to hold them in place. Now if the mood strikes me I can install those cool door lock knobs shaped like little skulls, or something. But I'll probably stick with something a little lower-key. :o)
Posted on: 2016/9/5 23:26
|
|||
|
1952 Model 200 Deluxe Touring Sedan
HA's 52 Grey Ghost "The problem with quotes on the internet is you never know if they're true" - Abraham Lincoln |
||||
|
||||
|
Re: HA's 52 200 Grey Ghost
|
||||
|---|---|---|---|---|
|
Forum Ambassador

|
I have found Steele to not be 100% on the window gaskets....rear so far anyways. after jacking with the rear on my car for 2 days or more...I would have gladly given the 180 as well!
jealous of that paint booth you got!
Posted on: 2016/9/6 9:34
|
|||
|
1937 Packard 138-CD Deluxe Touring Limousine
Maroon/Black 1090-1021 [url=https://packardinfo.com/xoops/html/modules/registry/View.php?ID=232]1955 Packard |
||||
|
||||

 (56.63 KB)