|
Re: 51Packards....52 Packard 200 Deluxe!
|
||||
|---|---|---|---|---|
|
Forum Ambassador
|
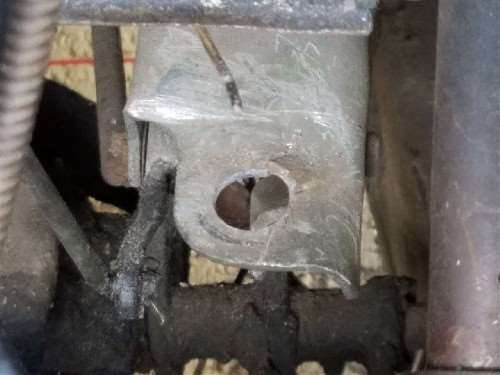
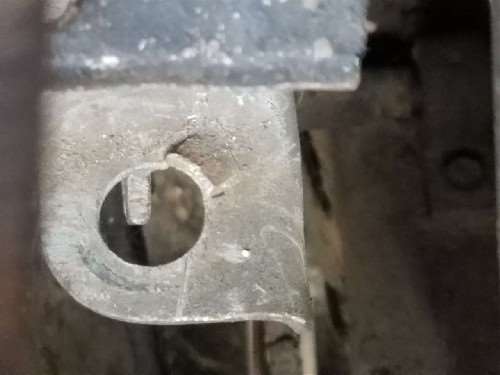
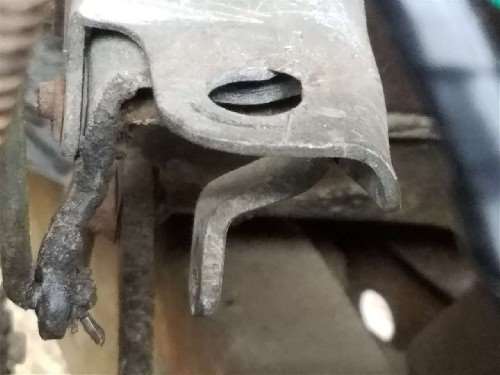
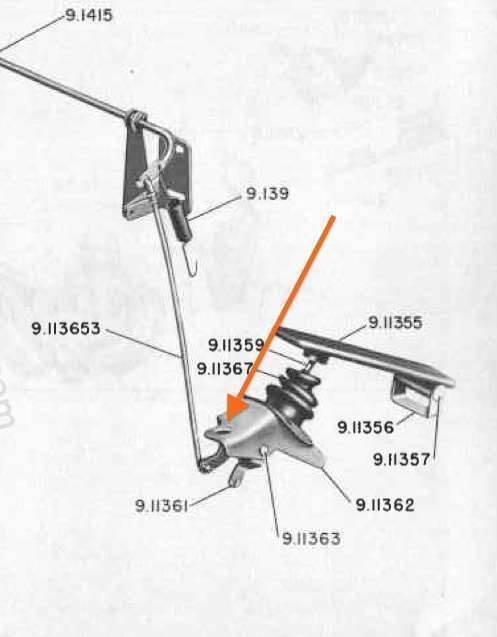
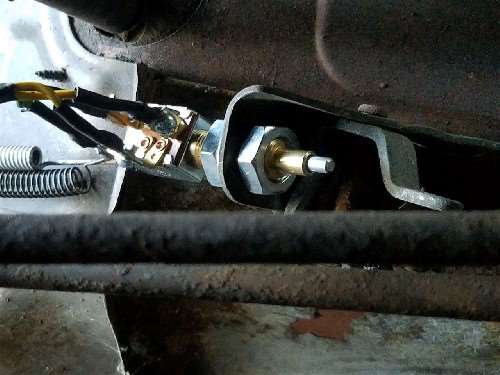
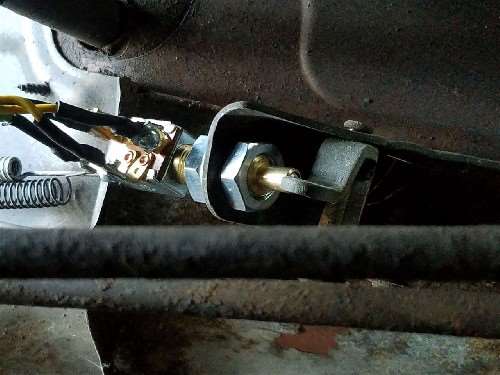
There were different items in that hole. 51s and early 52s with Ultras had a spring plunger like affair. I don't remember its purpose exactly but it went away in 52. OD cars had the kickdown sw. Believe the original KD switch had a back flush with the stem and notch would fit against the back to keep sw from rotating. Some later adjustable switches had a round second nut like collar on a longer stem with a slot the notch would fit into so collar or nut wouldn't rotate. I don't know if your replacement sw has exactly the same dimensions or configuration to utilize the notch.
On the adjustable types you would ballpark the height of the switch by threading the upper nut on the longer stem to determine about where the kickdown point was to be. You want to adjust the height so when the accelerator is fully open and the plunger is depressed the switch actuates just before that full open point. The assy slips into the hole with the slot or flat of the upper nut against the notch. The lower nut was then threaded on to tighten and hold the assy. If you can't do it that way you could grind the notch off or maybe use a flat washer with one edge cut off to clear the notch. The same accelerator linkage piece was used for several years and the hole in the arm is for another spring. The other end went down to a hole in the rectangular lower accelerator bracket or to a tang like attachment on the bracket. Am not sure how many models used the bottom spring because many are missing. It may not have been needed on some or may have broken and fallen away and been replaced by springs closer to the carb. The attachment point should still be on your lower bracket as that was used for many years too. If the arm is still not making contact with the plunger when the switch is straight you could bend it slightly. Be careful to hold both sides of the arm when you bend it so as not to torque or damage anything in the pivot shaft portion with the pressure.
Posted on: 2016/10/2 16:29
|
|||
|
Howard
|
||||
|
||||
|
Re: 51Packards....52 Packard 200 Deluxe!
|
||||
|---|---|---|---|---|
|
Home away from home

|
Thanks Howard, my universal switch doesn't have a notch to use the tab so it never occurred to me an OEM switch would! Makes sense and I hope the universal won't turn in use. I got a split washer because it was nice and thick and already cut. I cut out a quarter of it and crushed it flat in my vice. Hoping to give it a try tomorrow.
Posted on: 2016/10/3 19:48
|
|||
|
[url=h
|
||||
|
||||
|
Re: 51Packards....52 Packard 200 Deluxe!
|
||||
|---|---|---|---|---|
|
Home away from home

|
10-4-16
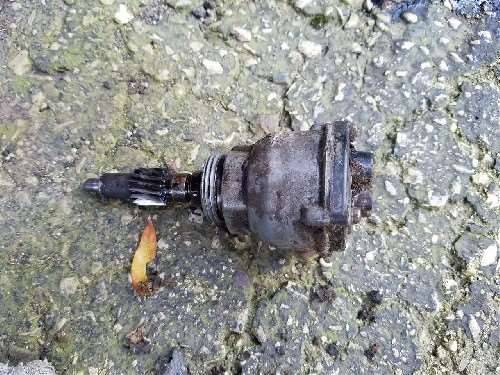
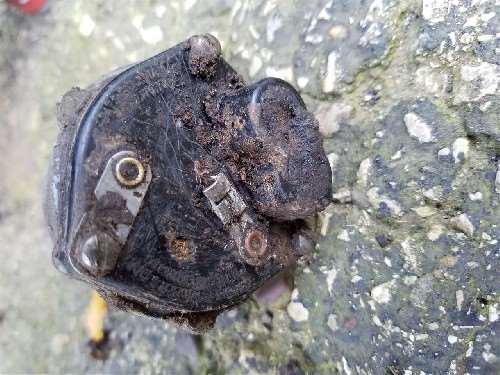
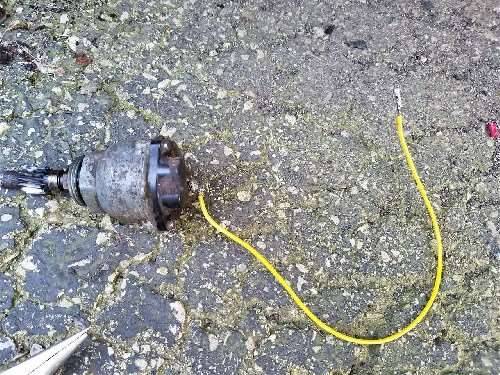
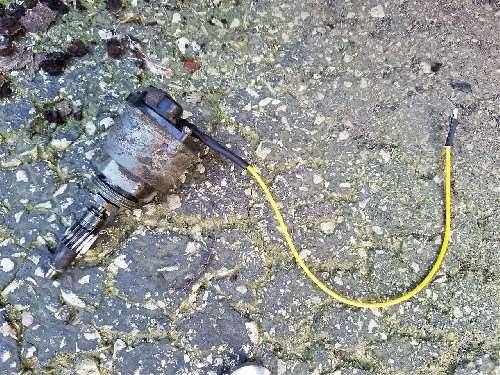
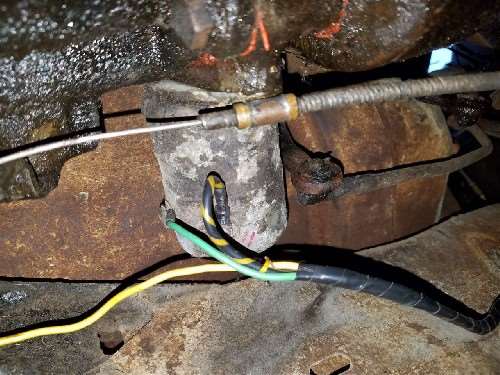
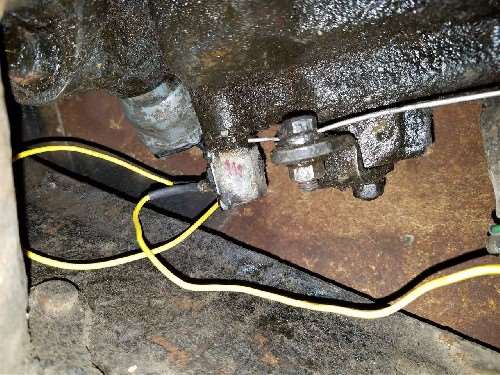
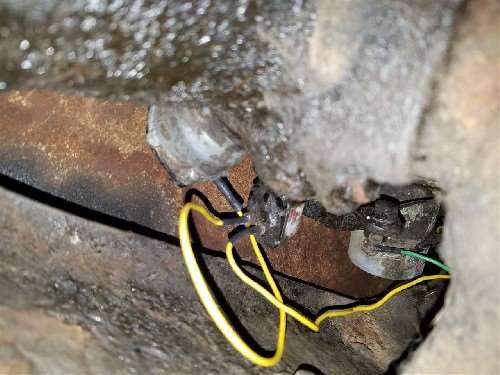
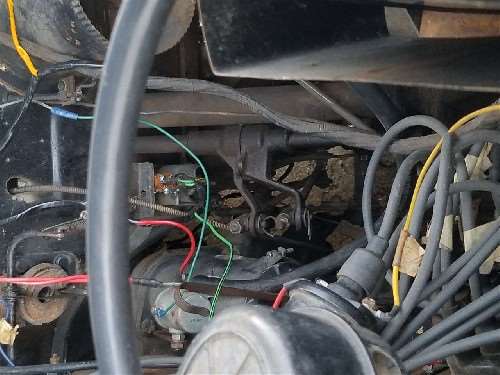
Instead of working on the kickdown switch I talked myself into crawling under the car. I was able to complete the overdrive wiring under the car. Nothing remarkable about that. Then came the governor. I felt all over it and could not find a point that would accept a wire. Then like a miracle, the whole thing turned! Turns out it was in there loose so I was able to easily unscrew it. Even on the ground I could not see any place for a wire. Brake cleaner and a screwdriver were called into action to cut through the hard muck that covered it. I cleaned it the best I could and saw the stub of where a wire used to be! I figured I would attach a wire to that and a bullet connector on the other end to connect it to the lockout switch. Of course I made it harded than necessary by trying to first add a crimp connector that I had no room to squeeze properly. The solution was solder. I put too much solder on and then a little more for good measure. Covered it up with shrink wrap and no one is the wiser. Screwed the governor back in. Tried to use a strap wrench to tighten it, but couldn't get it around and I don't have a wrench big enough. My only solution was to hand tighten it the best I could. Gerry found a verified working speedometer cable so there will be another trip under the car. In the next few days I will turn my attention to the kickdown switch while waiting for the new cable.
Posted on: 2016/10/4 18:59
|
|||
|
[url=h
|
||||
|
||||
|
Re: 51Packards....52 Packard 200 Deluxe!
|
||||
|---|---|---|---|---|
|
Forum Ambassador
|
Some have had luck tightening the governor with channel lock pliers.
Posted on: 2016/10/4 19:14
|
|||
|
Howard
|
||||
|
||||
|
Re: 51Packards....52 Packard 200 Deluxe!
|
||||
|---|---|---|---|---|
|
Home away from home

|
Good idea! I didn't see a lot of room for tools around it but I'll give that a try when I am putting in the speedometer cable.
Posted on: 2016/10/4 19:19
|
|||
|
[url=h
|
||||
|
||||
|
Re: 51Packards....52 Packard 200 Deluxe!
|
||||
|---|---|---|---|---|
|
Home away from home
|
Here's how I removed and installed my Governor and what the people used.
packardinfo.com/xoops/html/modules/newbb ... um=2&post_id=179205#forumpost179205 Wes
Posted on: 2016/10/5 9:46
|
|||
|
||||
|
Re: 51Packards....52 Packard 200 Deluxe!
|
||||
|---|---|---|---|---|
|
Home away from home

|
10-5-16
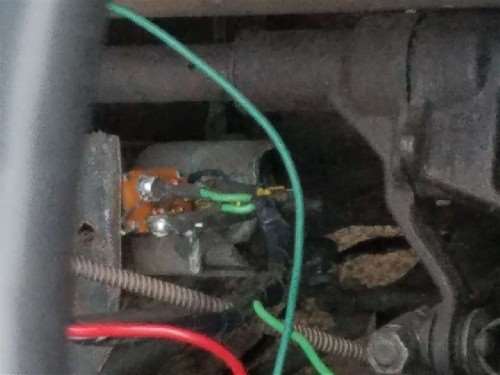
Thanks Wes, I remember someone making a wrench but couldn't remember where. Maybe I can get a cheap one at Harbor Freight to cut down or try the channel locks. Kind of wish I would have taken mine apart to clean after seeing yours. I thought I was taking a break from under car work, but that was not to be. Working on the switch from below was easier. Switch was taken in and out...a couple of swears...and it is in position. Problem is with the longer shaft, the top of the switch hits the lip of metal above it. I feel like I should have more "floor" to the accelerator, but without carpet or mats, maybe it will be OK. I guess I won't know until I drive it, assuming it all works in the end. The modified split washer seems to work. Last part is to connect power wire that on the diagram connects to the ignition switch, but on my car it connected behind the instruments so that is probably where I will put it.
Posted on: 2016/10/5 20:06
|
|||
|
[url=h
|
||||
|
||||
|
Re: 51Packards....52 Packard 200 Deluxe!
|
||||
|---|---|---|---|---|
|
Home away from home

|
10-11-16
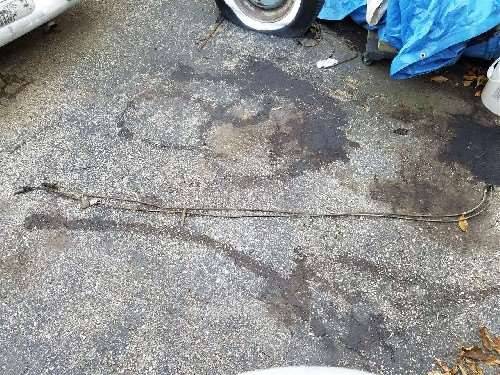
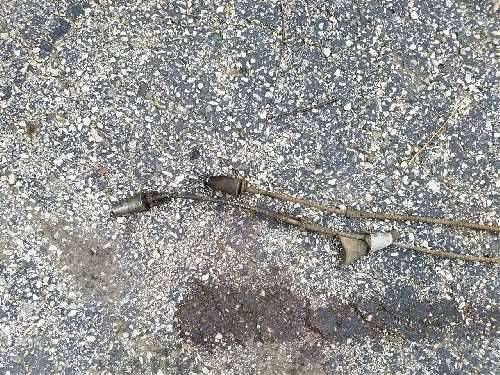
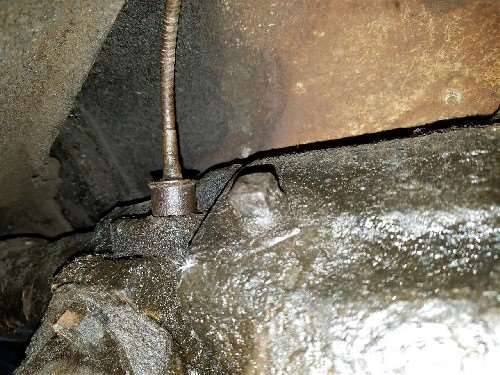
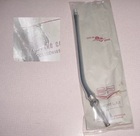
Argh! I got the replacement speedometer cable to replace the first one today and it doesn't fit! The speedometer gear fits and works the cable perfectly. The cable is around 2 inches shorter than my original, but I was still able to get it to the right spot on the transmission. Maybe I'm not routing it like I should. Problem came when I went to put it in the transmission. It will only go 3/4 of the way in! No matter how much I wiggled or even when I left the speedometer gear out, it will not go in. I tried the first cable and that one would go in. I have no idea what is going wrong!
Posted on: 2016/10/11 20:16
|
|||
|
[url=h
|
||||
|
||||
|
Re: 51Packards....52 Packard 200 Deluxe!
|
||||
|---|---|---|---|---|
|
Forum Ambassador
|
If you have a wire wheel do a good cleanup on the one that won't go in. Looking at the two you show on the ground, one is somewhat polished and the other is very rusty and rough. If the dirty one is the one that you show halfway out of the trans and is the one you want to use, I think perhaps rust and oxidation is preventing the insertion. IIRC, the adapter is a somewhat machined fit to the hole in the case. The overall length may be the difference between an OD cable and a non OD cable.
I don't remember the exact routing other than it clamps on the frame rail and makes a gentle loop in the engine compt and up the firewall to another clamp to enter the grommet opening. If the length prevents that routing and you will have a sharp bend somewhere that would invite problems, there is an alternative -- but may be frowned on by some. That other route would be to enter at the toe plate and up the inside of the car to the speedo. That would save several inches but would require modifying the toe plate top edge and dash pad slightly to make a small opening. You would not want to screw the toe plate directly on the cable without having a small access slot or the cable might get crushed.
Posted on: 2016/10/11 20:26
|
|||
|
Howard
|
||||
|
||||

 (175.88 KB)