|
Re: The Duchess Project: 1940 Super 8 Convertible Sedan
|
||||
|---|---|---|---|---|
|
Home away from home
|
I don't know what Packard calls a Clutch Fork. I couldn't find it in the parts book.
And it looks like the Boot and Spring for the Clutch Fork, because it is attached to the Bell Housing is listed there. But Packard uses none of these terms it seems. What does Packard call a: 1. Clutch Fork 3. Clutch fork Boot (There's a 'felt' listed with the flywheel housing. Is that the boot?) 4. A Clutch fork Boot Spring, (There's a 'felt retainer' listed with the flywheel housing) But the only part that is illustrated with a part group number is the Flywheel Housing Lower Cover 5.0604 I guess I'm spoiled. Jaguar illustrates every single part of the car in exploded '3D' fashion so you see every part in relation to every other, not just a slice through the center, right down to washers and spacers, numbers them, and tells you in numbered steps how to remove and replace anything on the car. Jag manuals are the original car mechanics for dummies. Packard assumes you've been a Packard mechanic for 10 years. Very frustrating for someone with no mechanical intuition whatsoever.
Posted on: 2017/11/13 17:31
|
|||
|
||||
|
Re: The Duchess Project: 1940 Super 8 Convertible Sedan
|
||||
|---|---|---|---|---|
|
Forum Ambassador
|
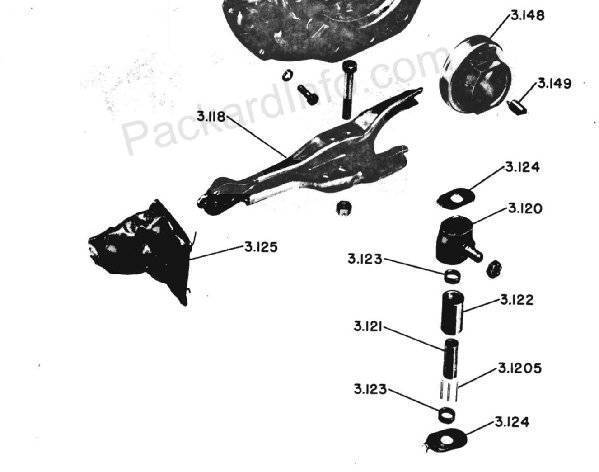
They call it a shifter lever. Here is an illustration from the Clipper manual. The same group numbers are used for the items in the 35-41 manual so you can find the part numbers for your car. The spring does not look to be a separate assy. Max has a repro boot but doesn't list a spring and Kanter does not list either item but might have something if you call..
Believe the felt you found is a dust seal that goes on top of the lower flywheel cover to fill the gap behind the oil pan where the cover meets the bellhousing.
Posted on: 2017/11/13 17:48
|
|||
|
Howard
|
||||
|
||||
|
Re: The Duchess Project: 1940 Super 8 Convertible Sedan
|
||||
|---|---|---|---|---|
|
Home away from home

|
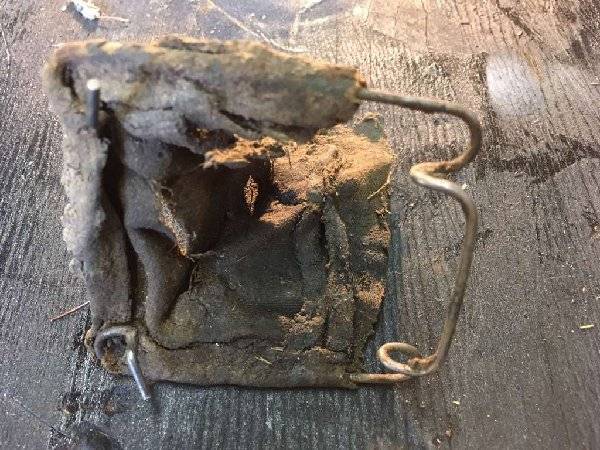
Thanks so much, Howard. I guess Packard improved their documentation after the war. This is great. David Moe Seattle Packard had one that still had a little boot left on it. I got a new boot from John Ulrich, so we're good.
3.125 So they do call it a boot, but it's a boot assembly. In other words the boot and spring/retainer were sold as a unit. OK Shifter lever boot assembly. Might be fun threading them together.
Posted on: 2017/11/13 17:52
|
|||
|
||||
|
Re: The Duchess Project: 1940 Super 8 Convertible Sedan
|
||||
|---|---|---|---|---|
|
Forum Ambassador
|
Quote:
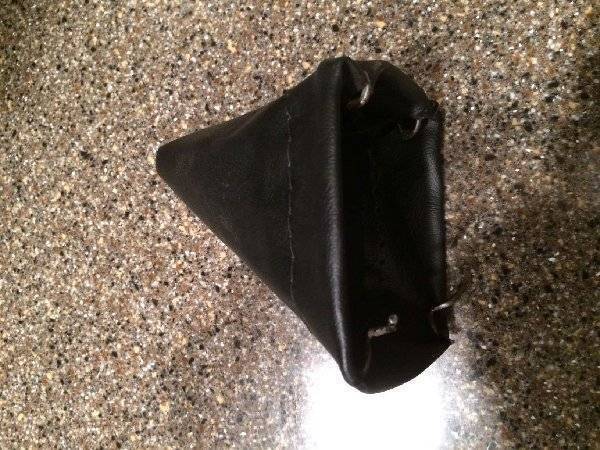
Might be fun threading them together. AMEN! I can't speak to John's boot but Max's was very tight threading thru. I wound up opening a couple of seams at the corners on his to get the large hooks on the spring end around.
Posted on: 2017/11/13 18:05
|
|||
|
Howard
|
||||
|
||||
|
Re: The Duchess Project: 1940 Super 8 Convertible Sedan
|
||||
|---|---|---|---|---|
|
Home away from home

|
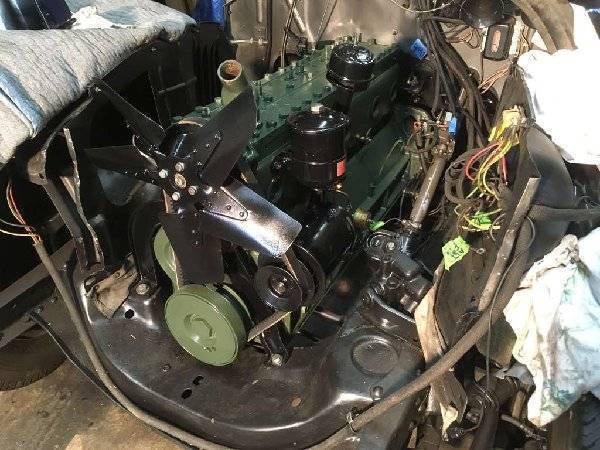
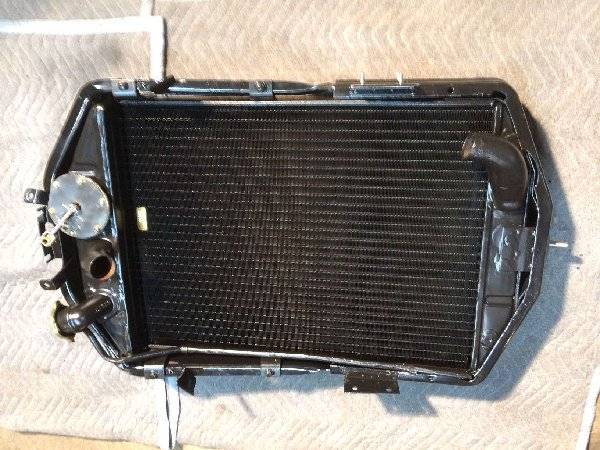
Threaded. Kudos to son John for this and assembling the rebuilt radiator and new core.
It was determined that the intake manifold be slightly planed at the hot box instead of risking a significant warp to weld extra material on it. One of the outside corners of the exhaust manifold mounting flange (to exhaust) has a hairline crack and will be cast welded. Then both bolted together with gasket and planed for mounting to the block. A week or two wait.
Posted on: 2017/11/17 19:53
|
|||
|
||||
|
Re: The Duchess Project: 1940 Super 8 Convertible Sedan
|
||||
|---|---|---|---|---|
|
Home away from home

|
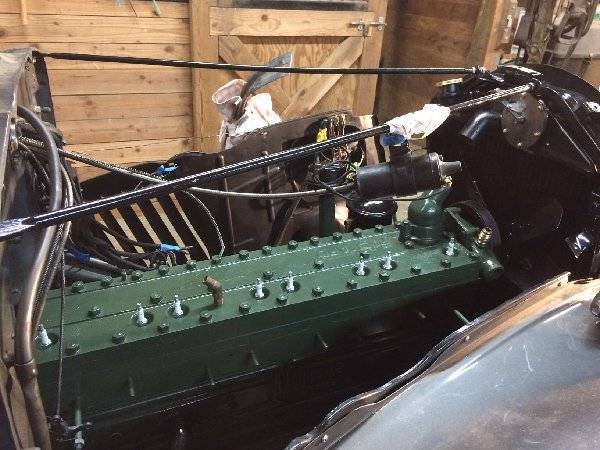
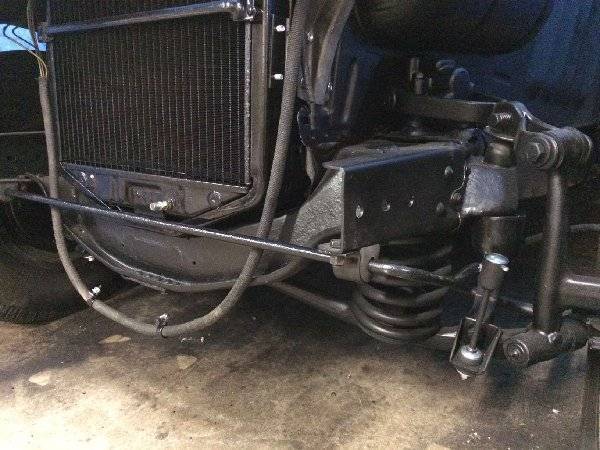
Radiator installed.
Posted on: 2017/11/19 15:36
|
|||
|
||||
|
Re: The Duchess Project: 1940 Super 8 Convertible Sedan
|
||||
|---|---|---|---|---|
|
Home away from home

|
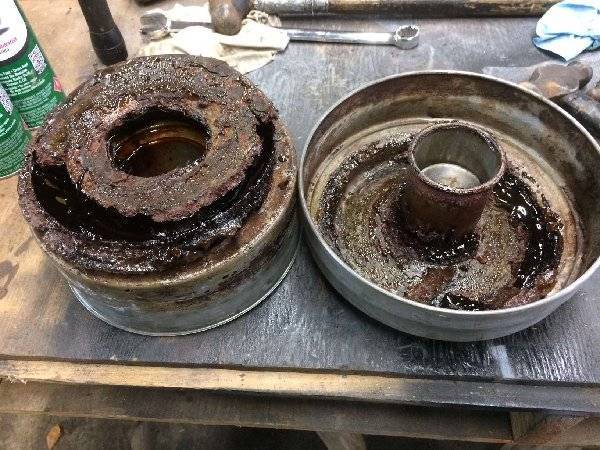
Air Cleaner: After soaking in gasoline for a month, John was able to free the filter from the pan of the 1940 air cleaner that had been sitting for umpteen years.
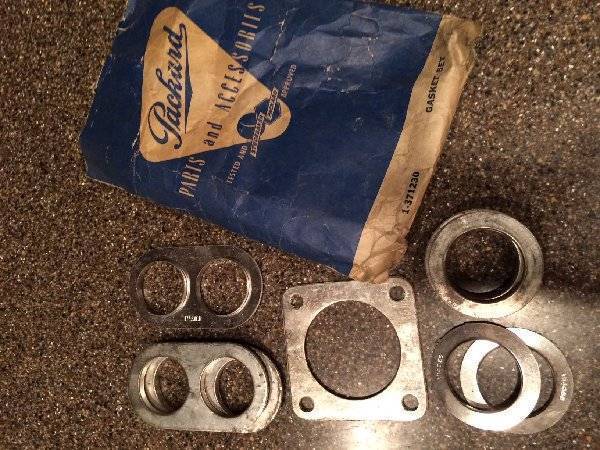
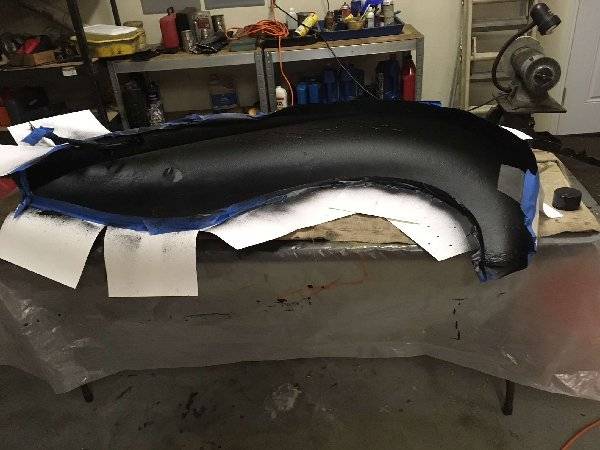
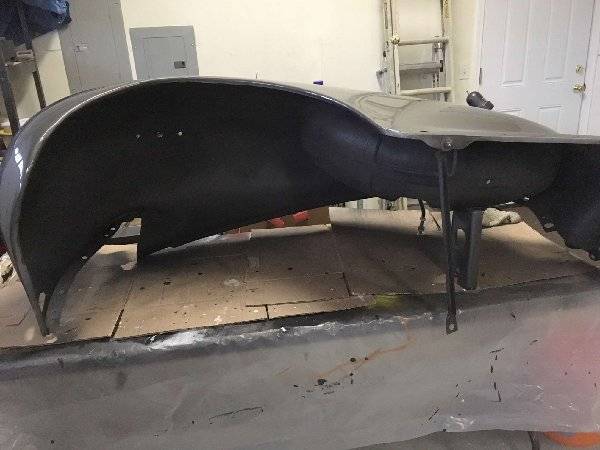
Manifold: The manifold gaskets that came with the gasket set purchased at the swap meet were made of regular gasket material. On advice from Bob E., Olson Gasket exchanged them for a small upcharge to the original metal type with a sealing lip. Front and Rear fender: They had been repaired and painted but now the inside has Evercoat rubberized undercoating over the epoxy primer. Sway Bar: I thought I posted this previously, but at long last, the sway bar that was lost during the last restoration was replaced. Now when Sammy Kaye comes on the tube radio, I only swing.
Posted on: 2017/11/30 13:50
|
|||
|
||||
|
Re: The Duchess Project: 1940 Super 8 Convertible Sedan
|
||||
|---|---|---|---|---|
|
Home away from home

|
More progress towards startup.
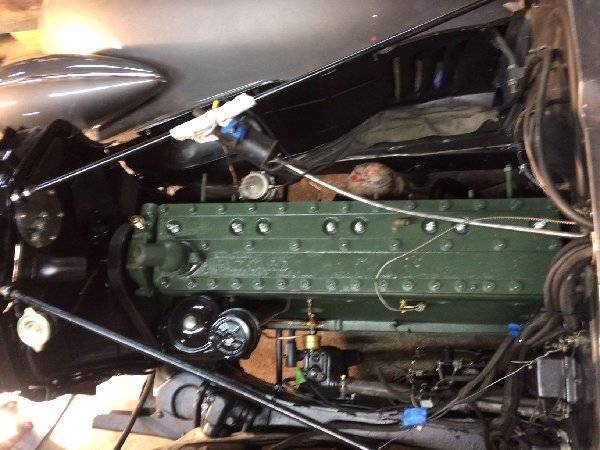
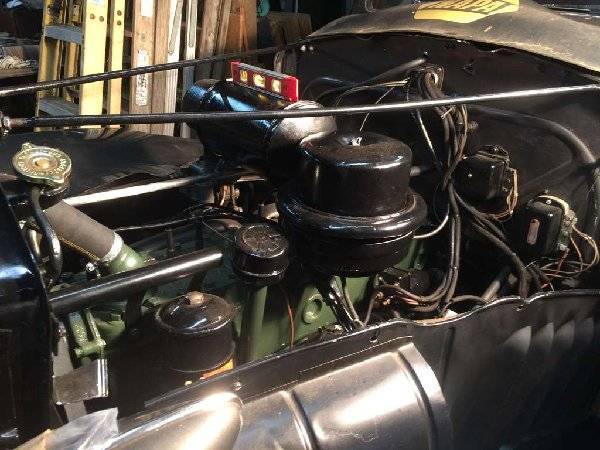
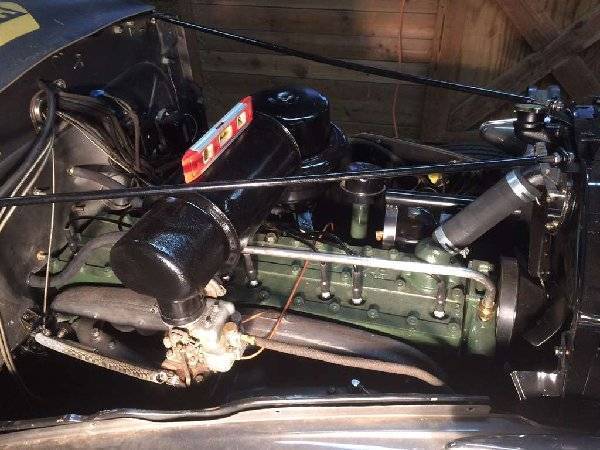
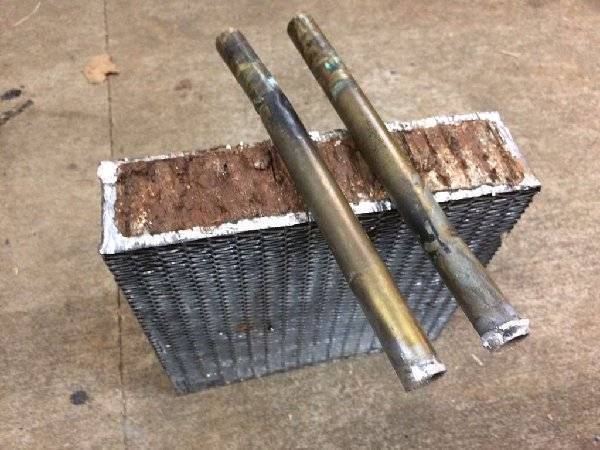
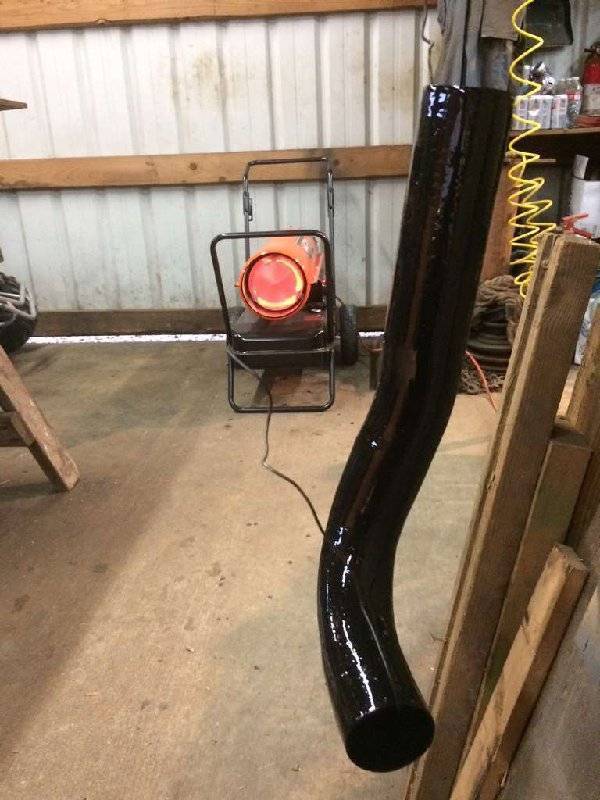
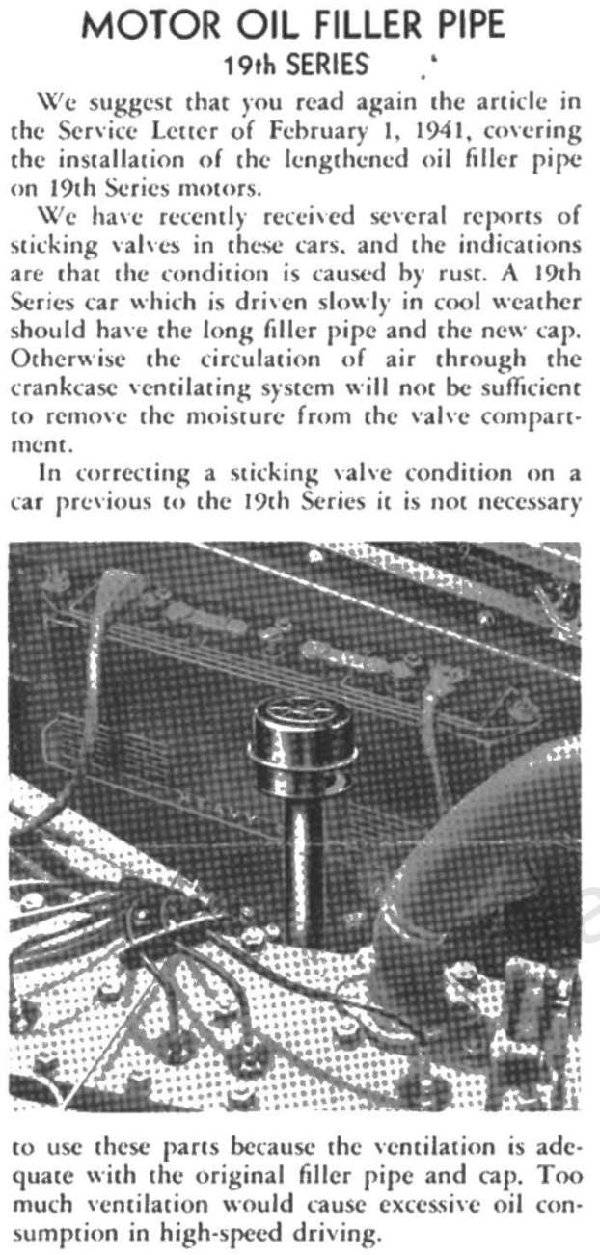
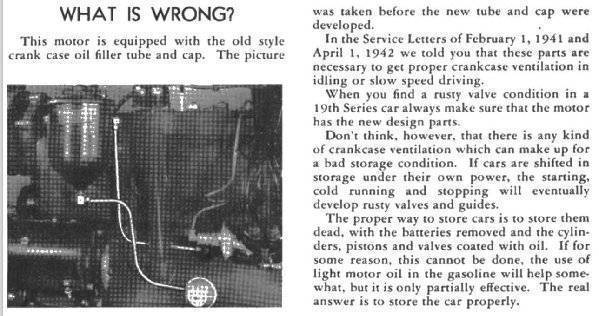
CRANKCASE VENTILATION: While I wanted to dress up the '47 engine with '40 attachments such as '40 oil filler tube (shorter), filler cap (finned), and oil bath air cleaner with bulbous shape at the carburetor (not flattened), the improvements to crankcase ventilation after 1940 are worth retaining on the '47. This includes the taller oil filler tube so that the cap would cap would catch more air from the fan, a change in the oil filler cap to a larger, flatter shape with a large slit on the forward side to catch more air, and later the addition of a tube to direct the air from the fan more forcefully and directly to the slit in the cap. I would imagine a diligent dealer making these upgrades to the '40 engine when it was brought in for servicing. AIR CLEANER: The '40 oil bath air cleaner was not in great shape, but we blasted and painted it. When I get it home, I'll fill the surface, but at least it's the '40 design. HEATER/DEFROSTER: The heater had been making dinging noises because the bearing was going. The core was shot and the water tubes constricted. These were replaced, so it should be toasty and quiet next time. RADIATOR PIPE: In matching up a '40 radiator with a '47 engine, the spout at the front on the '40 has to be retained. The '47 spout points left. Also the long radiator pipe. John Kepich, who used to provide these pipes, sold his exhaust systems/pipe-making business, but the new owner hasn't set up much of the equipment yet. David Moe sent us several to try out. One was perfect in shape. We had it cleaned, filled and reinforced. In preparing to start up, one of the inner manifold studs showed moister, so it was replaced. My son John used some kind of pressure pot to pump oil throughout the engine, especially the hydraulic lifters. Yesterday John was ready to start the engine for the first time since it was rebuilt. The ignition key wouldn't turn the cylinder. Very frustrating. After a half hour trying everything plus other keys I'd given him, in desperation, I suggested he hit it (not hard) with a rubber mallet and try again. Bingo. But it didn't start immediately and it being late he decided to try it again later.
Posted on: 2018/1/7 11:55
|
|||
|
||||
|
Re: The Duchess Project: 1940 Super 8 Convertible Sedan
|
||||
|---|---|---|---|---|
|
Forum Ambassador
|
Quote:
This includes the taller oil filler tube so that the cap would cap would catch more air from the fan, a change in the oil filler cap to a larger, flatter shape with a large slit on the forward side to catch more air, and later the addition of a tube to direct the air from the fan more forcefully and directly to the slit in the cap. I would imagine a diligent dealer making these upgrades to the '40 engine when it was brought in for servicing. These were factory changes to the 41 engines and I believe correct for a 40 because a later bulletin issued during the war reminded about proper storage and apparently changed their mind about the horizontal vent pipe being enough on 40 engines. The oil tube changes was suggested on 356 engine exhibiting symptoms of rusting and sticking valves and that was how they were built postwar.
Posted on: 2018/1/7 12:17
|
|||
|
Howard
|
||||
|
||||

 (96.63 KB)