
|
Re: Wes's Maroon 1947 Custom Super Clipper
|
||||
|---|---|---|---|---|
|
Forum Ambassador

|
Yes but there are two indicator lamp assemblies in the Clippers. The way I drew the original drawing with a single output and a splice to the two assys one resistor would have worked. I mentioned the problem with the drawing in the earlier post and Wes redrew it to show the two lamp assys each independently connected to the P terminal on the flasher. The resistors are in a fuse like holder and it might be that Packard thought it simpler to just have one consistent assy. Except for wire colors either could plug into a L or R spot or be a single in cars that only had one indicator.
Posted on: 2020/7/19 15:02
|
|||
|
Howard
|
||||
|
||||
|
Re: Wes's Maroon 1947 Custom Super Clipper
|
||||
|---|---|---|---|---|
|
Home away from home
|
I couldn't believe how big they were!
PackardDon, I didn't notice the Indictor Lights and as I was tracing the wires and rewiring, I noticed the lights were swapped, thinking I had gotten the wires crossed as I was labeling them, now I know better. All is good now. Wes Attach file:  (249.89 KB) (249.89 KB)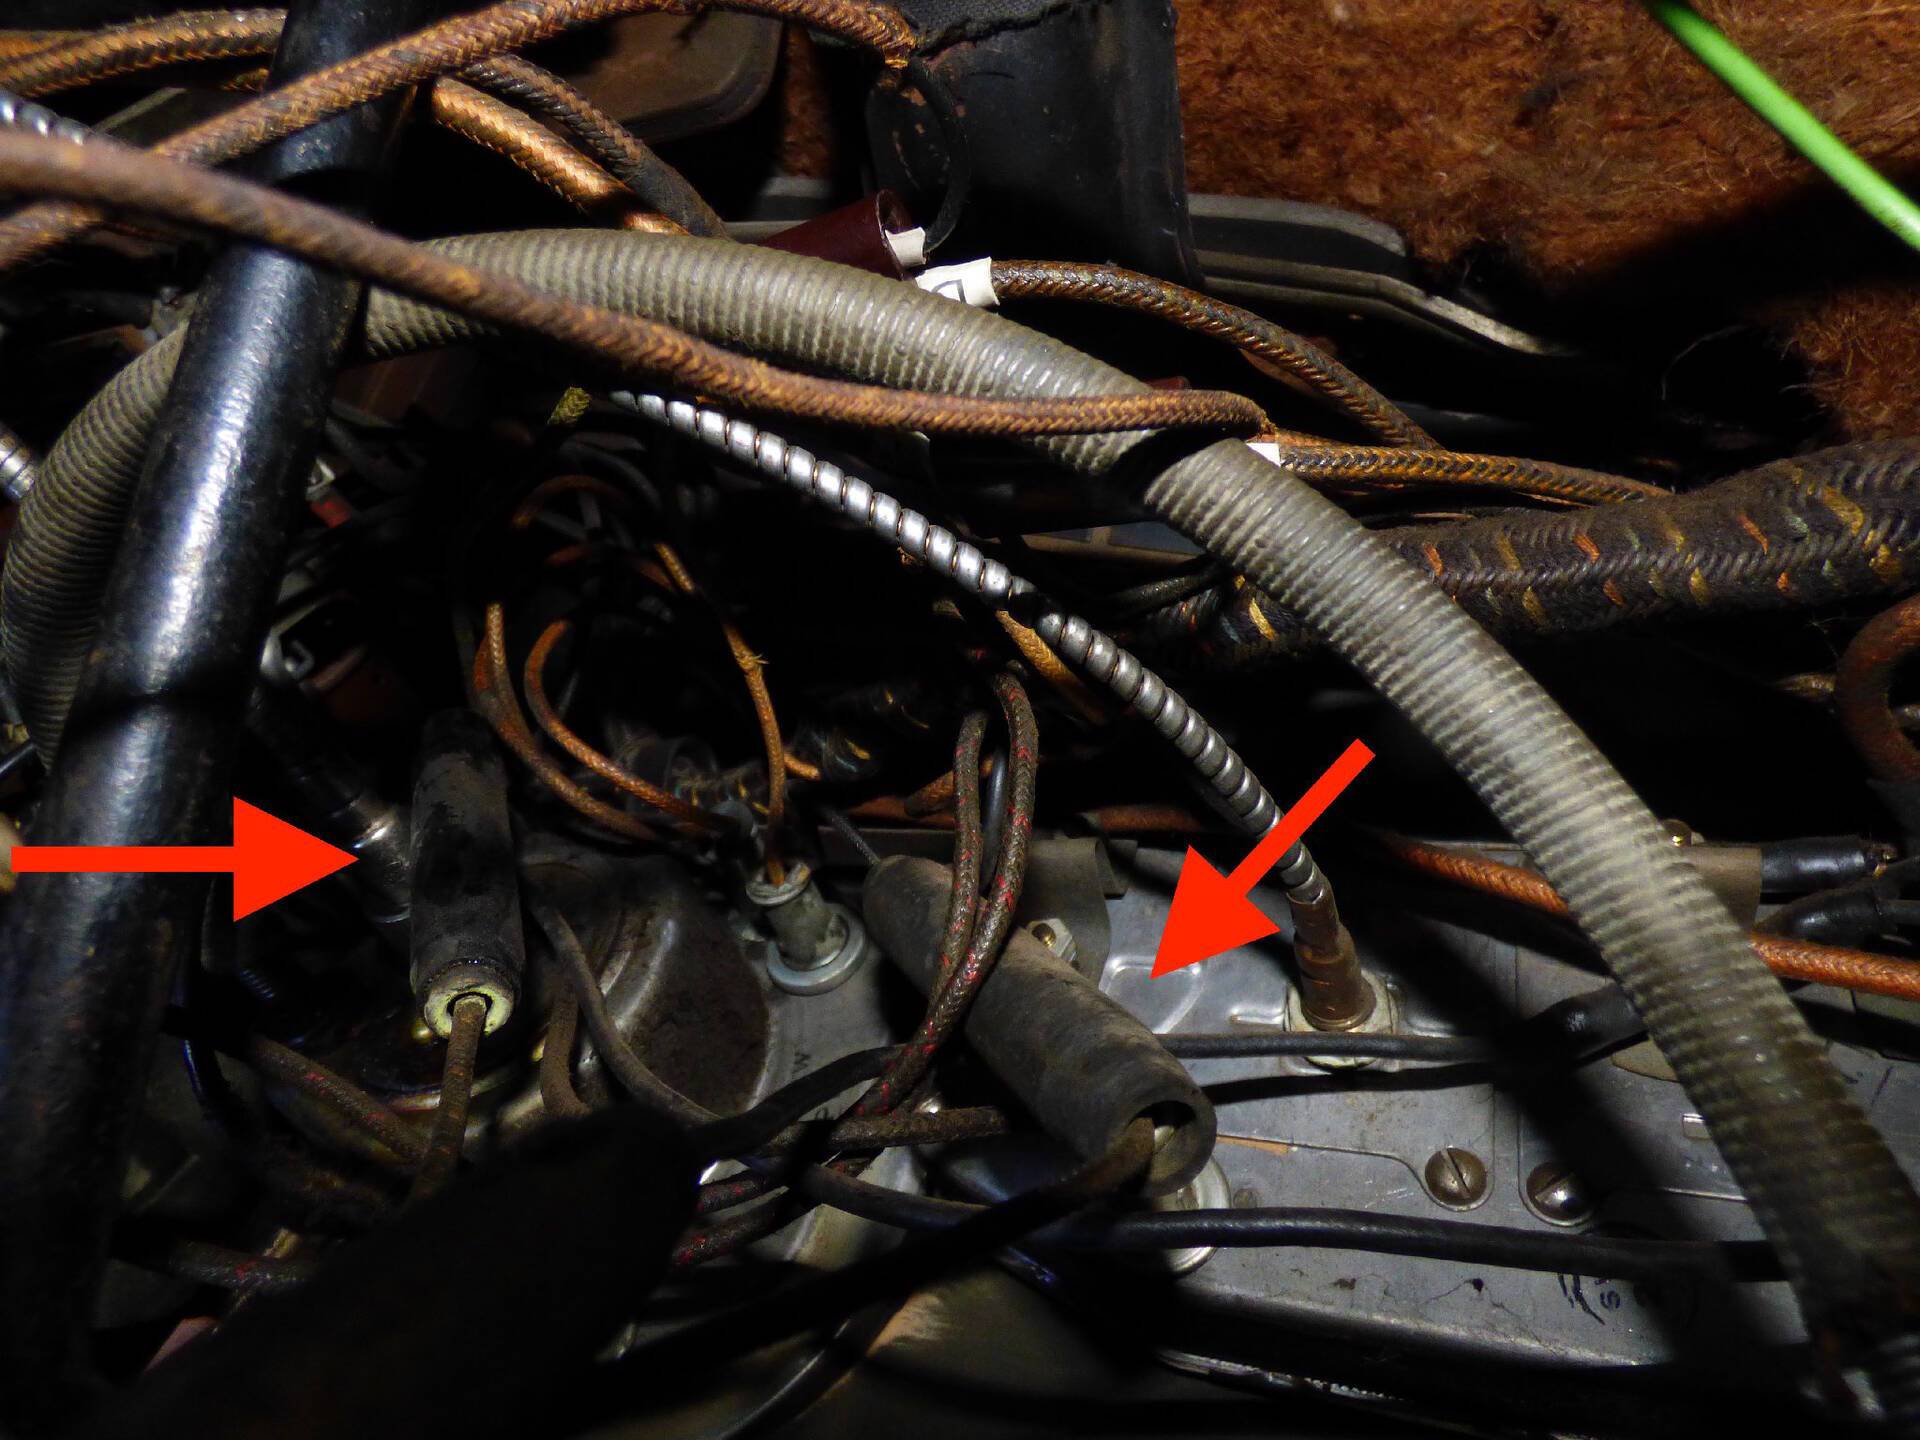
Posted on: 2020/7/19 18:46
|
|||
|
||||
|
Re: Wes's Maroon 1947 Custom Super Clipper
|
||||
|---|---|---|---|---|
|
Home away from home
|
Why looking at the 42 Accessory Diagram, I noticed there's no mention for the fan under the seat maybe not available in 42. While I got the seat out I figured I would look at it and see if it works. Also need to check the core, no hoses hooked up to it.
Wes Attach file: (57.87 KB)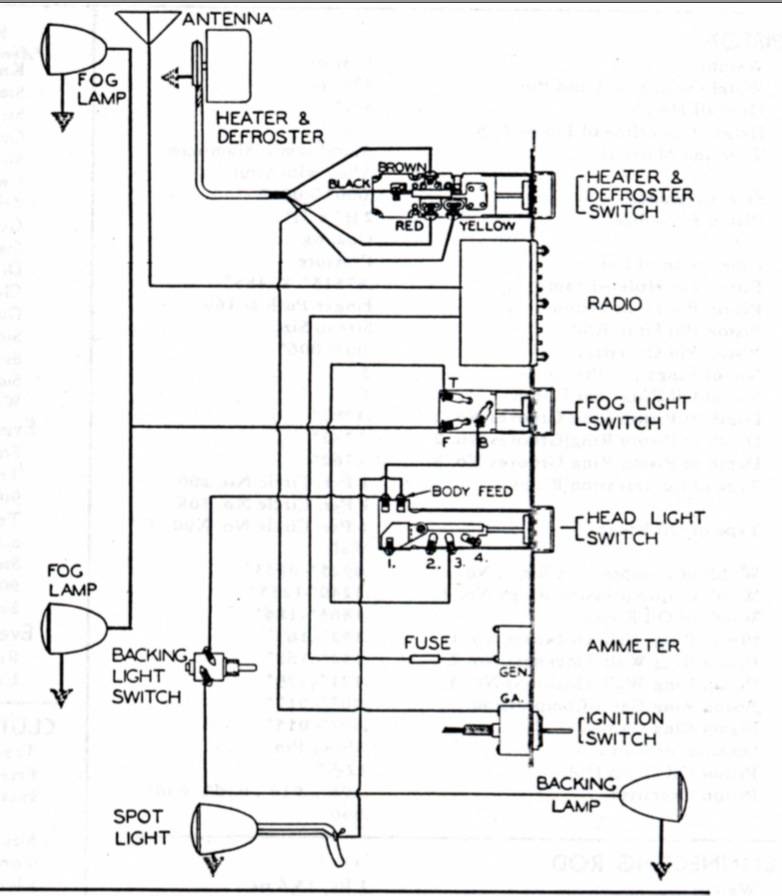
Posted on: 2020/7/19 22:02
|
|||
|
||||
|
Re: Wes's Maroon 1947 Custom Super Clipper
|
||||
|---|---|---|---|---|
|
Forum Ambassador
|
The underseat heater like those used in Clippers was available starting I think in 40 but the drawing shows the Deluxe heater/defroster with reversible motor. The Clipper switch for the Deluxe is a 5 position with two speed rotation in one direction for heating and continued pulling on the knob reverses the motor and provides 2 speeds rotating the other direction for defrosting. I don't know if the dual stream underseat heater was available when the Deluxe was present but the regular footwarmer/defroster that typically paired with the dual stream was not.
Posted on: 2020/7/19 22:28
|
|||
|
Howard
|
||||
|
||||
|
Re: Wes's Maroon 1947 Custom Super Clipper
|
||||
|---|---|---|---|---|
|
Home away from home
|
For now moving on to removing the Steering Column, to work on the Directional Signal Switch (Could do this without removing the column but I want to clean it up and straighten out the Shift Linkage.) and correct the Shift Linkage.
First disconnect battery, disconnect Horn Wire at bottom of Steering Column, remove Horn Assy., pull out Horn wire and disconnect Directional Signal Switch. Getting ready for the hard part. Wes Attach file: (229.75 KB) (295.23 KB) (295.23 KB)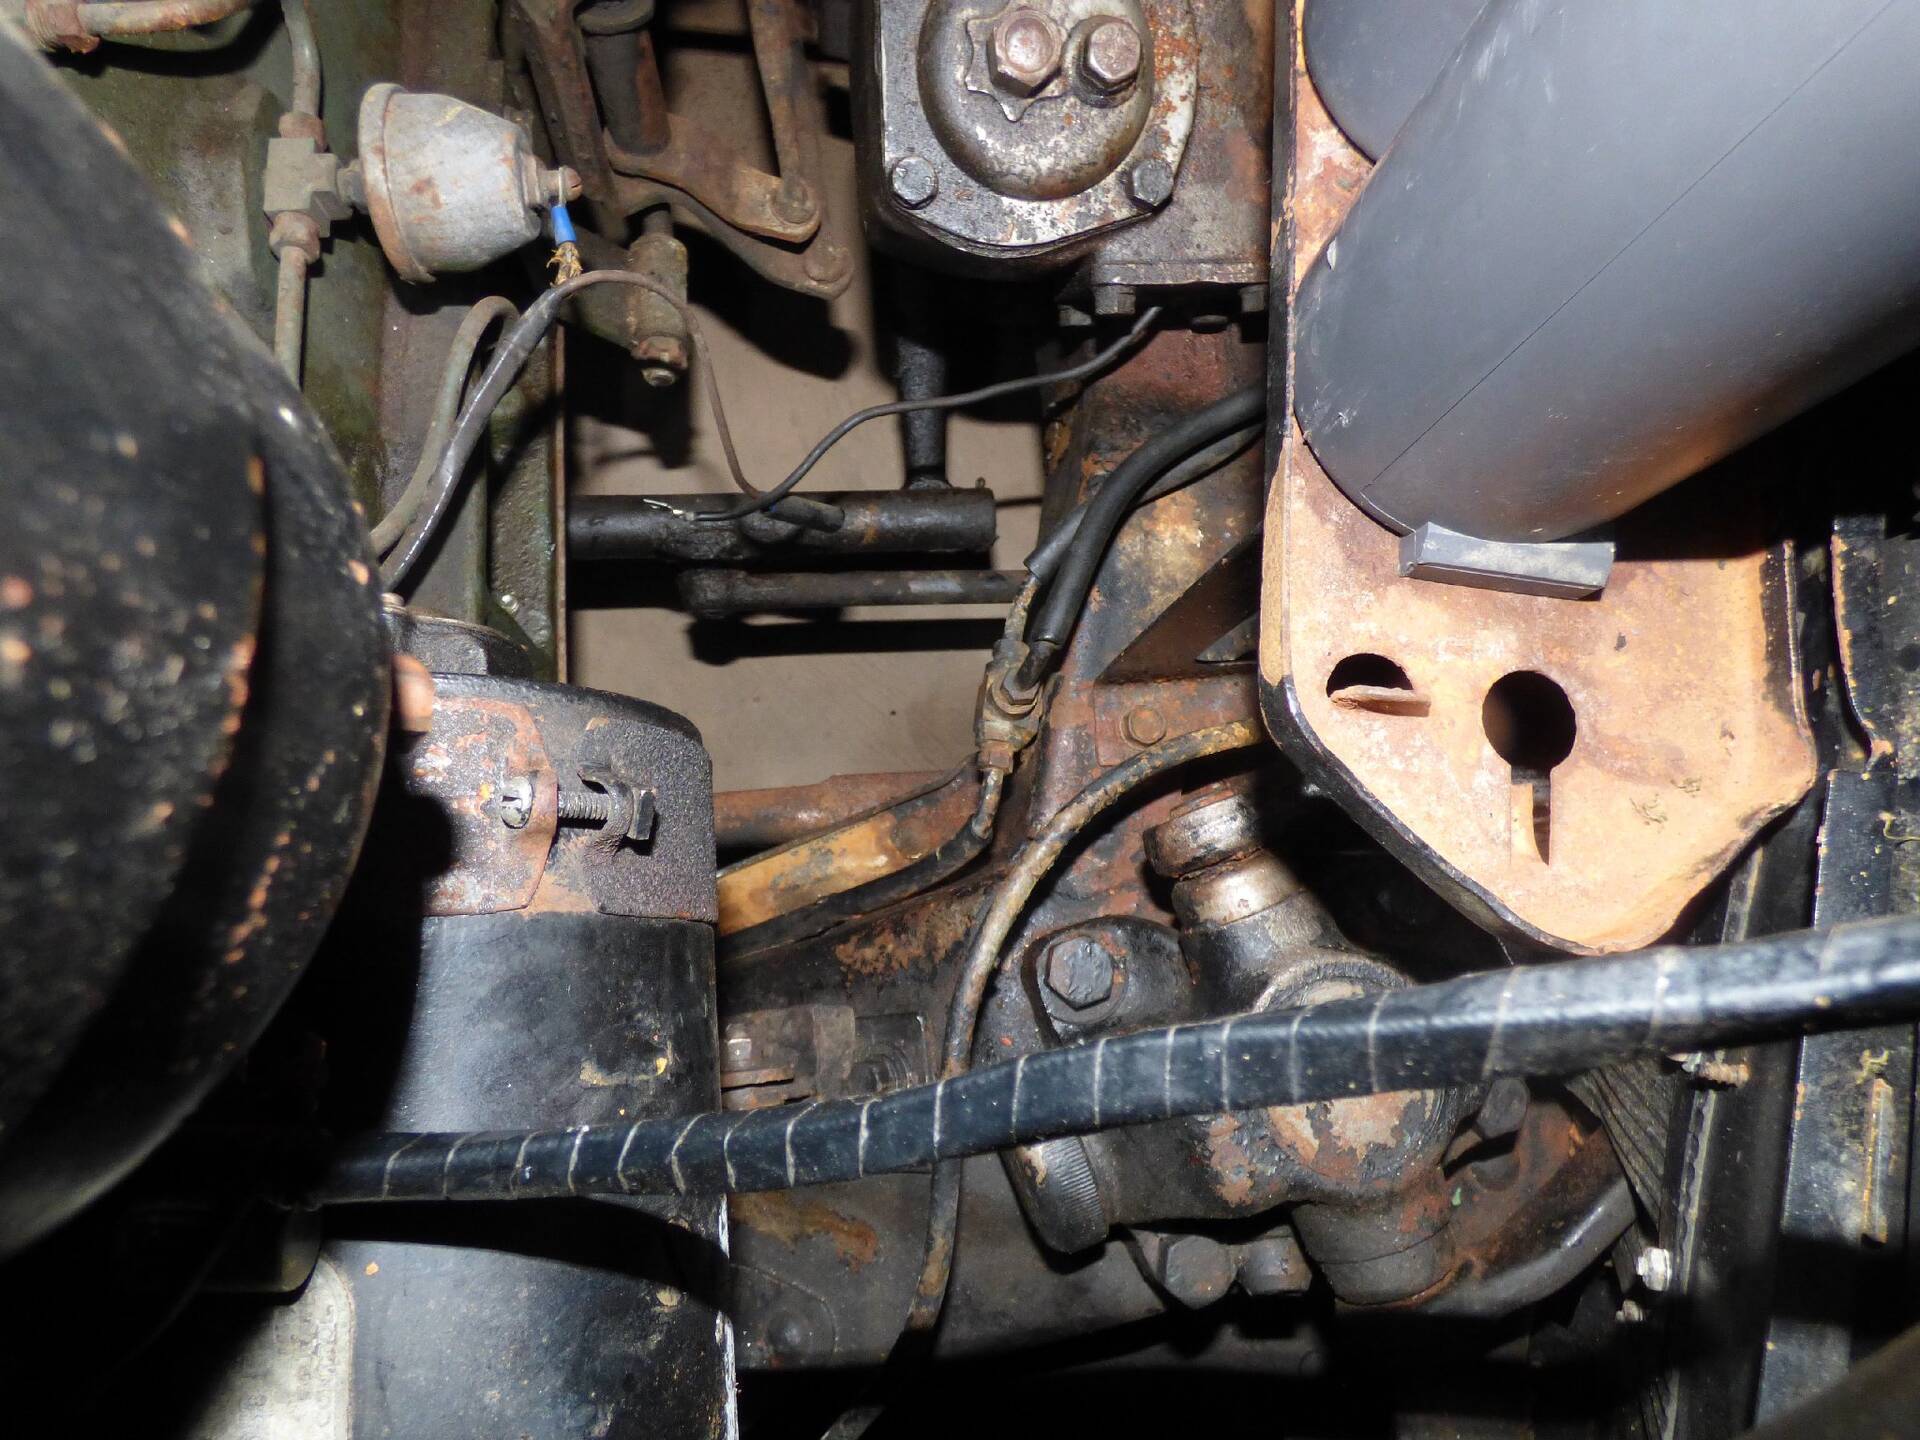 (262.97 KB) (262.97 KB)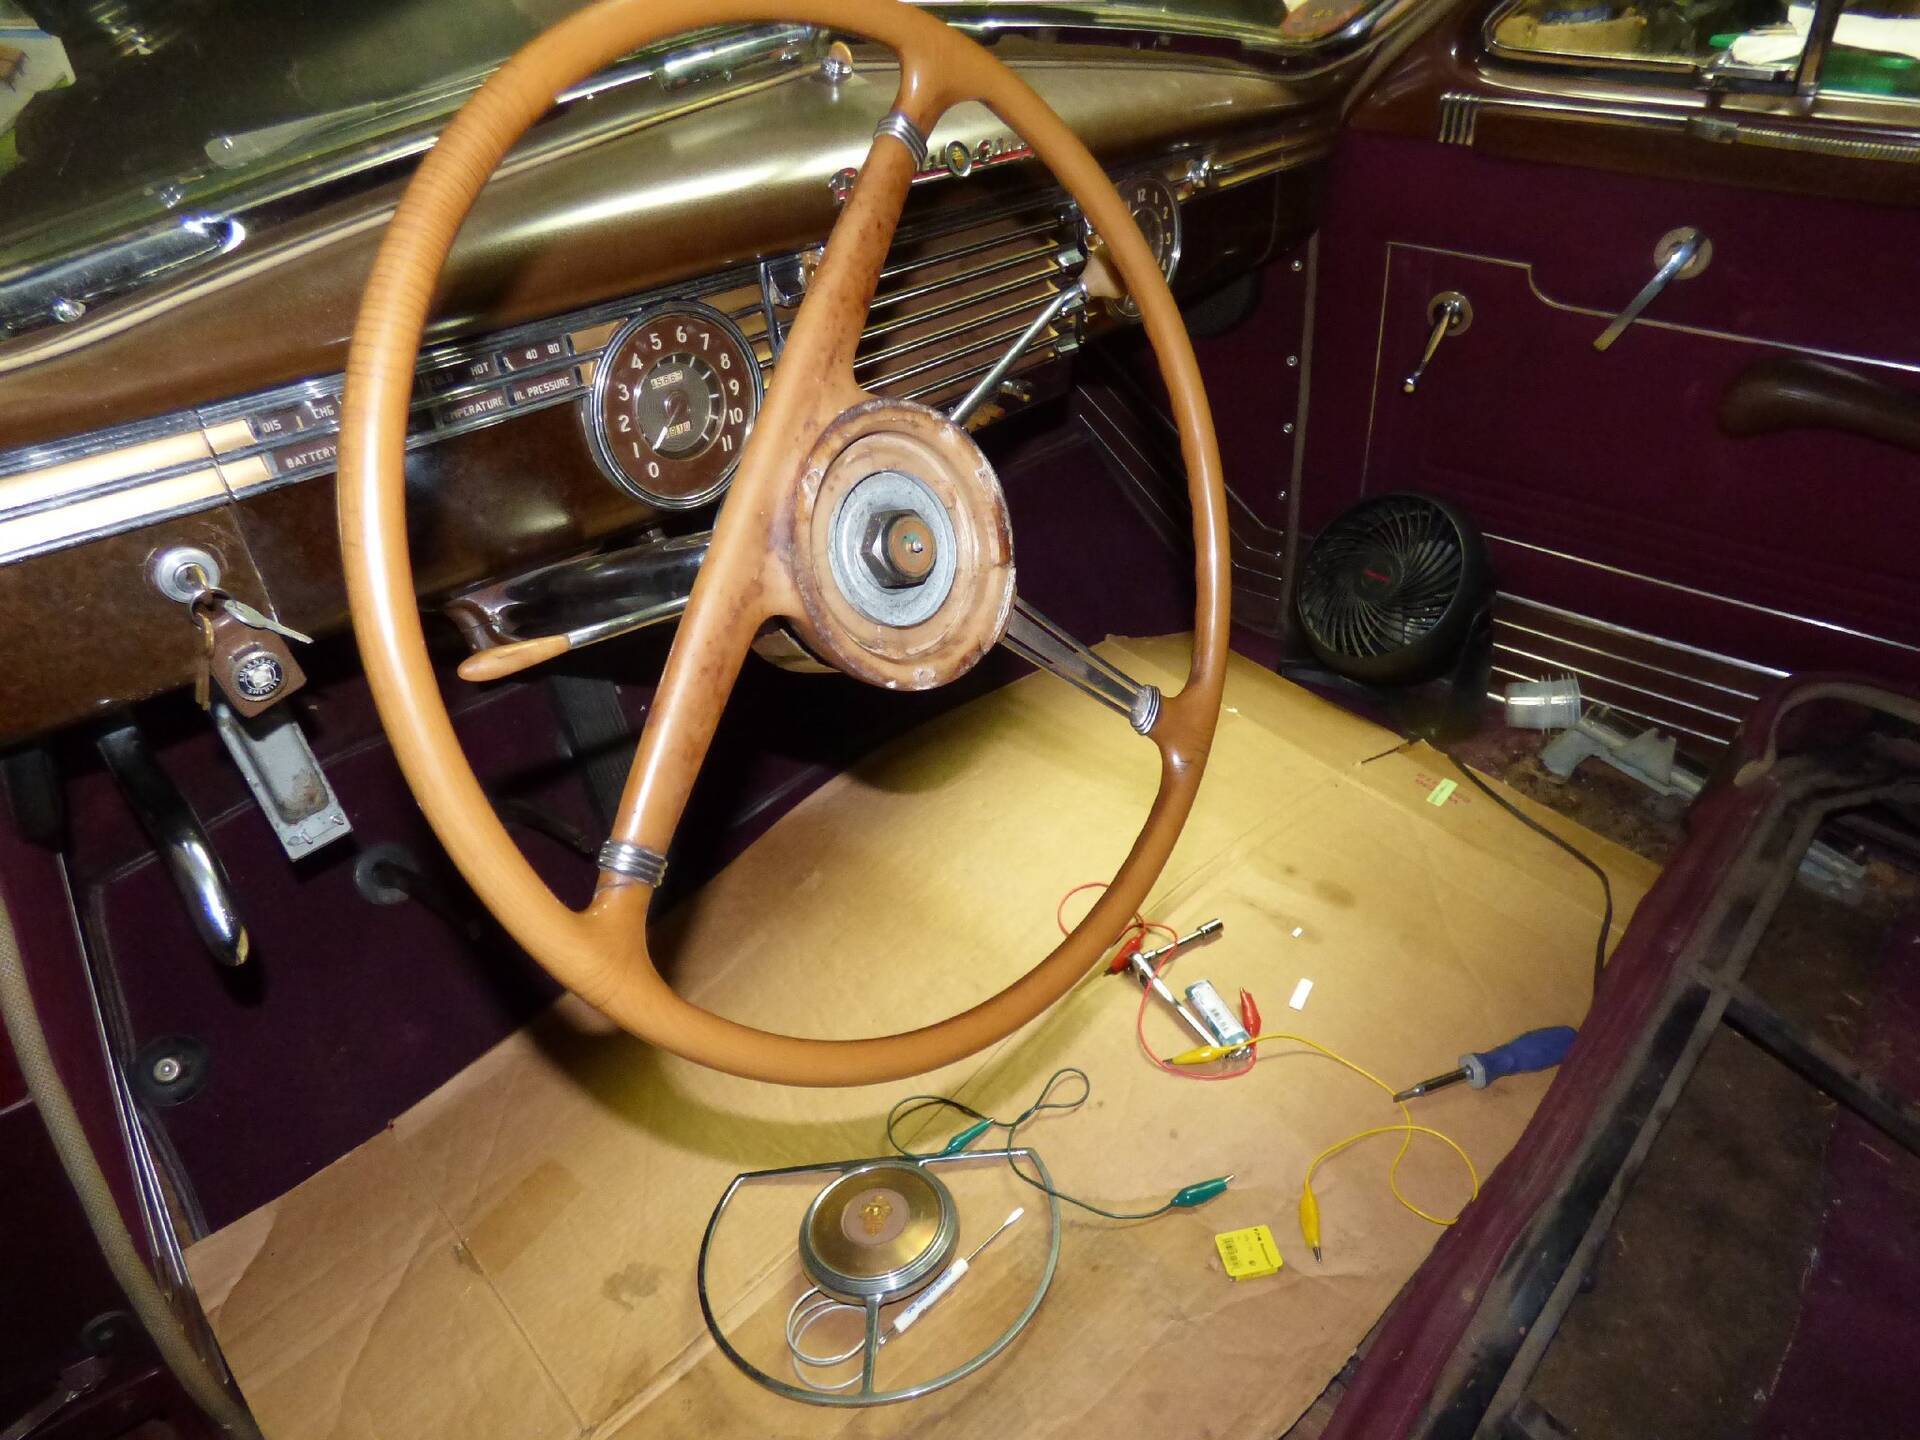 (255.11 KB) (255.11 KB)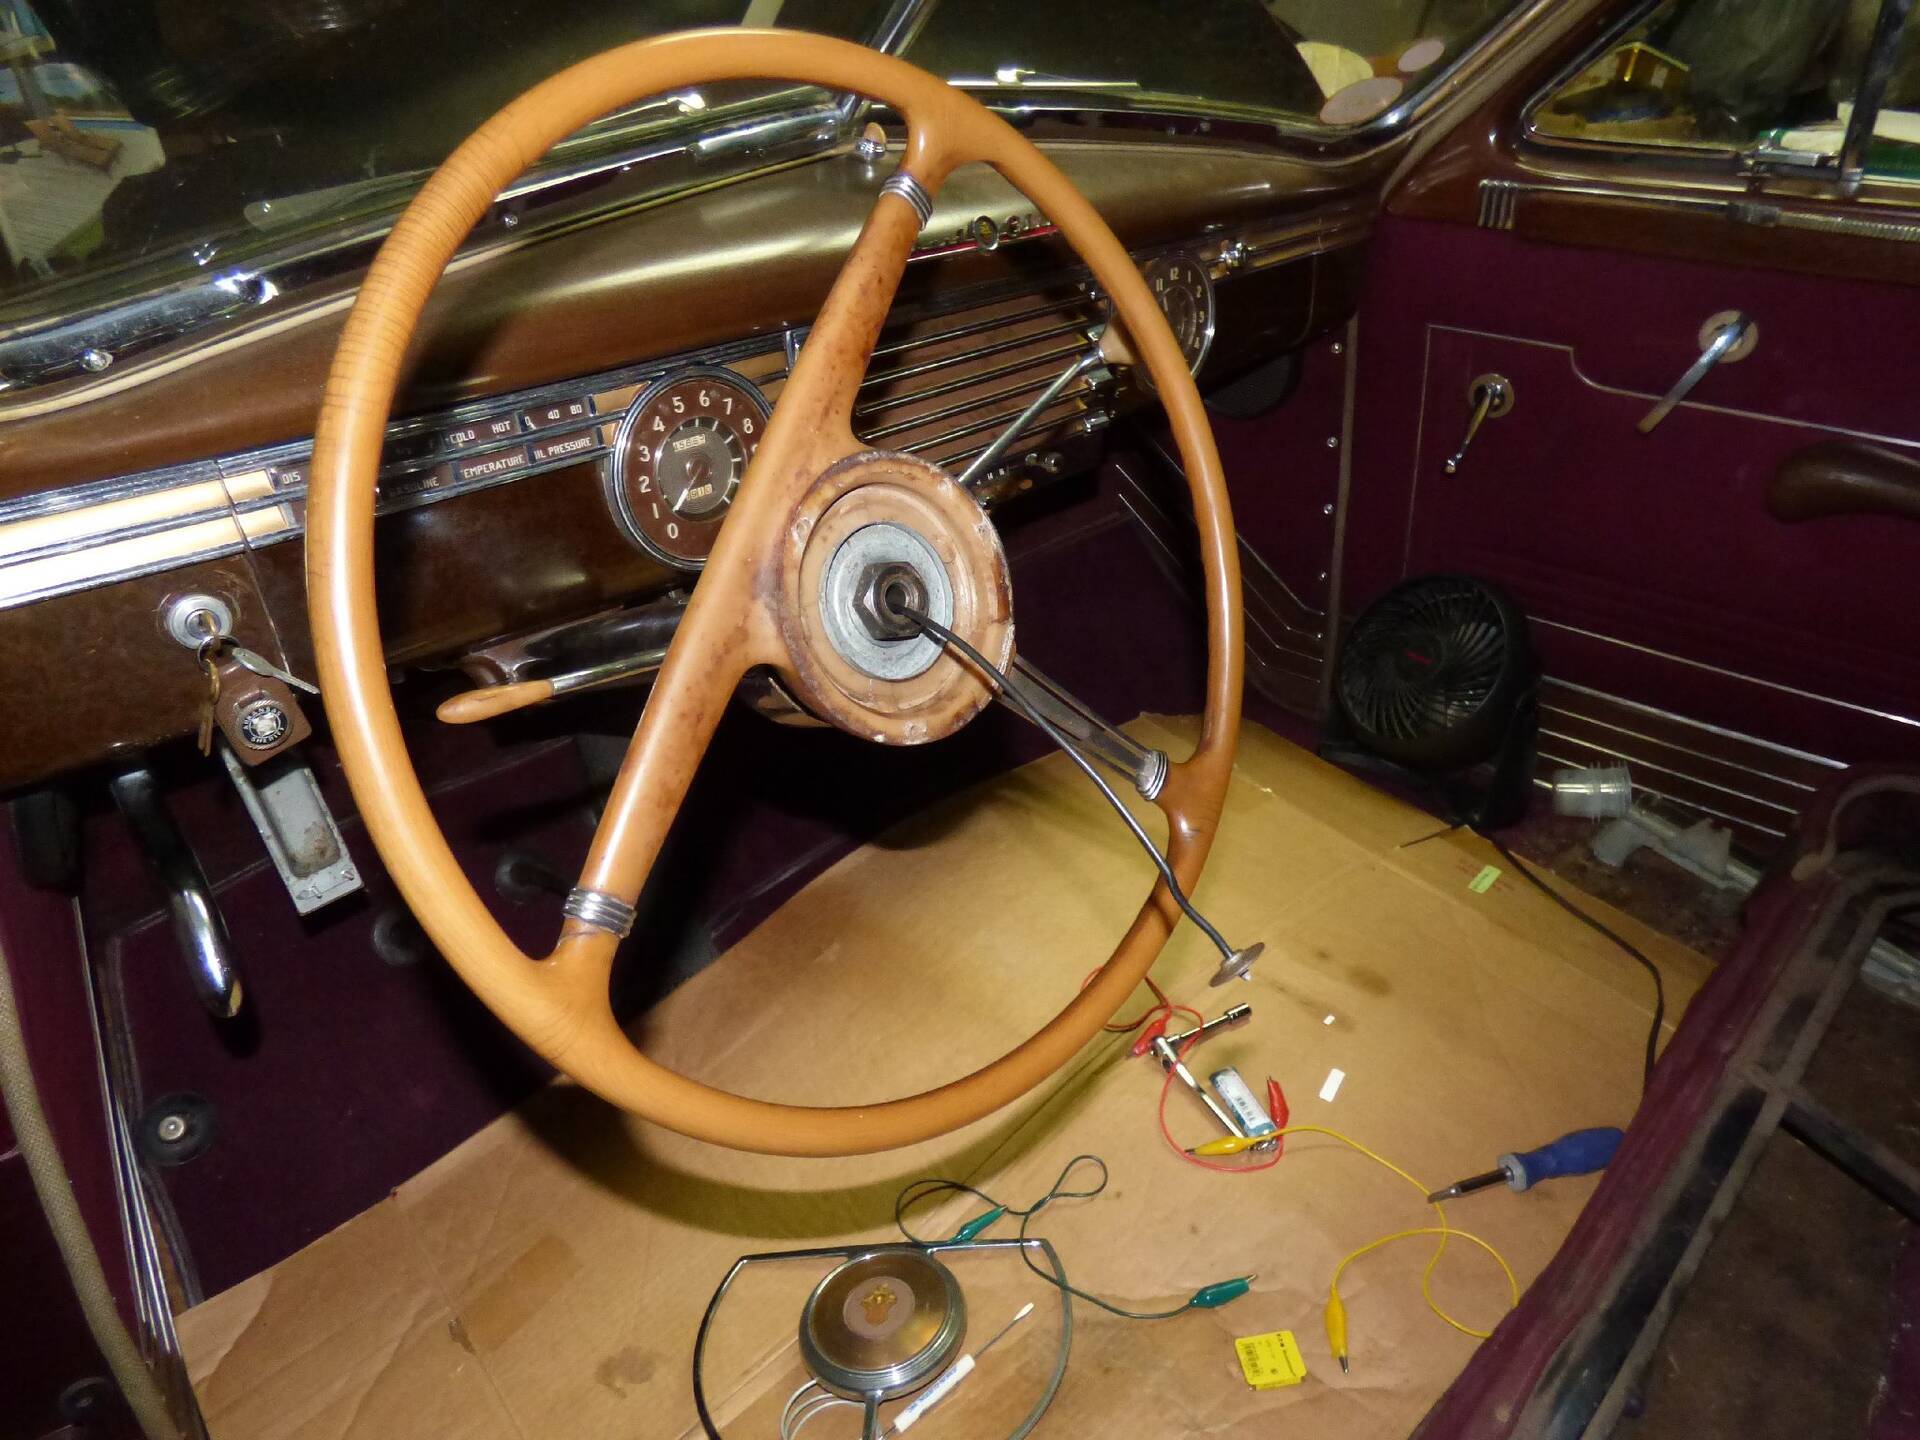 (260.57 KB) (260.57 KB)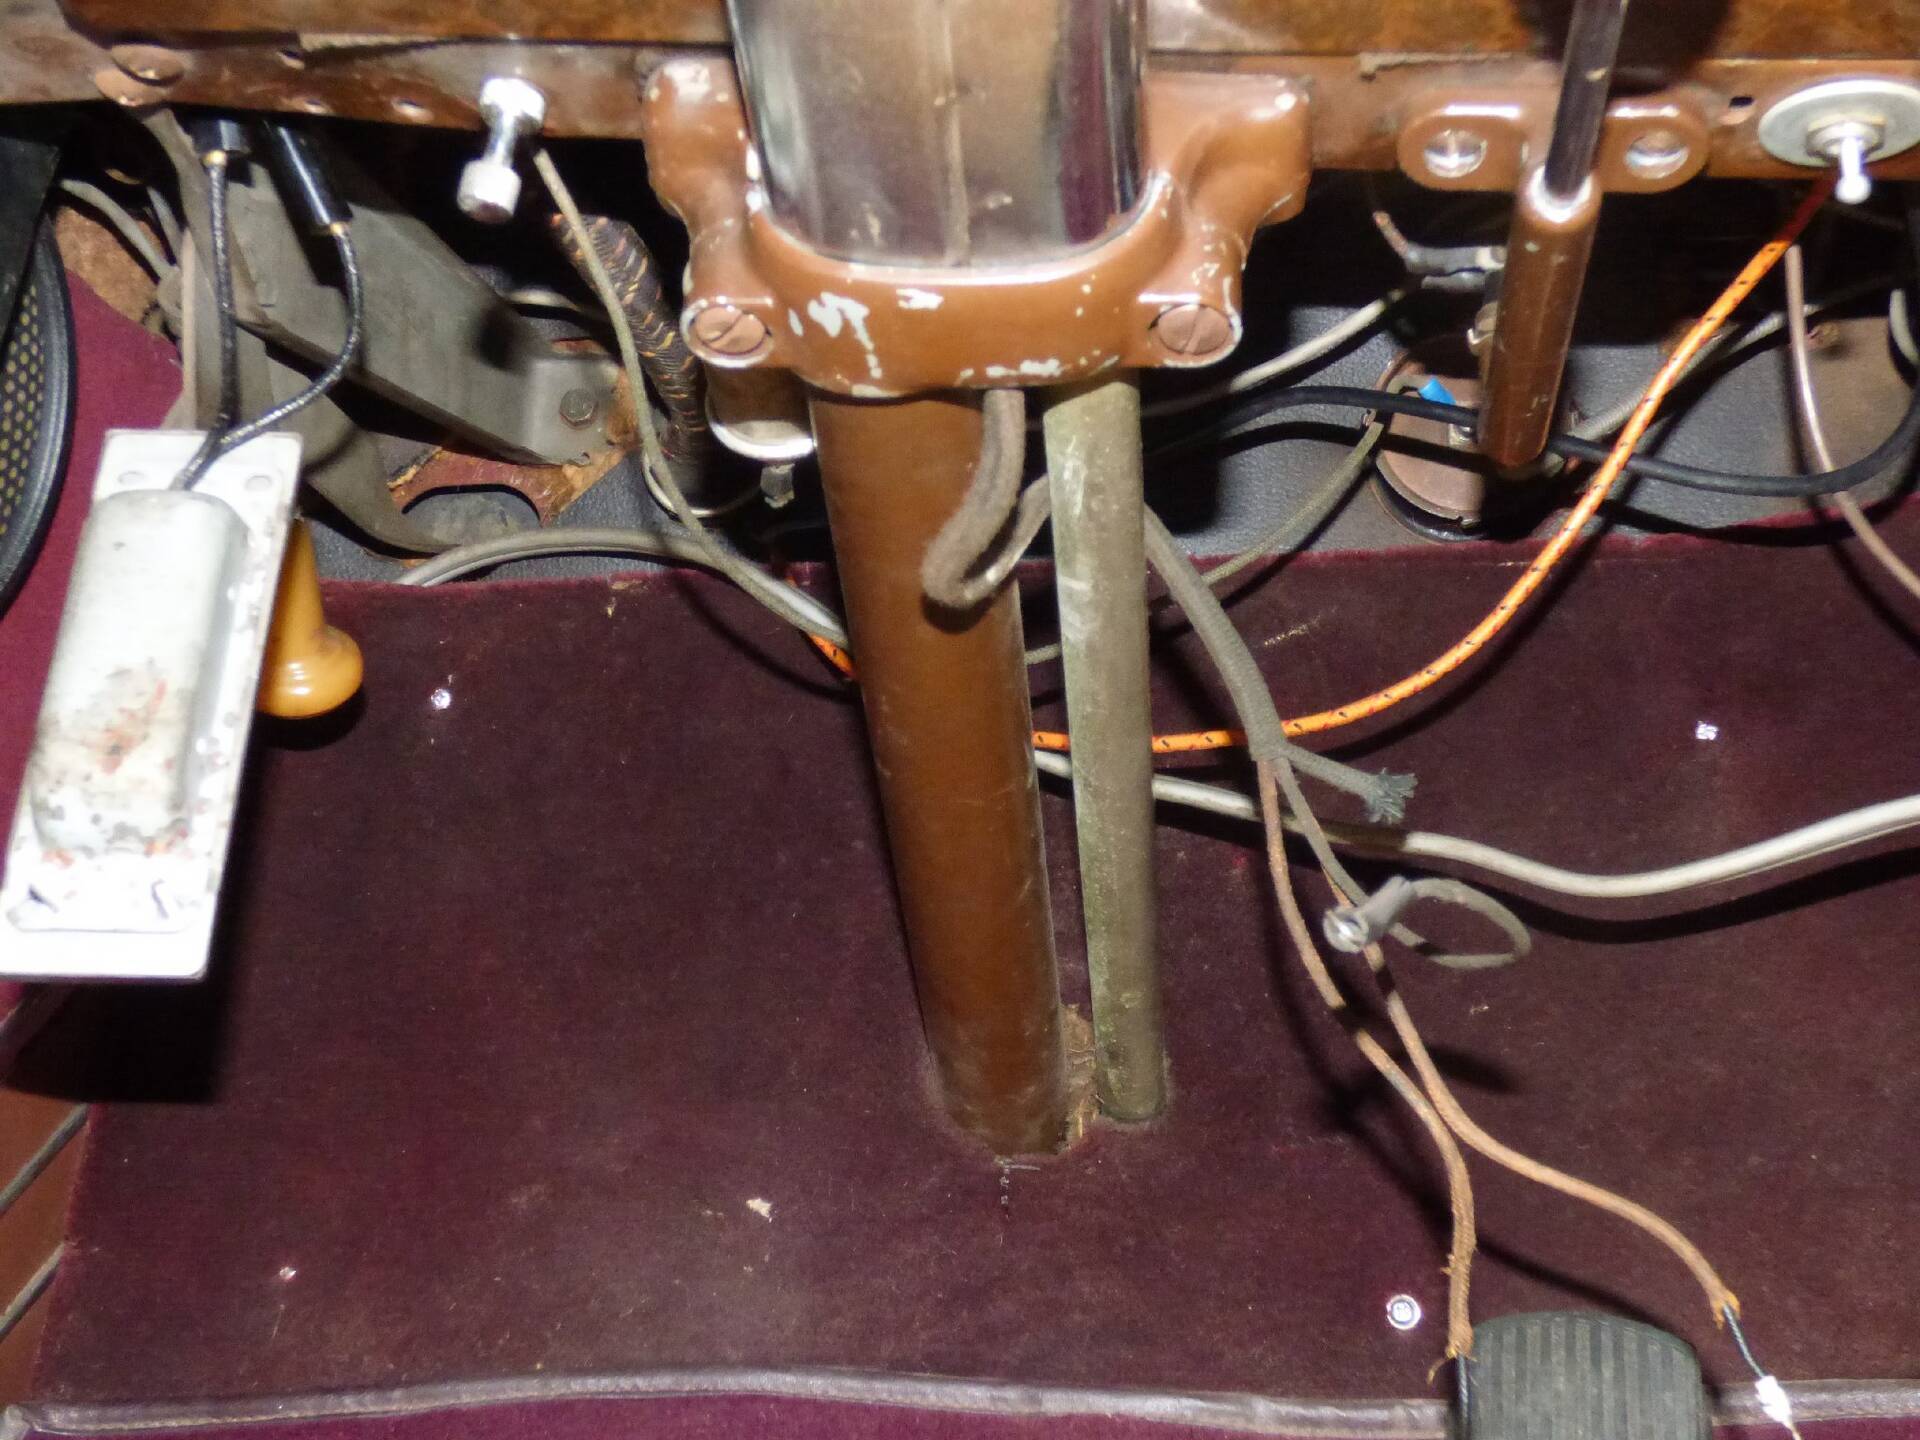
Posted on: 2020/7/23 20:07
|
|||
|
||||
|
Re: Wes's Maroon 1947 Custom Super Clipper
|
||||
|---|---|---|---|---|
|
Home away from home
|
Okay, current update.
Disconnected the Shift Linkage from the Shifting Column, not very easy, while under the car for that found my Brake Master Cylinder is still leaking. I thought that I had that fixed! O'well thats for another day. So got both Linkages unhooked, it wasn't easy do to the position of the linkage. Next unmounted the Reverse Switch and left the mount loose since it has a slot that it fits in. Now in the car, I removed about six screws holding the upper carpet in place and as pulling it back found it's backing broken in a few places. Turns out the gas pedal had a cover over it. Once I removed that I was able to pop the Gas pedal loose and roll the lower carpet back. Exposing the plate to the steering column with two missing screws, later noticed the screws and washer were laying under the floor matting. After removing the only two screws holding the plate, next removed the two silver screws in the black board for room. And removed the plate. Wes Attach file: (264.57 KB)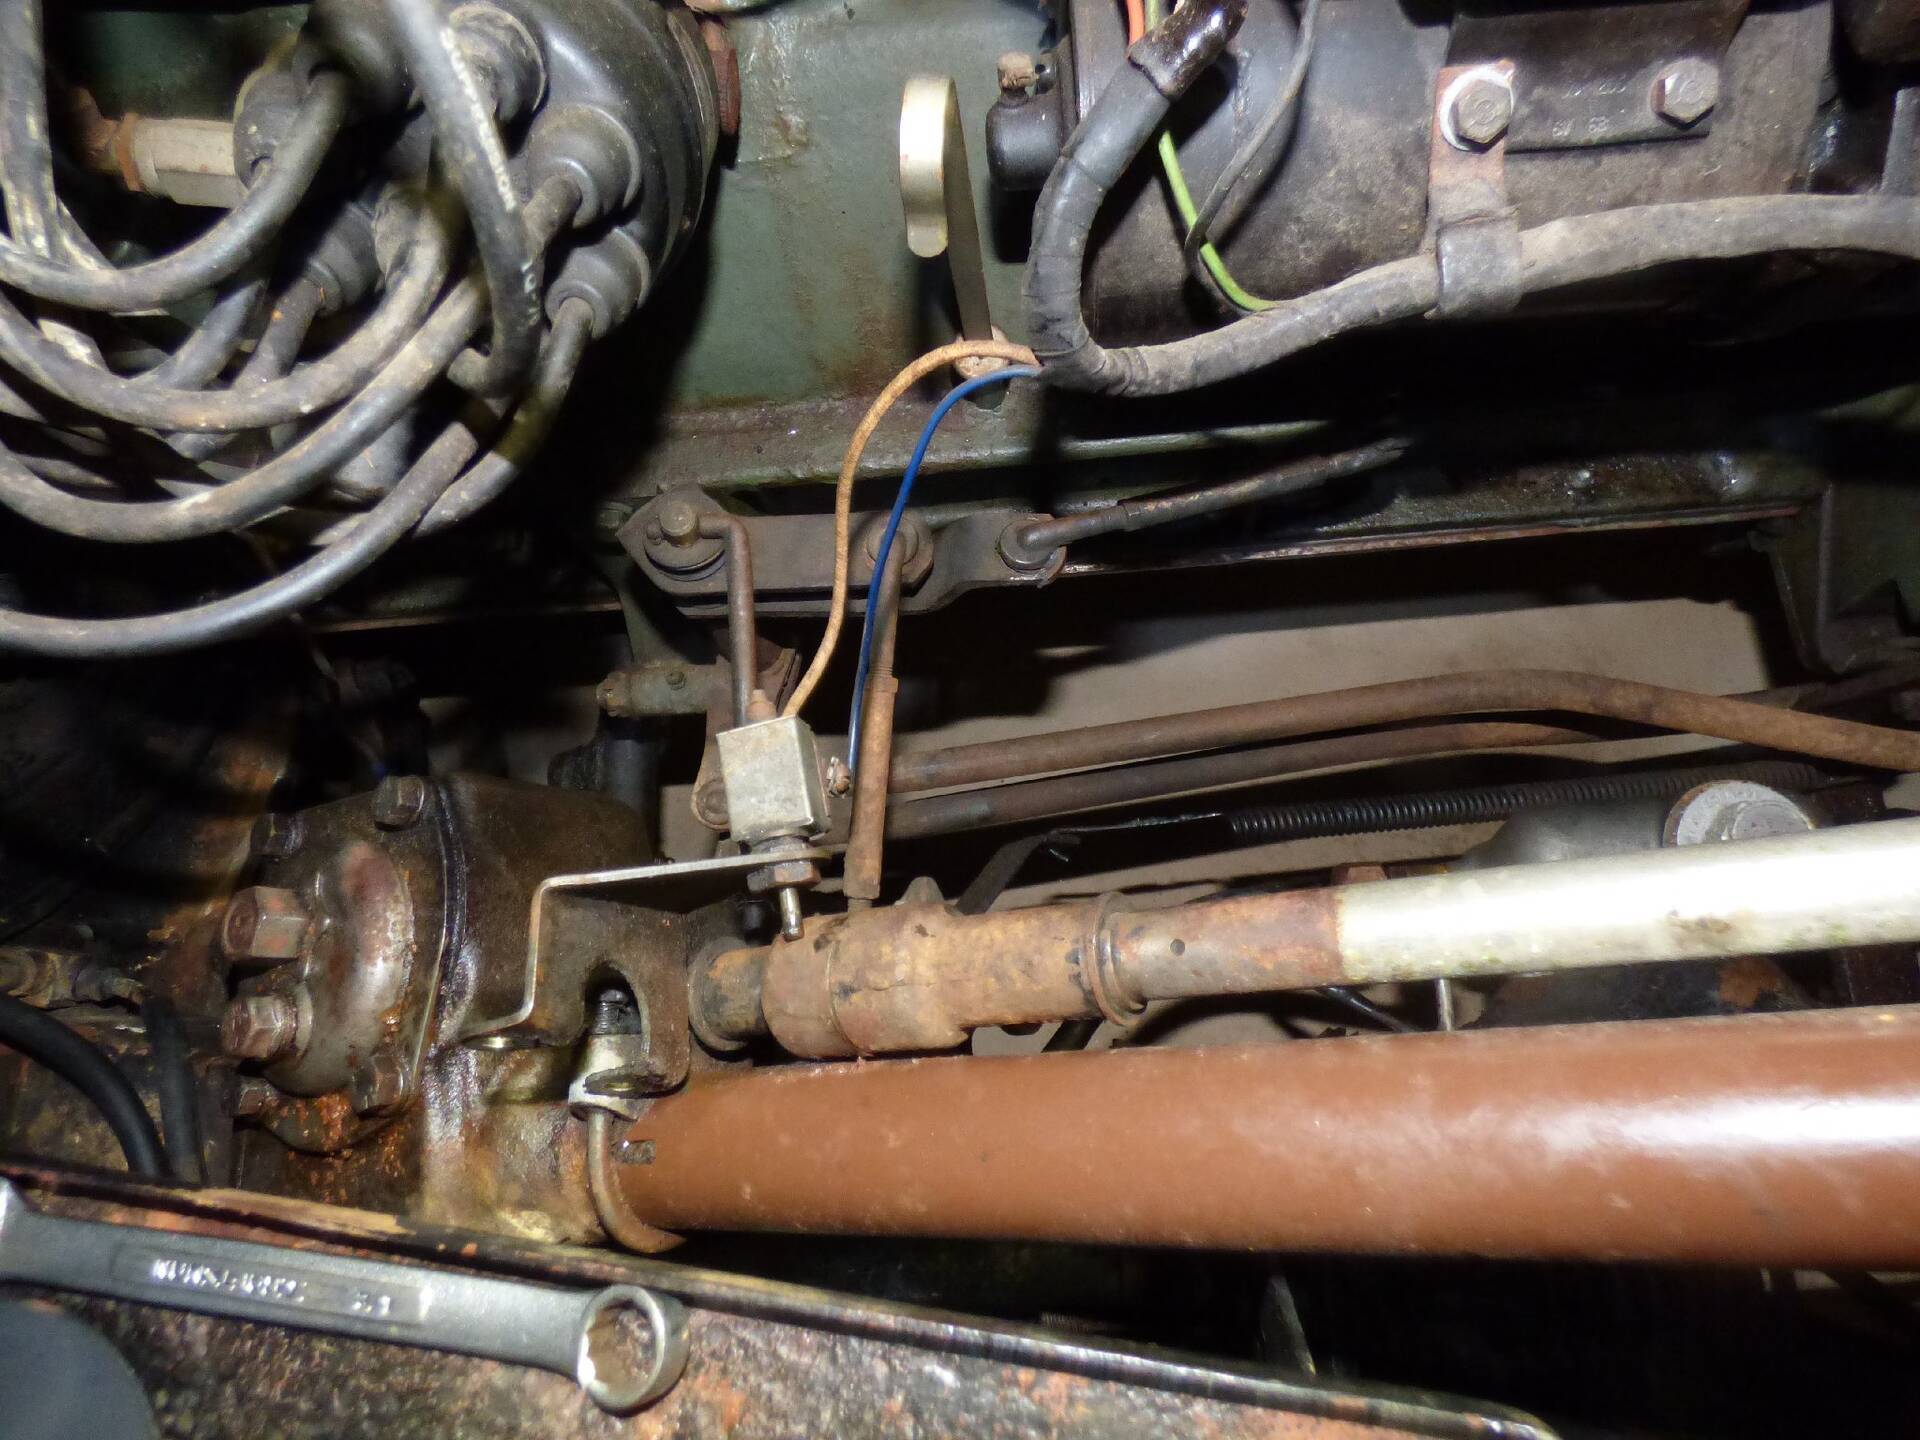 (388.28 KB) (388.28 KB)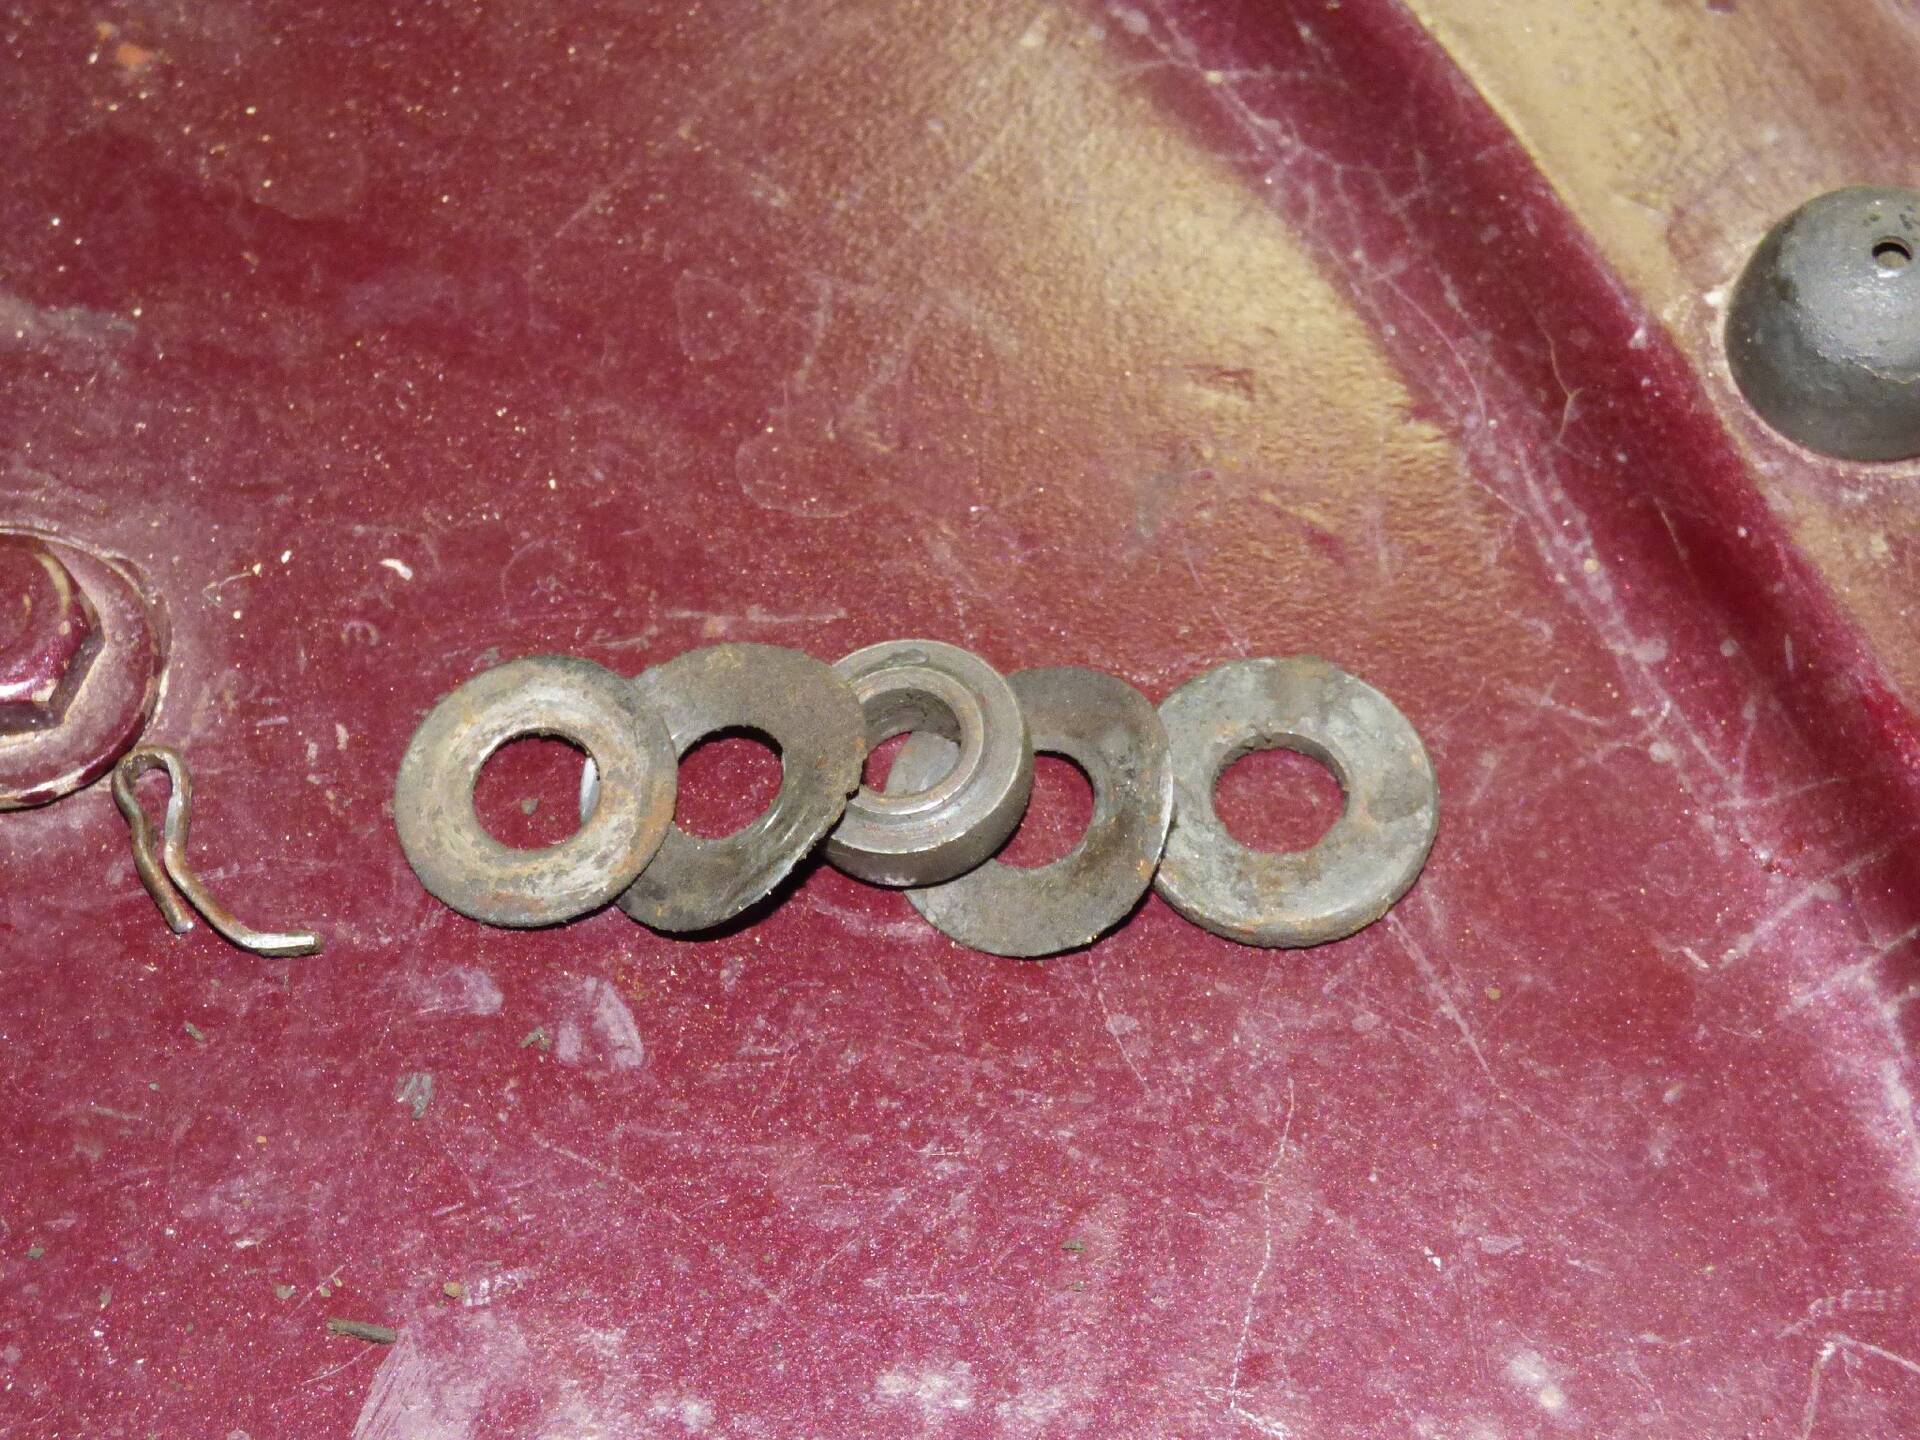 (264.32 KB) (264.32 KB)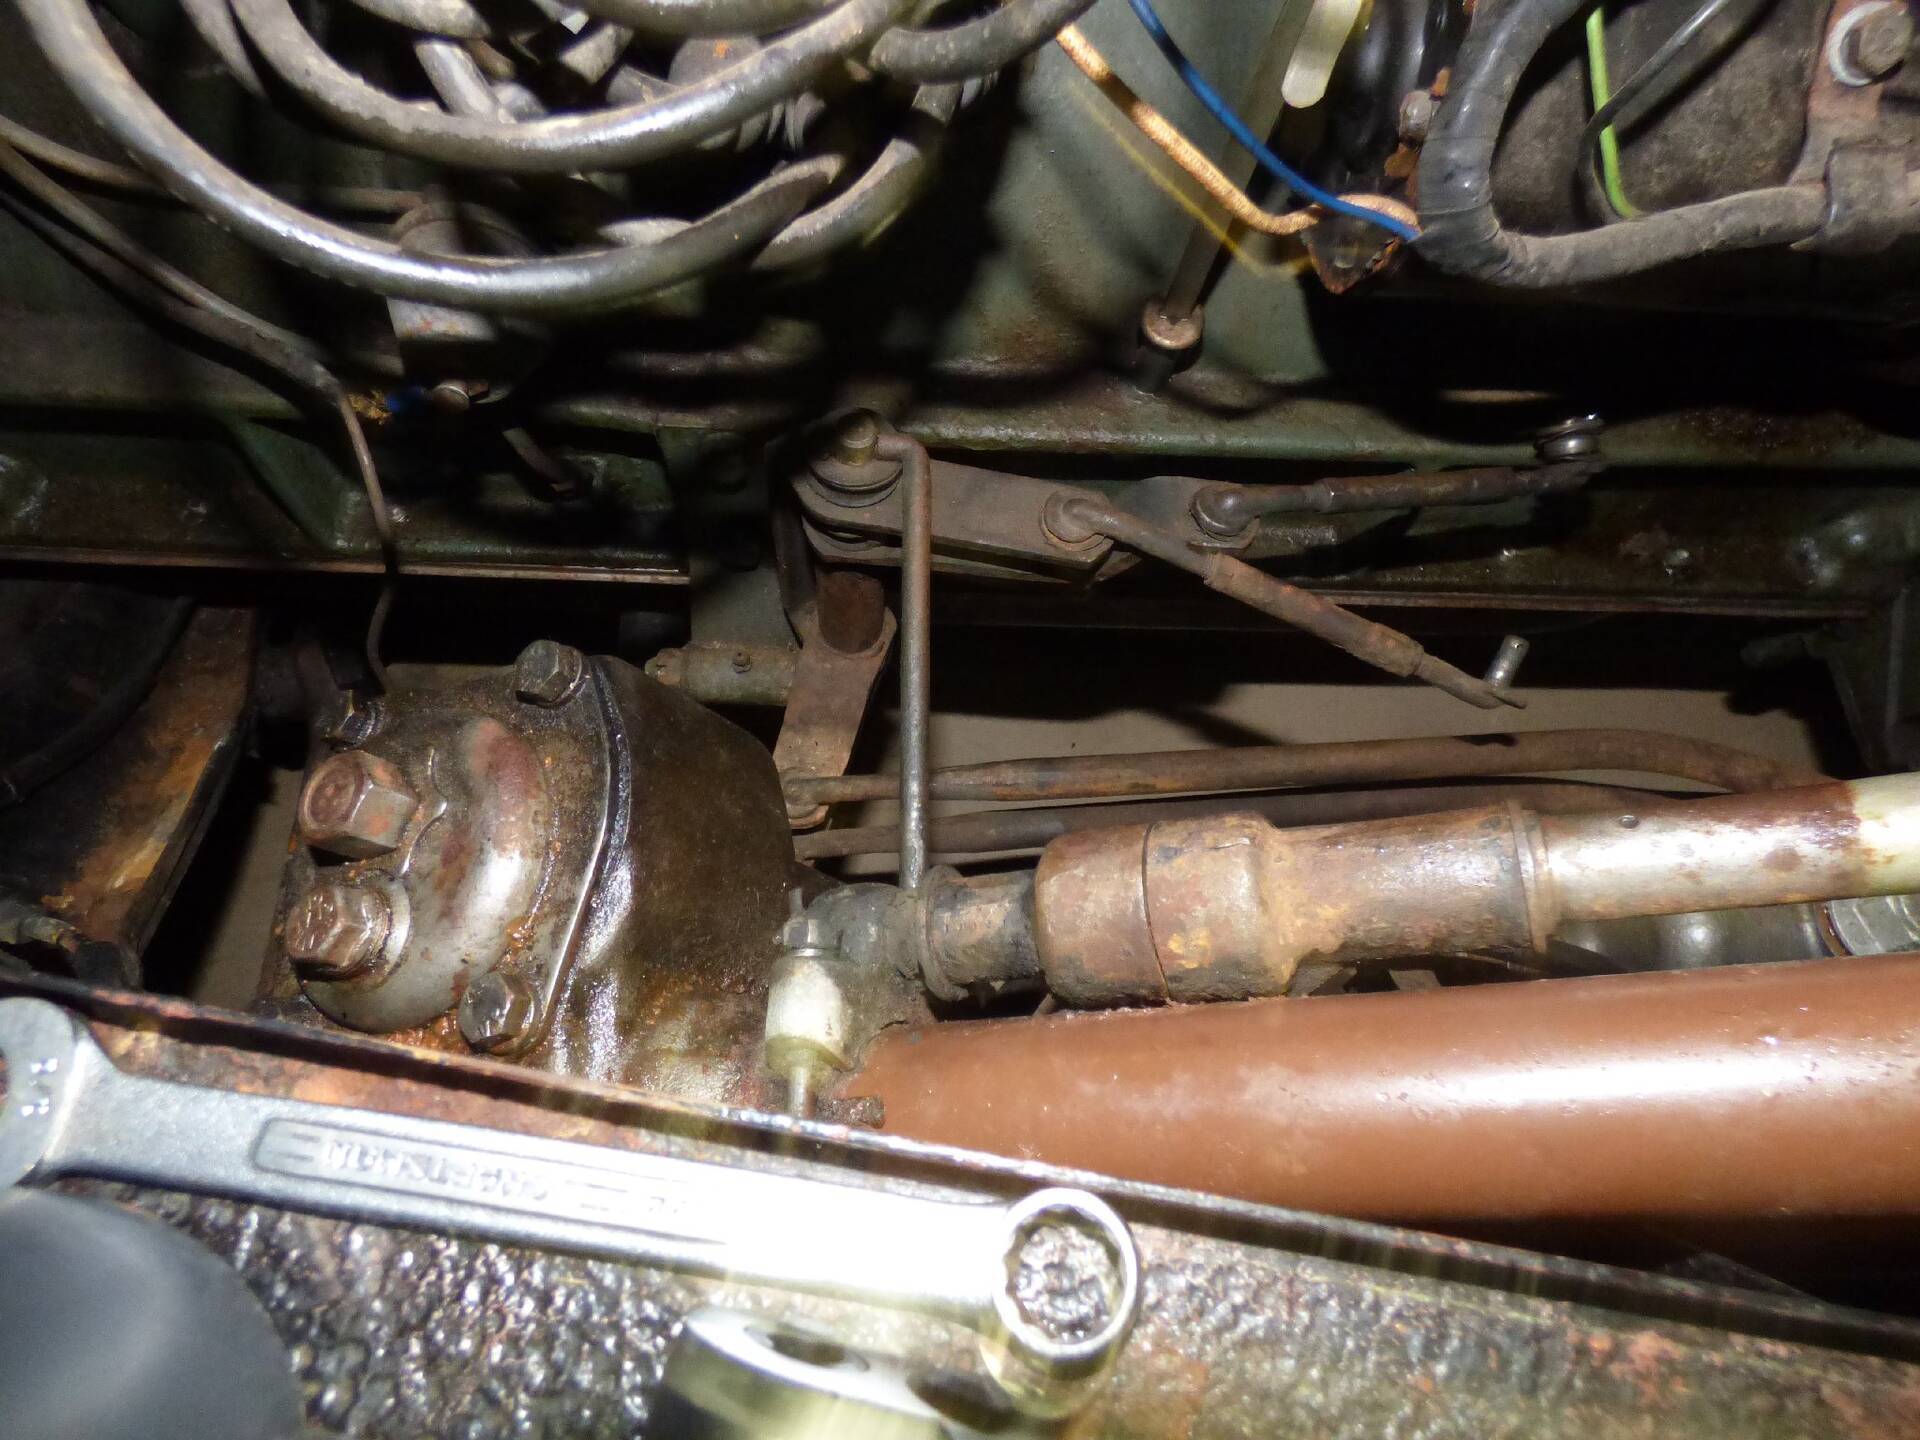 (286.28 KB) (286.28 KB)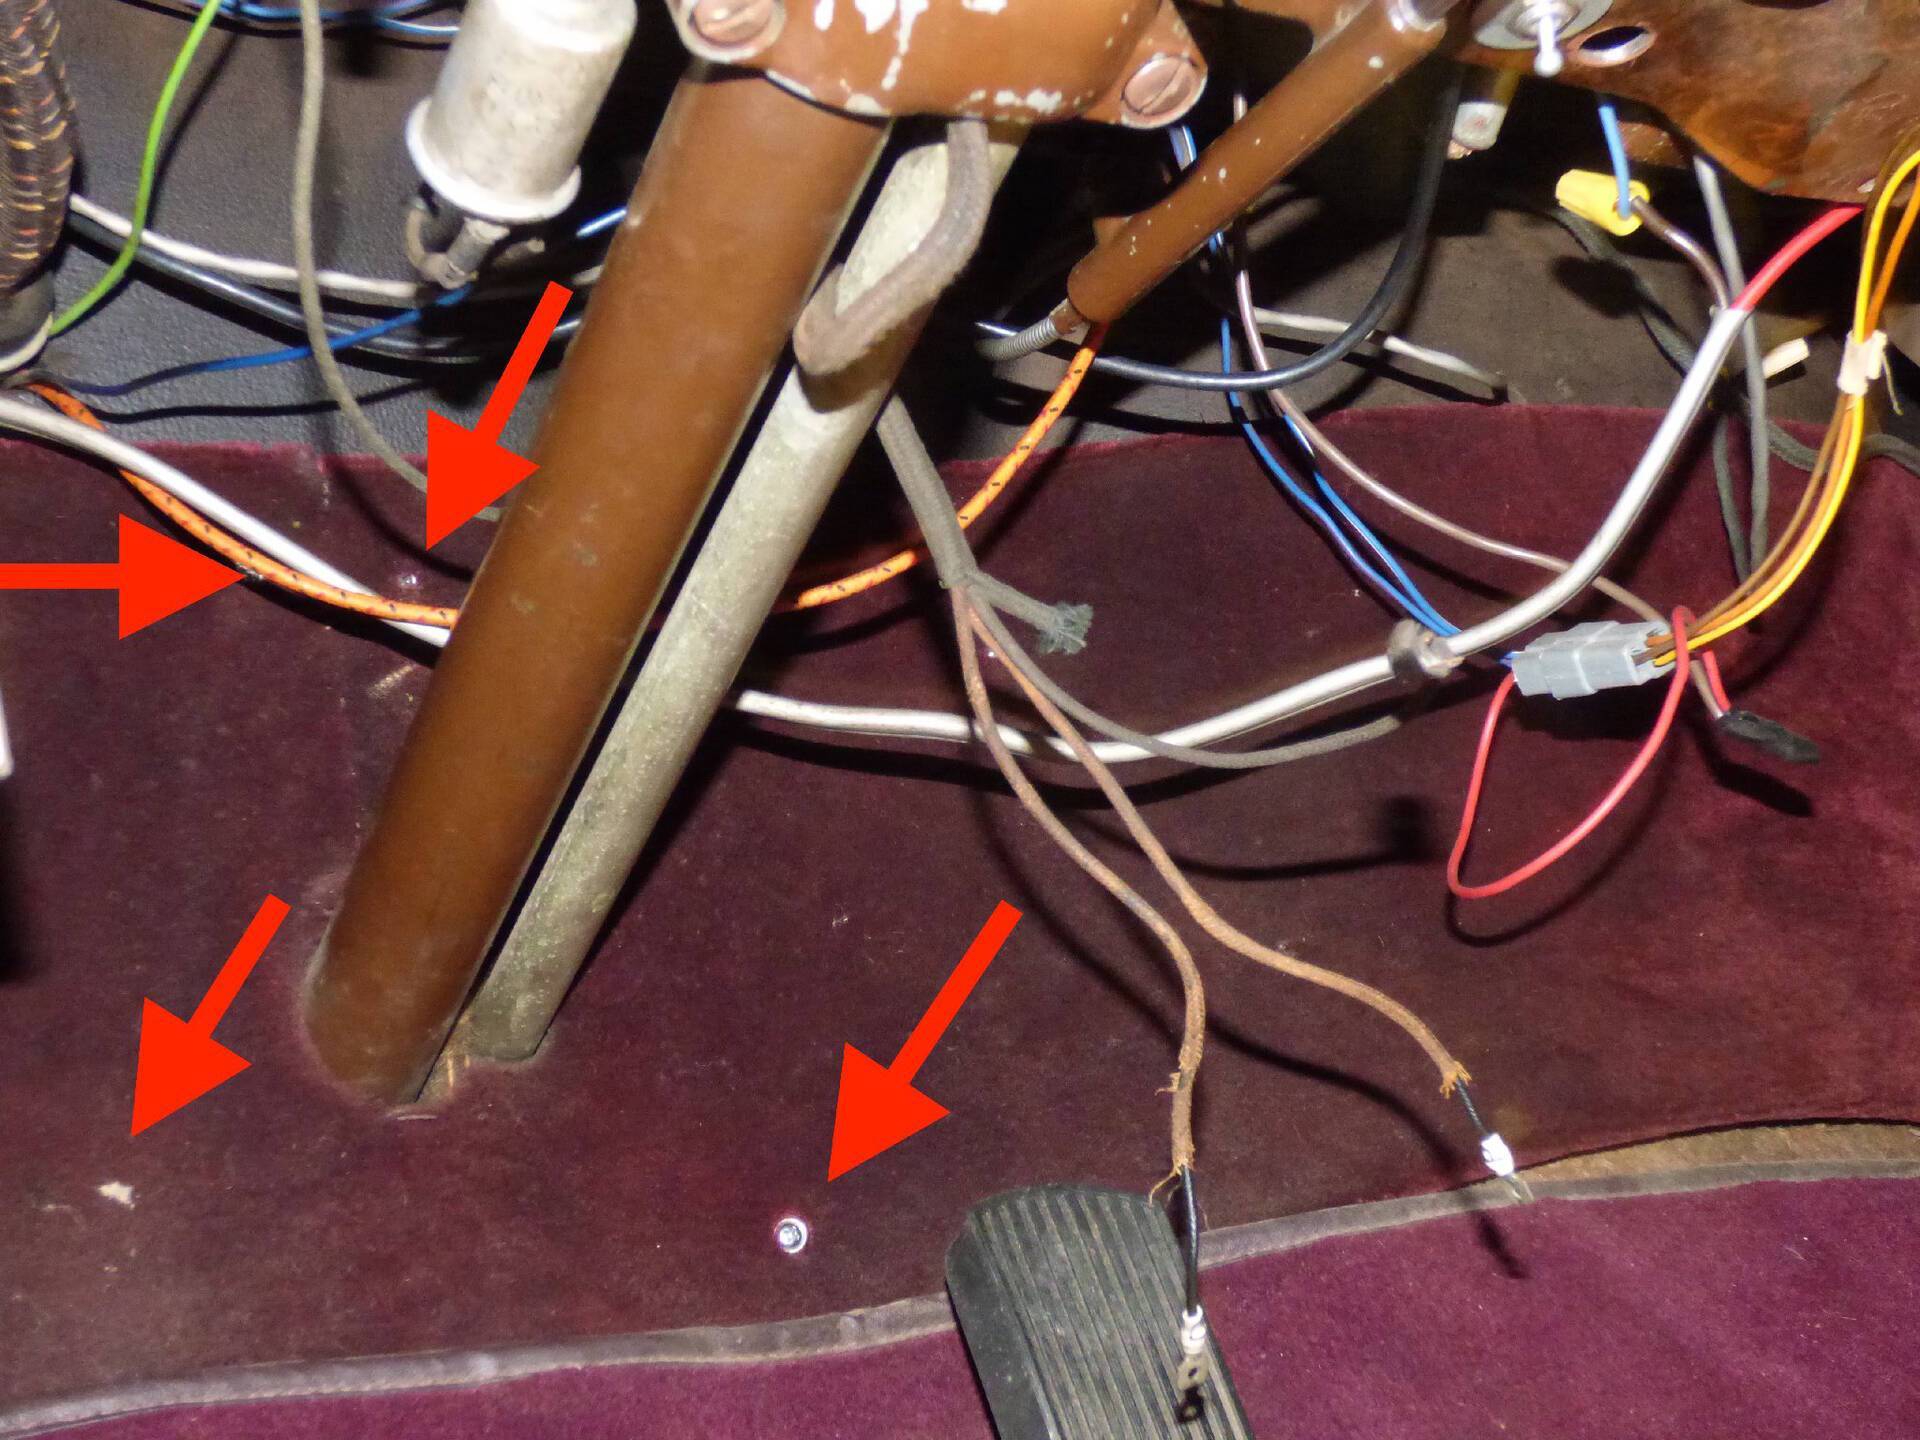 (300.32 KB) (300.32 KB)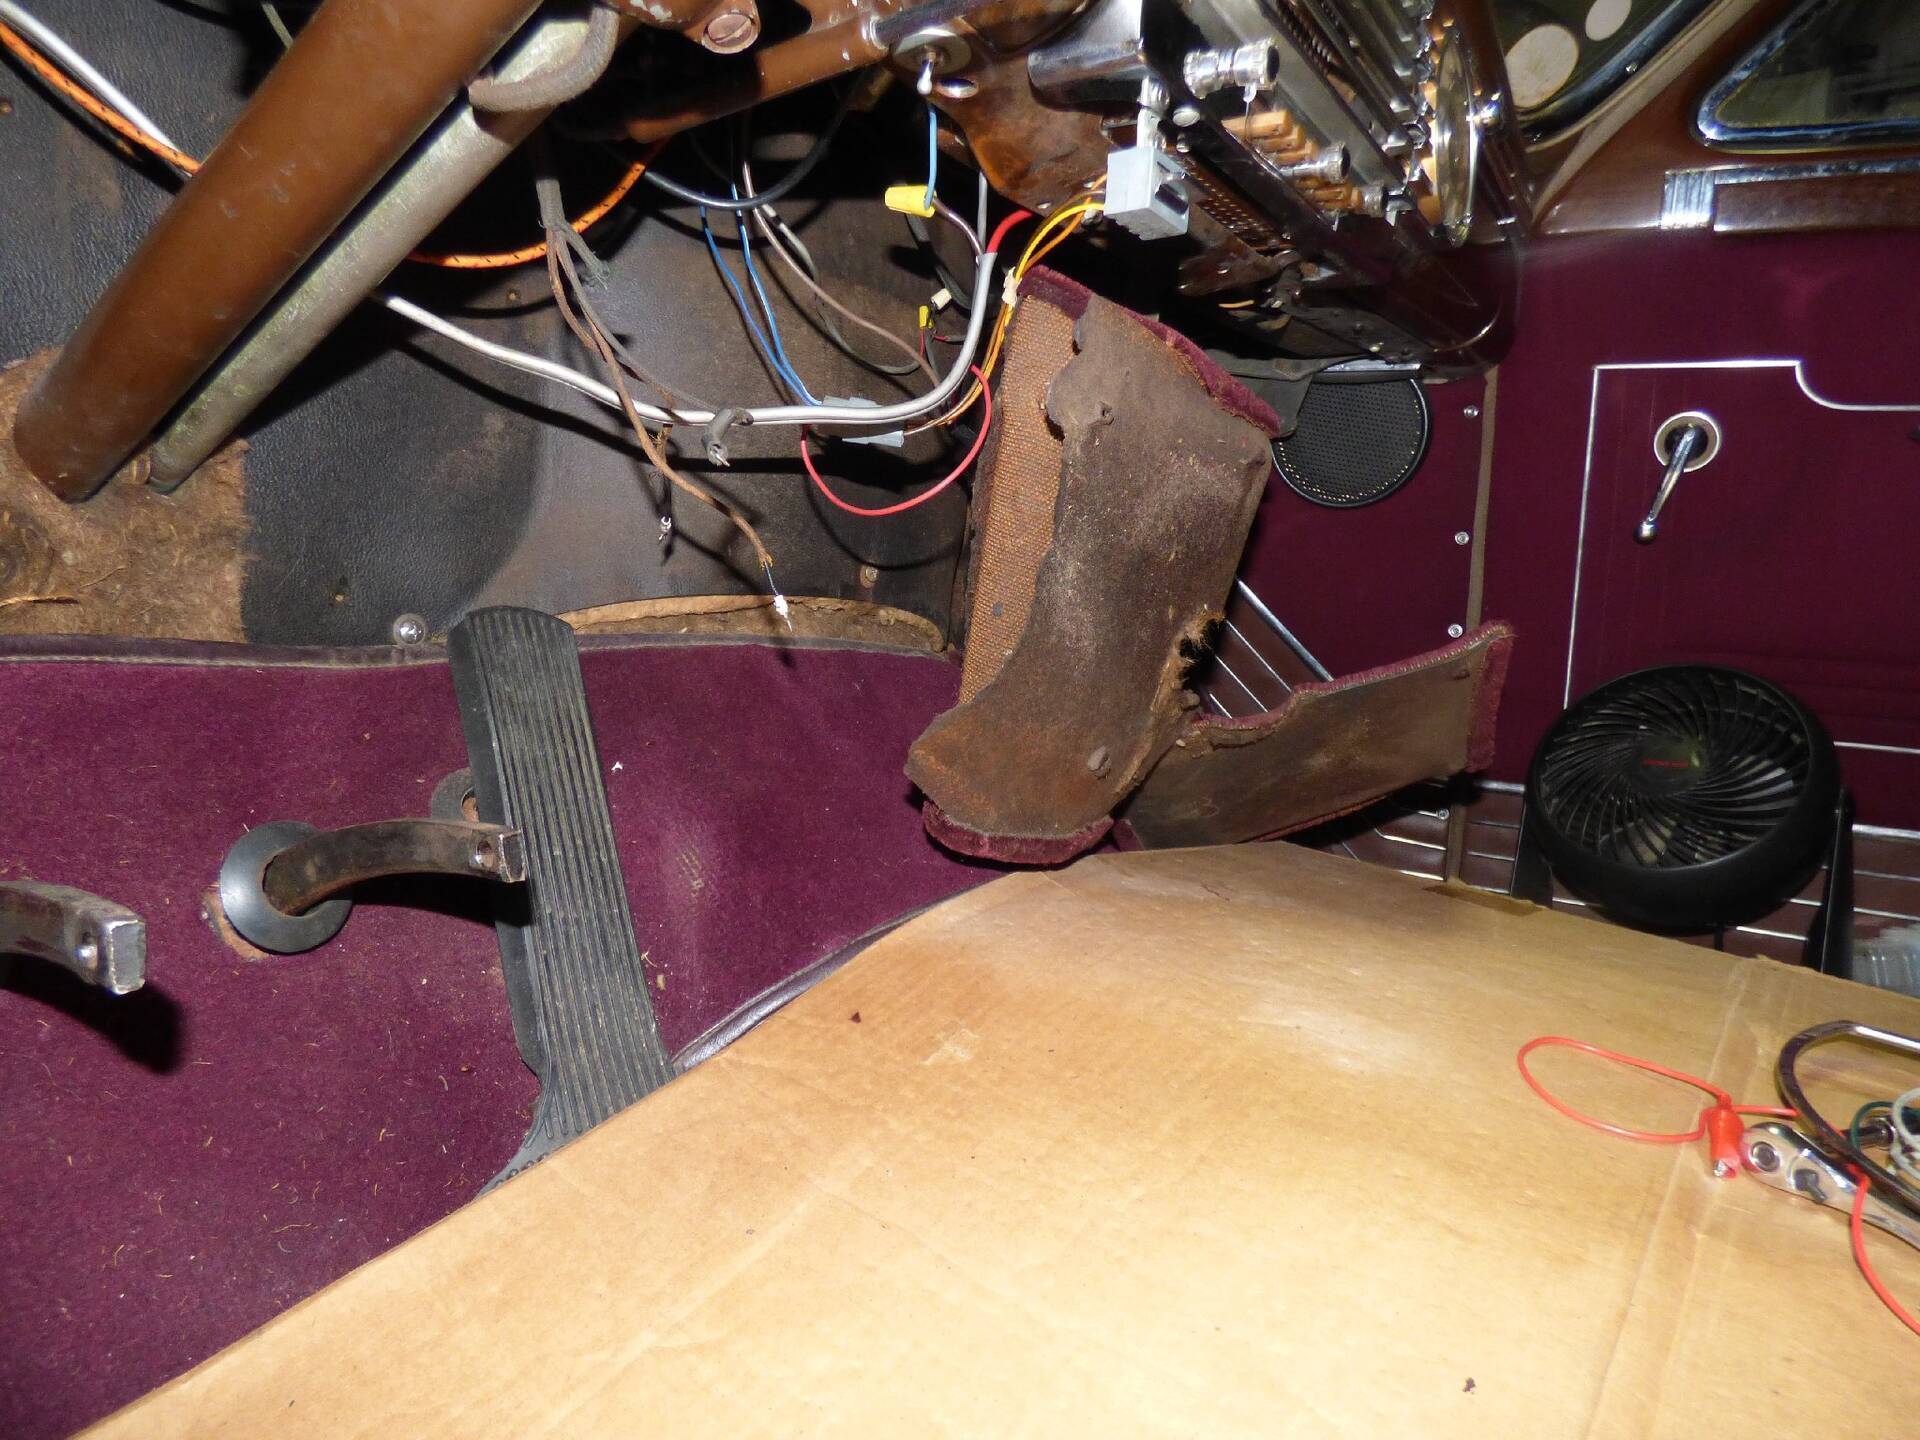 (328.51 KB) (328.51 KB)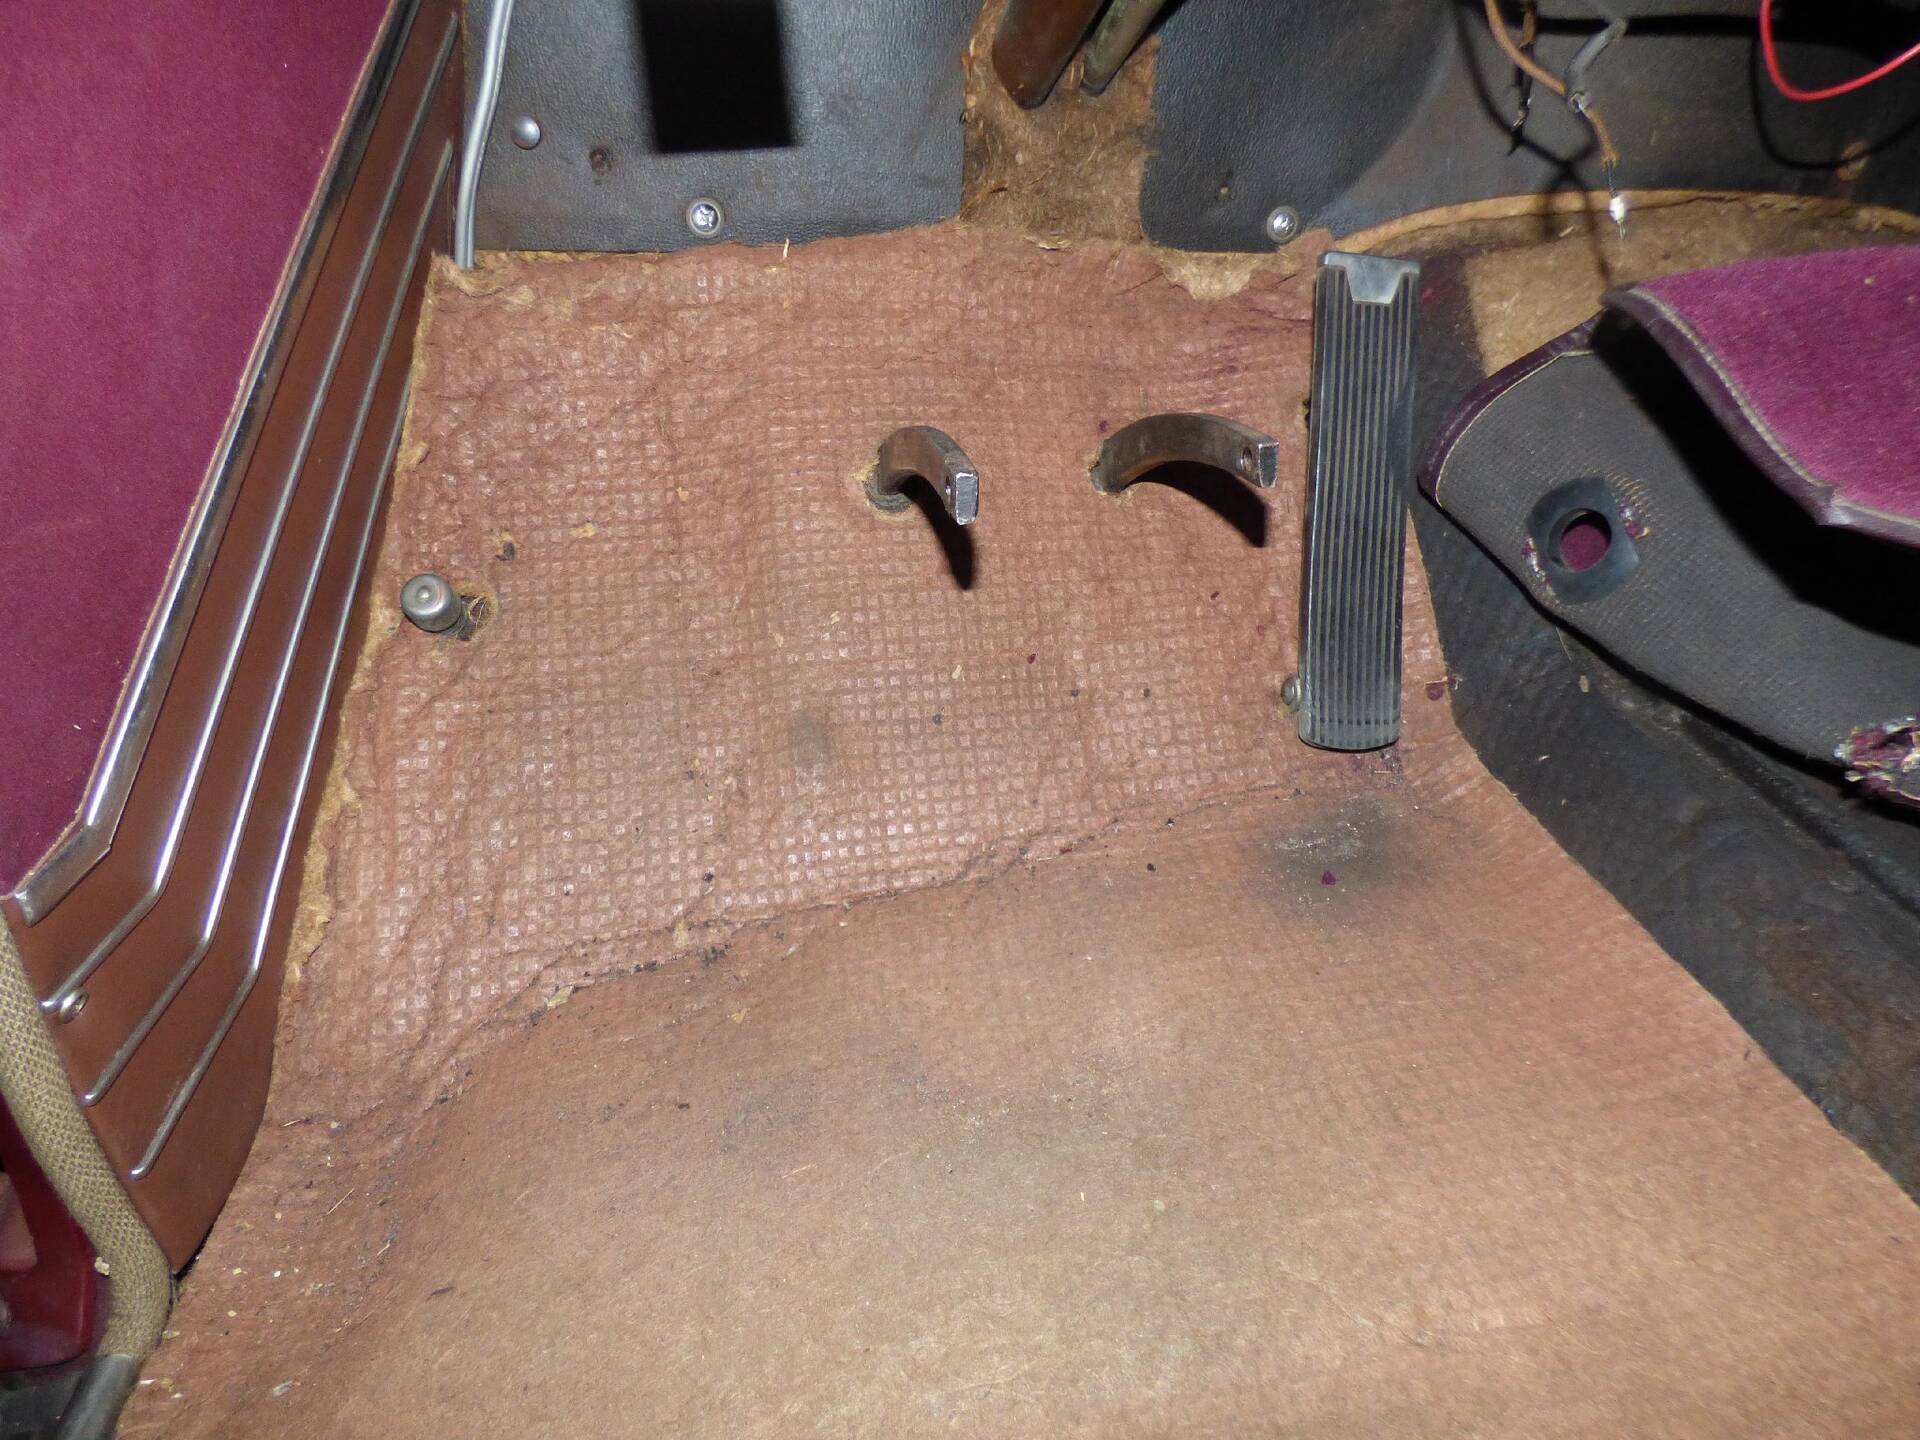 (234.53 KB) (234.53 KB)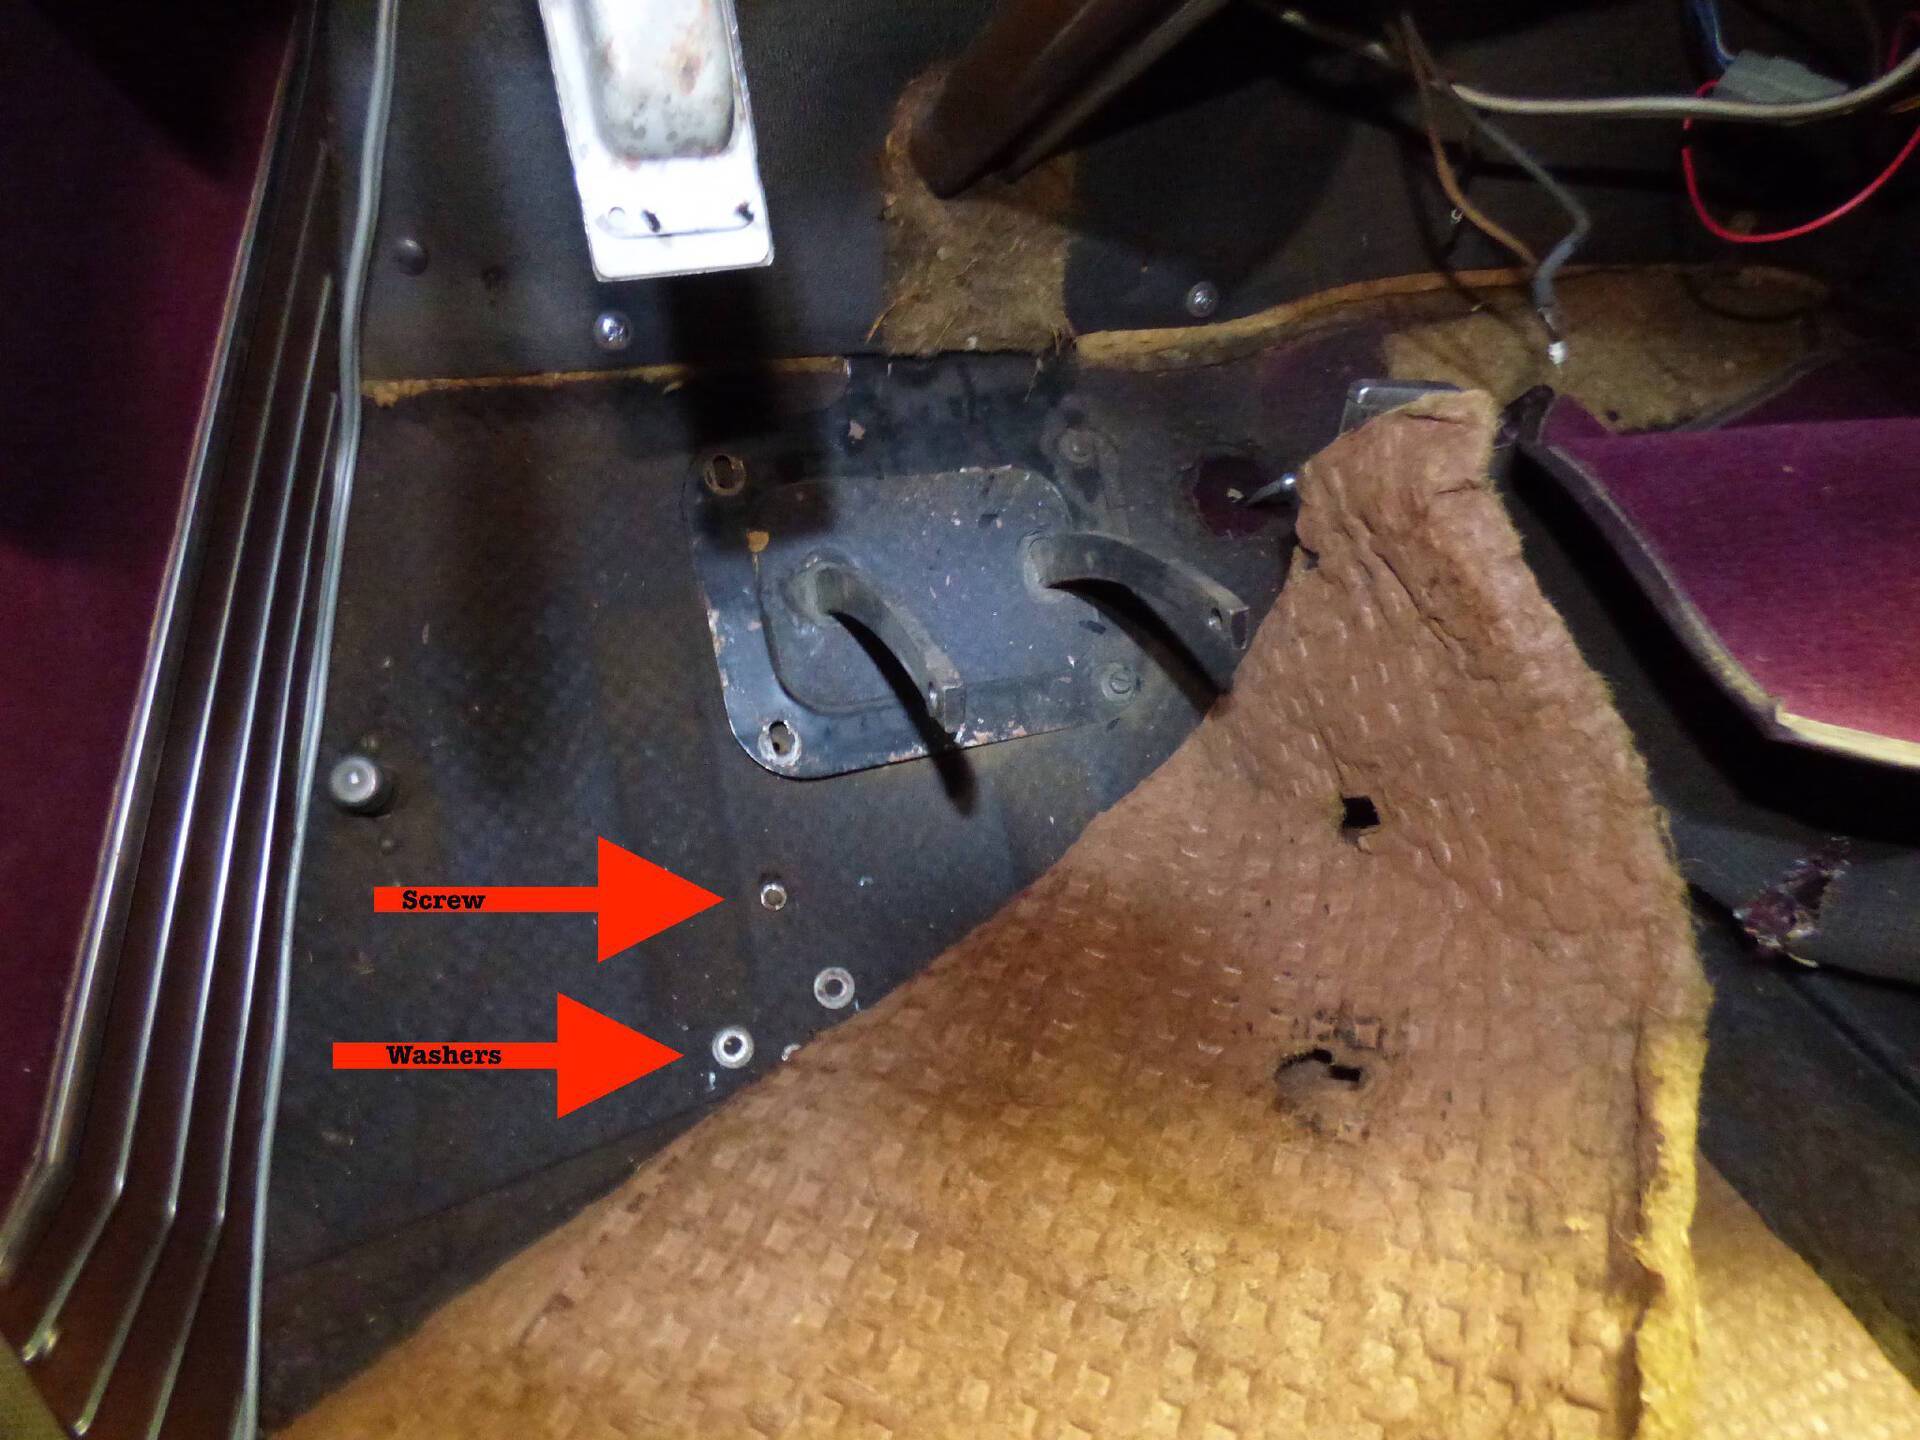 (306.94 KB) (306.94 KB)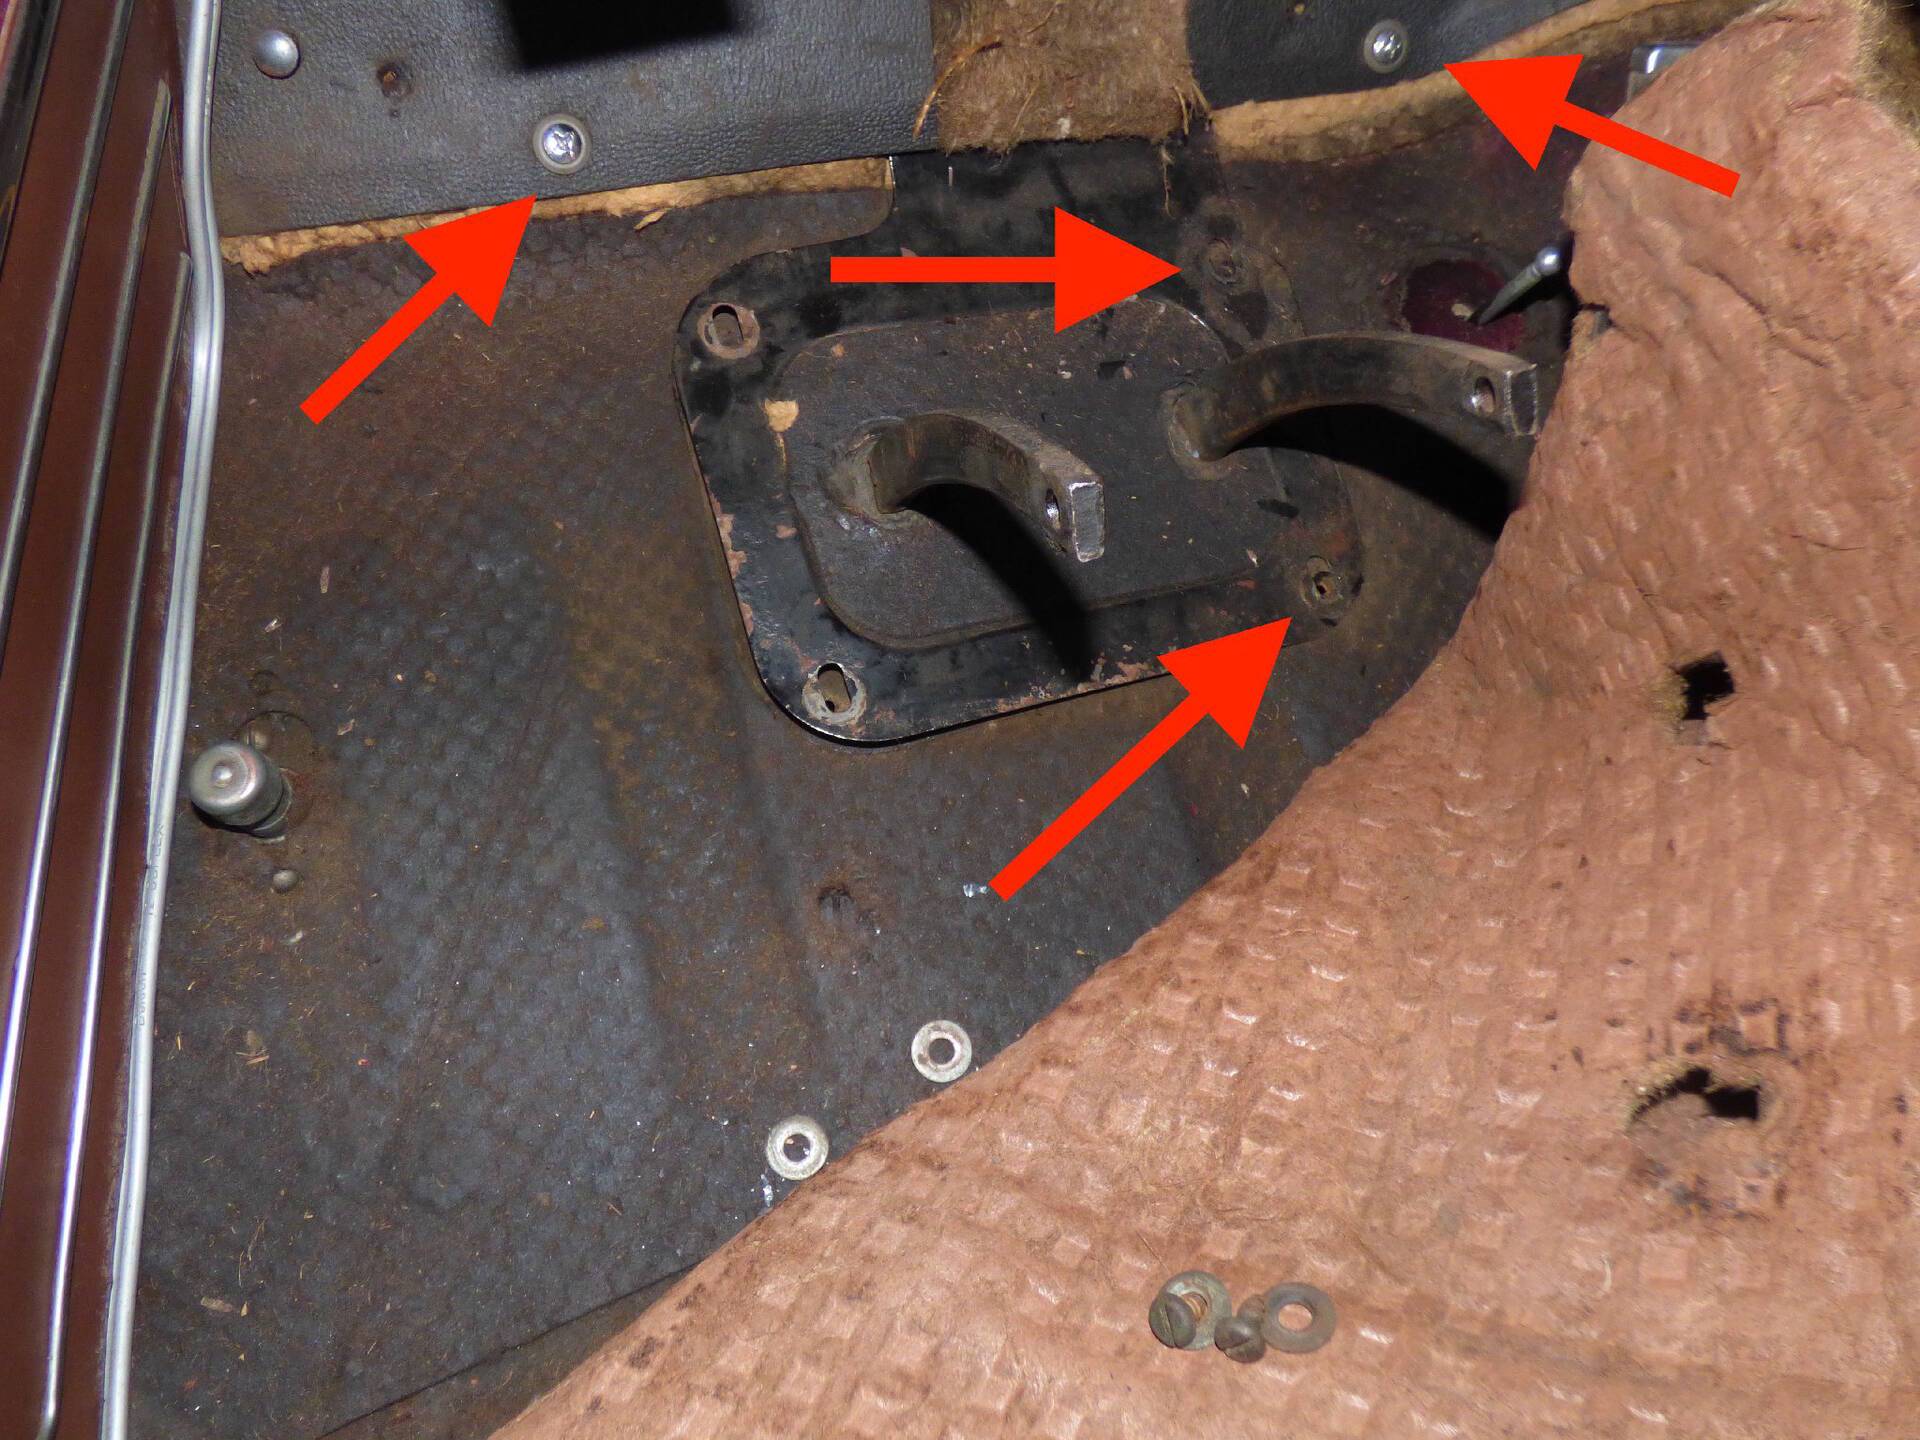 (330.24 KB) (330.24 KB)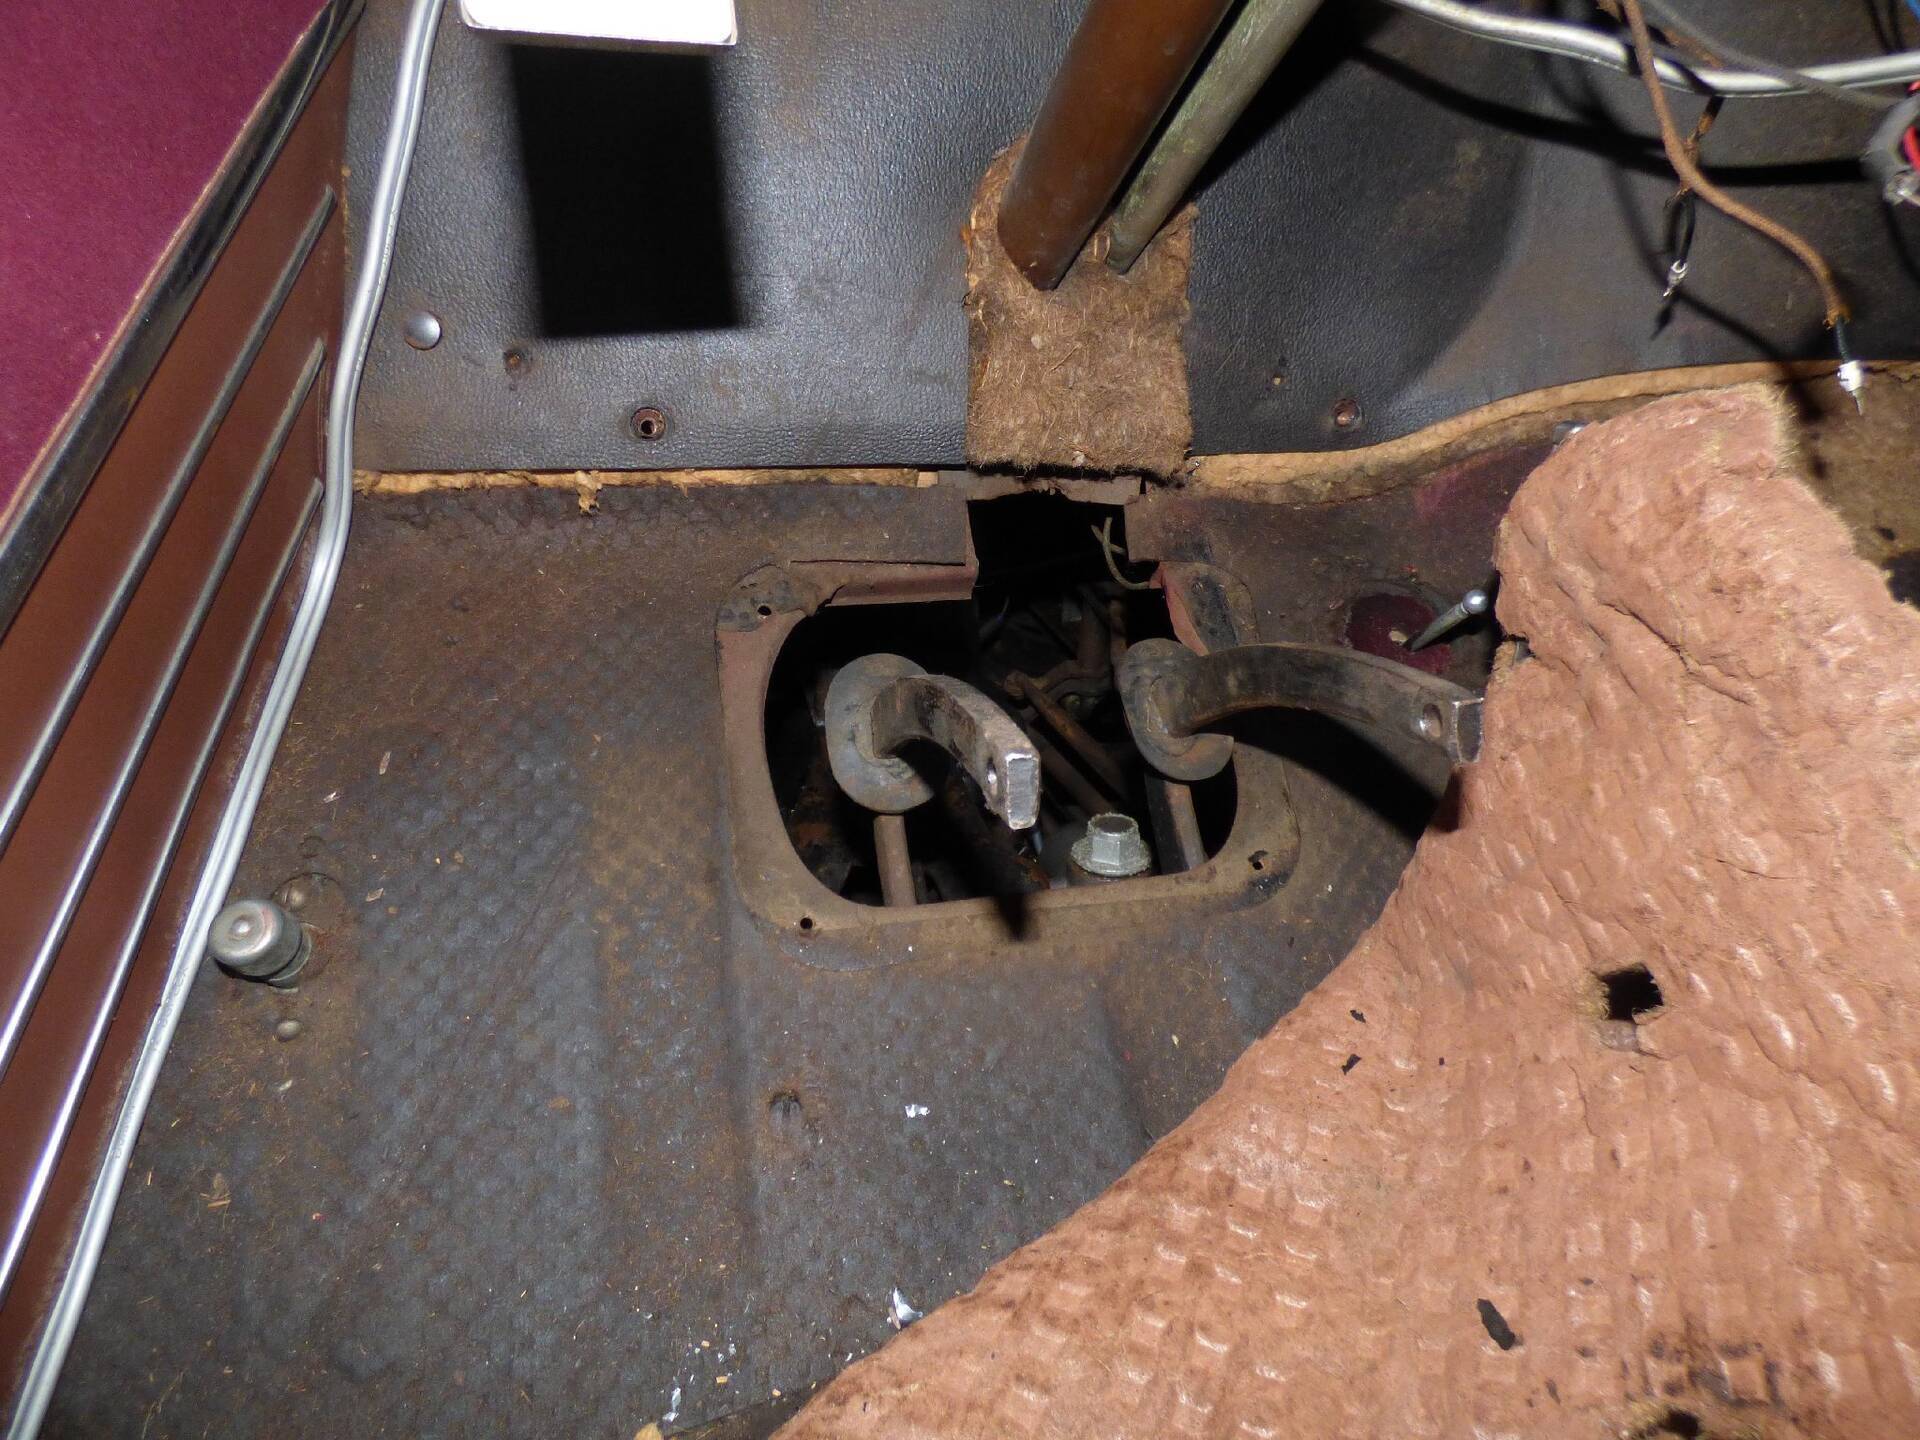
Posted on: 2020/7/24 20:05
|
|||
|
||||
|
Re: Wes's Maroon 1947 Custom Super Clipper
|
||||
|---|---|---|---|---|
|
Home away from home
|
Well I thought that I was ready to pull the column out, but boy was I wrong.
I forgot I still haven't taken off the Steering Wheel. No problem there it pop right off with my self made steering wheel puller tool. (No photos of that.) Started pulling column out but would only move about an inch. Check to make sure the shift arms weren't catching on anything and removed the U bolt and still can't get it to move more then about an inch. Finally noticed the spring and collar at the end of the steering shaft, removed both of them and after a few tugs the whole column came off. As I was pulling it off making sure not to touch the ceiling, plenty of room. Now comes the clean up of the column. Wes Attach file: (231.69 KB)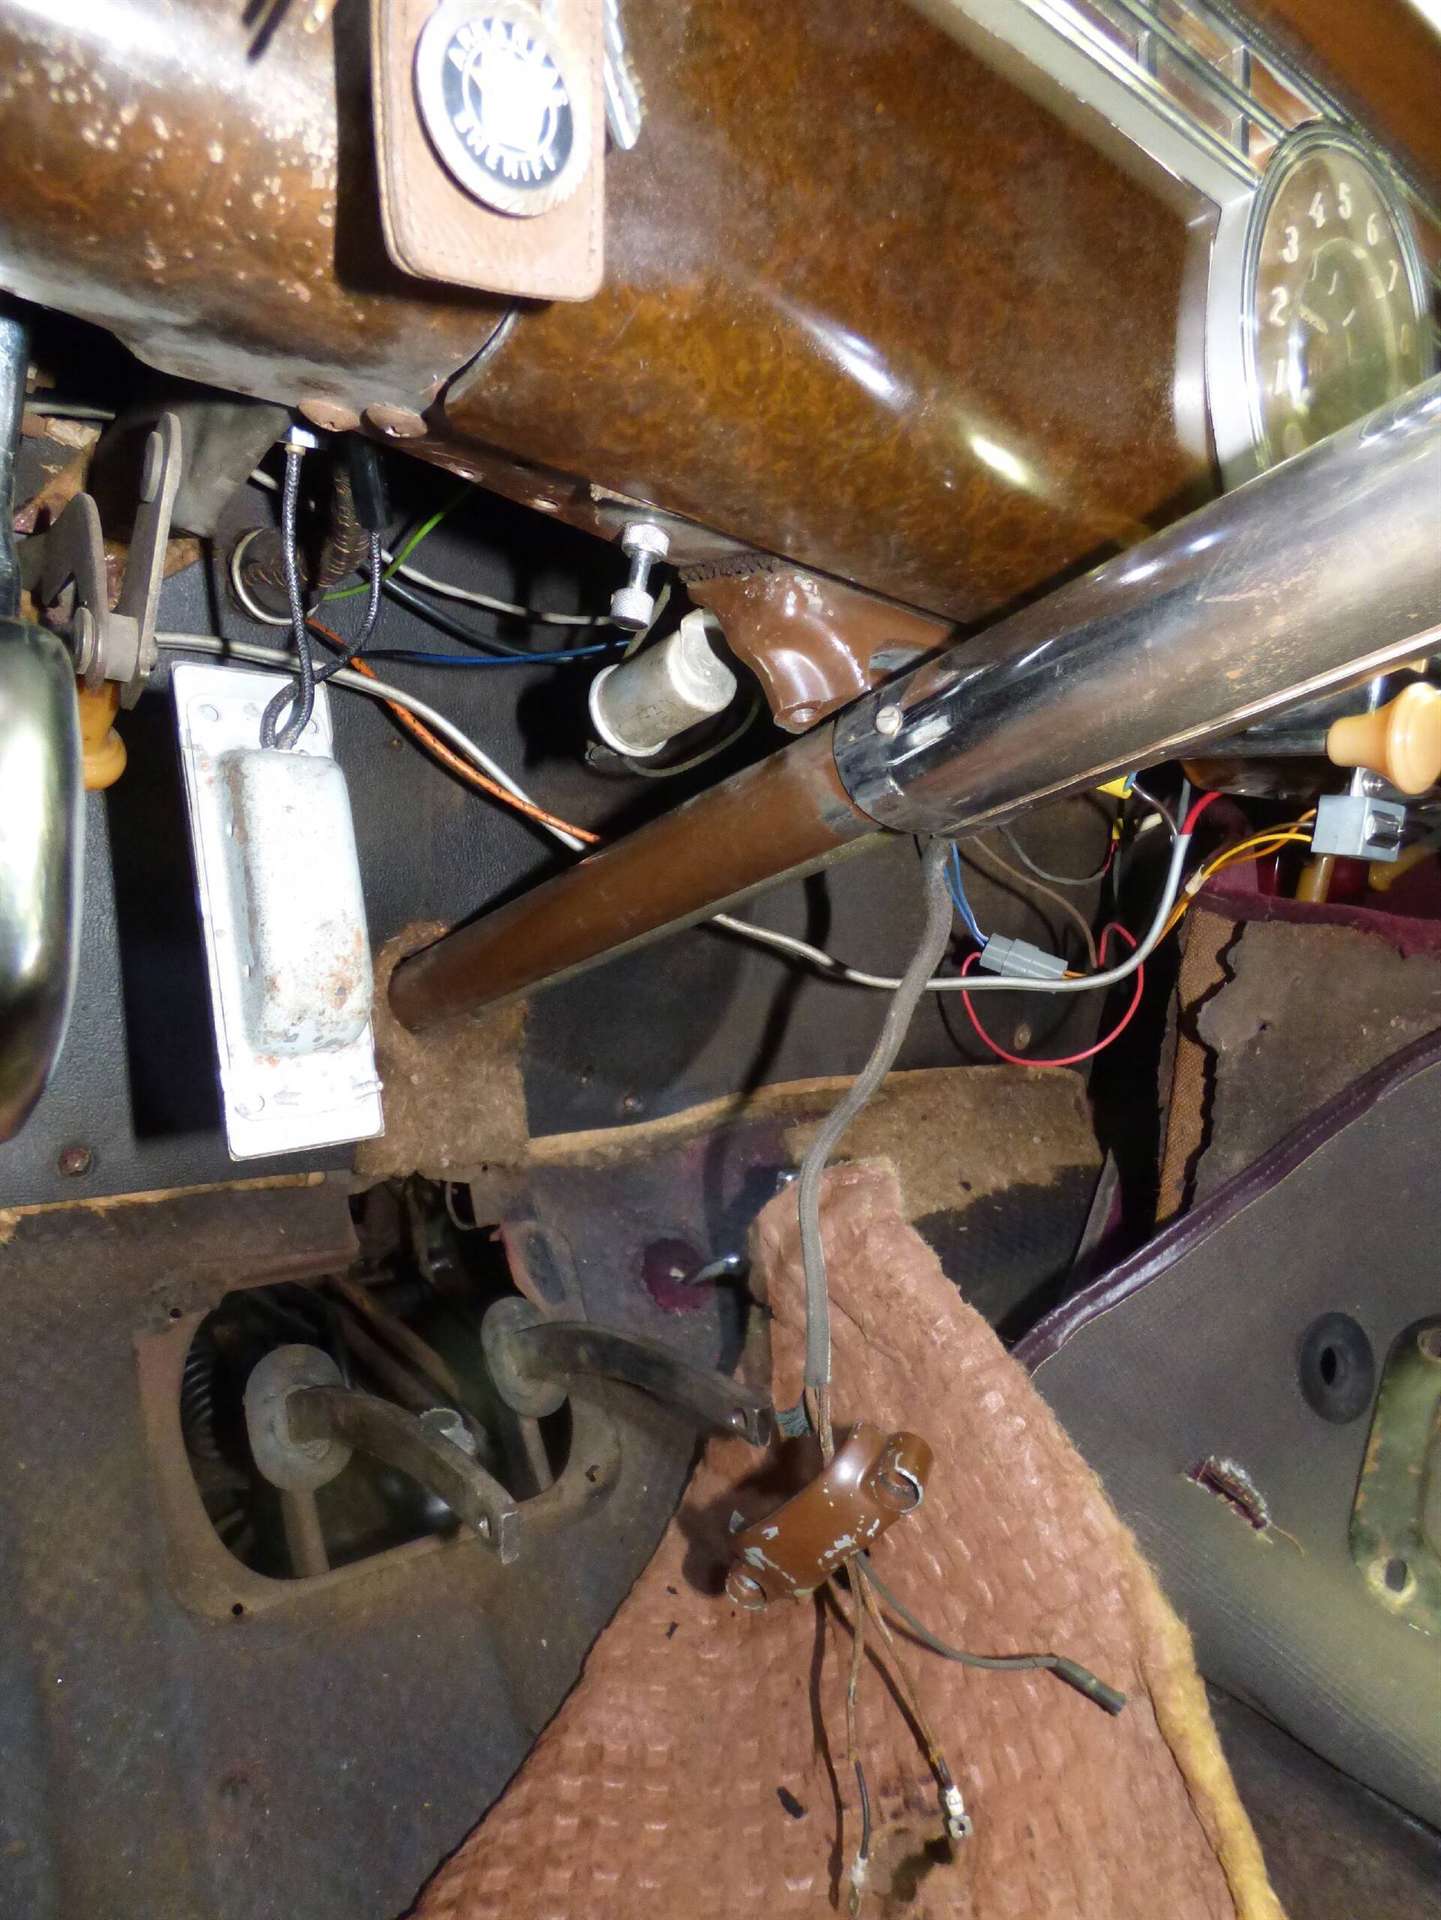 (252.16 KB) (252.16 KB)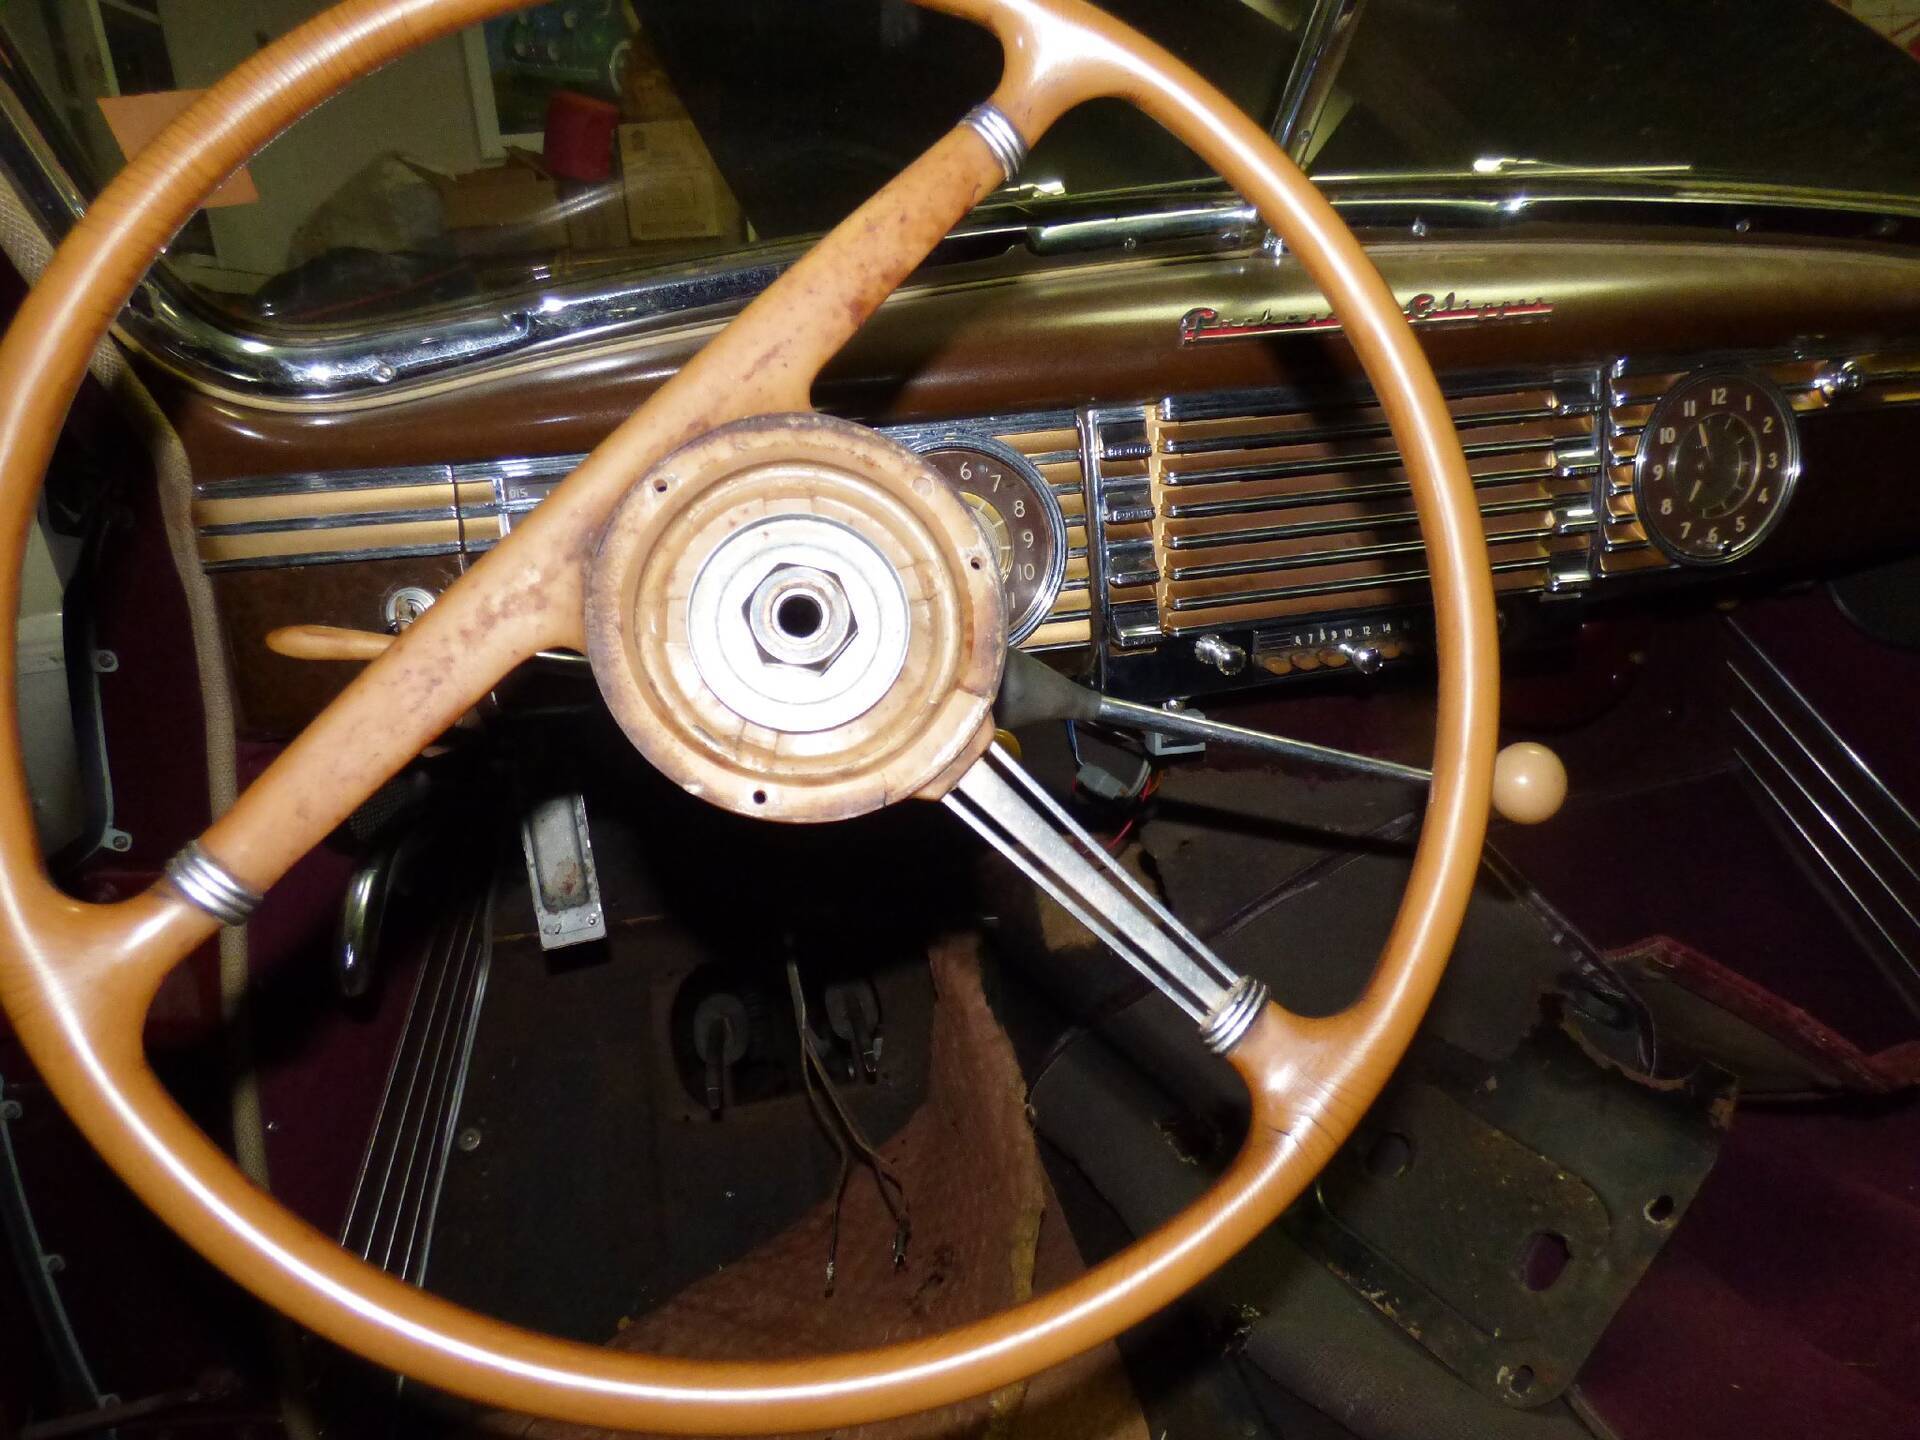 (255.42 KB) (255.42 KB)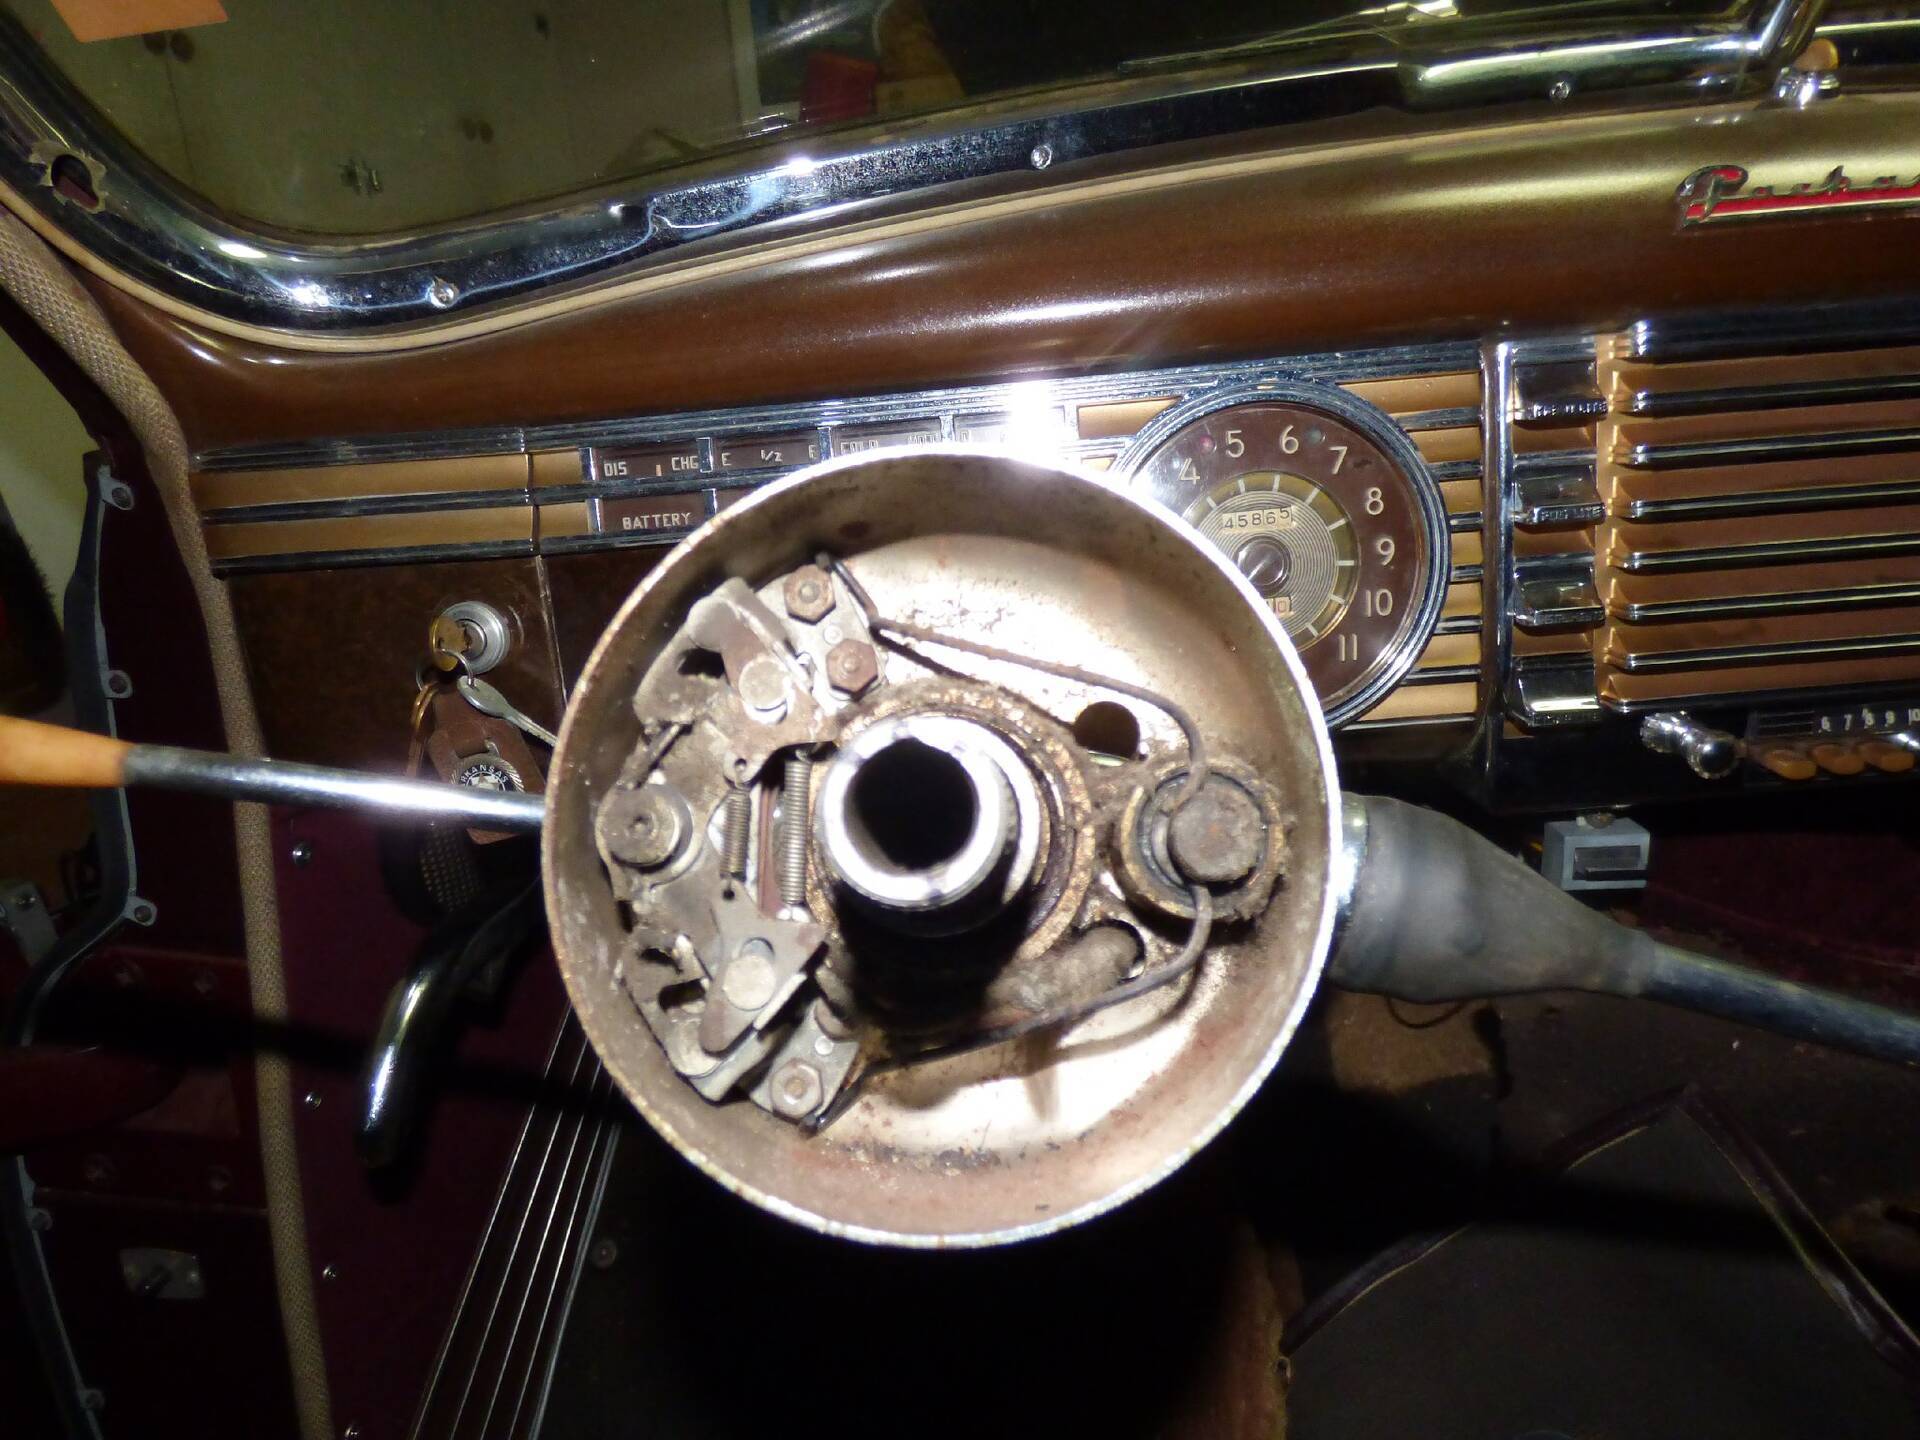 (311.82 KB) (311.82 KB)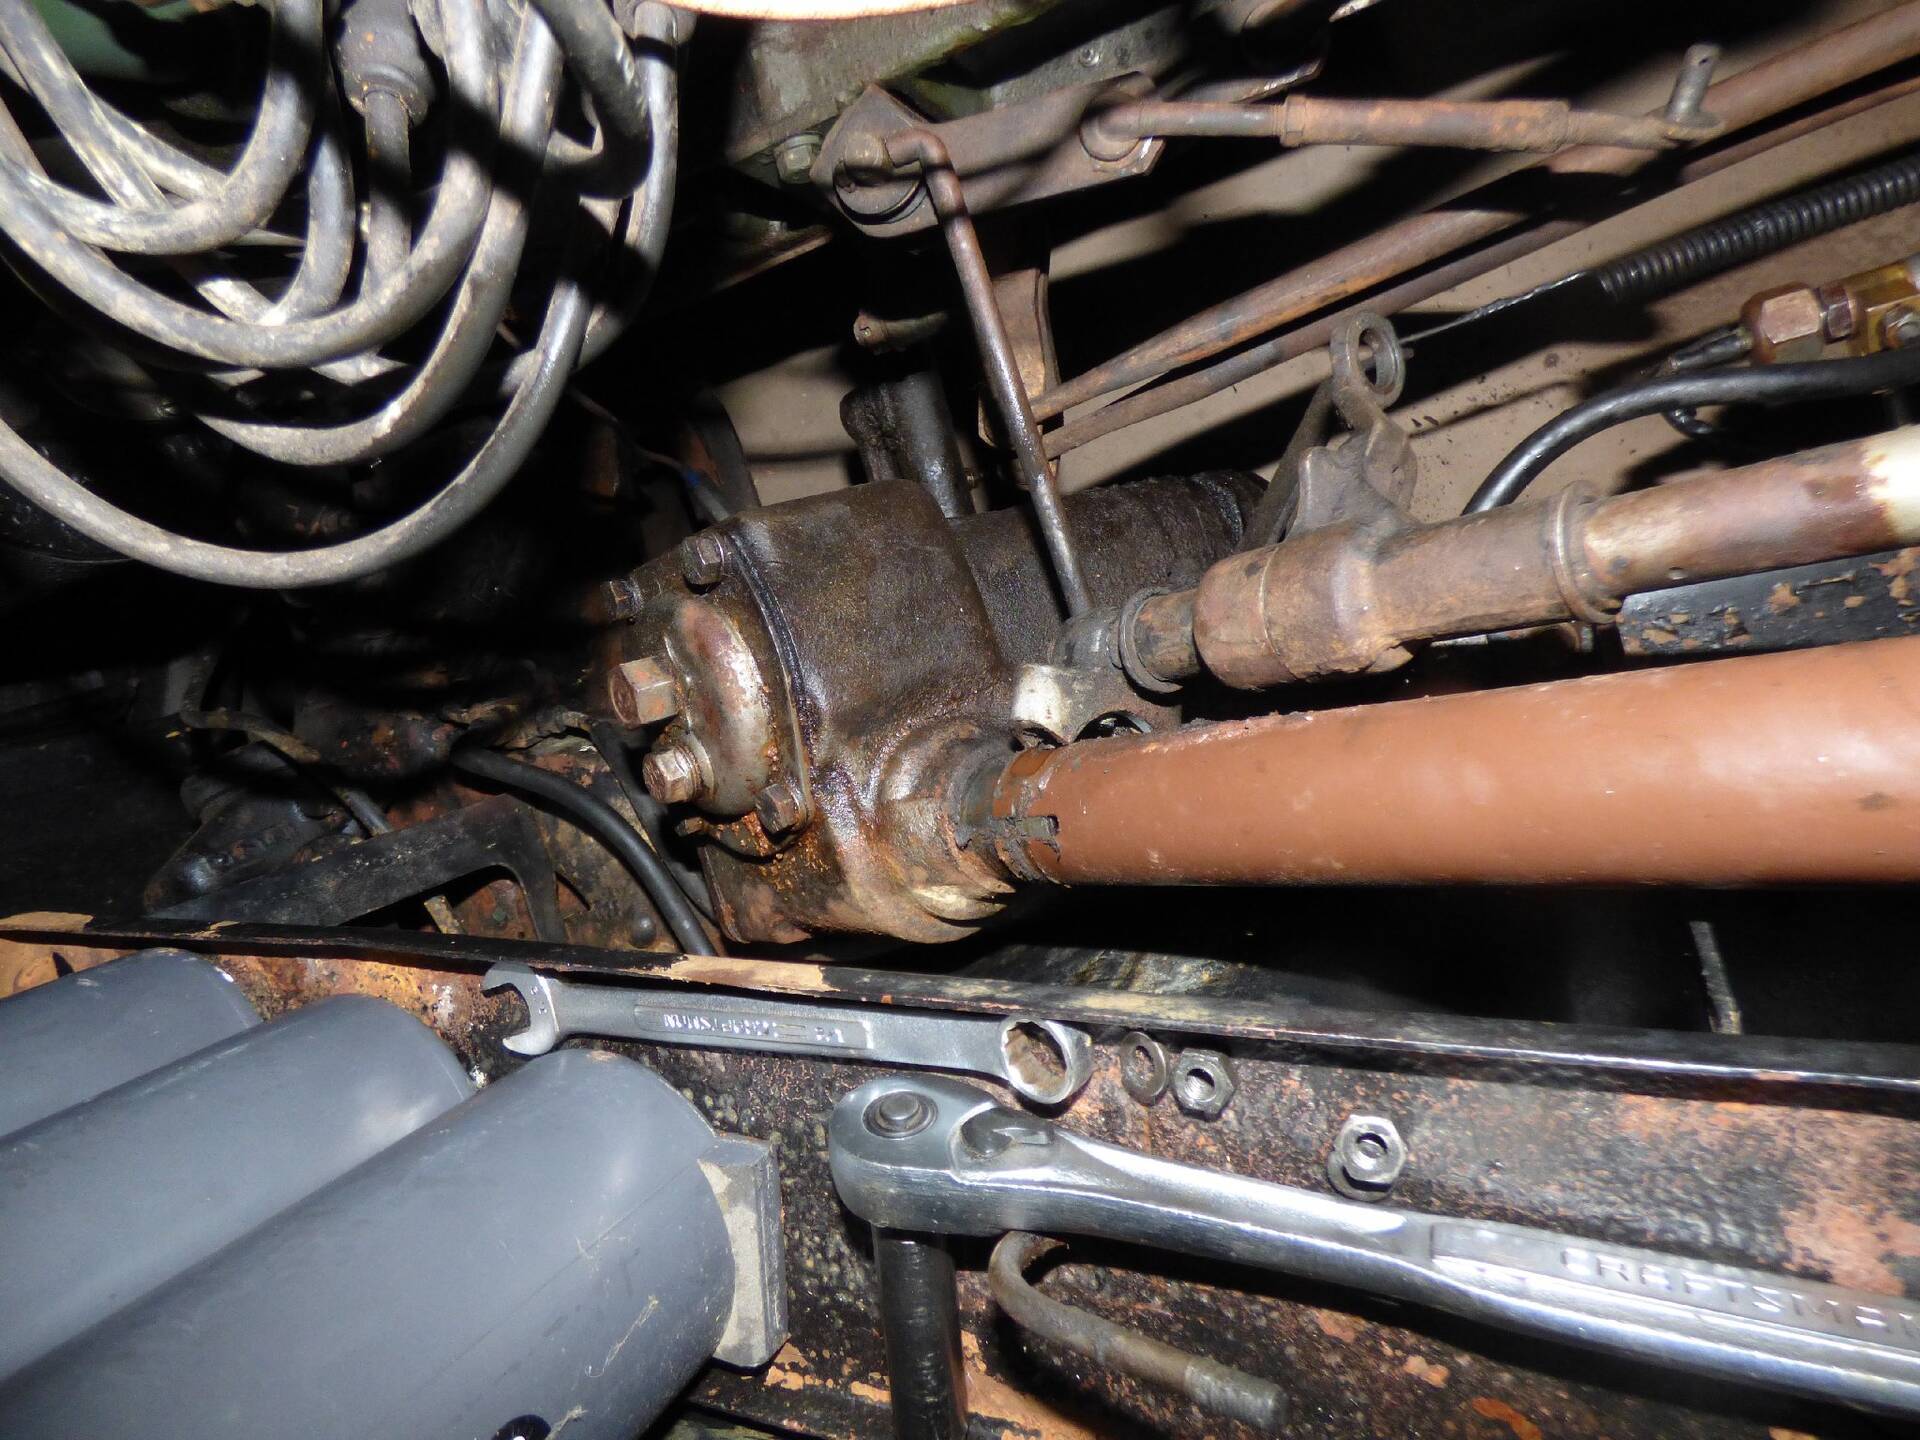 (205.84 KB) (205.84 KB)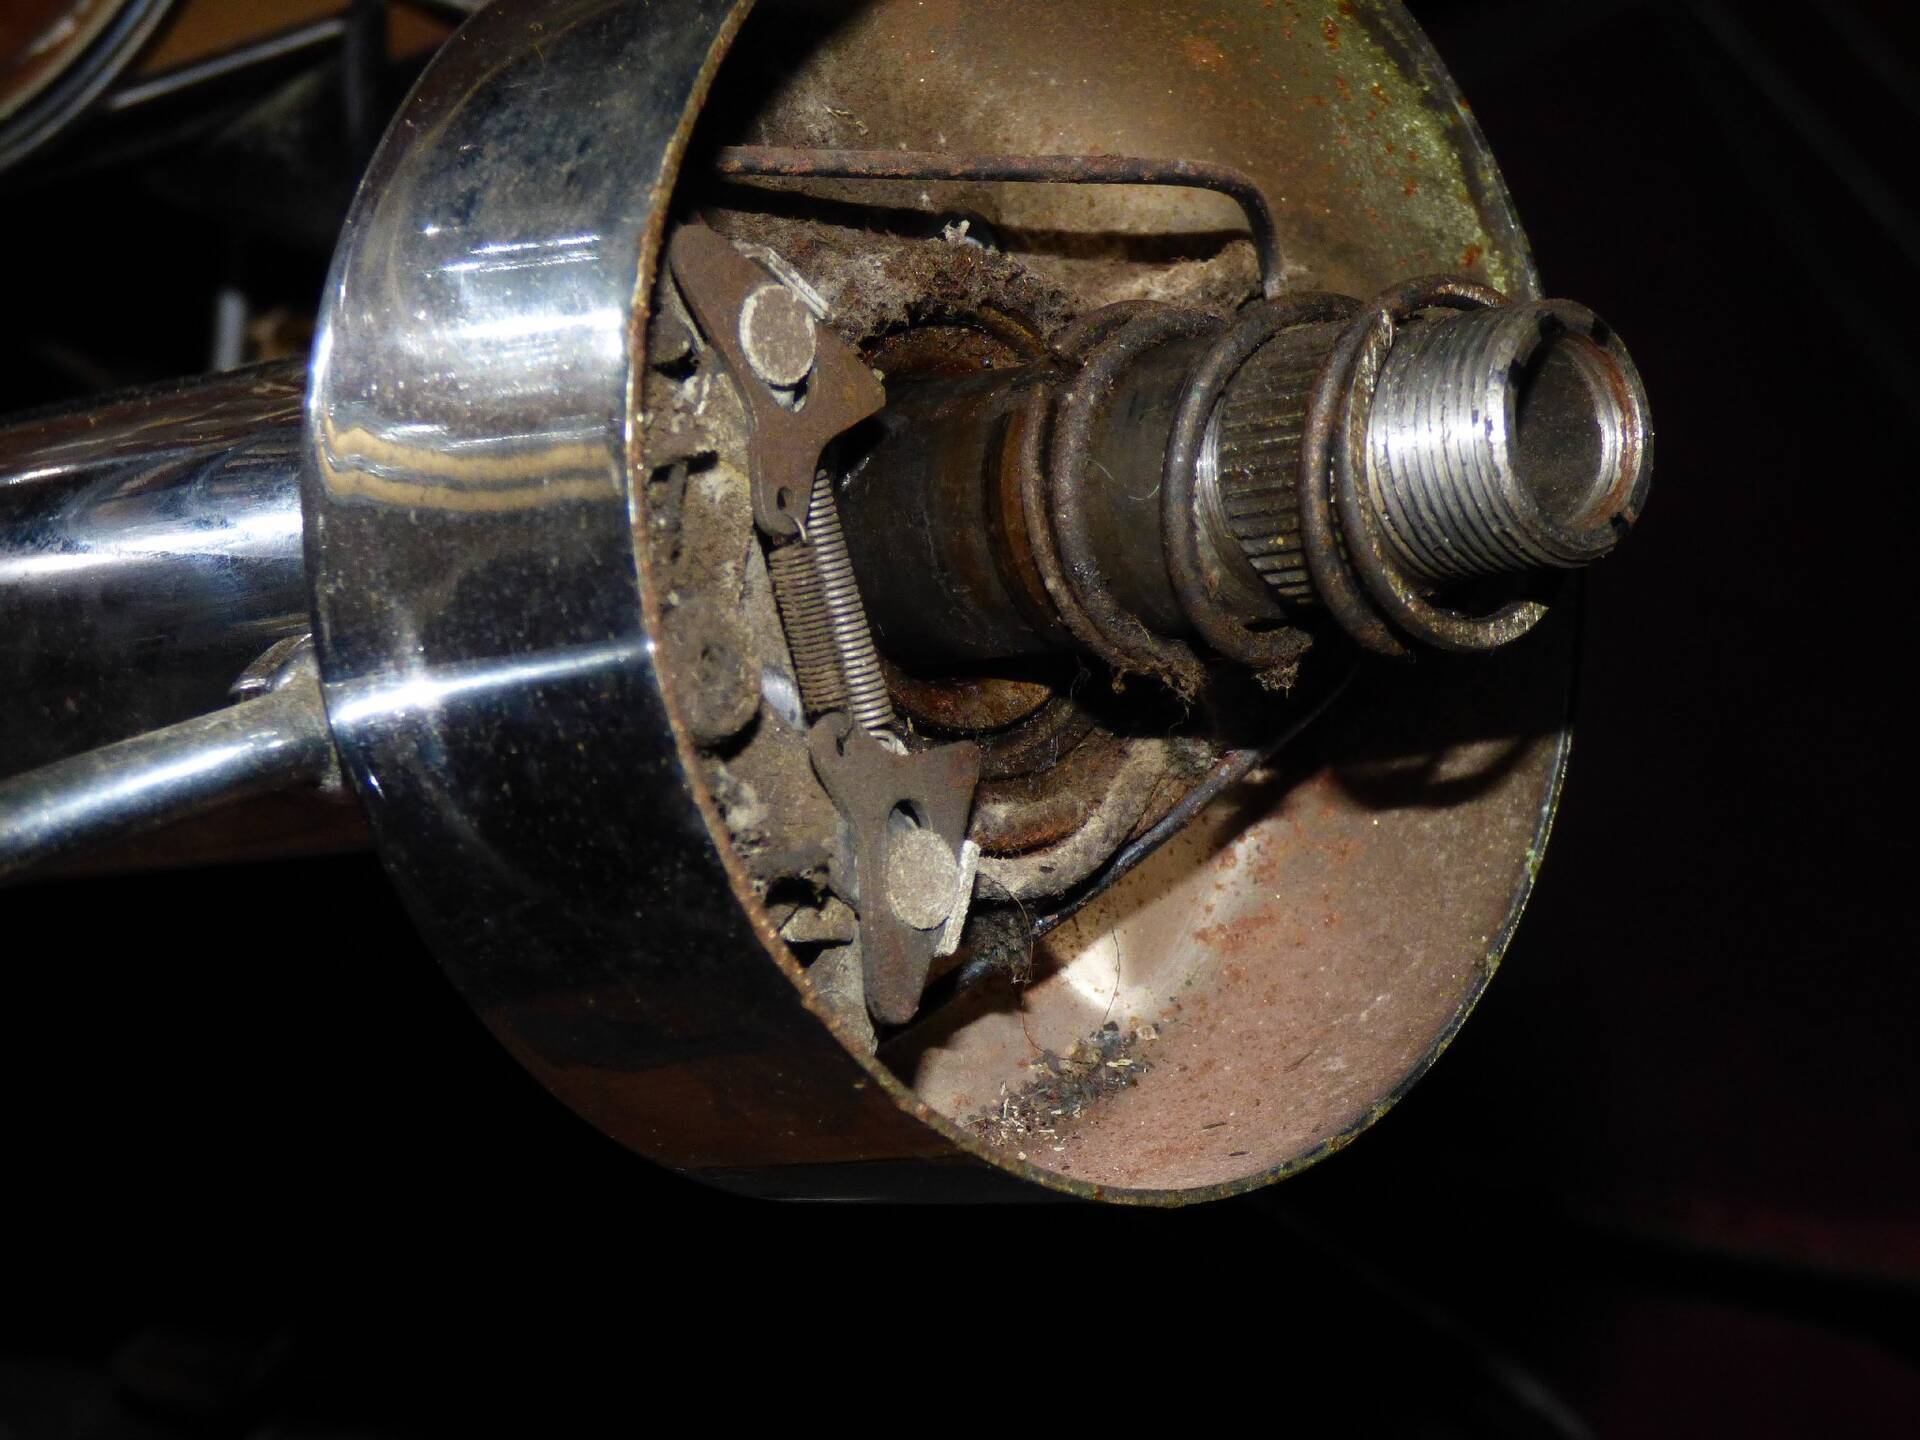 (337.84 KB) (337.84 KB)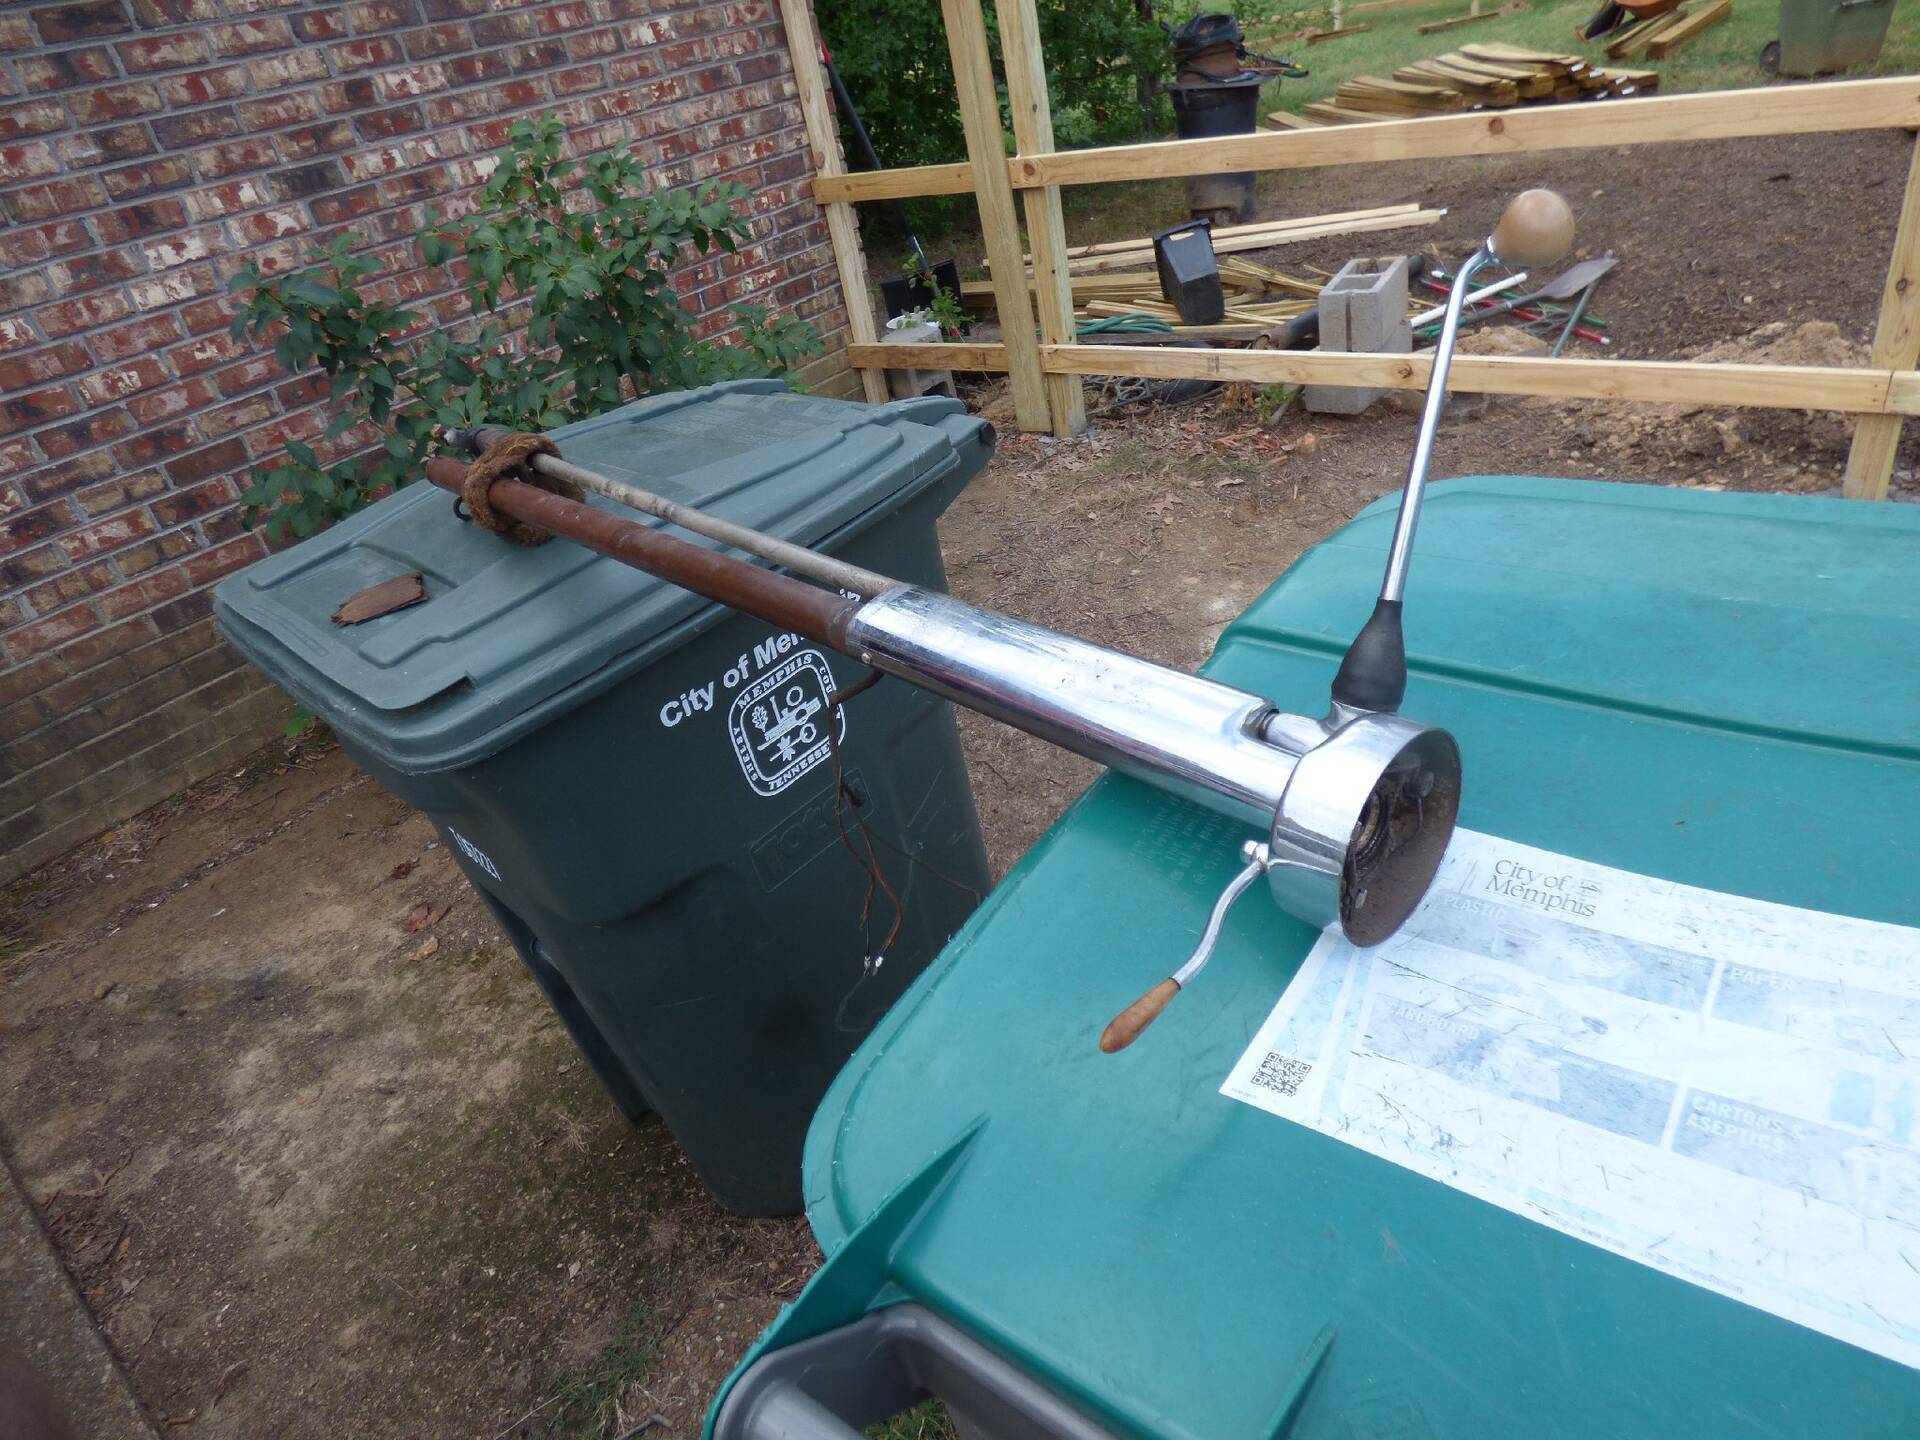
Posted on: 2020/7/24 21:48
|
|||
|
||||
|
Re: Wes's Maroon 1947 Custom Super Clipper
|
||||
|---|---|---|---|---|
|
Home away from home
|
Sorry no photos today, ran out of time but I did get the column apart. A funny thing happened, as I was removing the Cotter Pin from the end of the Housing (Gearshift Linkage), I was keeping an eye out for the plug (3.324 Retainer) and nothing popped out. After poking around a little, two plugs came out. According to the parts book there should only be one, so I guess I've got a spare for now. Now for a good cleaning, it was hard getting the Shift Levers and Selector off.
Wes
Posted on: 2020/7/25 22:12
|
|||
|
||||
|
Re: Wes's Maroon 1947 Custom Super Clipper
|
||||
|---|---|---|---|---|
|
Home away from home
|
Just a little show and tell on taking the column apart.
First removed the Directional Signal Arm, so nothing happens to it. Next removed the cotter pin and out came two Retainers and the Spring. Now the mount and a small snap ring. Pretty slow going everything gummed up. Next looks like a washer and a shim and the lower Shift Lever (for First and Reverse) So now I take the upper clip off so I can shift the upper Shift Lever up a little so I can knock out the pin in the Selector. And then it all slides off not to easy, it does need a good cleaning. Forgot to mention the insulation pad at the firewall. Also I have to remember to put this back together as it comes apart, or I will be doing the same thing I did last time reassembling quite a few times. Next remove the chrome Shroud (remove one screw)and look for a rubber between that and the bottom of the collar. (no photo of the rubber grommet) Now remove the Gearshift Lever, pin, washer, remove cotter pin. Next remove the Anti-rattle Spring and slide the housing down. Finally remove plug from end and pull rod out, I had to take a something and push from the bottom up to get it started, shaft was gummed up at the top. That's it, now to start cleaning and remove the directional switch later. Wes Attach file: (314.19 KB)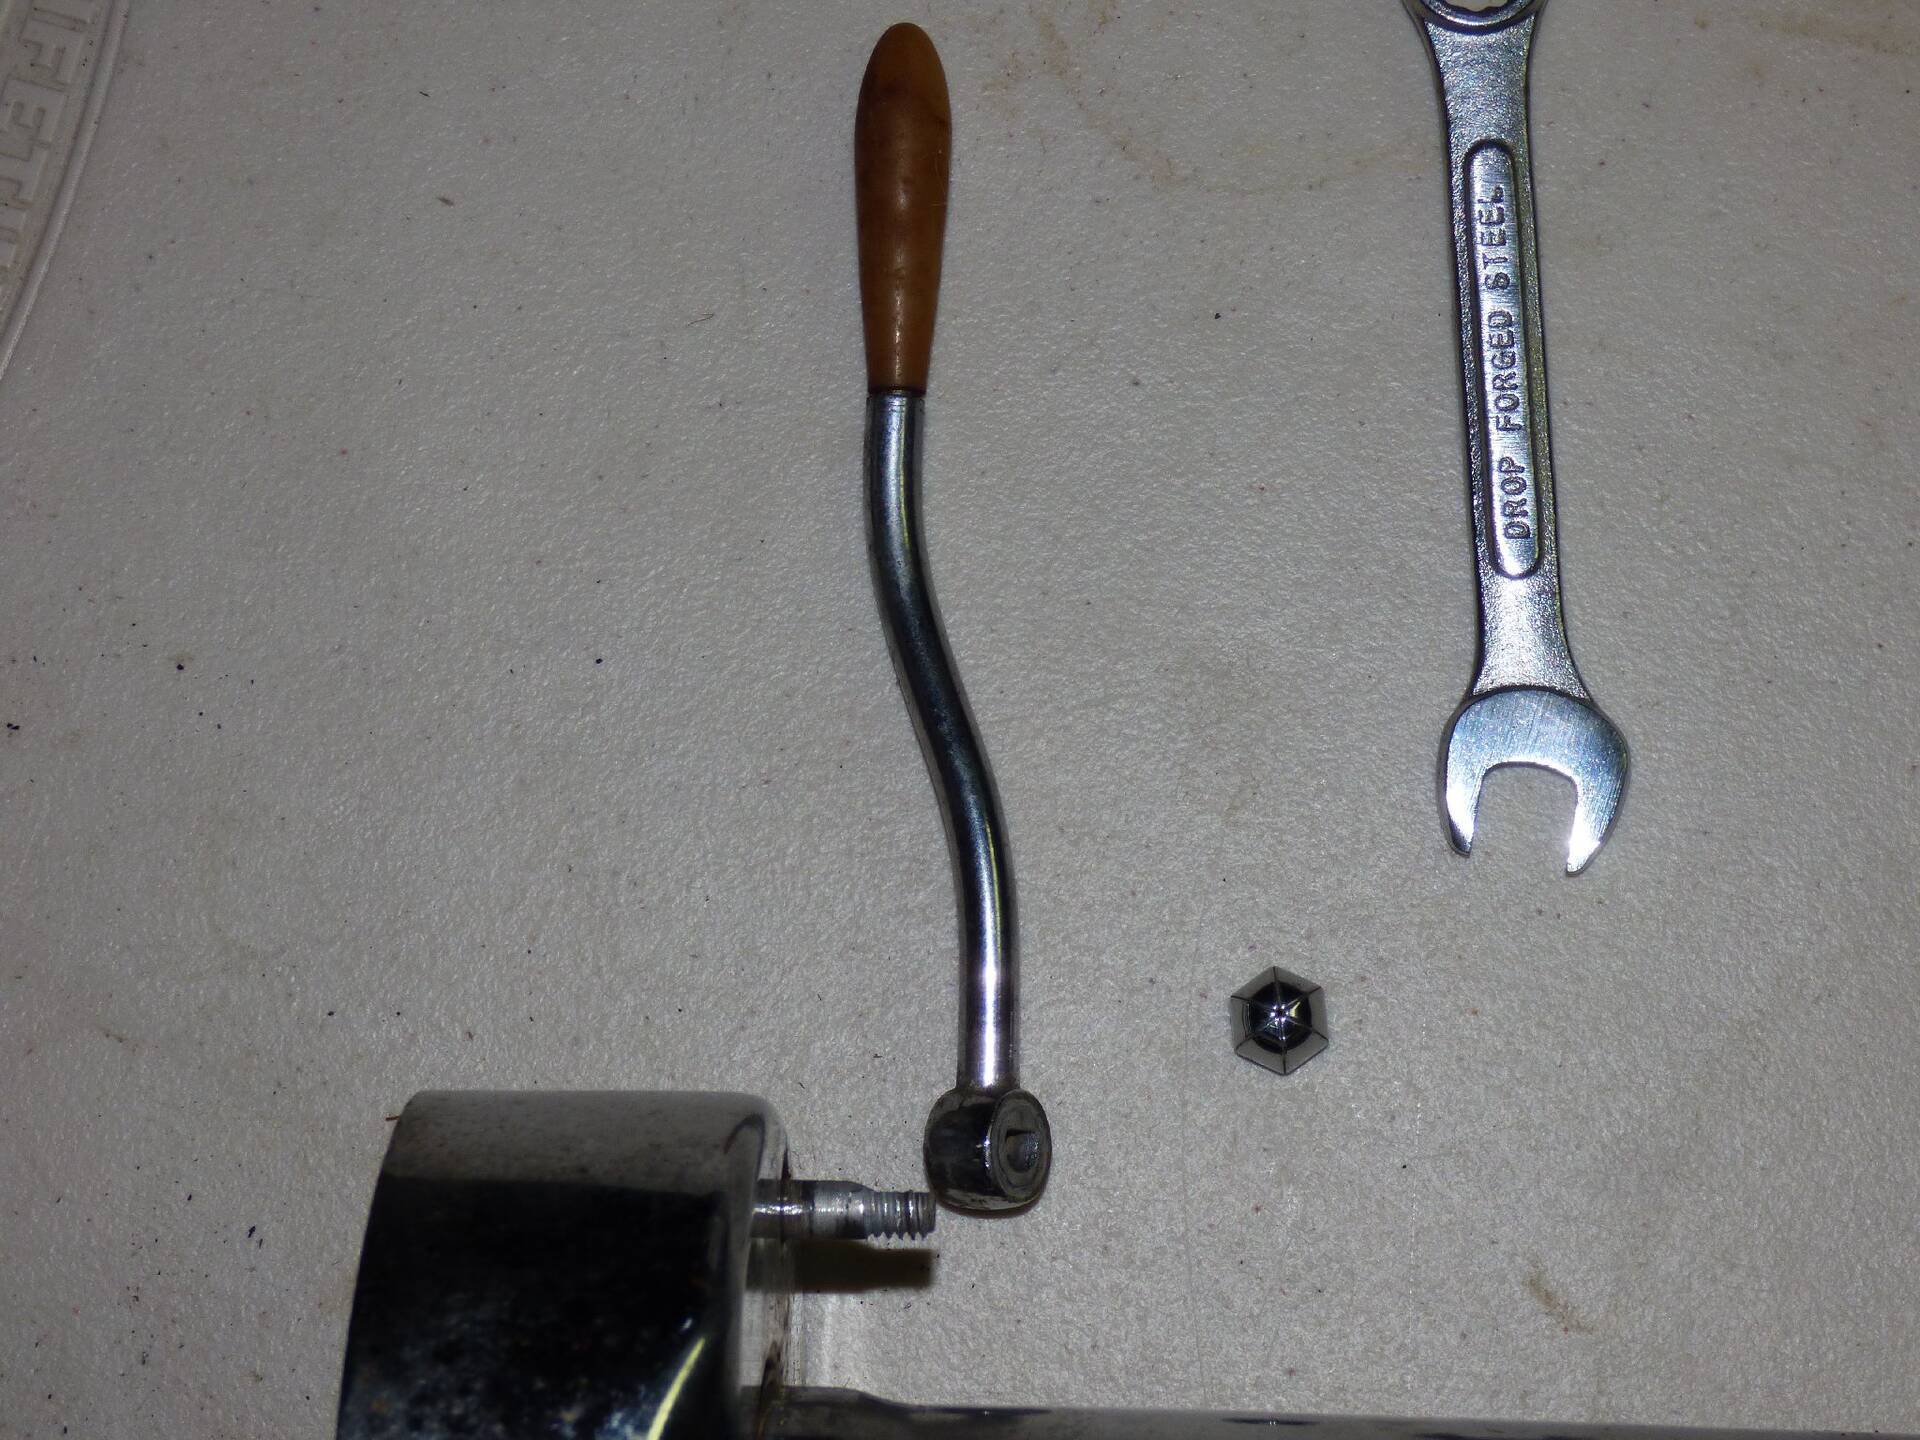 (178.87 KB) (178.87 KB)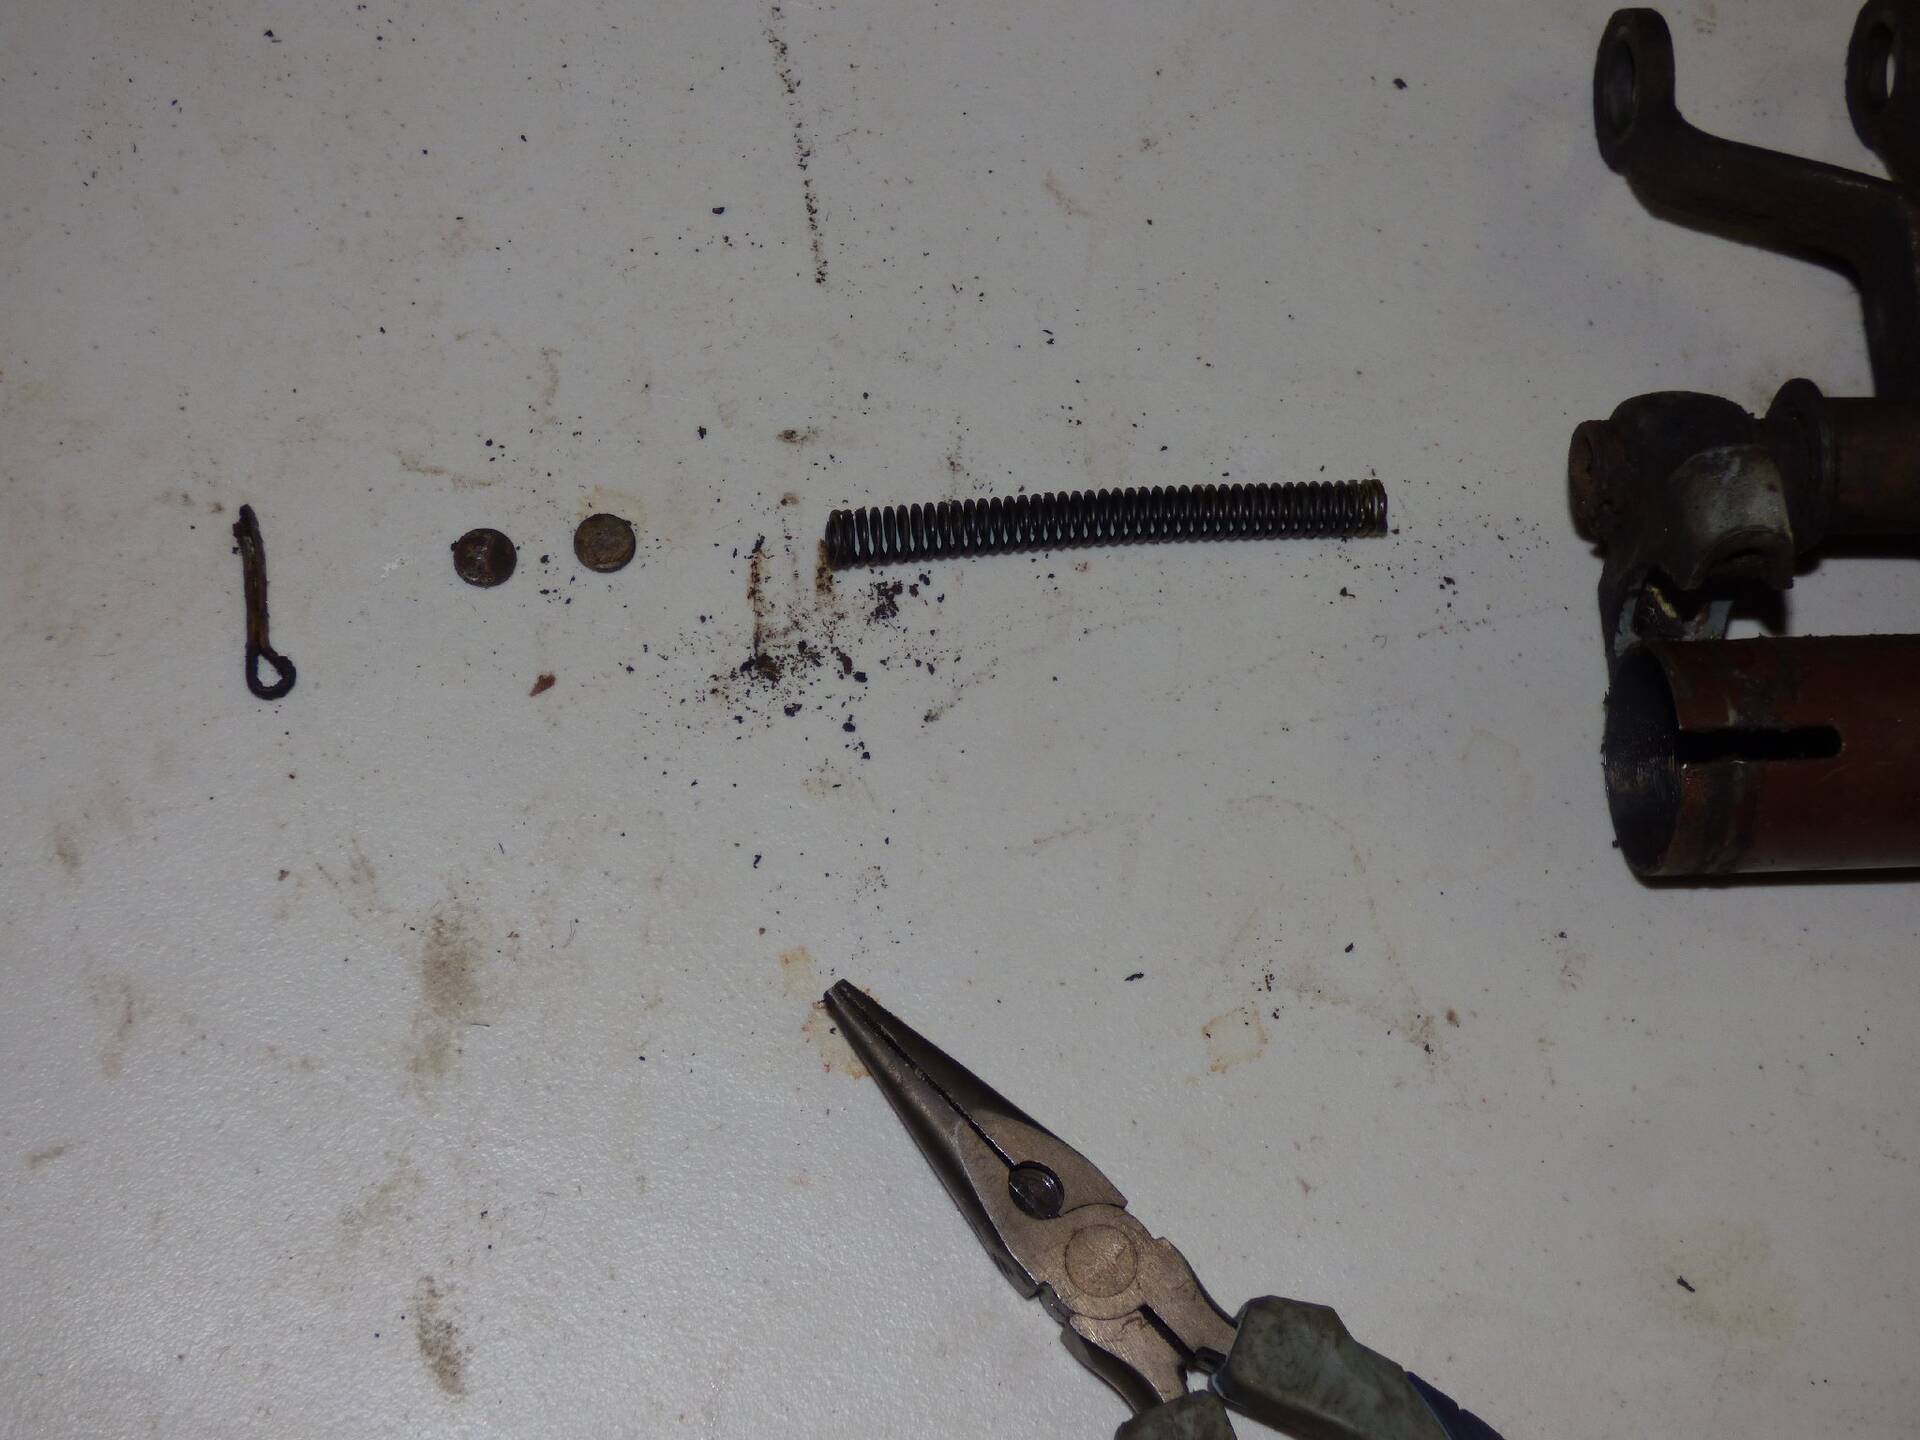 (152.24 KB) (152.24 KB)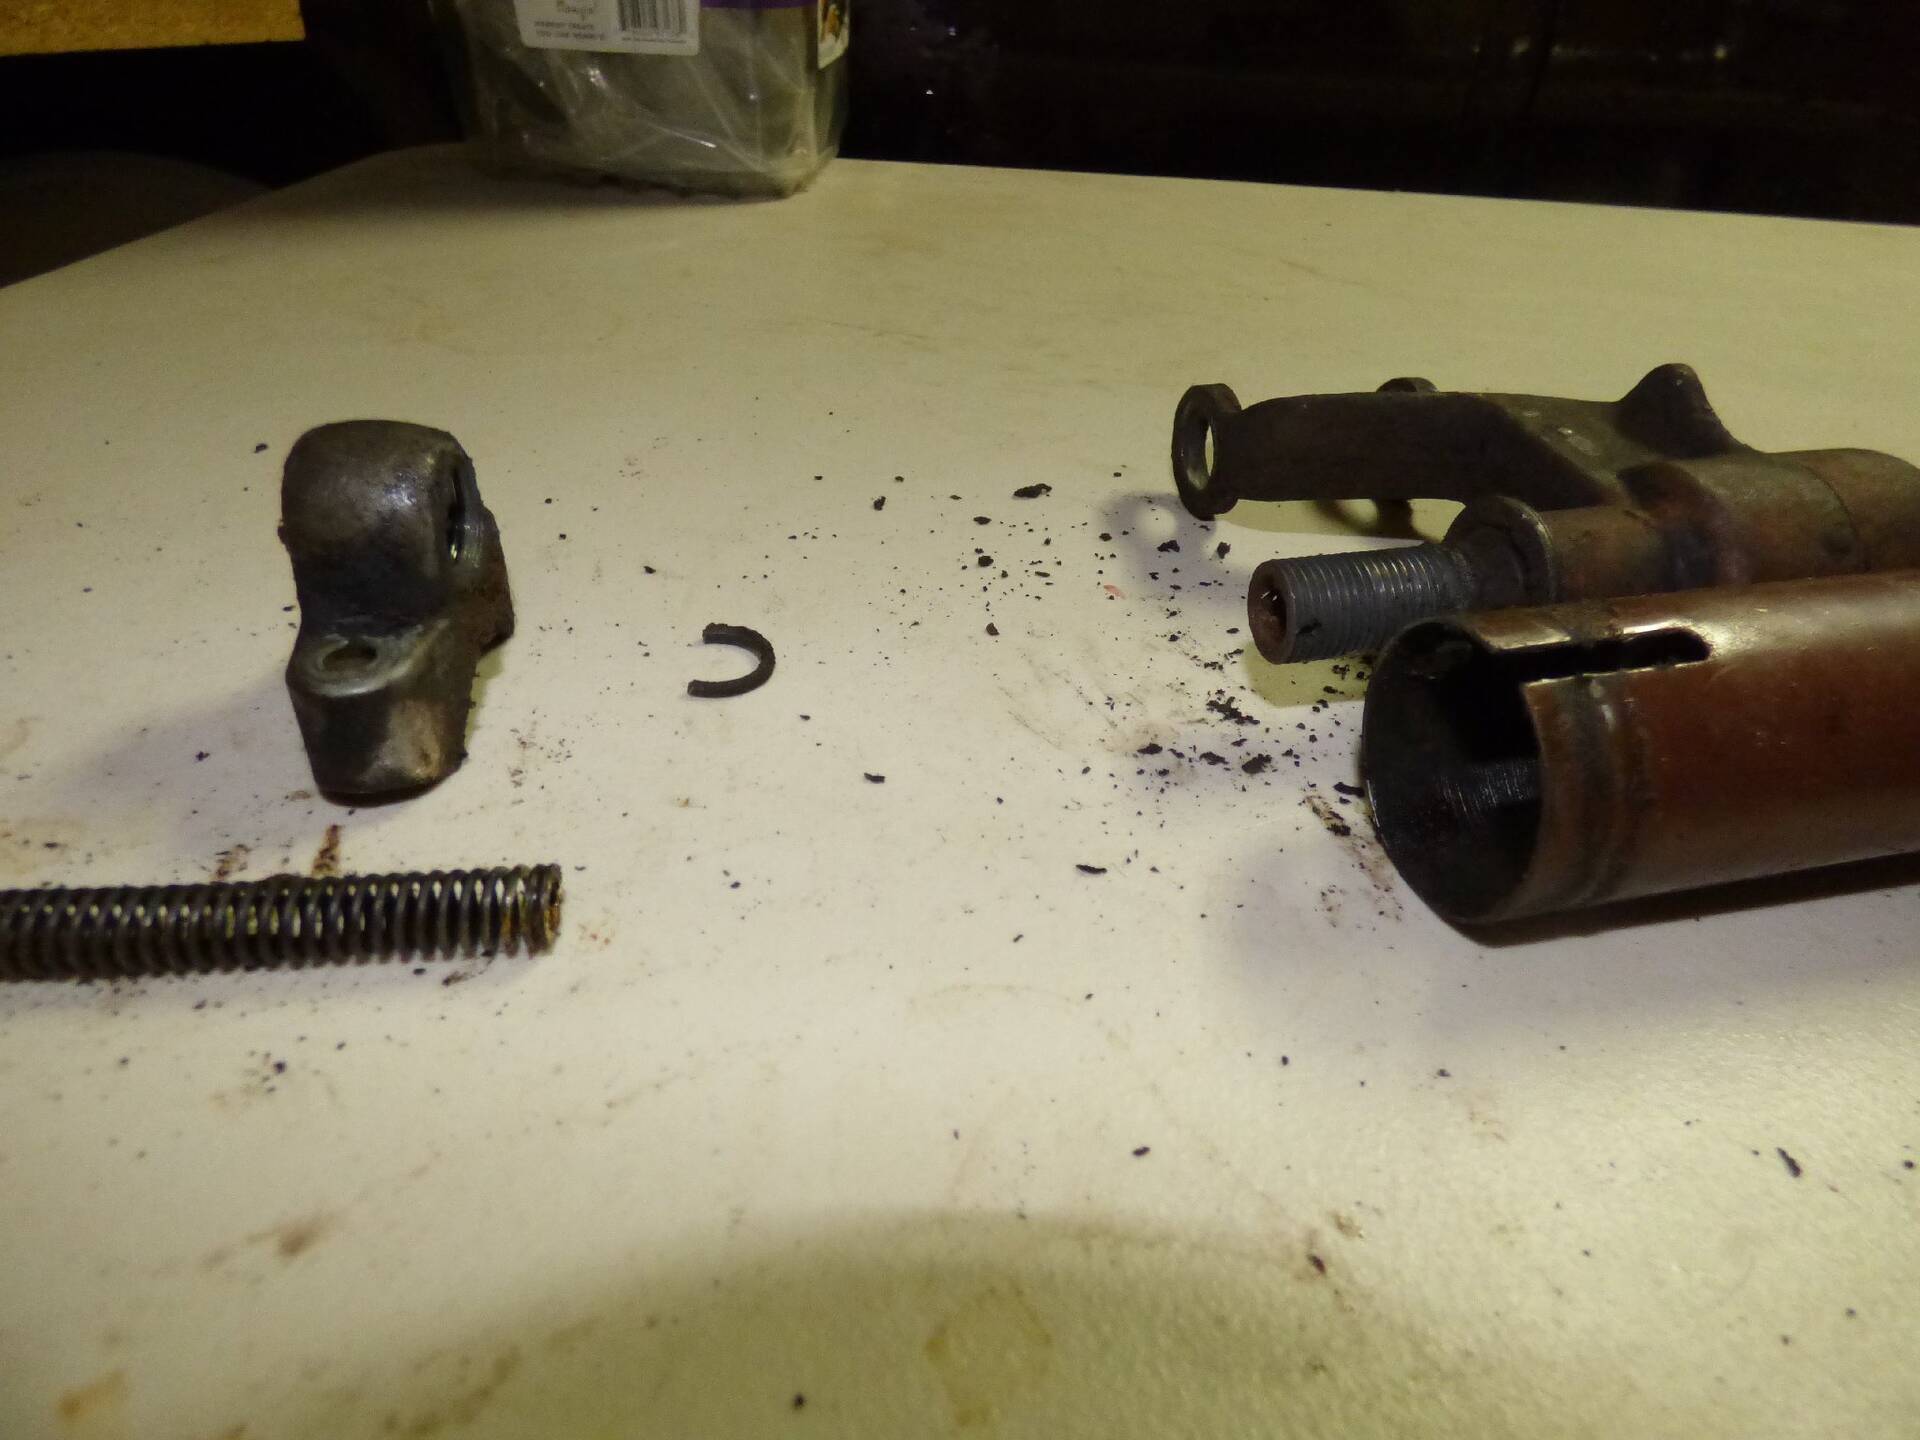 (157.71 KB) (157.71 KB)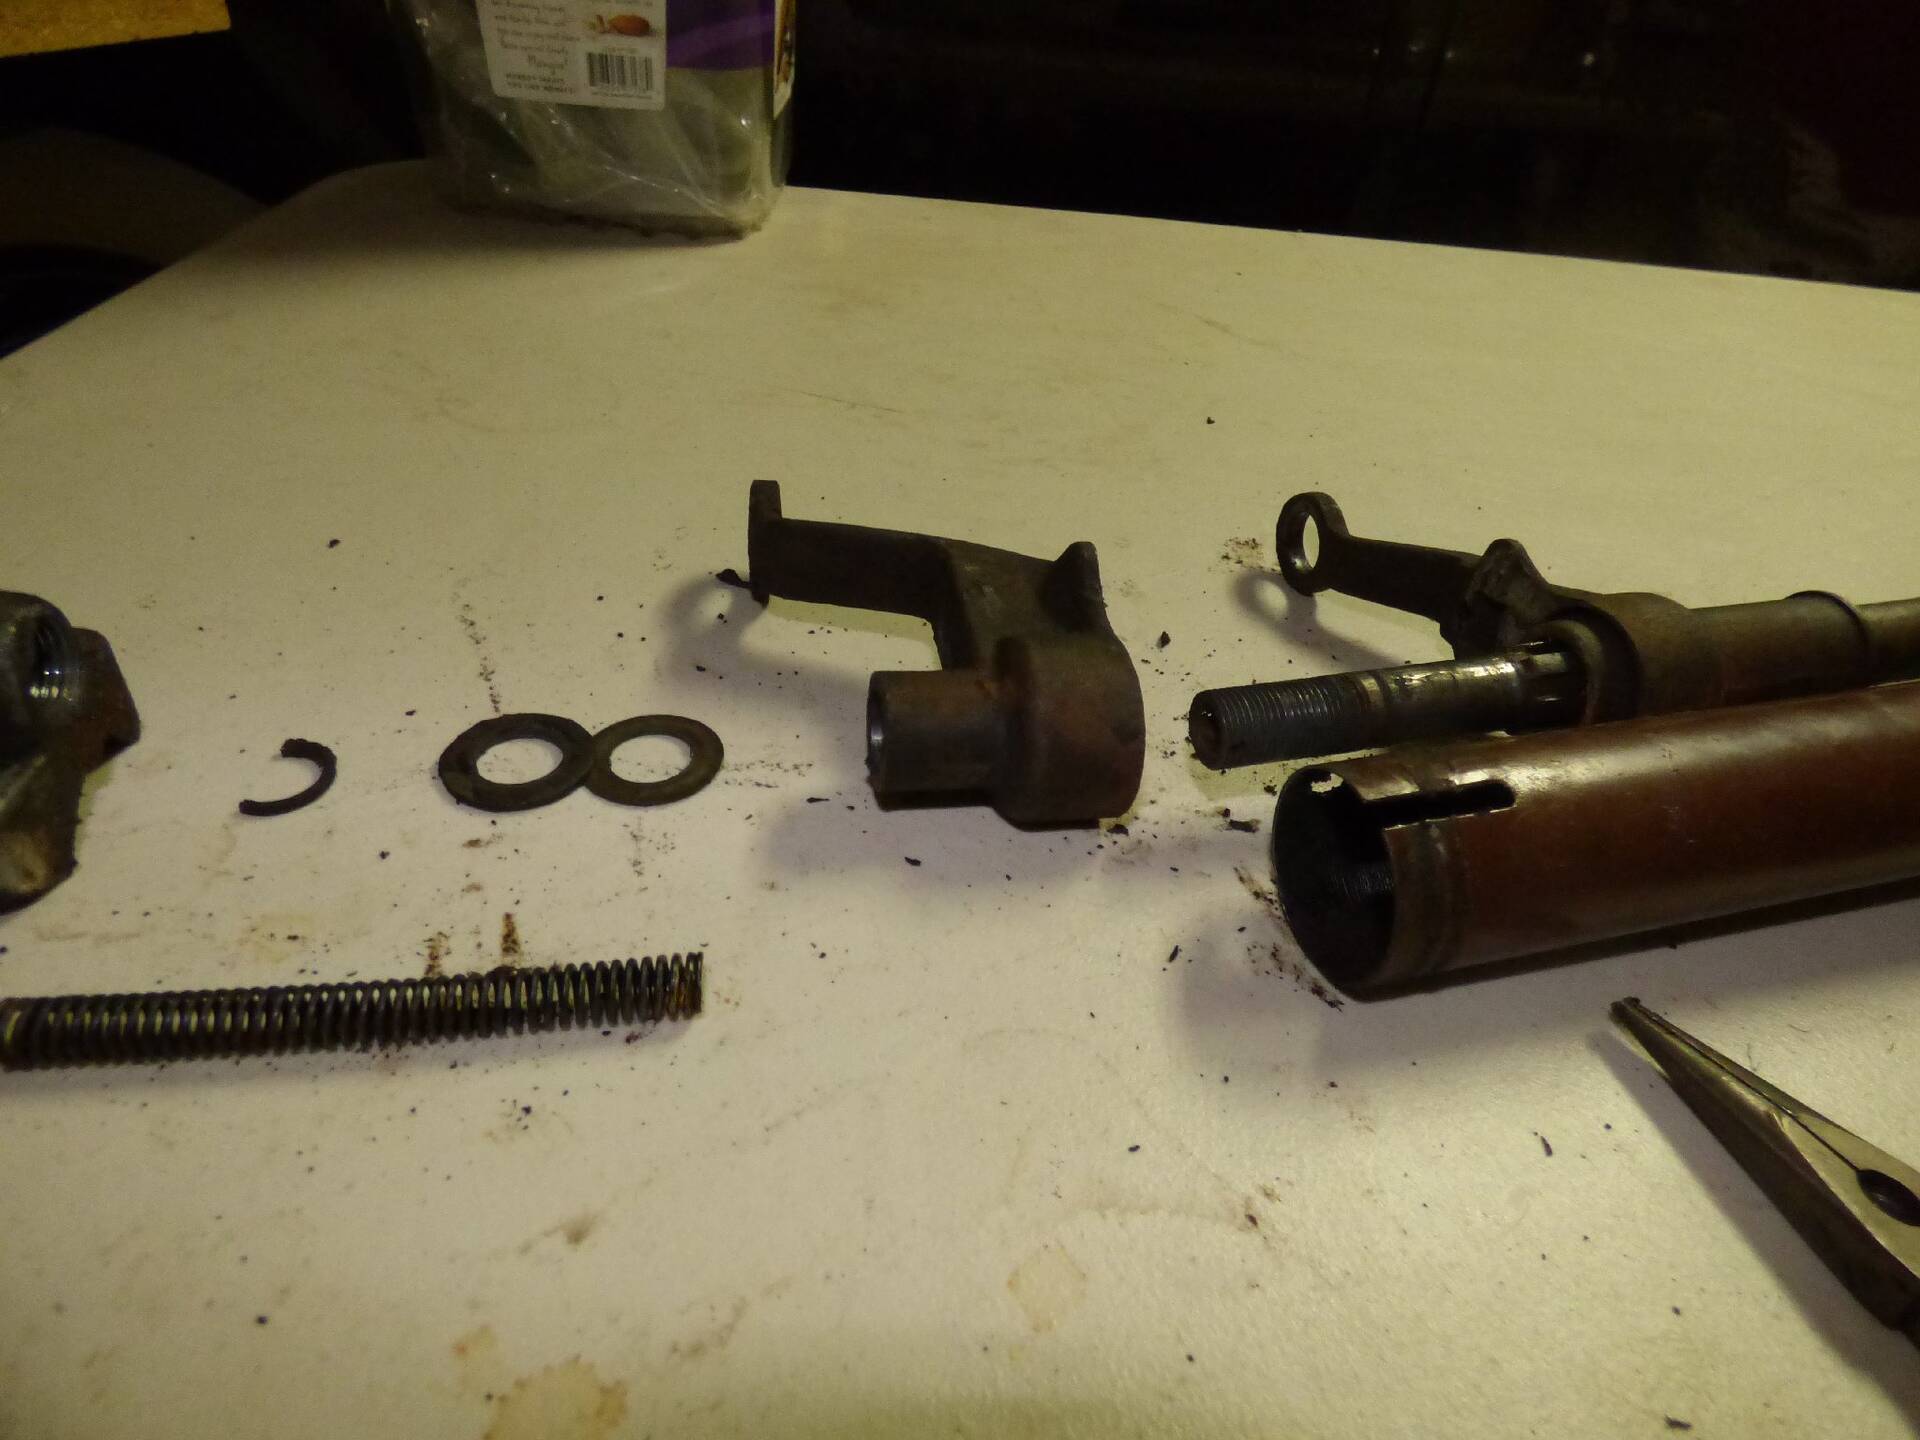 (166.86 KB) (166.86 KB)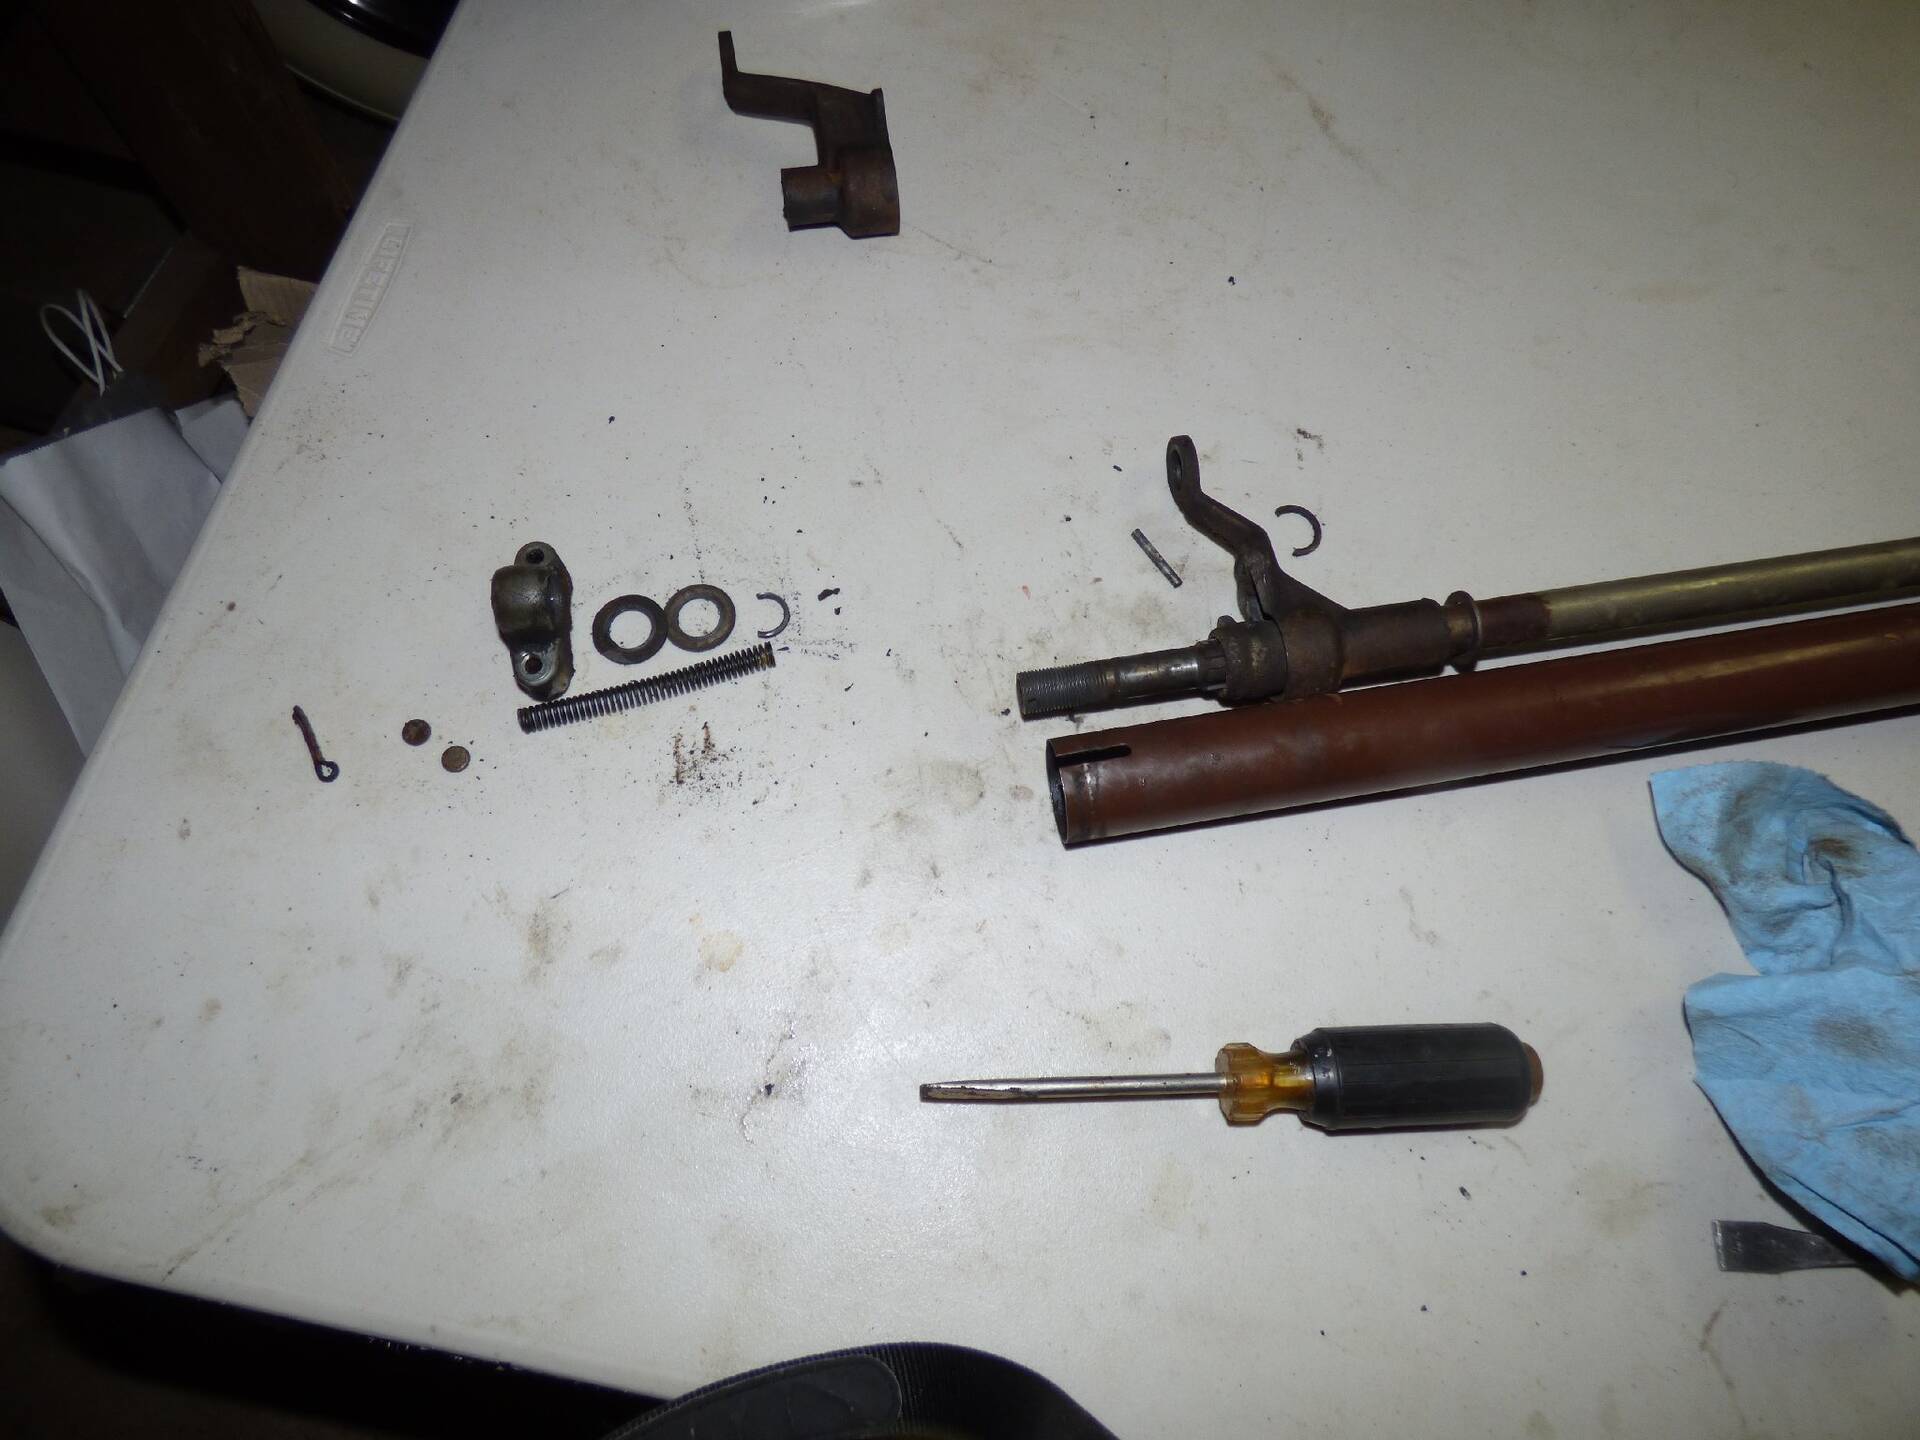 (184.27 KB) (184.27 KB)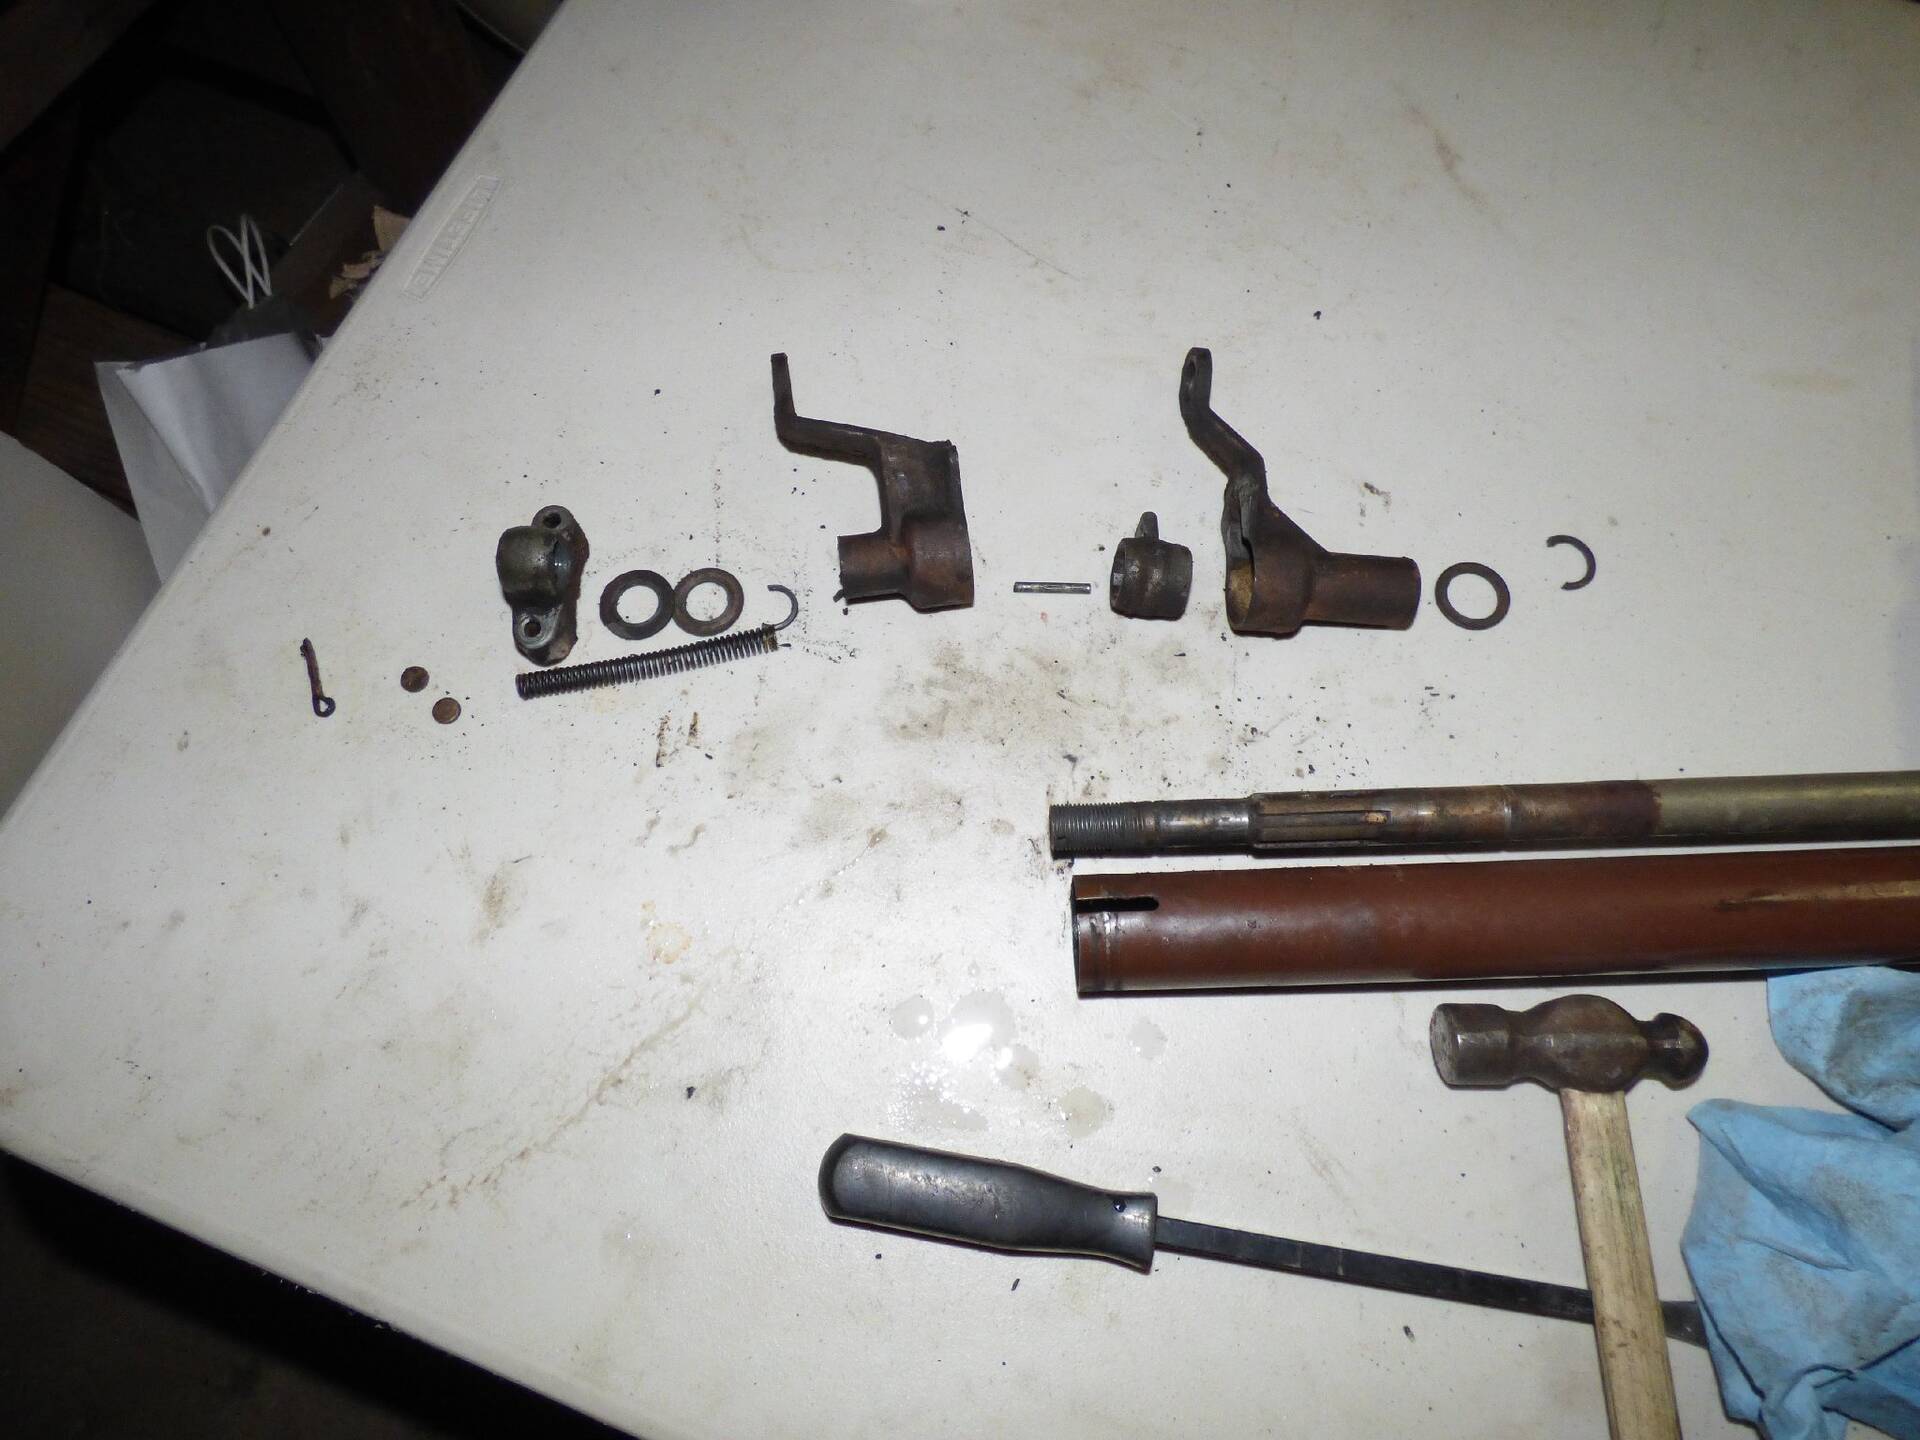 (173.31 KB) (173.31 KB)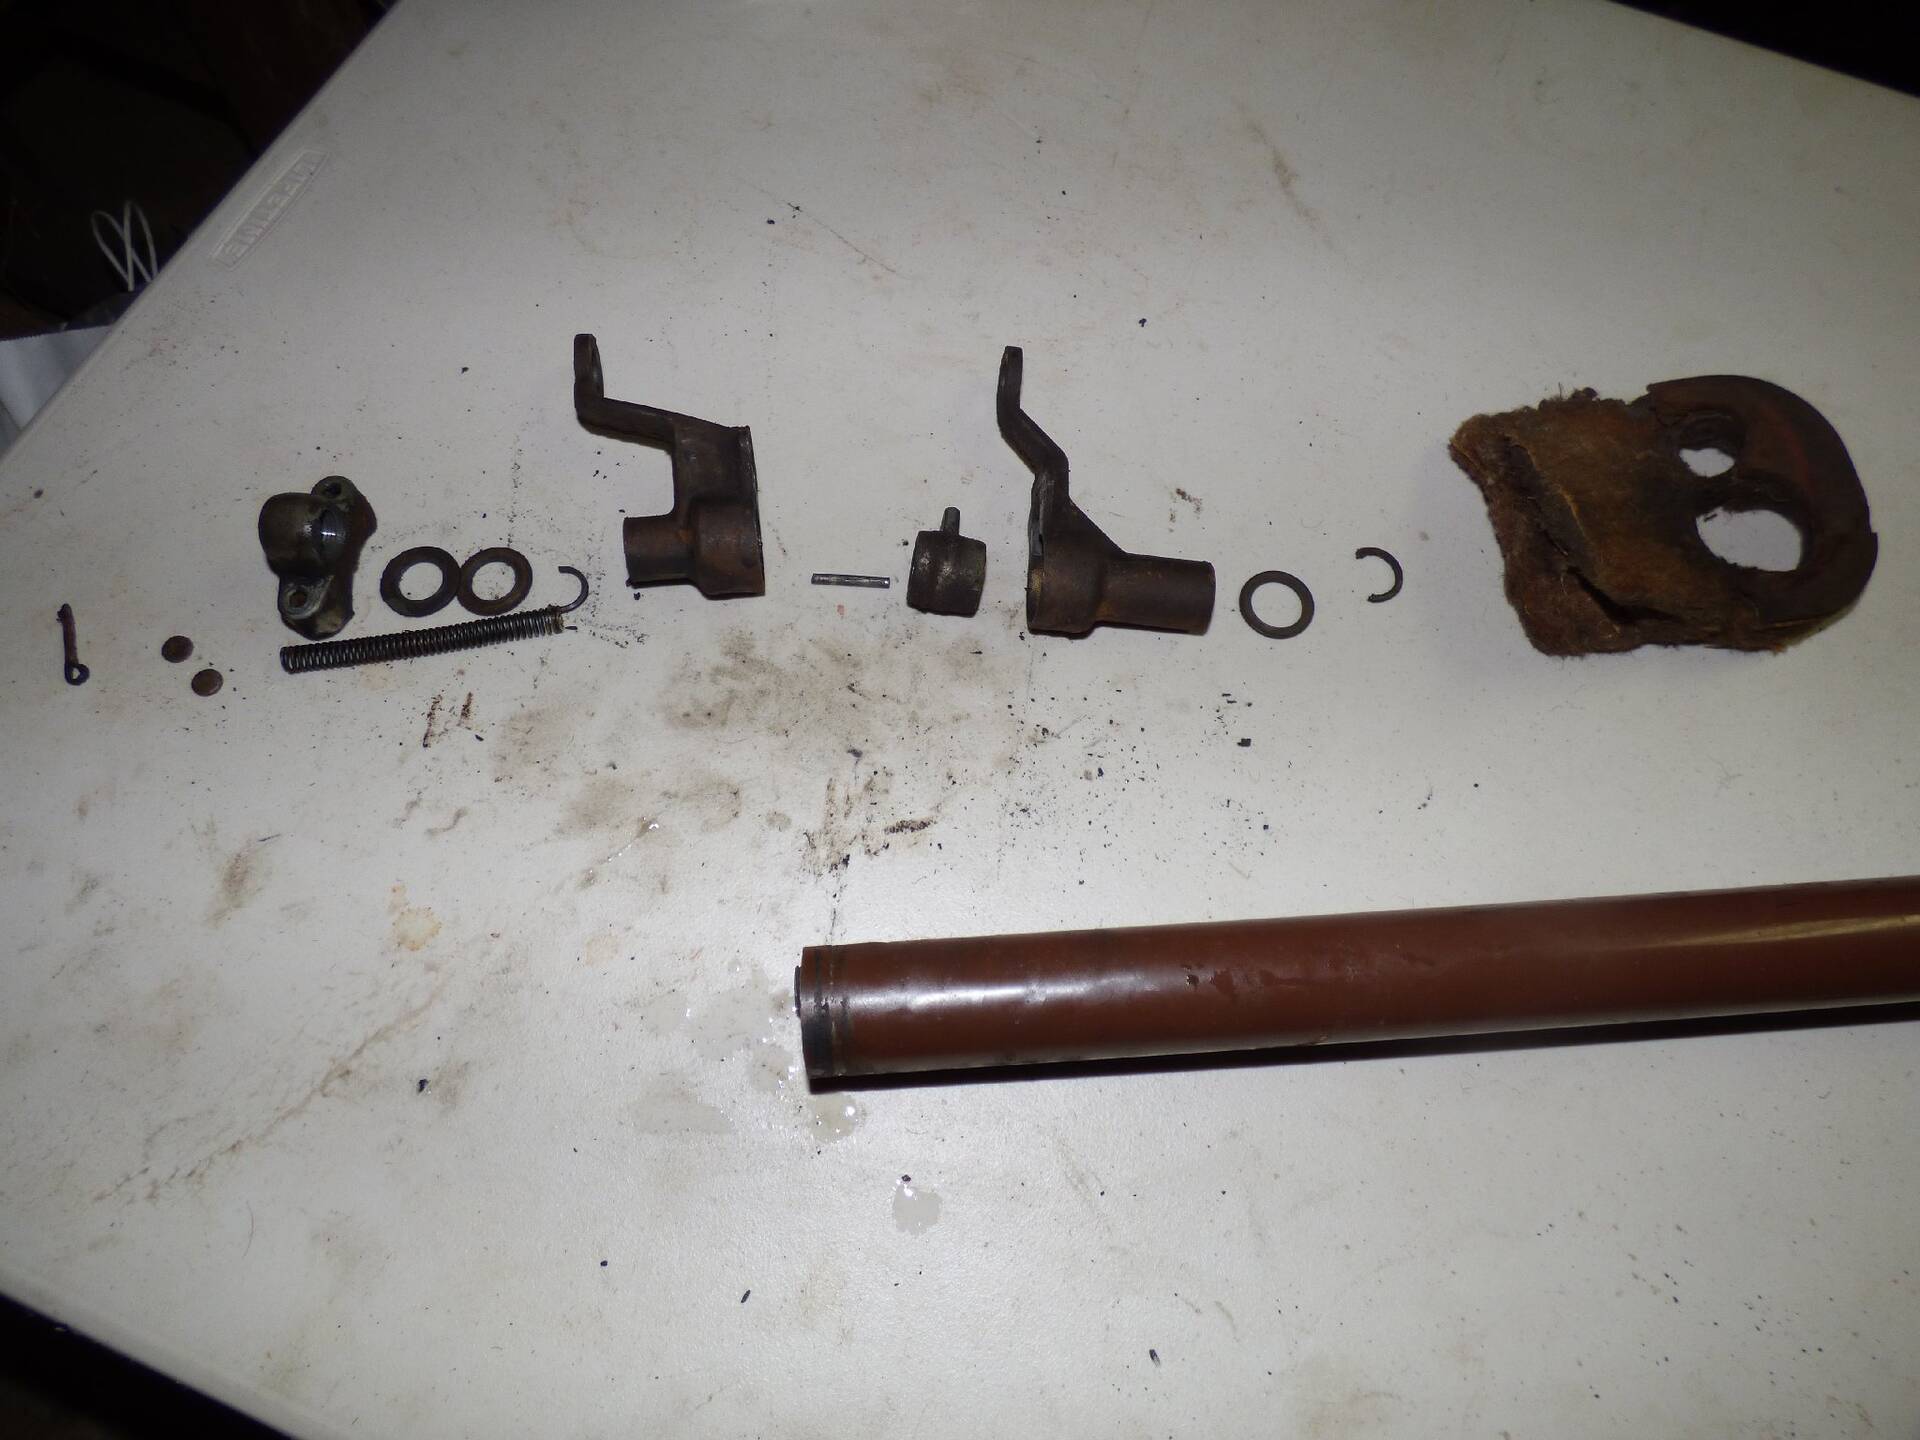 (171.44 KB) (171.44 KB) (201.79 KB) (201.79 KB)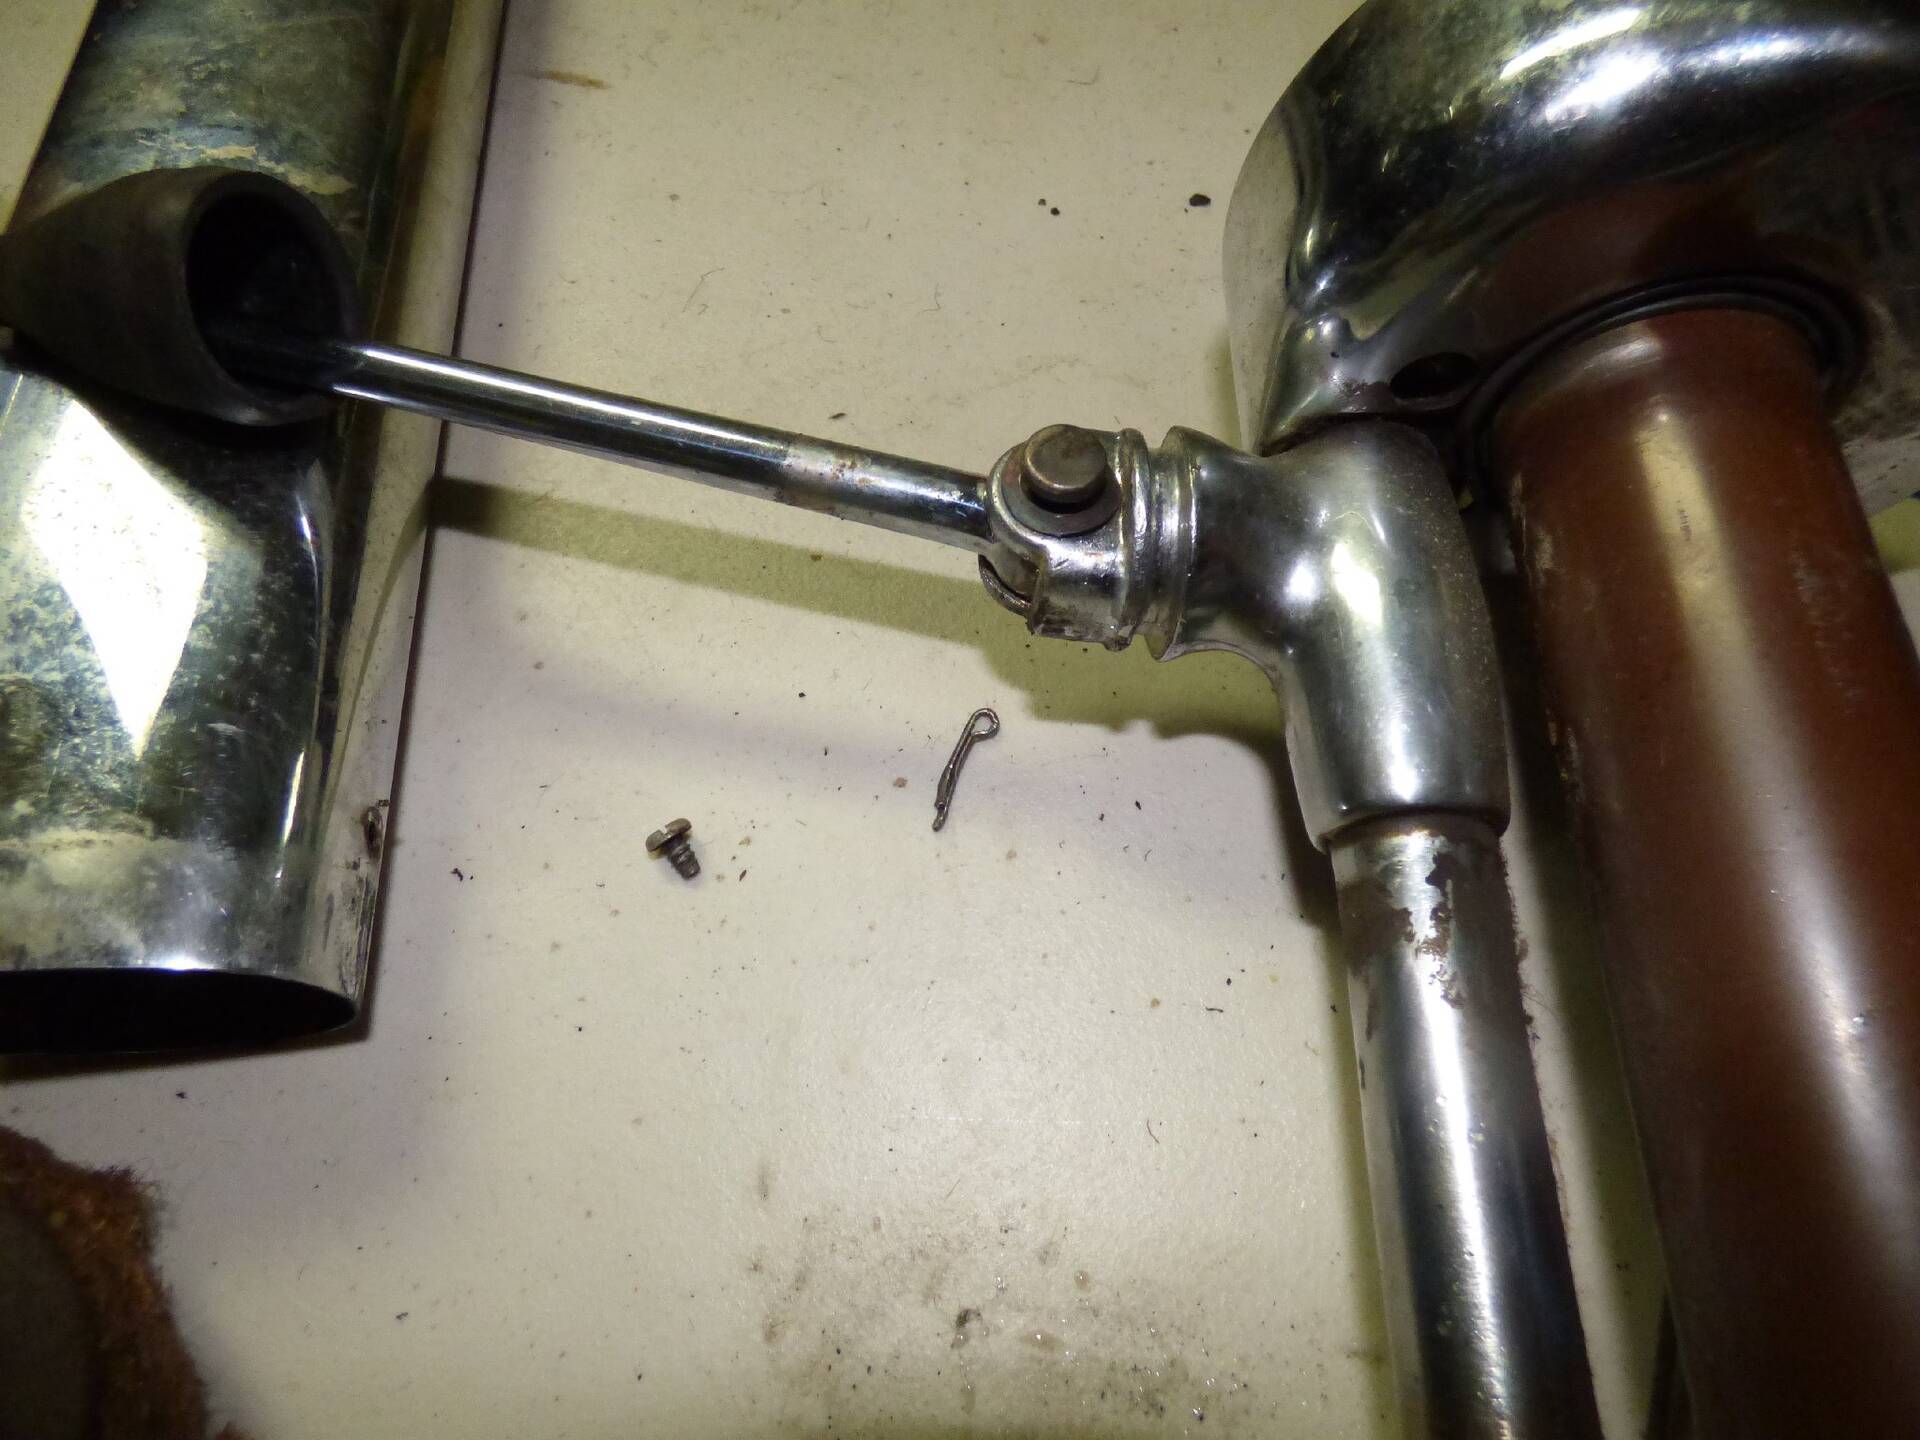 (181.36 KB) (181.36 KB)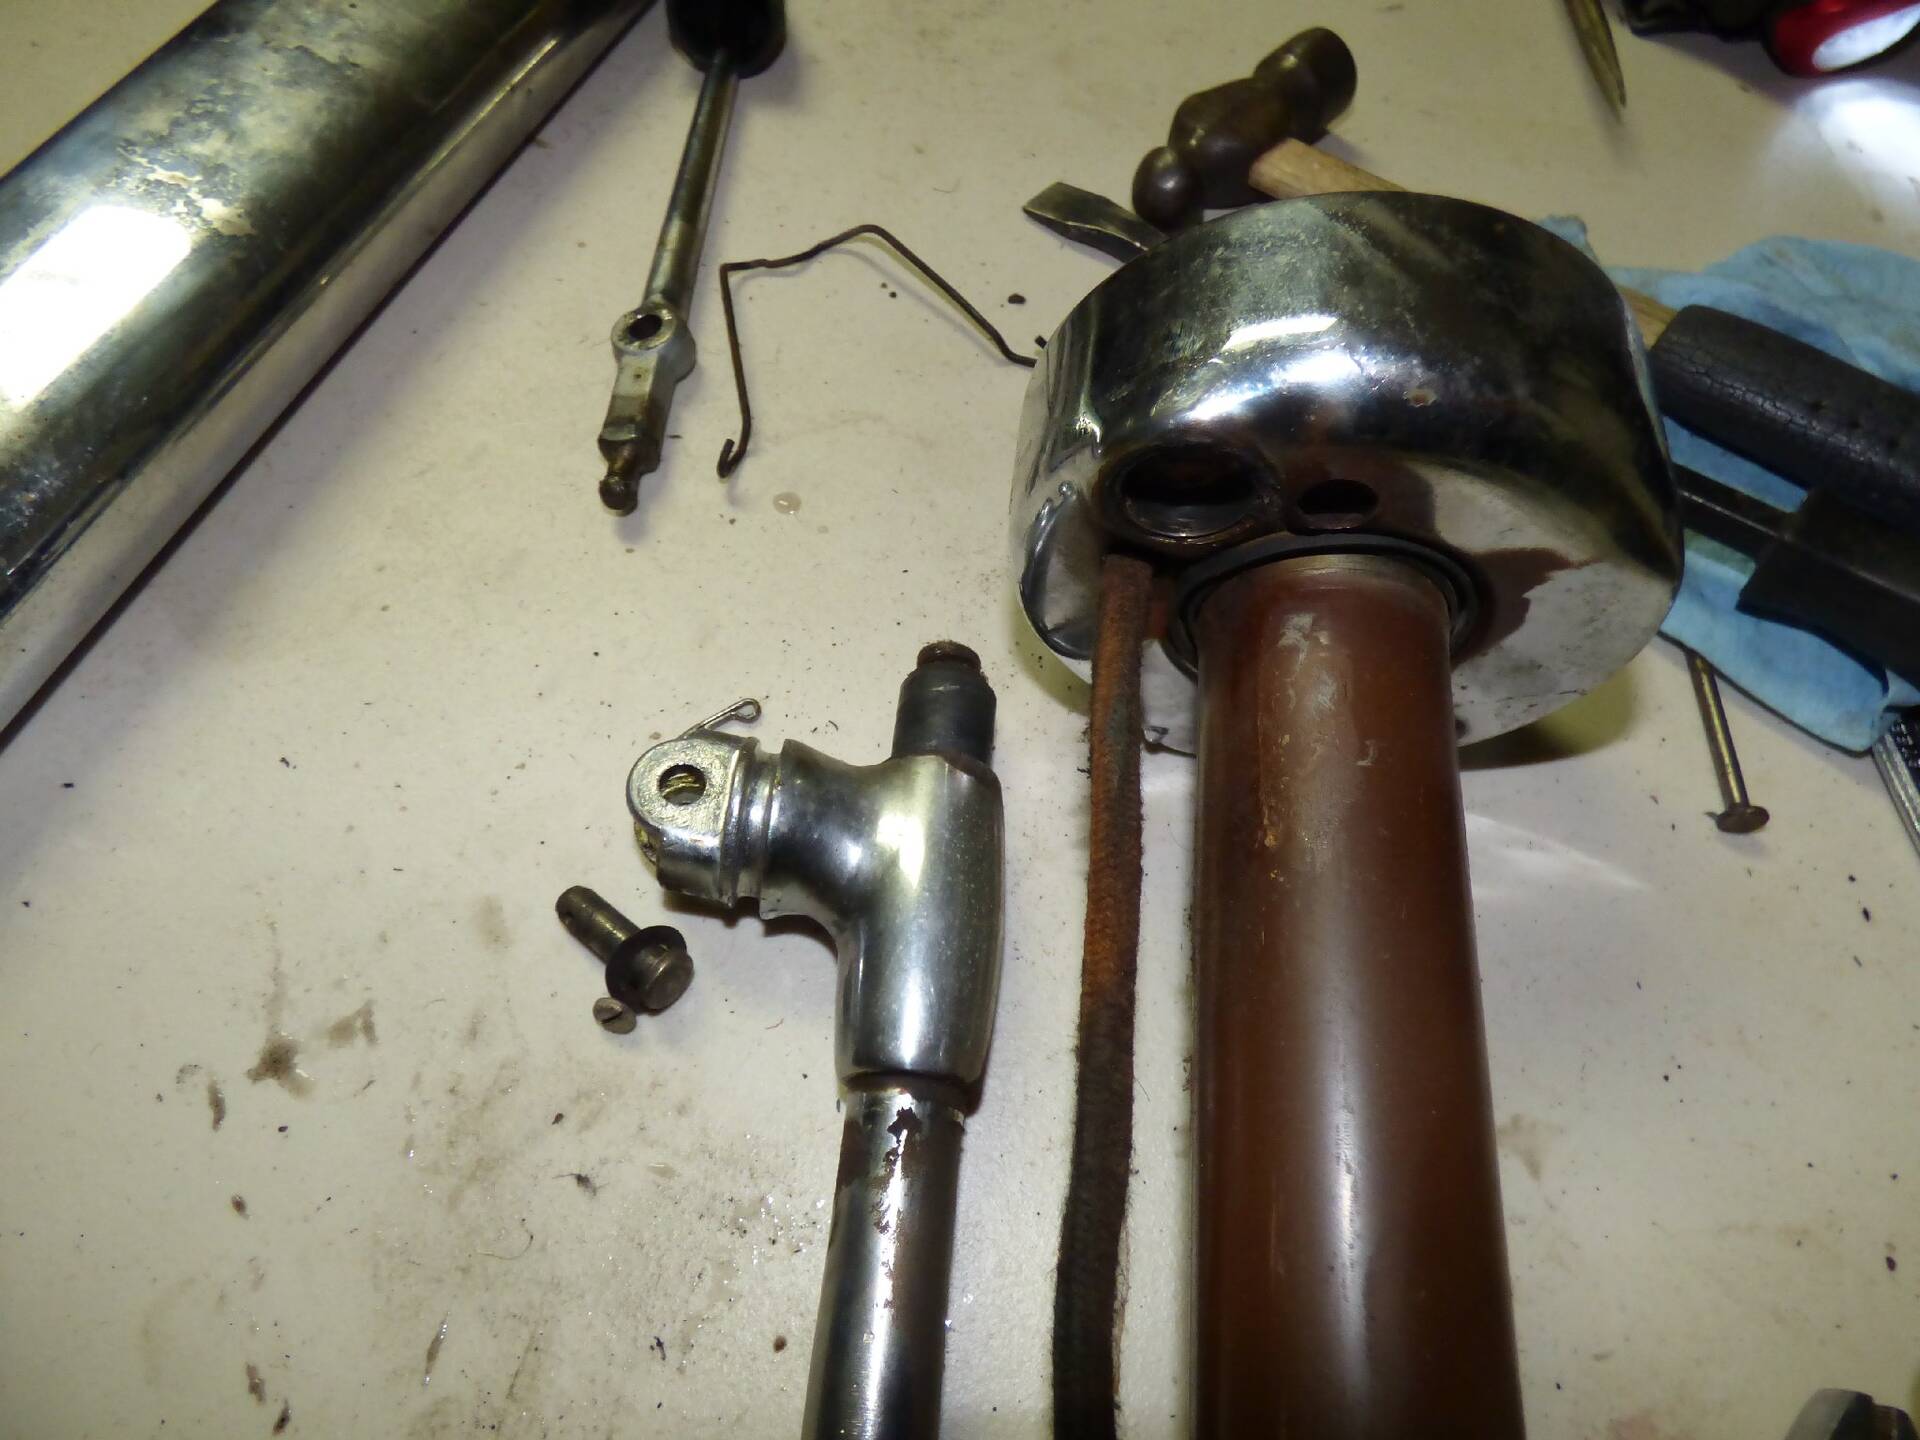 (157.71 KB) (157.71 KB)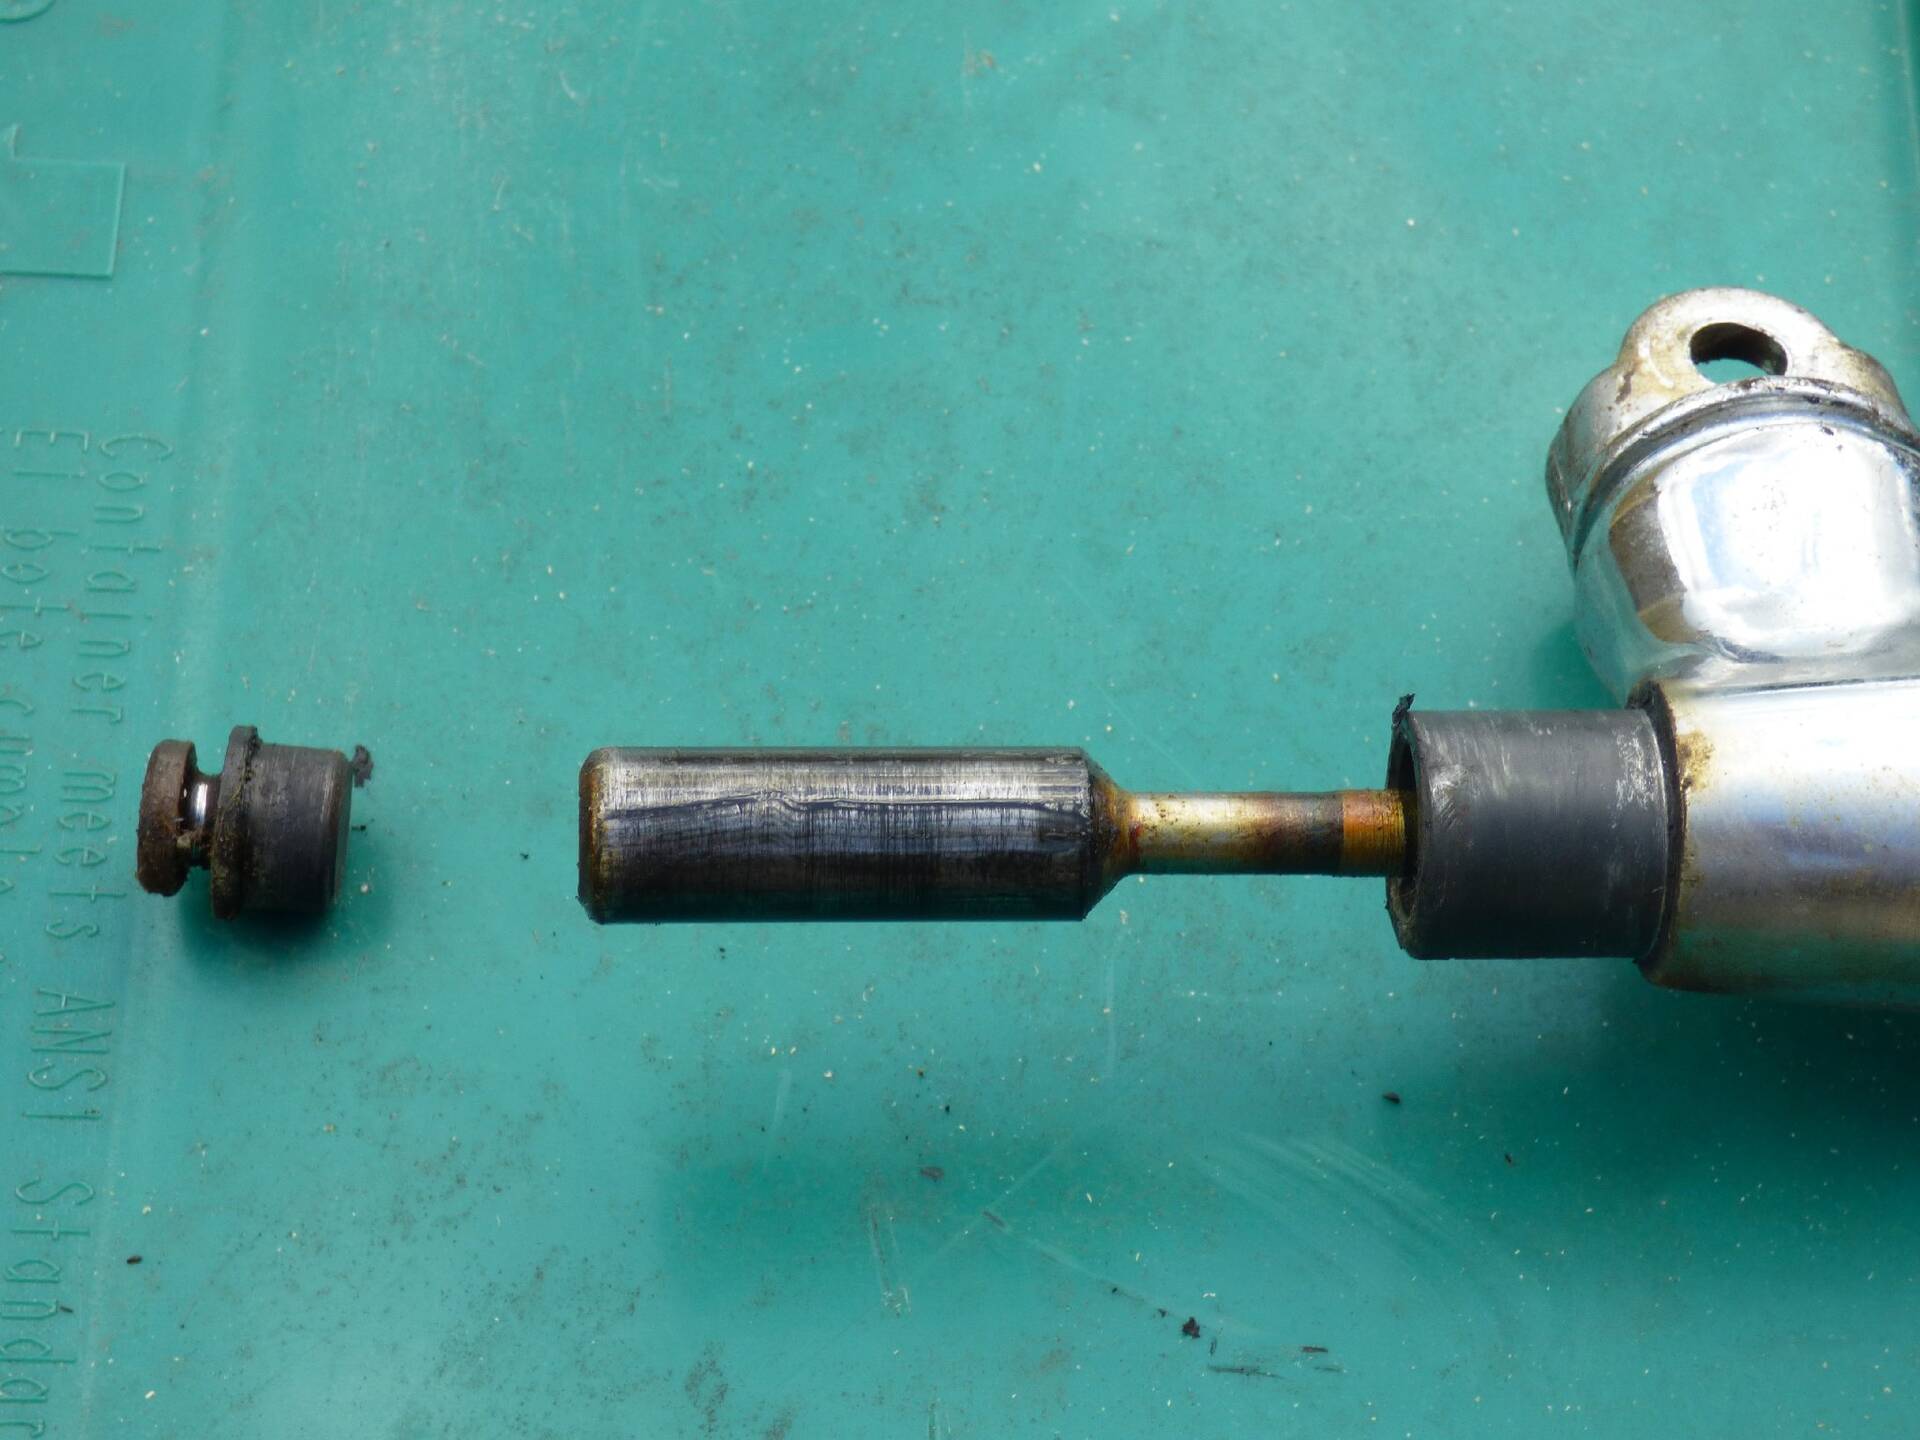
Posted on: 2020/7/26 17:52
|
|||
|
||||


