|
Re: Resurrecting a 1951 Henney-Packard Parts Car
|
||||
|---|---|---|---|---|
|
Home away from home
|
After reading another post some time ago about ultrasonic cleaners and how to save on chemicals by doing smaller parts in a zip-lock bag with just water in the tank itself, I decided last night to order one. It has a fairly large capacity and may do the trick on this pump and on other projects too! It should be here before I leave on the 30th.
Attach file:  ultrasonic.jpg (31.63 KB) ultrasonic.jpg (31.63 KB)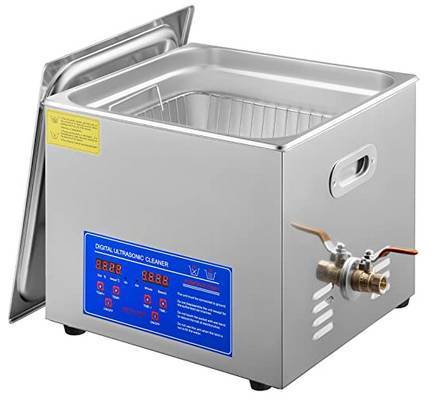
Posted on: 2022/7/22 15:18
|
|||
|
All generalities are false.
Once I thought I was wrong but I was mistaken. Don Pierson Packard / IMPERIAL page CA DMV Licensed Vehicle VIN Verification 1951 Henney-Packard 3-Door Long Wheelbase Air Force Ambulance The 1951 Henney-Packard is For Sale! 1954 Packard Patrician 1954 Packard Patrician Parts Car 1956 Clipper Custom Sedan |
||||
|
||||
|
Re: Resurrecting a 1951 Henney-Packard Parts Car
|
||||
|---|---|---|---|---|
|
Home away from home
|
After scouring the Internet for a snap ring pliers that will work on the overdrive It occurred to me that maybe it wasn’t necessary to use the holes on the ring’s ears. They are spaced somewhat far apart so I tried using a snap ring pliers between them and got it spread but couldn’t hold it. In the meantime, I ordered one designed similarly with flat serrated pads rather than pins so it should stay on.
That said, I’m not really sure what loosening the snap ring does or which way to move it when it is taken off as it did not seem to change position what I pulled the housing apart a little. A little out of order but I added a photo of the snap ring in its slot so it’s at the end below. Since I couldn’t move forward on that or on the fuel pump, I went back to the gas tank which was still damp inside after sitting in the hot Central Oregon High Desert sun for several days and closer inspection showed that it was because it was still filled with muck, making like a sponge. I decided to take out the heavy artillery by using a quart of powerful rust inhibitor and surface prep called Ospho. It didn’t need to leave it set either. I used about three Packard engines worth of head nuts and washers inside and really shook it, then after draining and removing the hardware, flushed it thoroughly with water. Oddly, when I drained it only a few ounces came out which was the same as with the Hirsch etch. It looks like mud but now it looks good inside too although I can’t tell if there are holes in the pick-up tube or not. At least its end is not rotted off! Attach file:  311B1FFF-9F91-4143-81CF-111C4BCB8A47.jpeg (192.52 KB) 311B1FFF-9F91-4143-81CF-111C4BCB8A47.jpeg (192.52 KB)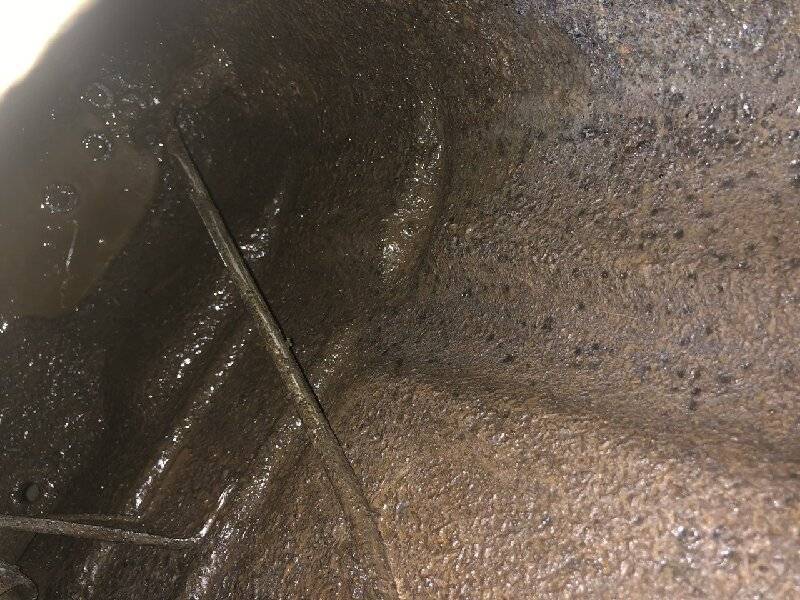  E087D896-8727-4C19-83BE-7AAFD55431D6.jpeg (242.21 KB) E087D896-8727-4C19-83BE-7AAFD55431D6.jpeg (242.21 KB)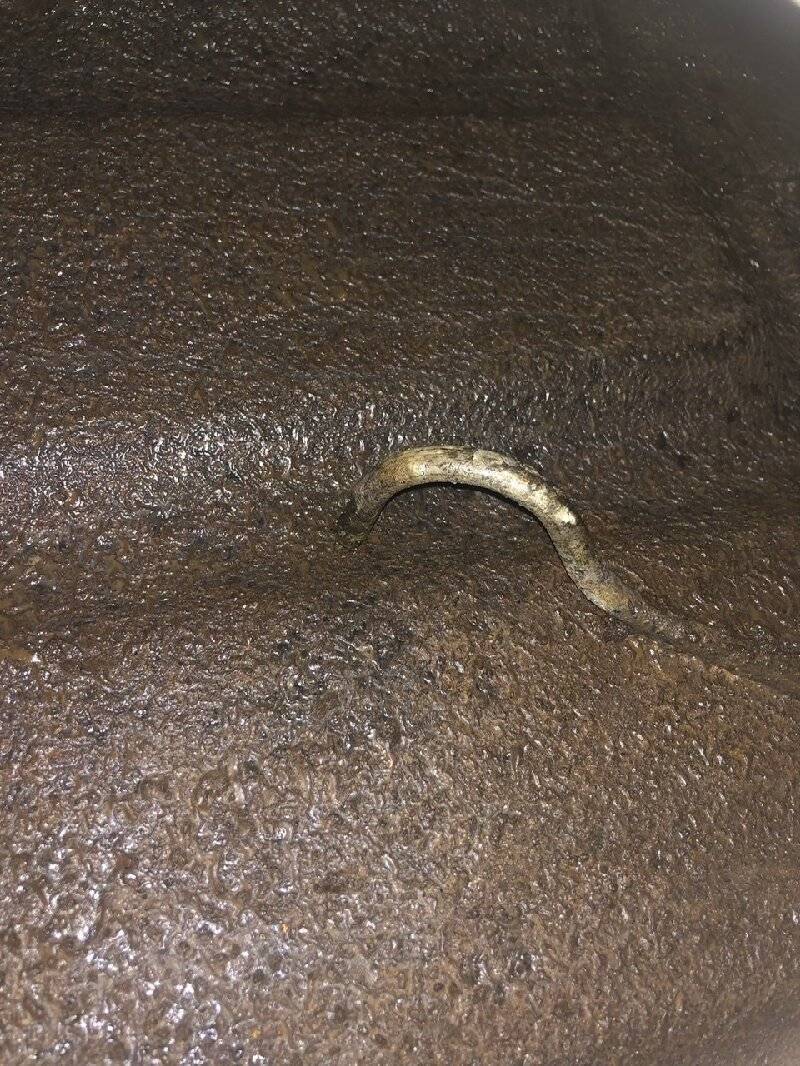  959D9763-F03F-4592-A4F9-CFE9D3C76C32.jpeg (103.65 KB) 959D9763-F03F-4592-A4F9-CFE9D3C76C32.jpeg (103.65 KB)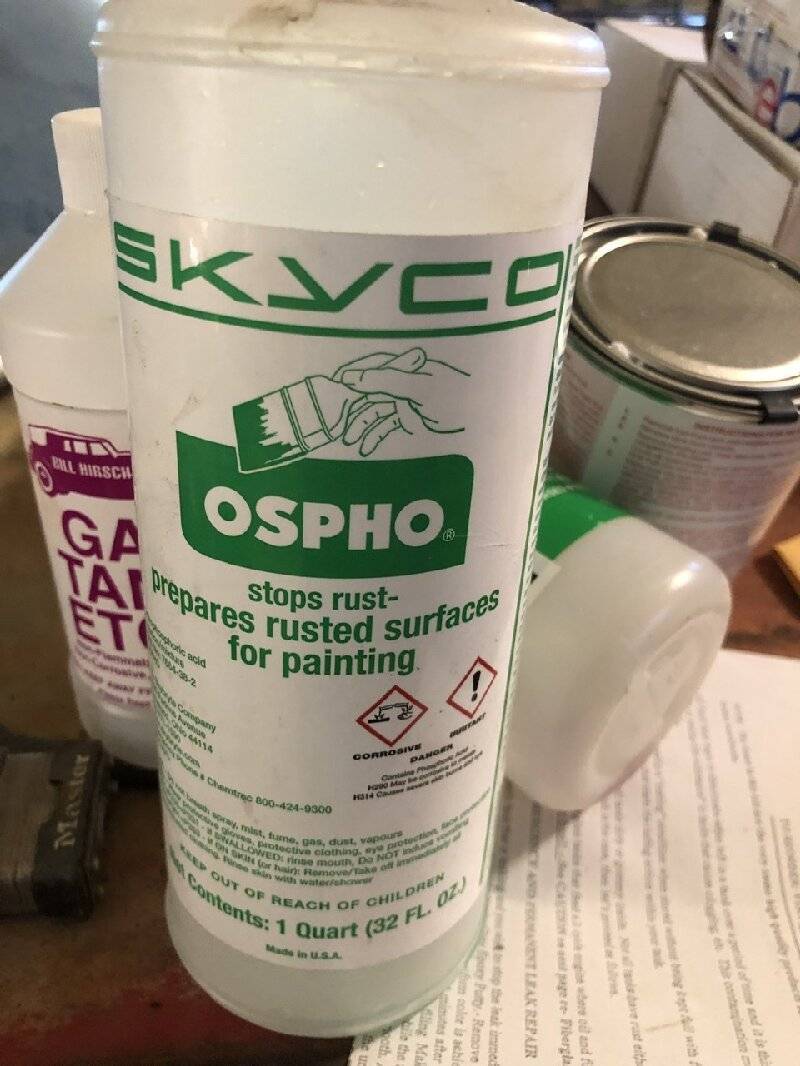  AE65C8CA-E43D-4D79-8590-E73D31FFFDBE.jpeg (173.71 KB) AE65C8CA-E43D-4D79-8590-E73D31FFFDBE.jpeg (173.71 KB)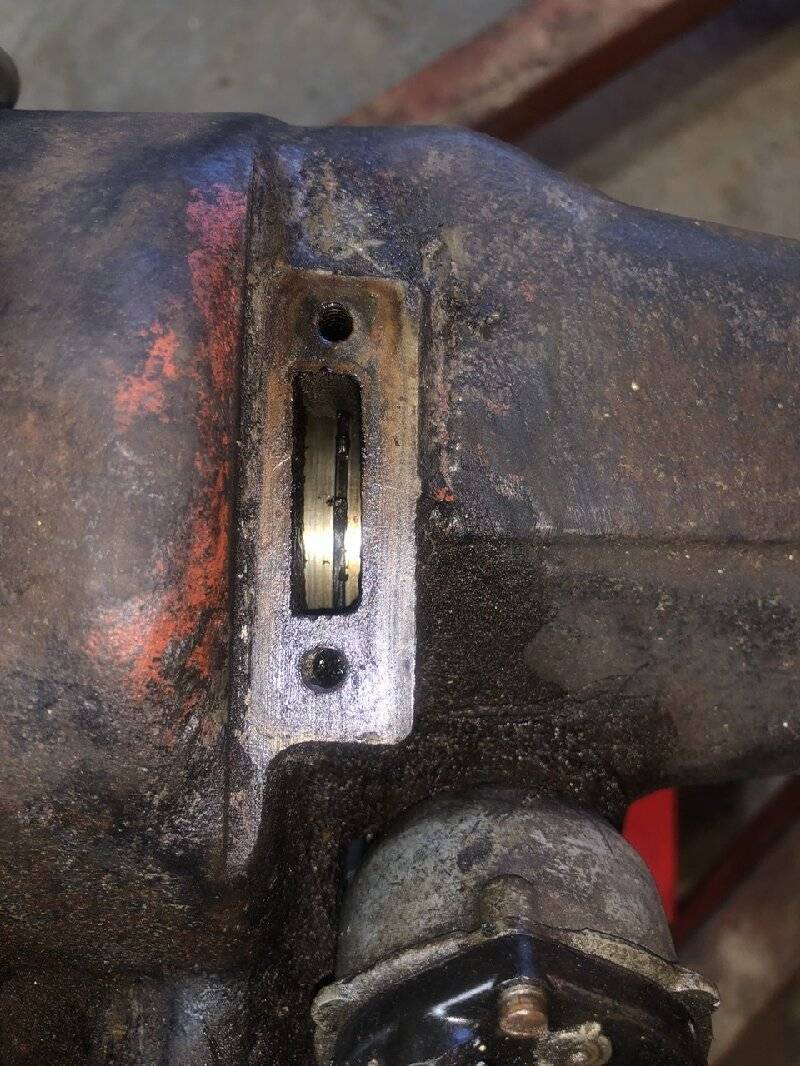
Posted on: 2022/7/22 21:49
|
|||
|
All generalities are false.
Once I thought I was wrong but I was mistaken. Don Pierson Packard / IMPERIAL page CA DMV Licensed Vehicle VIN Verification 1951 Henney-Packard 3-Door Long Wheelbase Air Force Ambulance The 1951 Henney-Packard is For Sale! 1954 Packard Patrician 1954 Packard Patrician Parts Car 1956 Clipper Custom Sedan |
||||
|
||||
|
Re: Resurrecting a 1951 Henney-Packard Parts Car
|
||||
|---|---|---|---|---|
|
Home away from home
|
Apparently it isn’t necessary to remove the snap ring. It’s the lockout shaft that’s keeping it in to I’ll have a go at it when I’m at the shop this afternoon.
In the meantime, how does one replace the front stabilizer bushings? The ends appear to be anchored permanently in place. Edit: Both the snap ring and the lockout shaft have to be removed. For the lockout shaft, it’s a matter of driving out a tapered pin, then working the shaft out as far as it will go. Once it and the snap ring are removed, then the overdrive should pull off with the aid of taps with a mallet to the output shaft. Attach file:  39CA88F1-A313-4260-8C79-61DD0009095C.jpeg (151.29 KB) 39CA88F1-A313-4260-8C79-61DD0009095C.jpeg (151.29 KB)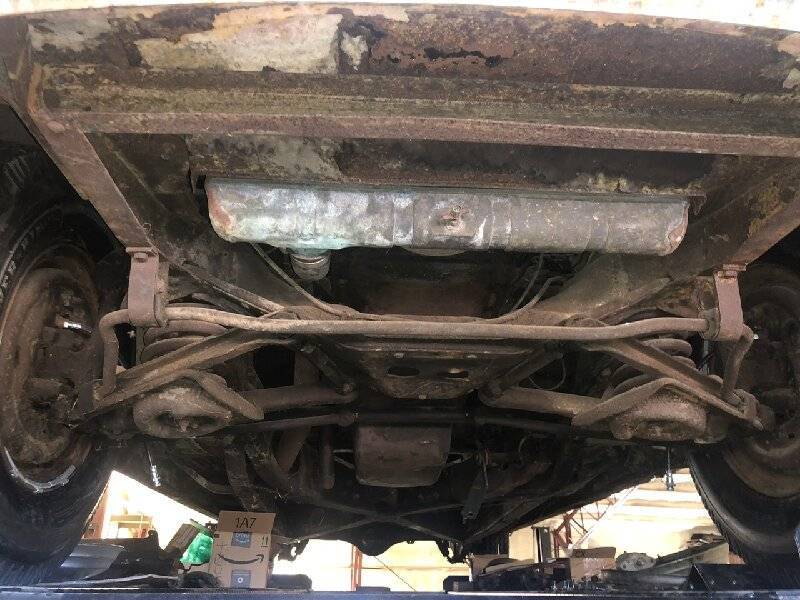  93E67EFB-B91D-493B-9E9E-328B9B386B7C.jpeg (165.79 KB) 93E67EFB-B91D-493B-9E9E-328B9B386B7C.jpeg (165.79 KB)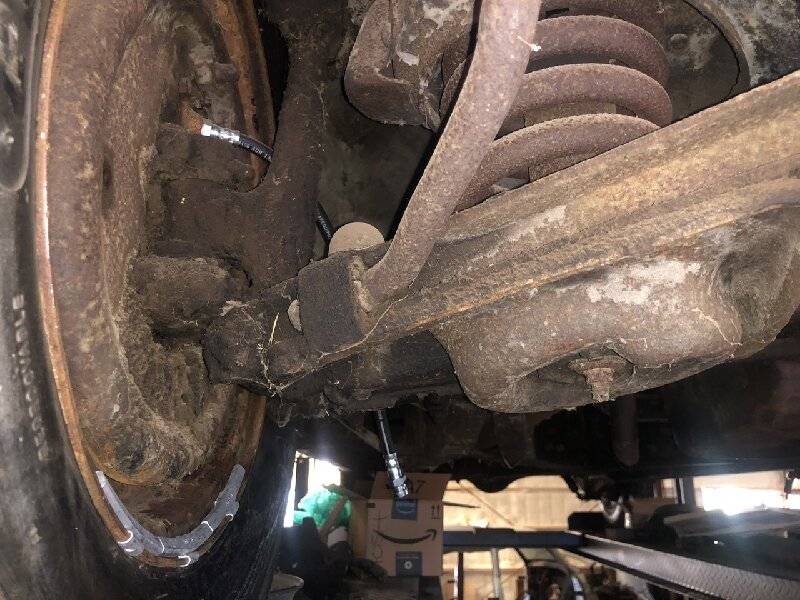
Posted on: 2022/7/23 14:03
|
|||
|
All generalities are false.
Once I thought I was wrong but I was mistaken. Don Pierson Packard / IMPERIAL page CA DMV Licensed Vehicle VIN Verification 1951 Henney-Packard 3-Door Long Wheelbase Air Force Ambulance The 1951 Henney-Packard is For Sale! 1954 Packard Patrician 1954 Packard Patrician Parts Car 1956 Clipper Custom Sedan |
||||
|
||||
|
Re: Resurrecting a 1951 Henney-Packard Parts Car
|
||||
|---|---|---|---|---|
|
Home away from home
|
This time the tank dried quickly with a nice black phosphate finish so I went ahead and sealed it. No way a quart was enough for two coats which I would have preferred as only a few tablespoons full came back out. One hole was large enough that the sealer came through so I may need to use the Magic Putty that came with the kit to touch it up and to touch up the top of the whistle where there was a hole.
Posted on: 2022/7/23 20:58
|
|||
|
All generalities are false.
Once I thought I was wrong but I was mistaken. Don Pierson Packard / IMPERIAL page CA DMV Licensed Vehicle VIN Verification 1951 Henney-Packard 3-Door Long Wheelbase Air Force Ambulance The 1951 Henney-Packard is For Sale! 1954 Packard Patrician 1954 Packard Patrician Parts Car 1956 Clipper Custom Sedan |
||||
|
||||
|
Re: Resurrecting a 1951 Henney-Packard Parts Car
|
||||
|---|---|---|---|---|
|
Home away from home
|
I recall seeing mention somewhere on this site that someone had reproduced the fuel pump insulators. Can someone please point me to it or remind me who offered them?
The steel heat shield was missing too but I believe I have one somewhere. Edit: I found the answer to the fuel pump insulators. It was Ron Carpenter who offered them and I've sent him a text.
Posted on: 2022/7/24 14:36
|
|||
|
All generalities are false.
Once I thought I was wrong but I was mistaken. Don Pierson Packard / IMPERIAL page CA DMV Licensed Vehicle VIN Verification 1951 Henney-Packard 3-Door Long Wheelbase Air Force Ambulance The 1951 Henney-Packard is For Sale! 1954 Packard Patrician 1954 Packard Patrician Parts Car 1956 Clipper Custom Sedan |
||||
|
||||
|
Re: Resurrecting a 1951 Henney-Packard Parts Car
|
||||
|---|---|---|---|---|
|
Home away from home

|
The ends of the front sway bar are Held on with clips. Scrape zur gunk off, and you should see how it comes off. Use a big regular screwdriver to pry them off.
Posted on: 2022/7/24 15:35
|
|||
|
1953 Clipper Delux Club Sedan, 1953 Caribbean, 1969 912, 1990 Miata
|
||||
|
||||
|
Re: Resurrecting a 1951 Henney-Packard Parts Car
|
||||
|---|---|---|---|---|
|
Home away from home
|
Great, thank you!
Although I hadn't intended on doing it, I may as well replace them while I'm at it. In the 55+ years that I've owned Packards, I don't recall ever replacing fronts or rears but this car sat outside for 40 of those years and needs it badly (it really needs everything badly!). One of the brackets appears to be bent too but at least the rear is finally all together. Incidentally, I'm giving myself a little break today although I may pop over to the shop later so take some measurements of a couple transmissions and engines so that I can get crates or even heavy duty shelves for them. They'll store much more compactly if stacked.
Posted on: 2022/7/24 15:47
|
|||
|
All generalities are false.
Once I thought I was wrong but I was mistaken. Don Pierson Packard / IMPERIAL page CA DMV Licensed Vehicle VIN Verification 1951 Henney-Packard 3-Door Long Wheelbase Air Force Ambulance The 1951 Henney-Packard is For Sale! 1954 Packard Patrician 1954 Packard Patrician Parts Car 1956 Clipper Custom Sedan |
||||
|
||||
|
Re: Resurrecting a 1951 Henney-Packard Parts Car
|
||||
|---|---|---|---|---|
|
Home away from home
|
It got to around 101 today and due to get even higher to around 110 in the next week or so!
Today I mostly worked on some of the shop’s wiring and organization (or lack of it) but I did manage to get a couple little things done on the car. One was just a little more degreasing on the replacement oil pump but also I took the arm out of the one from the car due to the replacement having the wrong diaphragm arms for the AC model number. I might as well make it right moving forward. I also finally properly routed the parking brake cable after someone had routed it under the chassis rather than through it. The hardest part was getting the center arm loose as crud had pretty much stuck it in place. The task done, the arm is nice and free now. With the cable in place, I see that it is missing whatever it is that connects to the cables to the back wheels. I have those but not the connection although if it turns out to be the same as on a passenger car, I can get it from my Patrician. One thing I’ve been putting off but finally got done was to center the car a little better on the lift as all the high jacking up and down caused it to shift over right to one edge. Moving it sideways is a fairly easy task with a jack and a machinery dolly. The sender threads on the gas tank were chased today too and was surprised to see that they do not go through. After all the work in sealing it, I never noticed! I was going to look inside with the remote camera but never got to it today. Attach file:  455BDC8D-13F5-40B1-A0D4-10961A1A6DB5.jpeg (154.20 KB) 455BDC8D-13F5-40B1-A0D4-10961A1A6DB5.jpeg (154.20 KB)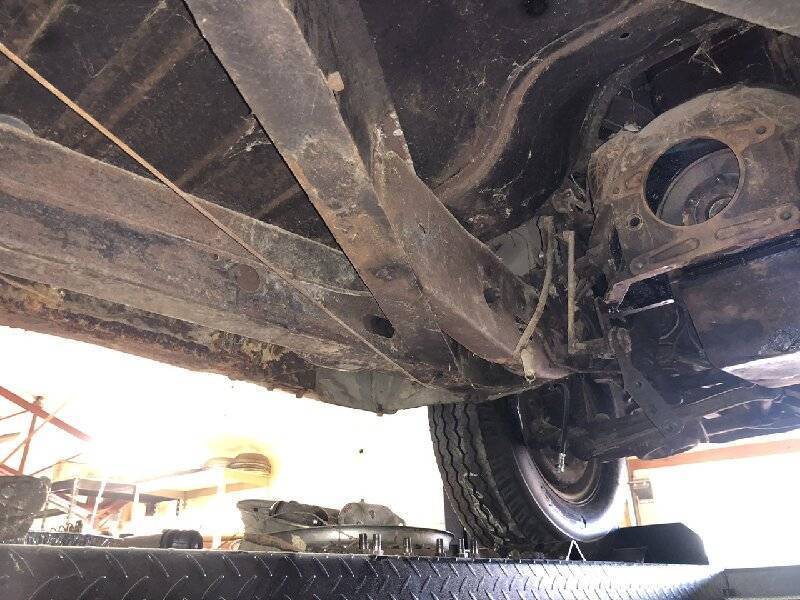  81CED18D-C069-4D3A-BD6B-AACE549A8214.jpeg (132.44 KB) 81CED18D-C069-4D3A-BD6B-AACE549A8214.jpeg (132.44 KB)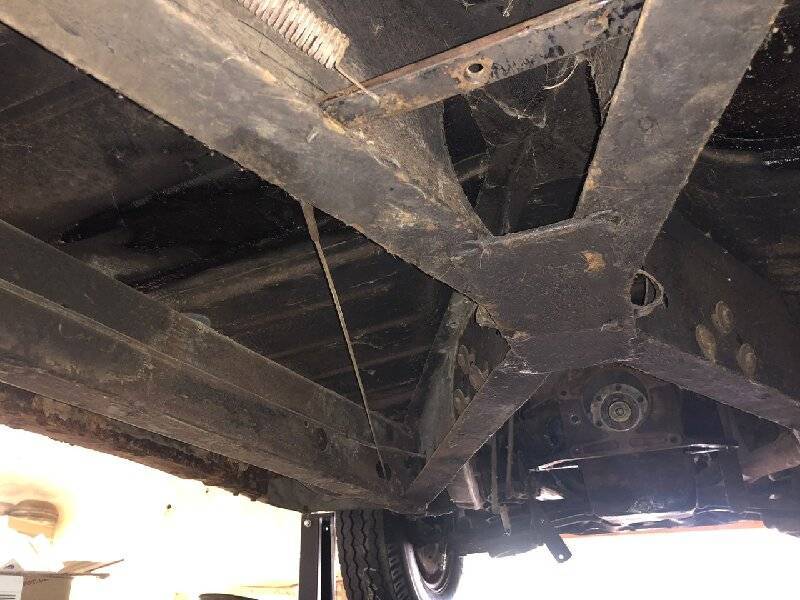  779EDE75-1275-41A8-BD7B-A4255B0E9409.jpeg (115.32 KB) 779EDE75-1275-41A8-BD7B-A4255B0E9409.jpeg (115.32 KB)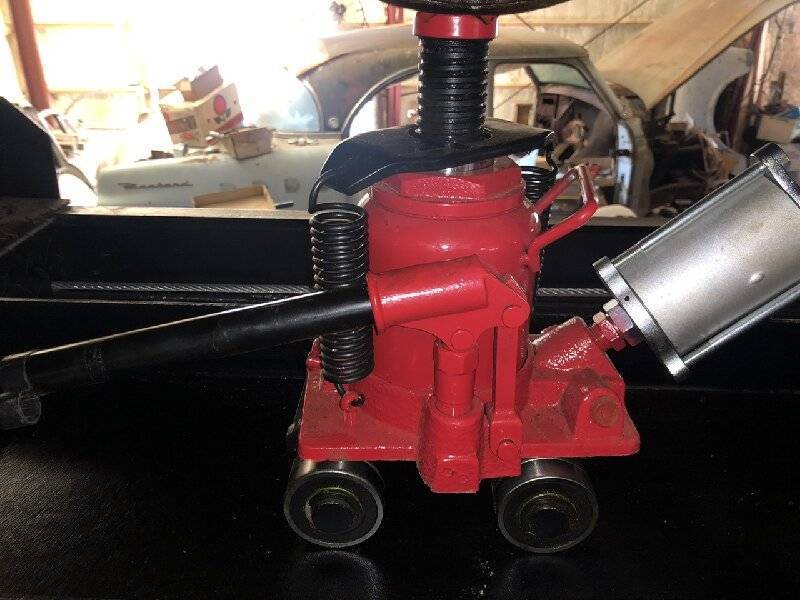
Posted on: 2022/7/25 21:57
|
|||
|
All generalities are false.
Once I thought I was wrong but I was mistaken. Don Pierson Packard / IMPERIAL page CA DMV Licensed Vehicle VIN Verification 1951 Henney-Packard 3-Door Long Wheelbase Air Force Ambulance The 1951 Henney-Packard is For Sale! 1954 Packard Patrician 1954 Packard Patrician Parts Car 1956 Clipper Custom Sedan |
||||
|
||||
|
Re: Resurrecting a 1951 Henney-Packard Parts Car
|
||||
|---|---|---|---|---|
|
Home away from home
|
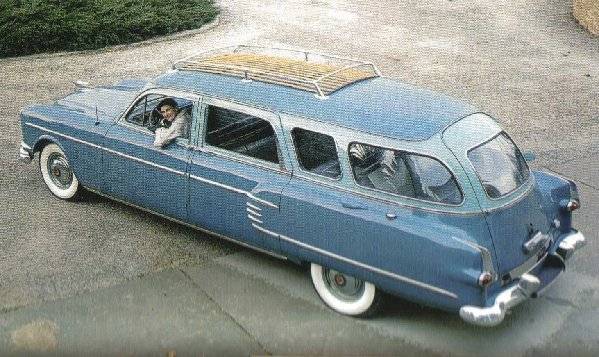
I've always liked that car and what isn't clear on many photos is that it even had a partition and jump seats!
Posted on: 2022/7/25 22:14
|
|||
|
All generalities are false.
Once I thought I was wrong but I was mistaken. Don Pierson Packard / IMPERIAL page CA DMV Licensed Vehicle VIN Verification 1951 Henney-Packard 3-Door Long Wheelbase Air Force Ambulance The 1951 Henney-Packard is For Sale! 1954 Packard Patrician 1954 Packard Patrician Parts Car 1956 Clipper Custom Sedan |
||||
|
||||


