|
Re: 1940 Super 8 160 Model 1803 Project
|
||||
|---|---|---|---|---|
|
Webmaster
|
Jim, sounds like the old gal is coming along great. Nice to find the brake issue while in the driveway, instead of heading down an off-ramp somewhere!
 There are many time in my garage work where I have to remind myself to take a picture, and there are also plenty of times I am to dirty to do so. Sounds like '40 will soon be ready for the trip out here in January!
Posted on: 2010/8/29 2:59
|
|||
|
-BigKev
1954 Packard Clipper Deluxe Touring Sedan -> Registry | Project Blog 1937 Packard 115-C Convertible Coupe -> Registry | Project Blog |
||||
|
||||
|
Re: 1940 Super 8 160 Model 1803 Project
|
||||
|---|---|---|---|---|
|
Webmaster
|
Very cool Jim! Any luck running down the other part numbers?
Posted on: 2010/9/10 10:10
|
|||
|
-BigKev
1954 Packard Clipper Deluxe Touring Sedan -> Registry | Project Blog 1937 Packard 115-C Convertible Coupe -> Registry | Project Blog |
||||
|
||||
|
Re: 1940 Super 8 160 Model 1803 Project
|
||||
|---|---|---|---|---|
|
Home away from home
|
Posted on: 2010/9/10 15:02
|
|||
|
West Peterson
1930 Packard Speedster Eight boattail (SOLD) 1940 Packard 1808 w/Factory Air (SOLD) 1947 Chrysler Town and Country sedan 1970 Camaro RS 1936 Cord phaeton packardinfo.com/xoops/html/modules/newbb/viewtopic.php?topic_id=4307&forum=10 aaca.org/ |
||||
|
||||
|
Re: 1940 Super 8 160 Model 1803 Project
|
||||
|---|---|---|---|---|
|
Forum Ambassador

|
Hi West,
Email sent, Thanks!
Posted on: 2010/9/10 15:48
|
|||
|
||||
|
Re: 1940 Super 8 160 Model 1803 Project
|
||||
|---|---|---|---|---|
|
Forum Ambassador

|
Quote:
Hey Kev, no I haven't had a chance to dig into the components just yet. The plan if all goes well will be to put tomorrow in on the brake system. I will make a laundry list and spend next week chasing down the numbers we chatted about the other night. Hope to make some big progress this weekend. 
Posted on: 2010/9/11 1:32
|
|||
|
||||
|
Re: 1940 Super 8 160 Model 1803 Project
|
||||
|---|---|---|---|---|
|
Forum Ambassador

|
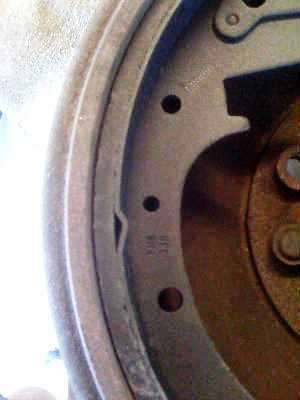
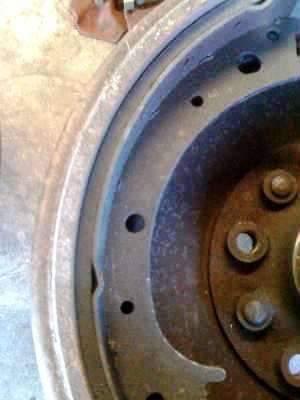
Worked on installing the foundation brake components this weekend. Found the center web strut on the Bendix 33's is just a touch wider than the ones that Bendix supplied Packard. This is likely because the 33's are a truck application. This requires a bit of file work on the E-Brake link and ends of the star adjuster. Not a major issue, just a bit of time.
Wheel cylinders literally seemed brand new. Happy days! One piston was stuck, and the cups were as tight as I have ever seen. Called NAPA and they said they had no wheel cylinder kits. Armed with the kit numbers Big Kev supplied in the caht room the other night they changed there answer to "ye, we have those in stock". Thanks Kev! A real time saver. Once the brake foundations were assembled, it was brake line time. I ordered in a 25' roll of 1/4" steel brake line. My buddy Bob gave a hand removing the winding snake through the front cross member and from the master cyl. to rear axle. What a chore! I am really finicky about making things as they were originally, including not using couplers in the runs of line if I do not have to; just hard headed I guess. We got the lines out and began to roll, match, bend, and flare line. The rear line was a touch over 8' long, and actually went through the frame for about 18" up toward the master cyl. It was tricky, but did manage to get it all installed with no couplers. Looks very good. Basically once a short section is bent to match, we overlaid the tubing and taped it together as we went. Most excellent with two people to manage the job. Had a slight problem with the rear shoes. They were just a smidge tight and anchor adjustment would not correct. Thought about it a bit and checked the fronts. They were fine. The fronts were turned just a bit under and the lining seemed a bit thick. I think the rears being standard made for a tight fit. The fix was to turn about .045" off the end of the star wheel assembly to facilitate adequate retraction of the shoe assemblies. It worked just fine. While it has been a bit of a time consuming brake job, I am now able to use commonly available brake shoes and have the piece of mind of all new brake components. System is all bleed and fluid tight! All that's left is the major adjustment per the manual (e-brake, anchor, and proper shoe clearance) and the job will be completed. The more I look at the fuel line, I think I will order in a roll of 5/16" and do that in the near future. A little time consuming, a lot of piece of mind. Attach file:  (14.99 KB) (14.99 KB)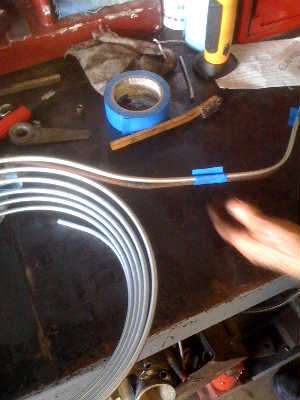  (16.57 KB) (16.57 KB)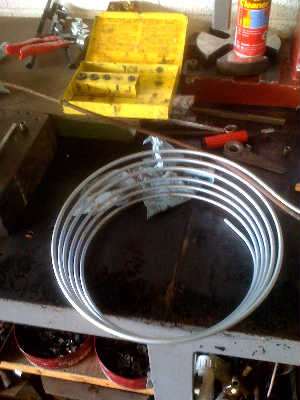  (16.43 KB) (16.43 KB)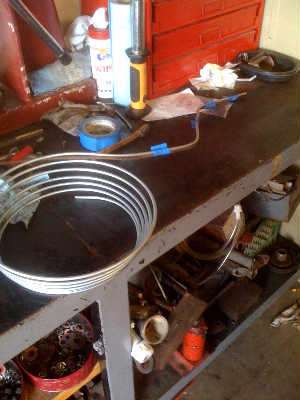  (9.81 KB) (9.81 KB)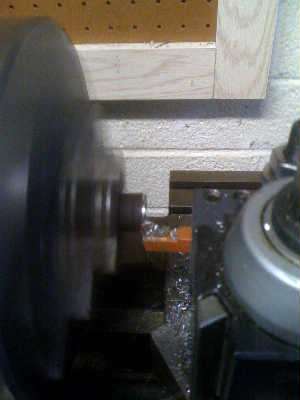
Posted on: 2010/9/13 1:16
|
|||
|
||||
|
Re: 1940 Super 8 160 Model 1803 Project
|
||||
|---|---|---|---|---|
|
Forum Ambassador

|
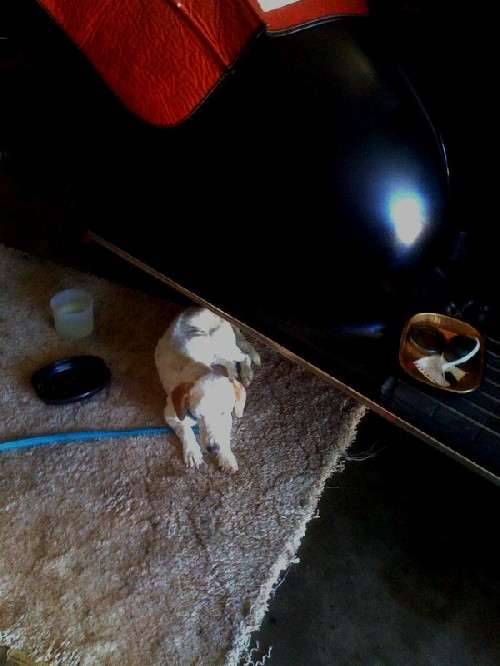
A bit of progress this weekend. We adopted a forlorn little stray doggy this week. He likes to hang out in the garage and seems to be Packard approved. He is a little weak right now, but getting stronger by the day.
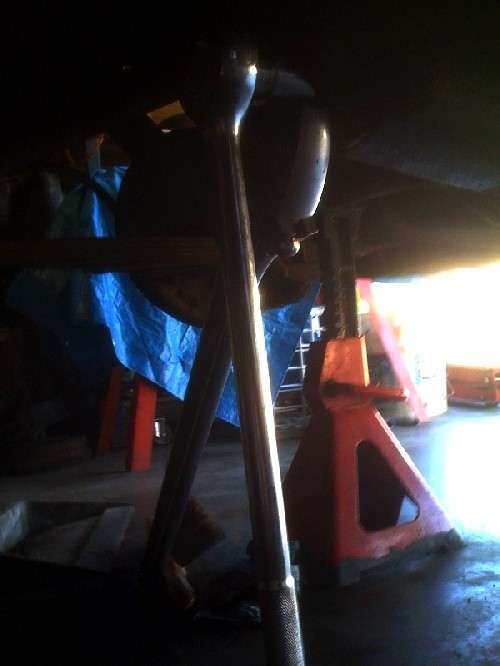
Managed to get new inner tie rod ends installed. It was not to tough, just a good whack on the pickle fork and they released with ease. Got out the 36" Crescent and 3/4" drive socket set to remove the pinion flange. With new seal in hand, it turned out to be the wrong size. It happens, it is easily corrected. Also ran into a situation where the seals I got for the front hubs just dropped in the hub. They are about .020" under. Came from the same fellow, will send all back and he will get me the correct ones. Just one of those annoying little setbacks we all encounter from time to time. Other than that, started to do e-brake adjustments and brake adjustments. Changed transmission oil, and filled front shocks with hydraulic fluid. Getting closer, just working a little at a time. The car is beginning to limber up and take shape. It is neat to see things come to life with care and attention.
Posted on: 2010/9/19 23:50
|
|||
|
||||
|
Re: 1940 Super 8 160 Model 1803 Project
|
||||
|---|---|---|---|---|
|
Home away from home
|
I just noticed your running board molding. They look correct. Guard them with your life. $800 to replace them with new ones.
Posted on: 2010/9/20 10:29
|
|||
|
West Peterson
1930 Packard Speedster Eight boattail (SOLD) 1940 Packard 1808 w/Factory Air (SOLD) 1947 Chrysler Town and Country sedan 1970 Camaro RS 1936 Cord phaeton packardinfo.com/xoops/html/modules/newbb/viewtopic.php?topic_id=4307&forum=10 aaca.org/ |
||||
|
||||
|
Re: 1940 Super 8 160 Model 1803 Project
|
||||
|---|---|---|---|---|
|
Forum Ambassador

|
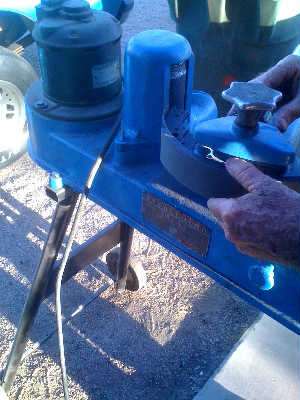
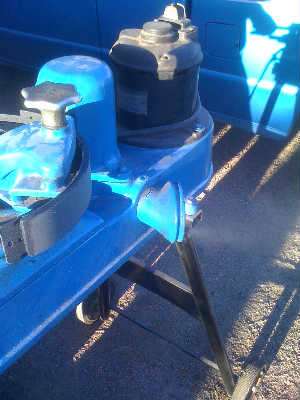
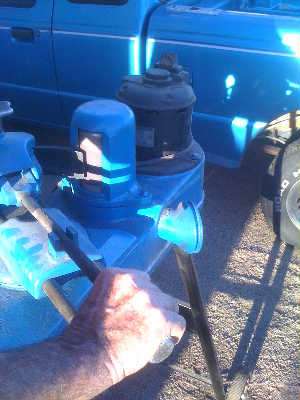
The seals came in yesterday. This was a pleasant surprise and really speaks to the dedication that George of Olcar Bearings has to helping his customers. He is a really nice fellow and has been great to work with. Thanks Dave C. and Jay F. for your mention of him here in the forums. Jay, your pinion seal thread and conversation we had sometime back prompted me to go with a rawhide seal.
The old pinion seal shell had to be rebuilt because the fellow I got the seals from didn't have the correct size pinion seal assembly. No big deal, I was careful to not damage the old one upon removal. The replacement leather seal and felt looked great! I removed the old felt, and knocked out the old seal. Interestingly, it almost looked like the major leak was between the seal body, and seal holder shell. Because of this, I applied a small smear of silicon to the leading edge of the new seal. Put everything together and pressed together. Not much trouble at all. I will let the RTV setup over night and soak in ATF tomorrow to soften leather and lubricate the felt. A pleasant evening task in preparation of installation and reassembly of the pinion flange. Attach file:  (11.49 KB) (11.49 KB)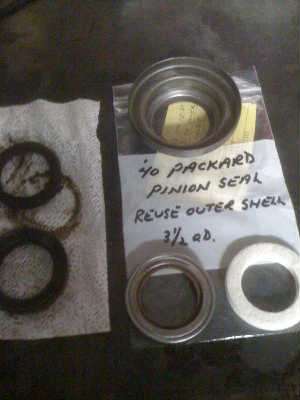  (10.26 KB) (10.26 KB)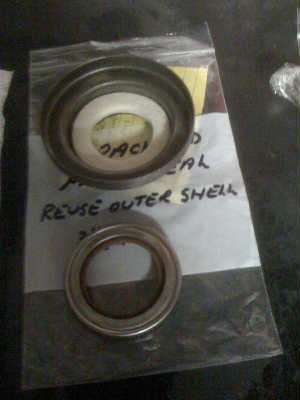  (7.87 KB) (7.87 KB)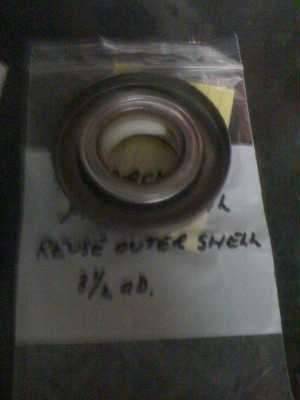  (9.91 KB) (9.91 KB)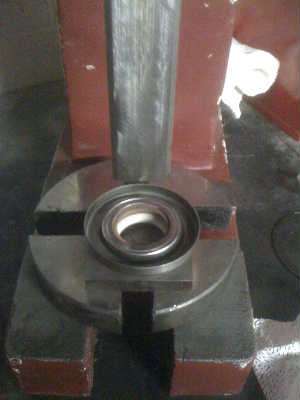  (12.25 KB) (12.25 KB)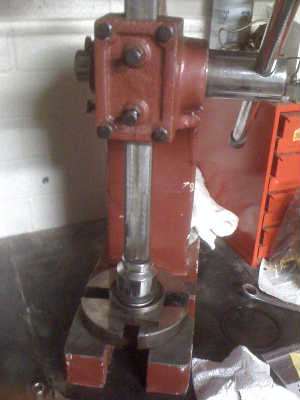  (7.64 KB) (7.64 KB)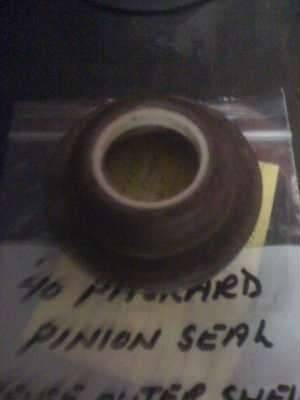
Posted on: 2010/9/23 23:30
|
|||
|
||||

