|
Re: 51Packard's....51 Packard
|
||||
|---|---|---|---|---|
|
Home away from home

|
I'm pretty sure I'll be going there today, so I'll get the part # and brand for you, they should be able to order it.
Posted on: 2010/11/7 14:15
|
|||
|
||||
|
Re: 51Packard's....51 Packard
|
||||
|---|---|---|---|---|
|
Home away from home

|
Thanks Turbo. That would be cool. One place online wanted over $8 in shipping! The ebay one is cheaper, but if they could order it, I would prefer that.
Posted on: 2010/11/7 16:42
|
|||
|
[url=h
|
||||
|
||||
|
Re: 51Packard's....51 Packard
|
||||
|---|---|---|---|---|
|
Home away from home
|
11-07-10
Since putting the spring back in is kind of dangerous with the potential energy involved, I decided to do it this weekend when it was still light out. Reattached the upper arm to the steering knuckle. Was pretty hard because of the build up of paint on the treads of the upper arm. Moved the steering knuckle up and out of the way. The new shock came with new rubber and metal washers. Had to look at the diagram again for the suspension because my car had multiple metal washers. Turns out that was wrong. One washer and one rubber piece between the shock and the support. The other rubber and washer goes on the other side of the support with the nut creating a sandwich. Same for the top of the shock. I jacked up the car with a 4x4 block on it to get it high enough to get the spring and shock back in. I started by putting the top of the spring in (with the shock inside) and lining the bottom of the spring in the grove on the lower arm. Jacked up the lower arm slightly to hold everything together. The spring was not around the middle part of the upper arm that sticks out to hold it in place so I took a bar and pushed the spring into the right position using the gap in the upper arm. Once the spring was in the correct position, I began to compress the spring by jacking up the lower arm, watching to make sure the shock went into it's mounting holes. Once the lower arm was lined up with the bottom holes of the steering knuckle, I screwed the bolt in, adding the two rubber washers that act as seals. Tightened the bolt, and then the washer and nut on the other side. Reattached the support bar by "clamping" it in place on the lower arm with my adjustable wrench. Put the rubber piece in and then the mounting plate. I put the tab in first (only have 1 since I broke the other when I took it off) and put a screwdriver at the bottom of the plate to force it on the arm. When the opening was big enough, I tapped the mounting plate with a hammer to get it in place. Once the bar was attached to the lower arm, I reattached the bar's mount to the frame, putting the thick rubber bushing between the two metal pieces of the mount. That pretty much puts the suspension back together. Sometime this week, I will finish the brake backing plate, shoes, hardware, drum, starter, distributor, and generator. That will be it for this year, except for finishing the harness. Attach file:  (166.72 KB) (166.72 KB)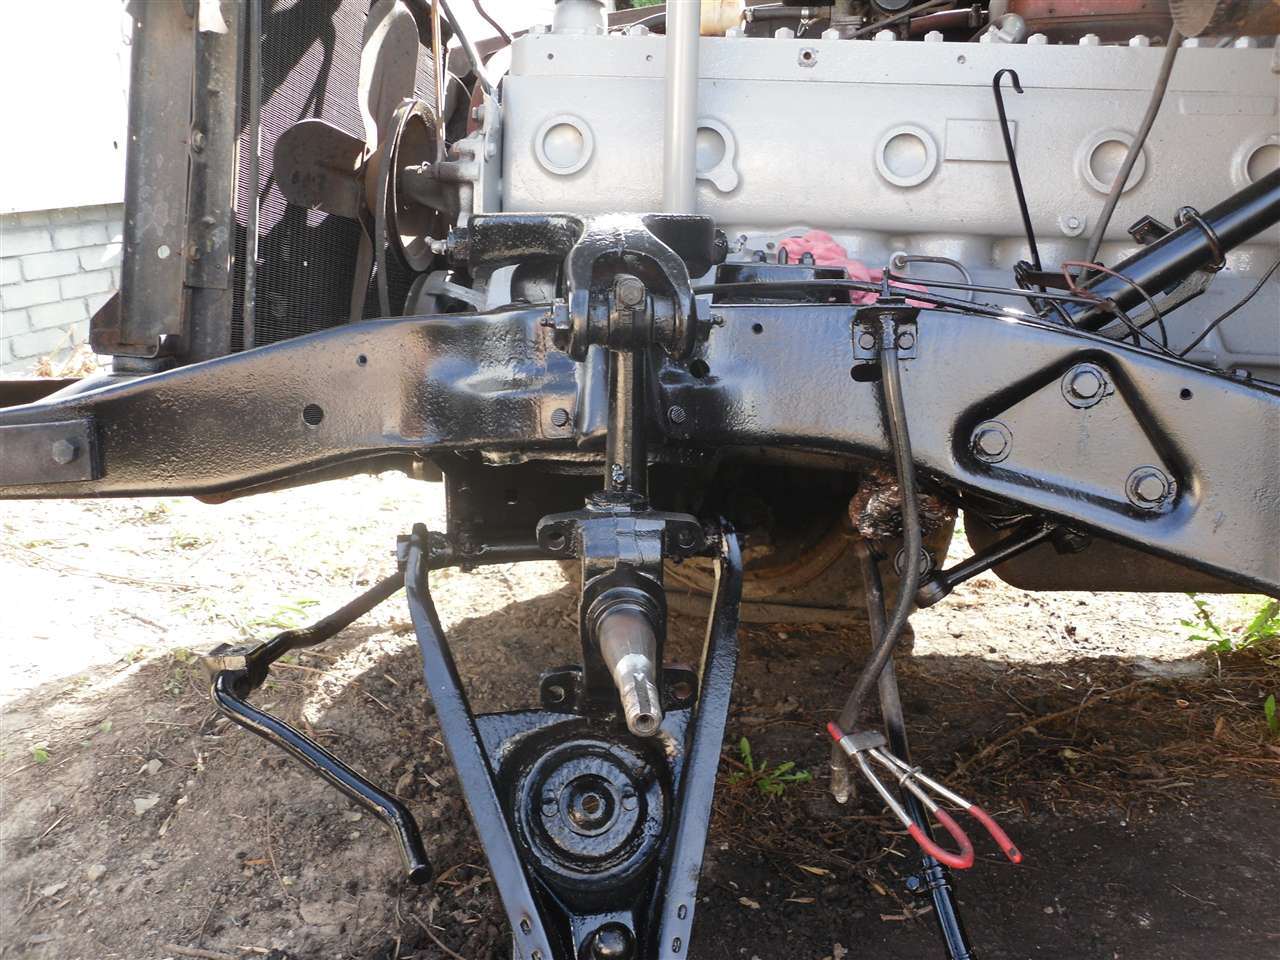 (173.00 KB) (173.00 KB)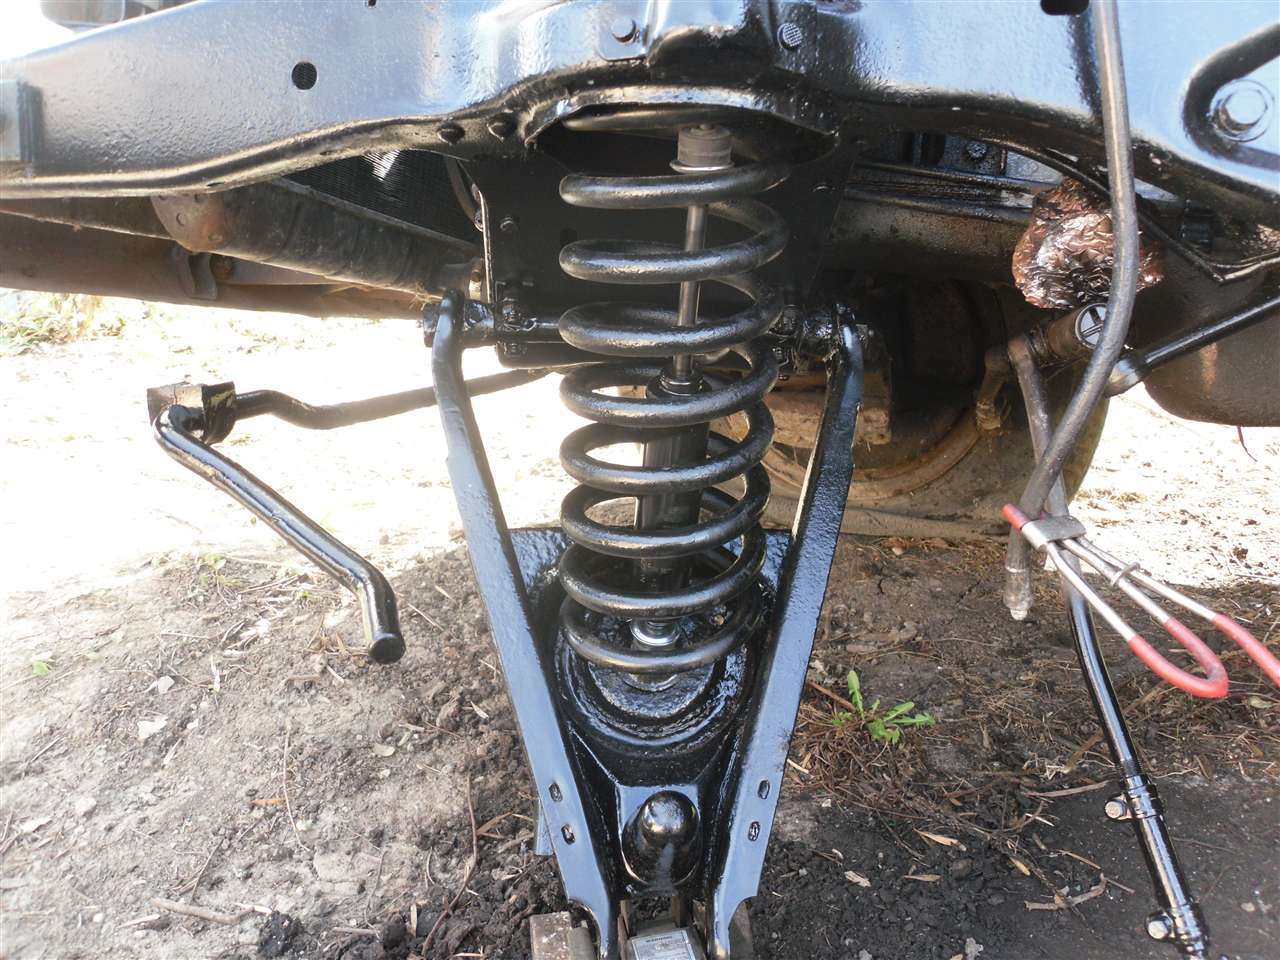 (167.62 KB) (167.62 KB)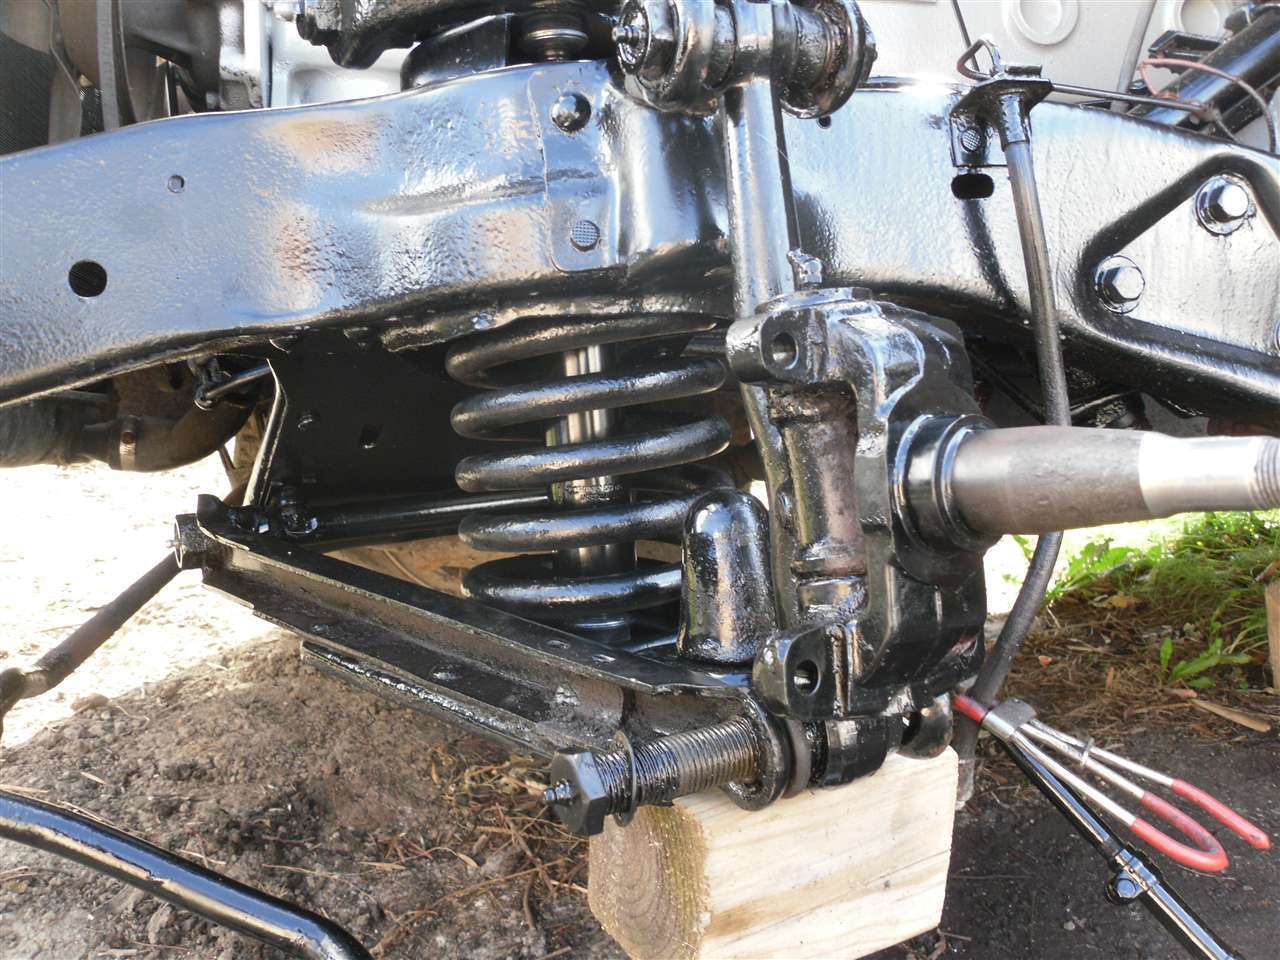 (156.14 KB) (156.14 KB)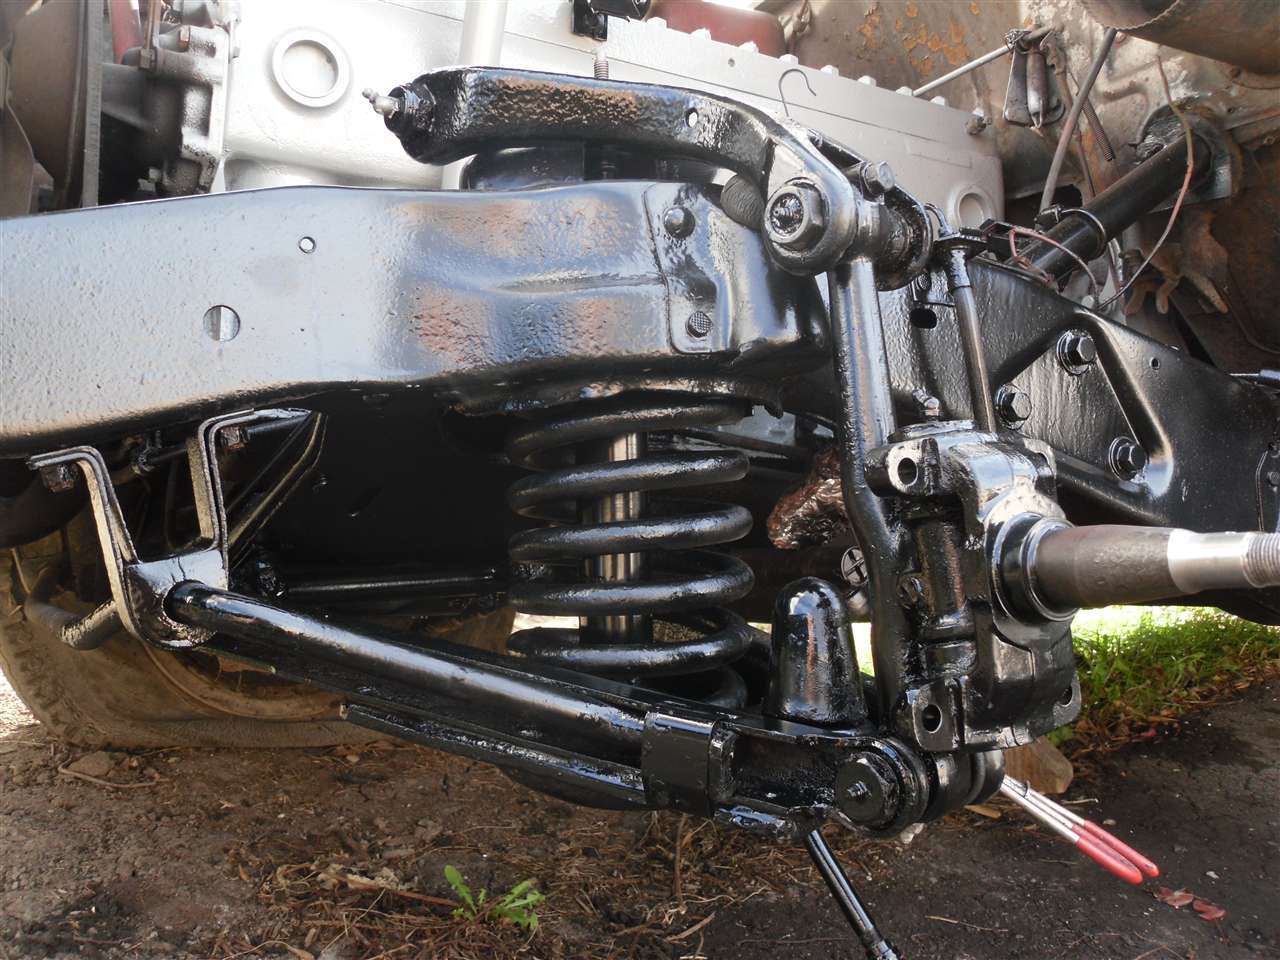 (143.31 KB) (143.31 KB)
Posted on: 2010/11/7 17:02
|
|||
|
[url=h
|
||||
|
||||
|
Re: 51Packard's....51 Packard
|
||||
|---|---|---|---|---|
|
Home away from home
|
Didn't make it there today, but I should in the next few days... I f'n HATE HYUNDAI'S!...
Posted on: 2010/11/7 19:45
|
|||
|
||||
|
Re: 51Packard's....51 Packard
|
||||
|---|---|---|---|---|
|
Home away from home
|
Whenever you can get it, I would appreciate it. I worked on the harness some more tonight, but I have a LONG way to go before it's done!
Posted on: 2010/11/7 22:56
|
|||
|
[url=h
|
||||
|
||||
|
Re: 51Packard's....51 Packard
|
||||
|---|---|---|---|---|
|
Home away from home
|
Here is a question about starters. Are the solenoids themselves serviceable? I know you can remove them from the starter, but can they be disassembled? I'm guessing not because I cannot find a parts diagram for it.
The threaded rod on mine (where the battery cable goes) has stripped threads and I was hoping to be able to replace it without getting a different solenoid. Everything works fine, it just does not get a good connection because the nut cannot get tight.
Posted on: 2010/11/8 14:13
|
|||
|
[url=h
|
||||
|
||||
|
Re: 51Packard's....51 Packard
|
||||
|---|---|---|---|---|
|
Forum Ambassador

|
Depends on the solenoid. The smaller silver or black with 3 terminals usually are sealed & not serviceable. The larger 3 or 4 terminal with plunger sometimes have a contact kit available.
Not knowing how/where stripped any chance of tapping for a different thread or smaller size. If not, getting a different nut or adding a spacer to get the threads in a different spot. Attach file: (4.77 KB)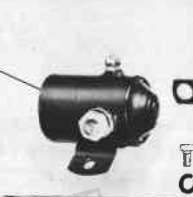 (7.00 KB) (7.00 KB)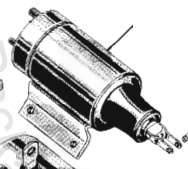
Posted on: 2010/11/8 14:27
|
|||
|
||||
|
Re: 51Packard's....51 Packard
|
||||
|---|---|---|---|---|
|
Home away from home
|
Thanks again HH56. I have the top kind so no help there. I tried a spacer to get it to "good" thread, but that stripped also when I was tightening it. I do not have a tap and die set so I can't change the size, unless I can find one at work. Maybe I'll try that next.
Posted on: 2010/11/8 15:21
|
|||
|
[url=h
|
||||
|
||||
|
Re: 51Packard's....51 Packard
|
||||
|---|---|---|---|---|
|
Home away from home
|
11-08-10
Warm spell here which would mean more time for the car outside, but stupid daylight savings screwed me out of an hour of daylight. Now when I get home from work, I have about 15 min before it is so dark you need a flashlight. Today I took the solenoid off of my starter. I'm going to take it to work and see if we have a tap that I can use to fix the threads to the next smaller size. The starter is in fine shape, just needed some freshening up so I hit it quickly with the wire brush in the angle grinder and gave it a coat of gloss black. I also gave the brake backing plate a quick hit with the wire brush and painted it high temp gloss black. I'm not too concerned as to how it came out because I will have to take the brakes apart again next spring. I won't have time to make the new brake lines so I'll just put the old wheel cylinder back on with the old fluid for now. Don't want to keep the system dry all winter and I don't want to contaminate my new wheel cylinder with the old fluid. Attach file: (178.19 KB)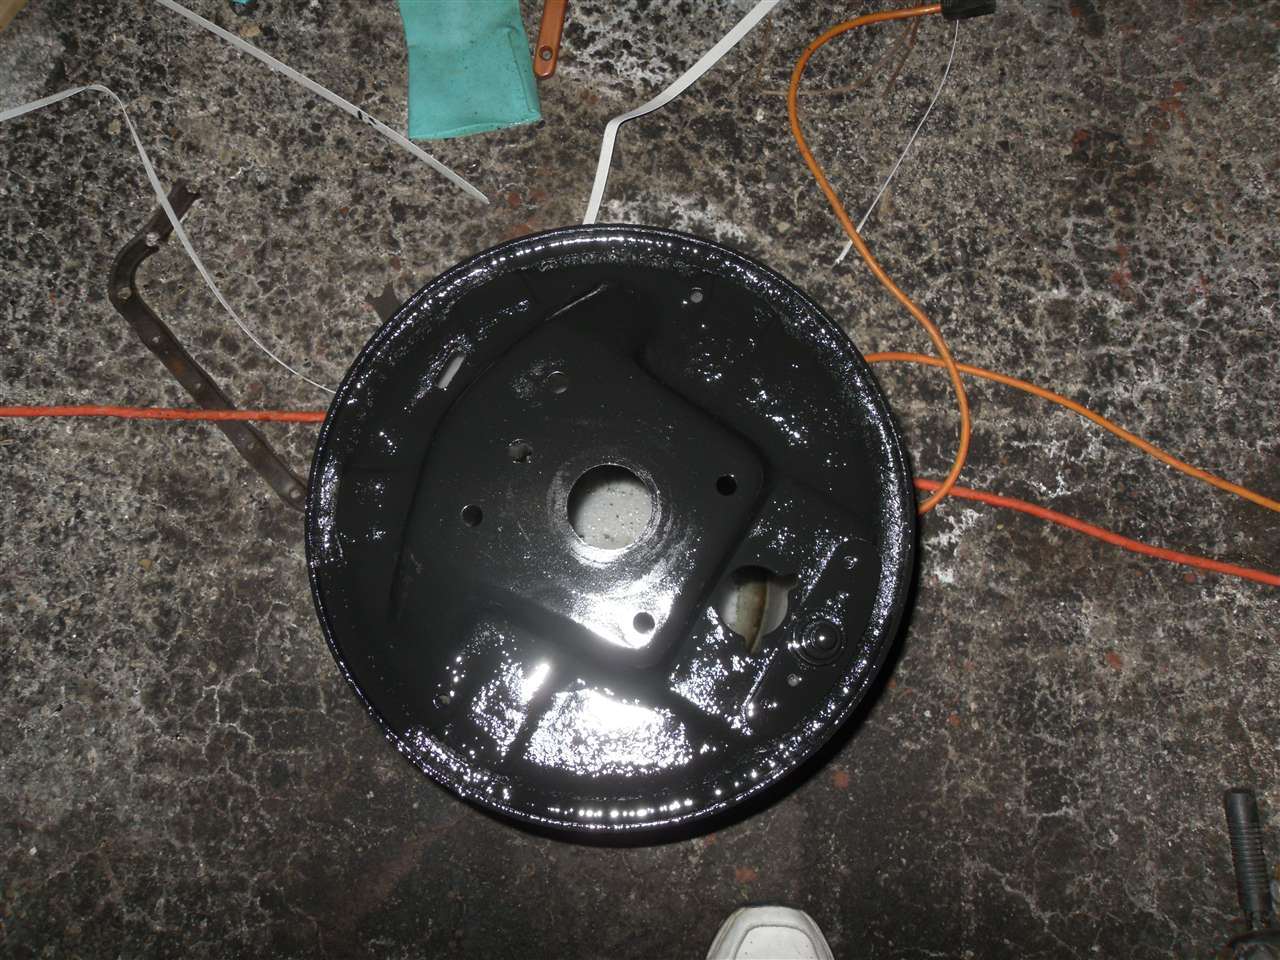 (167.40 KB) (167.40 KB)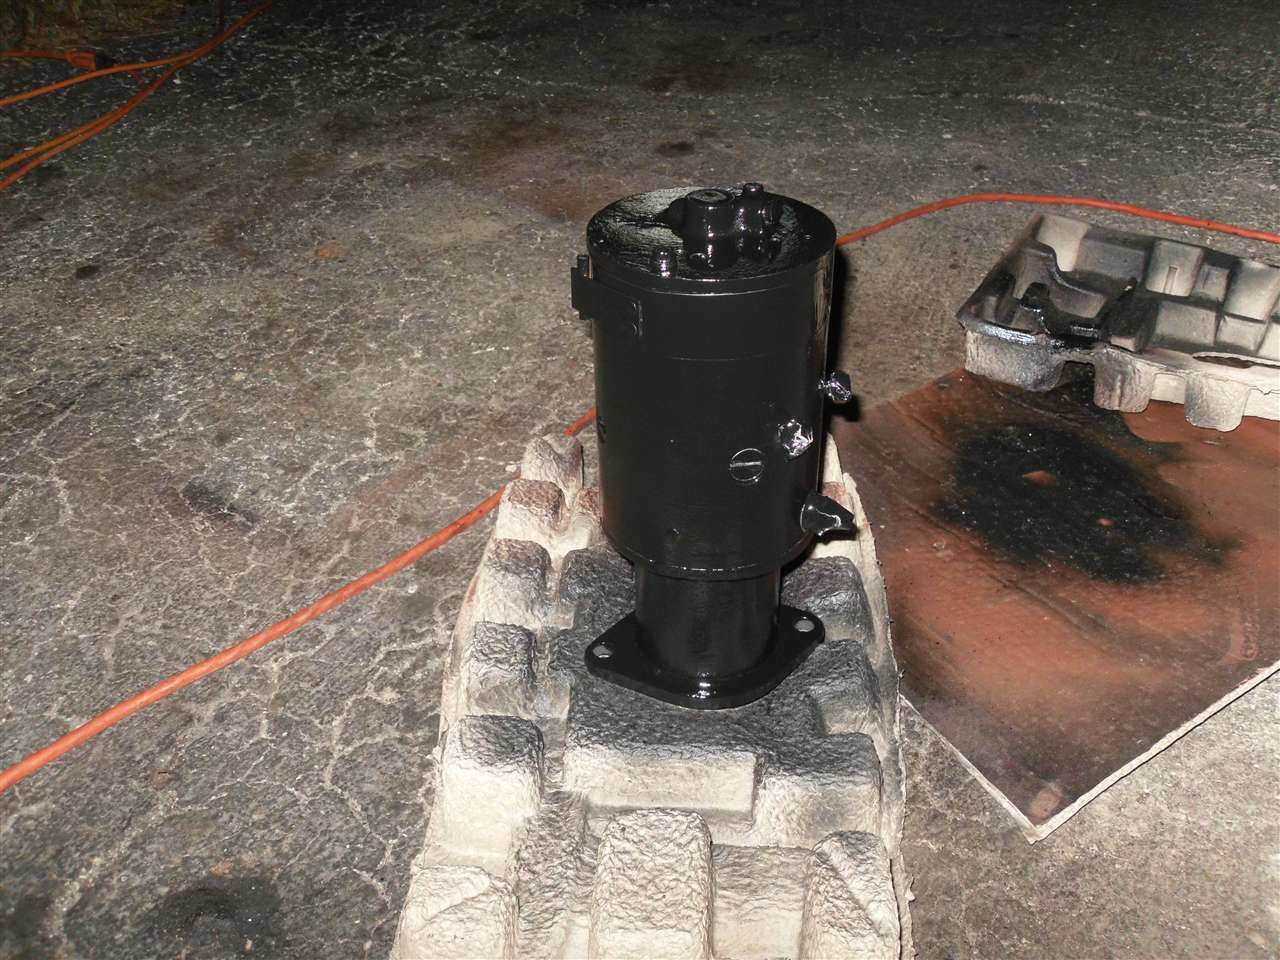
Posted on: 2010/11/8 20:42
|
|||
|
[url=h
|
||||
|
||||


