|
Re: Installing 23rd Series outside mirrors
|
||||
|---|---|---|---|---|
|
Forum Ambassador

|
Sounds like they are trying to make a slight keyhole shaped slot with the two positions. It says to move the template but the instructions are confusing. Not sure if they mean move 1/4" inch or one quarter of the diameter of the first hole and then drill a different smaller size. Without the template, that would have to be determined by the size of the washer to jiggle thru.
Sounds as if the mount is like the later mirrors which had a special allen head screw. The back of screw had a smaller diameter area machined in for a captured washer held by a peened over end. That washer was stuck into the drilled hole and then washer was pulled tight against the metal by effectively "unscrewing" the allen head. The reverse direction of normal tightening would draw the screw into the base and in the process shorten the washer side and pull the mirror tightly into the trim and door. There was a discussion some time back about people making a reasonable copy of that special screw by using a regular allen head setscrew and welding a washer on the end. Obviously the washer wouldn't be free to move or swivel if welded but apparently not a big deal. Don't recall if any size or dimensions were given but length would depend on depth of trim.
Posted on: 2012/11/30 11:27
|
|||
|
Howard
|
||||
|
||||
|
Re: Installing 23rd Series outside mirrors
|
||||
|---|---|---|---|---|
|
Home away from home
|
Fred: What was the source for the mirrors? Picture taken at Warren meet in 2009
Attach file:  (225.58 KB) (225.58 KB)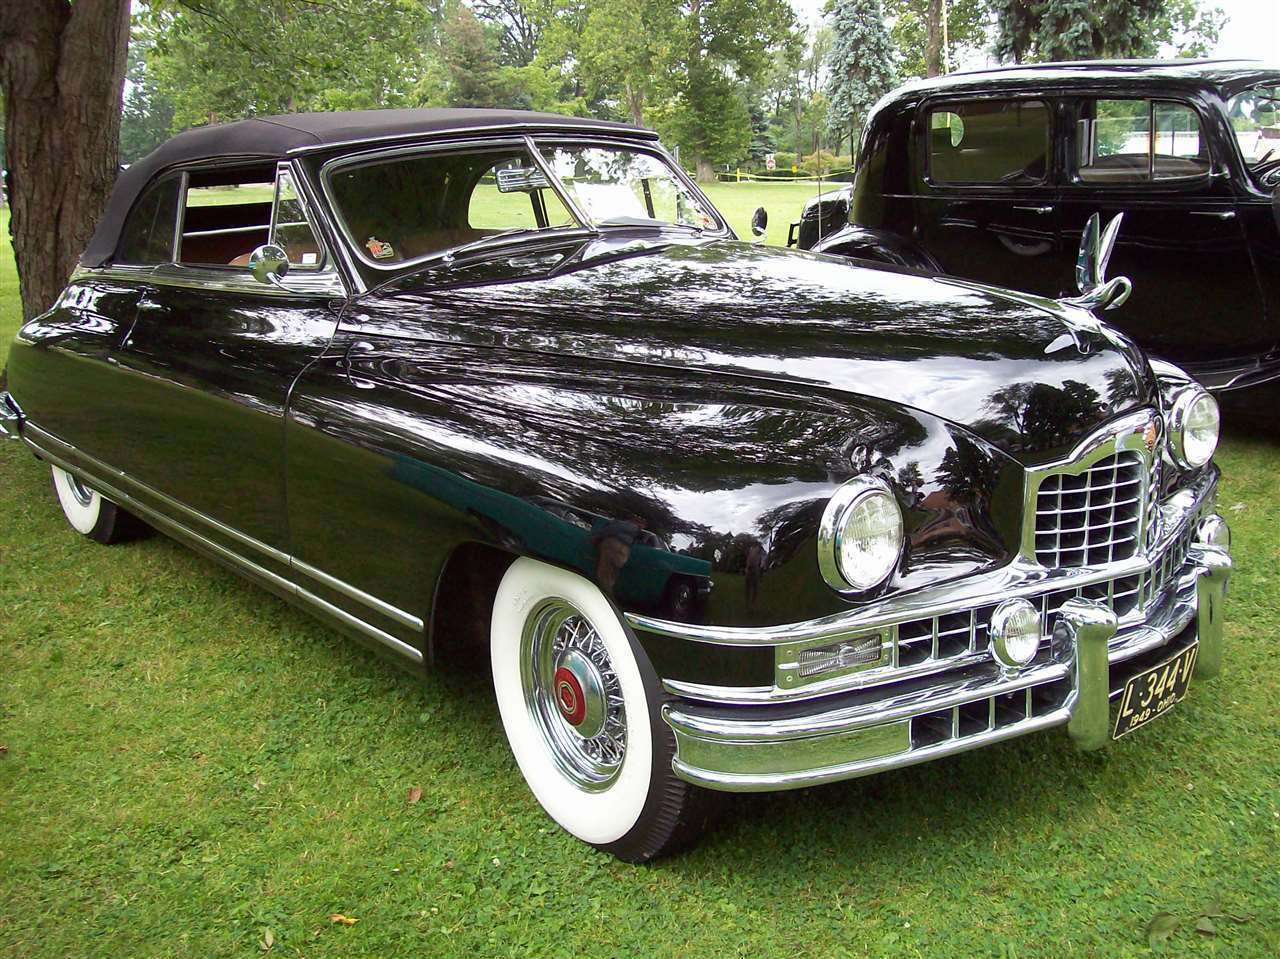
Posted on: 2012/11/30 14:05
|
|||
|
'49 Deluxe Eight - 23rd Series
|
||||
|
||||
|
Re: Installing 23rd Series outside mirrors
|
||||
|---|---|---|---|---|
|
Home away from home
|
Sorry, that picture is of a 22nd series.
Posted on: 2012/11/30 14:07
|
|||
|
'49 Deluxe Eight - 23rd Series
|
||||
|
||||
|
Re: Installing 23rd Series outside mirrors
|
||||
|---|---|---|---|---|
|
Home away from home

|
I bought the mirrors from American Arrow Corp in 2010. They cost about $650 for the pair. They are very high quality.
The latest ideas about the mounting seem right. The hole in the door skin is shaped like an old keyhole. If you make a 1/4" wide hole right next to the larger hole the lock washer would have something to bite into. This is really mickey mouse but I guess it was designed to install the mirror without removing the trim strip from the car or taking the door upholstery off. I have the trim off, so I can do a much better job with a Dremel tool and make the slot a bit deeper than half of a 1/4" hole. The grinding on the door skin is much easier if the trim strip is removed from the car. If I remember I will take some photos and submit them.
Posted on: 2012/12/1 22:10
|
|||
|
Fred Puhn

|
||||
|
||||


