|
Re: Stewart's 1955 Packard 400
|
||||
|---|---|---|---|---|
|
Home away from home

|
You are correct--there is no useful reason to remove those sleeves.
Posted on: 2014/12/14 21:00
|
|||
|
||||
|
Re: Stewart's 1955 Packard 400
|
||||
|---|---|---|---|---|
|
Home away from home
|
Here's a picture of the interference:
 Craig
Posted on: 2014/12/28 13:00
|
|||
|
Nuke them from orbit, it's the only way to be sure! Ellen Ripley "Aliens"
Time flies like an arrow. Frui |
||||
|
||||
|
Re: Stewart's 1955 Packard 400
|
||||
|---|---|---|---|---|
|
Home away from home
|
Stupid question:
What have some of you fabricated to pull the axle shaft? Moderns axle puller kits are not made for this style shaft. I'm sure I am missing something as this should be simple. I picked up a 7/8 nut, to fit the axle, and welded it to a smaller one to fit my slide hammer. I've had no luck yet. My slide hammer may not be heavy enough and my welds certainly are not good enough as they keep breaking. Also, its supposed to be up near 60 here on Saturday so I planning to paint some suspension parts. I was afraid it would be April or May before I could anything painted. Attach file:  (104.54 KB) (104.54 KB)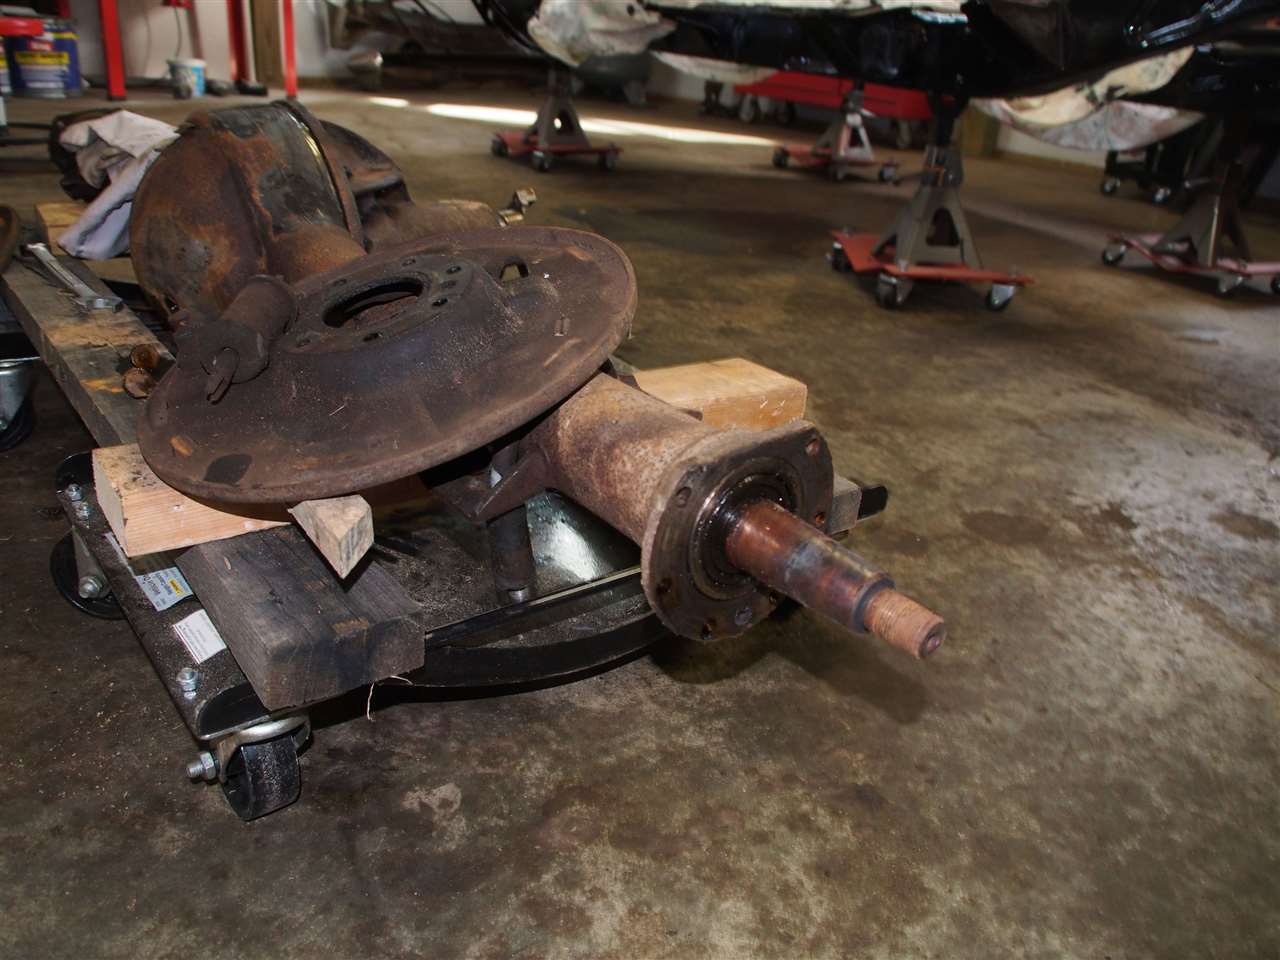
Posted on: 2015/1/1 20:31
|
|||
|
Stewart Ballard
|
||||
|
||||
|
Re: Stewart's 1955 Packard 400
|
||||
|---|---|---|---|---|
|
Forum Ambassador

|
For my 47 which has essentially the same axle it needed a 7/8-14 thread. Bought a coupling nut and bolt in that size. Drilled a hole in the bolt and threaded that for my slide hammer. Threaded the bolt into the coupling nut and nut to the axle then attached the slide to the bolt. Micky moused but it pulled the axle out with no difficulty. Because the bearing cup is not quite a press fit but is somewhat tight in the axle housing it does take a decent size slide hammer to get it moving.
Attach file: (43.18 KB)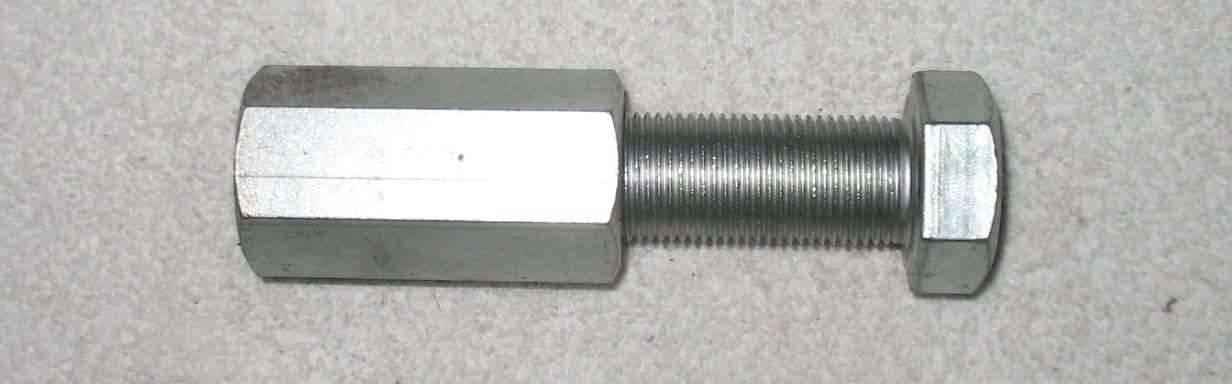 (23.96 KB) (23.96 KB)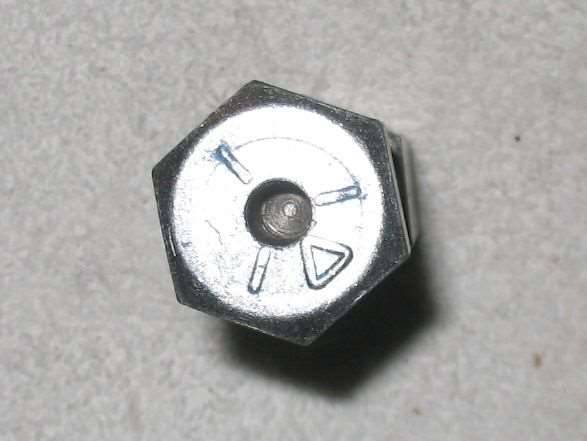
Posted on: 2015/1/1 20:55
|
|||
|
Howard
|
||||
|
||||
|
Re: Stewart's 1955 Packard 400
|
||||
|---|---|---|---|---|
|
Home away from home
|
stewart, send some of that heat up north, 34 tomorrow, I am gonna try to repack the front bearings and get the front hubs back on. I am hoping to pull the rears and get the brakes done. After tomorrow, we are back down to 10-15. Nothing like Packard mechanics in the dead of winter, we have the sickness hahaha.
Posted on: 2015/1/1 20:57
|
|||
|
[url=https://packardinfo.com/xoops/html/modules/
|
||||
|
||||
|
Re: Stewart's 1955 Packard 400
|
||||
|---|---|---|---|---|
|
Home away from home
|
Thanks HH, that is essentially what I did but welded three nuts together to achieve it. I'm not going to post a picture of it as its embarrassing. I'll weld it back together tomorrow and see if it works. If not I'll find a large slide hammer and try your idea.
TroyT, the 60 degrees for tomorrow is just a one hit wonder due to rain coming up from the gulf. Its 35 today and expecting low 40's Sunday. I'll paint everything I can tomorrow and maybe put in my cellar to cure.
Posted on: 2015/1/2 13:51
|
|||
|
Stewart Ballard
|
||||
|
||||
|
Re: Stewart's 1955 Packard 400
|
||||
|---|---|---|---|---|
|
Home away from home

|
Stewart,
Did you get your oil pump to fit? Would you show a picture of how much you had to grind off to get it to fit? On the axle, could you use the coupling nut to the axle and then use a long threaded rod with a washer and nut on the end, and use some old black pipe as your slide?
Posted on: 2015/1/2 15:50
|
|||
|
||||
|
Re: Stewart's 1955 Packard 400
|
||||
|---|---|---|---|---|
|
Home away from home
|
Got all the front suspension parts painted as I planned today. Planning to order some of the rubber parts from Max this week.
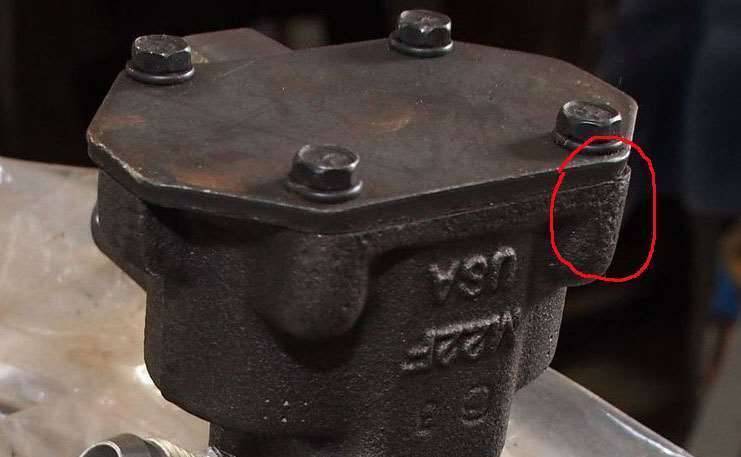
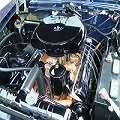
On the Parts Cross Reference page someone has listed some Upper Control Arm Inner Bushings from Moog. There was also a comment that they "Need to verify". Well, today I verified it. Advanced Auto Parts had a kit listed on their page with that same part # MOOG K8083. It did not say if the kit contained 1 or 2 bushings. The guy behind the counter thought it would be just one. For 14.99 I order 1 kit and it contained 2 as I hoped. I have not pressed them in yet but they look good, image below. I will stop by this week and order the second kit. I got 2 for $15. Max has them at $15 each. Lastly, as requested I have added an two images of the oil pump where I had to grind the corner off to allow the pan to fit. I believe I ended up grinding more than necessary. I kept expecting the holes (block to pan) to line up perfectly but they do not. The bolts go in but the holes are not perfectly aligned. I even removed the pump and adapter and the holes to not align. Attach file: (80.71 KB)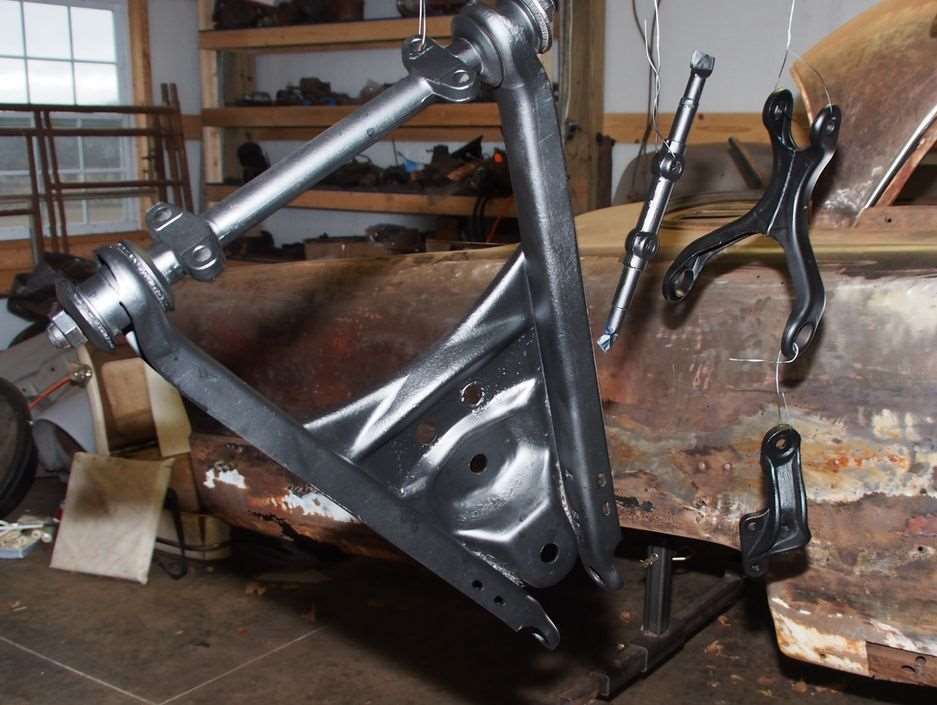 (56.57 KB) (56.57 KB)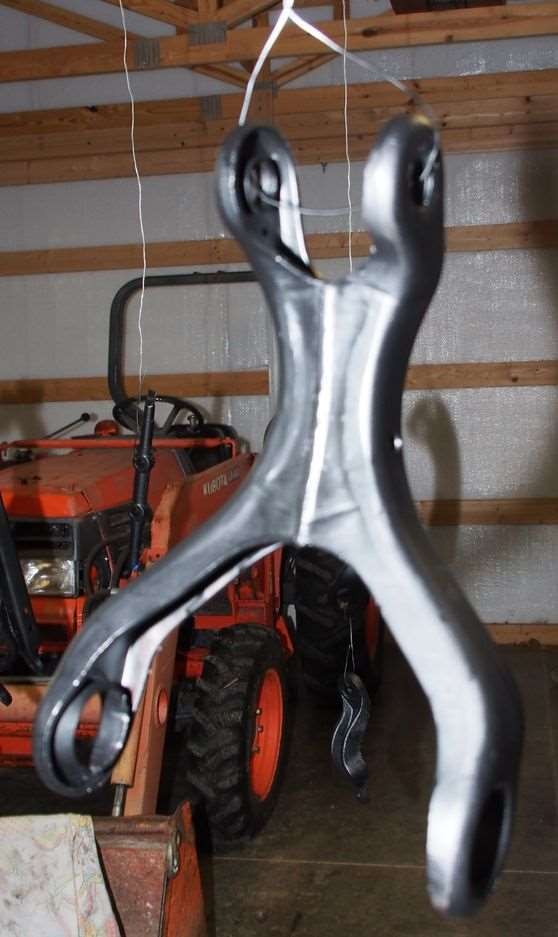 (58.35 KB) (58.35 KB)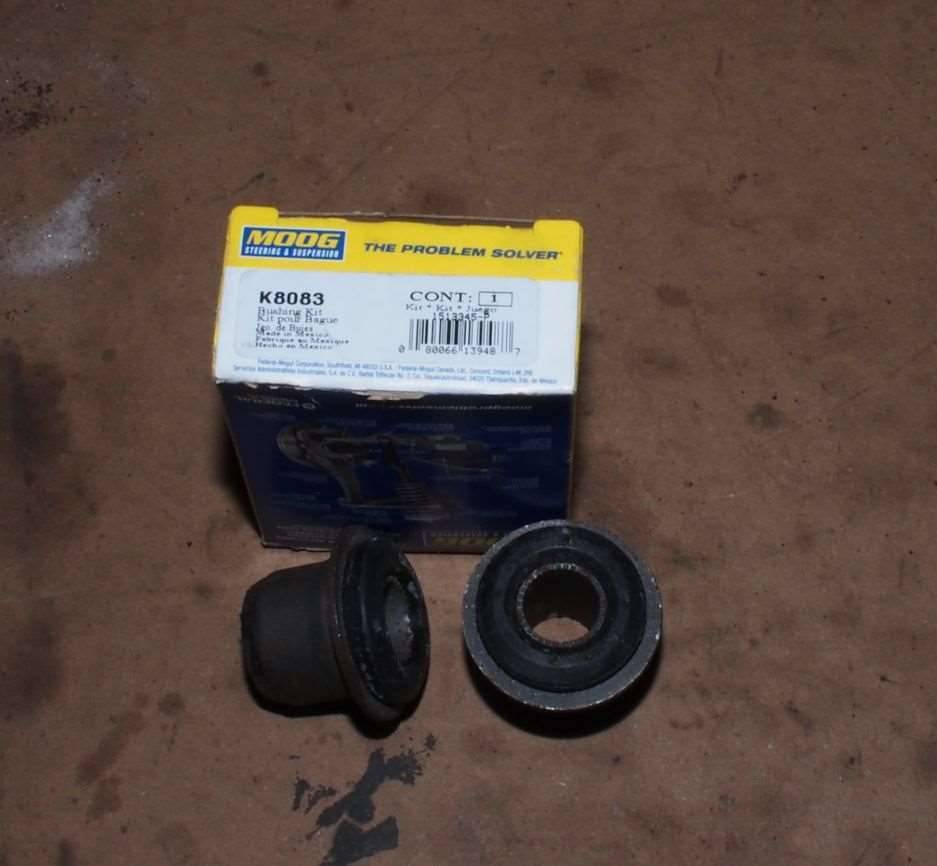 (78.42 KB) (78.42 KB)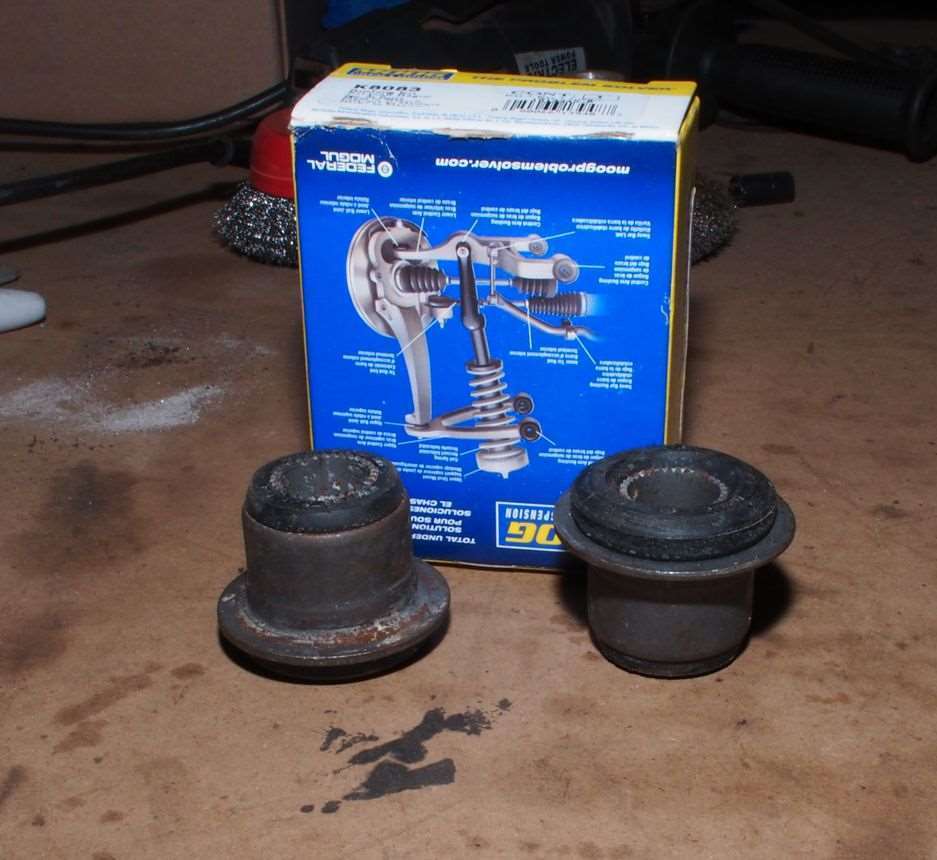 (69.92 KB) (69.92 KB)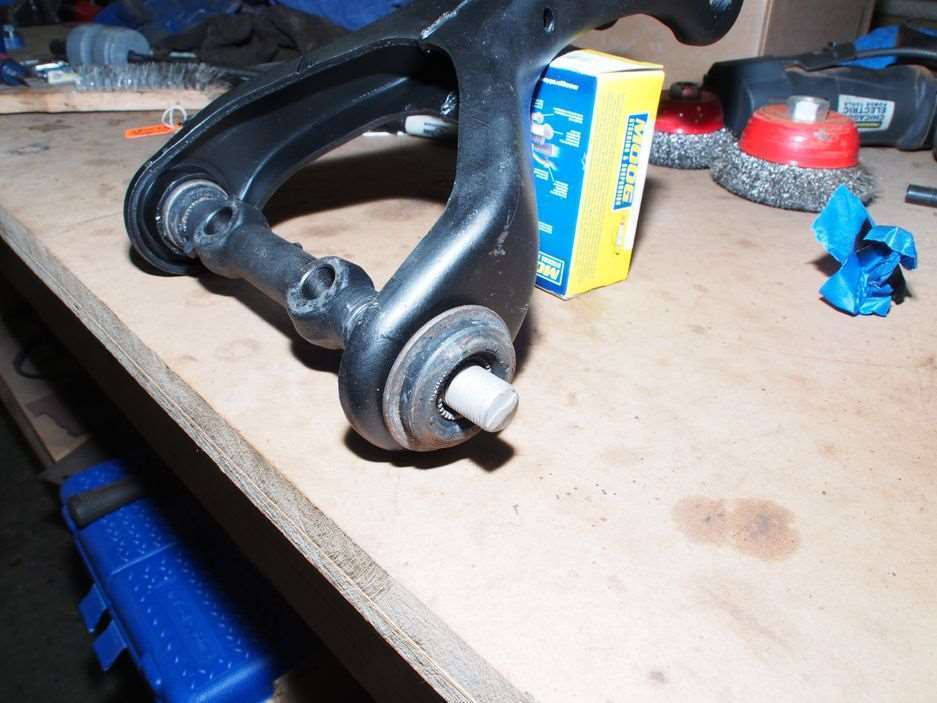 (76.75 KB) (76.75 KB)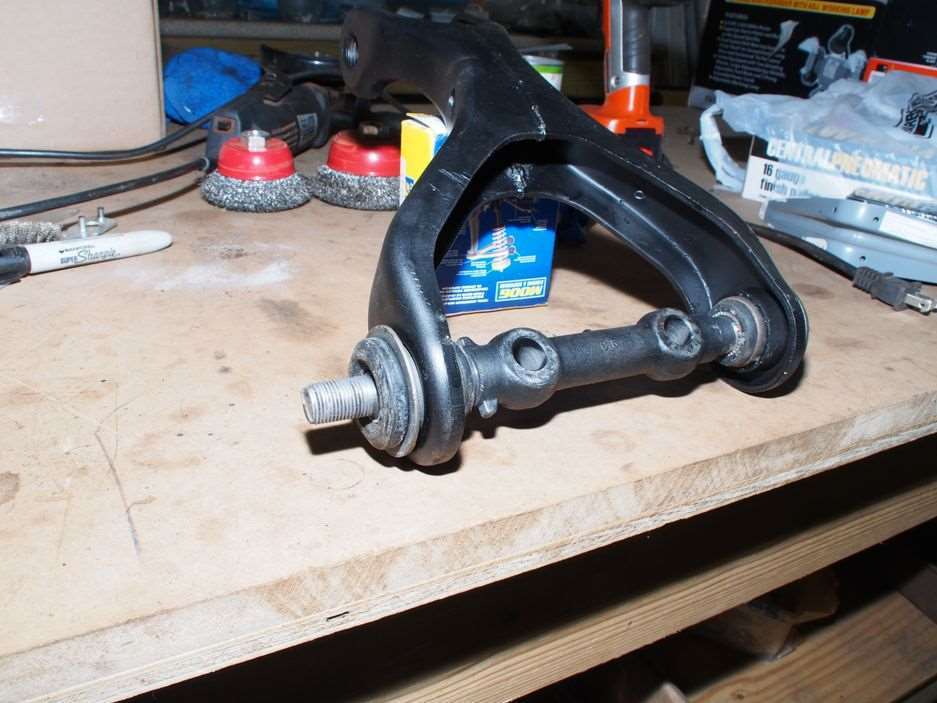 (58.97 KB) (58.97 KB)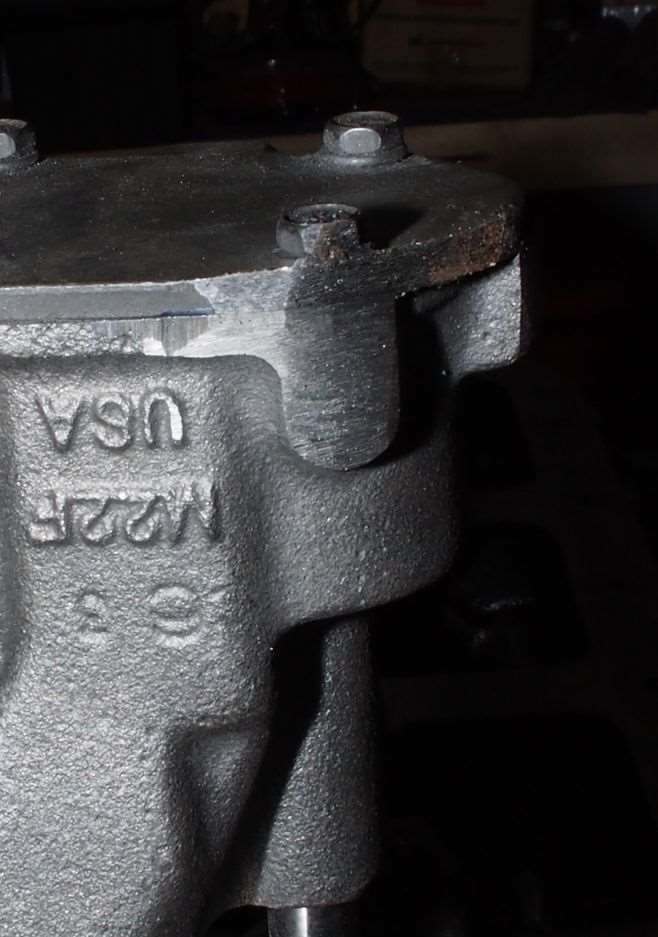 (69.26 KB) (69.26 KB)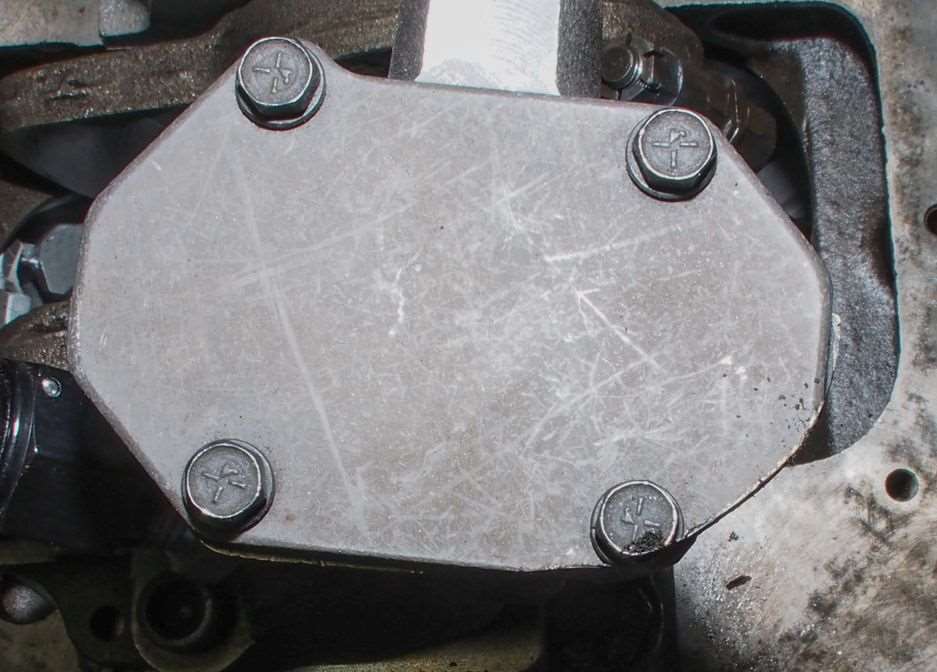
Posted on: 2015/1/3 18:56
|
|||
|
Stewart Ballard
|
||||
|
||||
|
Re: Stewart's 1955 Packard 400
|
||||
|---|---|---|---|---|
|
Home away from home
|
That's about the same amount i had to grind off of my pump but IIRC there was more ground from the head of the hex head screw.
So the K8083 bushings fit the UPPER control arm. But what did u use for the LOWER control arm bushings?????
Posted on: 2015/1/3 19:22
|
|||
|
VAPOR LOCK demystified: See paragraph SEVEN of PMCC documentaion as listed in post #11 of the following thread:f
https://packardinfo.com/xoops/html/modules/newbb/viewtopic.php?topic_id=7245 |
||||
|
||||


