|
Re: BigKev's 1954 Packard Clipper Deluxe Sedan
|
||||
|---|---|---|---|---|
|
Webmaster

|
Well today was a prep day. I needed to get the car ready for the next phase in the rebuild. This involves getting the rest of the paint and rust stripped from the body. To do this I first have to remove the remaining trim. So with the door clips and handles off the car, I was able to remove the the remaining window trim.
Then the car went back up on jackstands. This is to make the bottom of the body easier to reach which doing the stripping, and body work. Also I have some items to take care of under the car. The first order of business was to survey all the visible body damage that needs to be addressed. There is a lot to be done. Someone once called me a sadist for buying this car. So here is the what has to be done (in order of photos) 1) Rear Driver-Side corner of car: At some point the car was rear ended. This forced the bumper in the rear of the car. The trunk lid and main bumper was replaced at some point. But none of the body damage was repaired. So the driver-side rear corner under the tail light was pushed it, this caused two large ridges to be raised on each side of that corner. For every dent, there is a ridge formed. Metal has to go somewhere. 2) Rear Driver-Side Door: At some other time in the cars history, it was also side swiped on the driver-side. The raised "scallop" portion of the rear door was completely caved in. I have already roughed this back out, a lot of metal had to get moved to get this far. Need to go over it a few more time with a slapping file to get it level and ready for filler. 3) Rear Driver-Side Quarter: Part of the same side-swipe, there was a crease along the quarter from the door edge that extended back 3/4 of the panel. This crease was pulled out with a Uni-Spotter as it is double paneled and you cant reach the back side. Also I had to shrink the metal with a torch as it was pretty stretched from the impact. Those flat panels are a pain. 4) Rust-Outs: All four corners of the rear wheel arches are rusted out, and there is evidence of previous amateur attempts to repair it with fiberglass and filler. The holes wil have to be enlarged to better metal, and then have patches welded in. Also they will need to be properlly painted and sealed from the backside to prevent this from happening again. Mud collects in these corners and causes this rust out. 5) Rear Passenger Door: Not only is there a dent here, but there is evidence of an older, deeper dent that was filled with over 1/4" of filler. Grrrr. 6) Rear filler panel. This has a dent in it from the rear end accident that pushed the bumper guards into the panel. This will have to get straightened before I can locate and drill the holes for the backup lights I am adding. 7) Rear bumper. Even though this was replaced at some point, there is the usually bottom edge jack damage. Also the bumper guards will be replaced. This will be removed from the car soon to give me access to the filler panel. On the inside of the car, both front floor pans will have to get replaced as well. The accelerator pedal is actually pulling loose from the floor where it is attached. Floors are completely rotten there. Attach file:  (90.16 KB) (90.16 KB)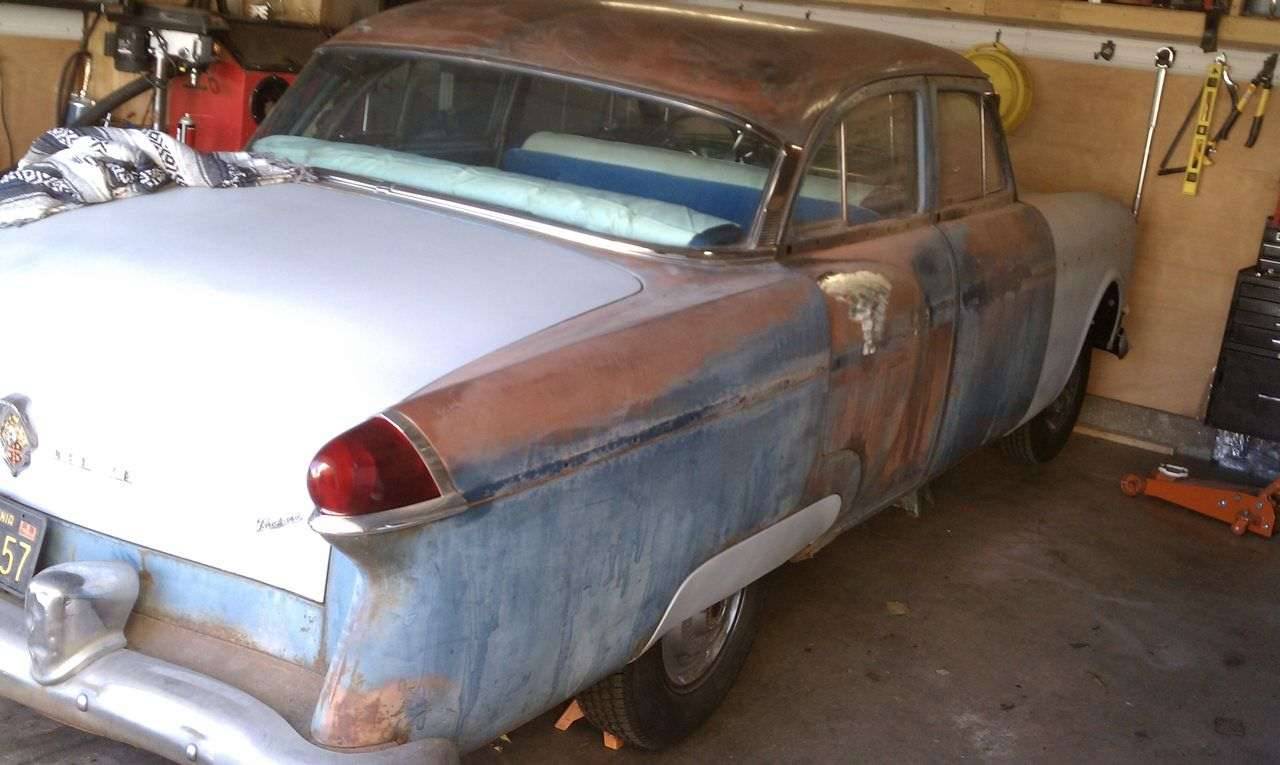 (84.39 KB) (84.39 KB) (91.23 KB) (91.23 KB)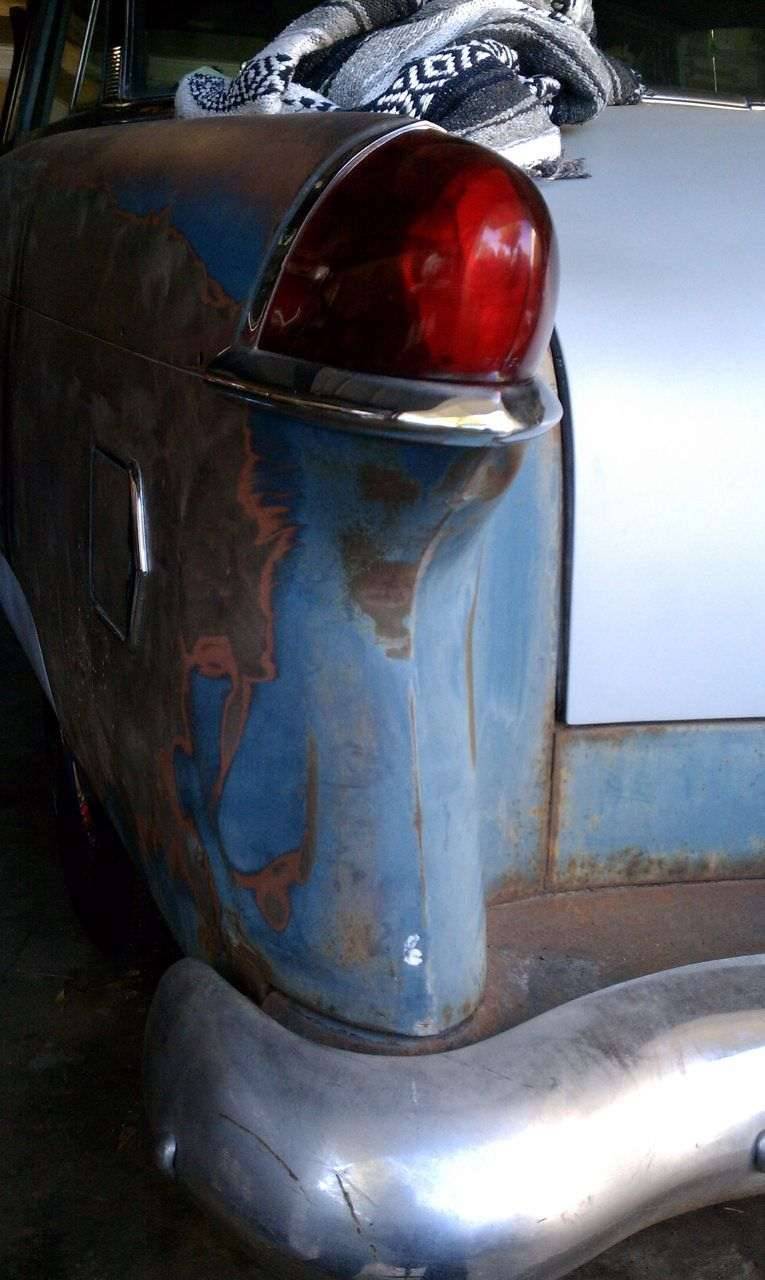 (67.80 KB) (67.80 KB)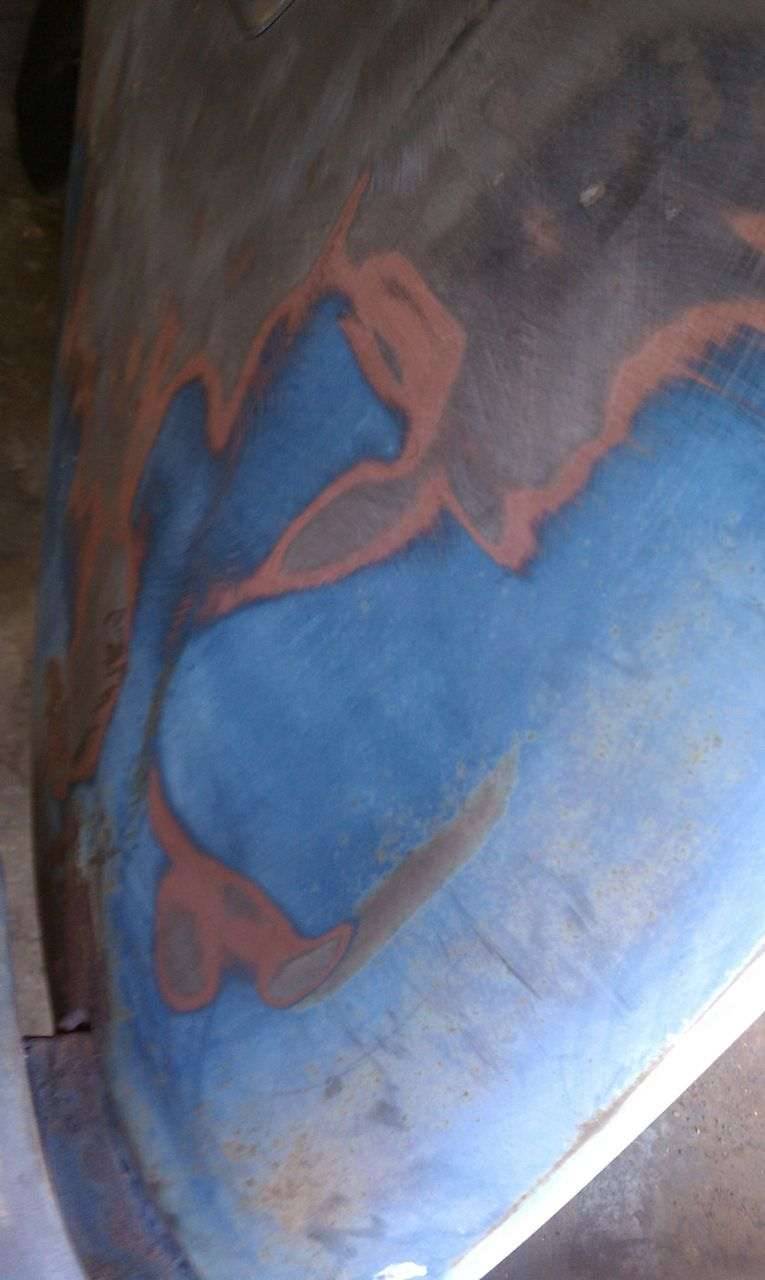 (69.52 KB) (69.52 KB)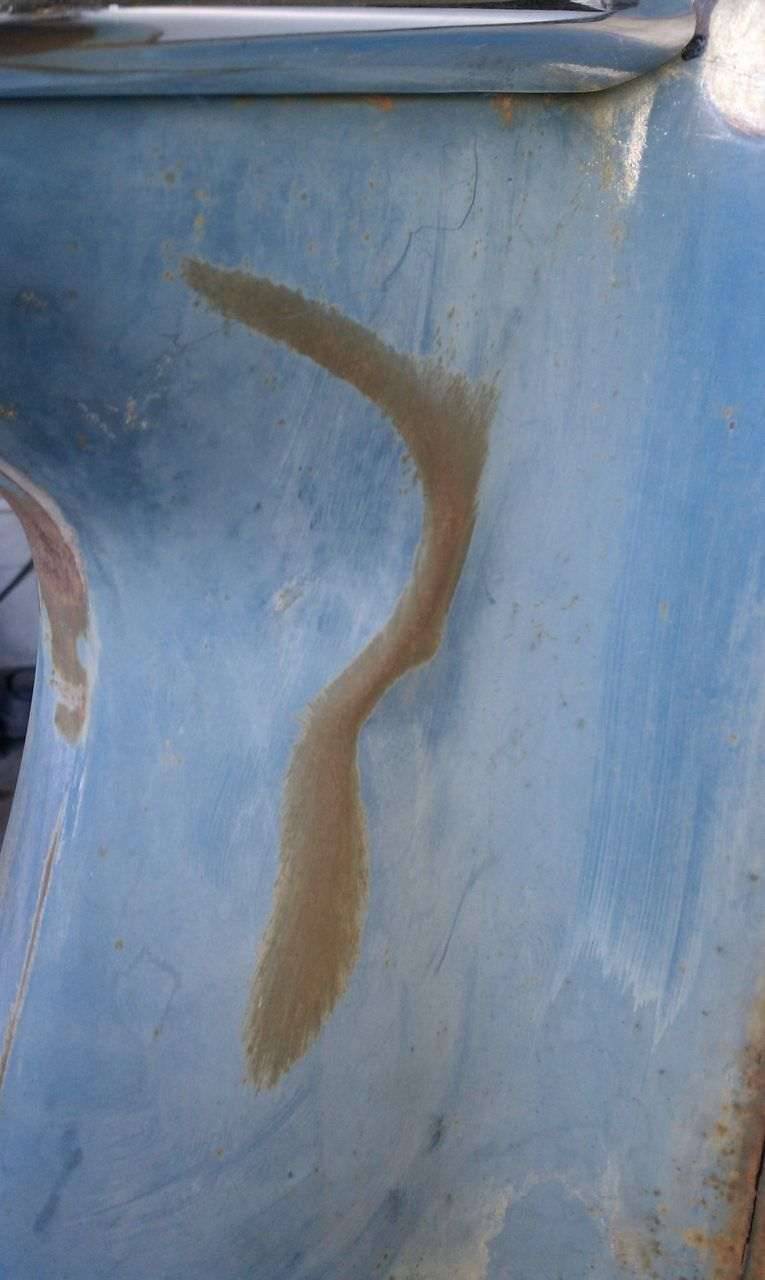 (88.80 KB) (88.80 KB) (58.58 KB) (58.58 KB)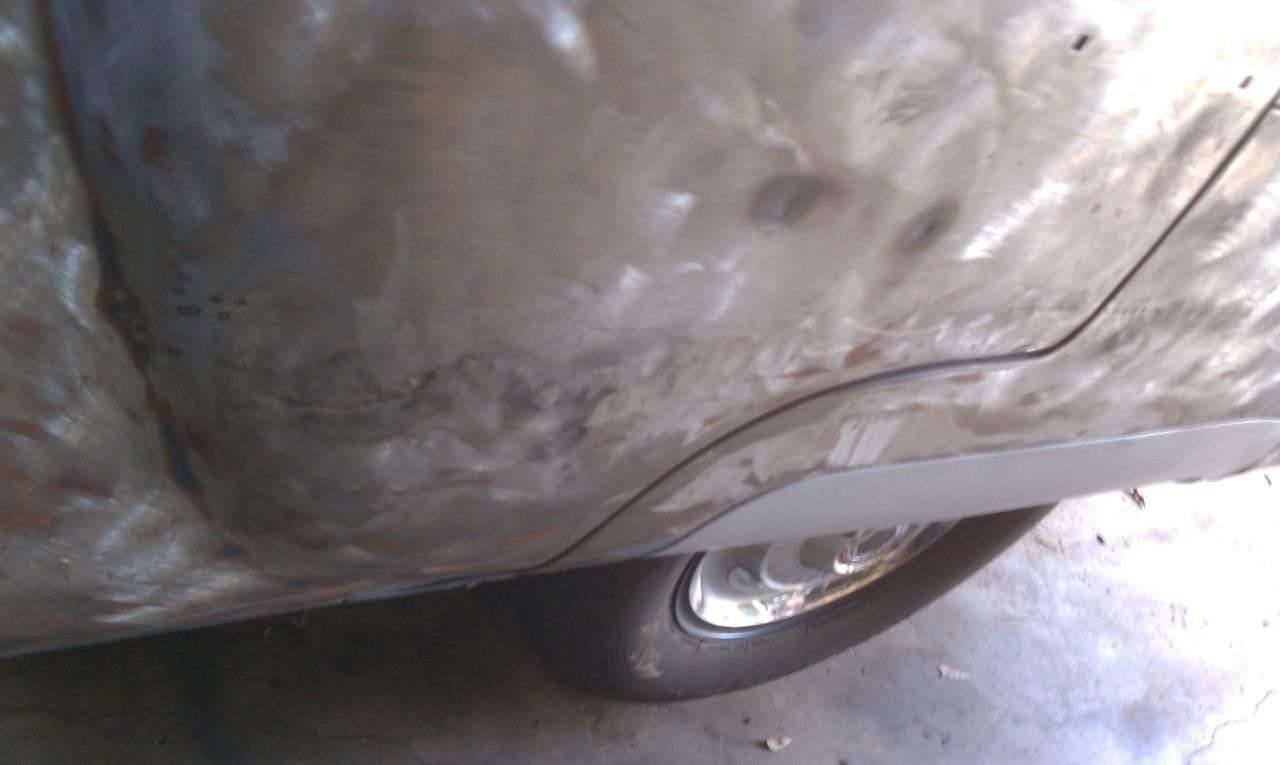 (63.66 KB) (63.66 KB)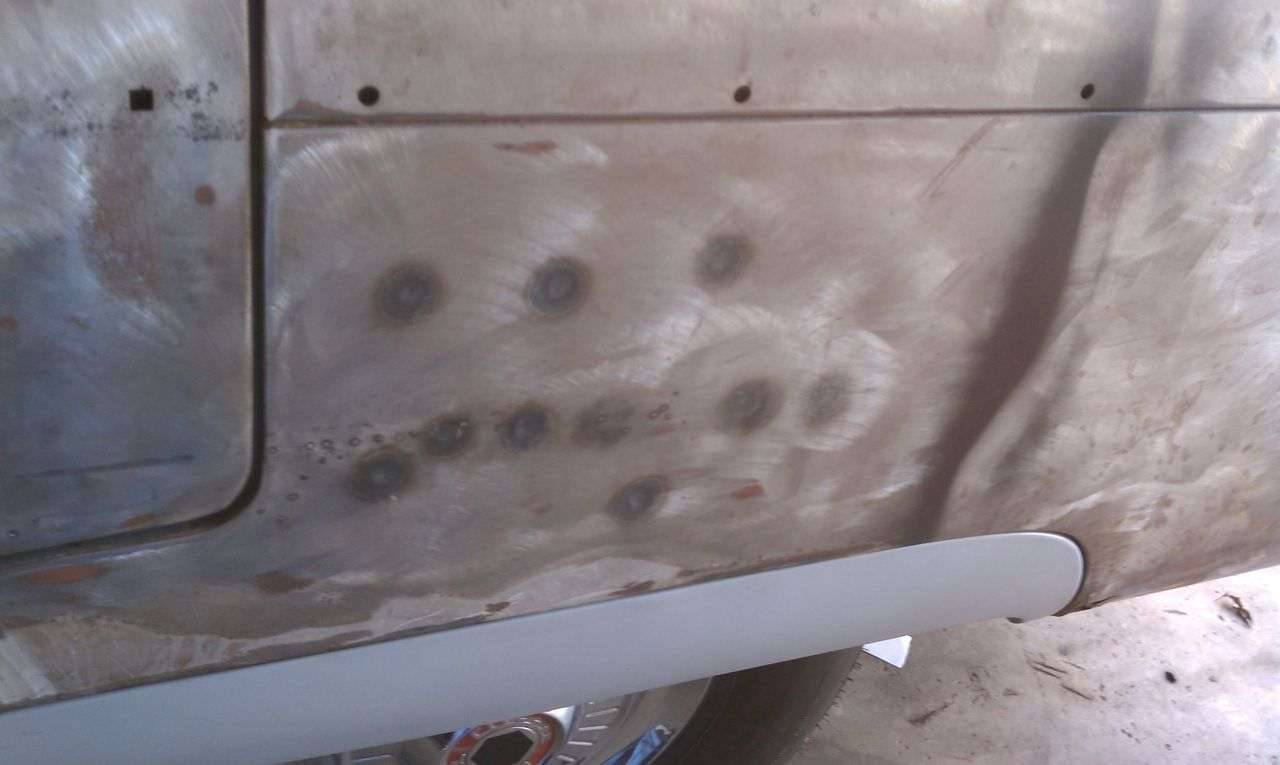 (92.74 KB) (92.74 KB) (64.32 KB) (64.32 KB)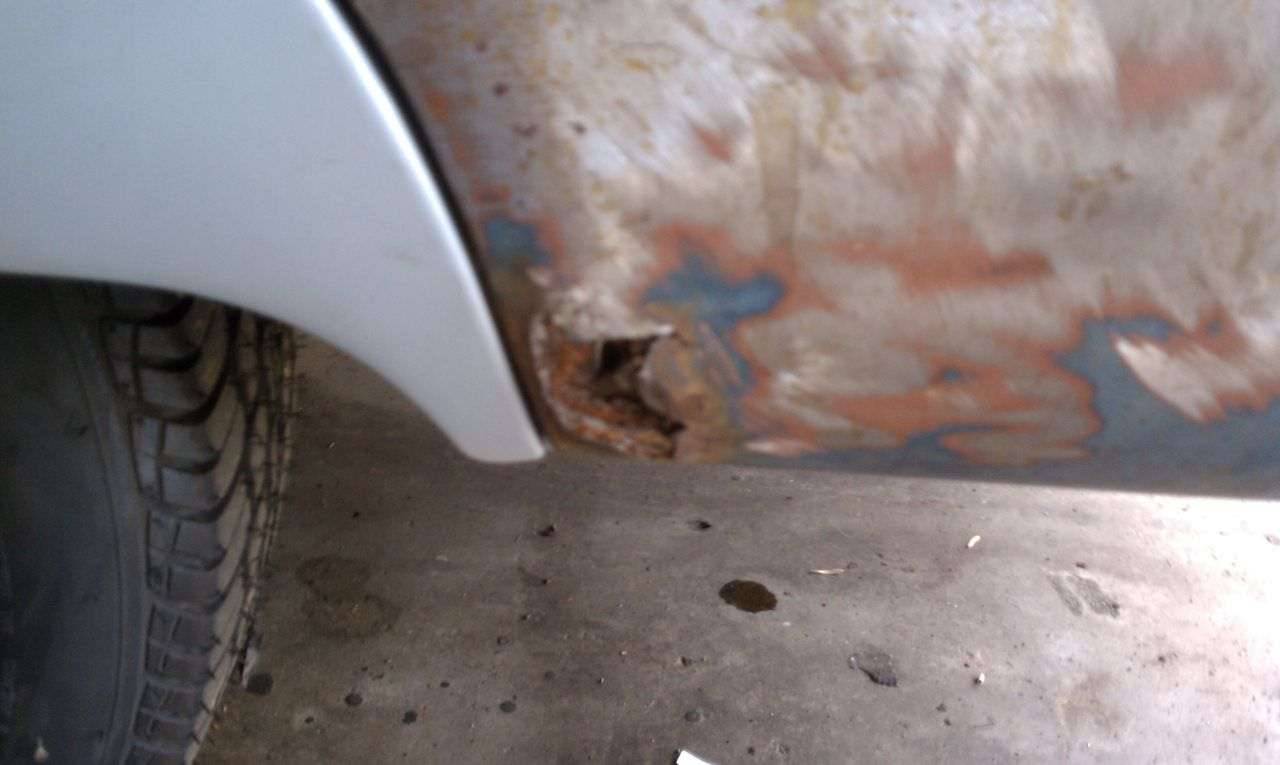 (68.91 KB) (68.91 KB)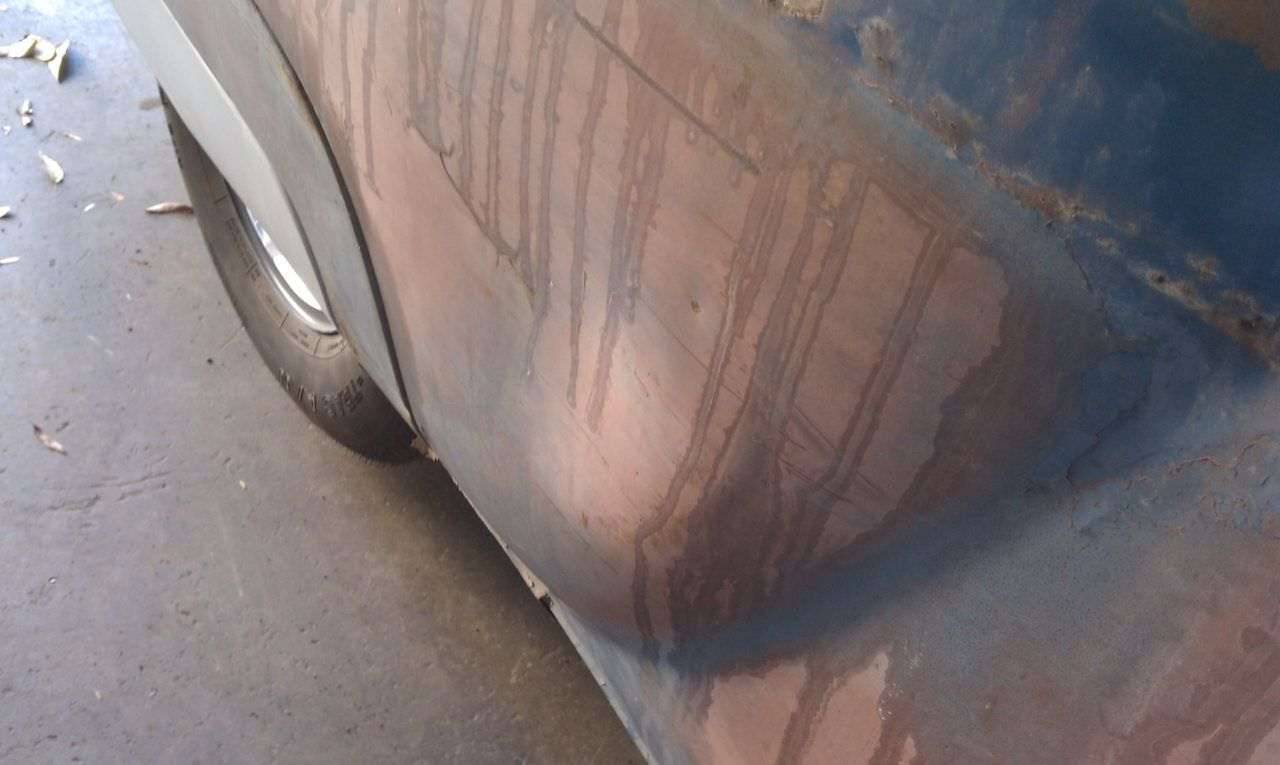 (66.96 KB) (66.96 KB)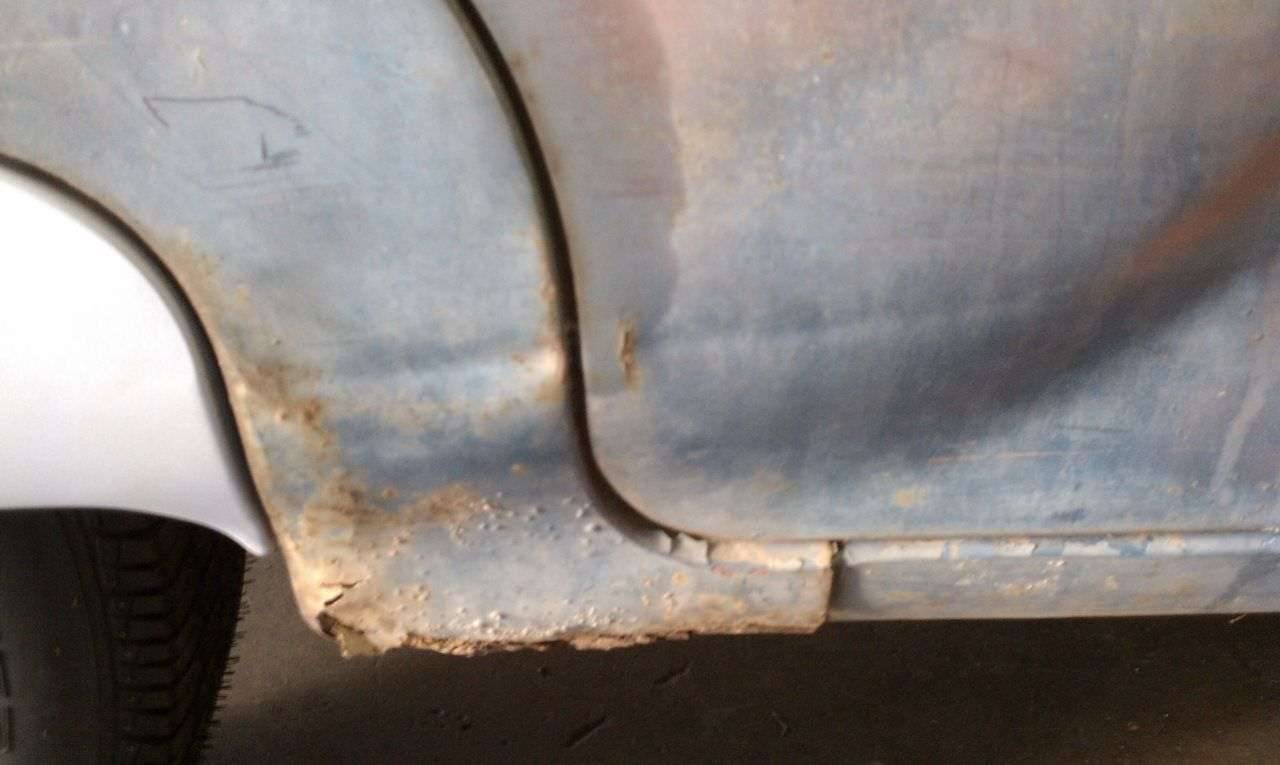 (54.76 KB) (54.76 KB)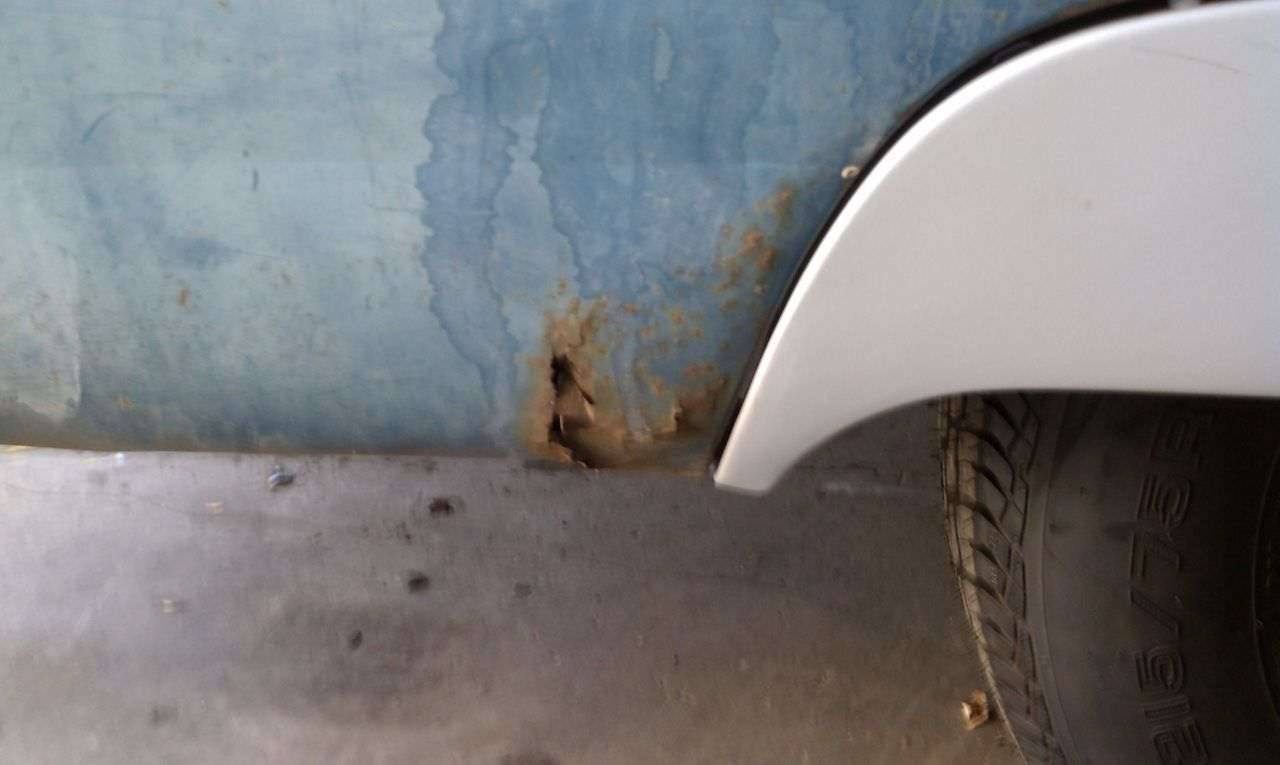 (75.07 KB) (75.07 KB) (64.00 KB) (64.00 KB)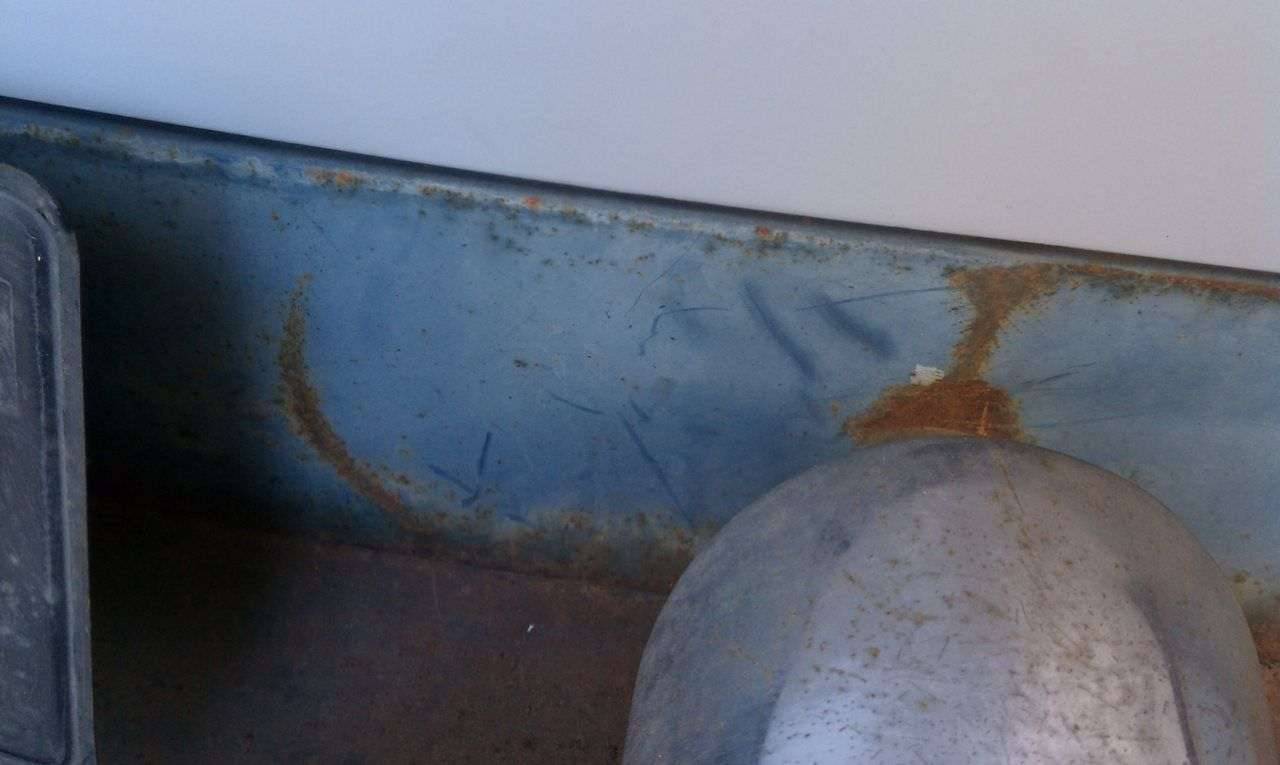
Posted on: 2010/11/22 20:56
|
|||
|
-BigKev
1954 Packard Clipper Deluxe Touring Sedan -> Registry | Project Blog 1937 Packard 115-C Convertible Coupe -> Registry | Project Blog |
||||
|
||||
|
Re: BigKev's 1954 Packard Clipper Deluxe Sedan
|
||||
|---|---|---|---|---|
|
Forum Ambassador

|
keep it up Kev! you make me want to get out there on mine more and more. all in good time though. thanks for the motivation! ;0)
Posted on: 2010/11/23 9:51
|
|||
|
1937 Packard 138-CD Deluxe Touring Limousine
Maroon/Black 1090-1021 [url=https://packardinfo.com/xoops/html/modules/registry/View.php?ID=232]1955 Packard |
||||
|
||||


|
Re: BigKev's 1954 Packard Clipper Deluxe Sedan
|
||||
|---|---|---|---|---|
|
Home away from home

|
I still can't get over the fact that you can have that bare metal for so long without rust forming. You are so lucky to live in that kind of climate!
Posted on: 2010/11/23 12:36
|
|||
|
[url=h
|
||||
|
||||
|
Re: BigKev's 1954 Packard Clipper Deluxe Sedan
|
||||
|---|---|---|---|---|
|
Webmaster
|
The entire car is red oxide primer. Even over the previous repair patches was red oxide.
But soon the car will be all light grey epoxy primer inside and out, which should be far superior in the long run. Also epoxy doest absorb moisture like old primer does. Another problem with the red oxide, is that it makes it very difficult to see where the primer ends, and the rust begins. So that is another reason why every bit of it has to go, cause there is lots of both on this car. I was seriously considering pulling off the doors, stripping them down to bare shells, and dropping them off at the media blaster. But with X-Mas and property taxes due, that is not in the budget right now. So I trudge on. The car is kept in the garage, and it stays pretty bone dry in there. Since I am about 40 miles inland from the ocean, the relative humidity is also pretty low. The biggest problem I have is dust control.
Posted on: 2010/11/23 13:43
|
|||
|
-BigKev
1954 Packard Clipper Deluxe Touring Sedan -> Registry | Project Blog 1937 Packard 115-C Convertible Coupe -> Registry | Project Blog |
||||
|
||||
|
Re: BigKev's 1954 Packard Clipper Deluxe Sedan
|
||||
|---|---|---|---|---|
|
Webmaster
|
So some great progress today, now that I am less stressed. Pictures in order of narrative.
Using a stripping wheel on a 4 1/2 grinder, I stripped most of the paint from the passenger side of the car. I did all of this in about 90 mins. There was also some pin hole rust at the very corner of the quarter panel. This was caused by rat nesting that was piled in the that corner of the trunk and it caused it to rust from the inside out. These will get MIG welded closed. Looking at the dent on the rear passenger door, the one that has all the filler in it, I didn't look to bad. So I reached in front the inside and was able to pop-up about 80% of the dent by hand. There were a two significant low spots still. So using a Uni-Spotter I spot welded a few pins to the center of the low spots. A slide hammer attaches to the pins. Normally you would use the slide hammer to forcefully pull the dent out. But since there were low spots, I simply used the slide hammer to pull out on the pins, while I used a body hammer to lightly tap around the edge of the low spot. This force the deformation ridge down, and caused the low spot to "unlock". Once both of the lows spots was removed, I twisted off the pins with a pair of pliers. Then I went over the area with the stripped to remove the pins welding marks. All of this only took about 5-10mins. Next the rear bumper was removed with the help of an impact wrench and some PB Blaster. Next the rear splash panel was removed. This was a pain as the fastener were very rusted, and the bolt heads were impossible to get a socket on. But after much work I finally got them free. When I was stripping the rear door, I noticed a patch of metal that had some deep marks in it from stripper wheel. Then I realized what it was. An old lead filler body repair. So this particular door has had at least 3 different dent repairs done to it over the years. Final shot from the work today. Attach file: (147.13 KB) (68.00 KB) (68.00 KB) (75.93 KB) (75.93 KB)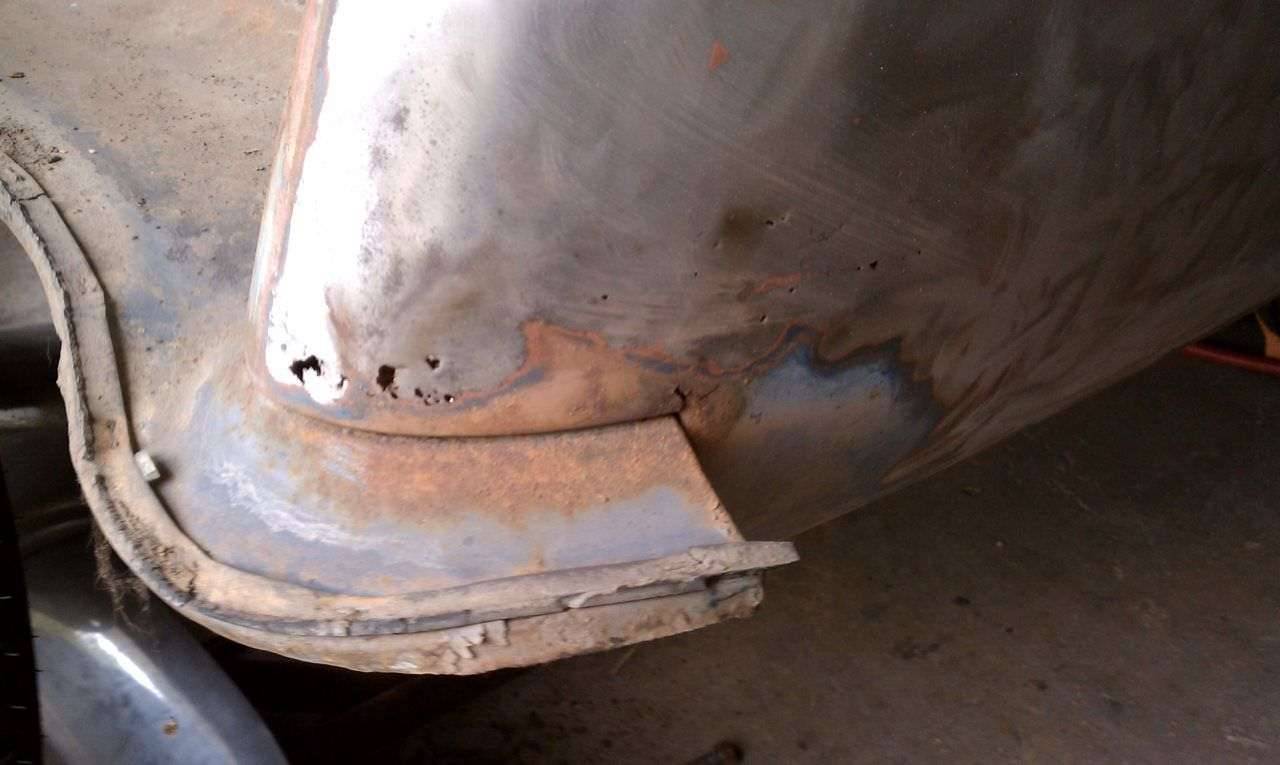 (68.91 KB) (68.91 KB) (51.55 KB) (51.55 KB)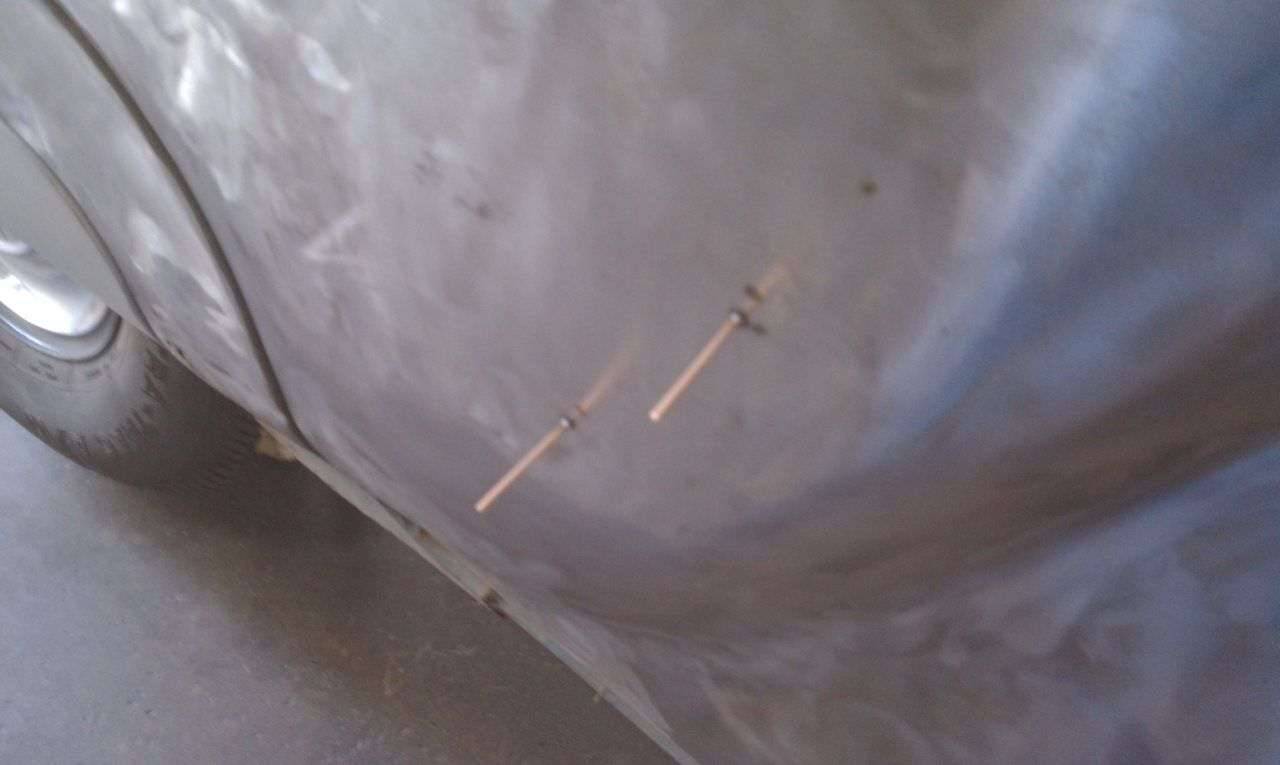 (56.84 KB) (56.84 KB) (74.66 KB) (74.66 KB)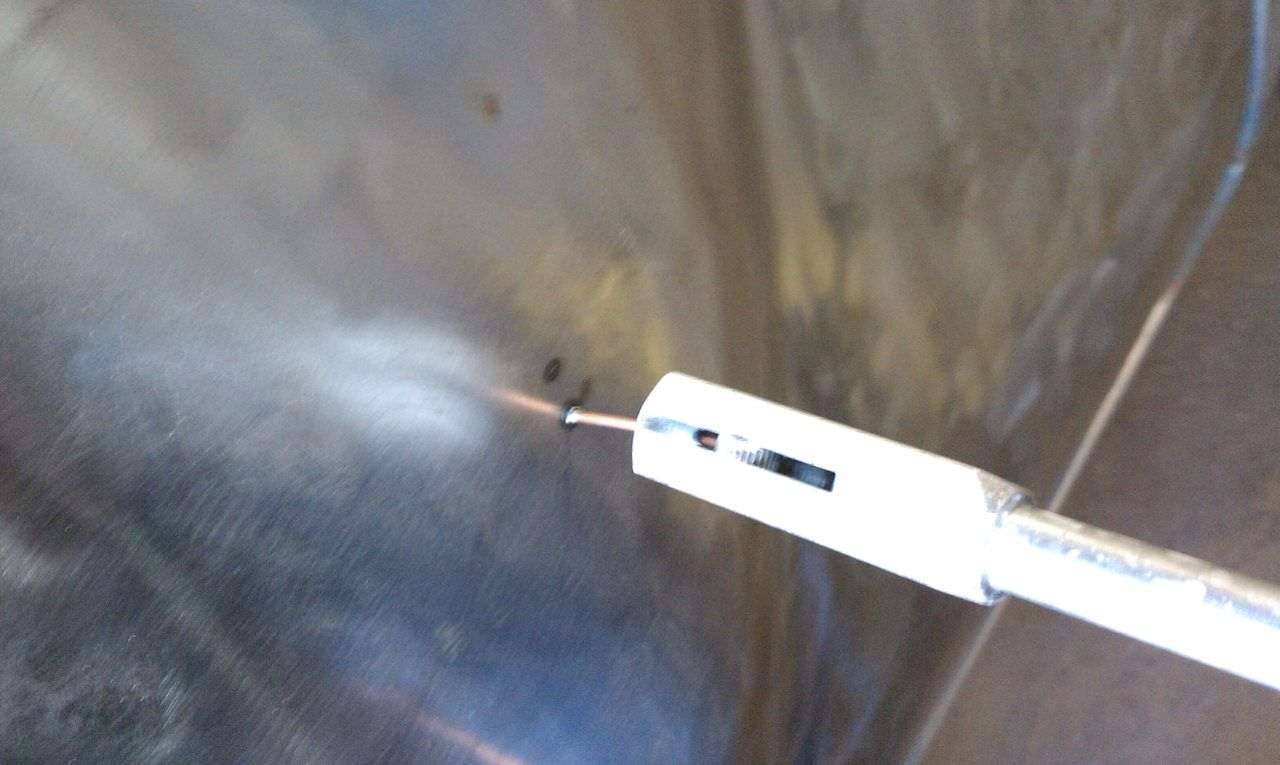 (76.79 KB) (76.79 KB) (65.22 KB) (65.22 KB) (53.45 KB) (53.45 KB) (82.85 KB) (82.85 KB) (110.10 KB) (110.10 KB) (67.85 KB) (67.85 KB)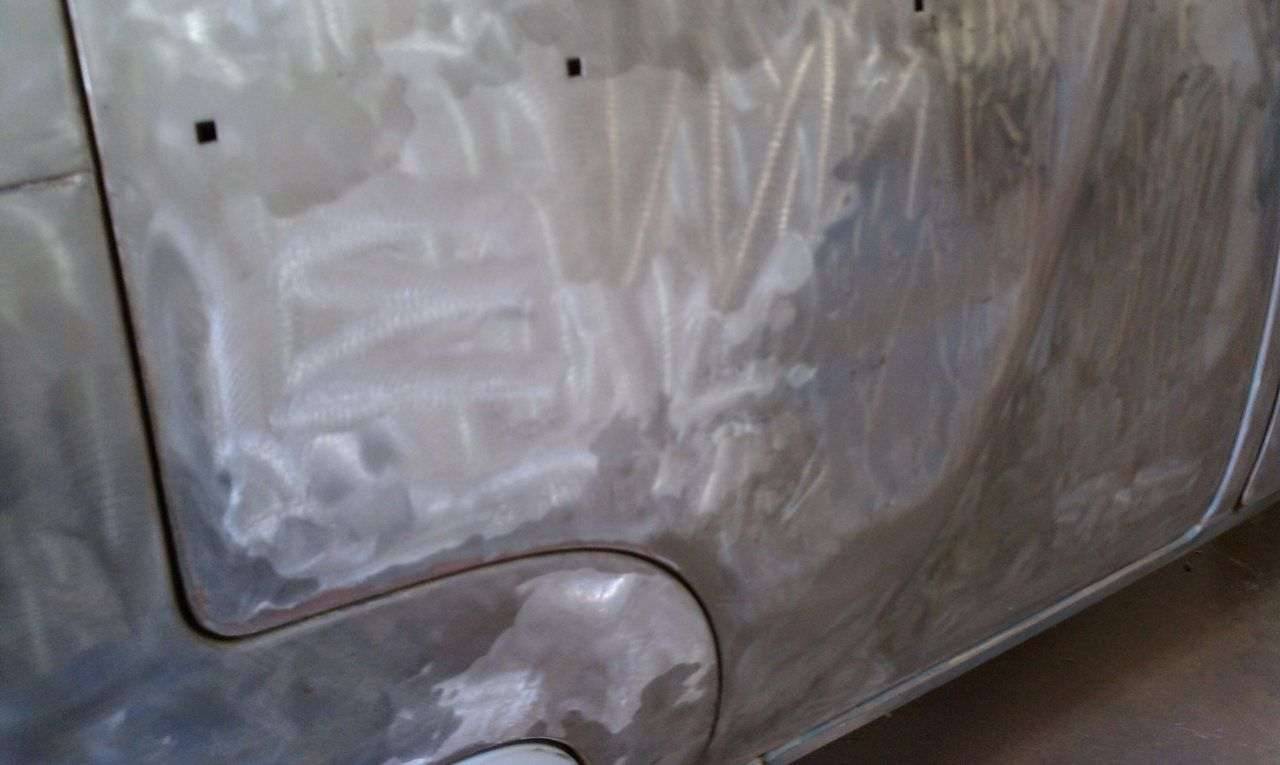 (72.25 KB) (72.25 KB)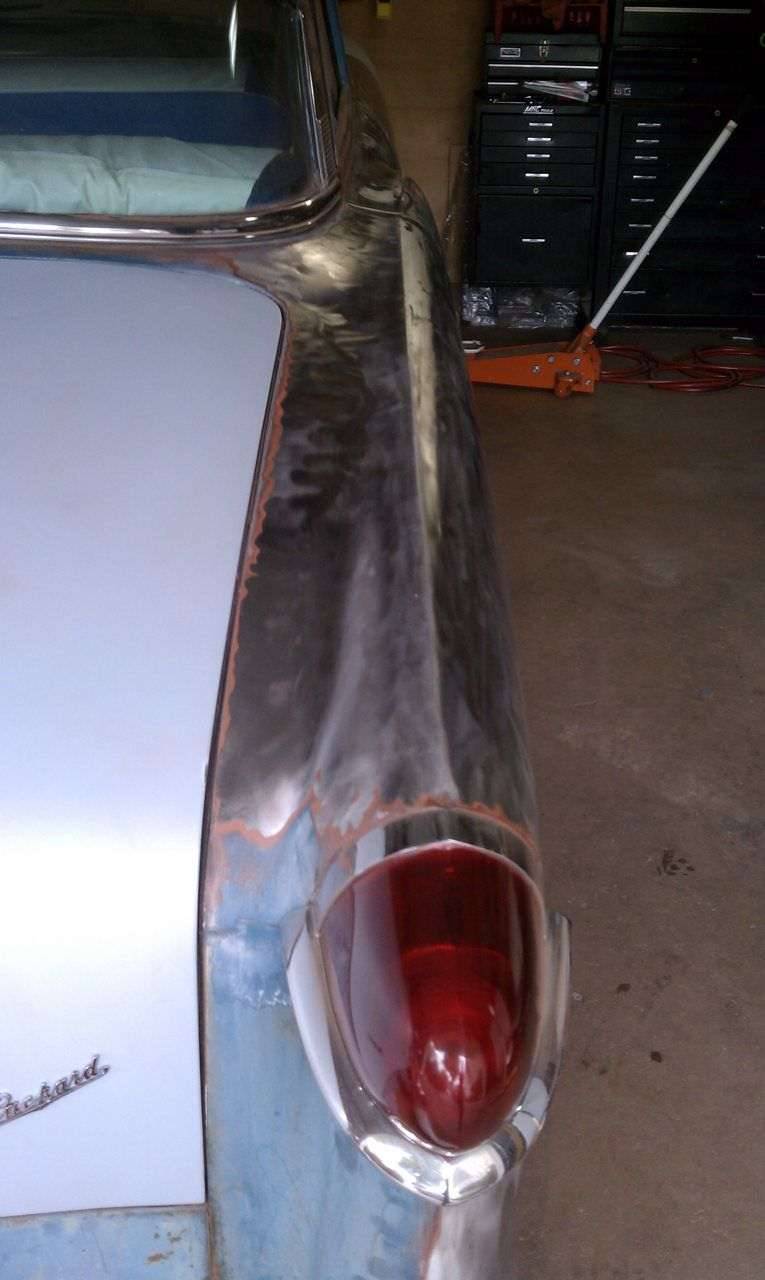 (77.52 KB) (77.52 KB)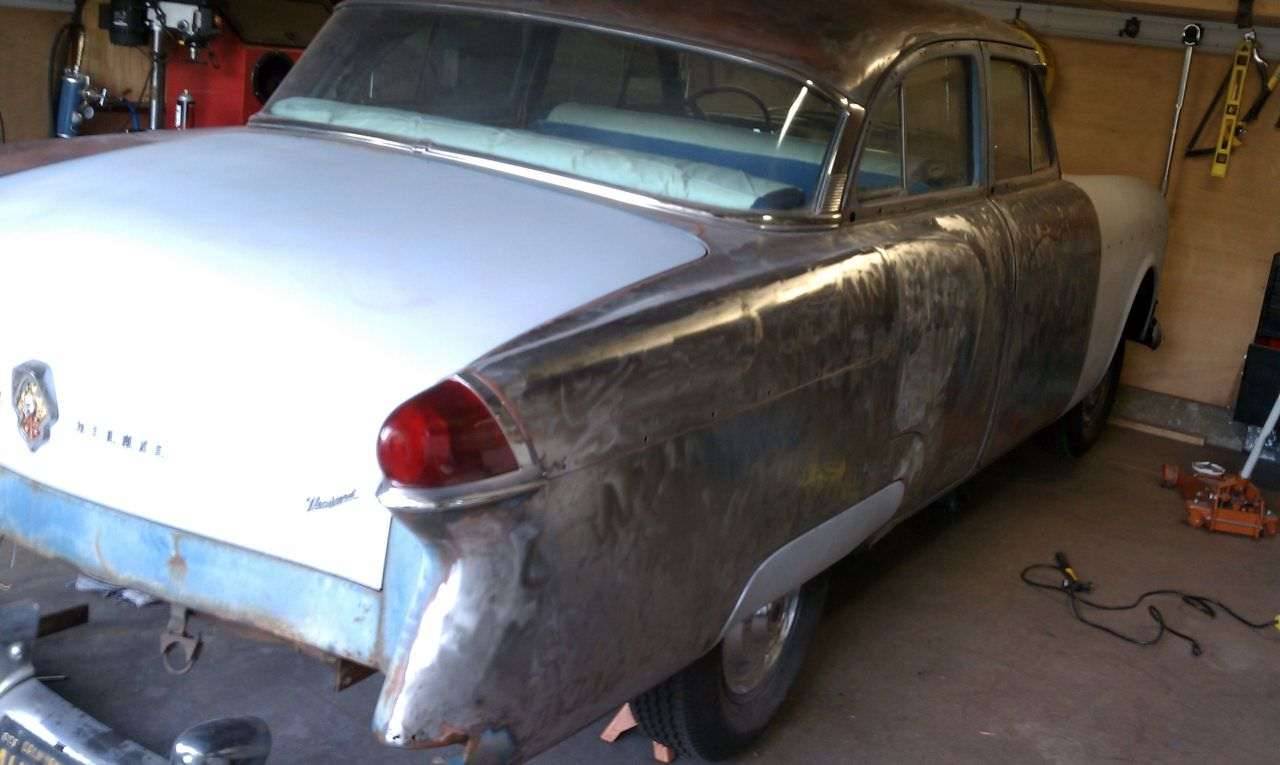
Posted on: 2010/11/23 19:32
|
|||
|
-BigKev
1954 Packard Clipper Deluxe Touring Sedan -> Registry | Project Blog 1937 Packard 115-C Convertible Coupe -> Registry | Project Blog |
||||
|
||||
|
Re: BigKev's 1954 Packard Clipper Deluxe Sedan
|
||||
|---|---|---|---|---|
|
Webmaster
|
Some more work on stripping the old paint off the rear of the car was done today. First I removed the tail-lights so I could strip underneath of them. I also removed all the old, cracked truck weather strip. I am glad Santa is bringing me a MIG welder for X-Mas as I found more pin hole rust where the truck floor meets the outer sheet metal in the rear. This is from the car sitting out in the open with the trunk partially open of years....and the rats....those damn rats.
Anyway here are todays pictures, she's got a shinny rear end. Attach file: (109.89 KB)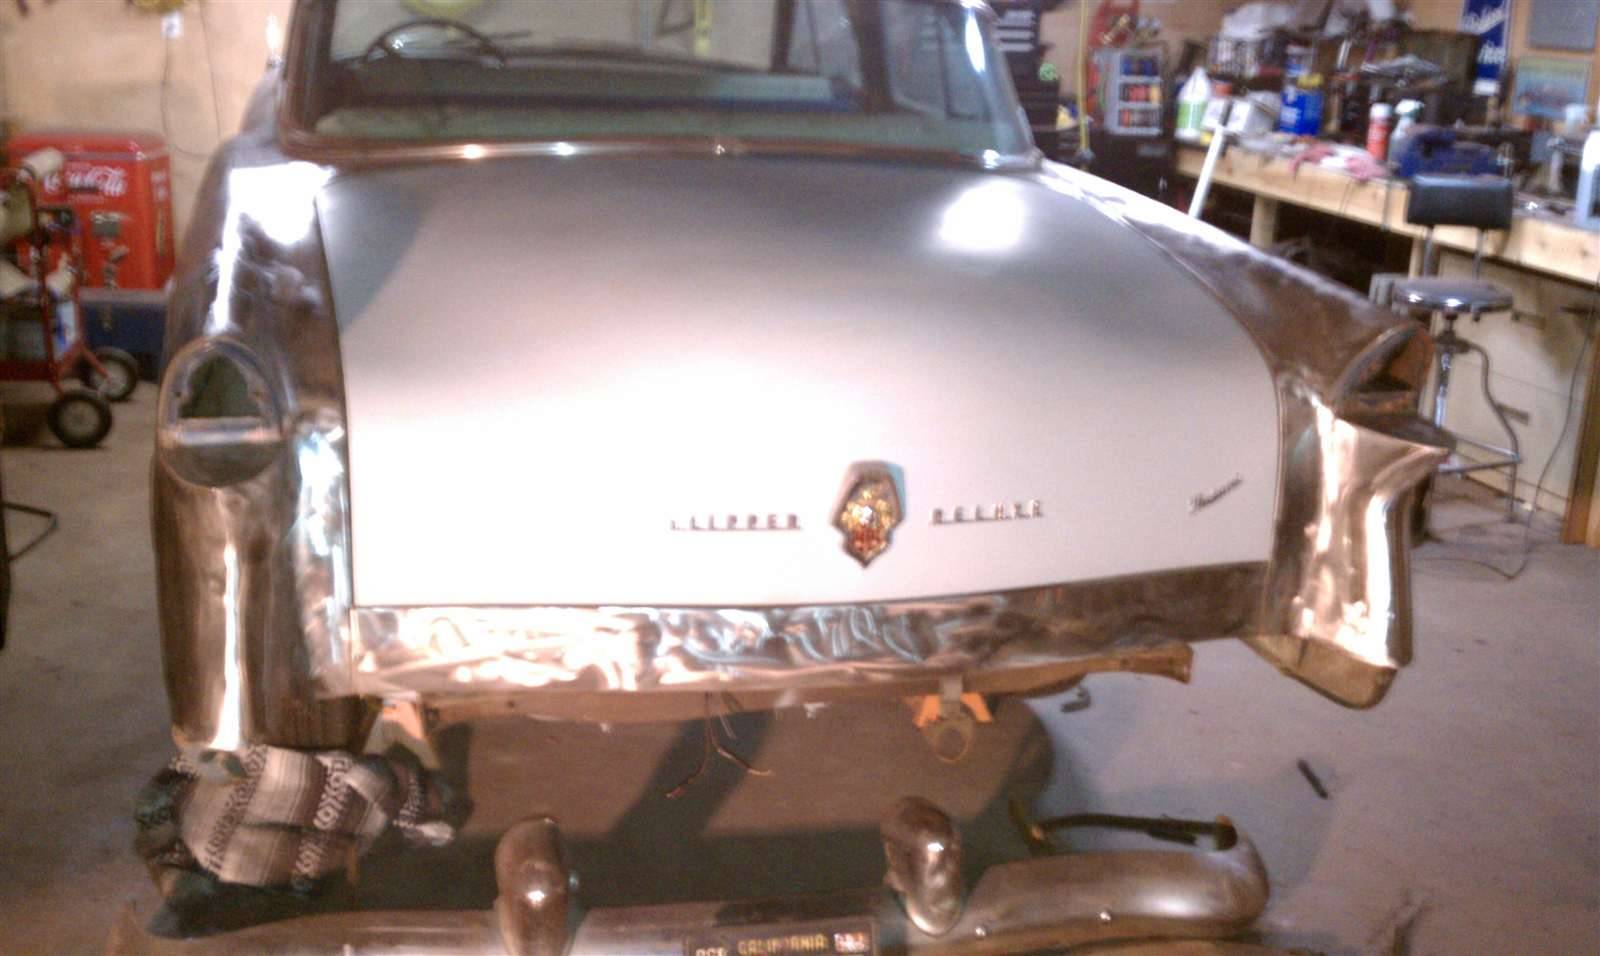 (100.18 KB) (100.18 KB)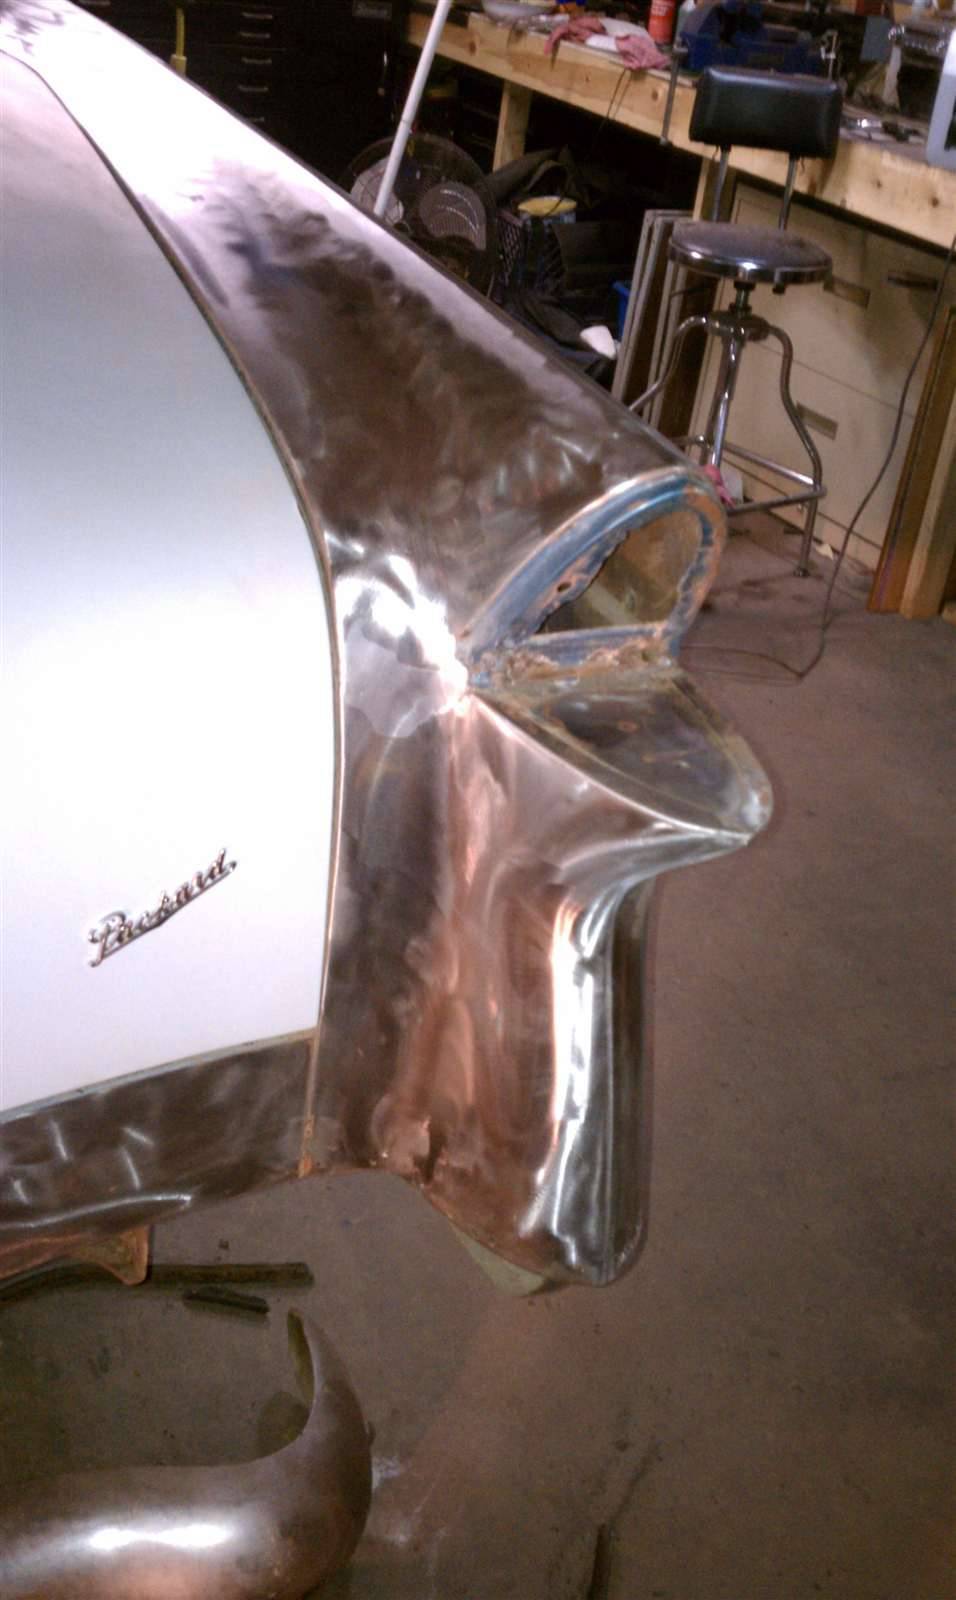
Posted on: 2010/11/28 21:35
|
|||
|
-BigKev
1954 Packard Clipper Deluxe Touring Sedan -> Registry | Project Blog 1937 Packard 115-C Convertible Coupe -> Registry | Project Blog |
||||
|
||||
|
Re: BigKev's 1954 Packard Clipper Deluxe Sedan
|
||||
|---|---|---|---|---|
|
Forum Ambassador
|
Looks like great progress, Kev! It will be painted in no time. And remember, if you need to use the welder before Christmas, take it out and put bricks in the box. She will never know. LOL!
Posted on: 2010/11/28 22:05
|
|||
|
||||
|
Re: BigKev's 1954 Packard Clipper Deluxe Sedan
|
||||
|---|---|---|---|---|
|
Webmaster
|
Jim, she's like Santa....she knows everything! I don't want to get put on the naughty list... :(
Posted on: 2010/11/29 13:28
|
|||
|
-BigKev
1954 Packard Clipper Deluxe Touring Sedan -> Registry | Project Blog 1937 Packard 115-C Convertible Coupe -> Registry | Project Blog |
||||
|
||||
|
Re: BigKev's 1954 Packard Clipper Deluxe Sedan
|
||||
|---|---|---|---|---|
|
Webmaster
|
So my next quandary.... Removing the stainless trim around the outside of the windshield and rear window. Is it just secured from the inside with screws/bolts, or is it also glued to the rubber? I want to remove it so I can strip the paint right up to the old rubber without damaging the stainless in the process.
I don't want to pull the windows out at this time as she wont be going in for final paint till sometime next year. Just primer at this point. Also the window rubber is petrified, so once I remove the windows, it will require new rubber before going back in. So that expense will have to wait until later.
Posted on: 2010/11/29 13:34
|
|||
|
-BigKev
1954 Packard Clipper Deluxe Touring Sedan -> Registry | Project Blog 1937 Packard 115-C Convertible Coupe -> Registry | Project Blog |
||||
|
||||


