|
Re: BigKev's 1954 Packard Clipper Deluxe Sedan
|
||||
|---|---|---|---|---|
|
Home away from home
|
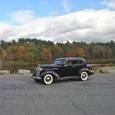
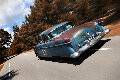
Based on the angle, it looks like the wheel is not attached to anything.
Kev, the car looks great!
Posted on: 2011/10/10 0:26
|
|||
|
1937 120 1092 - Original survivor for driving and continued preservation.
https://packardinfo.com/xoops/html/modules/newbb/viewtopic.php?topic_id=16514&forum=10 1937 115 1082 - Total basket case, partial restoration, sold Hershey 2015 https://packardinfo.com/xoops/html/modules/newbb/viewtopic.php?start=0&topic_id=6550&order=ASC&status=&mode=0 |
||||
|
||||
|
Re: BigKev's 1954 Packard Clipper Deluxe Sedan
|
||||
|---|---|---|---|---|
|
Webmaster

|
General garage clean up tonight. Work bench was getting out of control again.
Also I removed all the masking from the car since it is going to be a couple of weeks before I can spray the jambs with color coat, and then tape would need to be redone anyway. Also old masking tape can decided to become a permanent part of the substrate when left on too long. Also started to de-gunk the door sills. Those aluminum sill plates have about 50 years of dirt ground into them.
Posted on: 2011/10/10 23:20
|
|||
|
-BigKev
1954 Packard Clipper Deluxe Touring Sedan -> Registry | Project Blog 1937 Packard 115-C Convertible Coupe -> Registry | Project Blog |
||||
|
||||
|
Re: BigKev's 1954 Packard Clipper Deluxe Sedan
|
||||
|---|---|---|---|---|
|
Webmaster
|
No work last night on the car. Came home to discover that the compressor the fridge in the kitchen decided to kick the bucket, and everything was defrosted and there was a puddle of water under the fridge.
I guess the compressor but have been on it's last leg and been running continuously as the wife said the electric bill had mysteriously jumped $200 in that last month!  So some quick web research and a new fridge was located and purchased from the local "Sears Outlet", and $900 comes out of the "Poor Pagan Packard Children's Fund" to cover it. Looks like the jamb paint is going to have to wait a bit longer.
Posted on: 2011/10/12 11:59
|
|||
|
-BigKev
1954 Packard Clipper Deluxe Touring Sedan -> Registry | Project Blog 1937 Packard 115-C Convertible Coupe -> Registry | Project Blog |
||||
|
||||
|
Re: BigKev's 1954 Packard Clipper Deluxe Sedan
|
||||
|---|---|---|---|---|
|
Webmaster
|
A little bit of work tonight in the garage. Since the jamb painting is on hold till at least after Laughlin, I decided to get a few small things done.
I media blasted the door latches and lock assemblies as they were pretty crudy. After blasting and working the assemblies to remove any left over media grit, I lubed them with some graphite grease and then reinstalled on the car so I can kept the doors shut. Also I took care of an issue that has been there since I bought the car. The passenger side door was not centered in the jamb opening. It was to far forward and nearly up against the front fender edge. The gap between the end of the door and the B-pillar was excessive and there was a stack of shims under the door latch to kept it engaged with the lock. So broke loose the hinge bolts in the door one at time, and then left them just nearly snug. This allowed me to pull and push door to get it to move a little at a time without getting it horrible out of alignment vertically. The trick the gap where you want it and make sure that the door cleanly engages the door latch without the door having to ride up or down to so. Once I had the jambs gaps evened out I snugged the bolts tighter one at a time, and then torqued when down and rechecked everything. Once this was done, I no longer needed the thick stack of latch shims, and the jamb gap at the A and B pillars is now even.
Posted on: 2011/10/12 23:09
|
|||
|
-BigKev
1954 Packard Clipper Deluxe Touring Sedan -> Registry | Project Blog 1937 Packard 115-C Convertible Coupe -> Registry | Project Blog |
||||
|
||||
|
Re: BigKev's 1954 Packard Clipper Deluxe Sedan
|
||||
|---|---|---|---|---|
|
Webmaster
|
On to the next big project...Dogleg replacement.
My 'legs are really bad towards the bottom and the rust is pushing the outer skin out away from the inner panel. They look like they had been patched in the past using fiberglass and bondo. I bought some poster board at the local dollar store. This is the same thin card board sheet that my kids use for school projects. This was taped over the dog leg area, the I used a razor blade to cut out the pattern. Once the pattern was cut out, and I then laid it over some 18ga cold rolled steel. The nice thing about poster board is that it is flexible to take most shapes, and is stiff enough to lay firmly again the metal go it it can nicely traced with a sharpie. Even though the pattern was made off of the passenger side dogleg, the pattern works for either side. So I traced the pattern twice to make 2 dog legs, one for each side. Then I used a pair of air-shears to cut out the metal. I think that these cheapie HF shears are not rated for 18ga cold rolled. The shears are already dull. But eventually I powered through and got them cut out. Then I used the only metal bender I had (my knee) to bend the various curves into the new dog leg skin to shape it to match on the contours of the existing dogleg. With that, I called it a night. I still do some more fine shaping, and then also bend down the bottom lip. I also need to the same for the drivers side one. Then I will be ready to cut out the old doglegs and attempt to get the new ones welded in. This same general technique will be used to also repair the rear corners of the wheel well. Attach file:  (45.93 KB) (45.93 KB)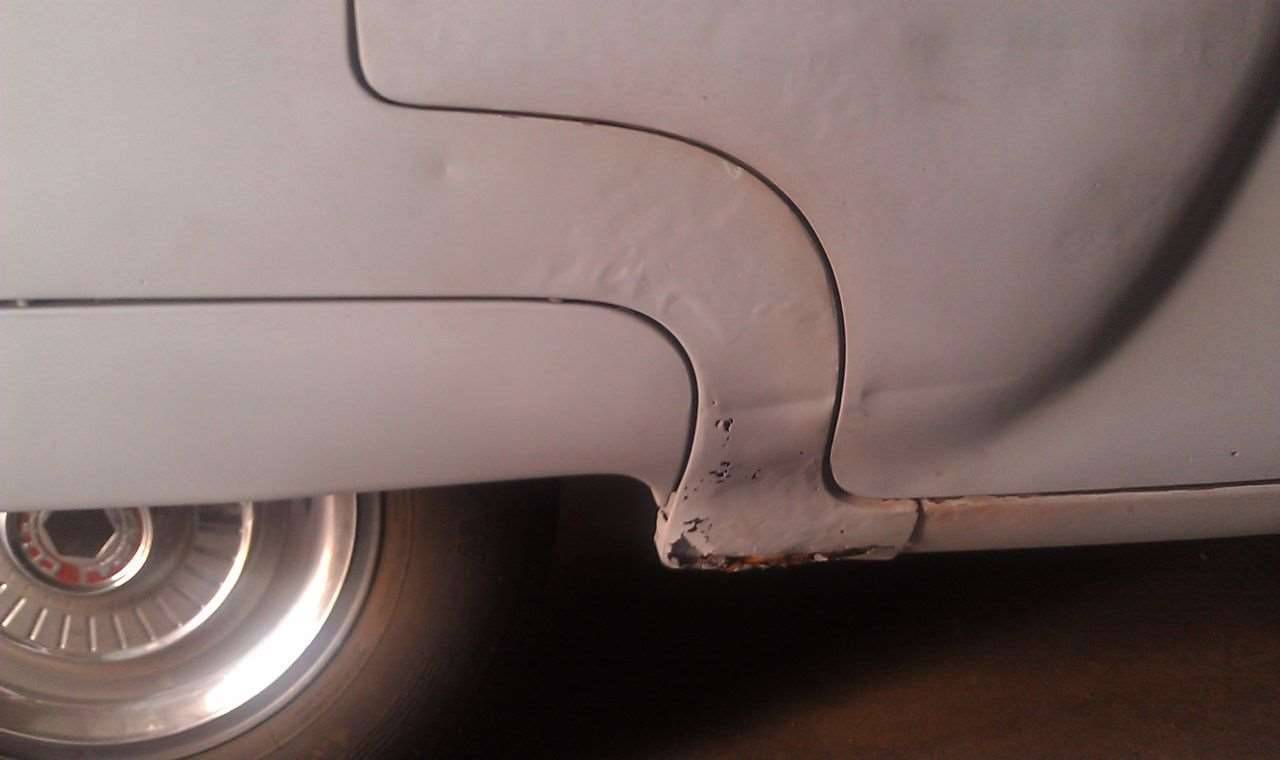 (31.76 KB) (31.76 KB)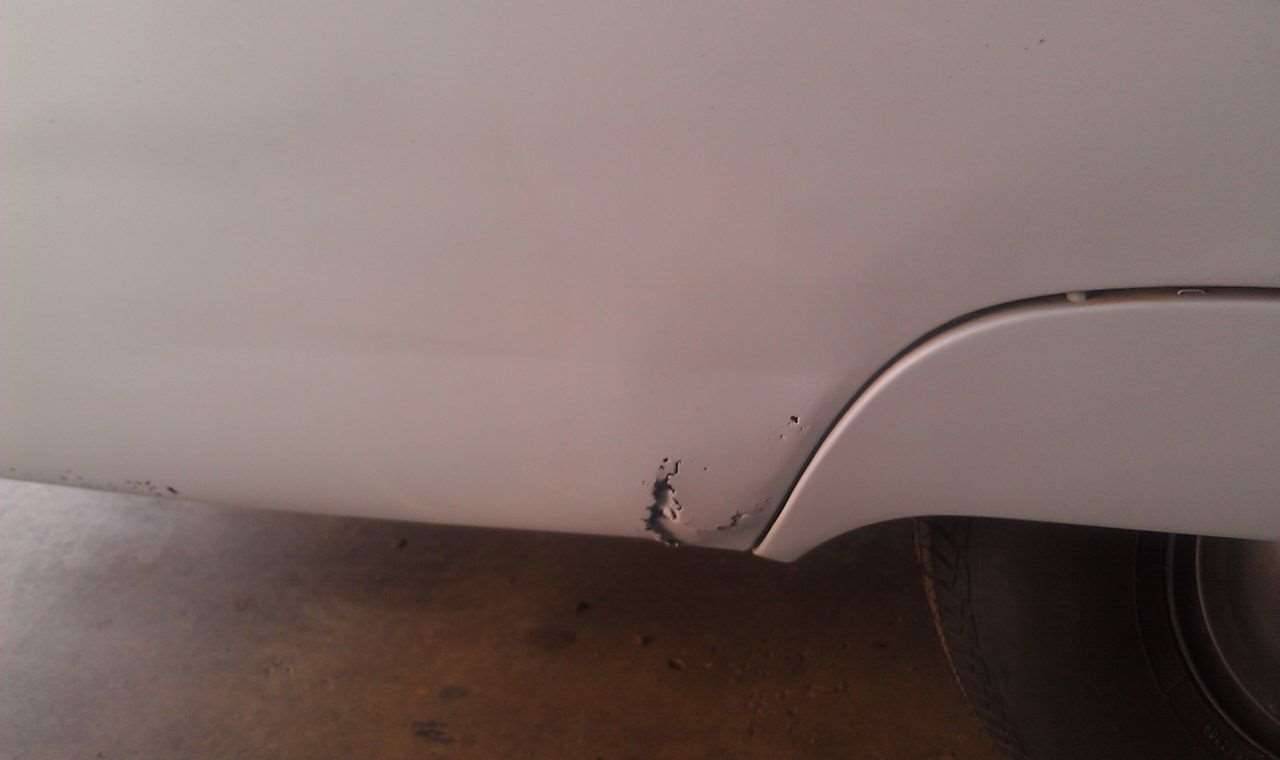 (33.43 KB) (33.43 KB) (33.23 KB) (33.23 KB)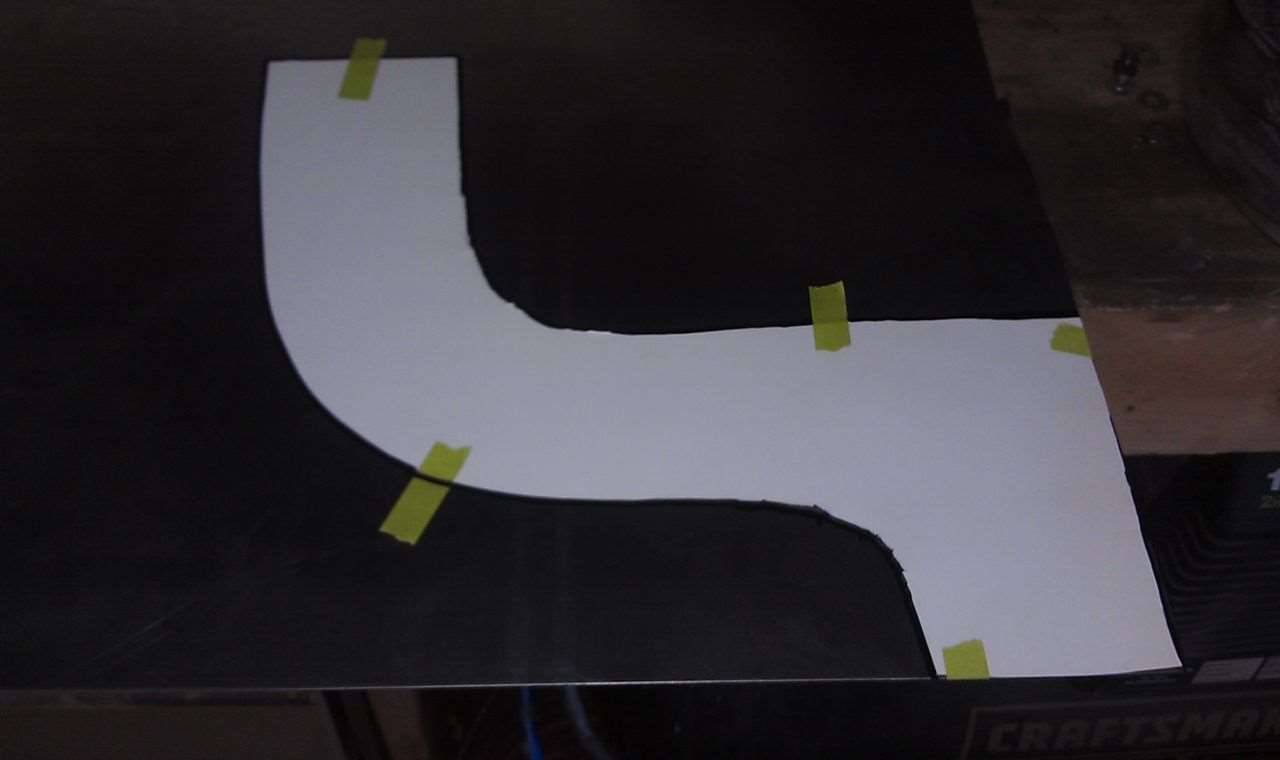 (63.14 KB) (63.14 KB)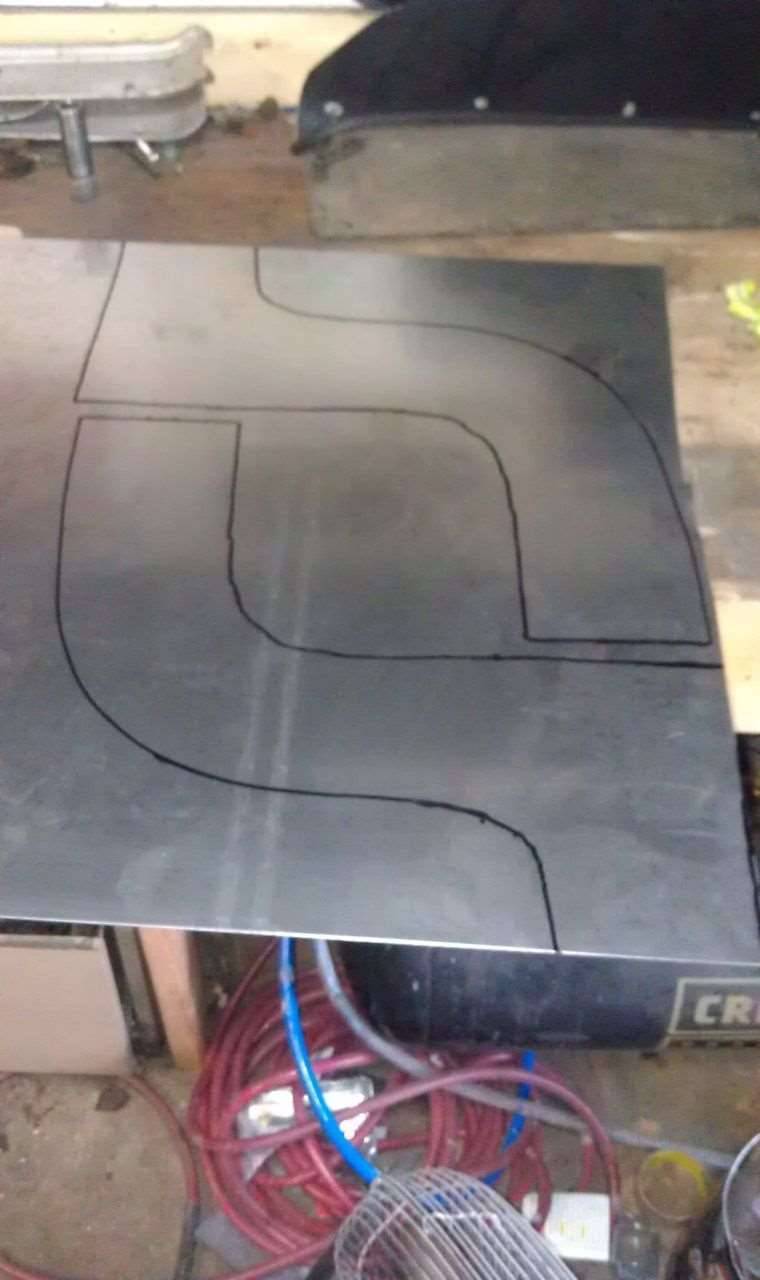 (53.97 KB) (53.97 KB)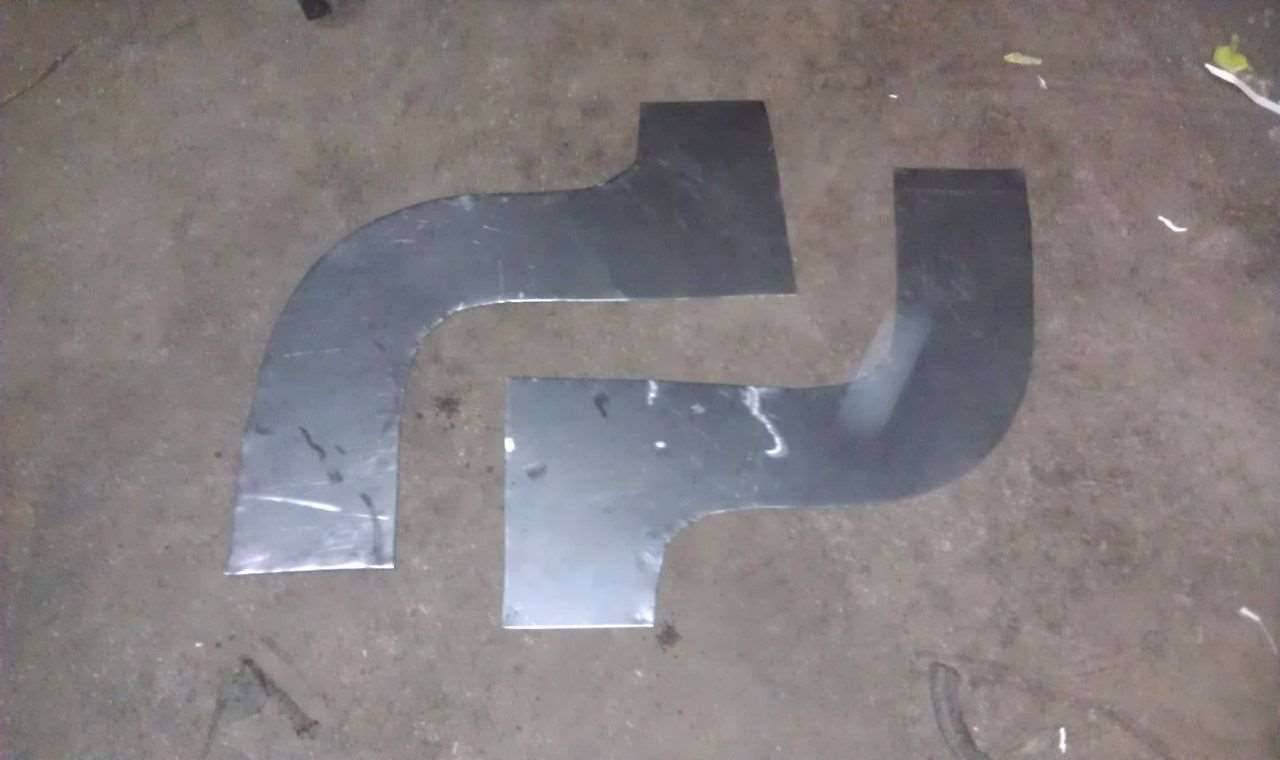 (42.08 KB) (42.08 KB)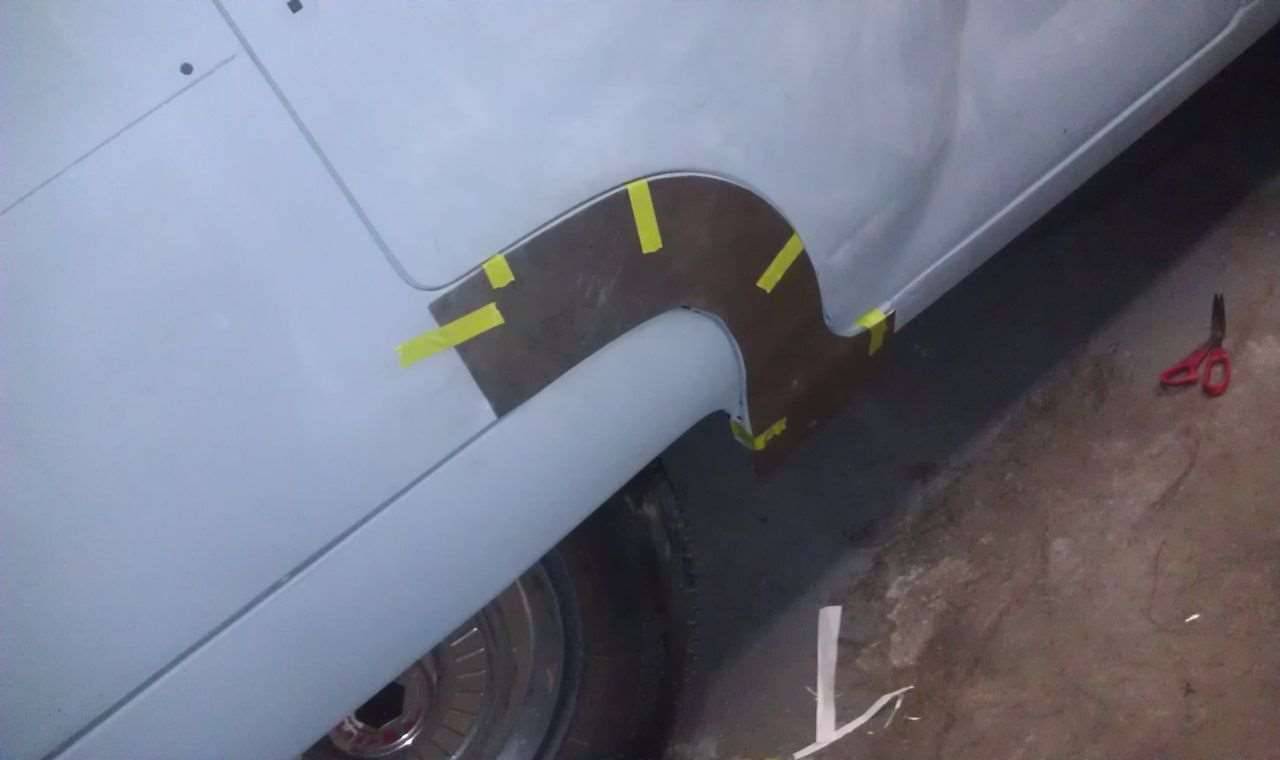 (45.68 KB) (45.68 KB) (40.46 KB) (40.46 KB)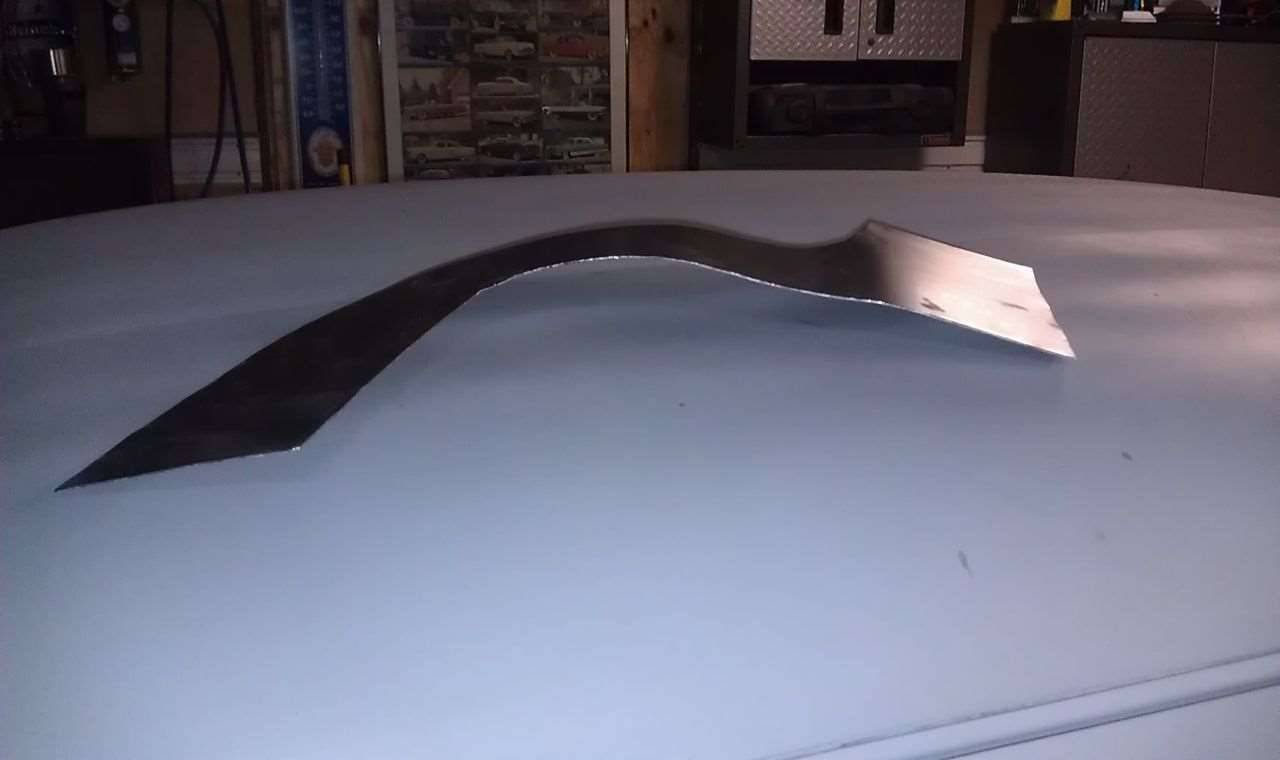
Posted on: 2011/10/27 22:20
|
|||
|
-BigKev
1954 Packard Clipper Deluxe Touring Sedan -> Registry | Project Blog 1937 Packard 115-C Convertible Coupe -> Registry | Project Blog |
||||
|
||||
|
Re: BigKev's 1954 Packard Clipper Deluxe Sedan
|
||||
|---|---|---|---|---|
|
Home away from home

|
Nicely done.
Posted on: 2011/10/28 7:27
|
|||
|
||||
|
Re: BigKev's 1954 Packard Clipper Deluxe Sedan
|
||||
|---|---|---|---|---|
|
Webmaster
|
Thanks Ross. Slowly but surely I am figuring this out.
Posted on: 2011/10/28 10:14
|
|||
|
-BigKev
1954 Packard Clipper Deluxe Touring Sedan -> Registry | Project Blog 1937 Packard 115-C Convertible Coupe -> Registry | Project Blog |
||||
|
||||
|
Re: BigKev's 1954 Packard Clipper Deluxe Sedan
|
||||
|---|---|---|---|---|
|
Webmaster
|
More progress tonight. Instead of cutting out the entire log leg and then trying to seamlessly merge the new skin into the existing good panel in the middle of a flat panel, I decided to only replace the damaged area so the merge panel lower in the panel when it would not be as obvious.
So with that I marked the dogleg far into the good metal above the rotten area. Once that was marked I transferred that to the new skin. Then I cut the new skin to that mark. Then I cut out the old skin with a cutoff wheel. On the side I left about a 1/8"-1/4" edge on the old skin which the new skin will lay over. On the top where the two skins have to merge, I left about 3/8 of an inch. The is to give me an over hang for the new skin to slip under. With the old panel cut away, I could see the rust and dirt packed behind the panels. The inner panels was completely rotten. This was removed as it is not needed and just leads to dirt getting trapped between double layers and causing the rot in the doglegs to start with. The replacement panel will be fully welded all the way about instead of just two layers spot welded in place. So once completely welded, there will be no where for rust to get behind the panel unlike the original consturction where dirt, dust, and water could easily get up and into the gaps between the spot welds along the exposed edge. With the inner rotten layer cut out, the inside of the rocker was painted with some POR-15 paint and left to dry for a little bit. I then put a step flange into the new skin along the edge where is merges with the old skin. This was then notched inward a little bit. This allows it to key into and under the old skin. Thereby giving a perfectly flat transition between the two skins. One the skin was in lined to and held with a clamp, I then tack welded the merge seam and then down the outside of the wheel well. I also tack welded the new skin to the existing outer rocker panel. The skin edge near the door needs to be ground down a little more as the skin had a small about over overhang. Then I can weld that side. Once the top every top side is tacked into place, then I will roll the bottom edge around and weld it in. But I ran out of time and energy tonight. Learning as I go. But not to bad so far for a panel that had a lot of curvature in it. Attach file: (56.77 KB)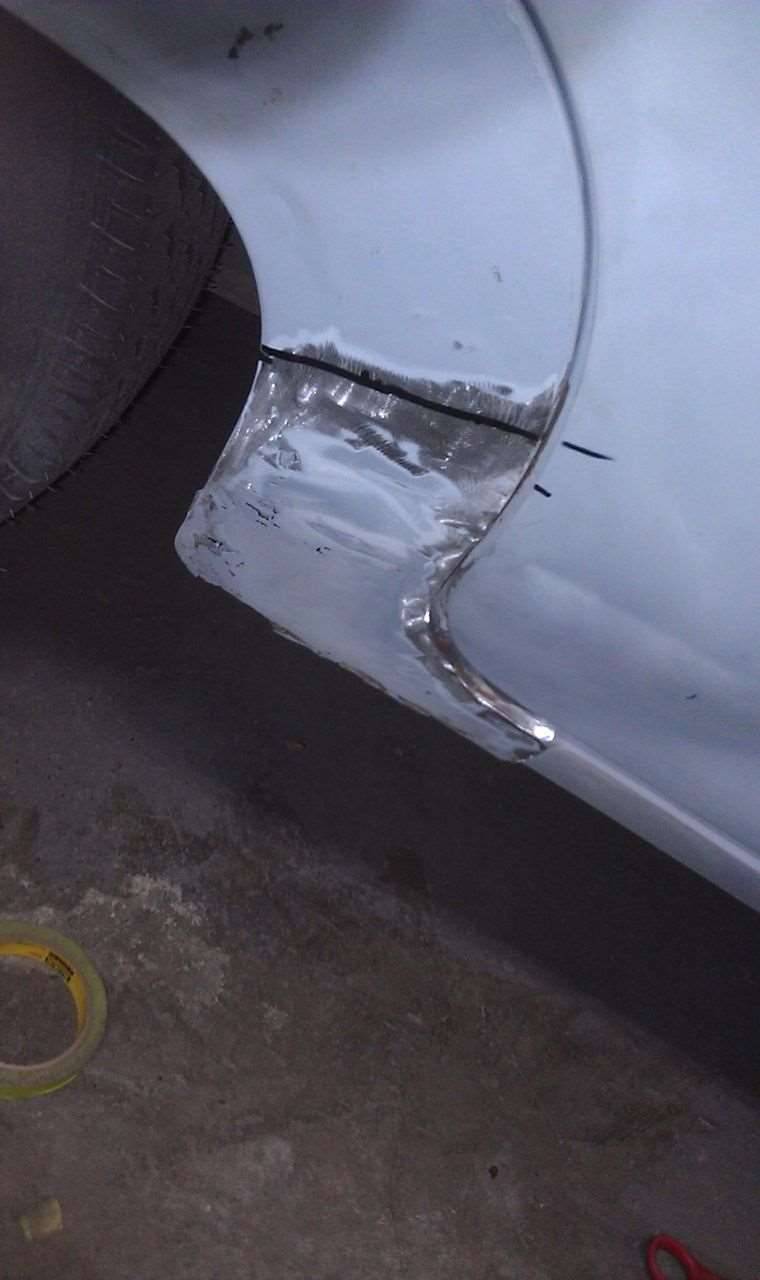 (48.54 KB) (48.54 KB) (68.75 KB) (68.75 KB)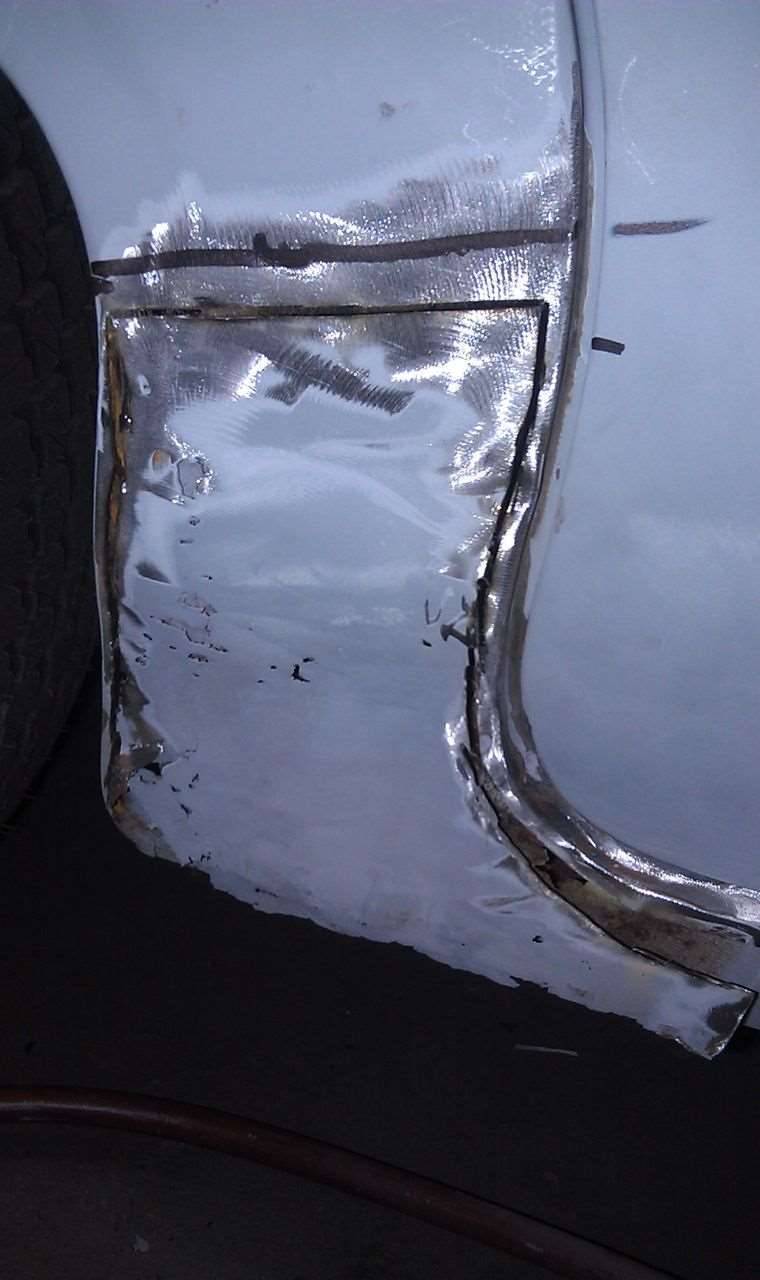 (70.76 KB) (70.76 KB) (57.53 KB) (57.53 KB)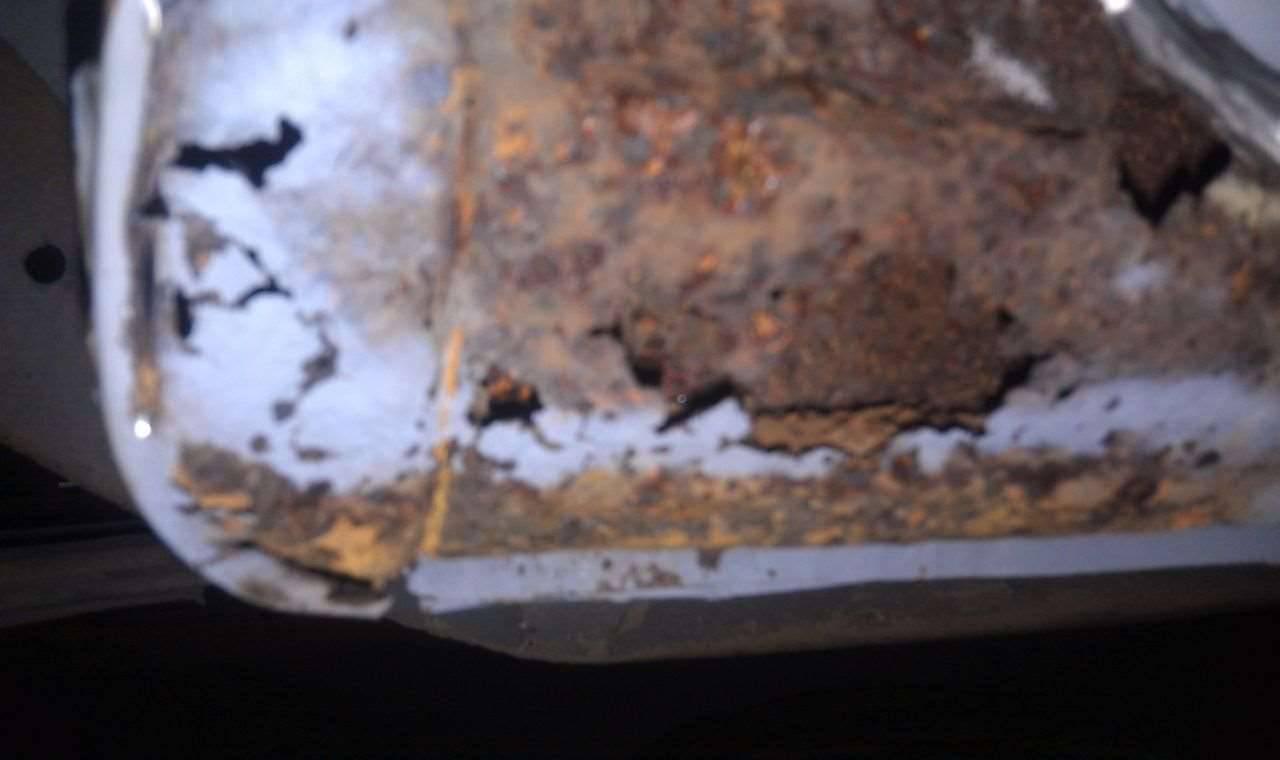 (92.57 KB) (92.57 KB)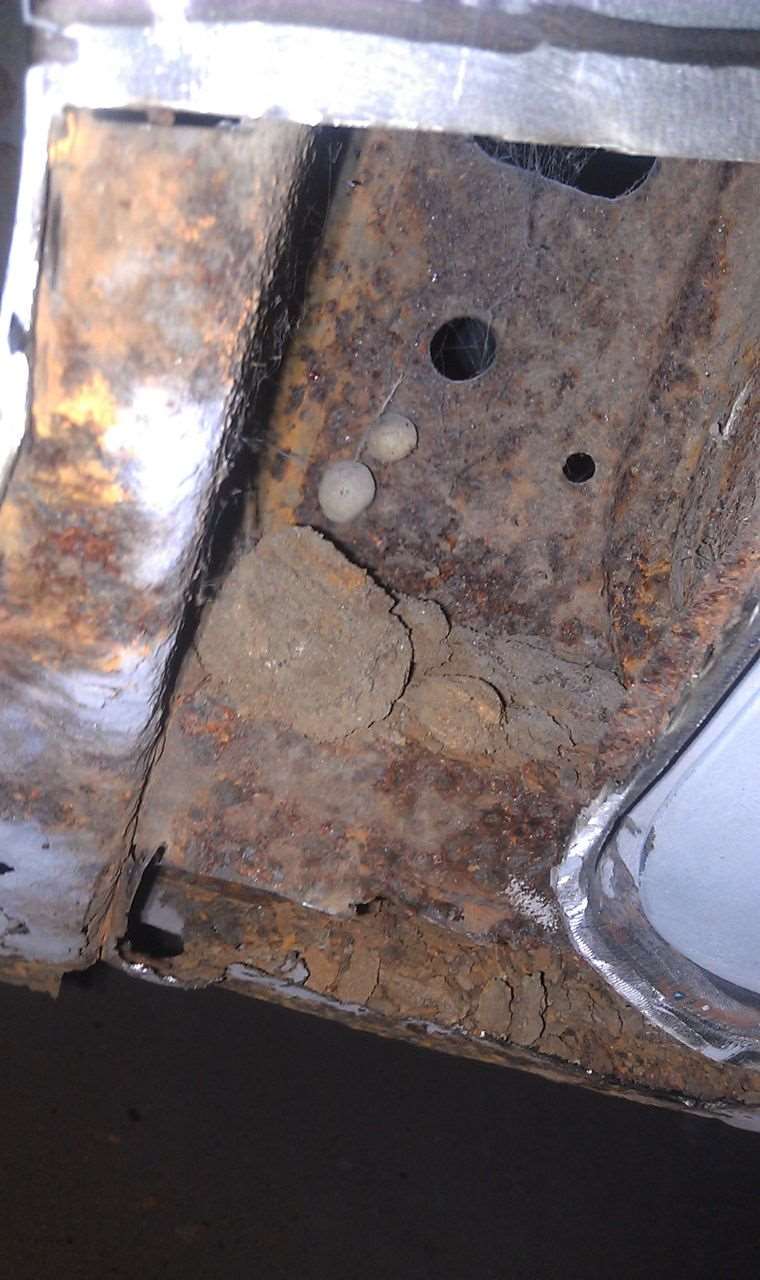 (60.90 KB) (60.90 KB) (47.62 KB) (47.62 KB)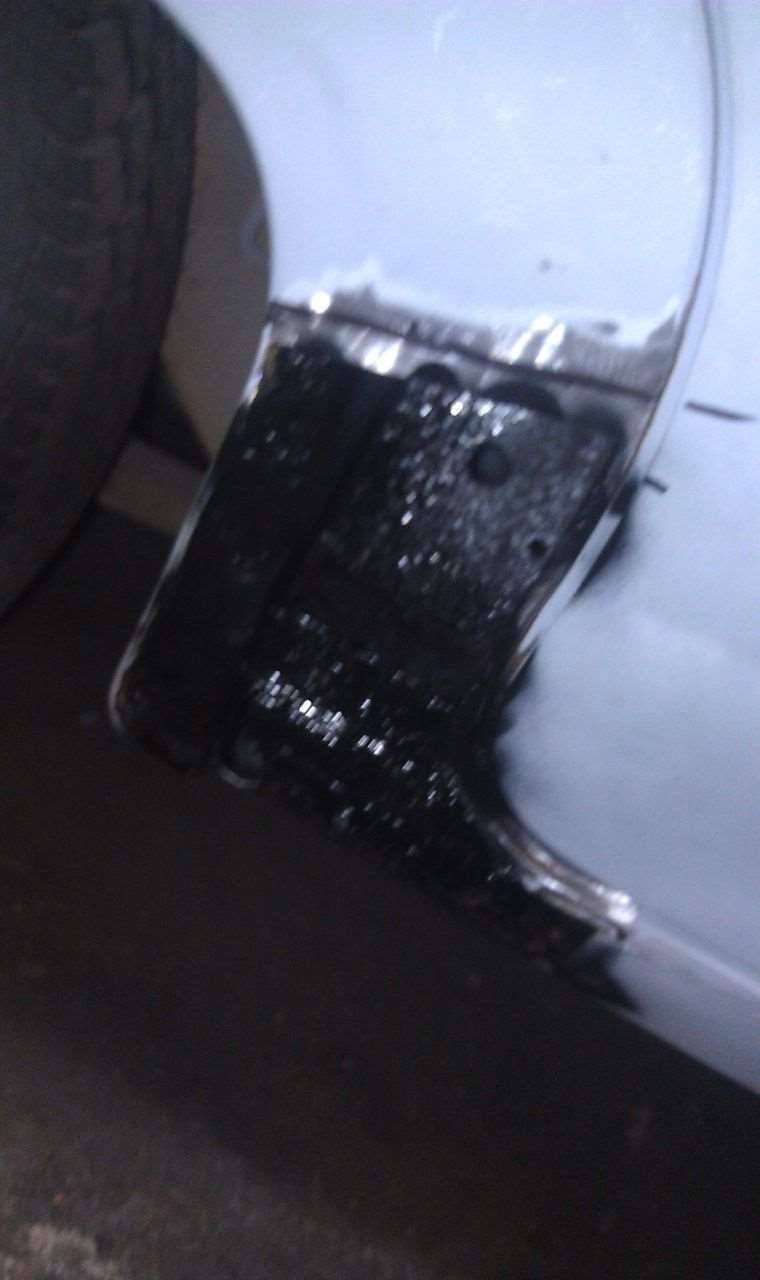 (44.56 KB) (44.56 KB)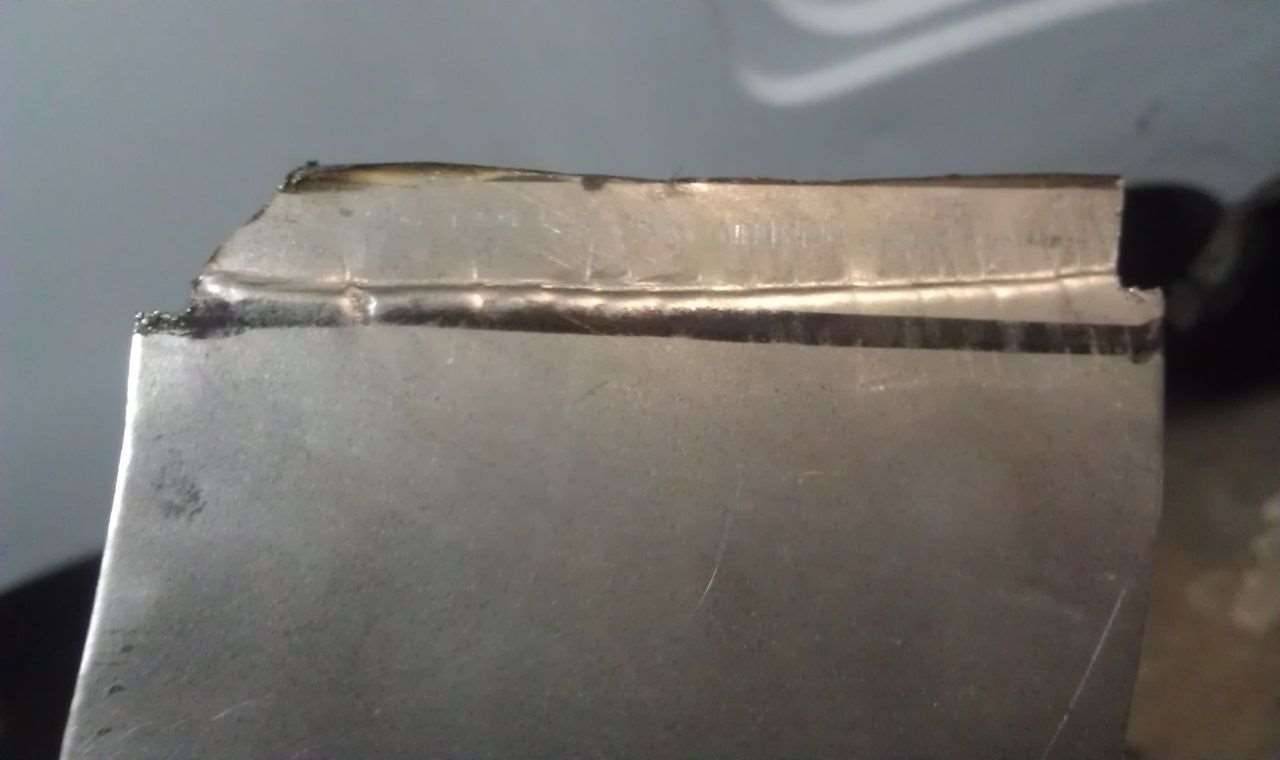 (38.12 KB) (38.12 KB)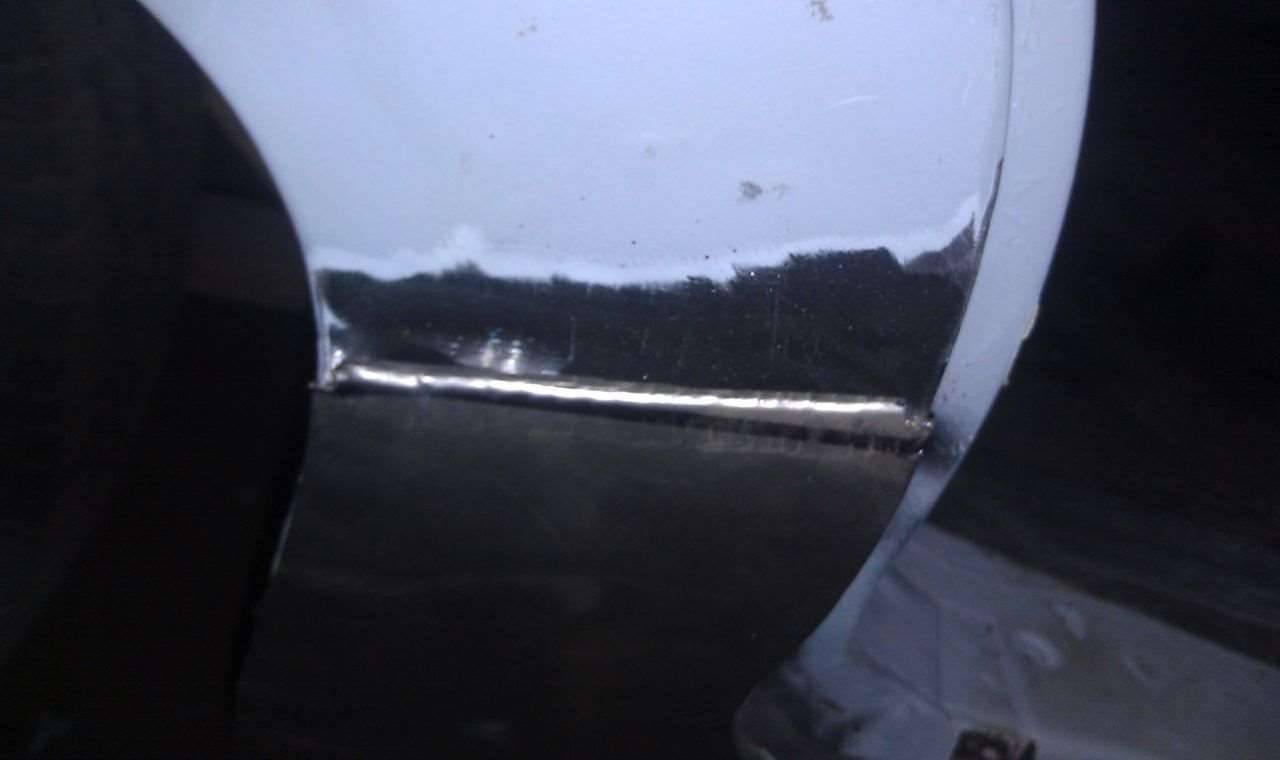 (48.65 KB) (48.65 KB)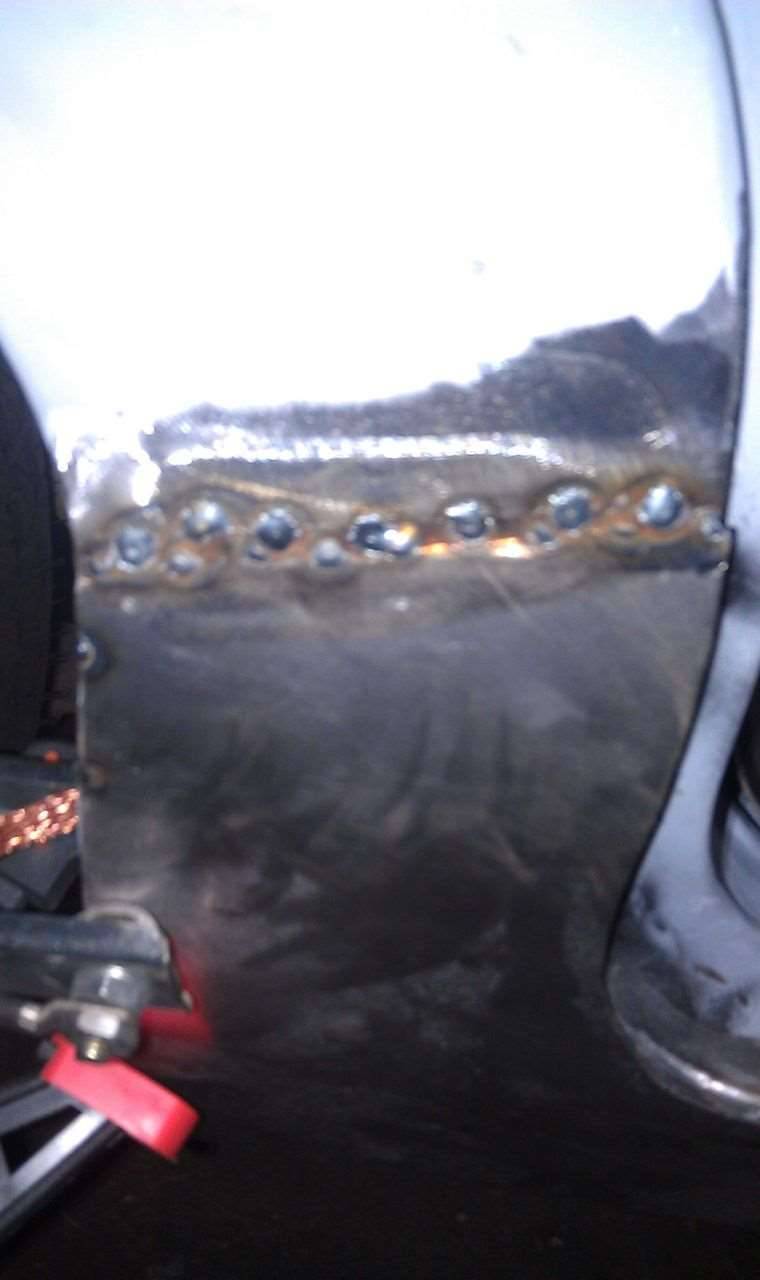 (54.43 KB) (54.43 KB) (73.57 KB) (73.57 KB)
Posted on: 2011/10/31 23:22
|
|||
|
-BigKev
1954 Packard Clipper Deluxe Touring Sedan -> Registry | Project Blog 1937 Packard 115-C Convertible Coupe -> Registry | Project Blog |
||||
|
||||
|
Re: BigKev's 1954 Packard Clipper Deluxe Sedan
|
||||
|---|---|---|---|---|
|
Webmaster
|
More on the dog leg replacement:
I stopped at HF to pick up a couple of grinding discs for the grinder. Then I cleanup my old welds from the other day. The lower side of the wheel well lip need to be replace and it was rusted through and paper thin. Basically the rot began about one inch below the locating pin hole for the fender skirt. So using a cut off wheel I cut out the bad lip 1/2 inch below the locating pin hole and everything below it. Then I cut and hand formed a new lip and this was welded into place. The using a body hammer, a block of wood and a floor jack, I rolled the bottom of portion of the dog leg skin under the car and tack it to the pinch weld lip. It will need a little more shaping on the under side to be perfect. The rest of the dog leg was then welded and then the welds dressed with a 4.5" grinder, and then a roloc disc on a die grinder. So about 95% of the way there on this dog leg. Attach file: (59.87 KB)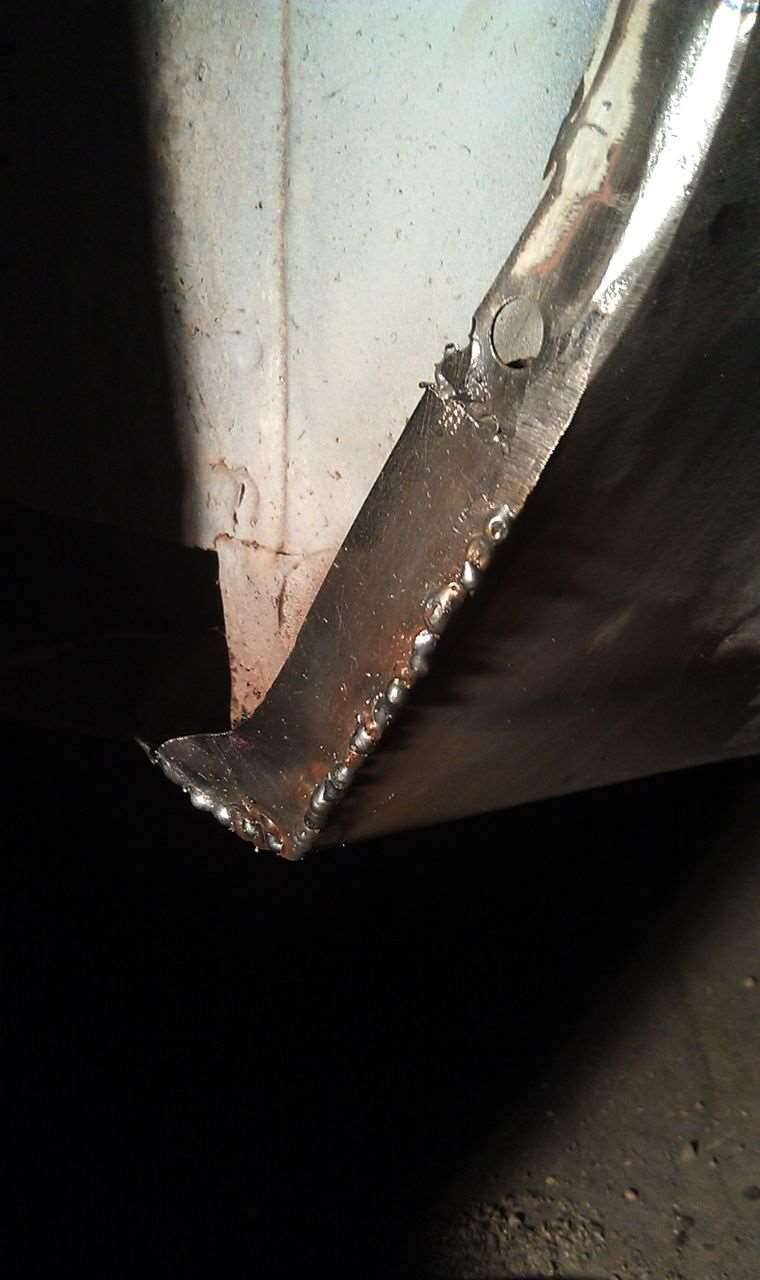 (56.62 KB) (56.62 KB) (49.77 KB) (49.77 KB)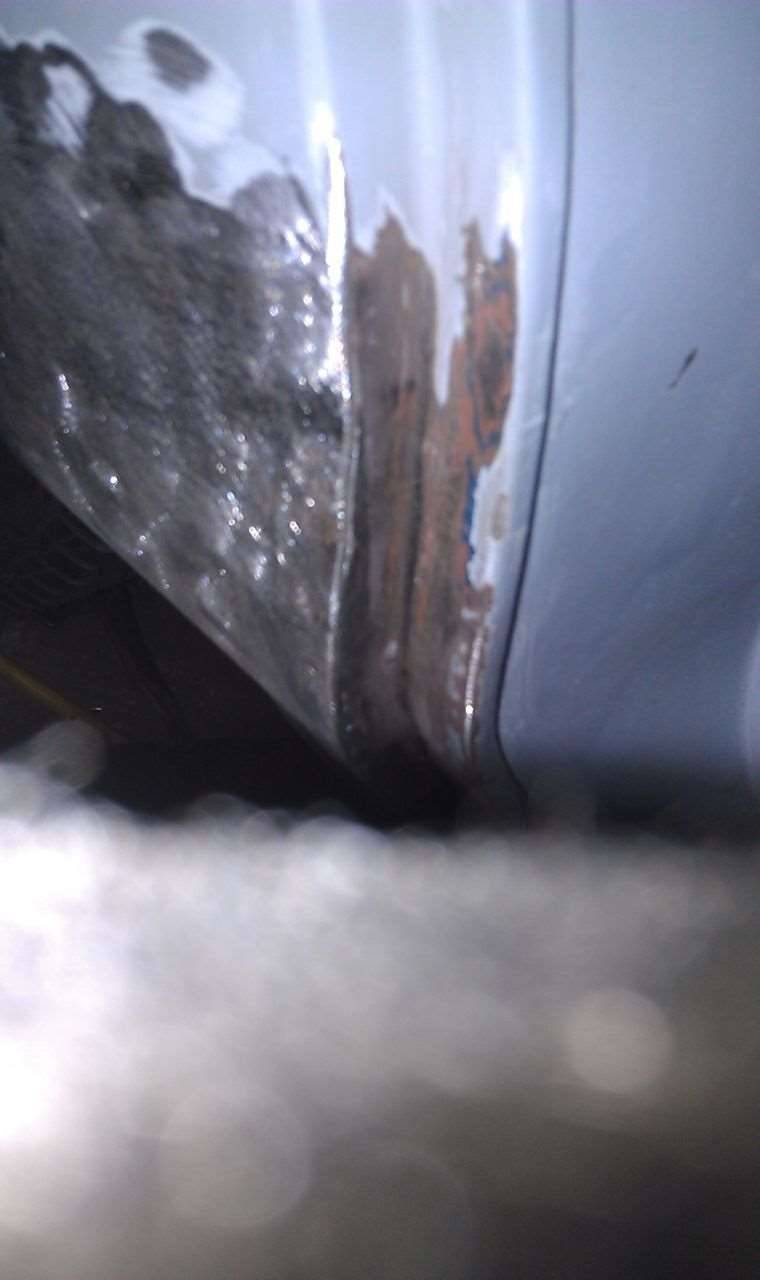
Posted on: 2011/11/2 23:16
|
|||
|
-BigKev
1954 Packard Clipper Deluxe Touring Sedan -> Registry | Project Blog 1937 Packard 115-C Convertible Coupe -> Registry | Project Blog |
||||
|
||||


