|
Re: painting the 51 200
|
||||
|---|---|---|---|---|
|
Home away from home
|
David, good information, keep up the good work, it's looking good.
Wes
Posted on: 2013/1/21 7:55
|
|||
|
||||


|
Re: painting the 51 200
|
||||
|---|---|---|---|---|
|
Home away from home

|
Thanks for these pics and the info David. I'll be attacking the same job sometime soon so very helpful for me.
If you had 'only glued it' then maybe you would have been forever concerned about not doing a proper job! (At least it will never loosen even if the glue eventually fails).
Posted on: 2013/1/22 22:29
|
|||
|
1951 Packard Club Sedan | [url=ht
|
||||
|
||||
|
Re: painting the 51 200
|
||||
|---|---|---|---|---|
|
Home away from home
|
Larry, some sources state that the masticated (fiber added) rubber is correct, others show the woven material that normally showed up on the hood cowl in the 30-40's cars. Both are available from Restoration Specialties and other vendors. I liked the rubber since it is easier to work with. I'll see if I lose points at Pebble Beach...right.
Posted on: 2013/1/22 23:02
|
|||
|
||||
|
Re: painting the 51 200
|
||||
|---|---|---|---|---|
|
Home away from home
|
I've been off-line for awhile David but started at the front and read about your 51's documented progress all the way from the beginning. The car is coming along nicely and I know that the repairing and repainting is something that you have been working towards for quite some time now so congratulations! It's looking like the classic it deserves to be and one that you will be proud of...well done. On another note, I can't say that I'm jealous of that Winter weather you're having but come summer time, I'd trade this Florida sauna for your summer weather anytime!!!

Posted on: 2013/1/23 10:51
|
|||
|
||||
|
Re: painting the 51 200
|
||||
|---|---|---|---|---|
|
Home away from home
|
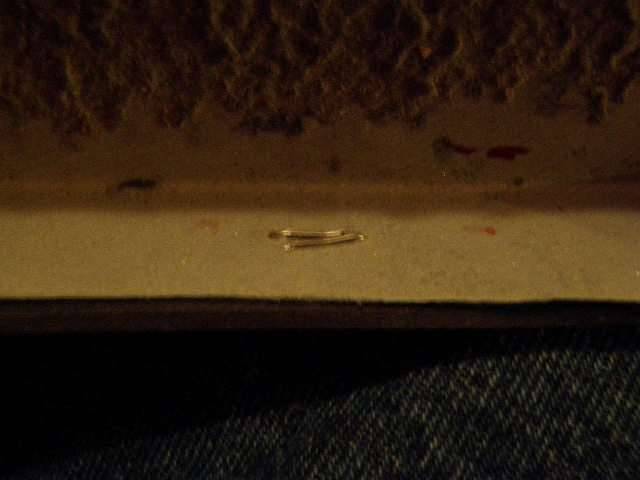
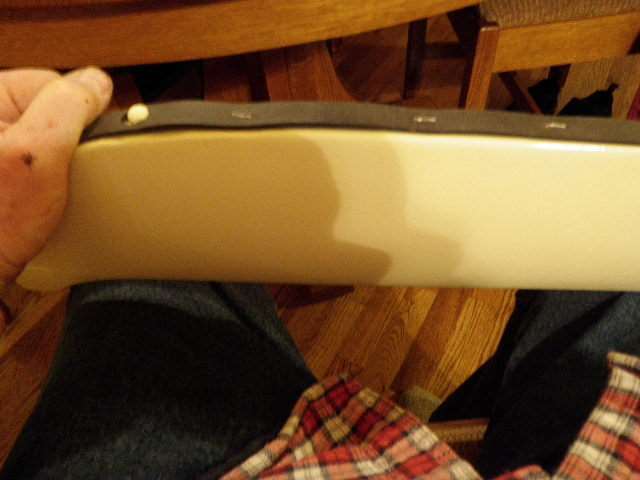
I did the other fender skirt this morning. I modified the technique by punching the large holes first, stretching the rubber as I went. I then put this on the skirt and just pushed the wire staples thru one at a time. Took about 1/4 of the time as yesterday. Plus the rubber stayed nice and snug this time without having to monkey with adjusting it.
FYI Gator, its a dry cold. ..Thanks for all of the comments.
Posted on: 2013/1/23 15:28
|
|||
|
||||
|
Re: painting the 51 200
|
||||
|---|---|---|---|---|
|
Home away from home
|
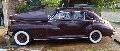
Well, we had a hot spell - got up to 48 degrees, so I took the opportunity to do some color sanding while the hose wasn't frozen. Went all over the car with 1500 grit sandpaper. Most of the car is buttery smooth now, with only a few missed spots of orange peel still there. I'll hit it again tomorrow before the next snowstorm on Sunday. If I'm lucky, maybe get to do some buffing.
Attach file:  (62.21 KB) (62.21 KB)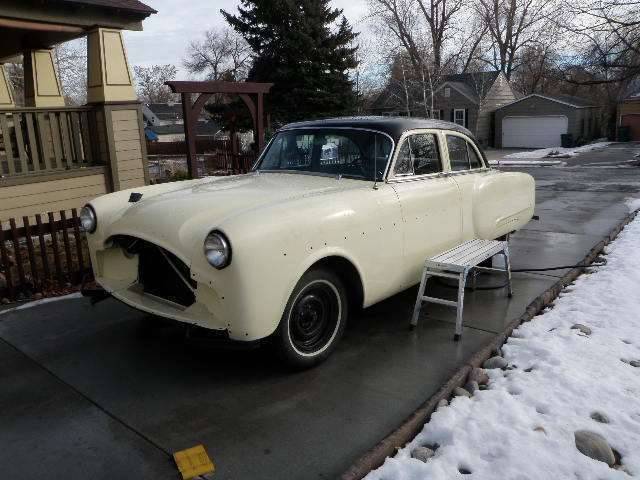 (58.07 KB) (58.07 KB)
Posted on: 2013/1/25 19:50
|
|||
|
||||
|
Re: painting the 51 200
|
||||
|---|---|---|---|---|
|
Home away from home
|
Another wonderful spring day before the next snowstorm. Went out and sanded more on the Packard, using 1200 grit and then 1500. Bought a product by Carborundum that uses the same white polish on all three steps, you just change pads on the adjustable speed buffer. First one is a wool disc, then a yellow foam pad and finally a black dense foam pad. It does polish up nicely and is easy to use - tested it on one fender and a portion of the roof. What I found is that I need to sand more with the 1500 and then 2000. On the black roof you could see occasional sanding marks that didn't show up in the ivory. Maybe I can squeeze one more day of sanding before it gets cold again.....
Posted on: 2013/1/26 20:55
|
|||
|
||||
|
Re: painting the 51 200
|
||||
|---|---|---|---|---|
|
Home away from home
|
Had 1" of snow last night, but it warmed up to 39 degrees with sun, so back outside for more color sanding and buffing. The paint is finally polishing up nicely. A few more days and I'll start putting the chrome back on. Anxious to get it back to where it doesn't look like a plucked chicken.
Posted on: 2013/1/28 19:26
|
|||
|
||||


